jmroberts70
2[H]4U
- Joined
- Oct 15, 2002
- Messages
- 2,953
Most all items purchased at newegg.com with the exception of the PSU and Lanli card reader I got from frozencpu.com ...
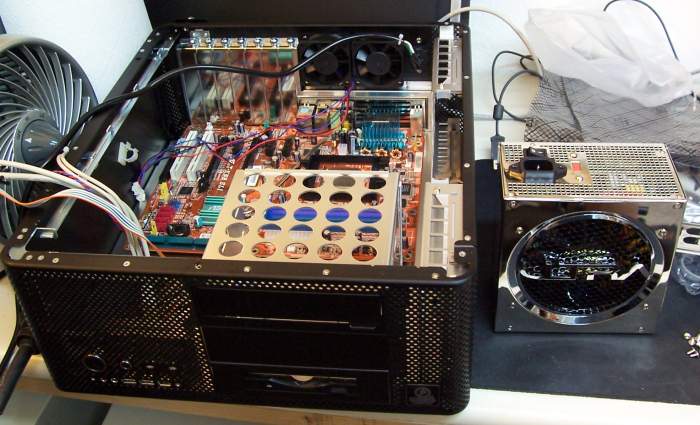
Initial fit check of the mobo in the case. Notice that the PSU actually sits in the front of the case off to the left of the drive bays. Makes for a slightly more narrow profile as a desktop case.
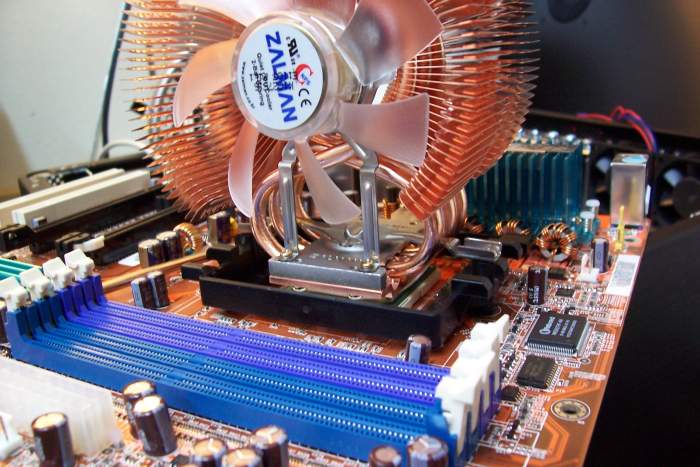
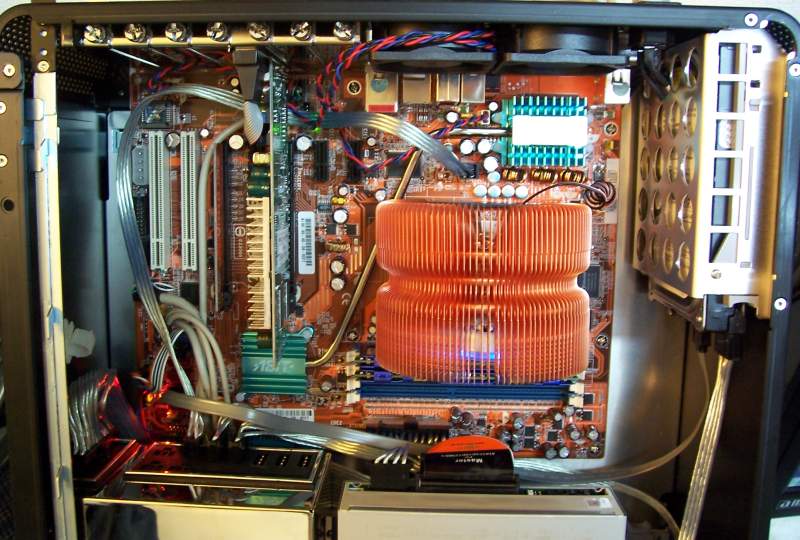
Mount the Zalman heatsink. Simply a wonderful piece of work!
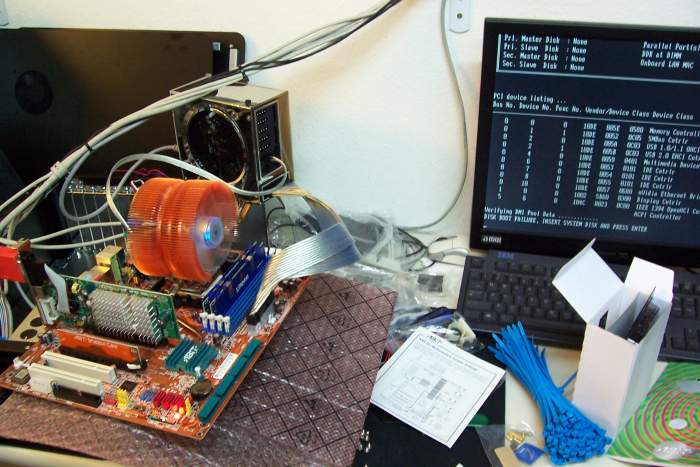
First fire up to make sure everything is workin'

Now starts the cable routing. Here you can see the single flat IDE cable that runs under the mobo along with the PSU AC feed cable that originally ran along the side of the case.
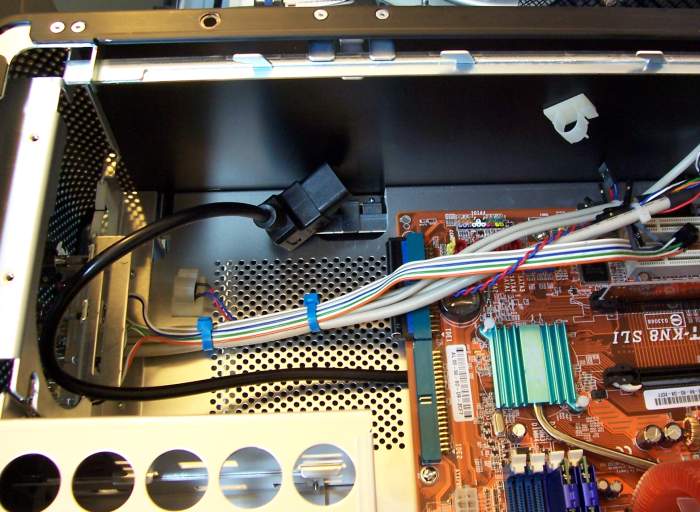
Here's a better shot of the AC cable feeding from under the mobo. You can also see the white clamp on the side of the case where it originally came from. I've also started dressing up the firewire, USB, and misc cables from the front panel here.
PSU now mounted in place. It's a shame few will ever see just how beautiful this little jem is!
Now with most everything installed, you can appreciate working with a modular PSU. No wasted cables anywhere!
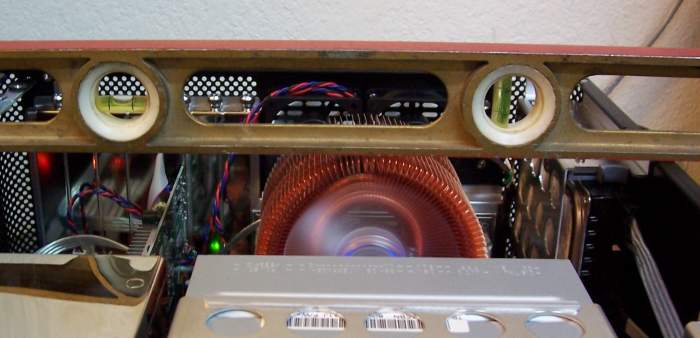
Here's where getting good info before making a purchase is so important. I knew it would be tight but I also was pretty sure it would be ok here. I had good dimensions on the heatsink and the case from the start so I could determine if they would fit. No a hair more though!
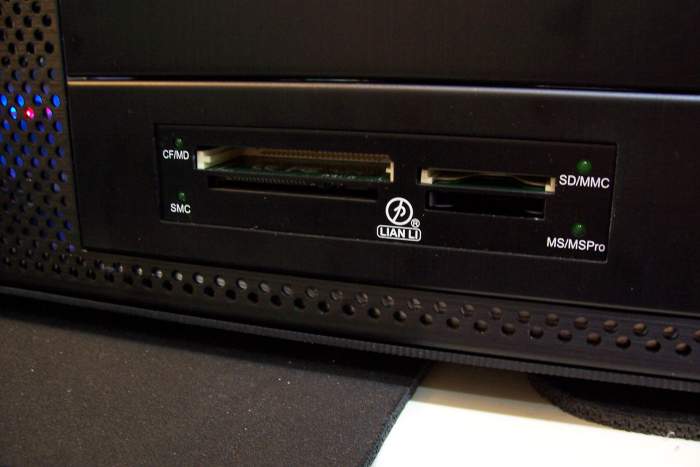
A nice touch: LanLi case and a LanLi card reader!
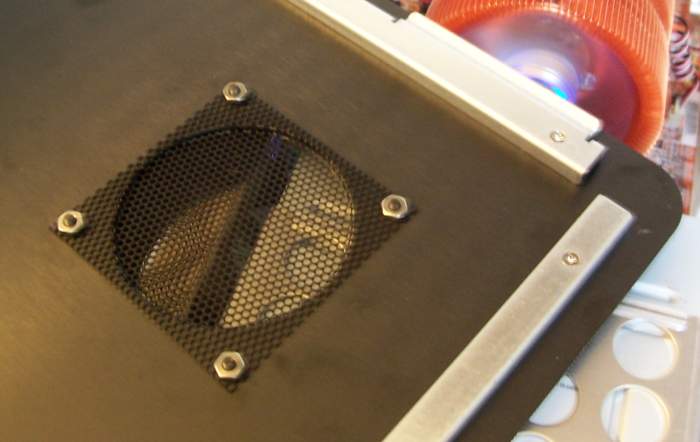
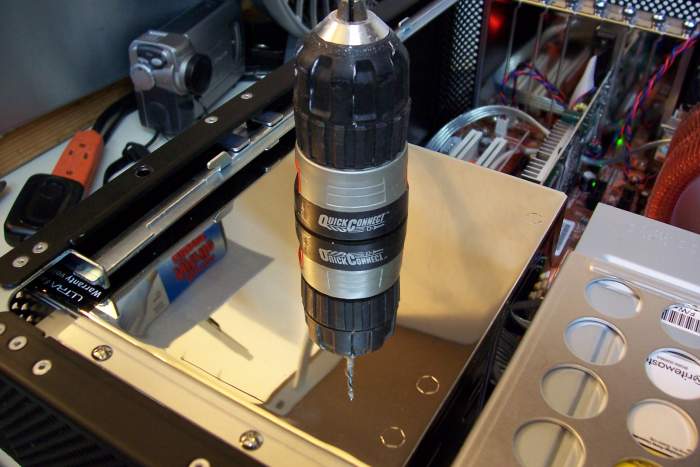
A small mod I had to do to get the top cover to fit with the large heatsink. I had to remove the existing case fan that came installed from LanLi that way. I kept the original mesh grill and just replaced the hardware and fan with some flush mounted screws. Simple.
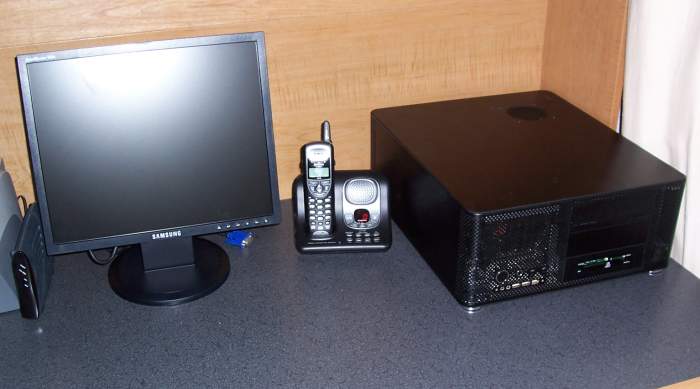
All done. Barely a whisper from the case and it runs like a champ. I've got room to expand to a dual SLI system, multi-core AMD processor, etc without any major work. Overall, I'd say this was one of the more simple jobs I've done. The components were all just fantastic. Total cost to the client was $1300 parts and $100 labor.
Initial fit check of the mobo in the case. Notice that the PSU actually sits in the front of the case off to the left of the drive bays. Makes for a slightly more narrow profile as a desktop case.
Mount the Zalman heatsink. Simply a wonderful piece of work!
First fire up to make sure everything is workin'
Now starts the cable routing. Here you can see the single flat IDE cable that runs under the mobo along with the PSU AC feed cable that originally ran along the side of the case.
Here's a better shot of the AC cable feeding from under the mobo. You can also see the white clamp on the side of the case where it originally came from. I've also started dressing up the firewire, USB, and misc cables from the front panel here.
PSU now mounted in place. It's a shame few will ever see just how beautiful this little jem is!
Now with most everything installed, you can appreciate working with a modular PSU. No wasted cables anywhere!
Here's where getting good info before making a purchase is so important. I knew it would be tight but I also was pretty sure it would be ok here. I had good dimensions on the heatsink and the case from the start so I could determine if they would fit. No a hair more though!
A nice touch: LanLi case and a LanLi card reader!
A small mod I had to do to get the top cover to fit with the large heatsink. I had to remove the existing case fan that came installed from LanLi that way. I kept the original mesh grill and just replaced the hardware and fan with some flush mounted screws. Simple.
All done. Barely a whisper from the case and it runs like a champ. I've got room to expand to a dual SLI system, multi-core AMD processor, etc without any major work. Overall, I'd say this was one of the more simple jobs I've done. The components were all just fantastic. Total cost to the client was $1300 parts and $100 labor.