I decided to get my hands on a Qmicra when they first sold the Case by itself.
Managed one of the first Black ones, with red hardware.
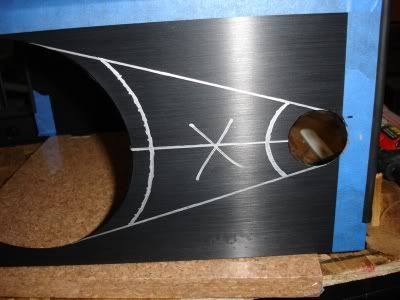
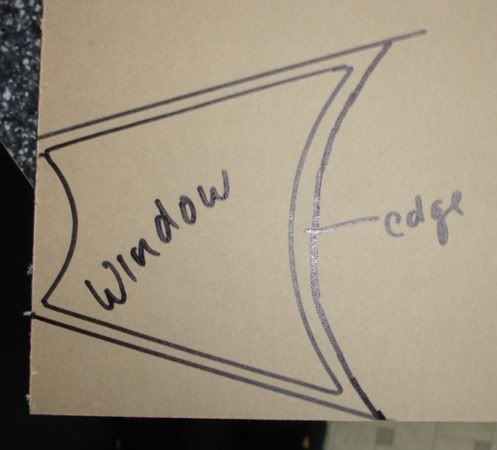
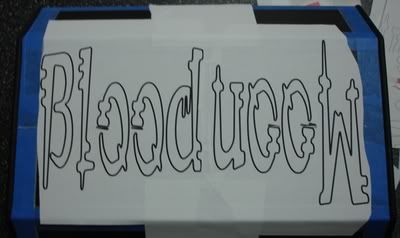
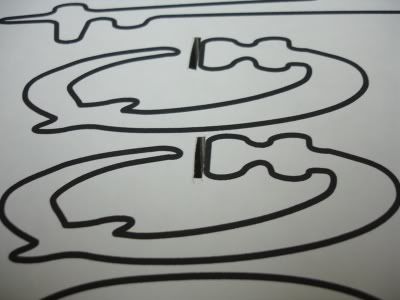
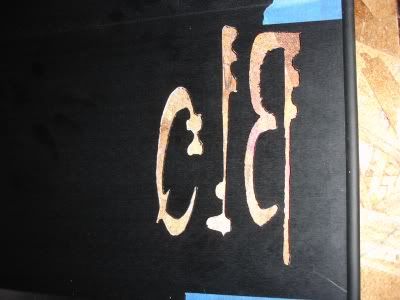
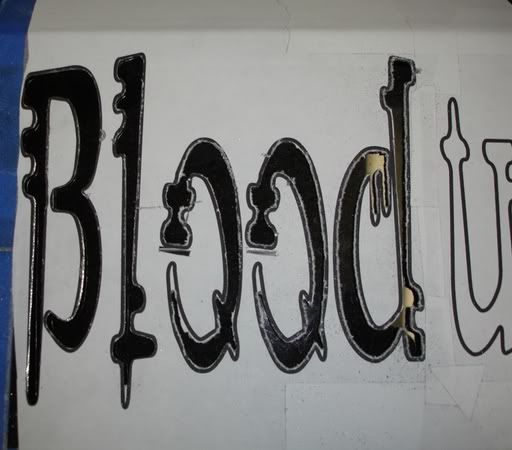
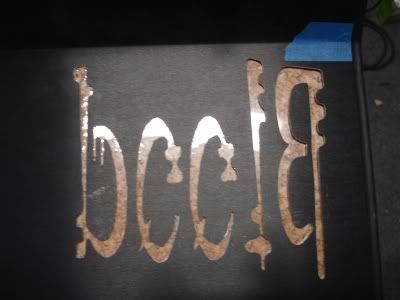
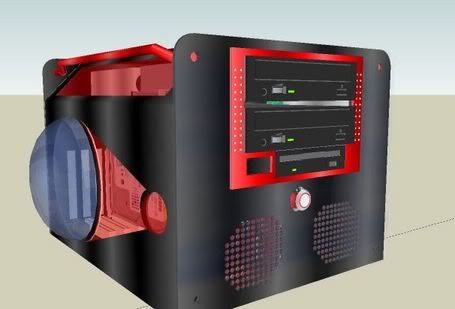
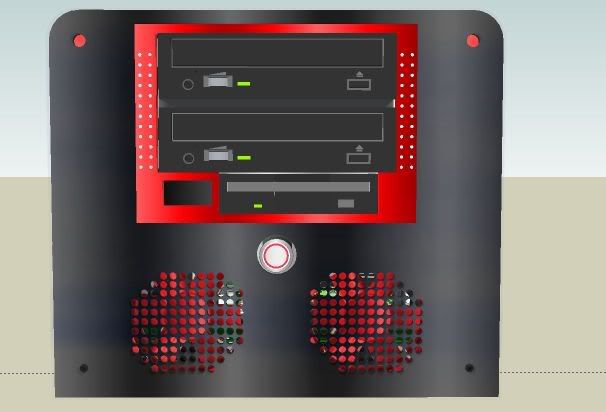
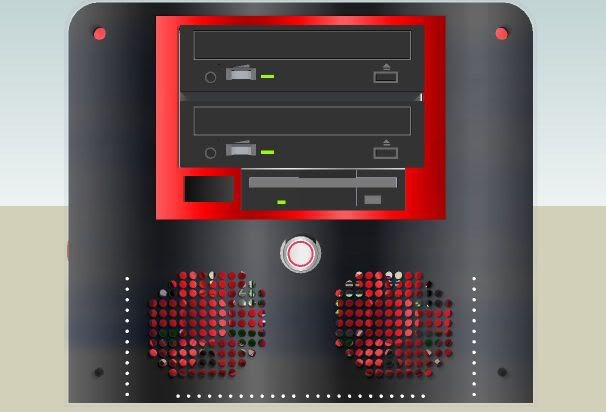
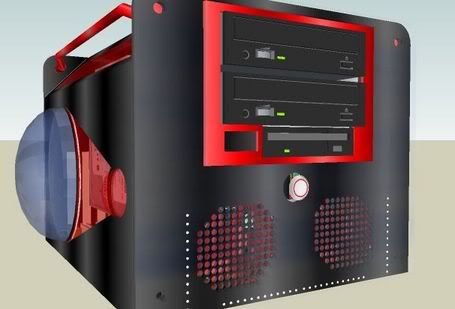
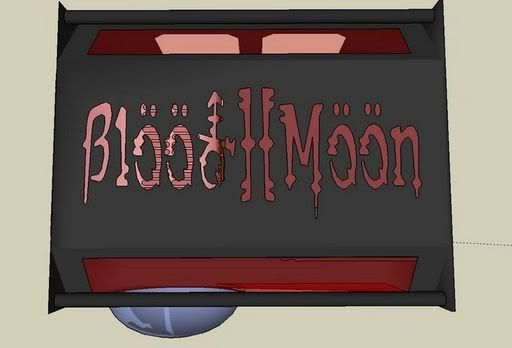
I worked in Sketchup (thank you GoogleSketchup) for a quite a bit to do some space planning, and get my cutting layout so I like the look of it:
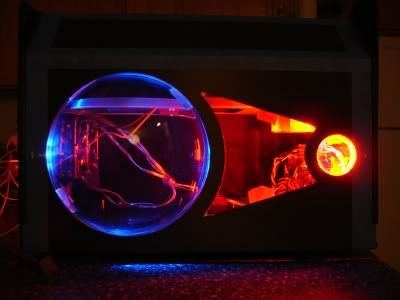
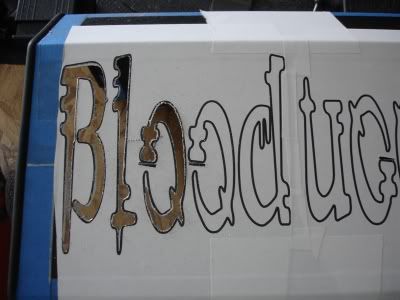
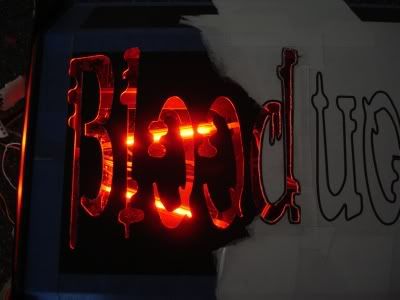
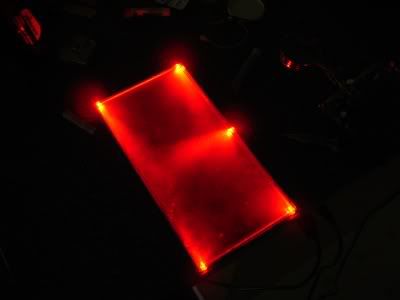
I ended up with the idea of the BloodMoon eclipse event from October 2004. At a certain point, the refracted light coming around the Earth turns the moon orange, rust, or reddish in hue. Called a Blood Moon.
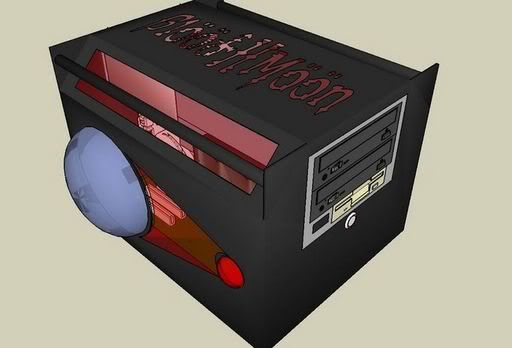
And then I had to find a way to do the domes shown in the Sketchup.
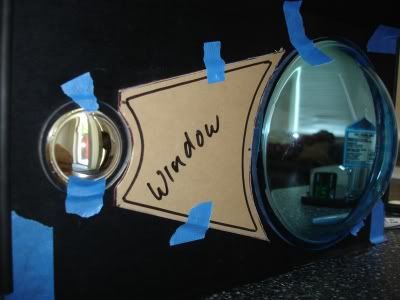
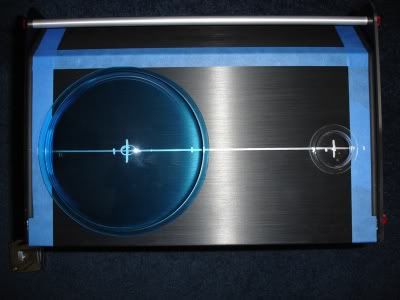
Voila! Cleardomes.com
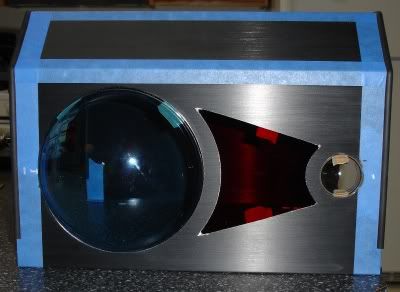
couple phone calls to verify the capabilities, and for a "nut wrenching" price of $37 each, I got my two domes: one 6" diameter clear blue (like UV blue plastic) and one 1.5" clear. Done up in proper dimesions for comparitive size of the Earth (6") and the Moon (1.5").
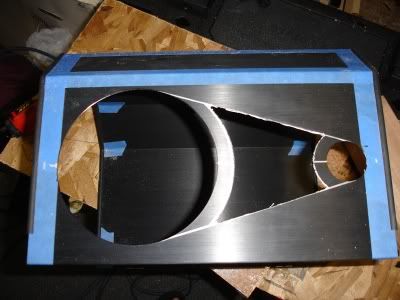
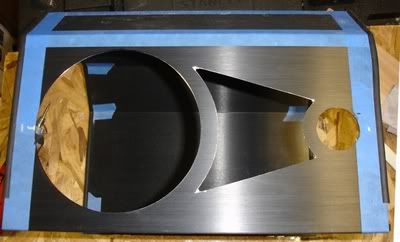
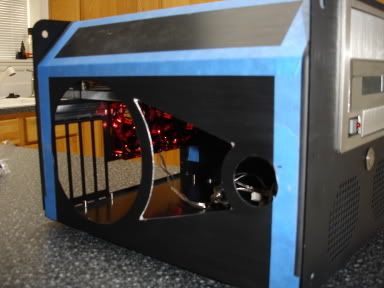
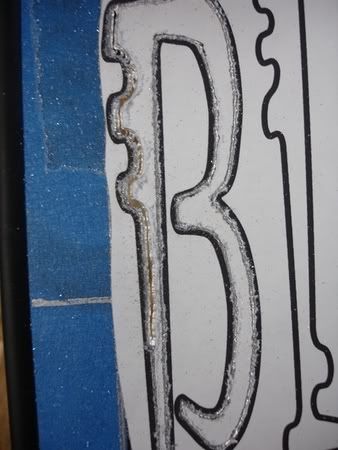
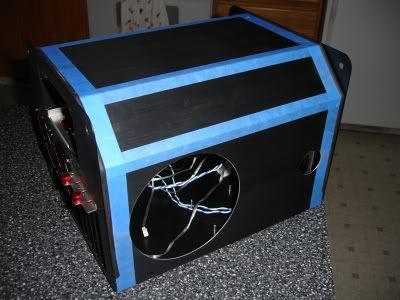
Anyway, here is my first day of work!!:
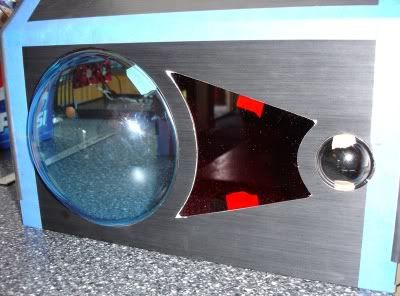
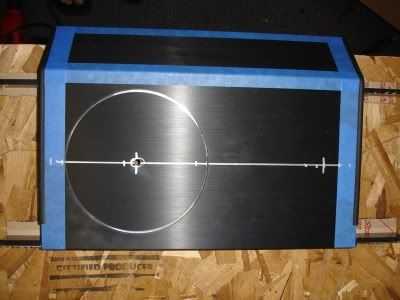
Day 1--
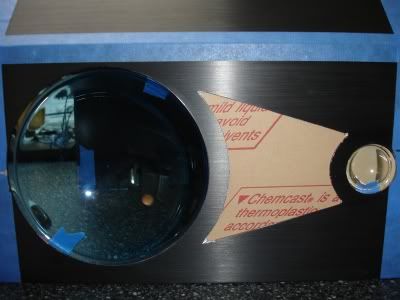
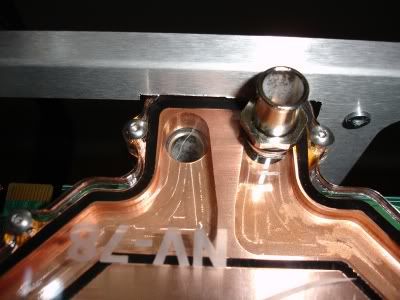
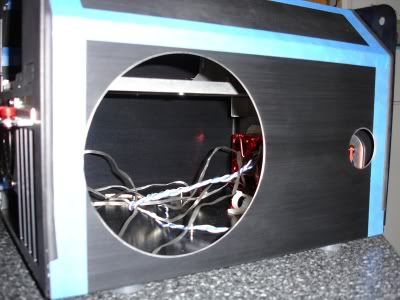
6" round hole saw

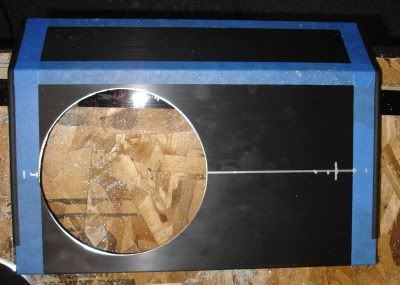
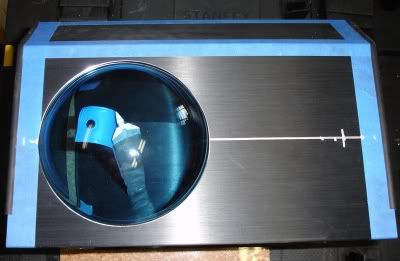
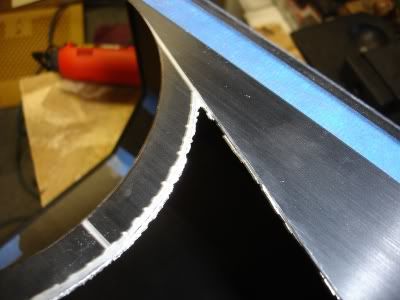
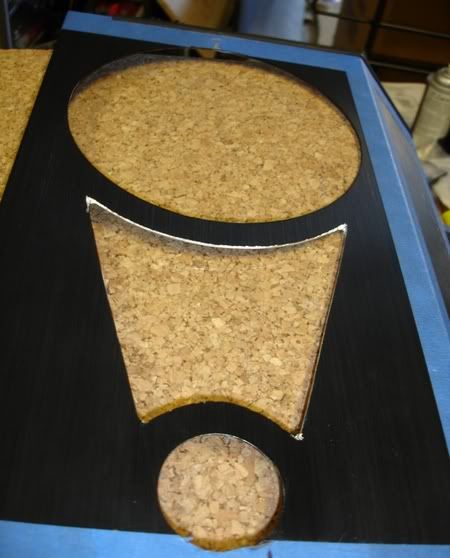
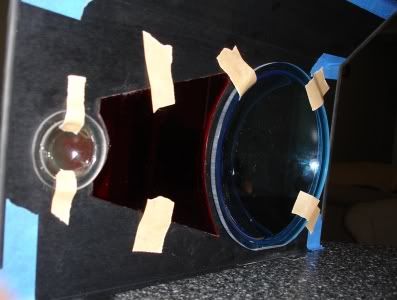
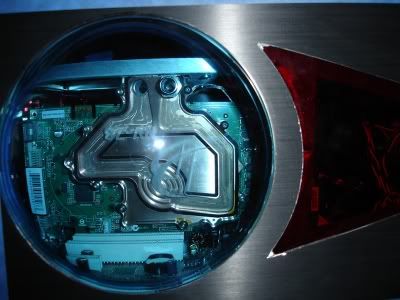
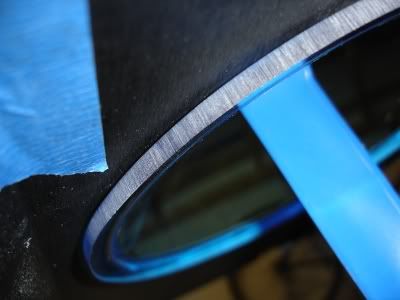
And the interior fit...a little sanding to really seat it perfectly, but that is pretty close!
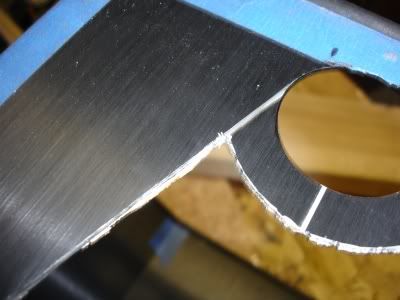
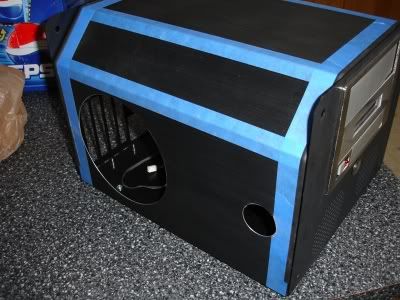
I did the smaller bore for the Moon dome, but didn't take a picture of it yet.
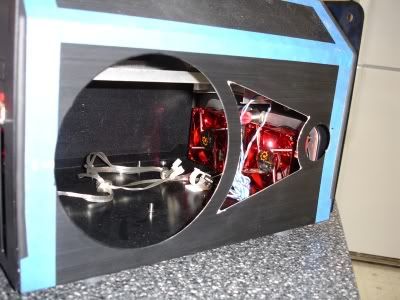
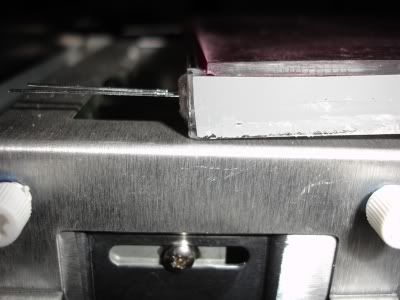
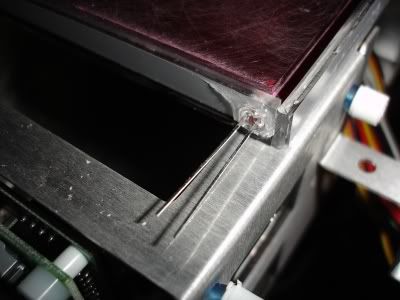
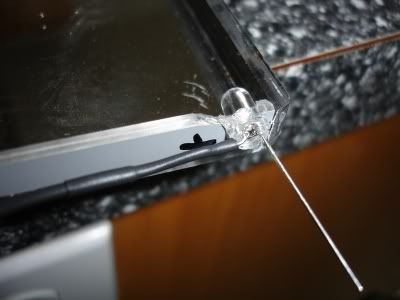
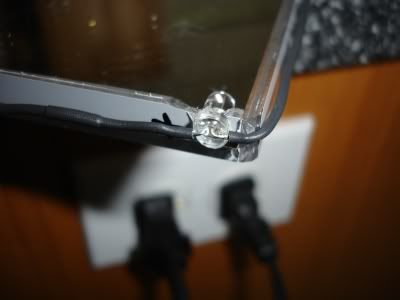
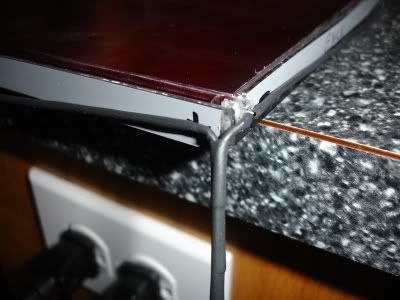
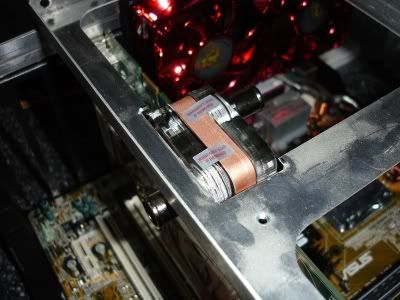
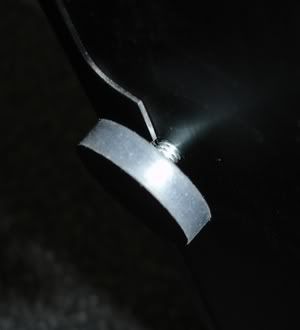
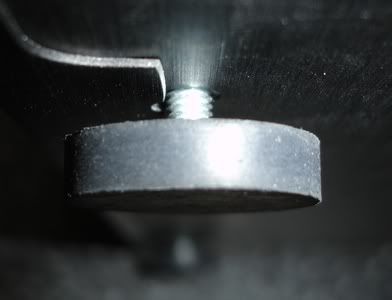
And the "foot mod"
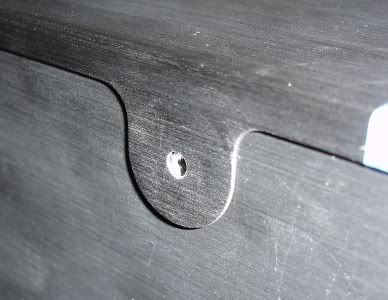
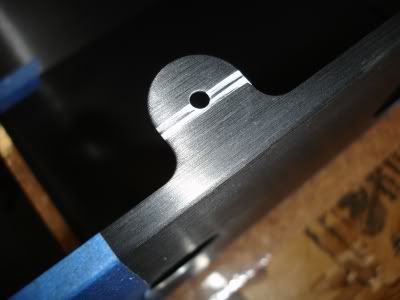
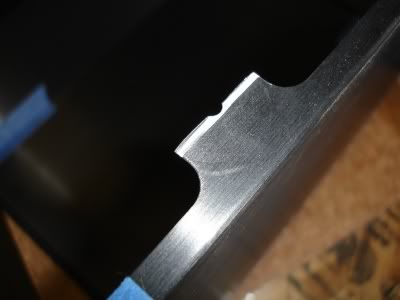
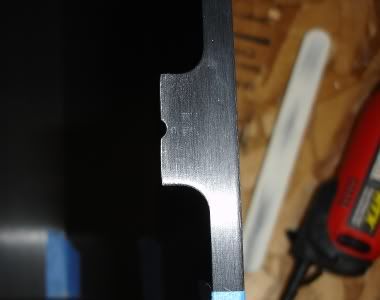
should make it quite a bit easier to take the Lid off and show the internals without taking the Feet off, just leaving them threaded out a bit.
What do you all think?
hardware specs will be determined a little close to the Lan date of PDXLAN 8 in September. I am waiting to see about a Conroe mATX motherboard, GX2 or the next Nvidia card (if available) and maybe a pair of 750Gig parallel drives.
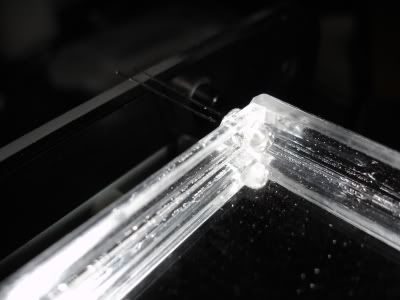
In the meantime, more cutting, more sanding, and some fiber optics to come.
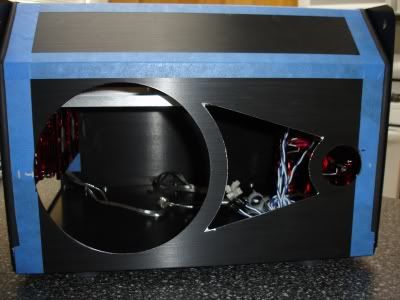
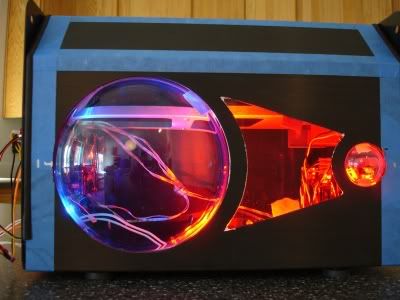
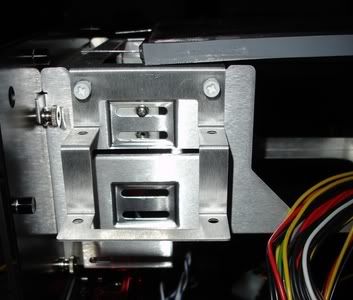
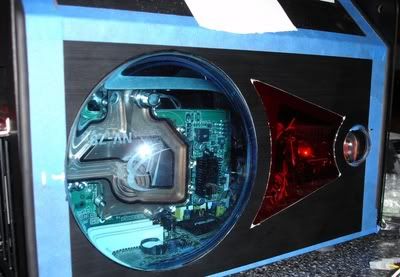
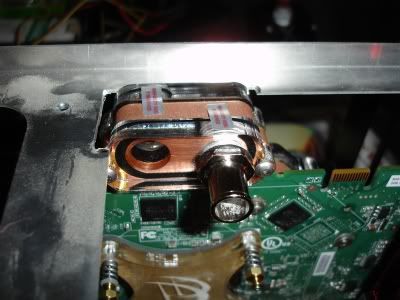
I just did a test reassemble to check on component visibility with the new openings:
And the feet:
Managed one of the first Black ones, with red hardware.
I worked in Sketchup (thank you GoogleSketchup) for a quite a bit to do some space planning, and get my cutting layout so I like the look of it:
I ended up with the idea of the BloodMoon eclipse event from October 2004. At a certain point, the refracted light coming around the Earth turns the moon orange, rust, or reddish in hue. Called a Blood Moon.
And then I had to find a way to do the domes shown in the Sketchup.
Voila! Cleardomes.com
couple phone calls to verify the capabilities, and for a "nut wrenching" price of $37 each, I got my two domes: one 6" diameter clear blue (like UV blue plastic) and one 1.5" clear. Done up in proper dimesions for comparitive size of the Earth (6") and the Moon (1.5").
Anyway, here is my first day of work!!:
Day 1--
6" round hole saw
And the interior fit...a little sanding to really seat it perfectly, but that is pretty close!
I did the smaller bore for the Moon dome, but didn't take a picture of it yet.
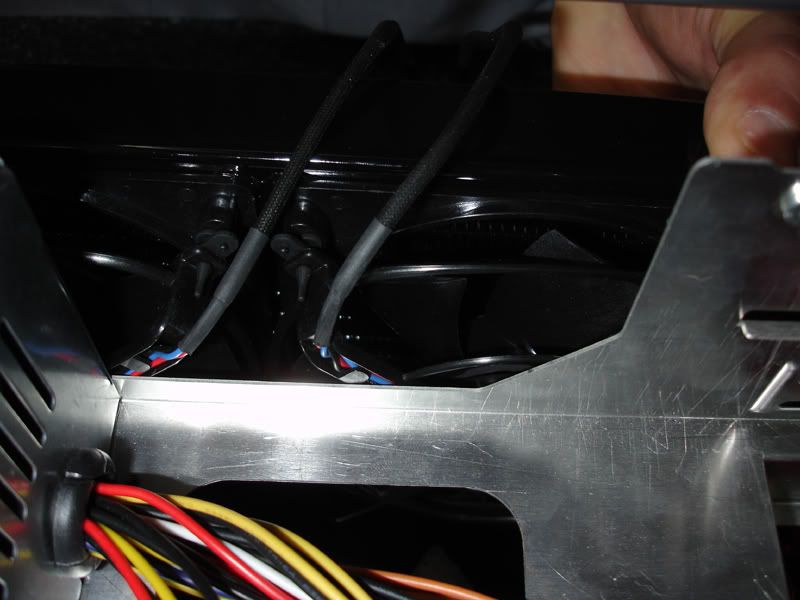
And the "foot mod"
should make it quite a bit easier to take the Lid off and show the internals without taking the Feet off, just leaving them threaded out a bit.
What do you all think?
hardware specs will be determined a little close to the Lan date of PDXLAN 8 in September. I am waiting to see about a Conroe mATX motherboard, GX2 or the next Nvidia card (if available) and maybe a pair of 750Gig parallel drives.
In the meantime, more cutting, more sanding, and some fiber optics to come.
I just did a test reassemble to check on component visibility with the new openings:
And the feet: