Hello,
So starts my 1st Project Log Down Under. Greetings from Melbourne.
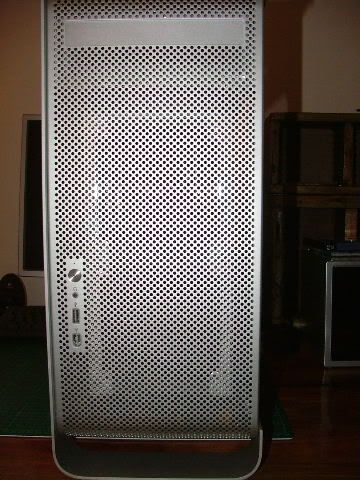
It has always been a dream of mine to convert a X86 System into one of the newer generation PowerMac boxes, having admired the sleek, curvatious body...err...I mean cases for a very long time.
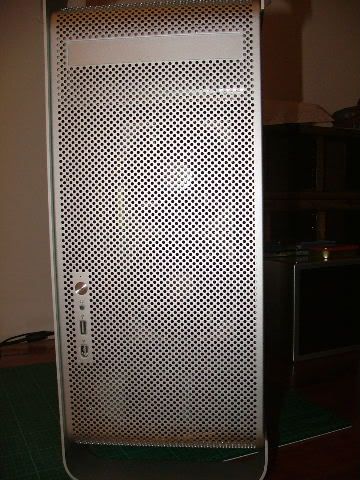
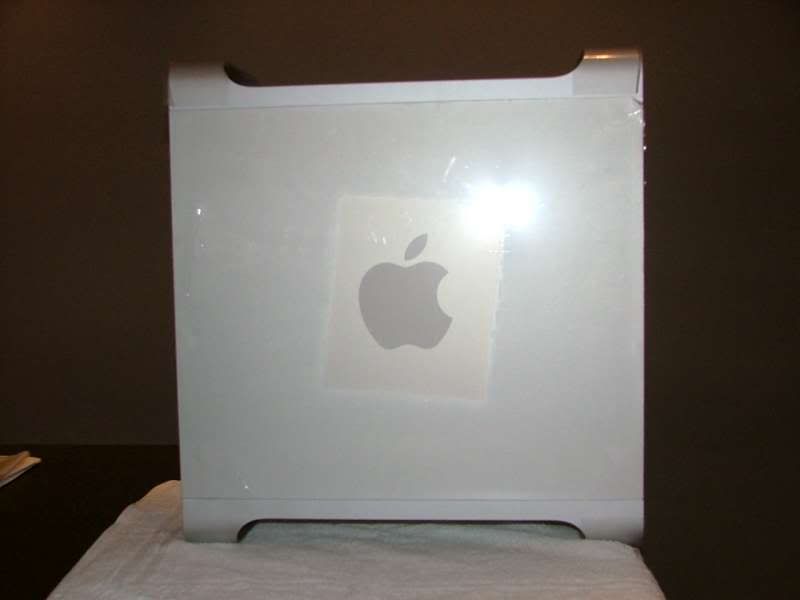
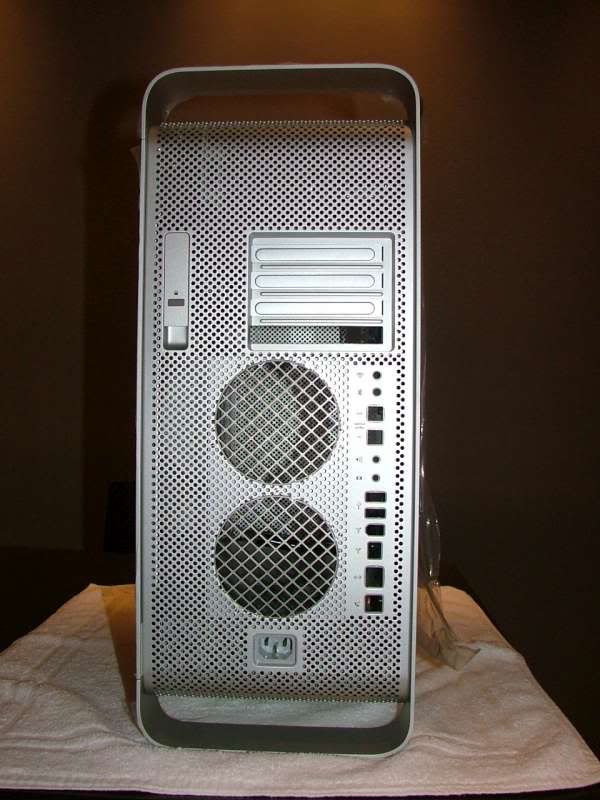
On relocating to Melbourne from sunny South Africa, I had the opportunity to get a brandnew PowerMac G5 case of Ebay, it was an impulsive buy, ok, as most of my purchases are But, it came with 600W Apple PSU, some cabling, drive trays etc, and I saw in it an opportunity to at last get my hands on this case.
Goals:
1st SLi capable "PowerMac" in the world - I have 2x 7800GTX BFG OC's, watercooled, that will go in here.
Dualcore 4800+ AMD CPU
2 gig OCZ 2-2-2-5 TCCD memory
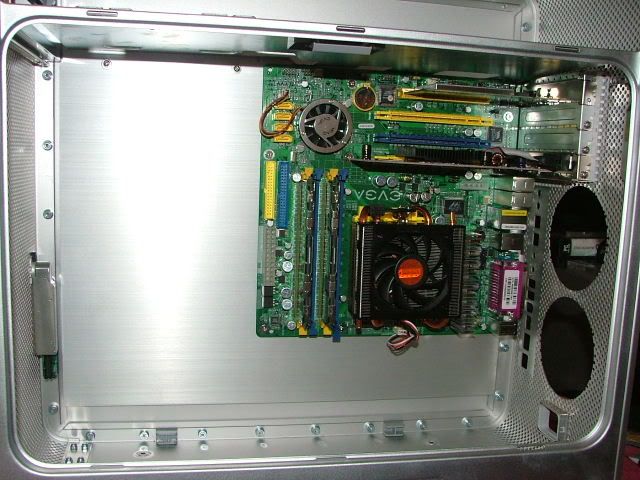
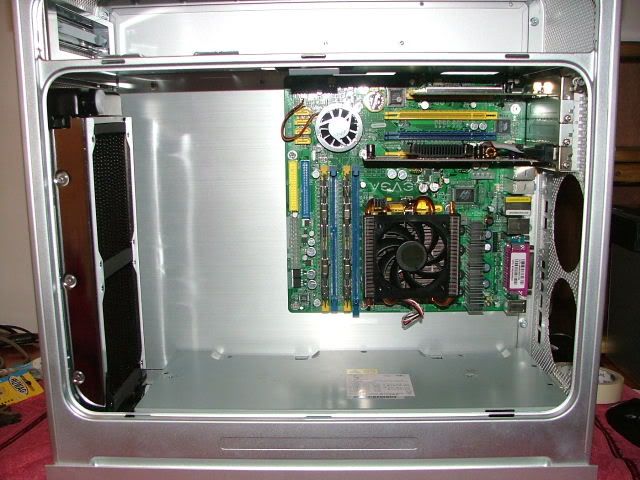
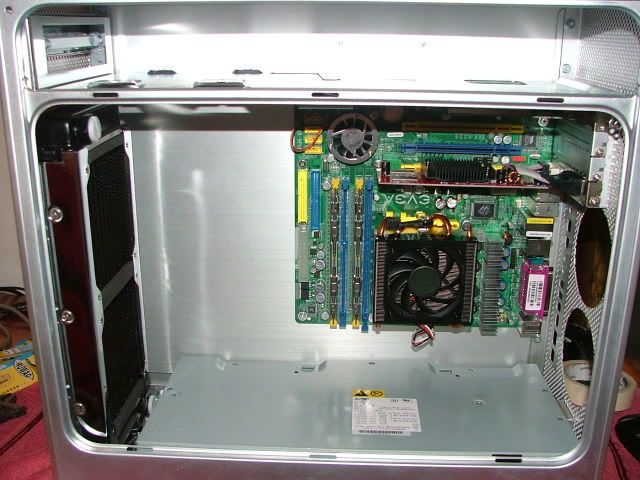
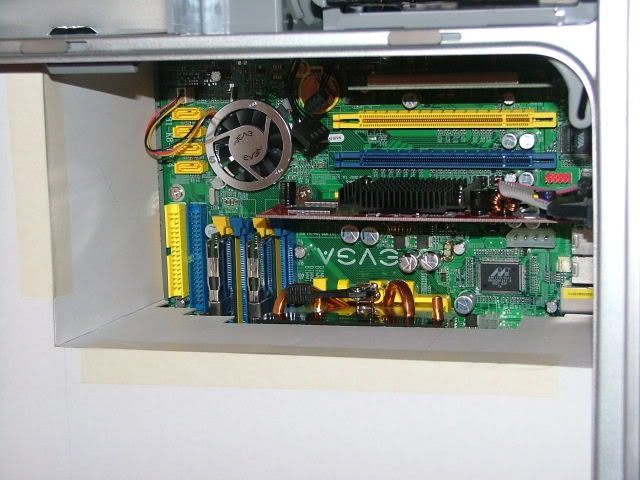
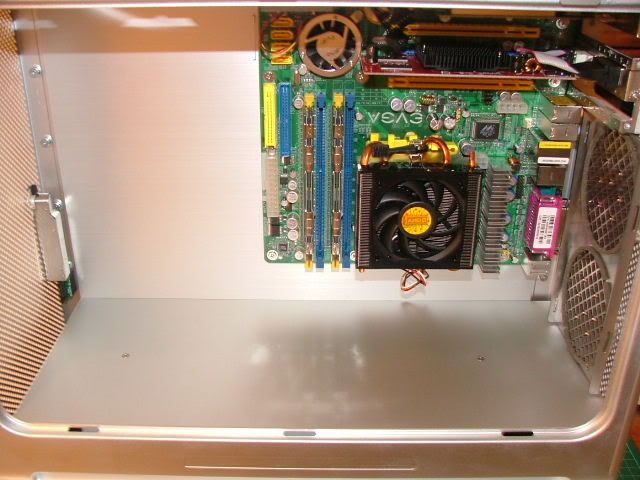
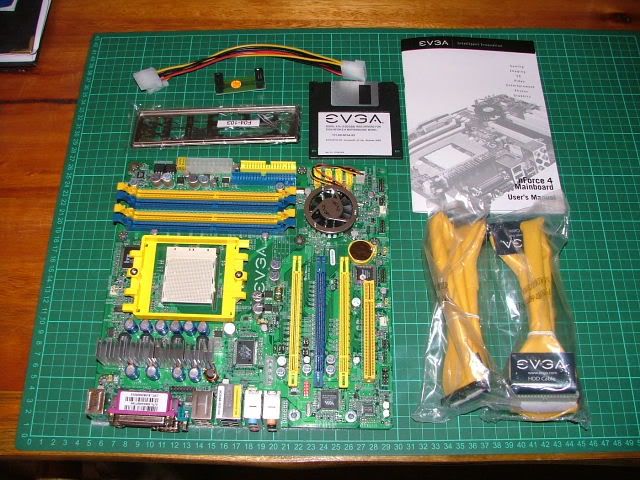
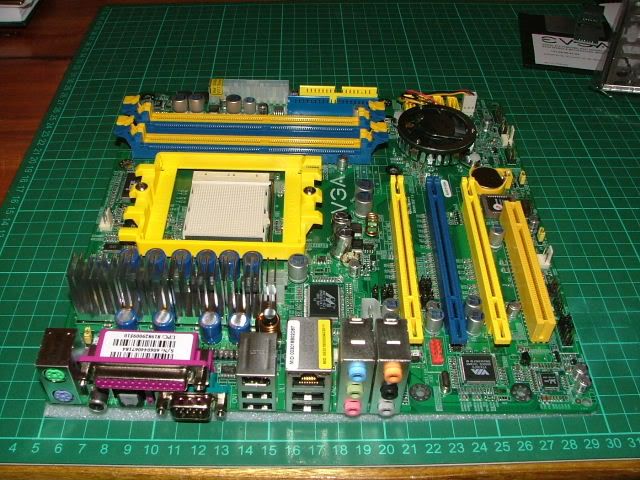
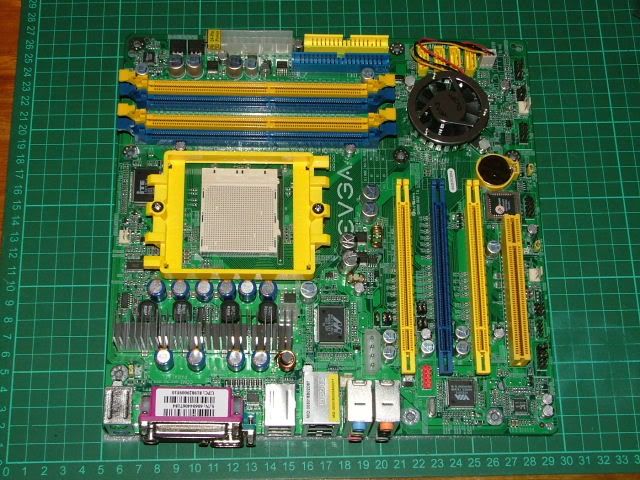
Special Micro-ATX eVGA SLi motherboard, 1st of it's kind in the world.
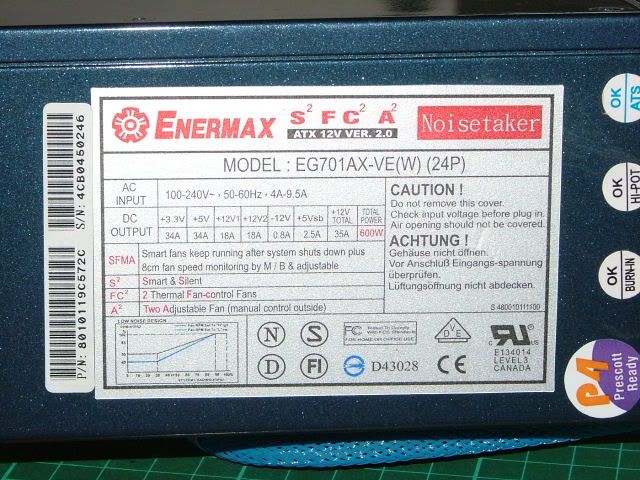
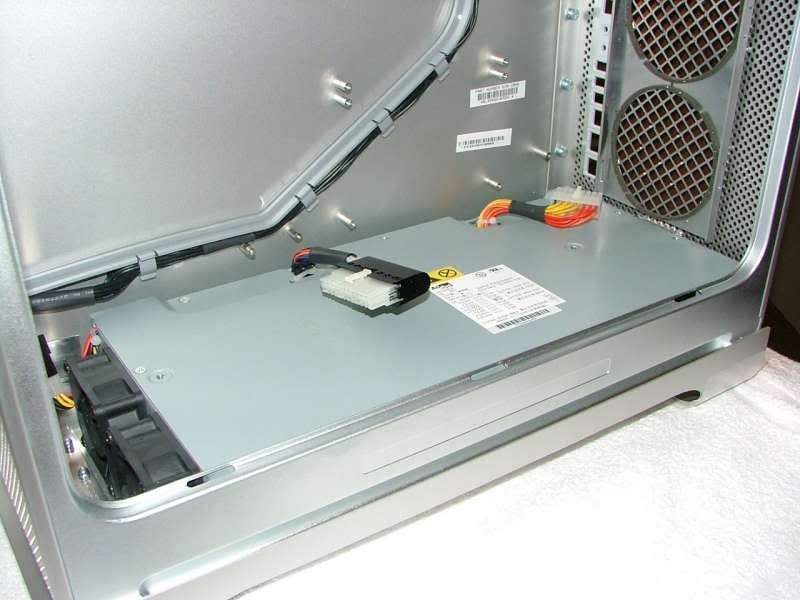
Utilizing standard Apple 600W PSU
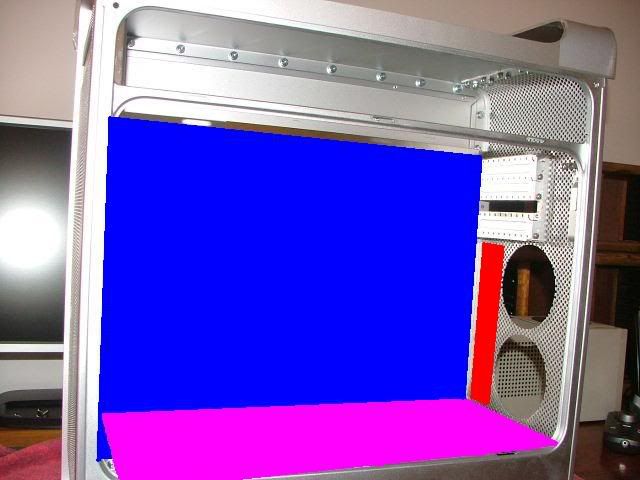
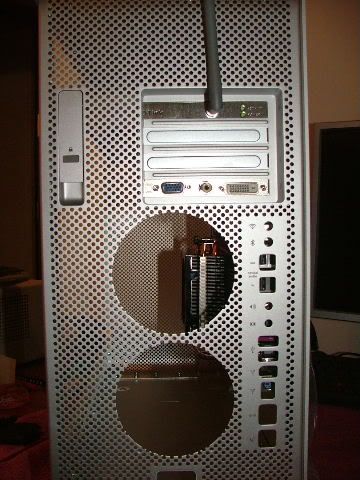
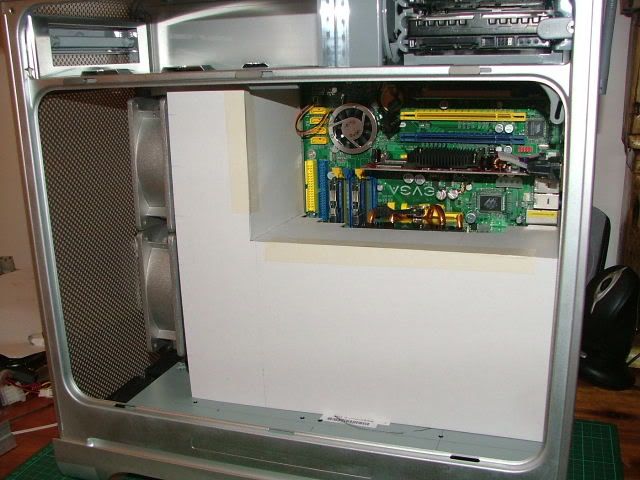
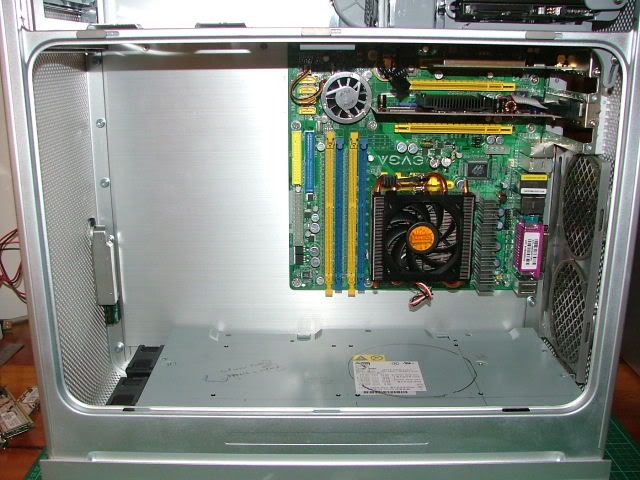
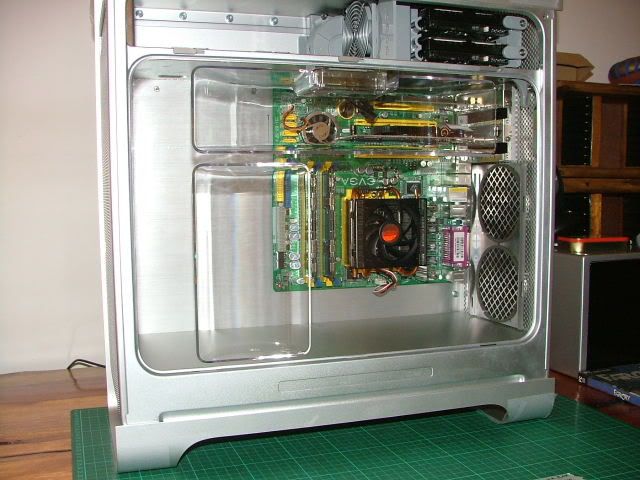
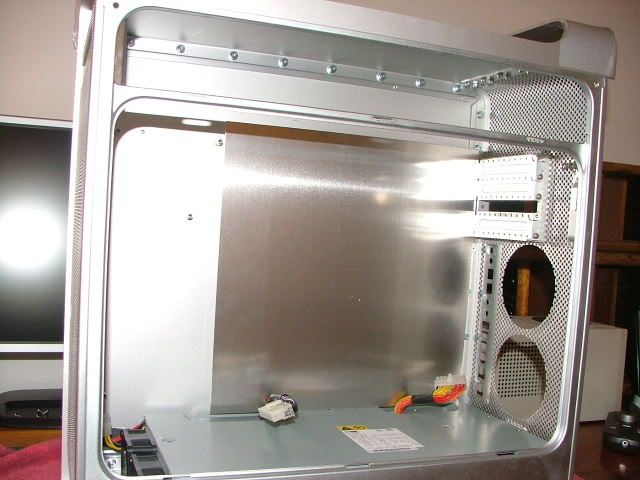
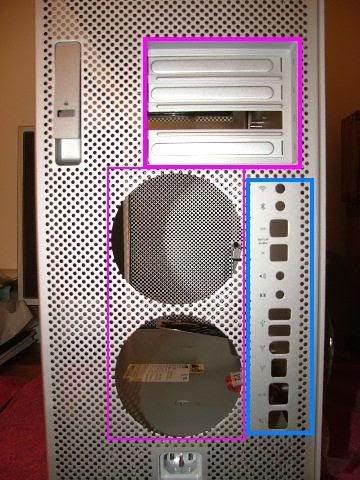
Biggest goal, and challenge, would be NOT to butcher the rear of the G5 case, as I have seen done on each and every X86 conversion so far. I want a clean, basic look, without hacking everything to bits.
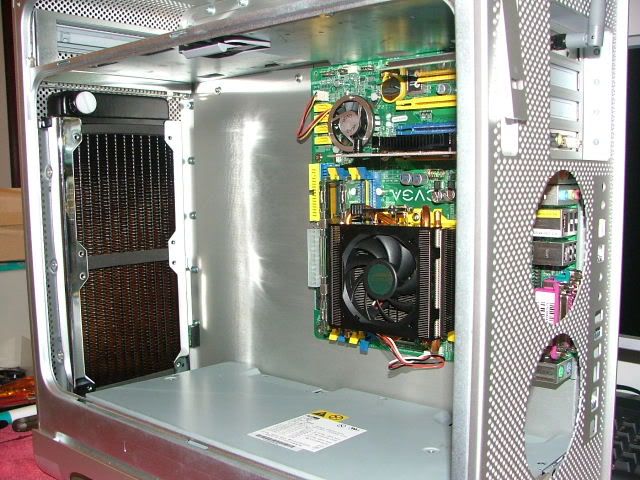
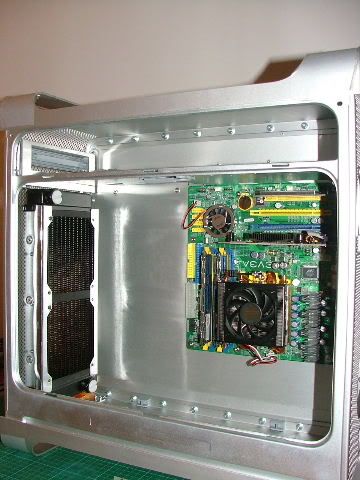
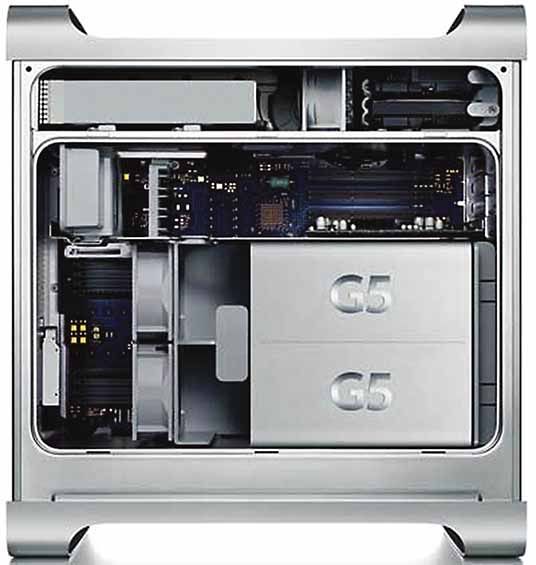
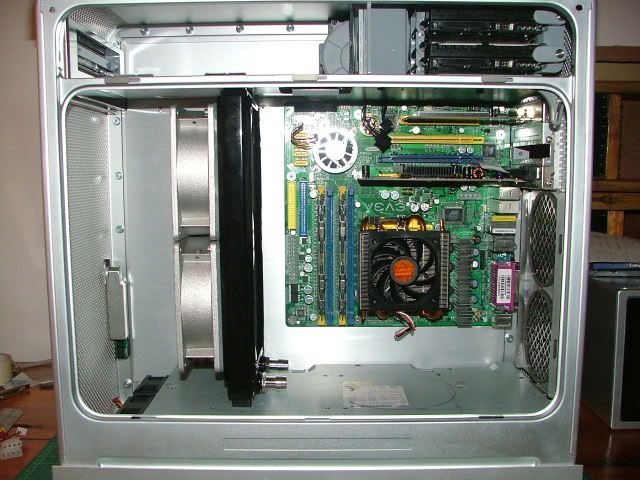
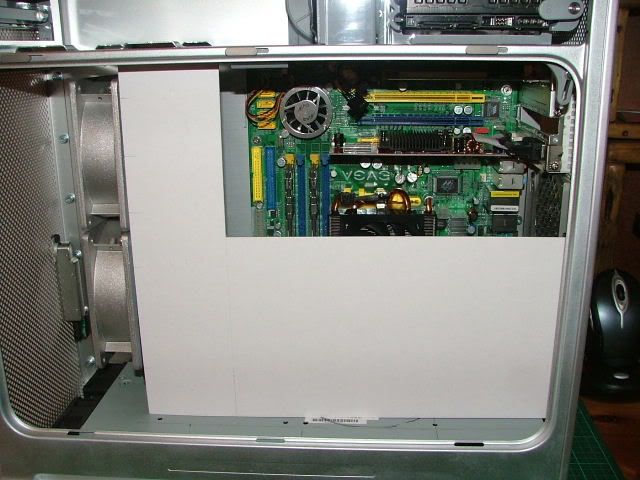
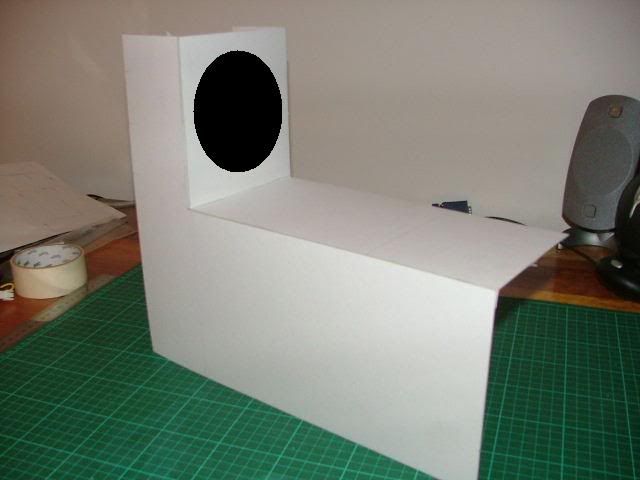
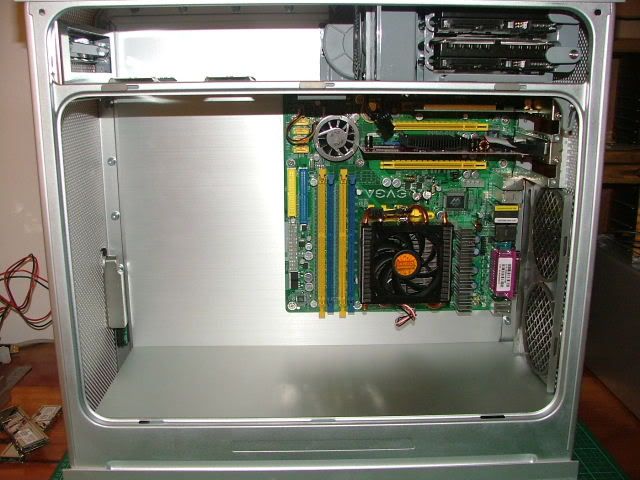
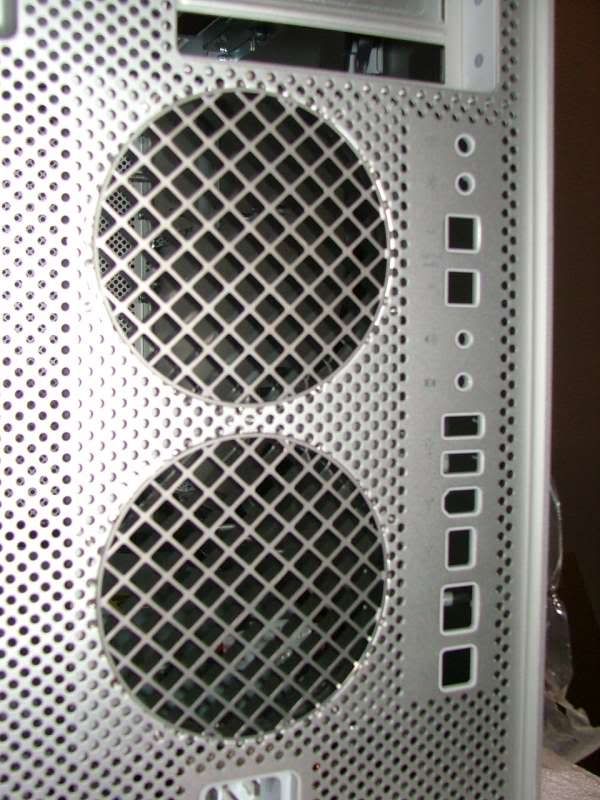
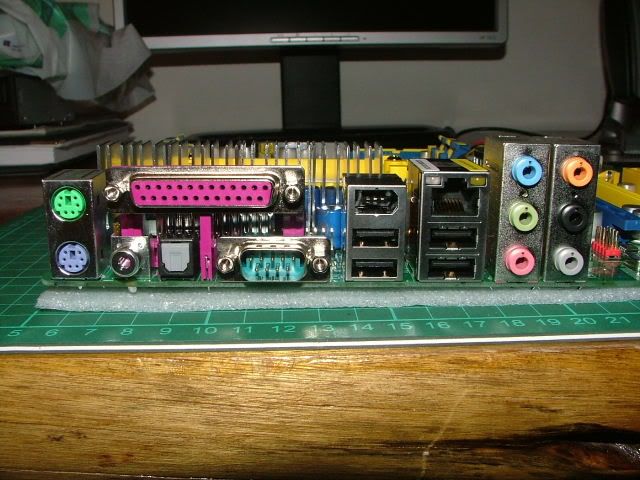
So, by utilizing the eVGA micro-SLi mobo, I hope to use the same 4x PCI-slot standard as on the back of the G5 case, and do the cutout for the rear ports using std ATX backplate - I should be able to even retain the original G5 fanholes/guards, for that clean, original look.
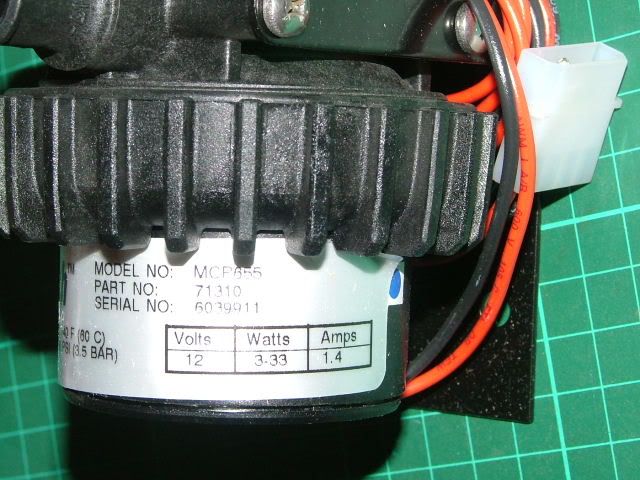
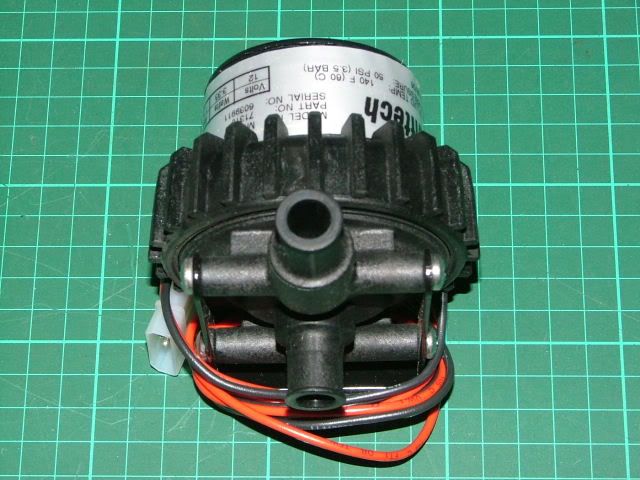
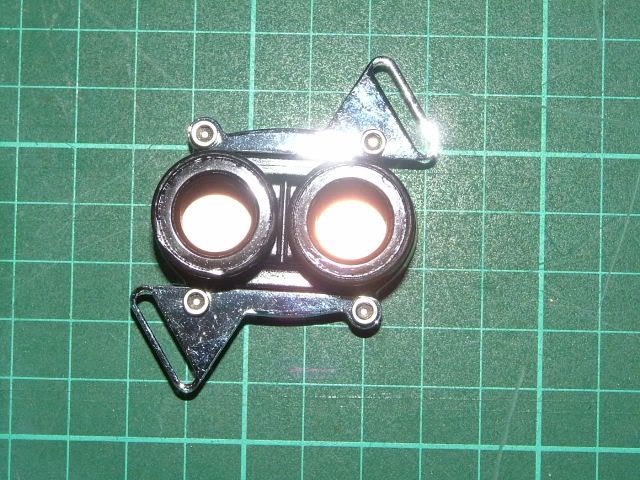
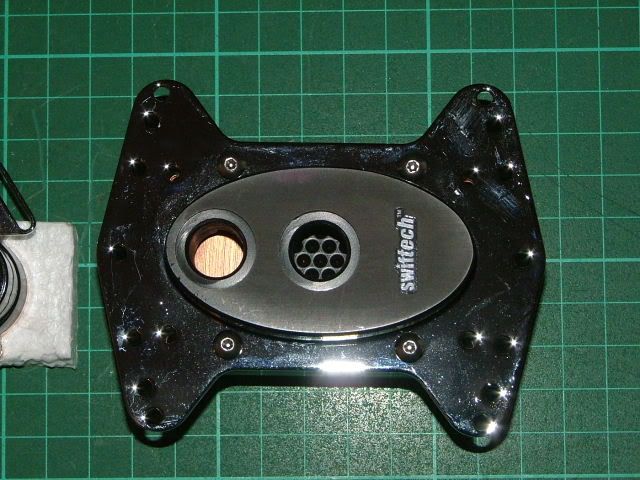
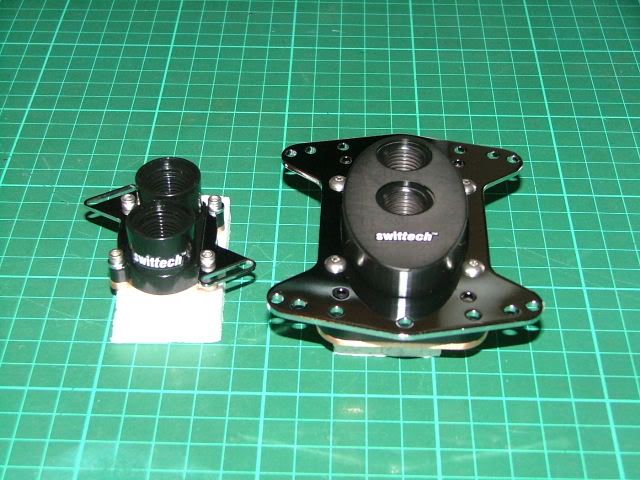
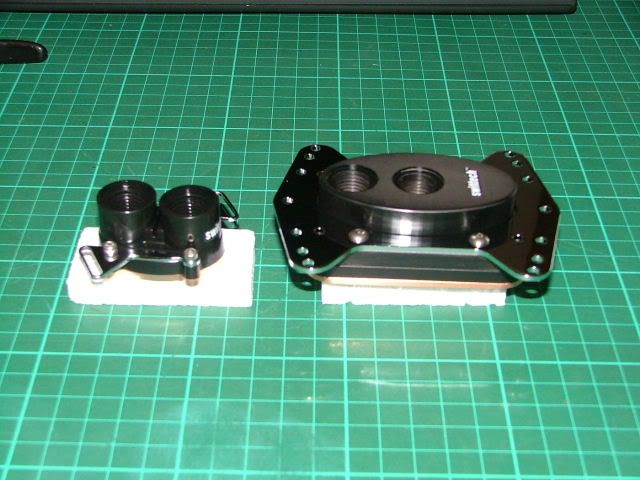
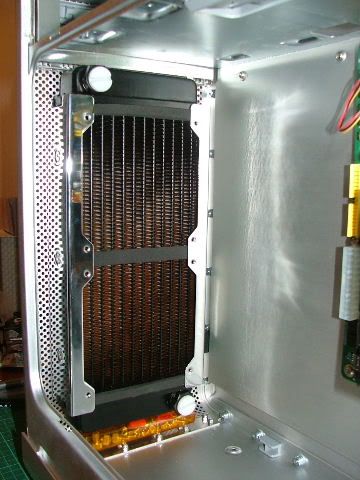
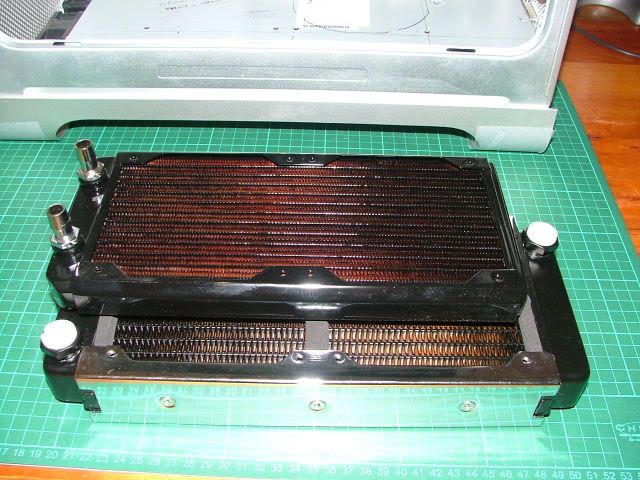
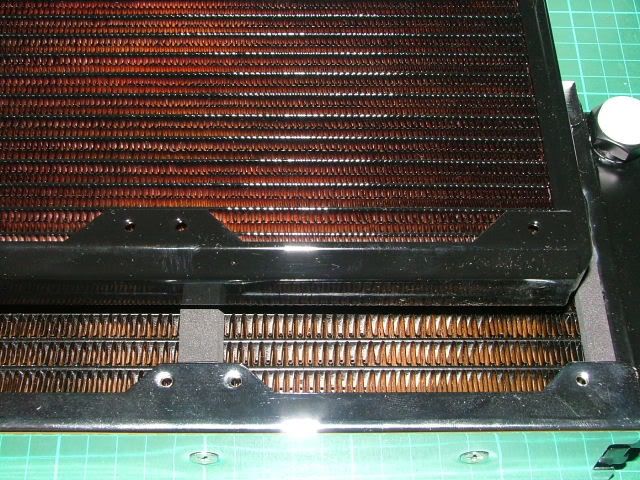
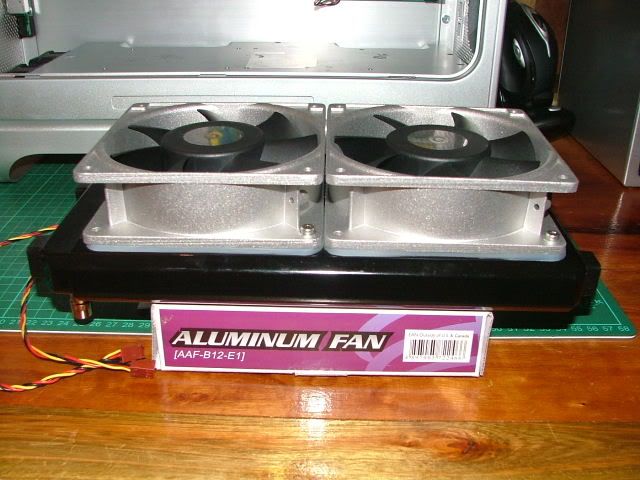
System will be watercooled, using BIX II 2x 120mm rad, DD5 Laing pump, and customized Antarctica waterblock for the cpu.
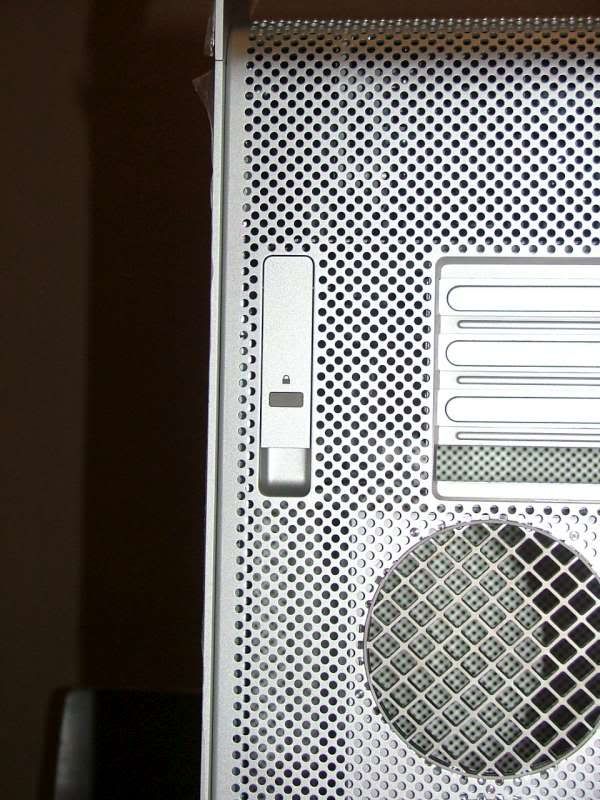
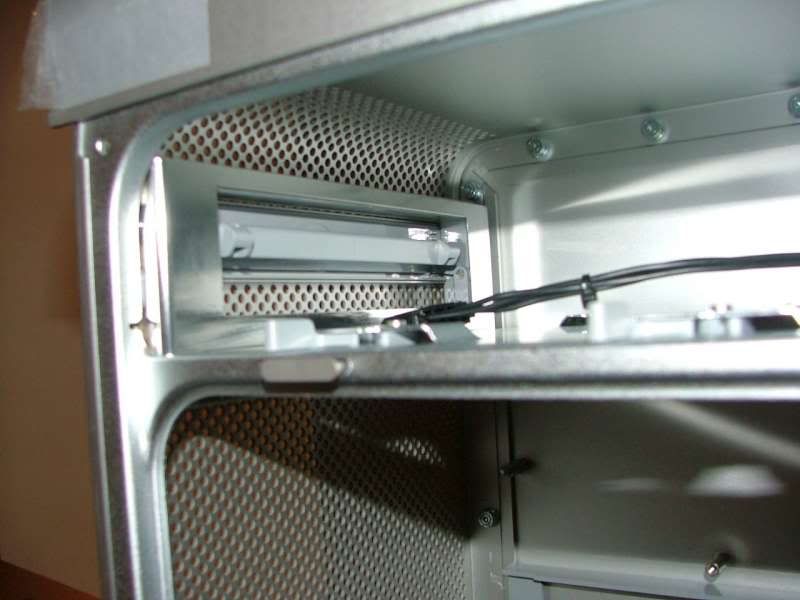
DVD writer is a multiburner, std ide style - it will mount same position as original, and retain the very unique PowerMac slide-down front bezel plate - spiffy design by Apple, I must add.
Harddrives are 2x WD Raptor 74gigs, in Raid 0, and I will have a Firewire external 250gig for large storage capacity, if required.
This PC will be my main racing sim rig, and with the hardware, will be up to the task for at least another 3years or longer.
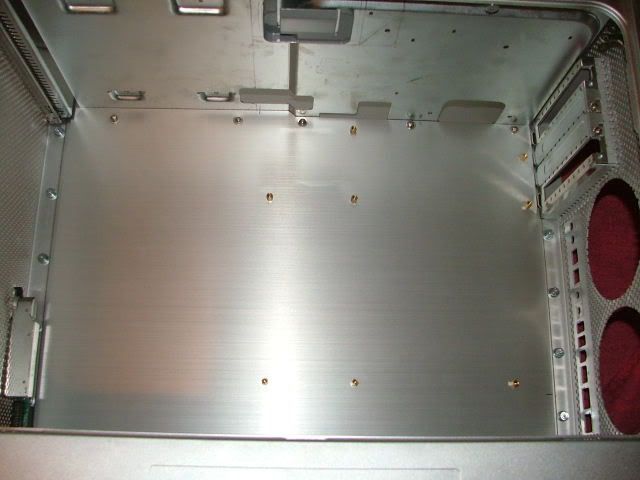
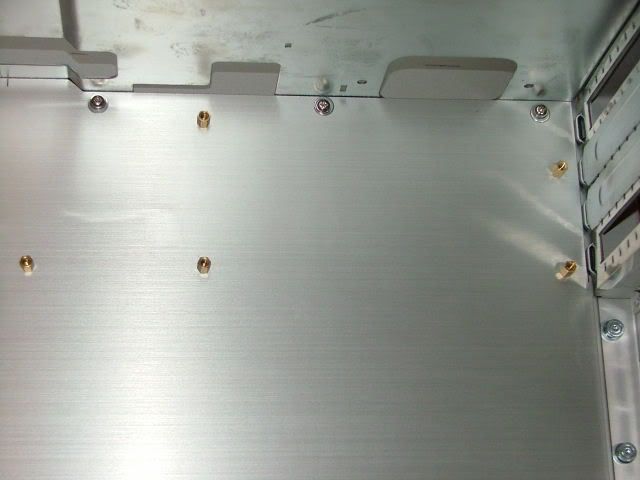
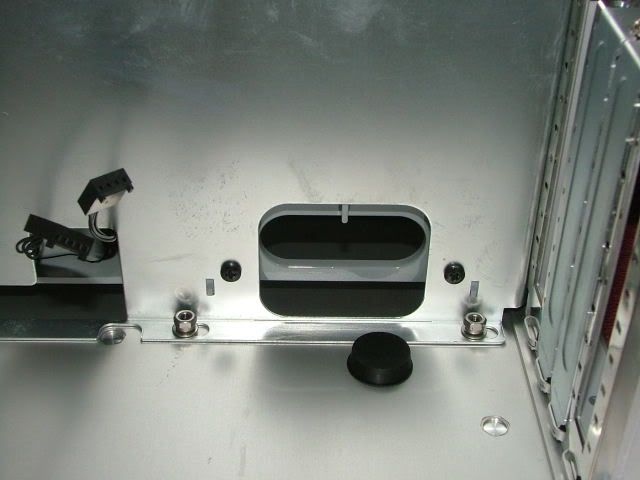
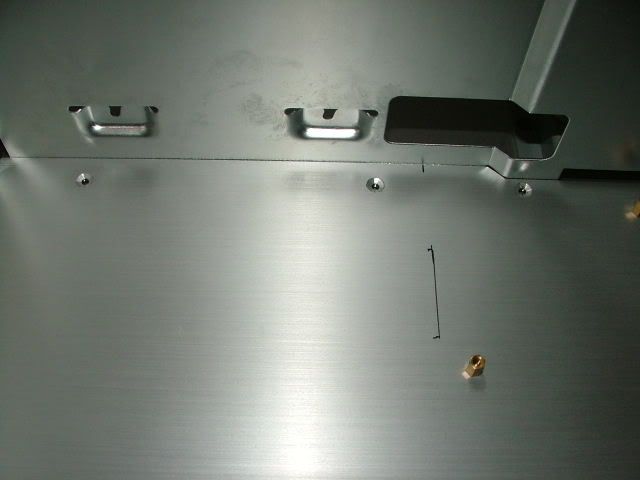
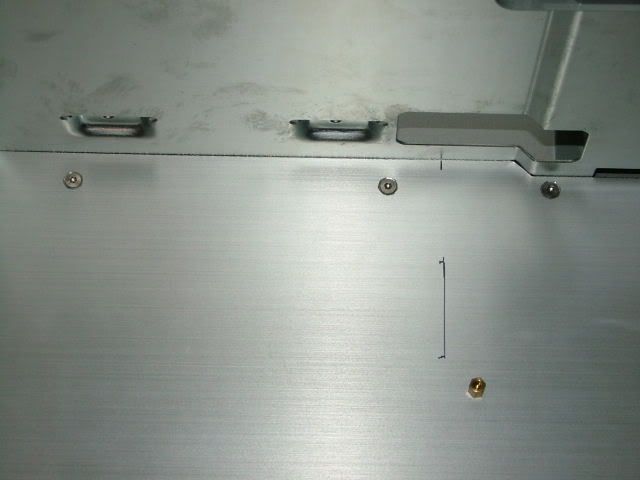
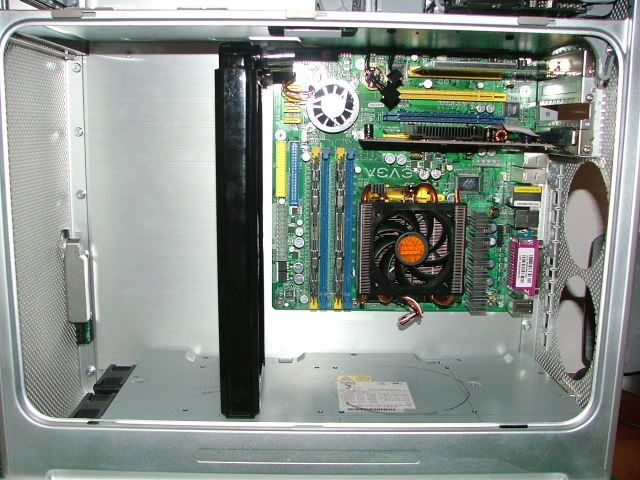
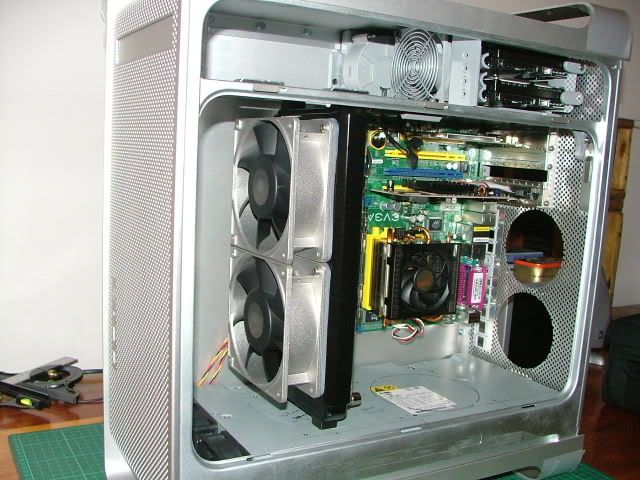
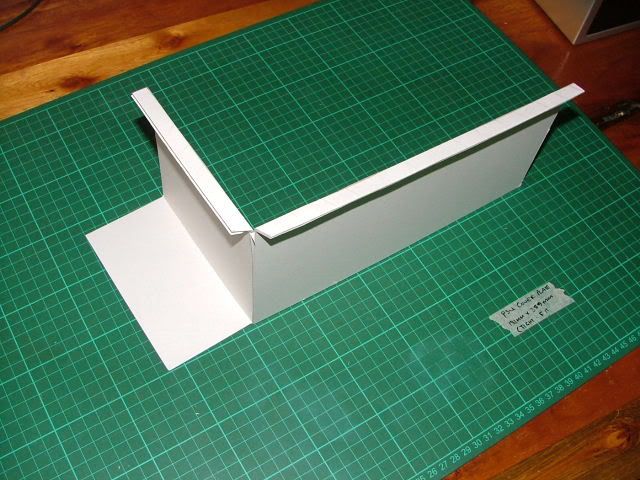
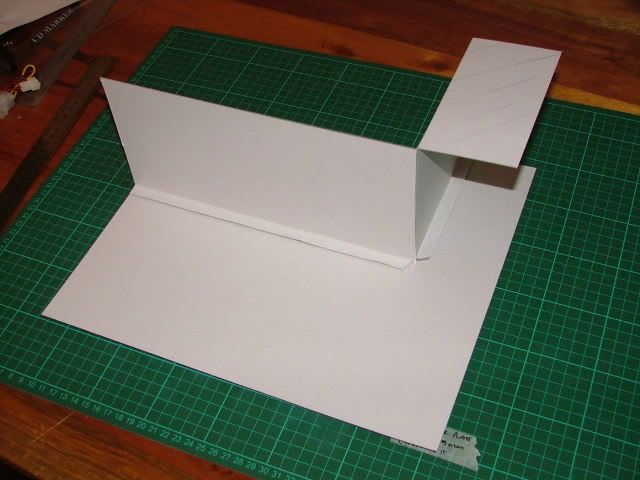
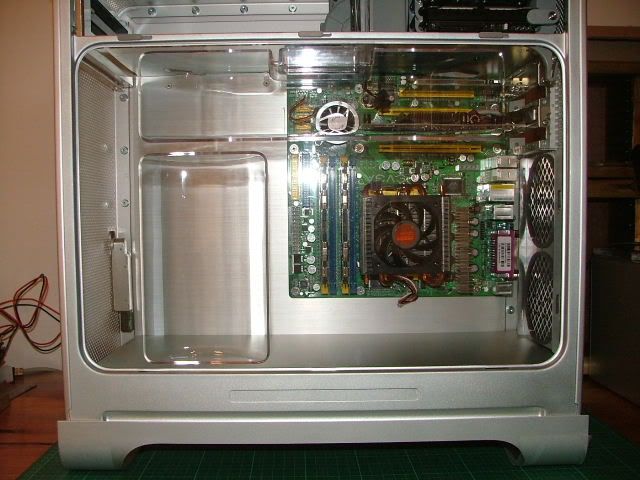
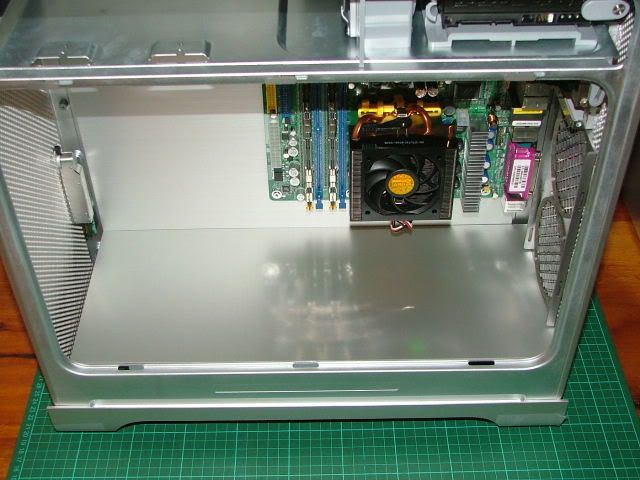
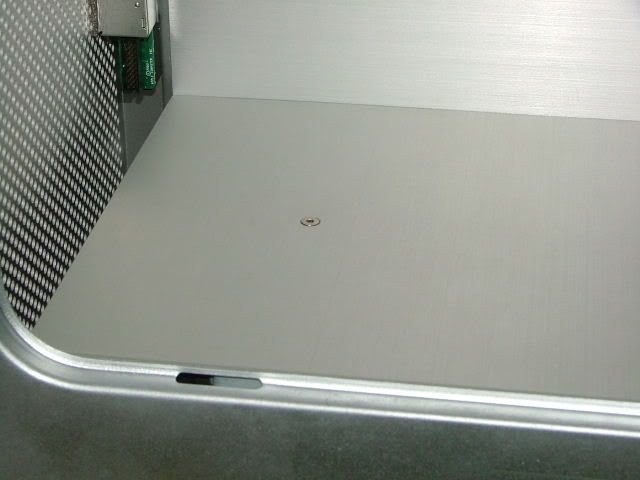
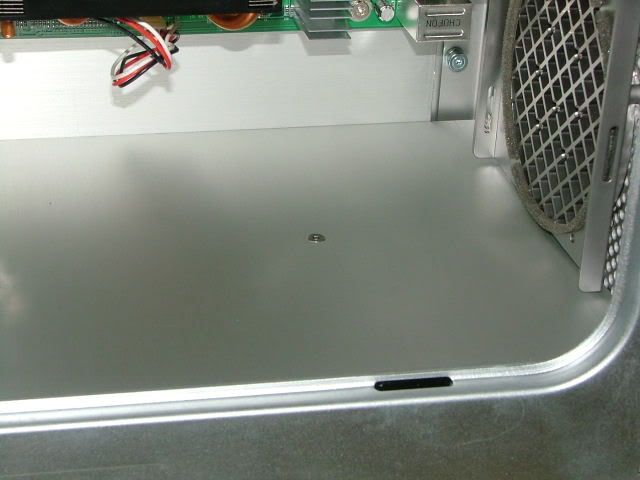
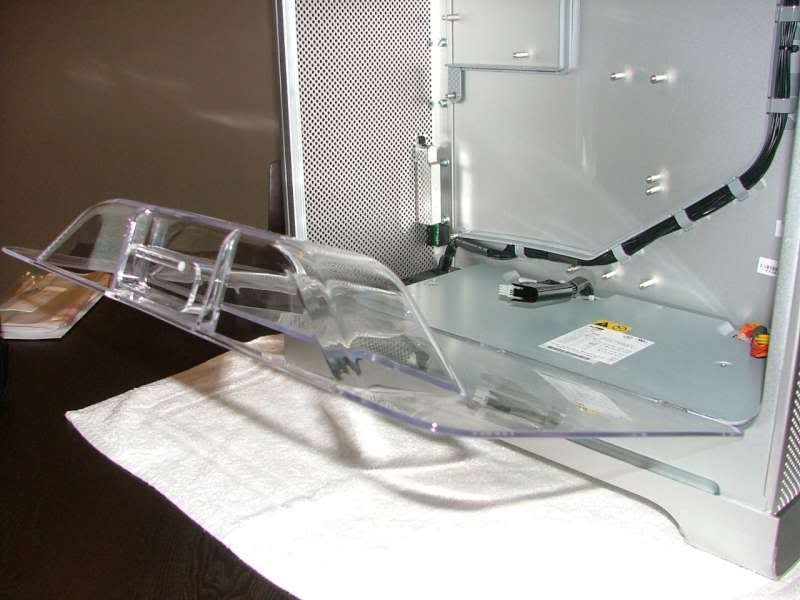
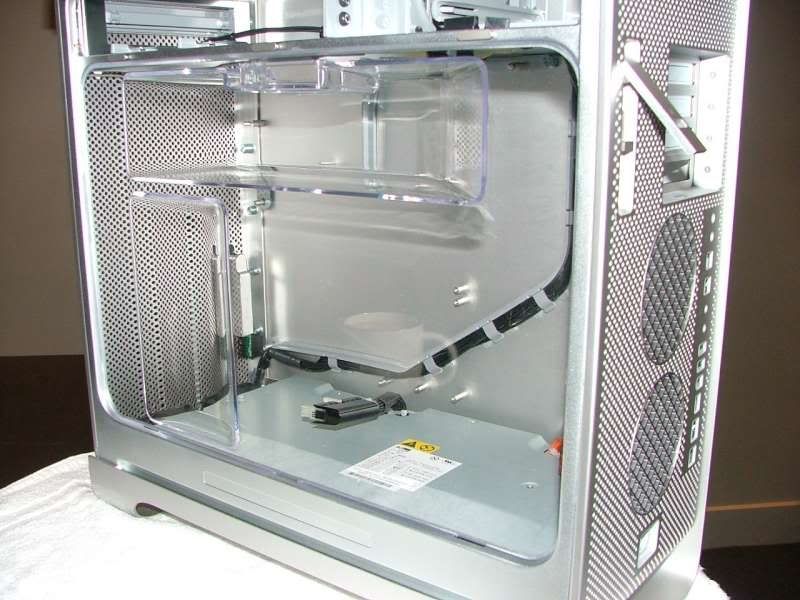
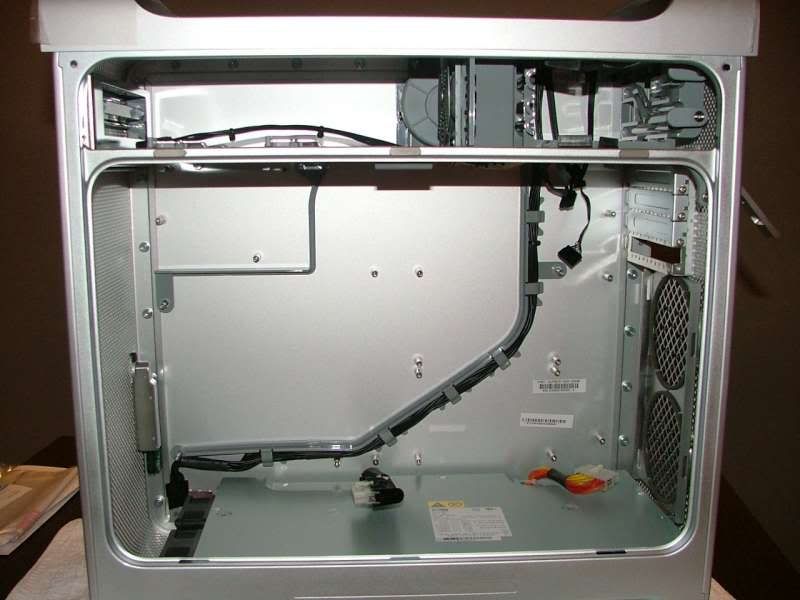
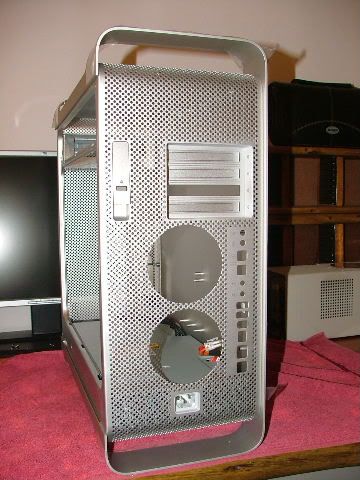
Tonight I will start posting some pictures, I have stripped the case bare, and started with planning - usually this takes me a couple of hours just staring at the empty case, and visualizing the end result.
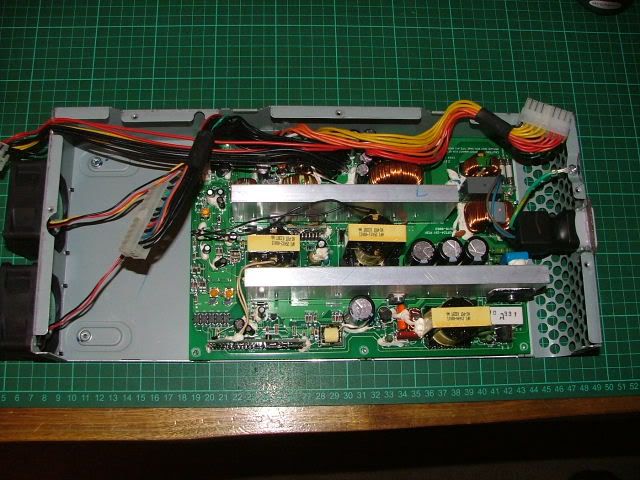
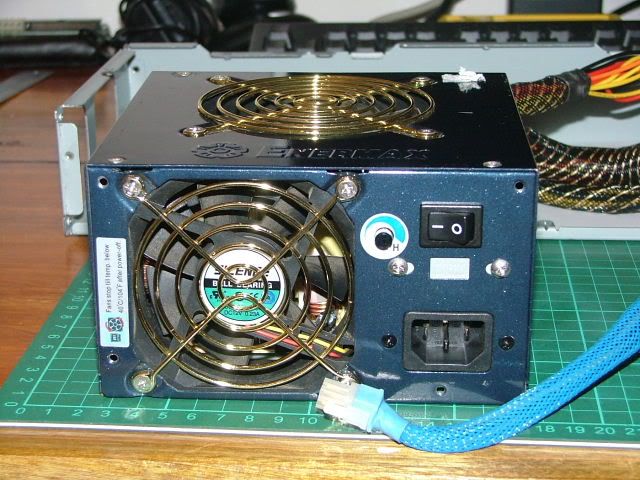
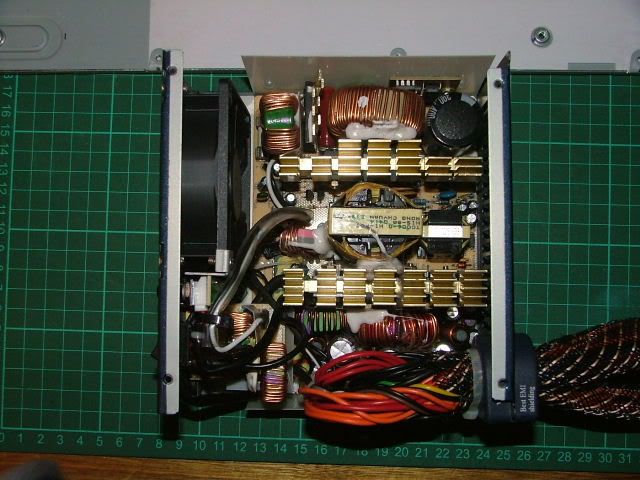
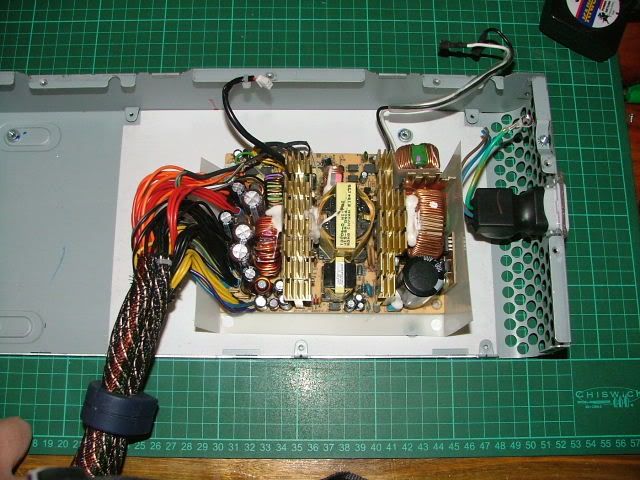
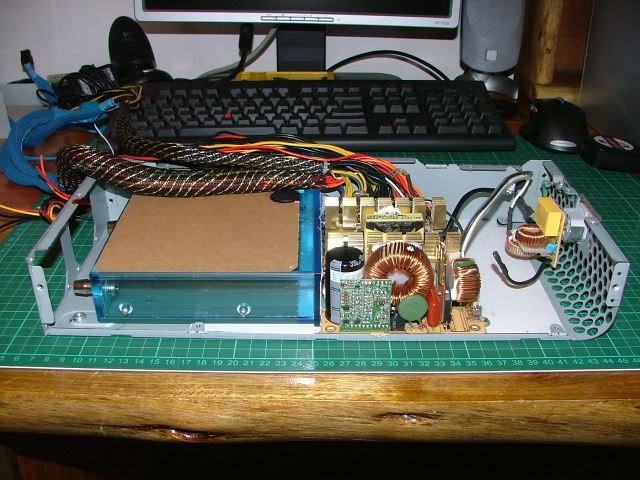
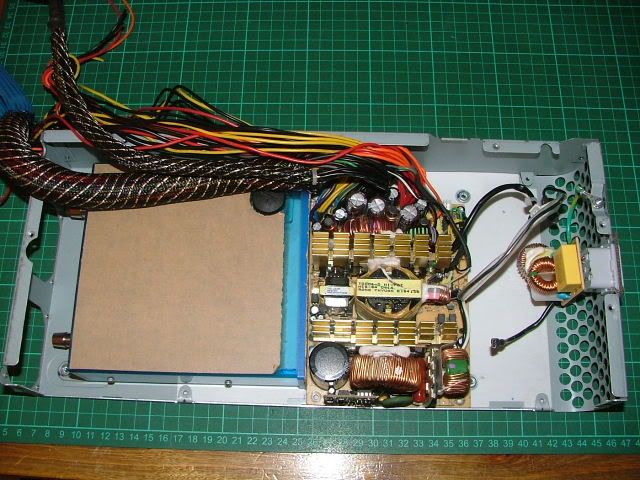
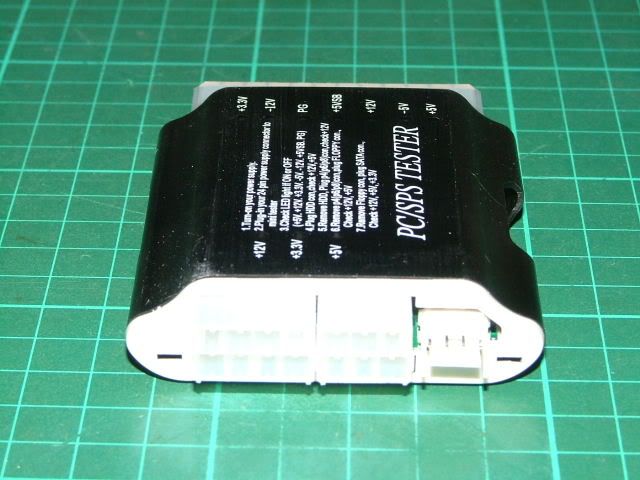
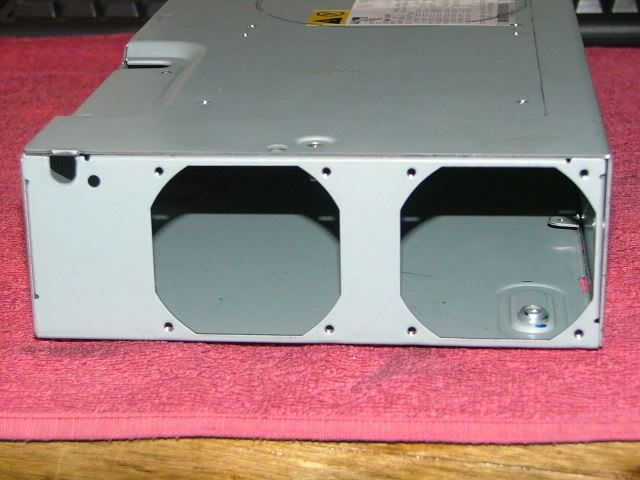
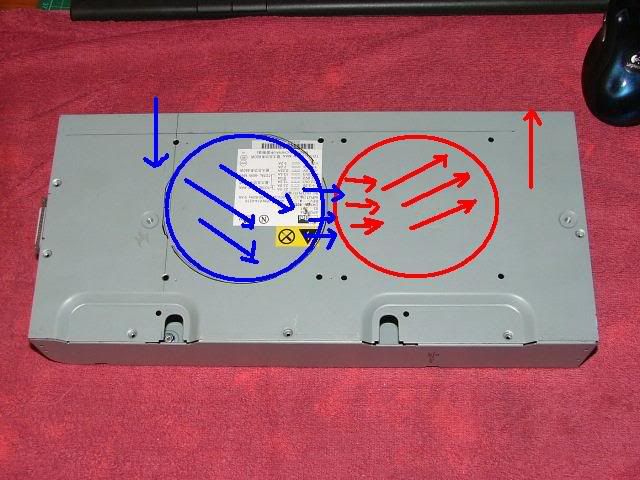
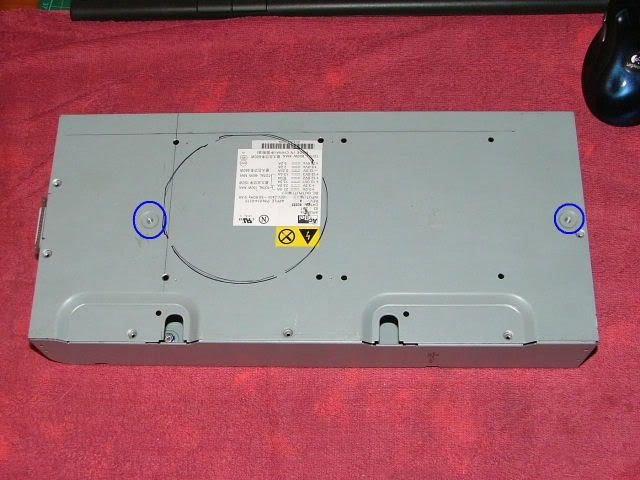
I need to rewire Apple PSU, as the ATX-plug is wired totally different to X86 ATX standards, but, I openend it up, had a quick look, and all signals I need are available, so I will "code" the ATX plug to conform to X86 standard. I would luv to keep this supply, as it is low-profile, and blends in nicely with G5 case, giving me the looks I am after.
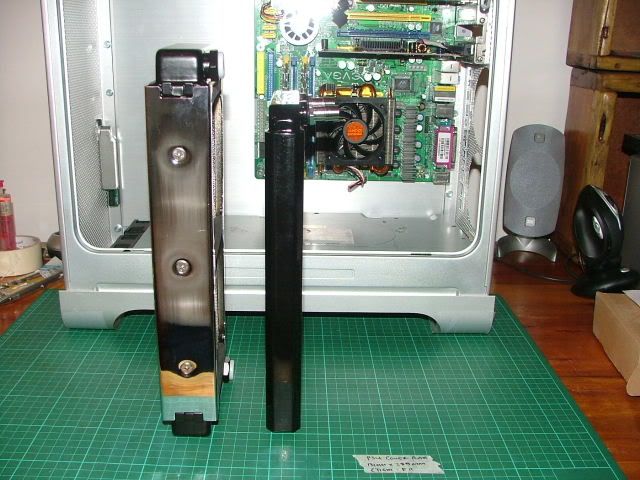
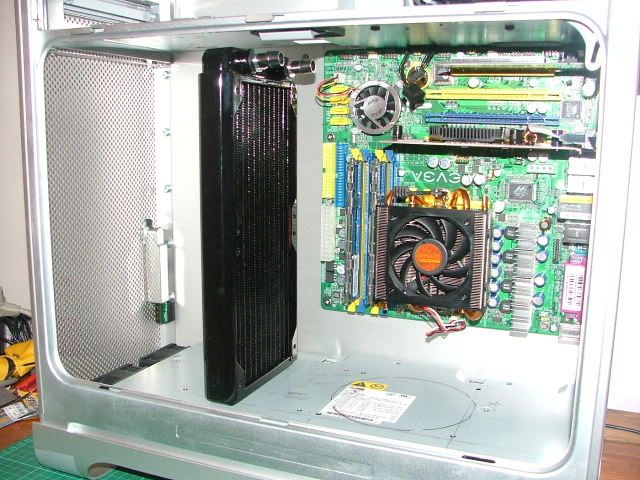
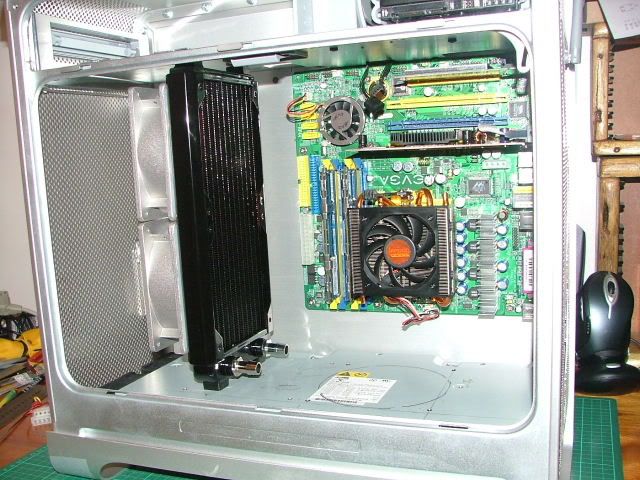
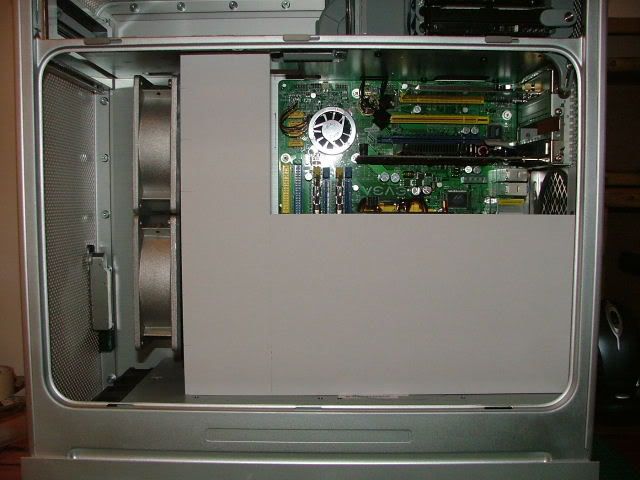
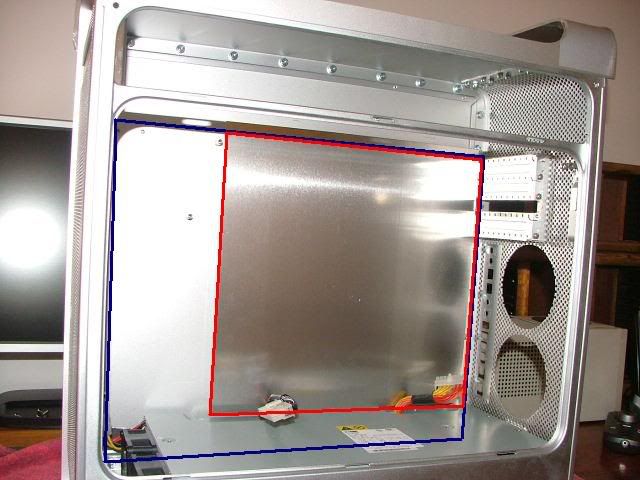
BIX rad will go up front, vertical next to front-panel port/switch unit, hopefully I can manufacture a custom shroud to get a clean transition from rad->fans->cpu area, similar to PowerMac look.
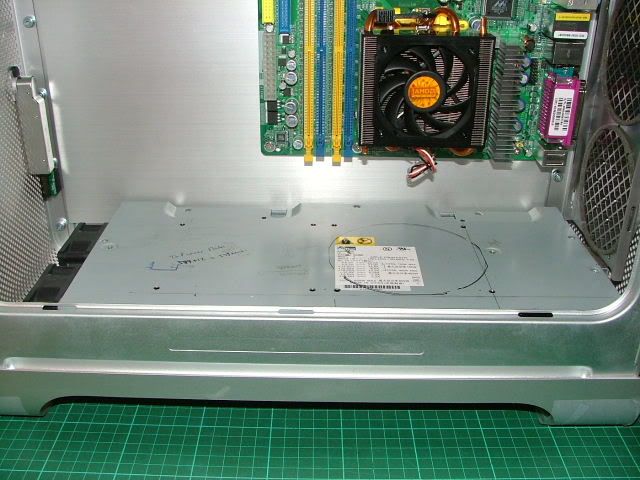
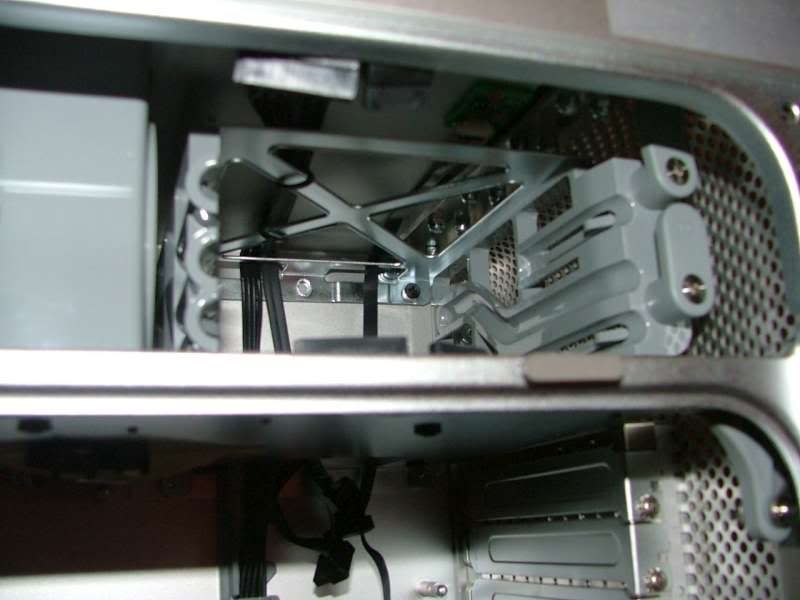
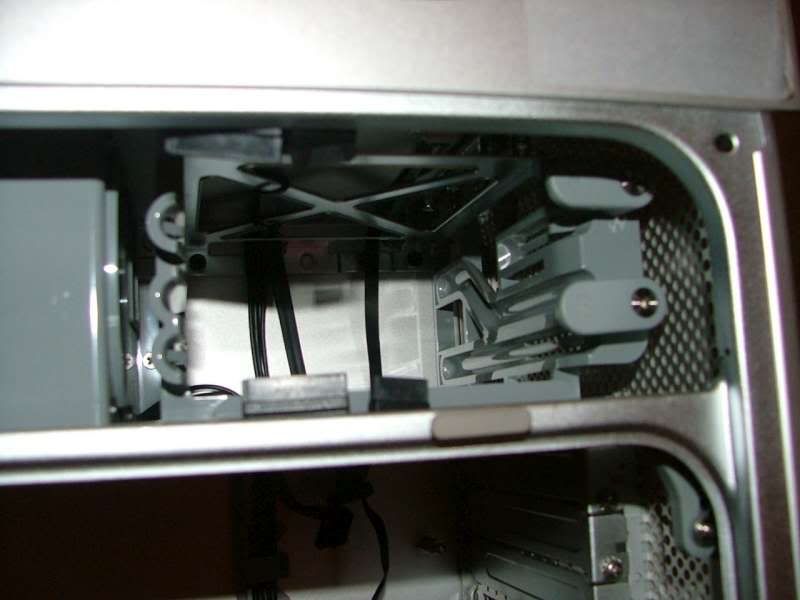
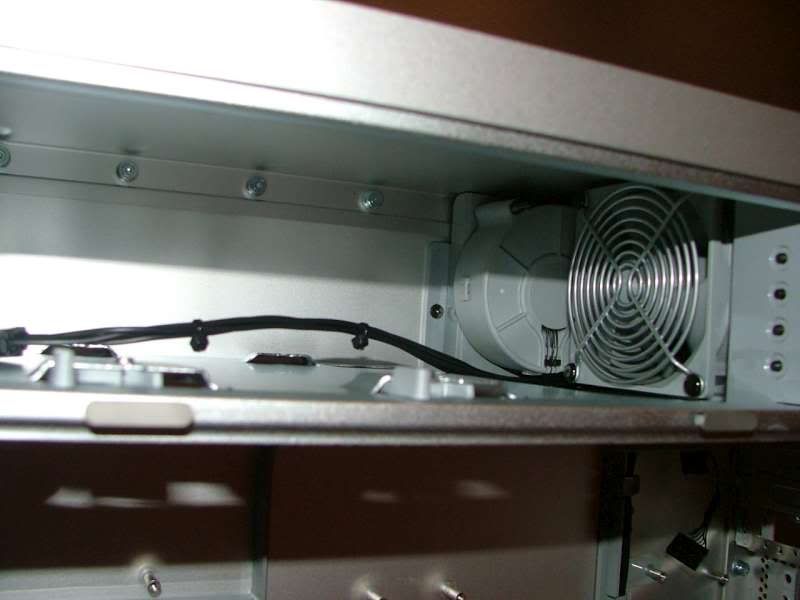
Harddrives will stay where they are in original PowerMac position, upper rear of the case, with the 2x center fans providing cooling for them.
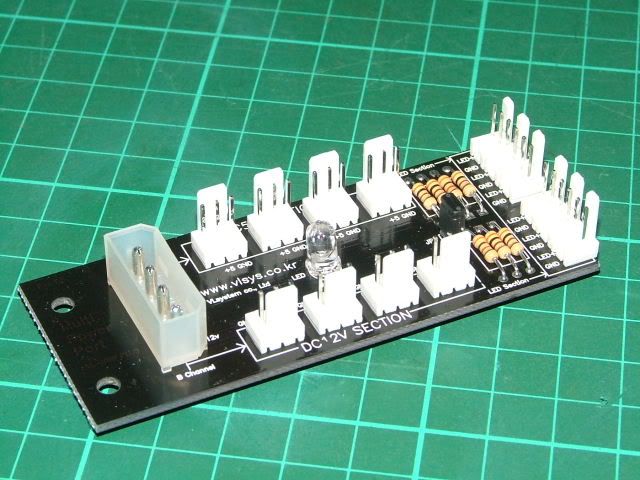
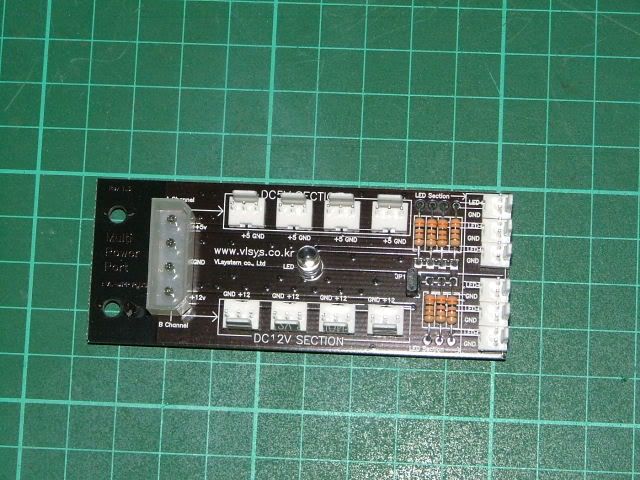
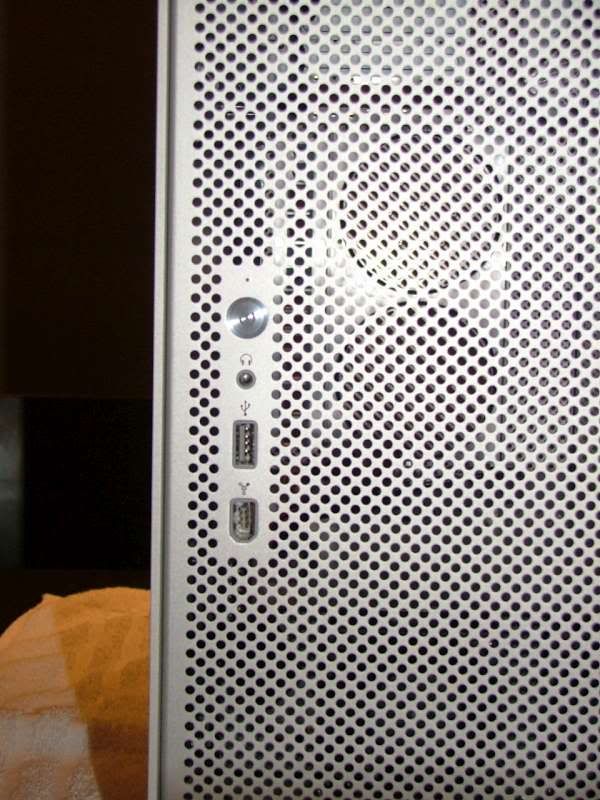
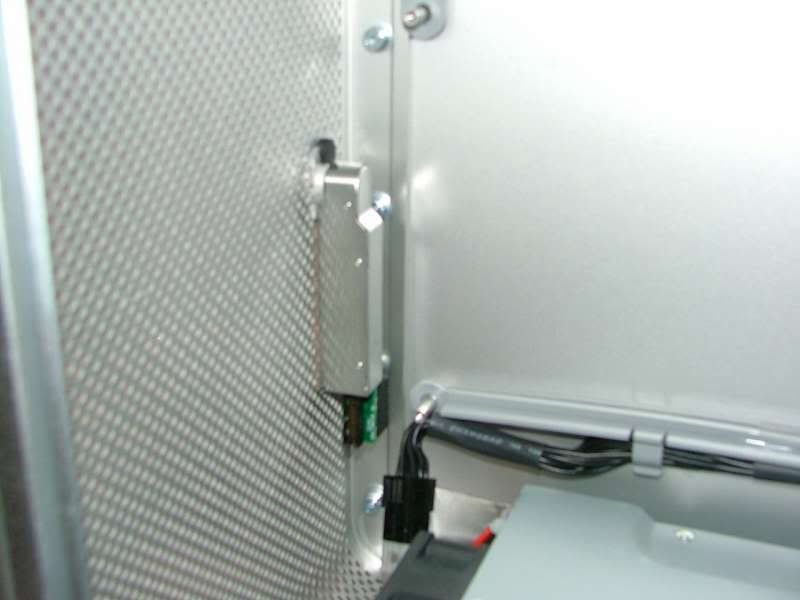
Front panel connector will be fully functional, incl Firewire ports, USB/Audio and power LED - board requires 25V to function, but that I can take from Apple PSU.
Well, be certain, I will give it my best shot, and hopefully end up with a very unique hybrid.
Feedback would be appreciated.
Br,
MrBean
So starts my 1st Project Log Down Under. Greetings from Melbourne.
It has always been a dream of mine to convert a X86 System into one of the newer generation PowerMac boxes, having admired the sleek, curvatious body...err...I mean cases for a very long time.
On relocating to Melbourne from sunny South Africa, I had the opportunity to get a brandnew PowerMac G5 case of Ebay, it was an impulsive buy, ok, as most of my purchases are But, it came with 600W Apple PSU, some cabling, drive trays etc, and I saw in it an opportunity to at last get my hands on this case.
Goals:
1st SLi capable "PowerMac" in the world - I have 2x 7800GTX BFG OC's, watercooled, that will go in here.
Dualcore 4800+ AMD CPU
2 gig OCZ 2-2-2-5 TCCD memory
Special Micro-ATX eVGA SLi motherboard, 1st of it's kind in the world.
Utilizing standard Apple 600W PSU
Biggest goal, and challenge, would be NOT to butcher the rear of the G5 case, as I have seen done on each and every X86 conversion so far. I want a clean, basic look, without hacking everything to bits.
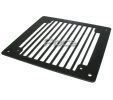
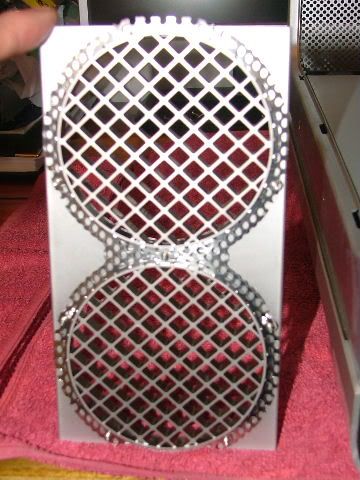
So, by utilizing the eVGA micro-SLi mobo, I hope to use the same 4x PCI-slot standard as on the back of the G5 case, and do the cutout for the rear ports using std ATX backplate - I should be able to even retain the original G5 fanholes/guards, for that clean, original look.
System will be watercooled, using BIX II 2x 120mm rad, DD5 Laing pump, and customized Antarctica waterblock for the cpu.
DVD writer is a multiburner, std ide style - it will mount same position as original, and retain the very unique PowerMac slide-down front bezel plate - spiffy design by Apple, I must add.
Harddrives are 2x WD Raptor 74gigs, in Raid 0, and I will have a Firewire external 250gig for large storage capacity, if required.
This PC will be my main racing sim rig, and with the hardware, will be up to the task for at least another 3years or longer.
Tonight I will start posting some pictures, I have stripped the case bare, and started with planning - usually this takes me a couple of hours just staring at the empty case, and visualizing the end result.
I need to rewire Apple PSU, as the ATX-plug is wired totally different to X86 ATX standards, but, I openend it up, had a quick look, and all signals I need are available, so I will "code" the ATX plug to conform to X86 standard. I would luv to keep this supply, as it is low-profile, and blends in nicely with G5 case, giving me the looks I am after.
BIX rad will go up front, vertical next to front-panel port/switch unit, hopefully I can manufacture a custom shroud to get a clean transition from rad->fans->cpu area, similar to PowerMac look.
Harddrives will stay where they are in original PowerMac position, upper rear of the case, with the 2x center fans providing cooling for them.
Front panel connector will be fully functional, incl Firewire ports, USB/Audio and power LED - board requires 25V to function, but that I can take from Apple PSU.
Well, be certain, I will give it my best shot, and hopefully end up with a very unique hybrid.
Feedback would be appreciated.
Br,
MrBean

")