Project: TJ08 Silver

Dark Prodigy

Jawbreaker
Joined
Mar 10, 2006
Messages
2,803
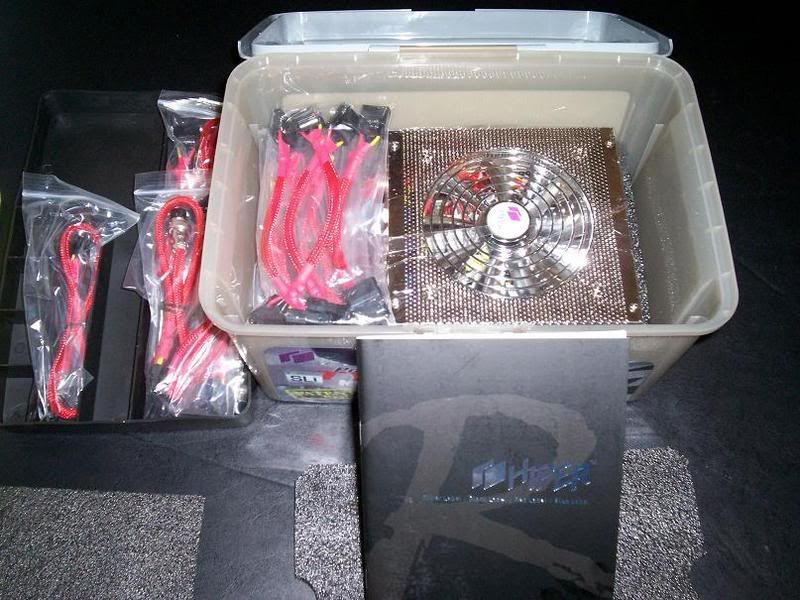
Welcome to Project TJ08 Silver! A rather uninspired name, but I really can't think of one that induces some sort of theme.

I decided to make this build a worklog simply because I have seen many inquire about these type of SFF cases and more specifically this one. When I was searching, there just wasn't much info, though I'd seen a couple of completed builds.

There won't be much modding going on, just a few cool ideas and a good idea of what building in a case like this is like.


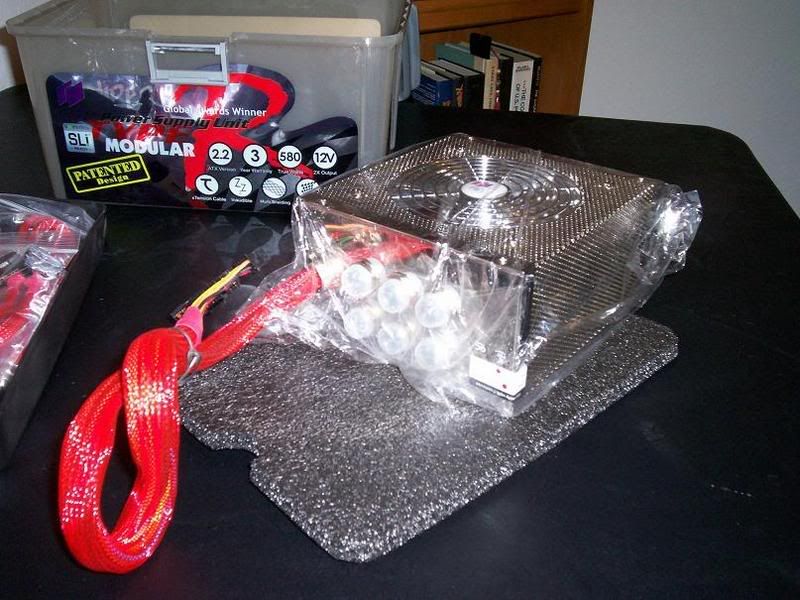
I would first apologize for the inconsistency of the picture quality. I am in the market for a quality DSLR camera. Maybe a Nikon D50 or D80.....


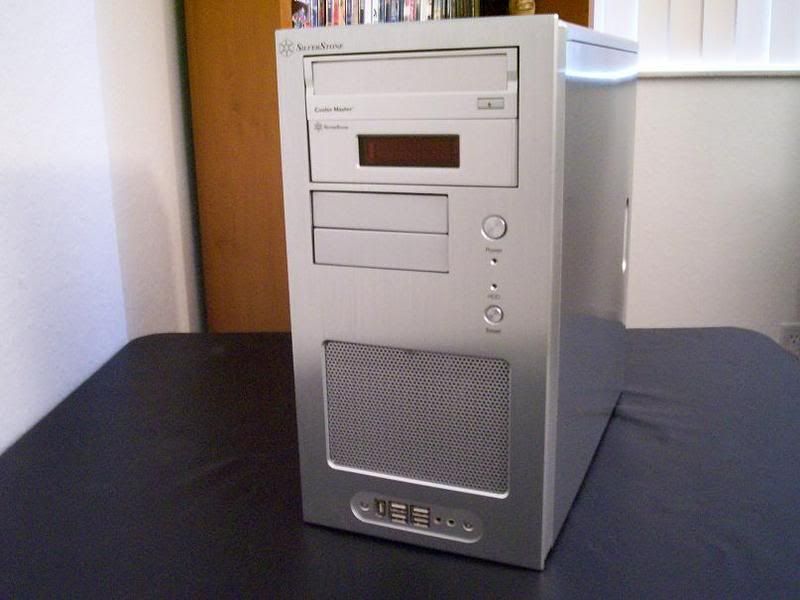
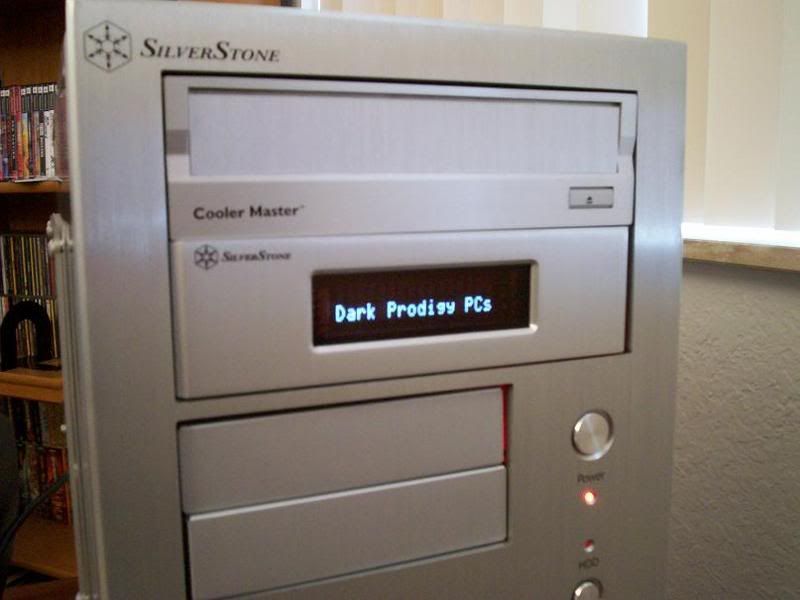
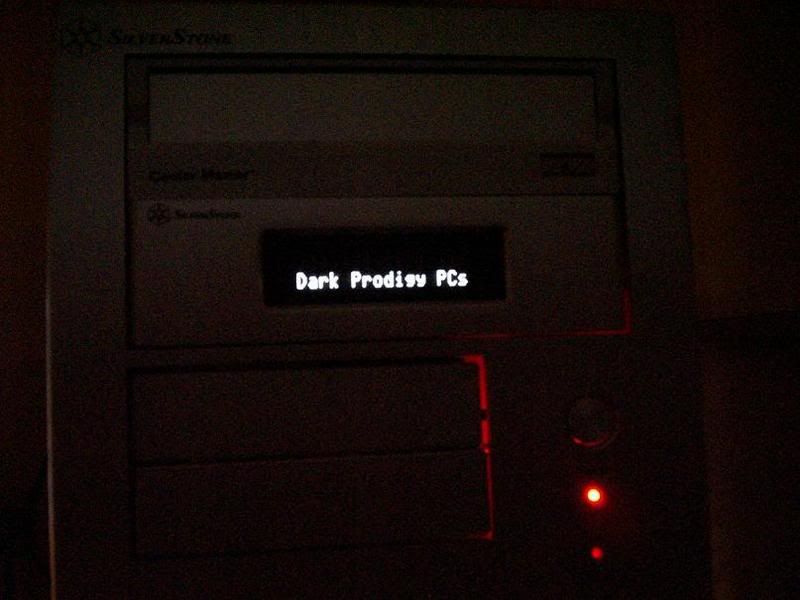
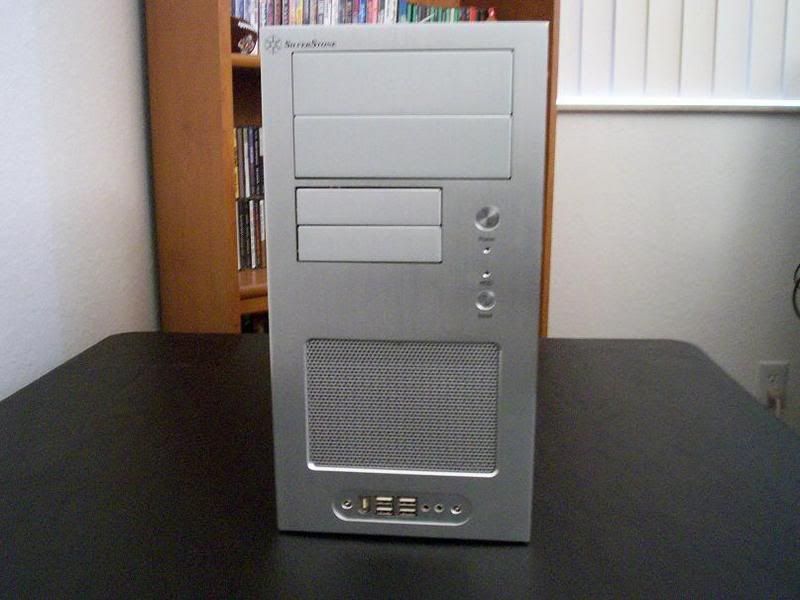
I'll start off with a few outside shots...

000_0495.jpg


000_0496.jpg


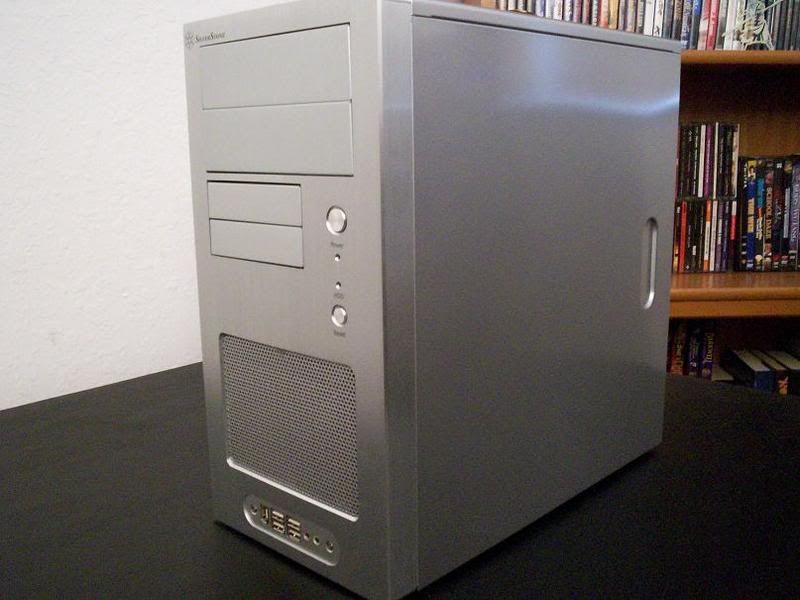
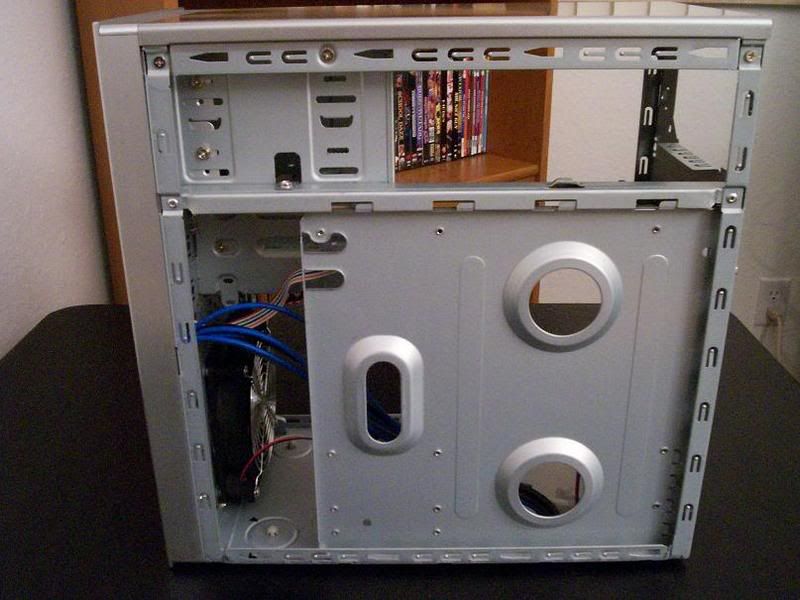
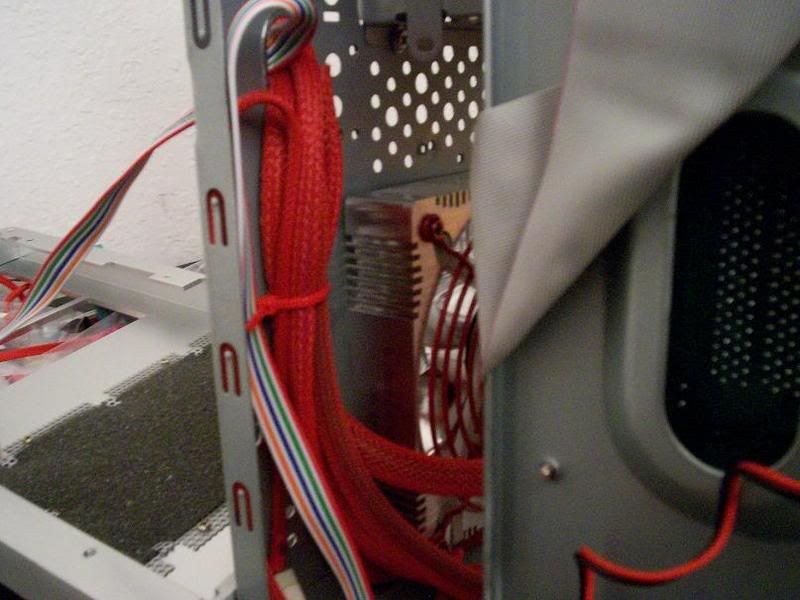
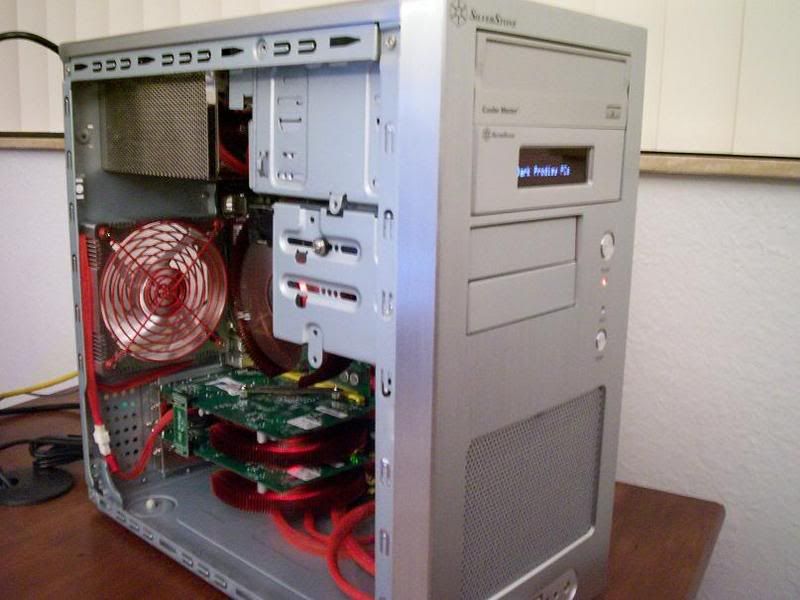
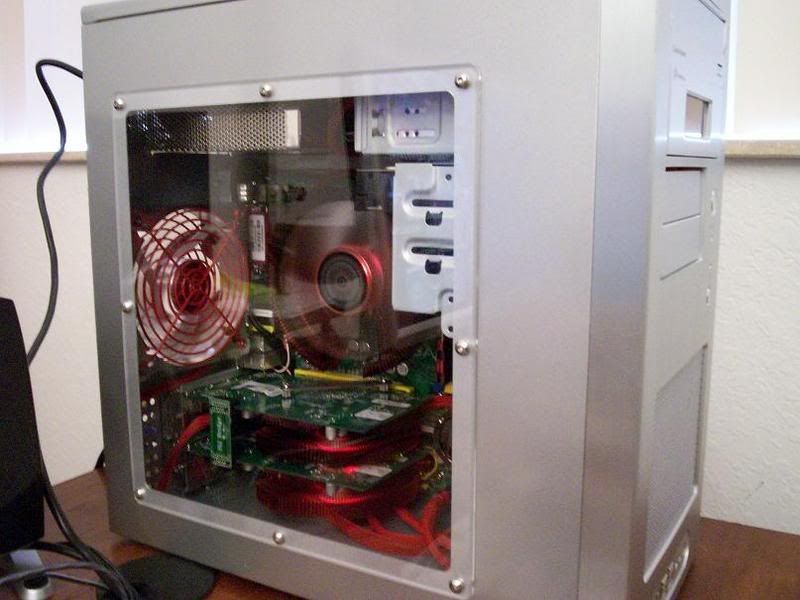
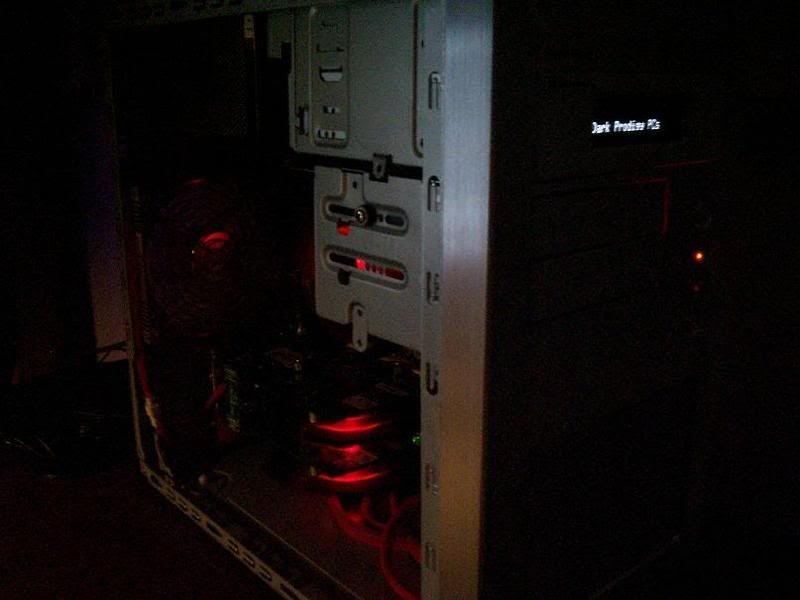
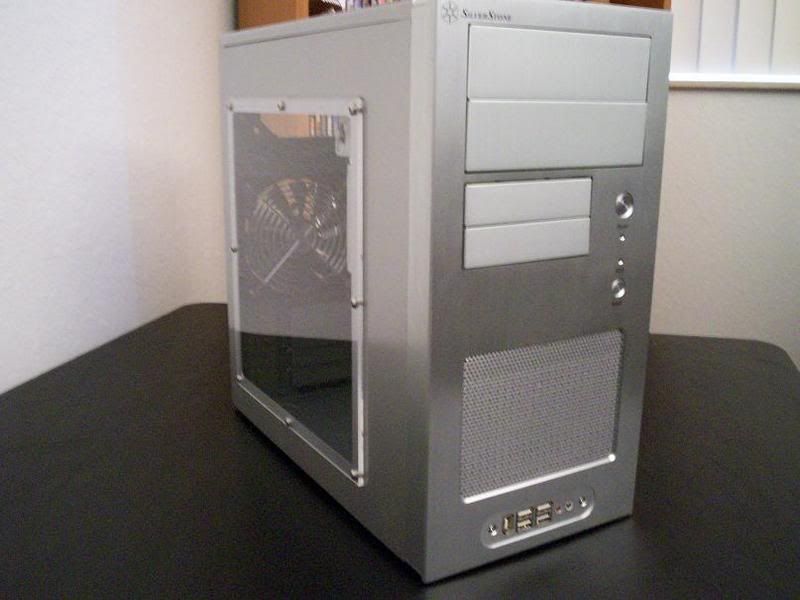
As you can see, I elected to go with a sideview window, so you know my wiring has to be clean. Which could be a challenge in a case this small.

000_0497.jpg


000_0506.jpg


000_0500.jpg


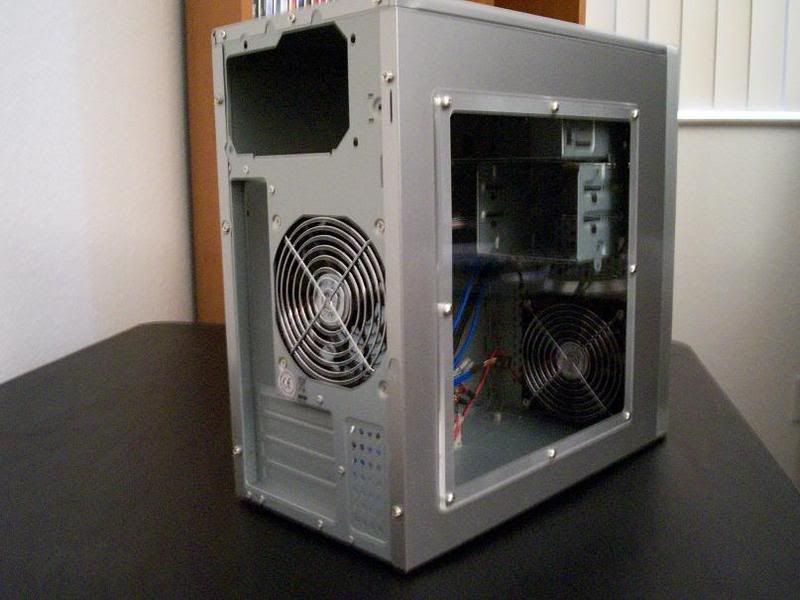
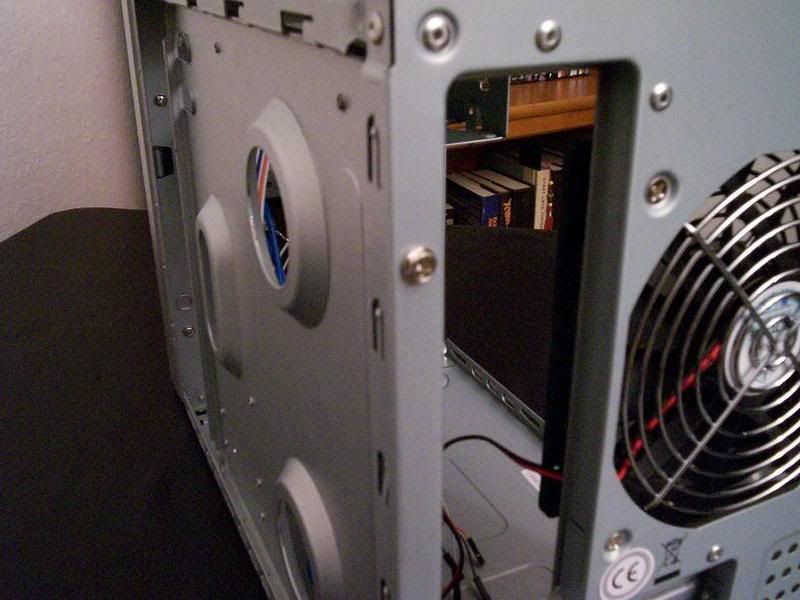
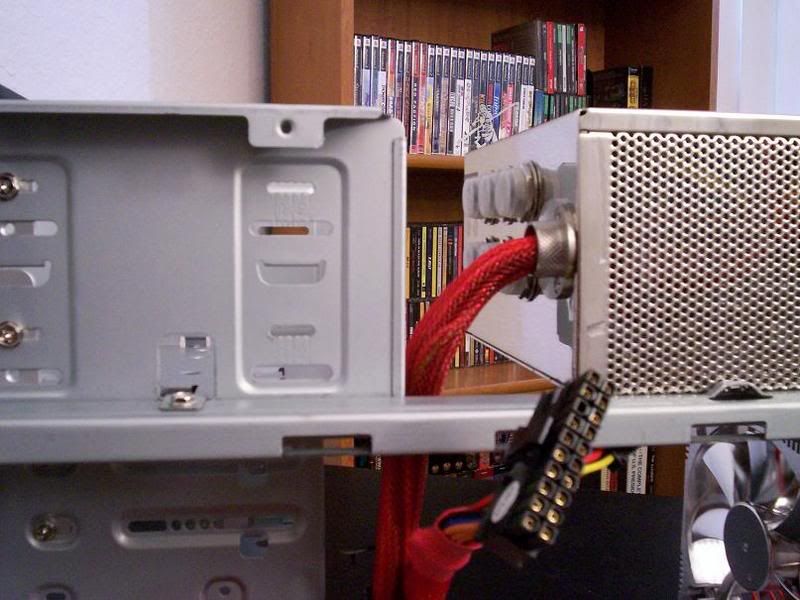
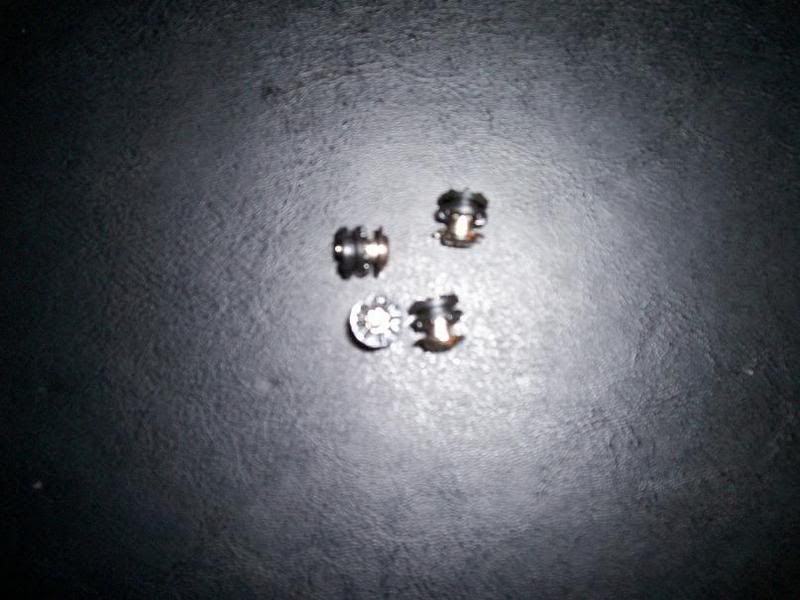
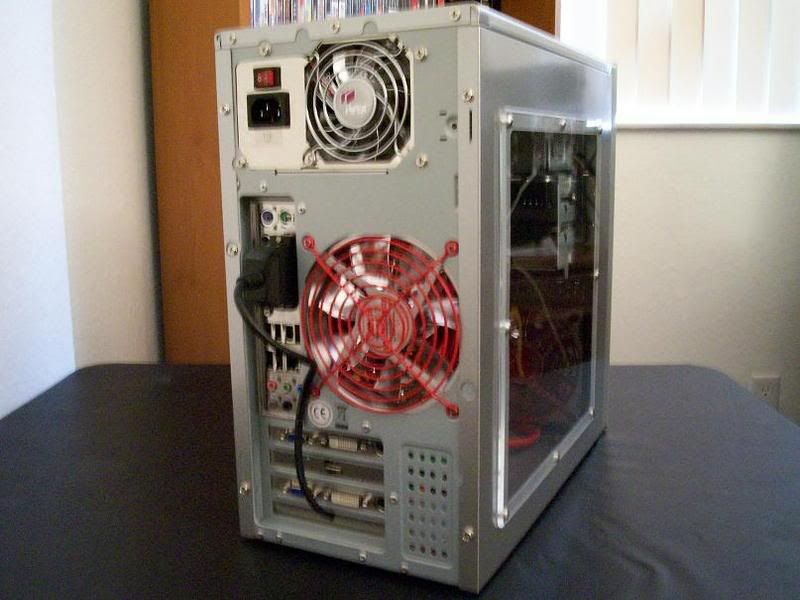
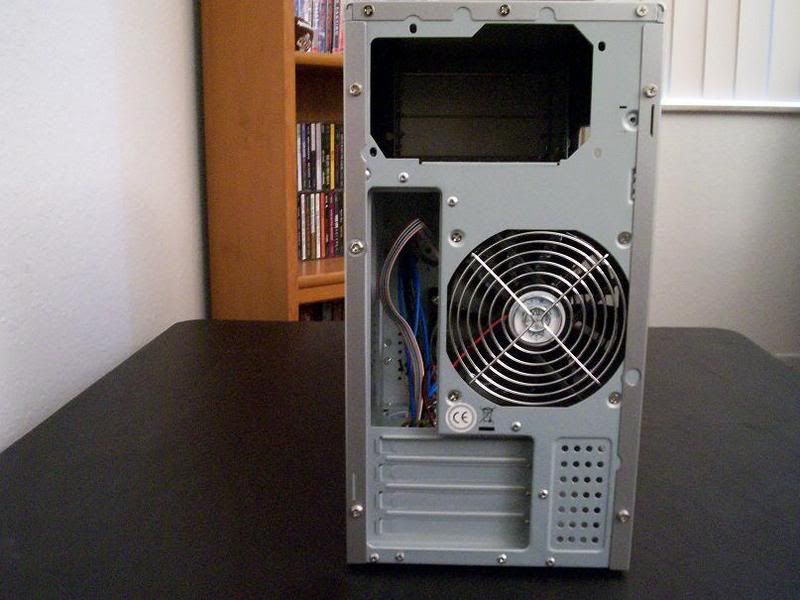
With the backshot, you'll notice that this case doesn't come with thumbscrews to easily take the side panels off, but don't worry I have a solution for that ;) You can also see the rear 120mm fan in its entirety. I believe the top comes off too, there are 3 screws that hold it down to the chassis. I just might attempt to do it to make sure.

000_0501.jpg


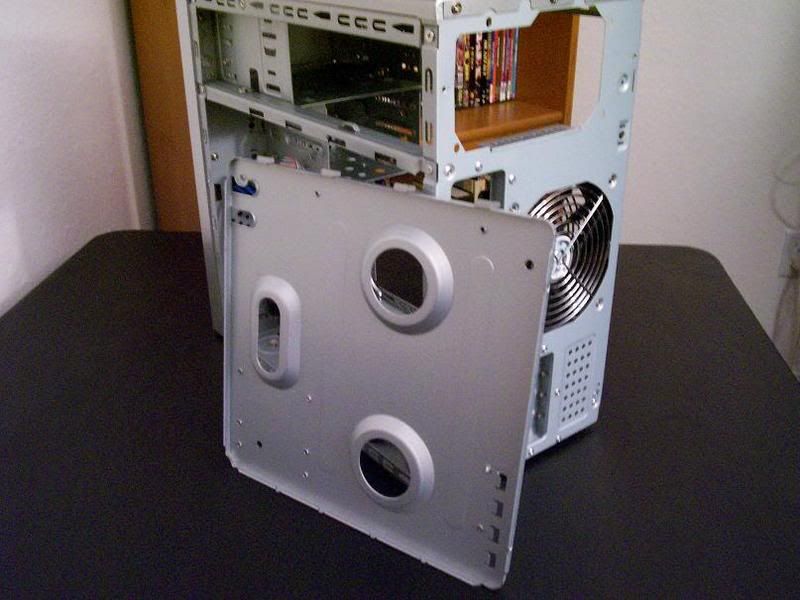
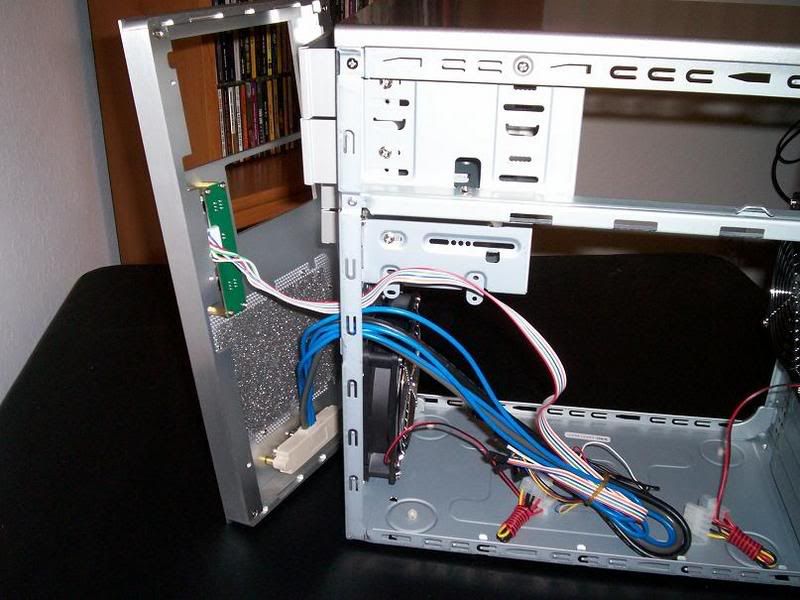
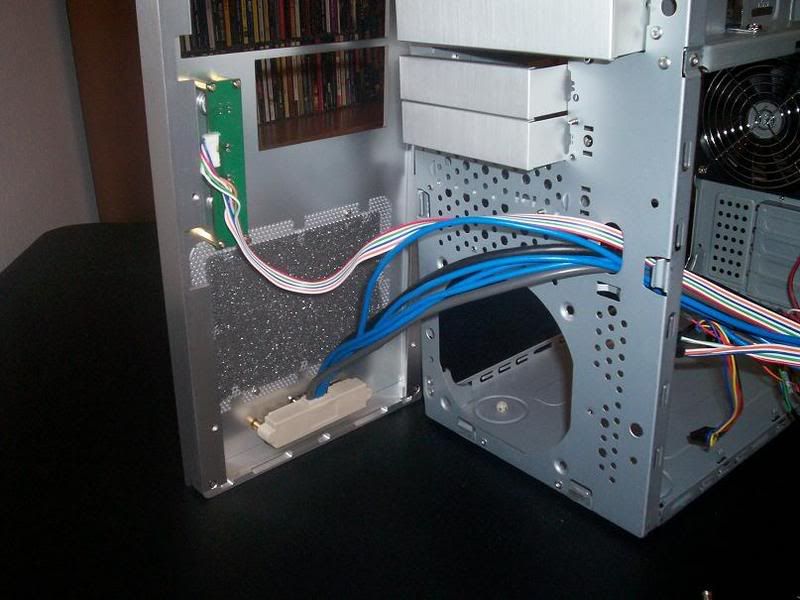
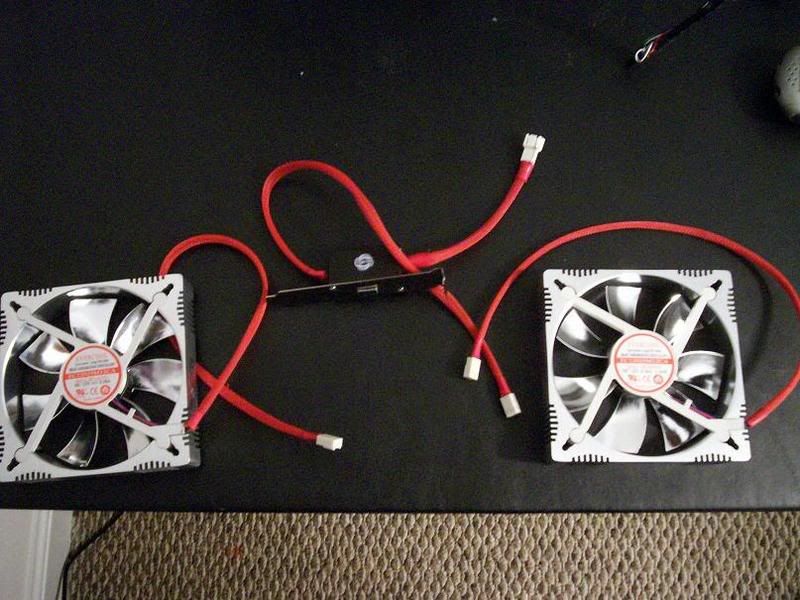
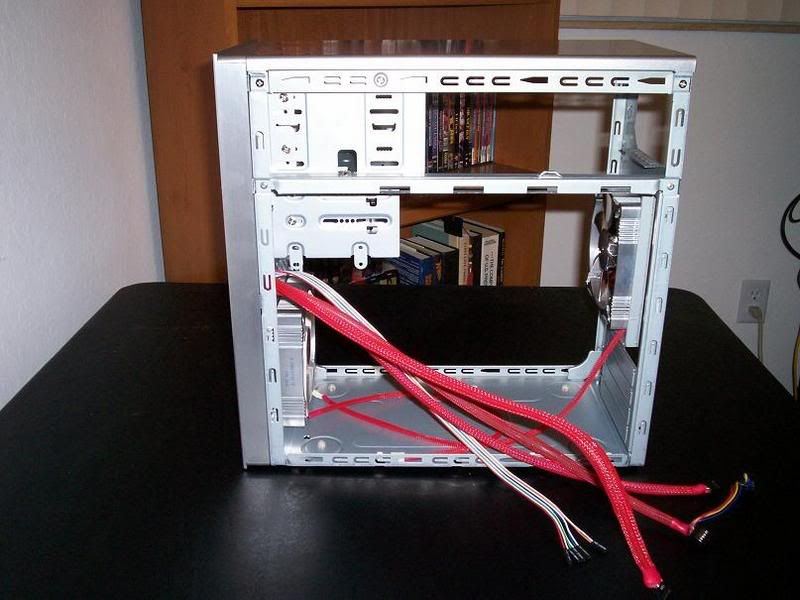
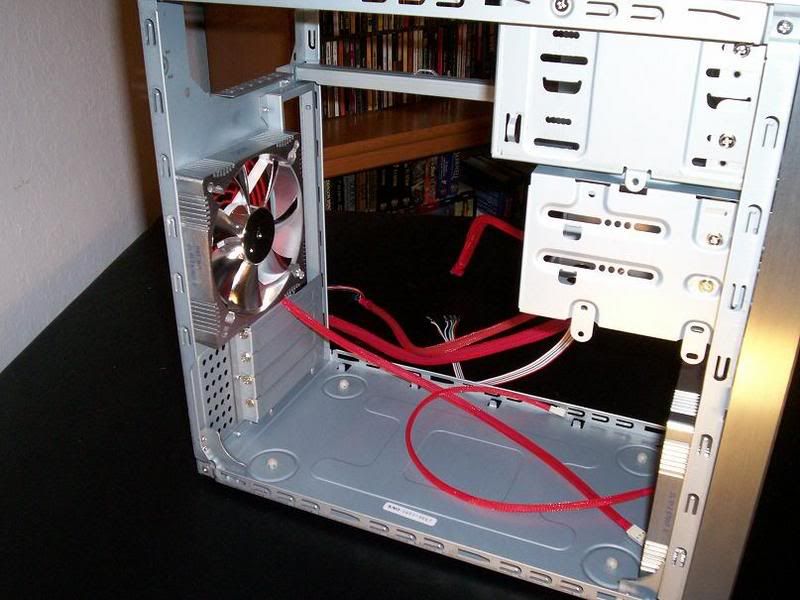
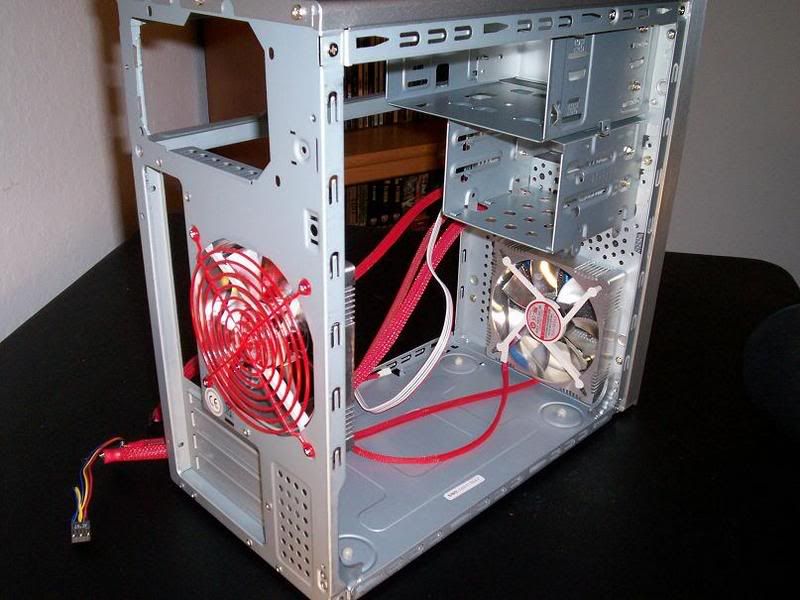
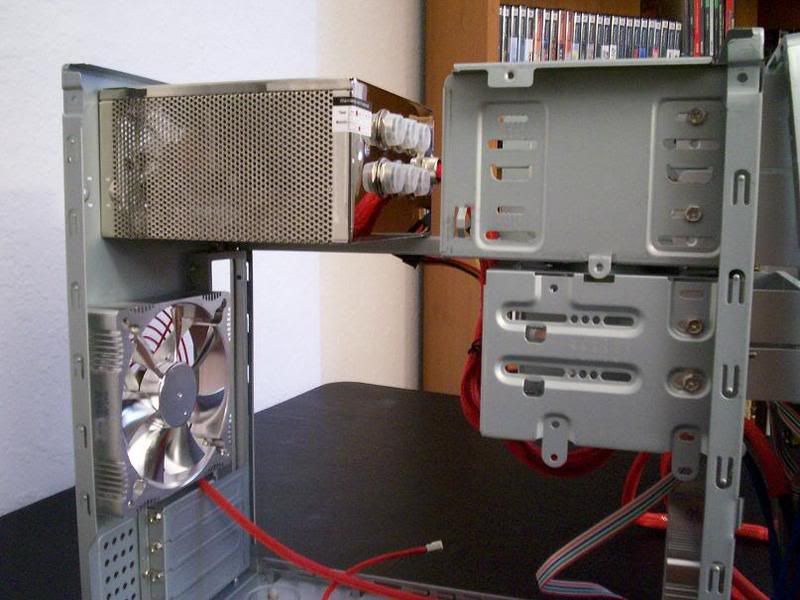
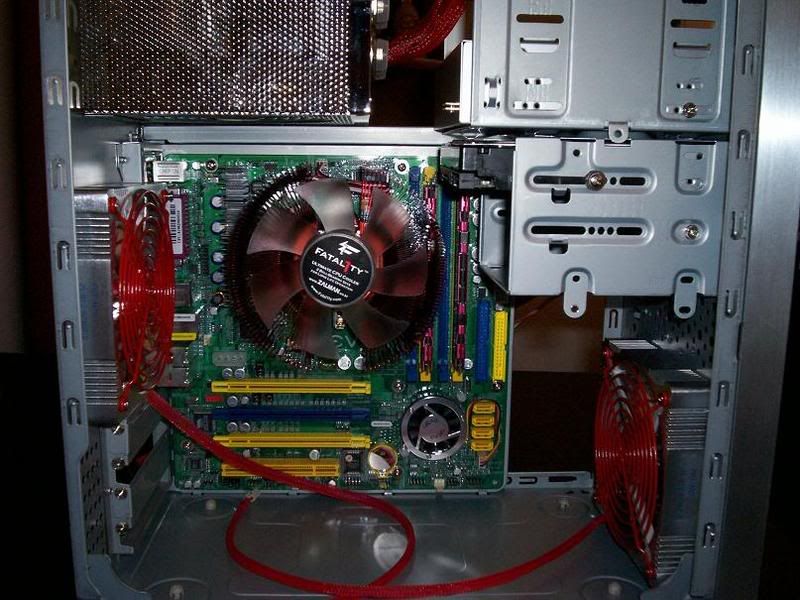
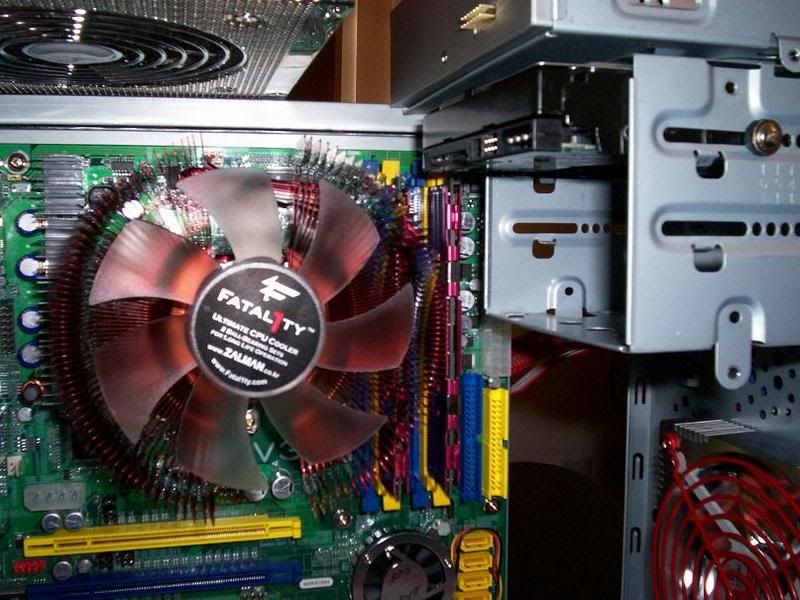
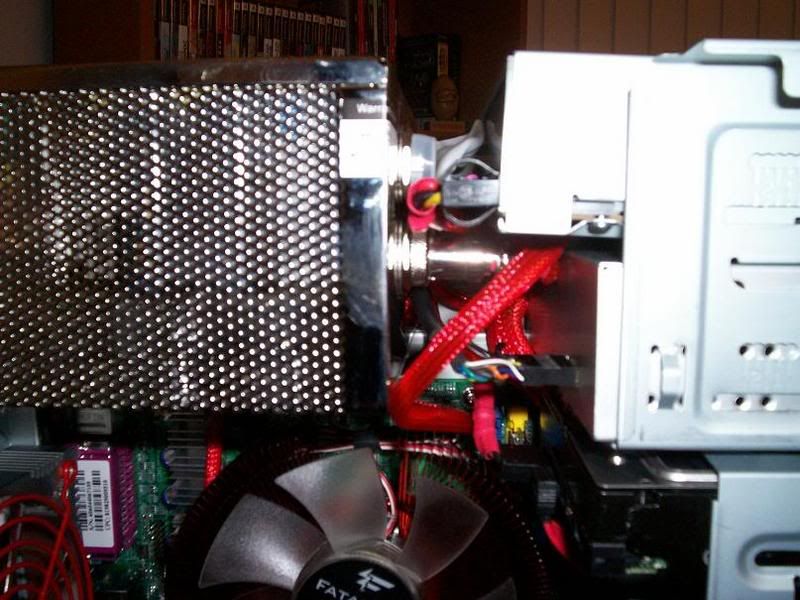
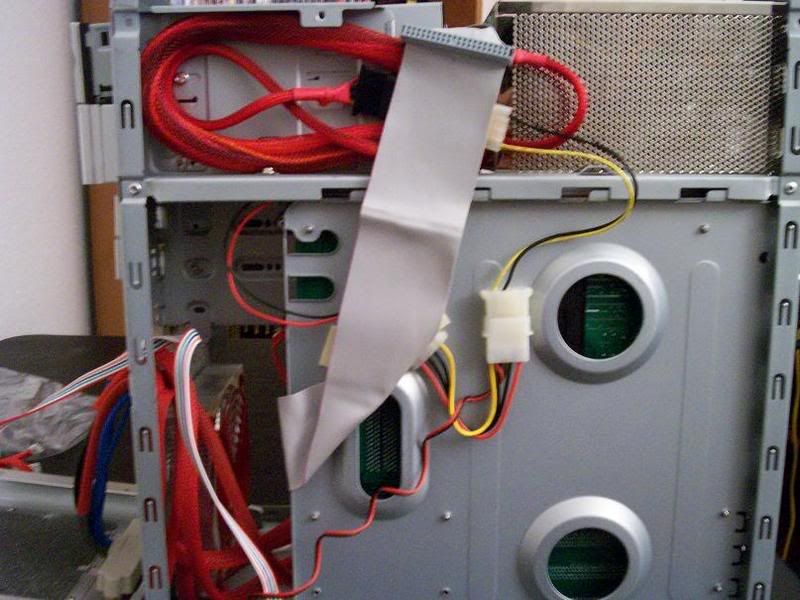
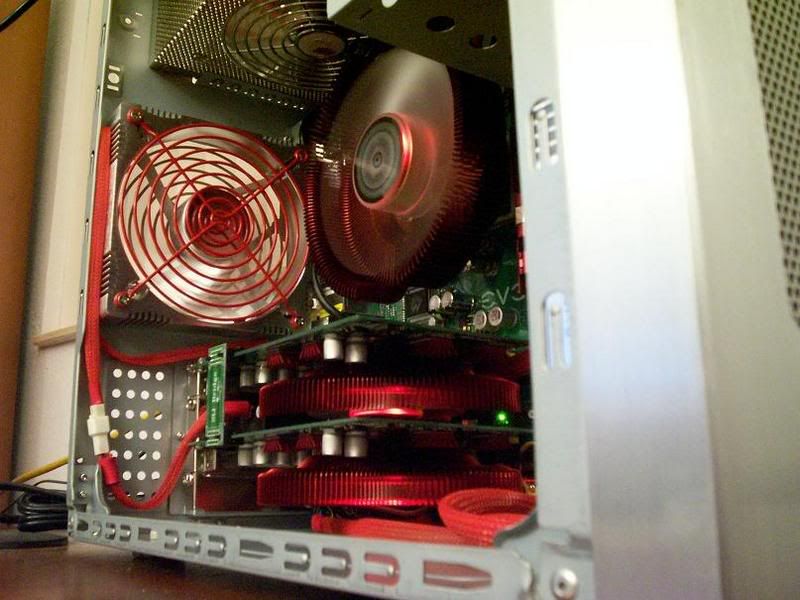
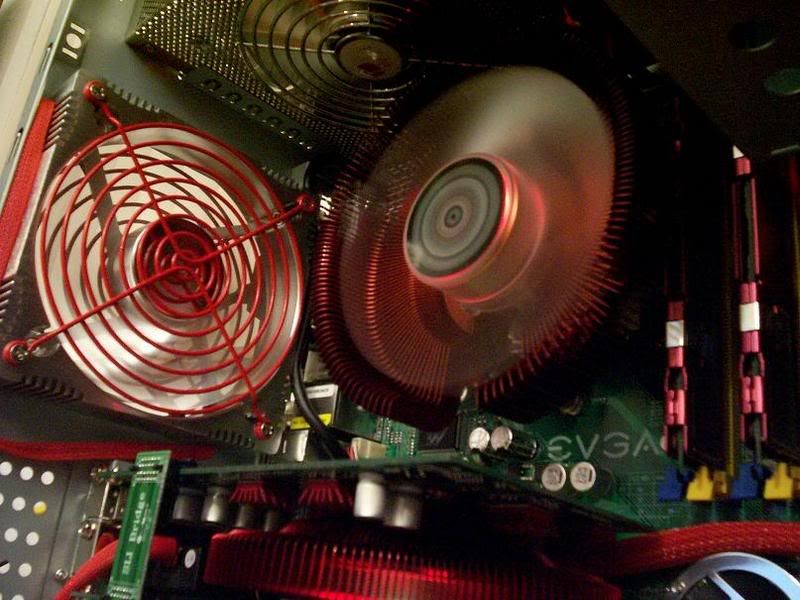
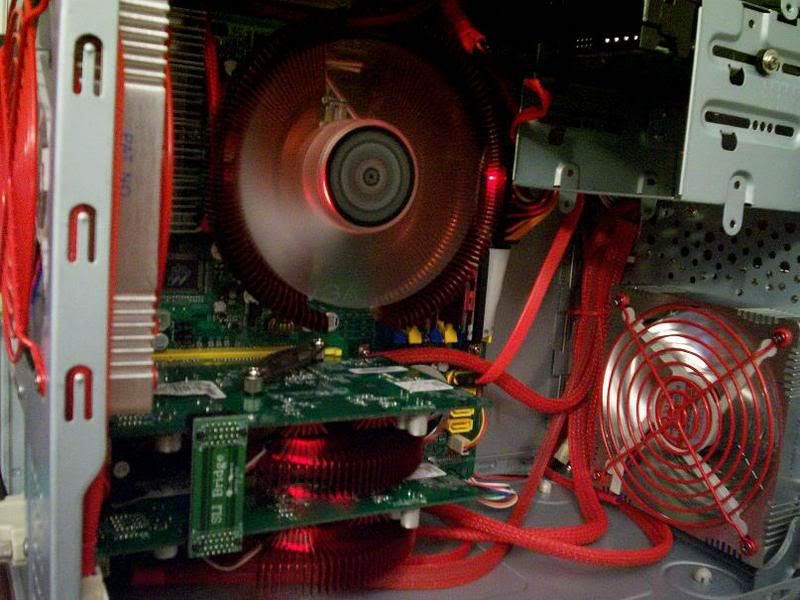
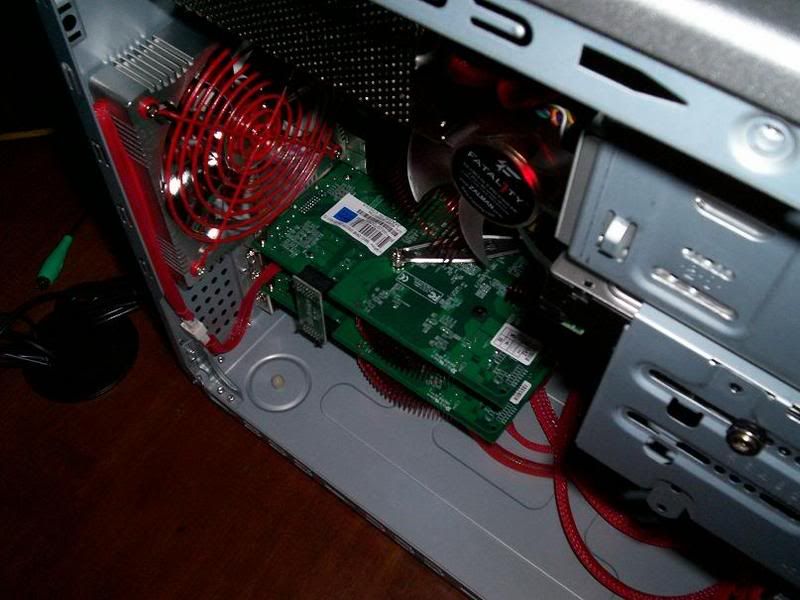
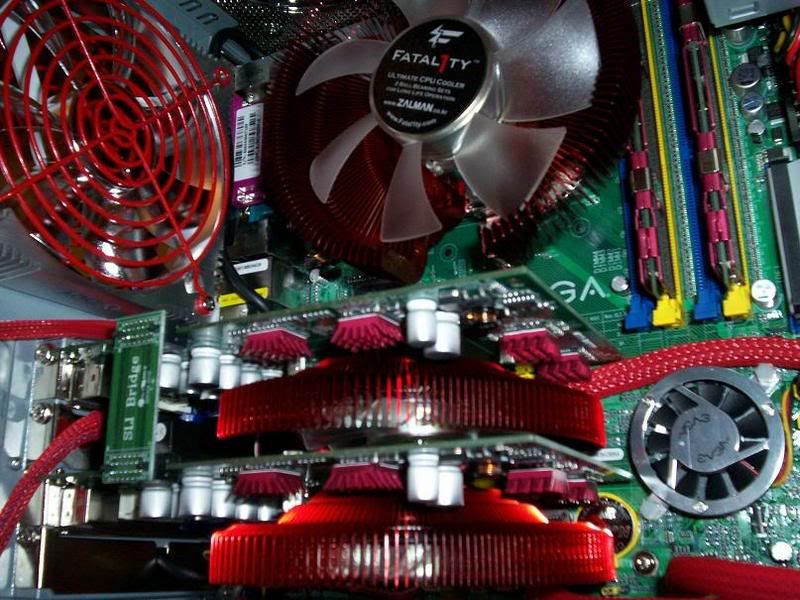
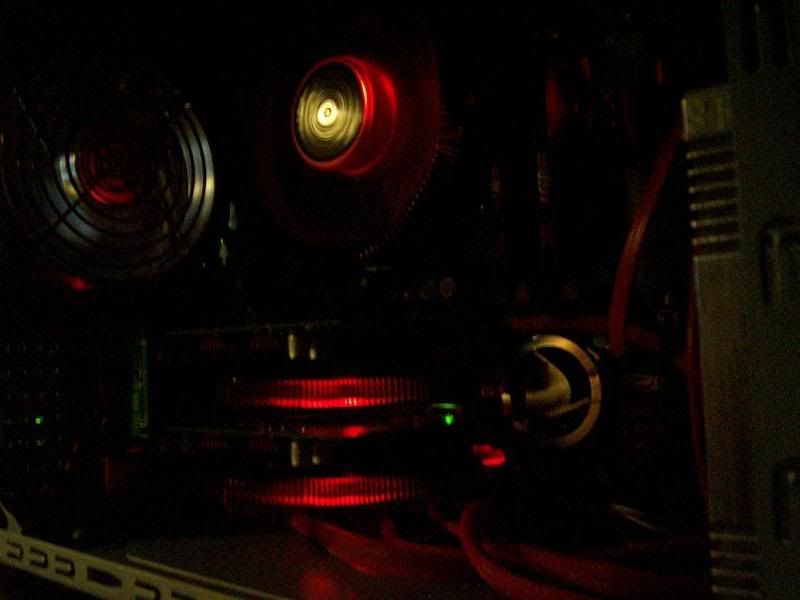
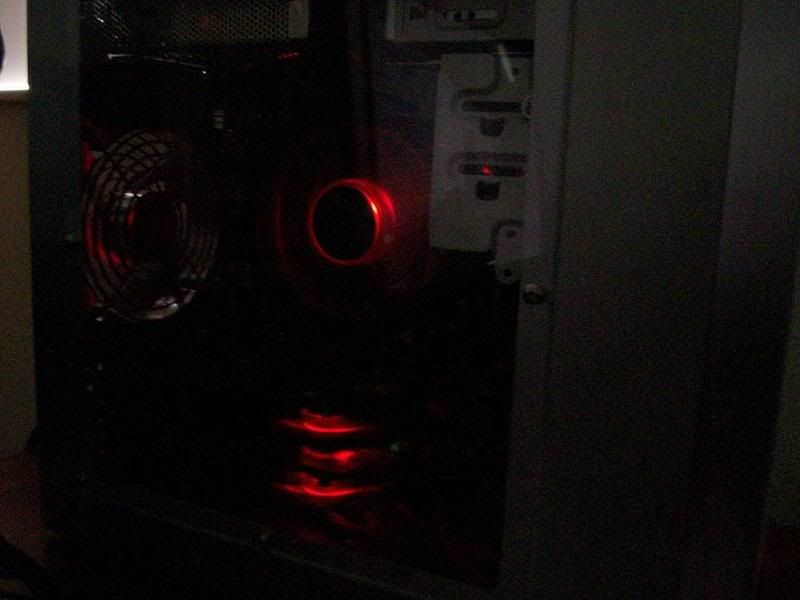
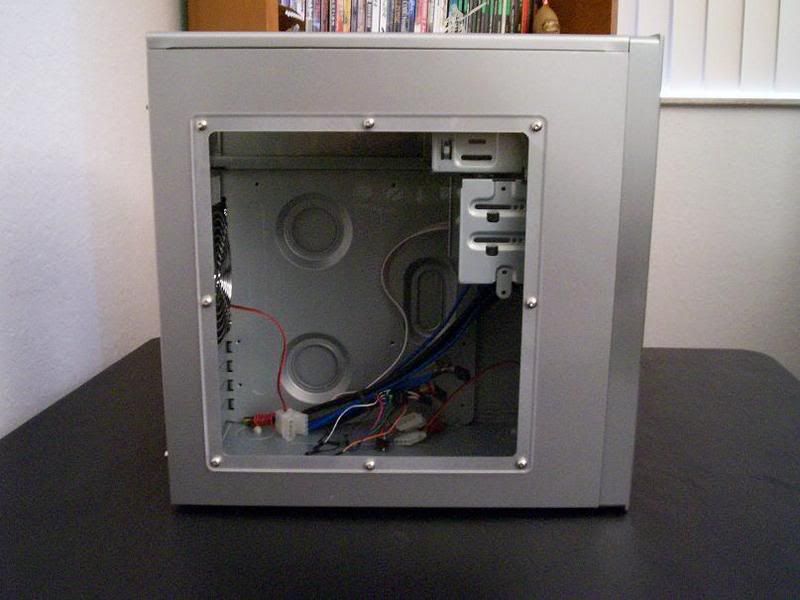
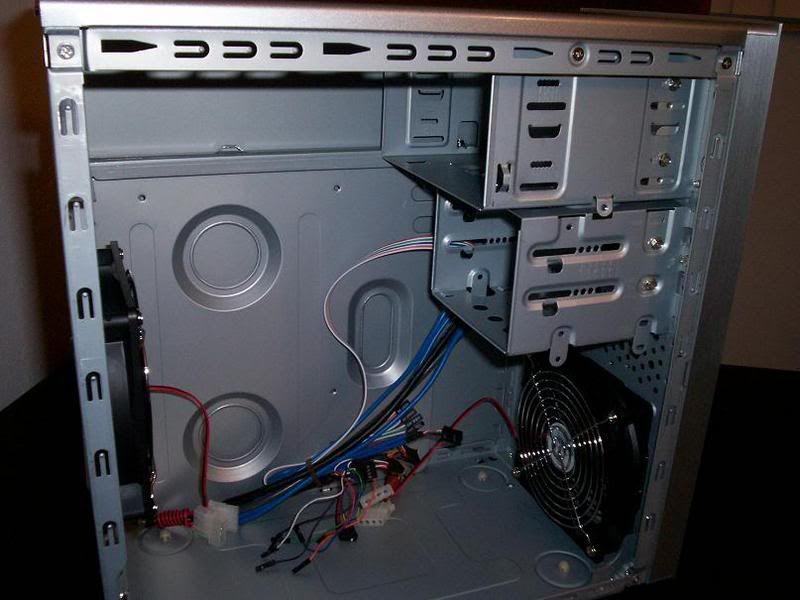
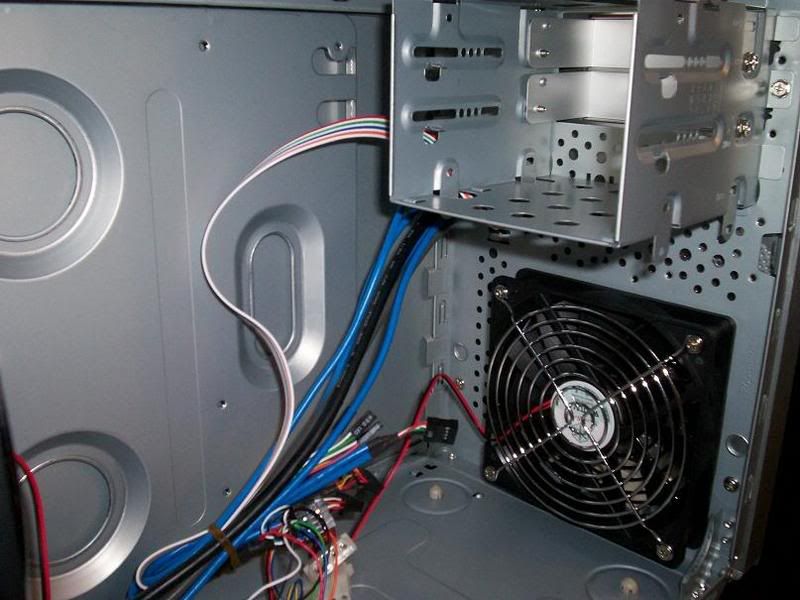
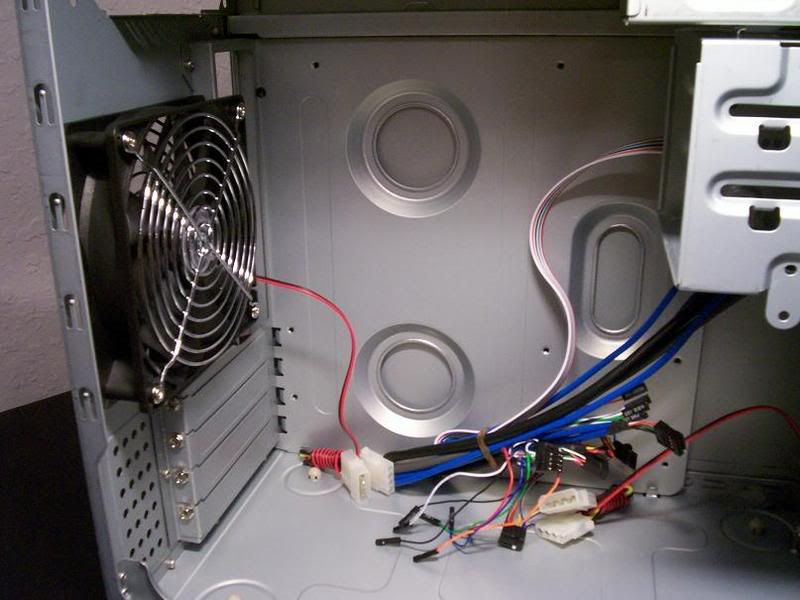
Here's a few shots of the inside with the sideview panel off and you notice the front 120mm intake fan. Together with the rear 120mm, this case should generate some nice airflow, especially being this small. This case has 2 3.5" external (obviously) and 2 3.5" internal bays for your HDD's, with 1 being mounted upside down.

000_0509.jpg


000_0510.jpg


000_0512.jpg


That's it for the initial shots, this case is absolutely small, but it is elegant and stylish. I'll be starting some of my ideas in a few. Keep watching... !
 
I love the TJ08.. one of my favorite mini cases!

I will be checking in frequently to see how this comes out!
 
Ok, small update here...


Here I'm taking off the other side panel so you can take a look at the motherboard tray from behind.

000_0514.jpg


See this screw... this screw holds the mobo in place. How come I spent 10 minutes trying to take off the motherbaord tray thinking that it was stuck before I noticed this friggin screw...smh.

000_0515.jpg


000_0517.jpg


With the motherboard tray finally out I can get to the screws in order to take the aluminum front fascia off.
000_0518.jpg


000_0519.jpg


This is a shot of the front panel PCB board, I'll explain why I need to get to this injust a sec.

000_0521.jpg


000_0523.jpg


000_0524.jpg


It was just a simple matter of unscrewing the 4 screws that hold the PCB in place and disconnecting the power cord. Since I'm going with a color scheme and I want it to be consistent, I'm changing out the stock blue LED's with these Super Bright 5mm Red LED's I picked up from Performance -Pcs.com.

000_0526.jpg


The trusty soldering iron and solder.

000_0533.jpg


I will be replacing the stock Silverstone 120mm fan. So I just took a few minutes to take it out. Notice the replaceable intake filter. I was originally going to replace the intake fan with a nice red LED one but the intake fan is off-centered and would look weird showing throw the front fascia. So, have to come up with a new idea.

000_0536.jpg


Now... on to the job of wire sleeving.

000_0530.jpg


000_0539.jpg


Will be making an update once the wire sleeving is complete. And hopefully more of my parts will be in. Until then... ;)
 
filthysanchez said:
the red and blue LEDs run at different voltages if i'm not mistaken...

There won't be any problems. These do not need a limiting resistor and are happy with voltages of 3VDC to just over 9.


You know, I've seen alot of builds over the years and alot of worklogs. And I've noticed a slow degression of sorts. People used to take so much pride in their builds, no matter what it cost. Things like taking the time to wiresleeve and route wires was the norm, especially with people who had side view windows...

Nowadays, more and more, I'm seeing people in such a rush to put their new parts in and start OCing and gaming that form and pride has nearly been forgotten. Not that there is anything wrong with that per se, but I'd like to see a return to quality of builds and pride in craftsmanship. I guess I'm just old-fashioned.

That said, here's the updates. I've pretty much completed the wiresleeving. Just waiting on a few more parts.


I got some nice Evercool fans in. In addition to being aesthetic, the produce a signifigant amount of airflow over the stock Silverstone case fans. Downside is that their a little loud for my tastes so I'll be adding a 3-stage speed controller.

000_0547.jpg


All sleeved

000_0550.jpg


To have the color scheme repeated, I picked up some red aluminum fan screws and a painted grill from AC Ryan.

000_0555.jpg


000_0556.jpg


000_0560.jpg


000_0561.jpg


I only picked up one of the fan grills simply because I wasn't sure how it would look. Now I'm wondering if I should pick up two more for the inside....We'll see I guess. You probably notice that I have the case PCB header cable unsleeved, that's because I think I have a clever way or routing it so it will not be seen... We'll see with that too.


Here's a quick preview of what I have in mind for parts....

000_0551.jpg


000_0552.jpg


Can YOU say SLI... ;)
 
Looking very nice so far. I especially like that motherboard - I trust it has good onboard audio?
 
Nicepants42 said:
Looking very nice so far. I especially like that motherboard - I trust it has good onboard audio?


Good audio... quite possibly. But decent audio at the very least would be enough. Regardless, I'll be finding out very shortly. =)


Ok.. another parts update here. Don't you love it when the UPS guy comes.. he's like Santa in a brown uniform..heh. (right Invis.. =) ) Parts delivery ftw!


First and foremost, this is for the haters out there that believes Florida doesn't have a chance in the national title game in a few weeks. The Mighty Gators.

000_0578.jpg


Here's a shot of the CPU cooler and CPU I chose for this build. Even though the eVGA board isn't a huge overclocker, I believe I'll get a decent OC out of this pair. Also, the Fatal1ty series coolers from Zalman aren't as overpriced as they once were, making it a nice addition functionally and aesthetically. Its HUGE man. I hope it fits in this case.

000_0571.jpg


I chose the Hiper Modular 580 SLi PSU. Decent stability, sleeved wires (though I prefer to sleeve myself) and modualr aircraft style connectors make it a no brainer for this build.

000_0579.jpg


000_0583.jpg


000_0586.jpg


This little number is Silverstones VFD solution. It was a choice between this and the Matrix Orbital MXe series, which are just as nice. As a cool idea, this will occupy one of the 5.25" drive bays.

000_0591.jpg


More parts and finally some assembly shots coming next update.
 
I started with the installation of the power supply. The PSU being as close to the drive bays lets you know just how small this case is. Also notice I was able to take the top panel of the chassis off. In this case its actually necessary, simply because of the modular connections....


000_0594.jpg


000_0598.jpg


This cooler is completely massive.

000_0605.jpg


000_0601.jpg


000_0607.jpg


The CPU installed..

000_0608.jpg


And with the cooler...I'm not even sure I can fit my RAM in dual channel this this thing is so massive and the board itself being so small.

000_0611.jpg


More updates tomorrow....
 
looking good keep up the good work....Go Bucks!!....sorry had to do it ;)
 
I think you may want to reconsider your HSF. If you can't remove the RAM without remounting the 'sink, something needs to change. I say you go with water and a single 120mm radiator mounted externally on the 120mm exhaust fan.

Edit: Wait a minute, you've got tons of room inside of the front intake! You could easily fit a radiator right up front too! There'd probably still be room for a MCP350 up front too. Score.

I say two independent loops - one with an external 120mm rad in the back, connected to the CPU block (apogee) and one of those MCP350+Res combos that fit in a 5.25" bay for easiest hose routing. If the PSU blocks those 5.25" bays as bad as it appears to, you could just mount the pump underneath the PSU. 2nd loop is a 120mm rad in the front with the MCP350 mounted right next to it on the bottom of the case cooling an 8800GTX. Modded tops on the MCP350s would help with the bends, but you might have to mount the one in front on it's side.
 
Nicepants42 said:
I think you may want to reconsider your HSF. If you can't remove the RAM without remounting the 'sink, something needs to change. I say you go with water and a single 120mm radiator mounted externally on the 120mm exhaust fan.

Edit: Wait a minute, you've got tons of room inside of the front intake! You could easily fit a radiator right up front too! There'd probably still be room for a MCP350 up front too. Score.

.


Your watercooling idea is a very sound one, my current rig is watercooled. And surprisingly this case is a perfect candidate for it, given its size. But this particular build isn't slated for water, but soon I'll be doing a microATX watercooled build.

I will be receiving my RAM today. I believe that I can run dual channel in the yellow slots, because the HSF sits high enough. We'll see as soon as the the UPS guy gets here. I'll be getting the optical drive in today as well and then I'll be better able to ascertain clearance issues with the PSU.

An 8800GTX would be very nice and I think it would even fit, but this build doesn't need that type of.... power. But I have an idea that's almost as sexy.

More updates tonight.


Ok here are few small updates. You know, I wouldn't even call it small. Let me tell you why, simply because I don't even want to TELL you what I had to do in order to fit this ginormous Fatal1ty HSF and the HDD. :mad:


I used these 'noise reducing' screws from Performance-pcs.com to mount the hard drive. Couldn't get a better pic.

000_0613.jpg


These are the heat spreaders I used for the memory modules. They are somewhat functional and are supposed to help with overclocking..eh... they match. Besides, I'm just happy I was able to fit them in.... smh.

000_0614.jpg


This cooler damn near takes up the entire top side of the mobo. I had to mount the HDD in the top 3.5" bay because the HSF interfered with the normal HDD mounts, which are the bottom 2 sets of holes underneath the 3.5" cage. Fortunately the holes lined up and I was able to keep the blanking plate intact. I had to dremel some of the external face plate in order to mount it and the hdd in the same holes...

Also notice the red fan grills I finally got in.

000_0615.jpg


000_0616.jpg


I'll be mounting the optical drive and wires next... Oh yeah, and putting these together for the nVidia muscle ;) .... SLI ftw.

000_0617.jpg


More updates tonight...
 
lol that cooler is like a monster in that case wow
and keep it up i love small cases with huge power
 
this is gonna be a kickass little beast :D

cant wait to see the final results.

What are the final hardware specs? Sorry if i missed them. I dont think i saw any posted in this thread :) :p
 
AMD RULES said:
this is gonna be a kickass little beast :D

cant wait to see the final results.

What are the final hardware specs? Sorry if i missed them. I dont think i saw any posted in this thread :) :p


You didn't miss them friend, I haven't posted any other than a few pictures. But basically its got an Opteron 165 (of course it will be OC'd), 2x eVGA 7600 GT SLi (will be OC'd too of course), 160Gb HDD, eVGA mATX SLI mobo, 1Gb RAM, Silverstone VFD, NEC DL DVD burner.


Alright... this project is DONE! Though it was slightly a pain to build in this miniature case, I THOROUGHLY enjoyed it. Fitting full size components in this case was no easy feat and wire mangement almost made me want to jump out of a window :mad: . Nevertheless, I think it turned out great, exactly the vision I had in mind from the outset.


I'll start off with a comparison shot of the stock 7600GT cooler compared to the Fatal1ty VGA cooler...It dwarfs it...

Picture001.jpg


Picture002.jpg


I used a Cooler Master aluminum drive cover I picked up from directron.com for the black NEC DVDR DVDRW burner...The aluminum matched the case decently.

000_0619.jpg


This was just how tight it was inbetween the PSU and the optical drive. Almost caught a serious case trying to fit everything and make the drive flush with the front of the face plate.

Picture010.jpg


I bundled and tie wrapped the chassis cables to the front of the case, pretty much the only option I had.

Picture012.jpg


Here is a shot of what's going on behind the motherboard tray after wiring was complete. I could have done a much better job, but my options were seriously limited, thankfully it won't be seen.

Picture011.jpg


OK, now that the preliminary shots are done...time for the finish shots.

000_0659.jpg


000_0658.jpg


000_0652.jpg


000_0653.jpg


Picture014.jpg


000_0651.jpg


000_0649.jpg


000_0647.jpg


Picture017.jpg


Picture013.jpg


Can't forget the night shots!

The red LED mod worked :D
000_0646.jpg


000_0645.jpg


000_0643.jpg


Picture015.jpg


I appreciate everyones nice comments on this project. This was my first build in a microATX case and I seriously dug it. These cases hit the sweet spot right inbetween mid towers and miniature SFF such as the shuttle, these are true desktop type cases. I have another build coming up and I am thinking about making it another mATX. Maybe it'll have... some nice watercooling ;) If it does, I'll make sure I'll make it a worklog.

And if anyone is wondering, I was able to get decent OC. The Opteron 165 is running at 2.3 up from the stock 1.8, and a 75 MHz OC on the dual 7600's. 10507 3DMark05; 5821 3DMark06.
 
Nice Setup!

Hey where did you buy your cpu and gpu fans? I'm looking for those. Also would you be able to tell me the overall height of the cpu fan. I'm trying to figure out if it will work out better for me than the zalman cnps9500. I need a much shorter fan than that one and yours looks to fit the build nicely.
 
AMD RULES said:
wow...that is so cool looking

Nice rig and job ;)

I love the Red Theme ;)

Thanks for the kind words AMD. and btw Happy Holidays :)


Hey where did you buy your cpu and gpu fans? I'm looking for those. Also would you be able to tell me the overall height of the cpu fan. I'm trying to figure out if it will work out better for me than the zalman cnps9500. I need a much shorter fan than that one and yours looks to fit the build nicely.

A combination of Newegg.com and Directron.com, Performance-Pcs.com has them too but at at a slightly higher price. The dimensions of the Fatal1ty FS-C77 CPU cooler is 136mm L x 136mm W x 67mm H. Because of the dimension of the case I caught a SERIOUS case trying to fit other components around that thing. Its not short by any means but it should be shorter than the CNPS9500.


Thanks for the info. Seems i was just missing it in the line up of fans on Newegg.

Once again nice setup very clean.
 
Nice! That looks great :D Sorta makes me wanna do a mATX build lol.

btw, maybe u should remove the slot covers next to teh gpu coolers for some extra air?
 
Dark Prodigy said:
Thanks for the kind words AMD. and btw Happy Holidays :)
Happy Holidays....
How is the overall system performance? Pretty good, eh?

I'm diggin that SLI setup :D
 
cesium666 said:
Nice! That looks great :D Sorta makes me wanna do a mATX build lol.

btw, maybe u should remove the slot covers next to teh gpu coolers for some extra air?


Thanks for the compliment and Happy Holidays =). The slots inbetween the coolers are both occupied. Fan speed controller and a pass through plate for the VFD parallel port connection. This system gets absolutely great airflow because of the proximity of 120mm intake and exhaust fans. A superb 'windtunnel' effect. My temps are nice with the GPU's idling around 43°C and about 55°C or so load, well below stock cooling.


i have a Q, the it seems to be the same space beetween the pci cards so do they fit together? meaning they dont bump to each other with the zalmans? or did u have to remove the back support plate to fit the second card?
 
AMD RULES said:
Happy Holidays....
How is the overall system performance? Pretty good, eh?

I'm diggin that SLI setup :D


Overall system performance is very nice. SLi was the only way to go. The overclocked SLI'd 7600's sit right in the middle of a 7900GT and a 7900 GTX performance wise, which is pretty decent. I get 55+ ave fps max with F.E.A.R. @ 1680x1050 res. etc ..and decent 3DMark scores which I posted a few lines up.


Back
Top