jedihobbit
Gawd
- Joined
- Nov 3, 2005
- Messages
- 963
Thought I'd share one of several current projects I'm working on. This is tied to HF because the proc was acquired form zeldor! 
As fate (also known as eBay, newegg open box, MIRs, etc) would have it a computer build has been reborn. A system christened DreamCatcher last year and was to be an abit NF7S / 2500+ Barton build was abandoned in a peace overture to the wife, but now it has returned.
Here are the system specs:
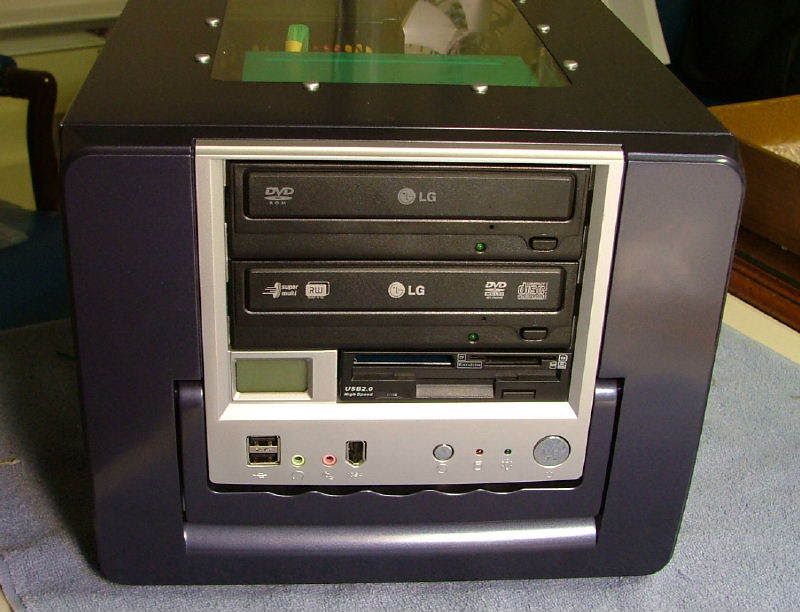
CASE: Ultra MicroFly mATX, Blue, w/o PSU
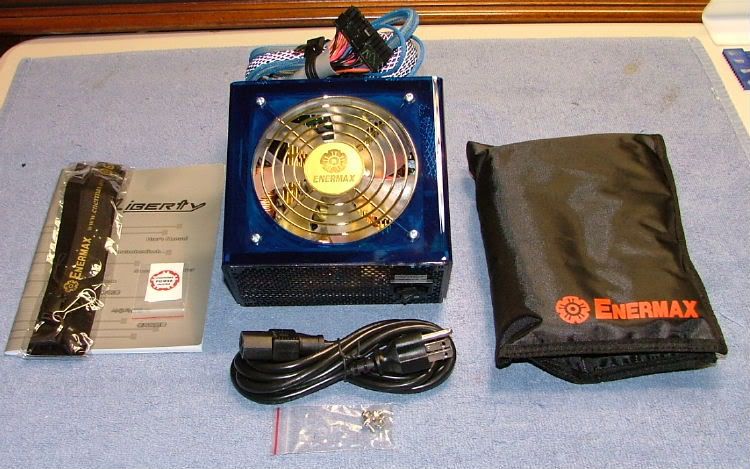
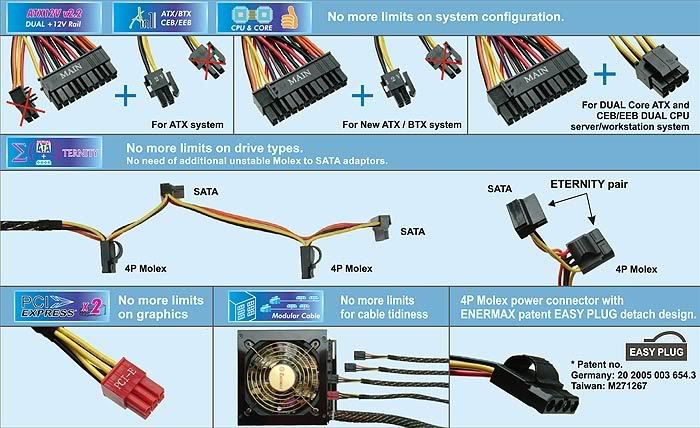
PSU: Enermax Liberty ELT400AWT 400W**
MOBO: Biostar Tforce 6100-939
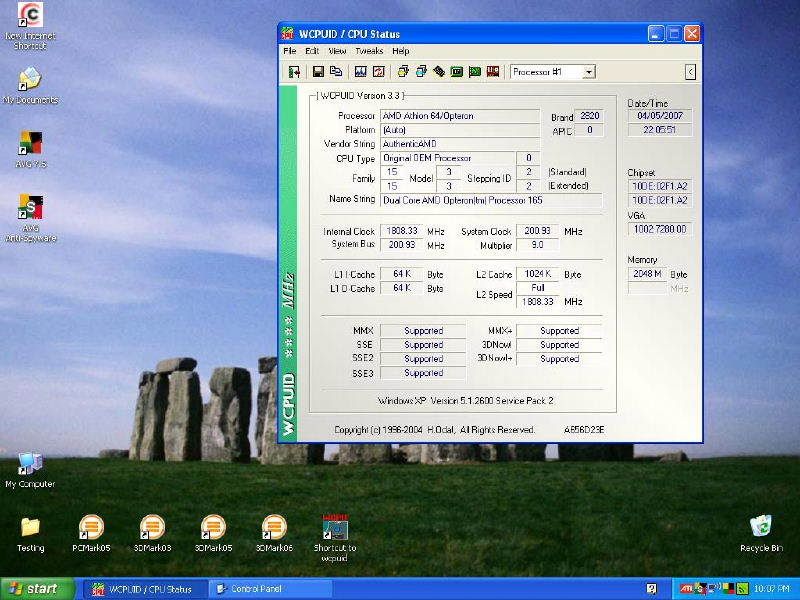
CPU: AMD Opteron 165, CCBBE 0610
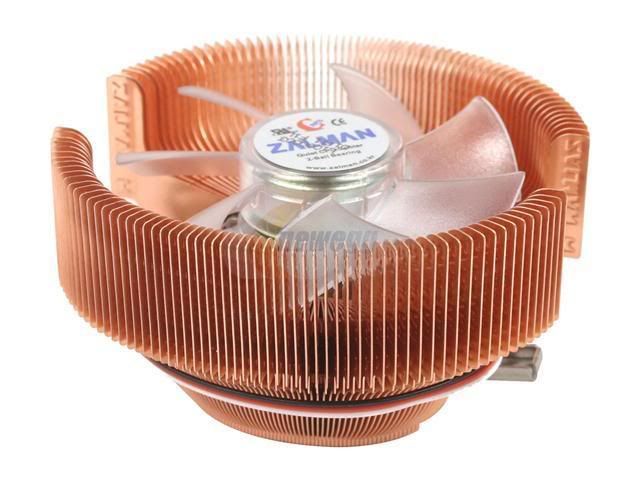
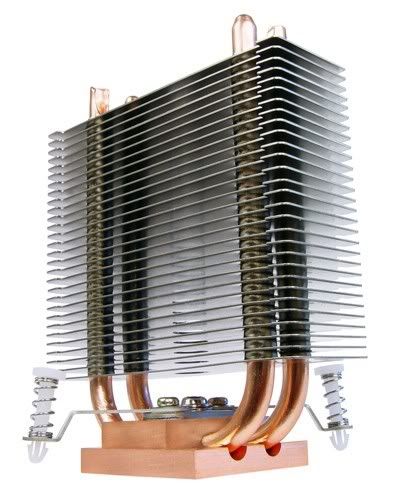
HSF: Zalman CNS9500
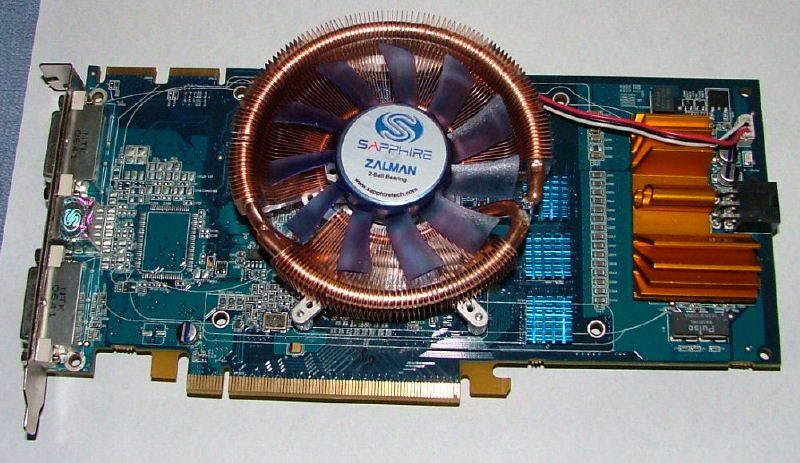
GPU: Sapphire X1950 Pro Ultimate
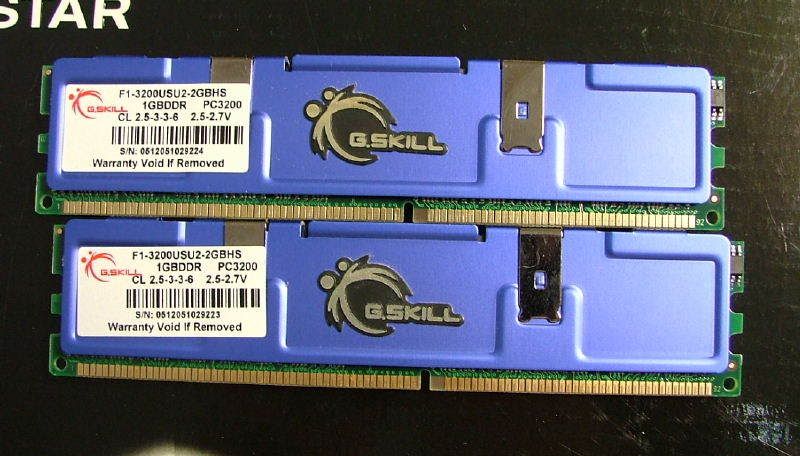
MEMORY: g. skill F1-3200PHU2-2GBZX (2 x 1024)
HDD: WD Raptor X, 150 Gigs
Optical Drive 1: Asus 52X CD-ROM
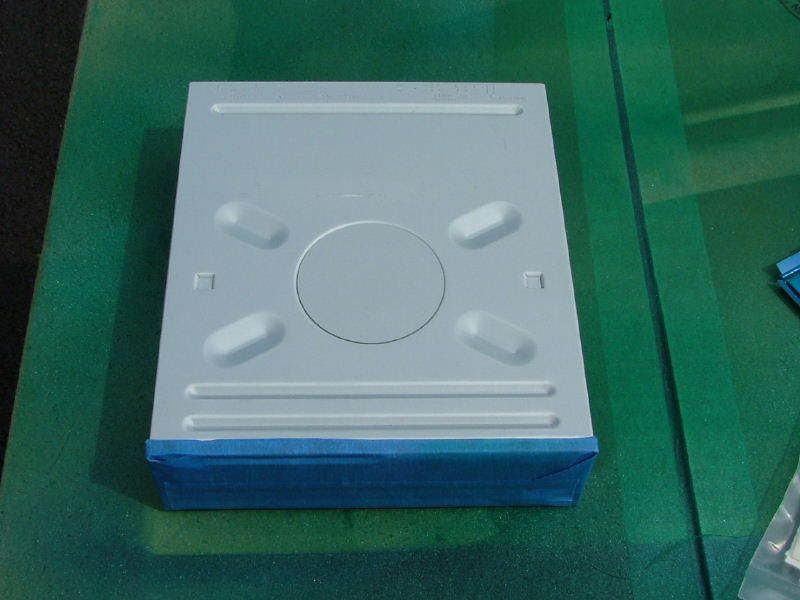
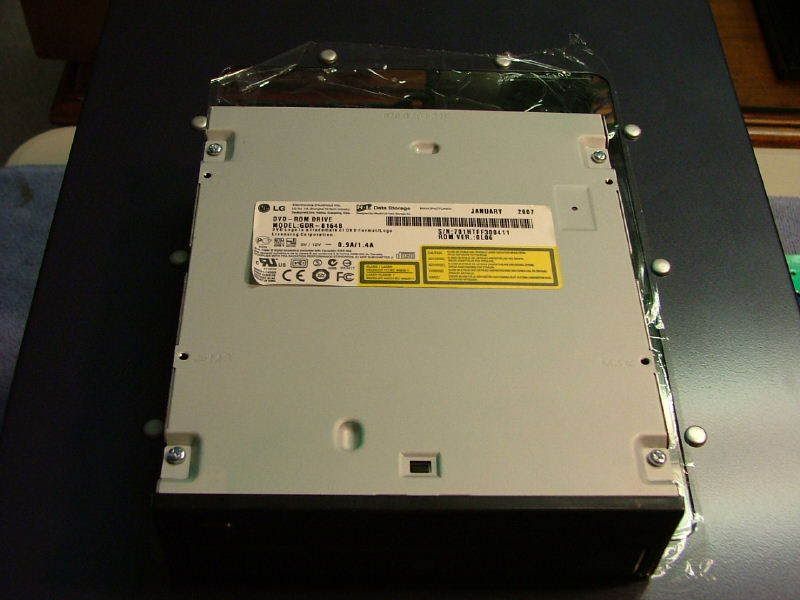
Optical Drive 2: LG GSA-H42N-BK, 18X DVD+R Burner
** Could be upgraded to 620W if deemed necessary.
Here are the parts!

For the case check here: http://www.ultraproducts.com/product_details.php?cPath=13&pPath=439&productID=444
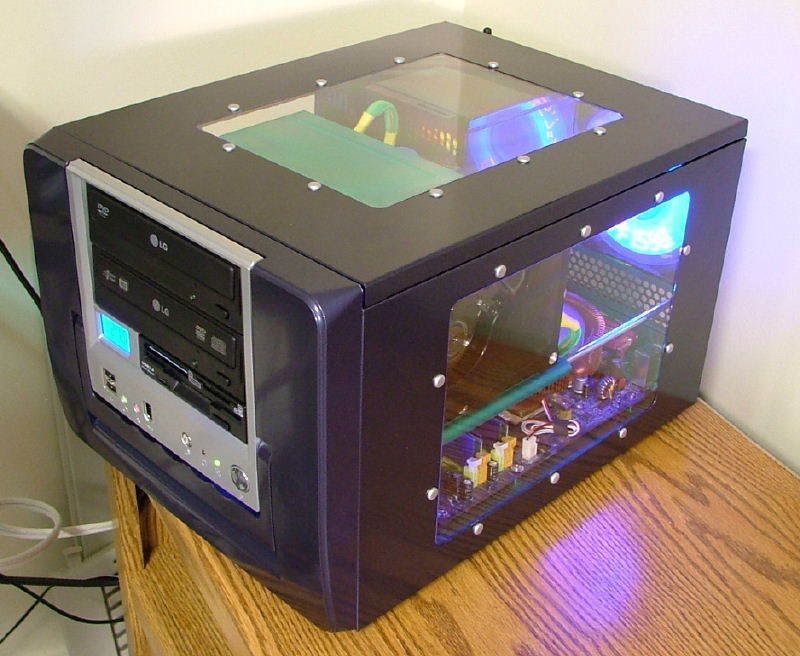
As the MicroFly comes with windows on both sides and top and a real nice exterior blue paint job, case mods may be at a minimum. Currently under consideration are:
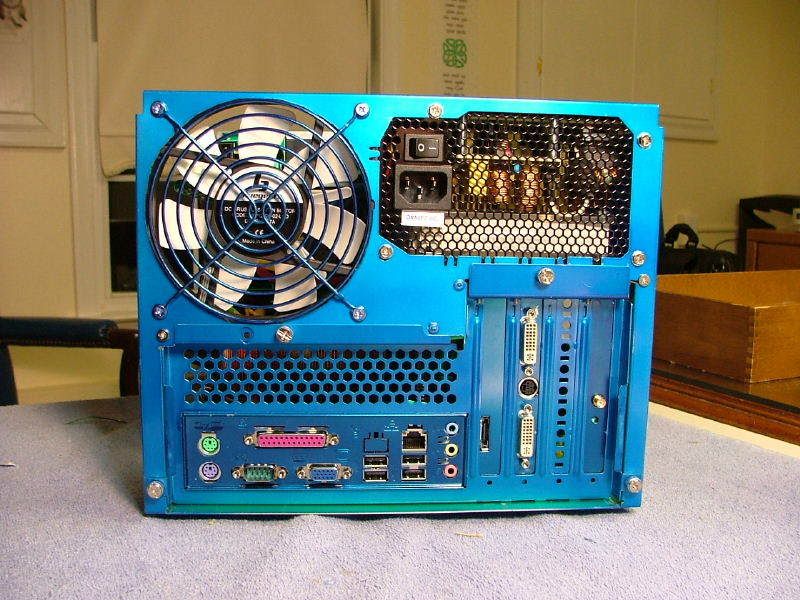
1.Remove front and rear stamped case fan grills
2.Paint the chassis, mobo tray, and other related items.
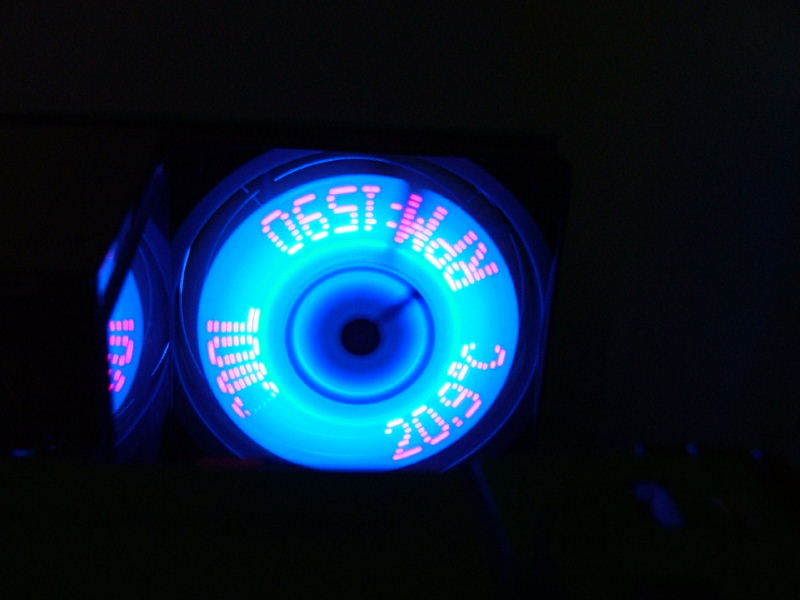
3.Replace front 80mm fan with LED type; color TBD dependent on interior color pick.
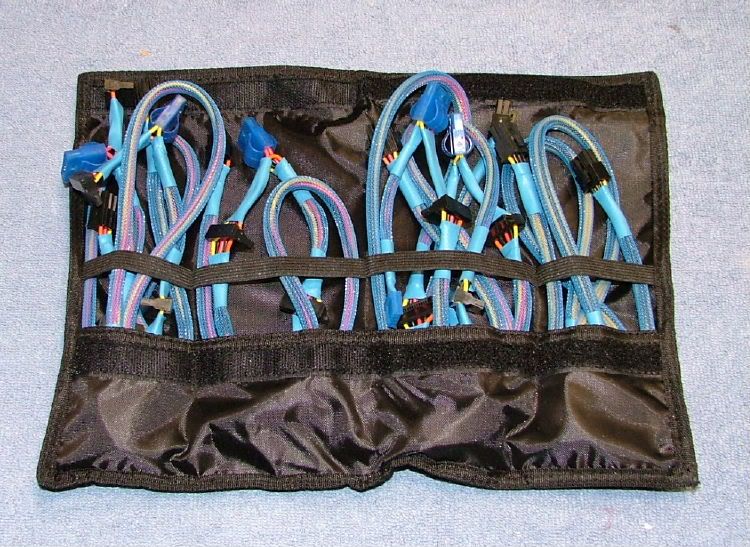
4.Sleeving PSU and going with an acrylic cover and matching LED fan
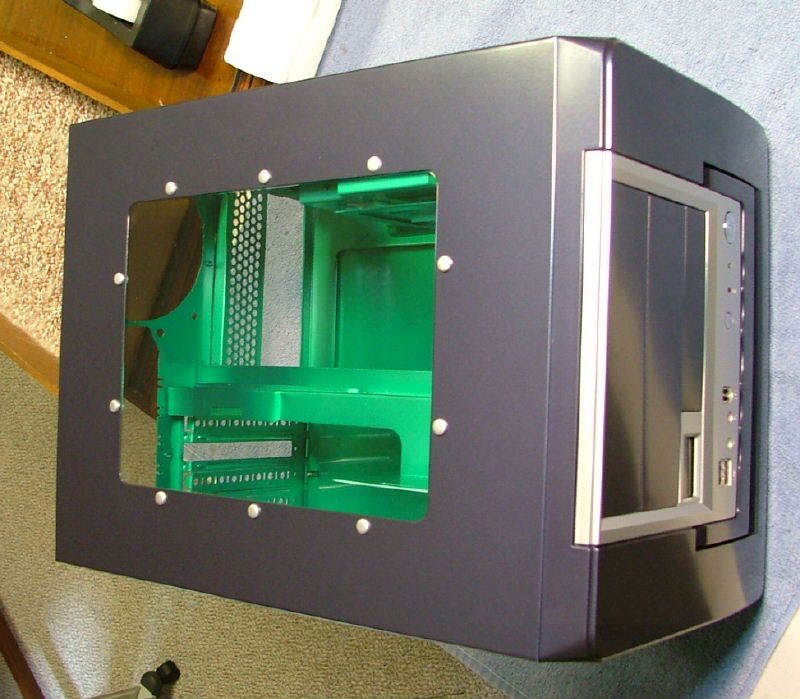
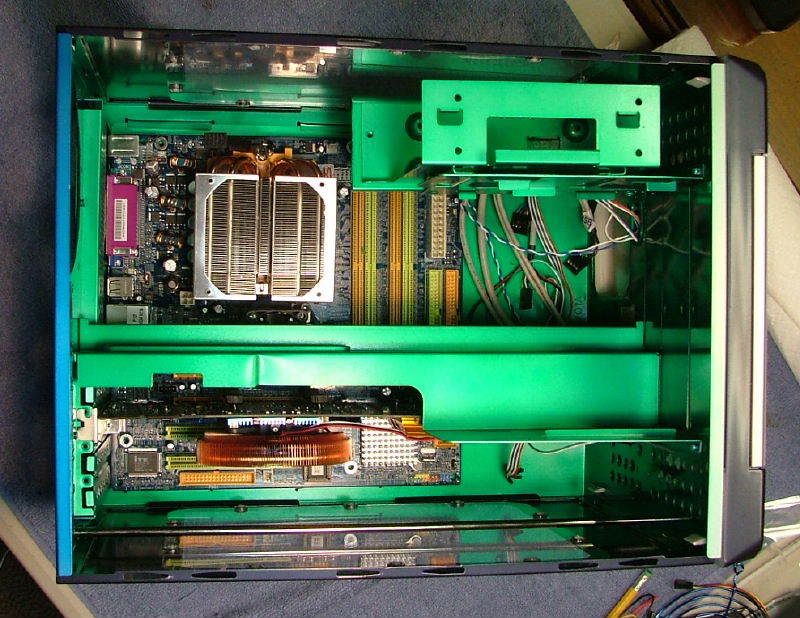
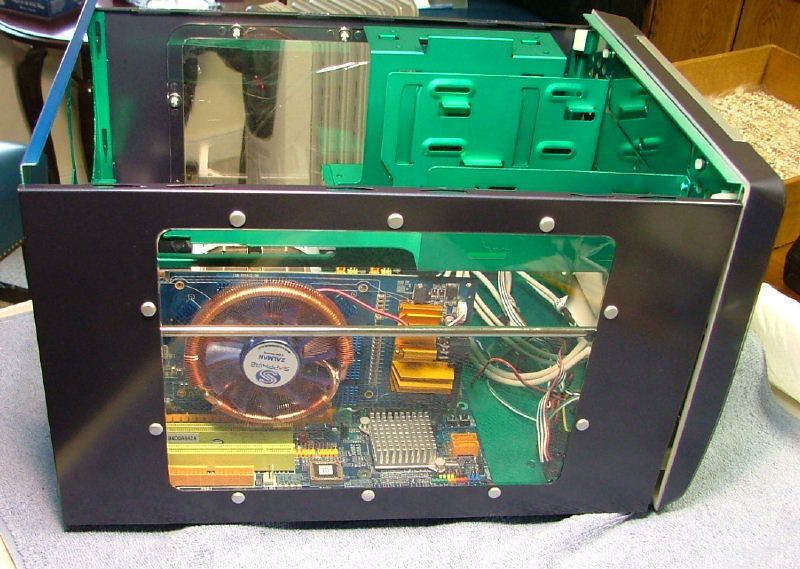
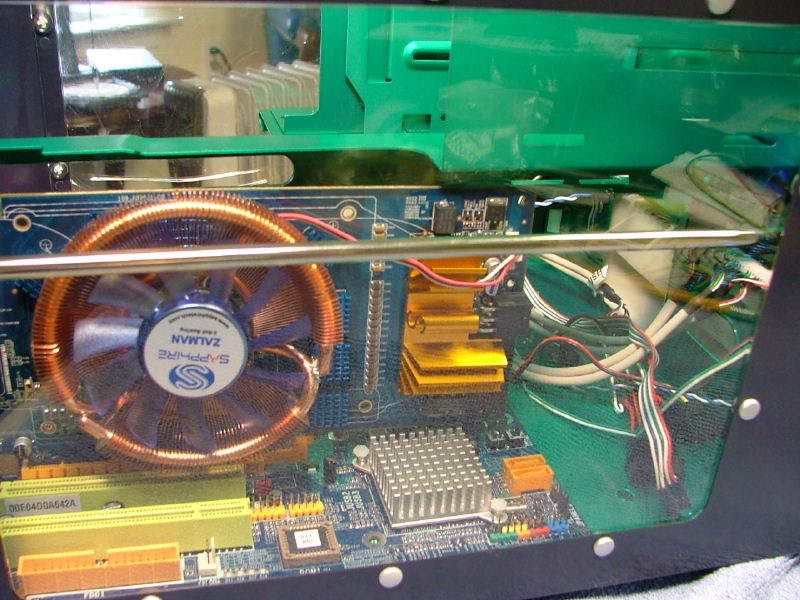
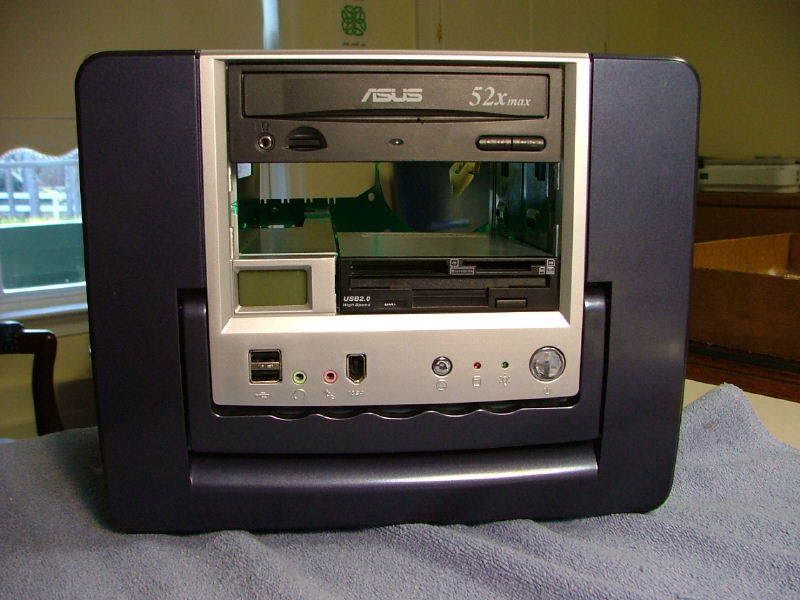
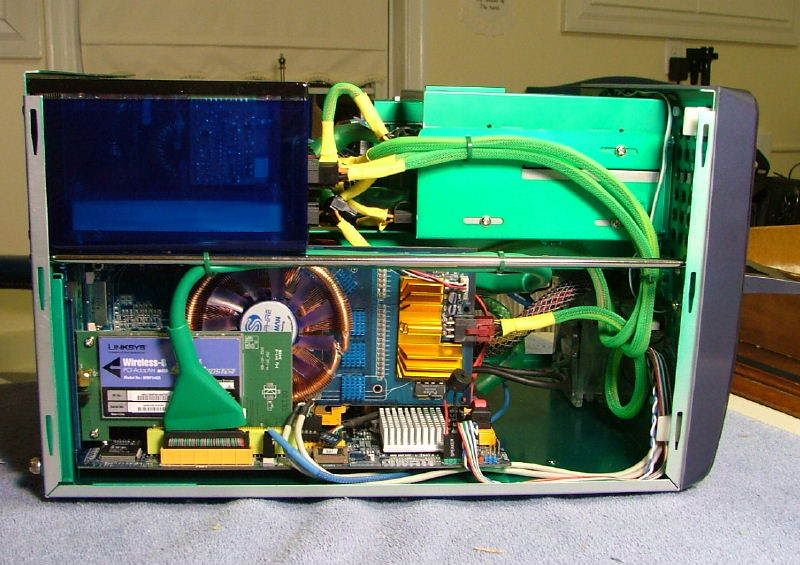
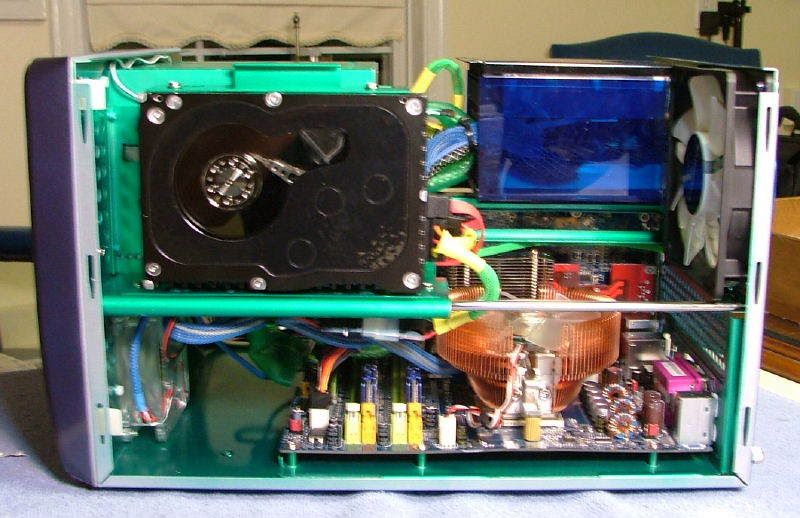
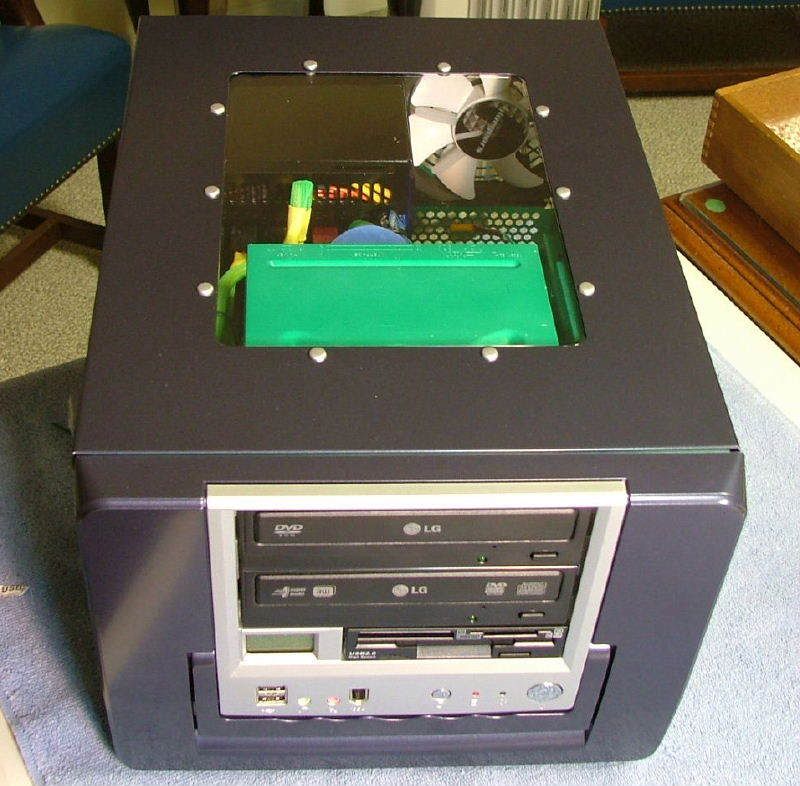
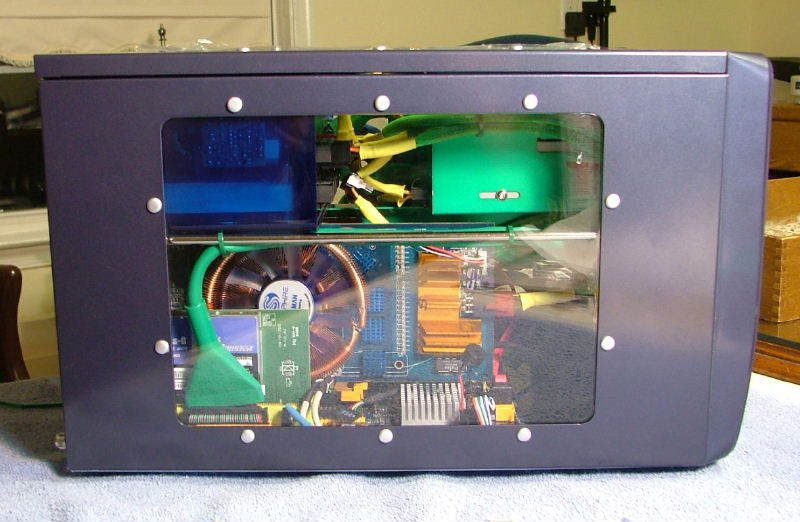
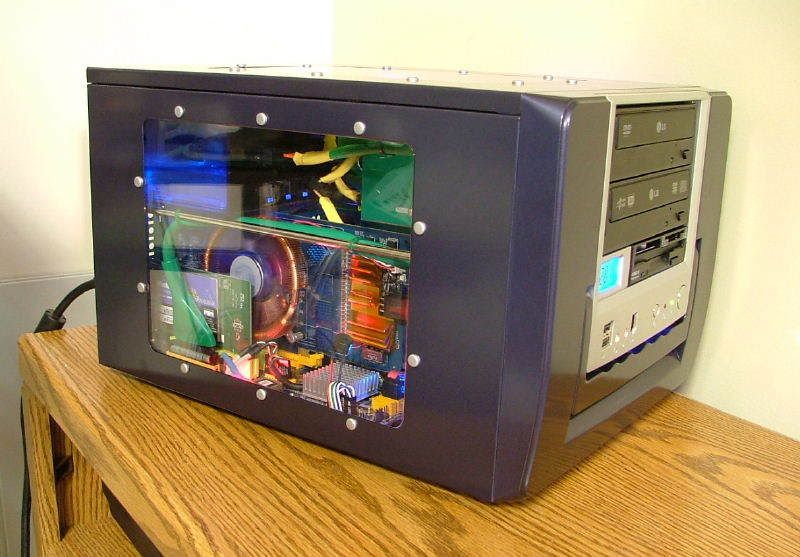
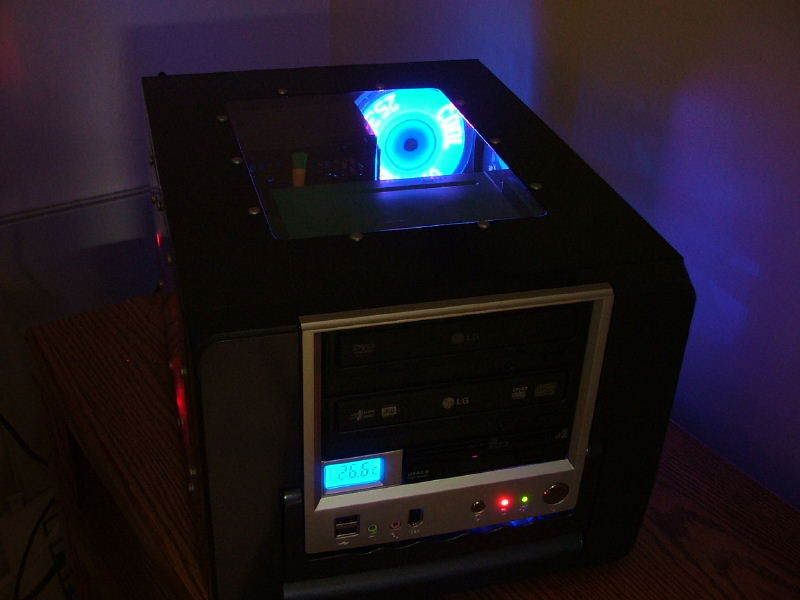
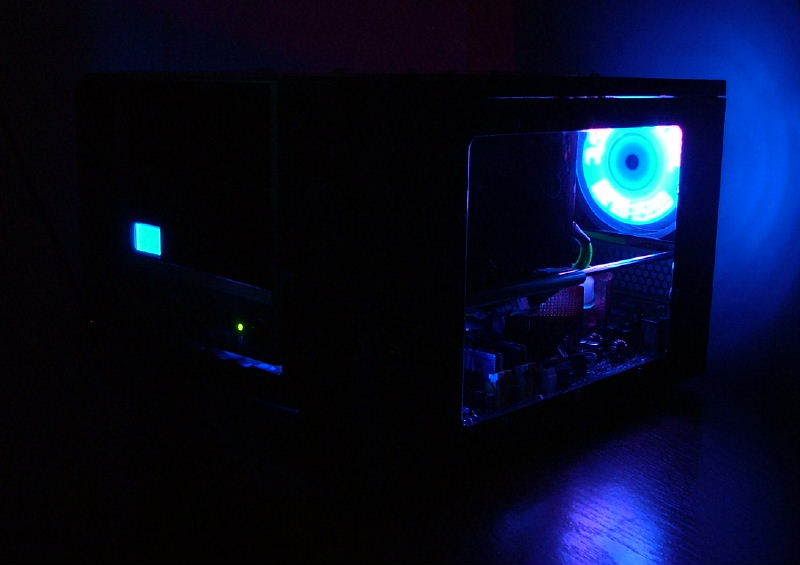
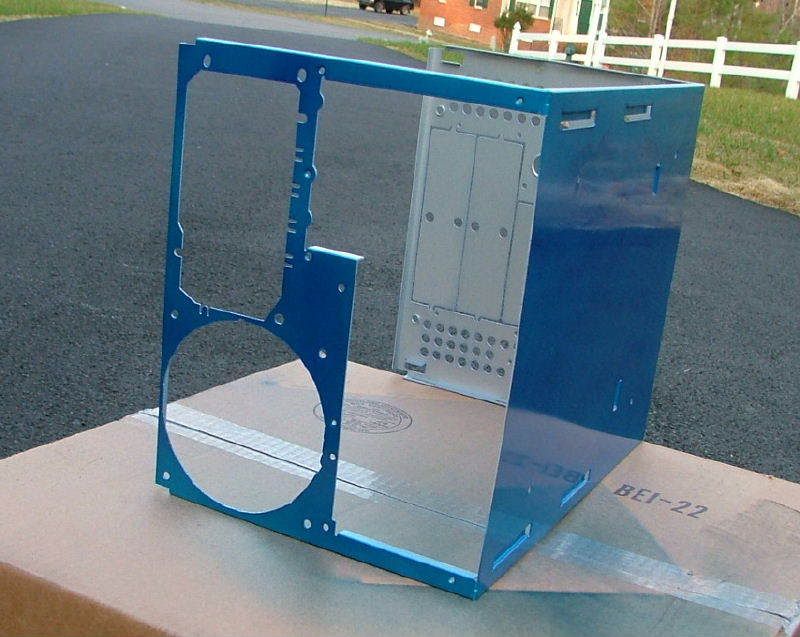
This is my first aluminum case and it feels fragile to me. Then again it is aluminum! I really like the case as it has a removable mobo tray (my first), temp gage, very nice paint job, lots of windows, easy interior access, and on and on. One of my biggest gripes in doing a custom case has been that GPUs can come with all kinds of bling, which ends up facing down. With the MicroFly, the mobo sits flat and one can see the Video card through the side window.
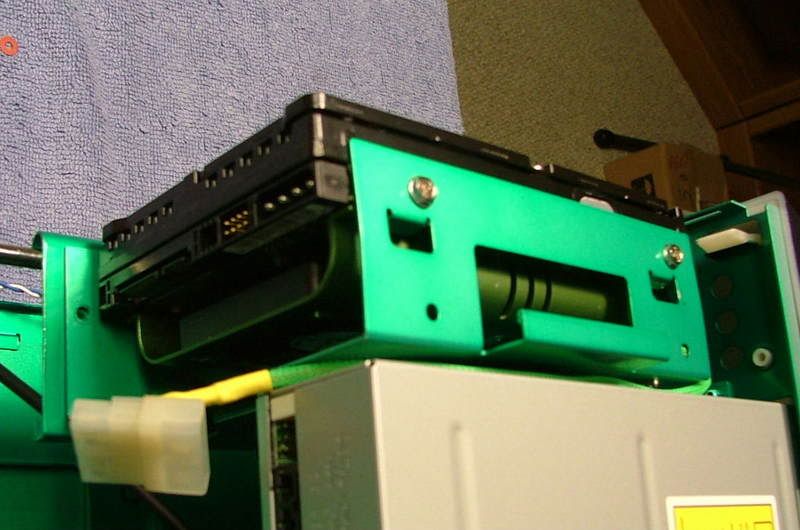
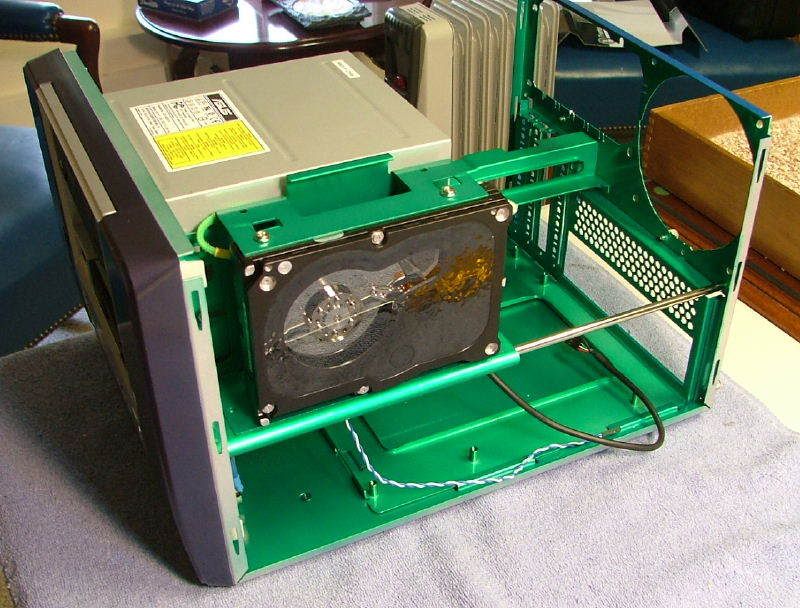
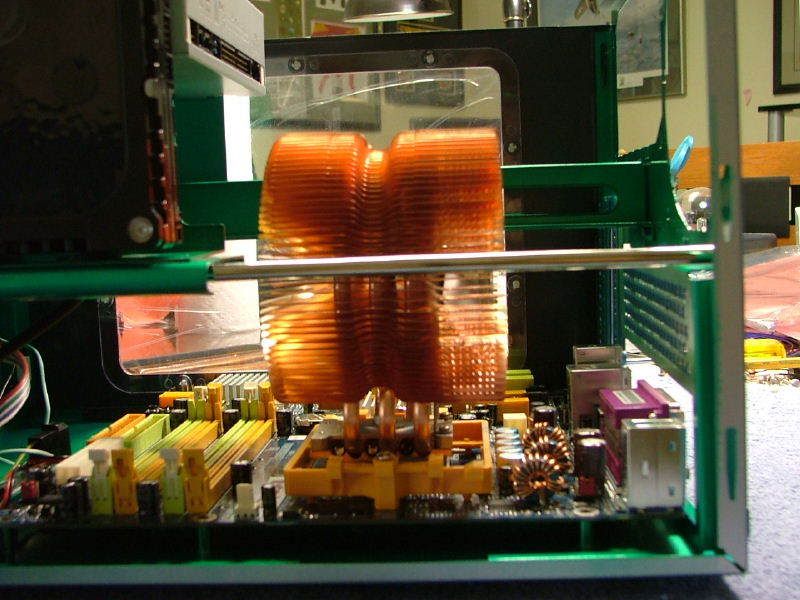
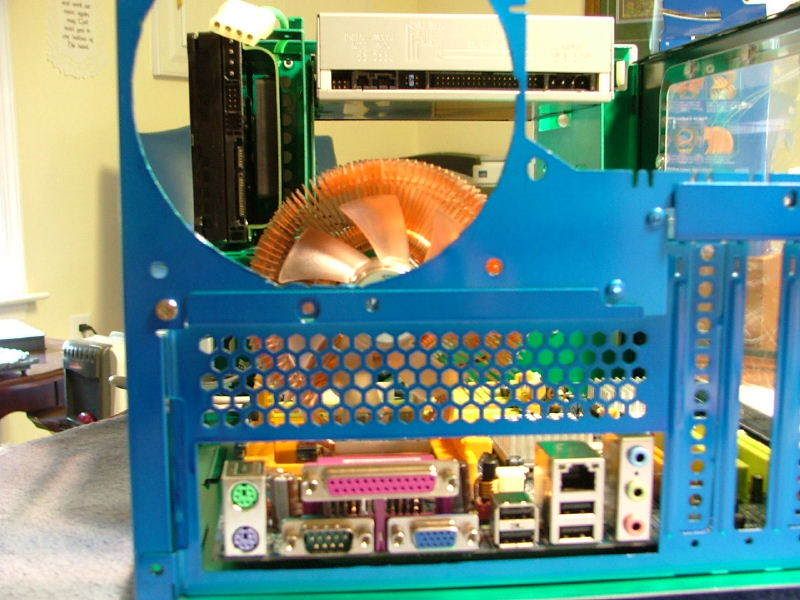
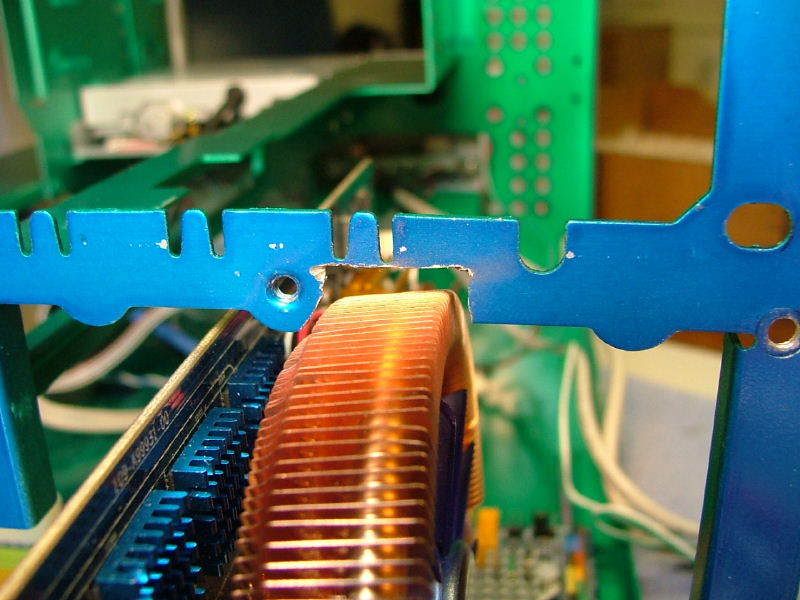
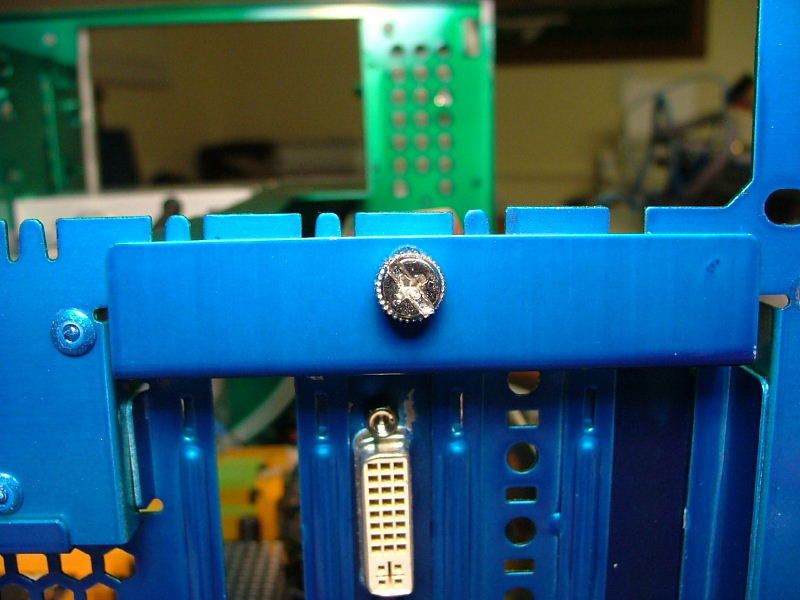
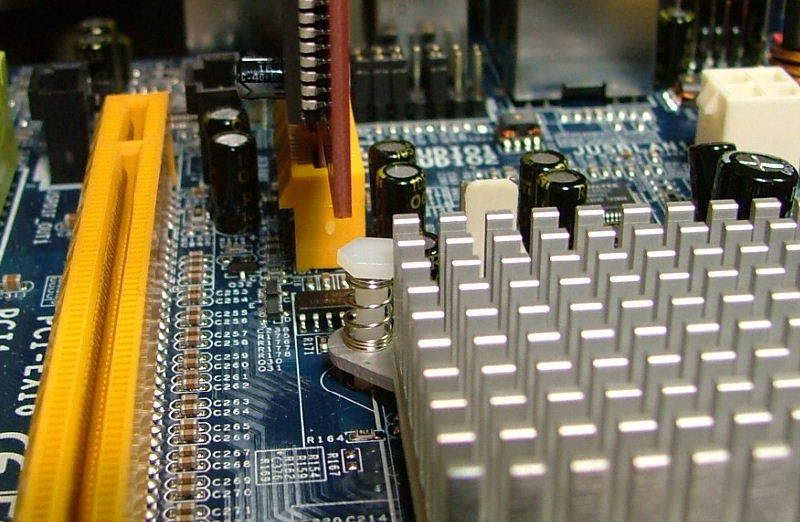
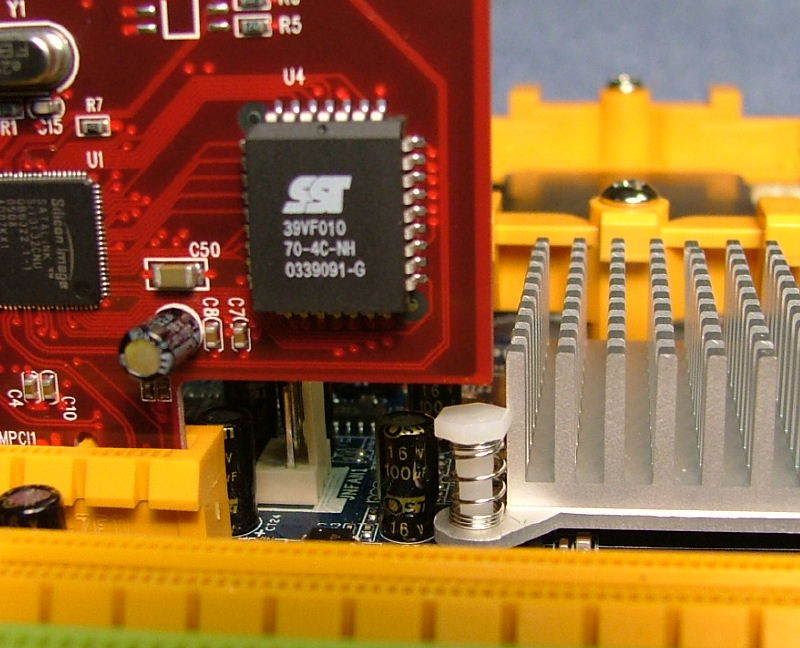
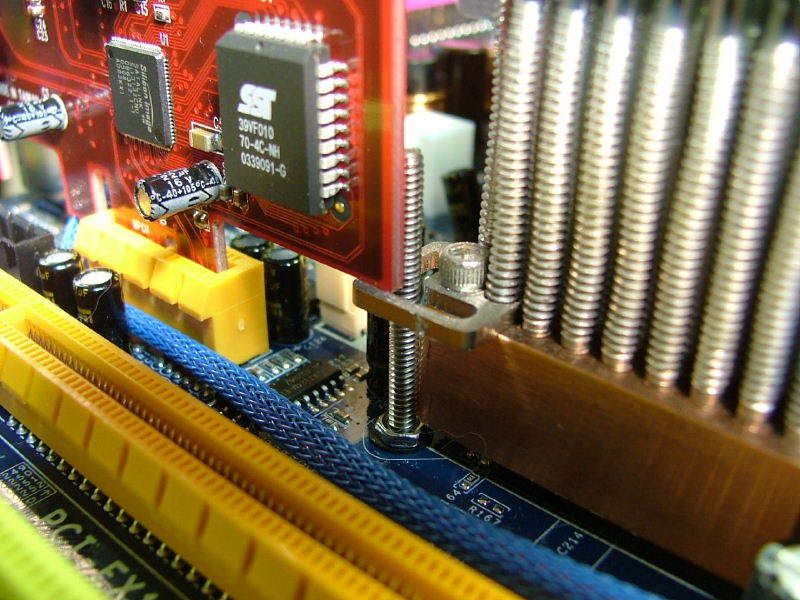
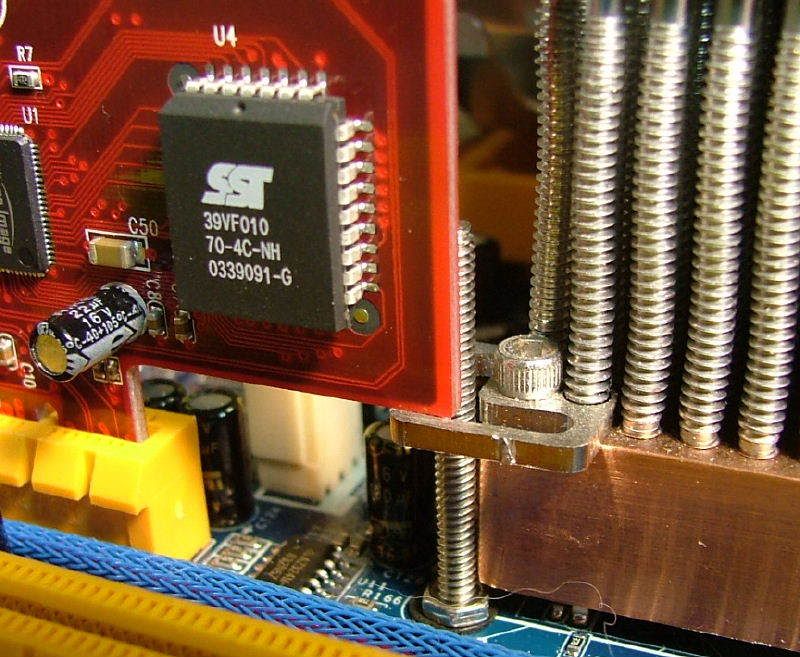
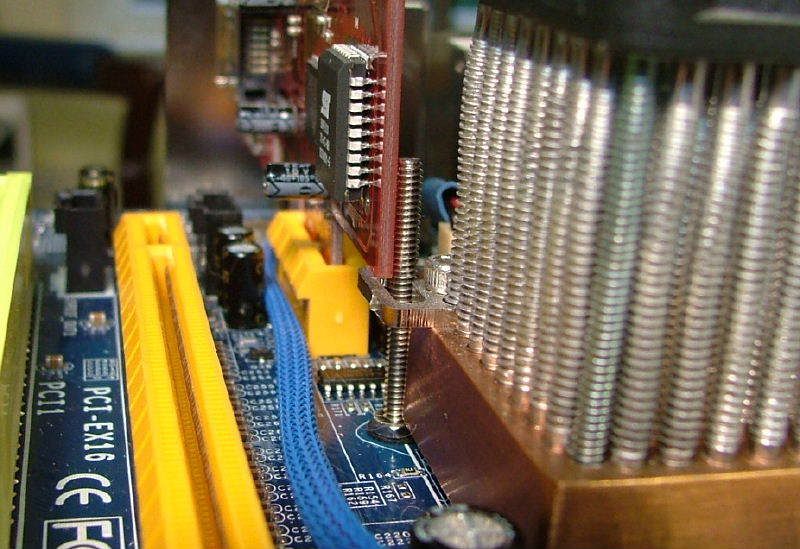
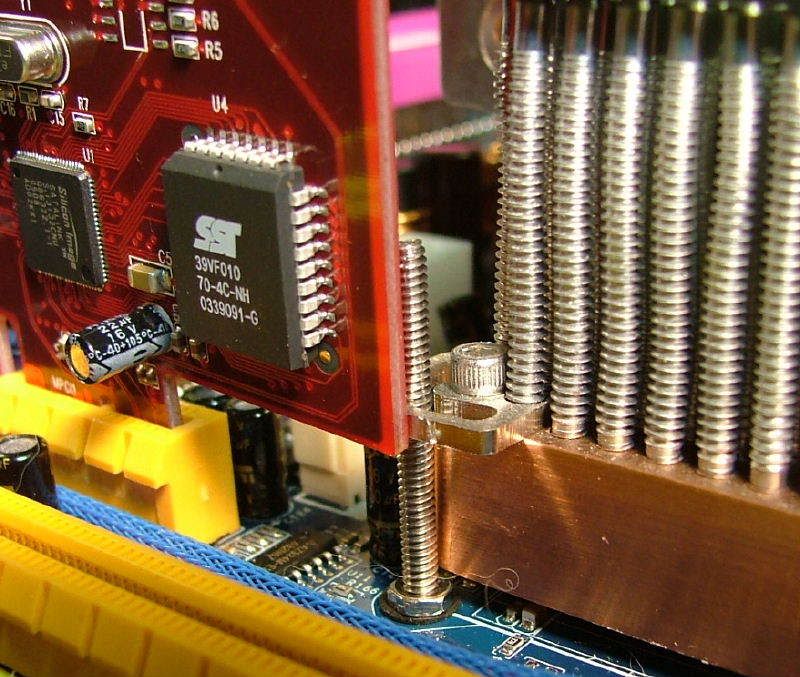
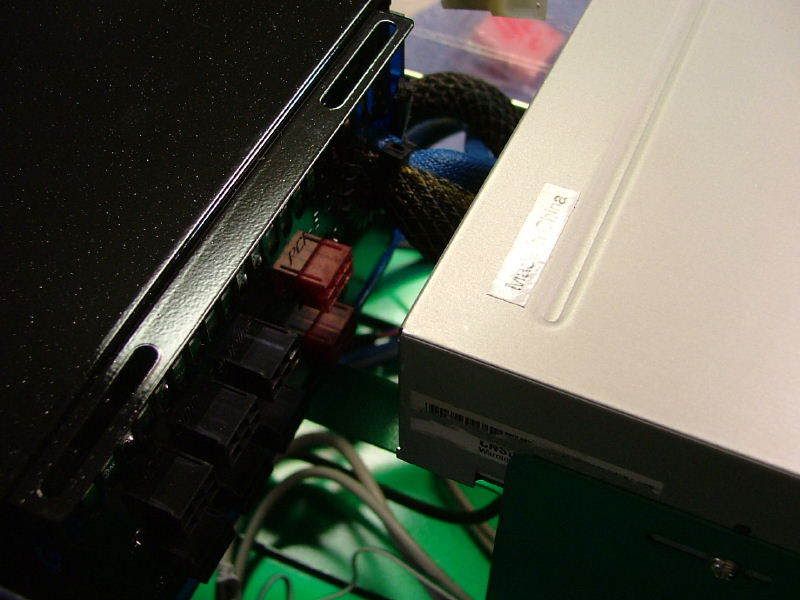
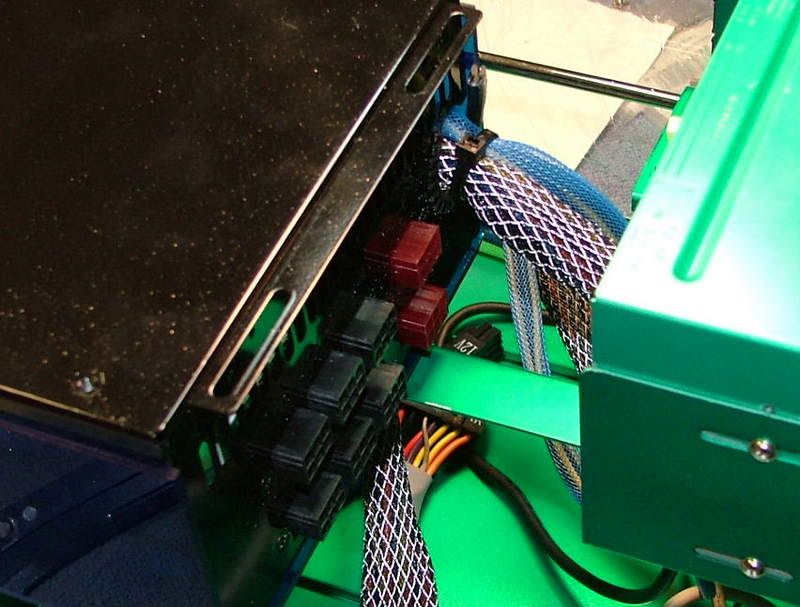
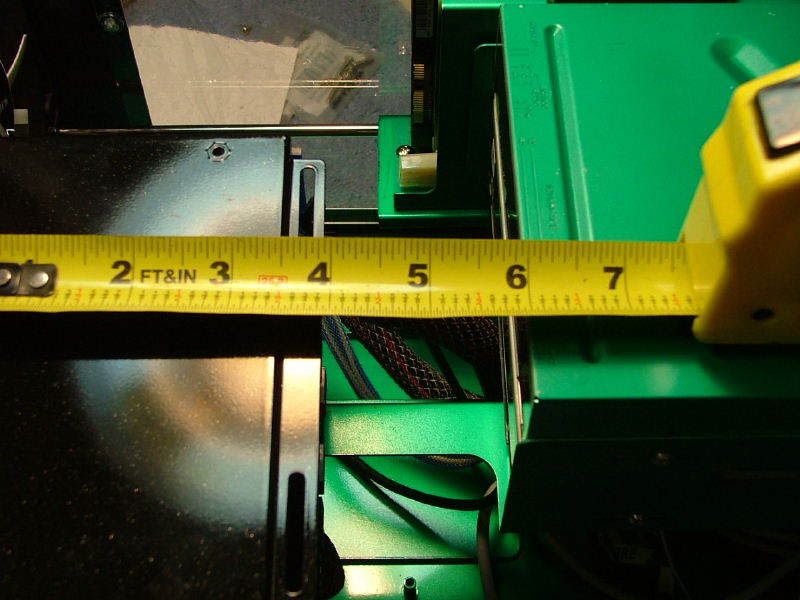
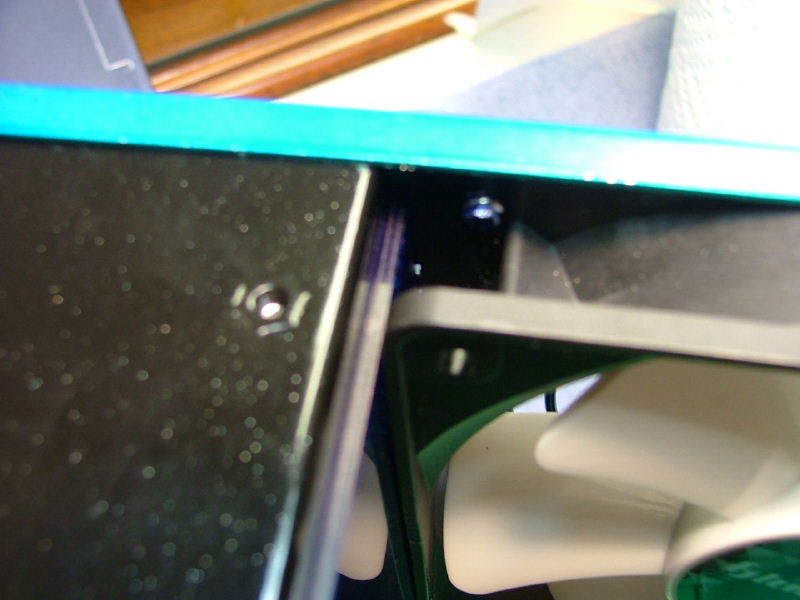
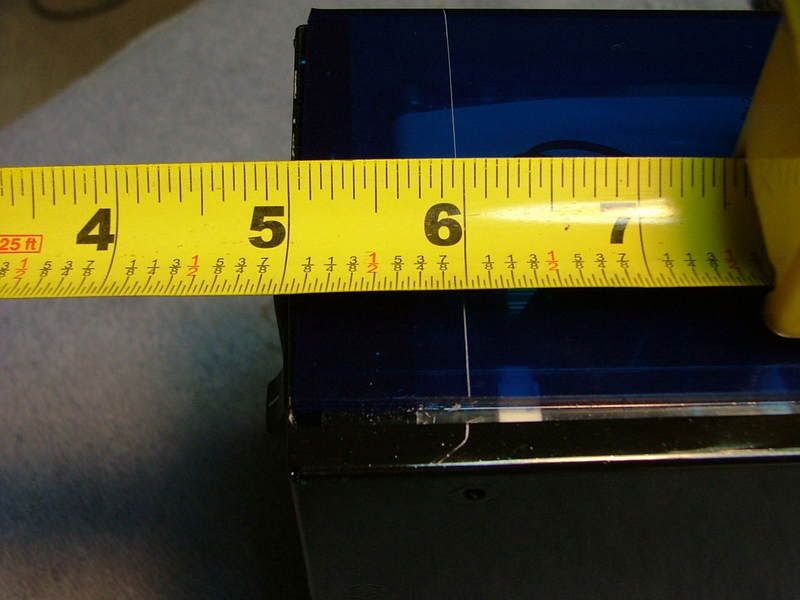
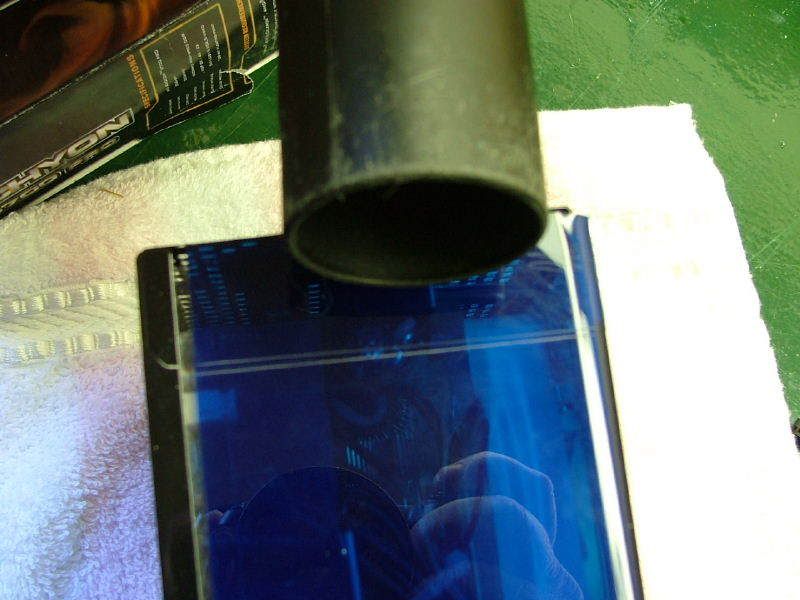
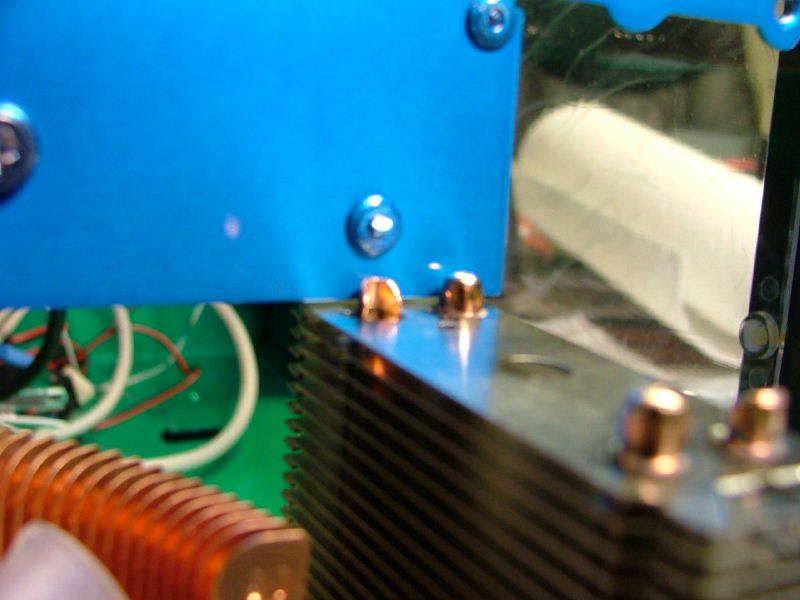
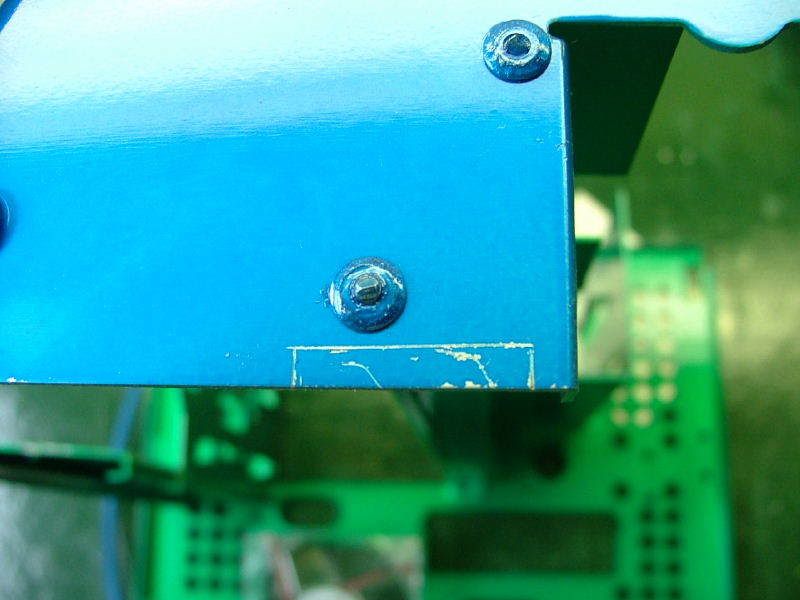
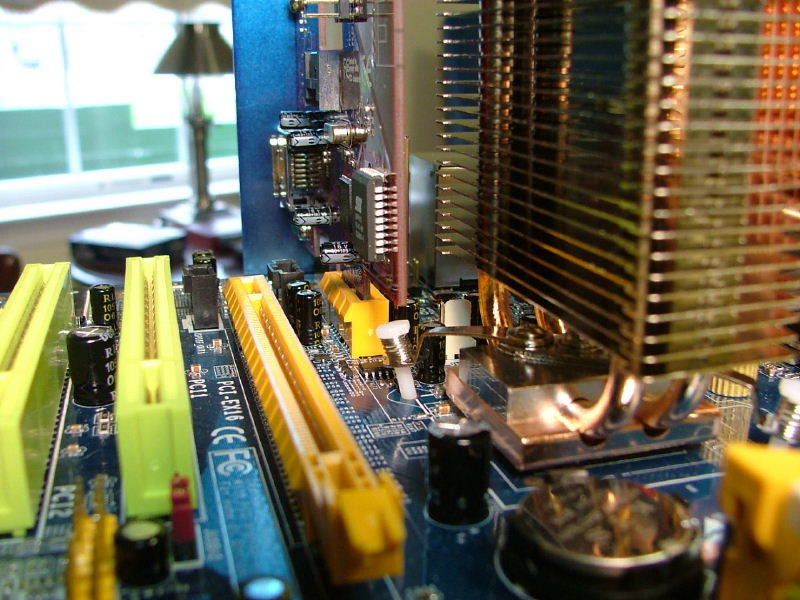
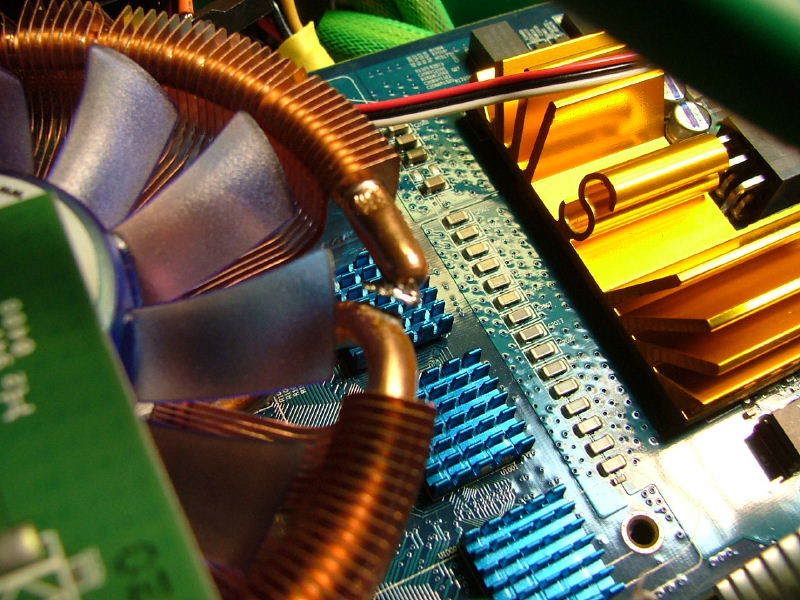
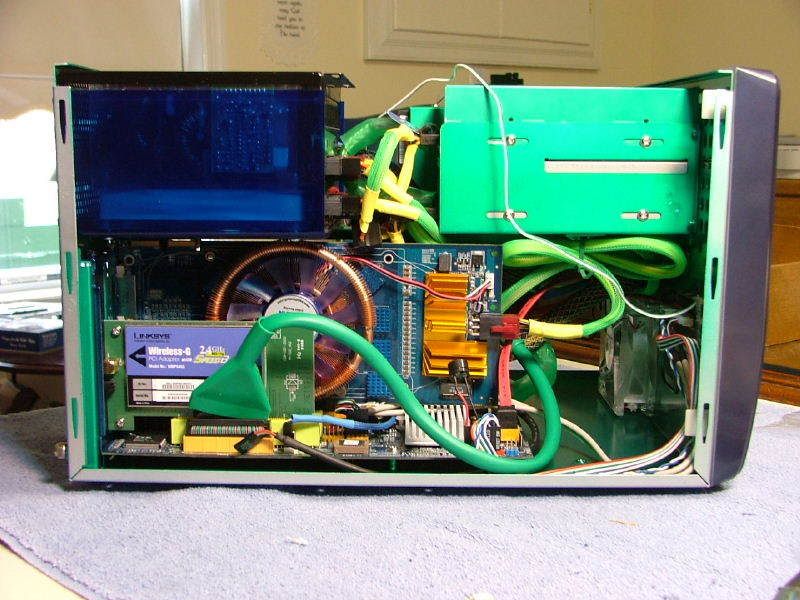
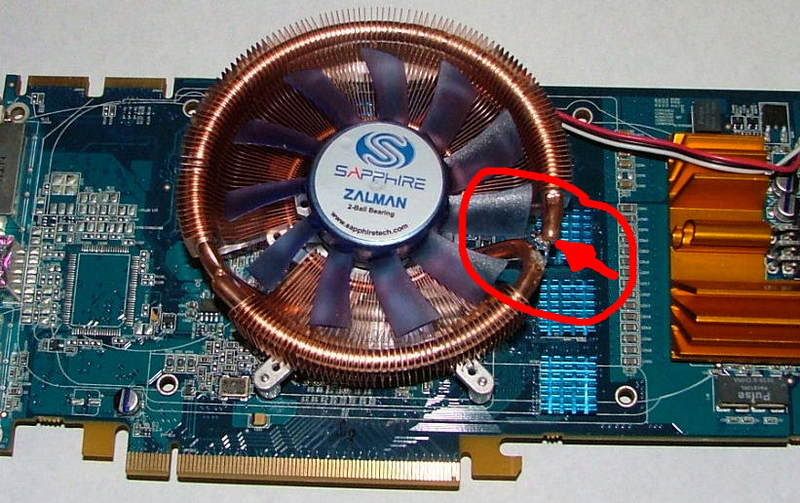
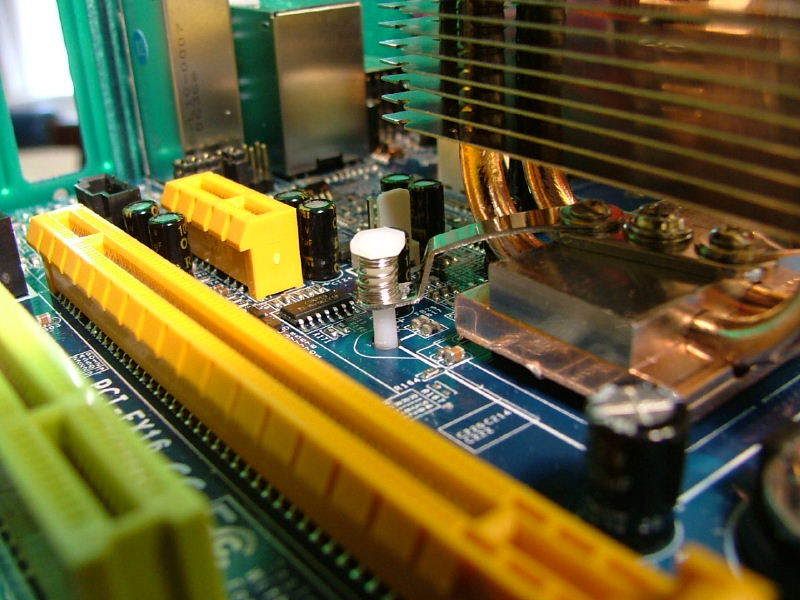
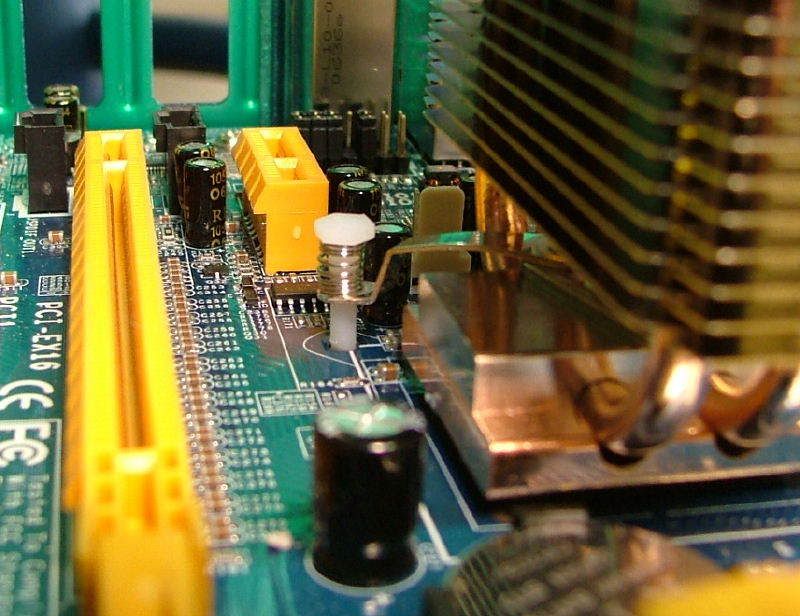
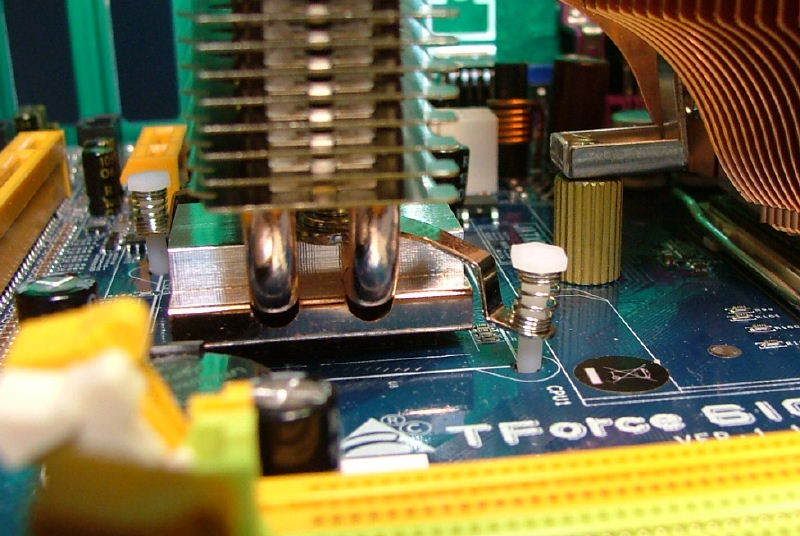
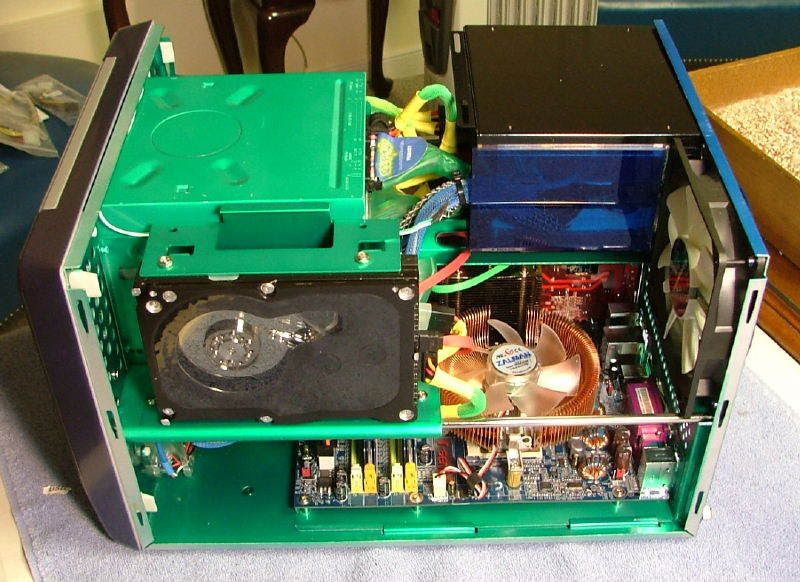
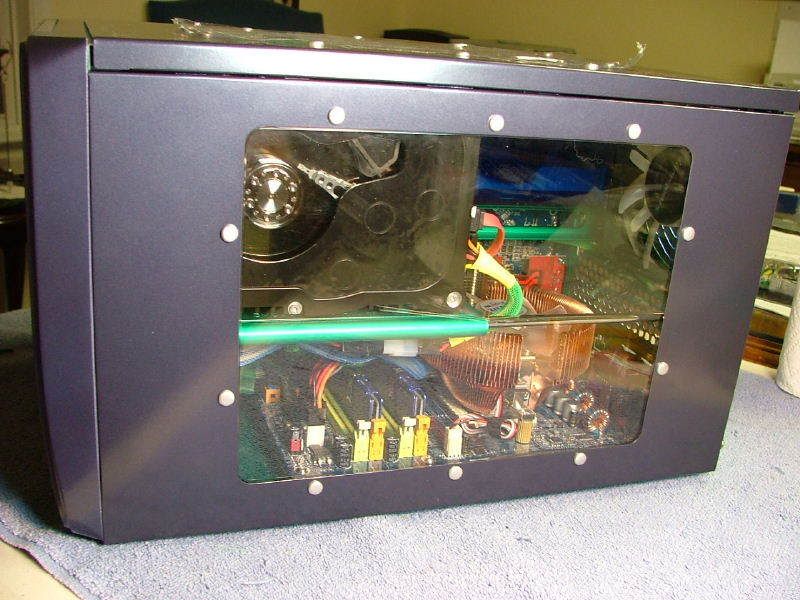
Initial fitting concerns centered on the GPUs Zalman based cooler, the PSU, and the bracing in the chassis. As you can see with the first fitting the cooler does clear the PSU (barely) and any internal bracing. However, when removing the mobo tray the cooler hits the top of the opening. It appears that anytime the GPU needs to be removed, the PSU will need to be removed first.
[BIMG]http://i34.photobucket.com/albums/d140/jedihobbit/DreamCatcher/GPU-PSUClearence1.jpg[/BIMG] [BIMG]http://i34.photobucket.com/albums/d140/jedihobbit/DreamCatcher/GPUChassisIssue1.jpg[/BIMG]
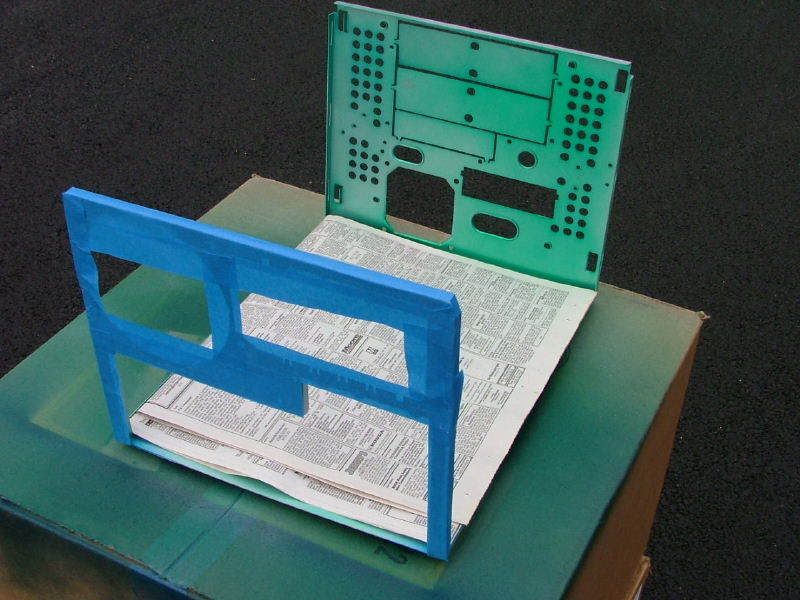
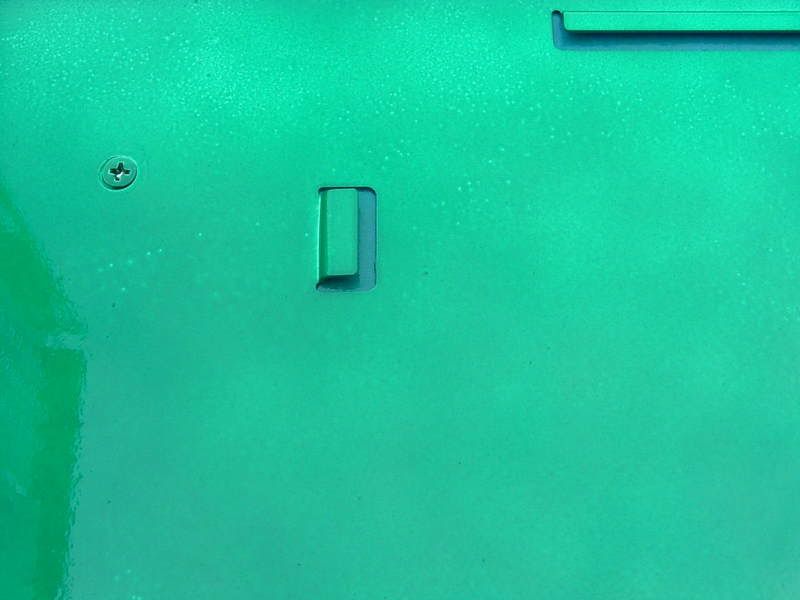
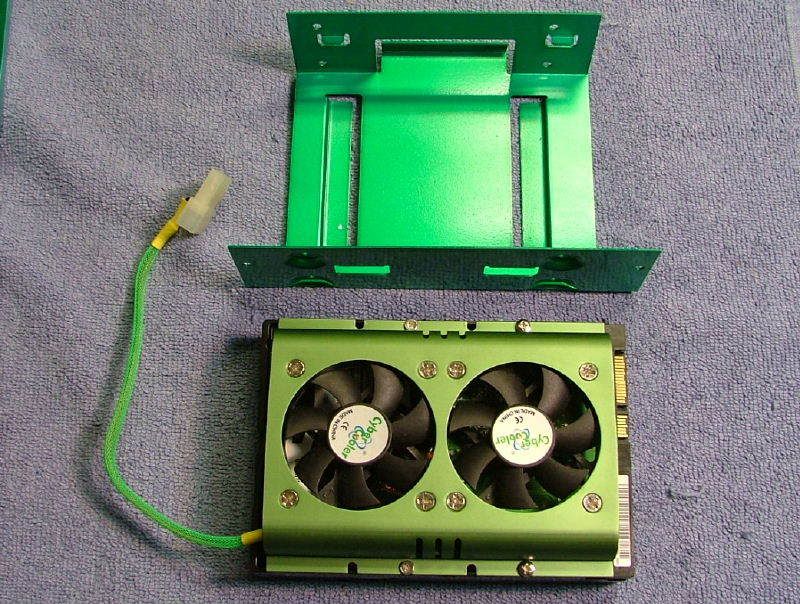
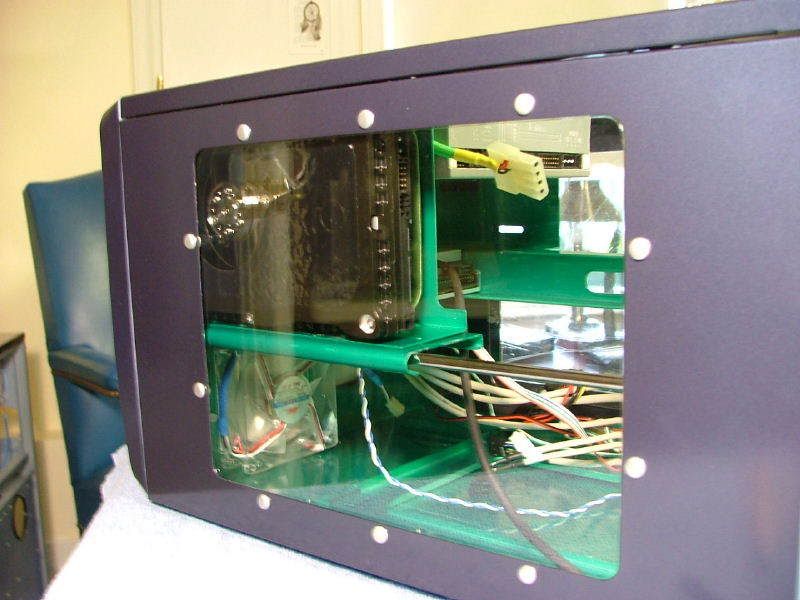
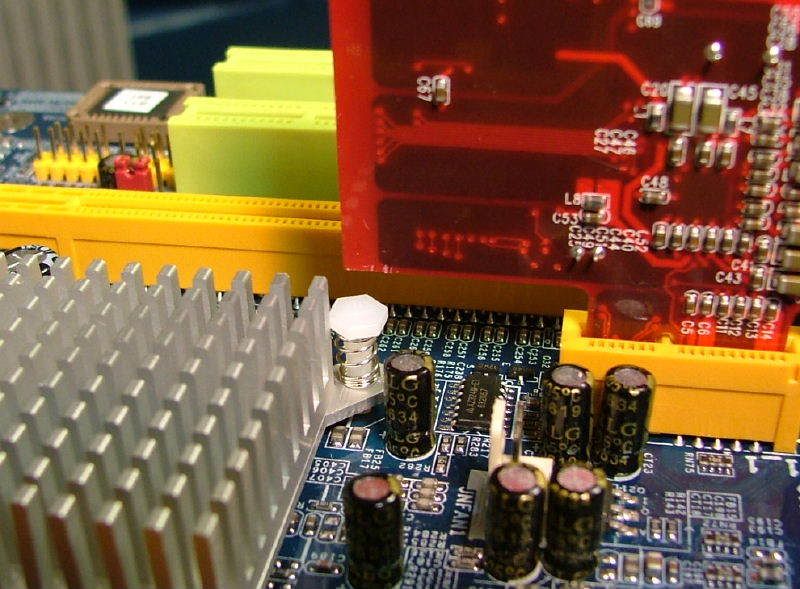
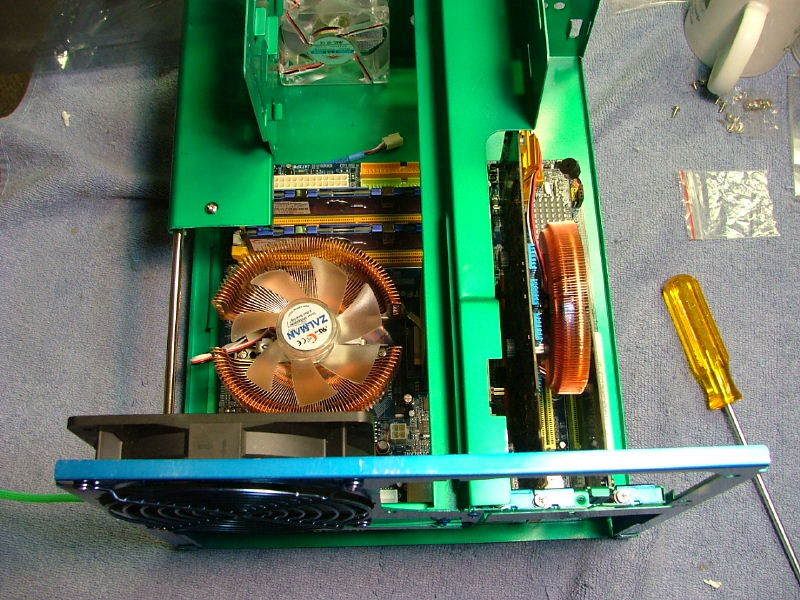
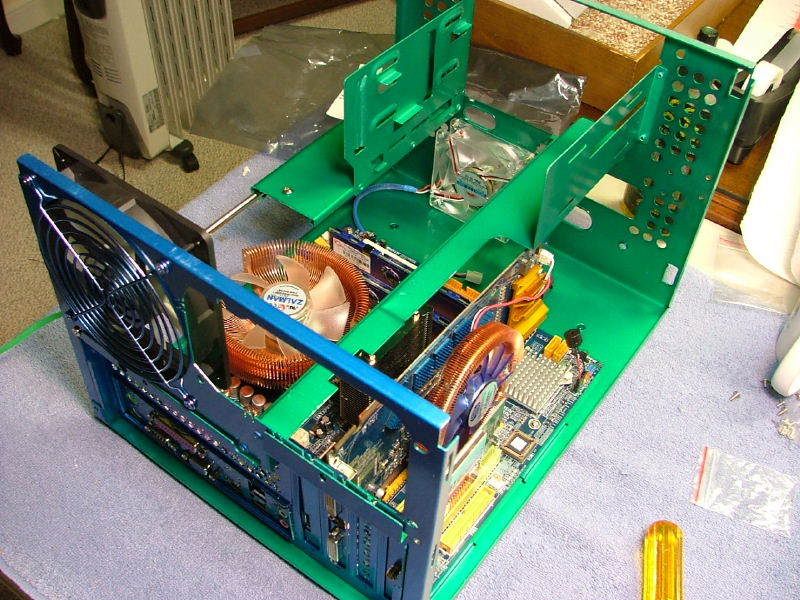
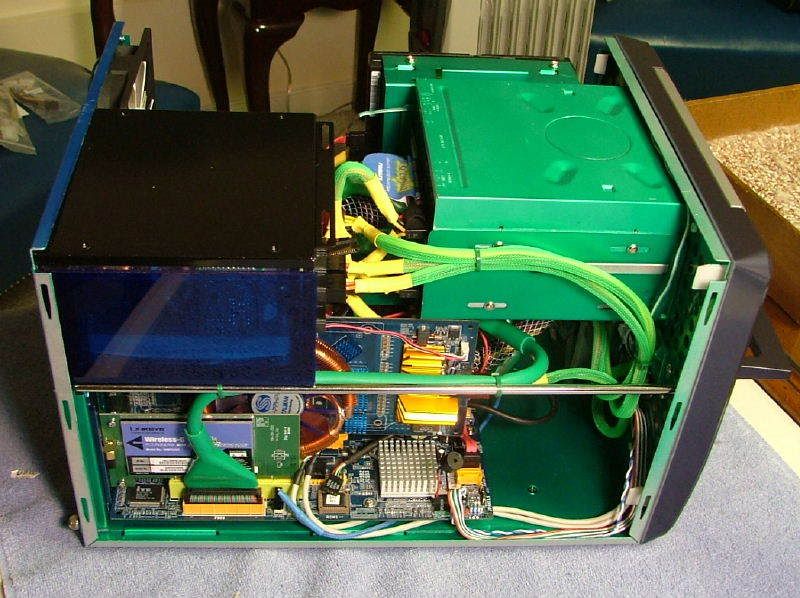
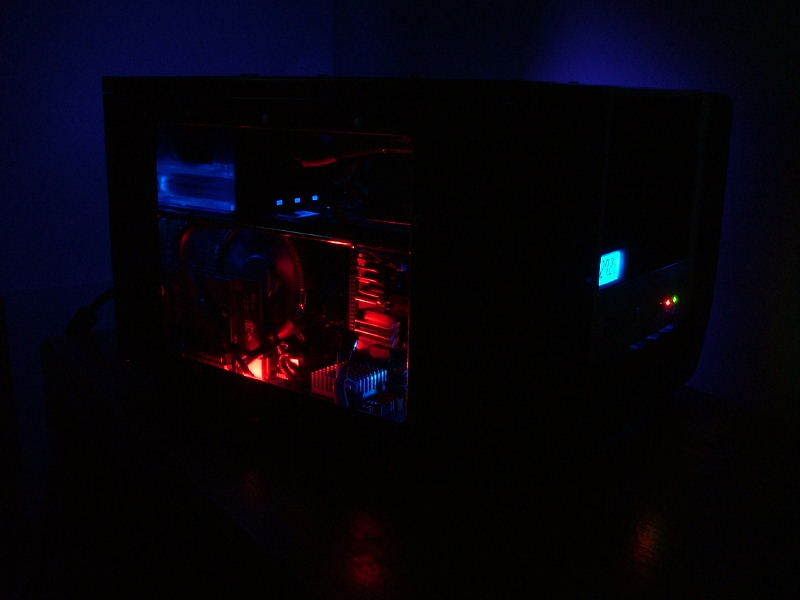
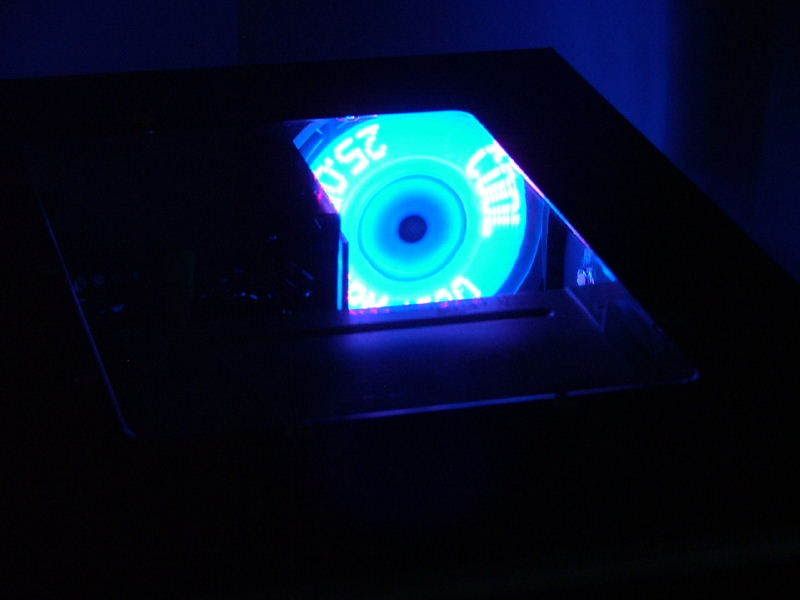
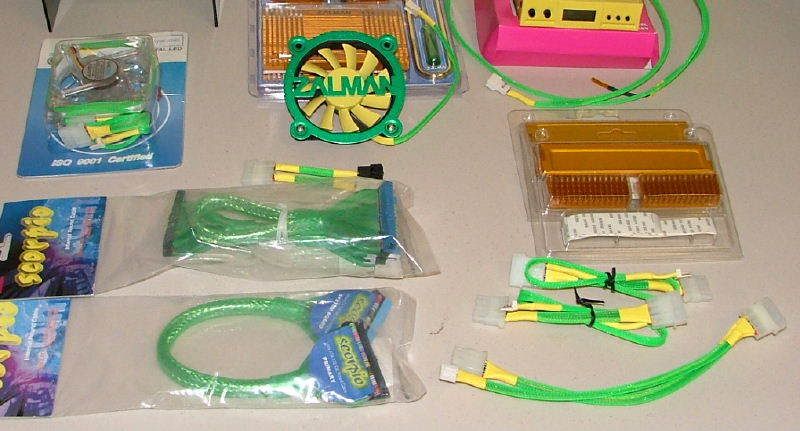
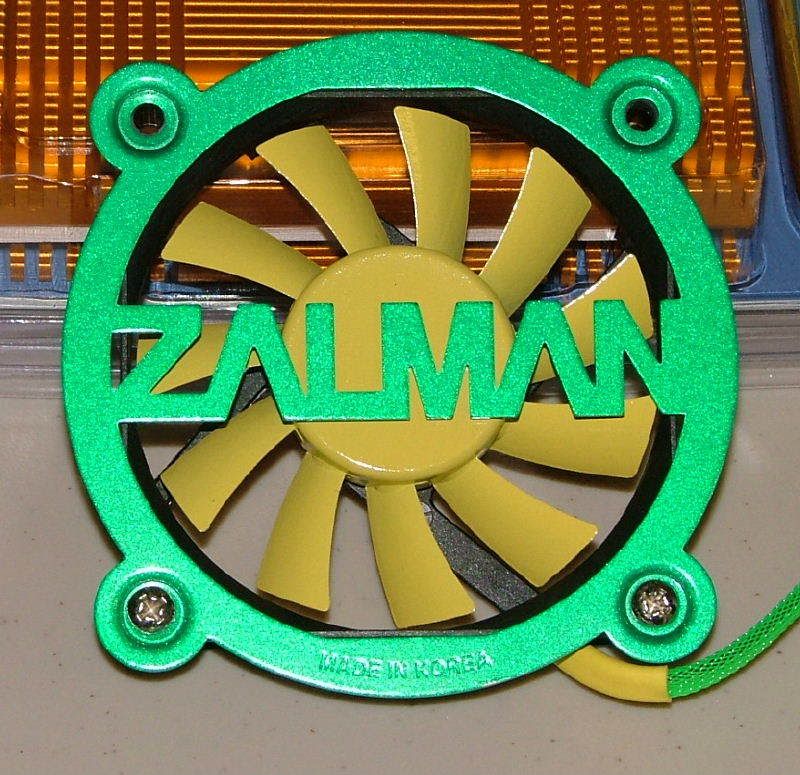
Trying to decide on the color scheme of the interior and have been contemplating using some of the components I still have lying around. These are from what was supposed to be an upgrade for the wifes original computer. As that theme was green and yellow was wondering how an anodized interior with green and yellow components would look with a blue exterior. The two fans and PSU fan would go to green LED. Attached are some pics showing the parts and the zalman fan is painted the green Im talking about.
Without Flash:

With Flash:
03/14/07
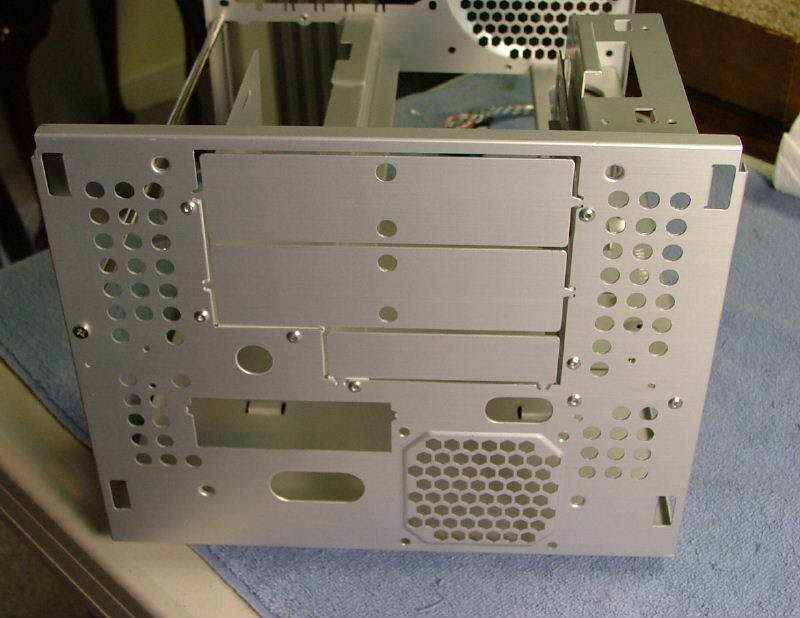
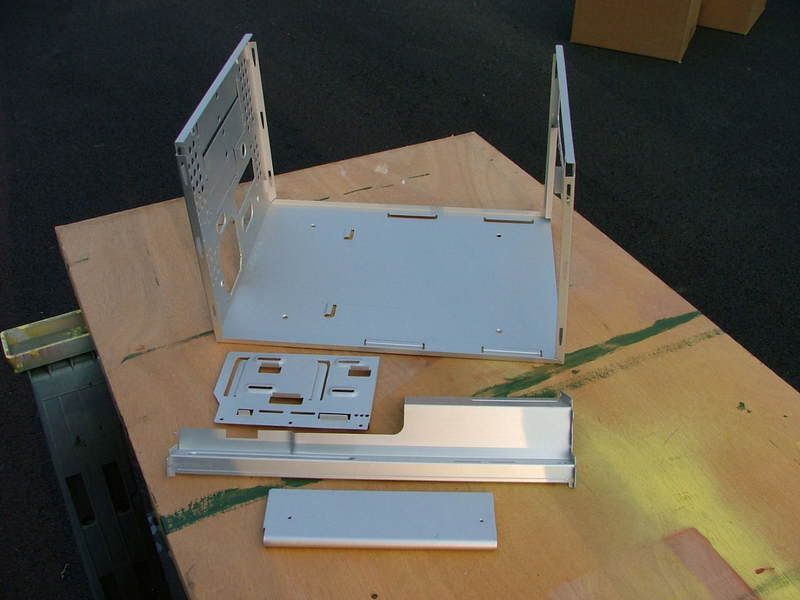
For those of you who arent acquainted with the MicroFly here it is necked awaiting me to chop and paint >> Front, Left Side, & rear.
Okay, after everything and their uncle tried to get in the way it is time to get started! The plan is to de-rivet first, cut out the stamped fan grills, and anything else I can come up with (danger dremel in hand!).
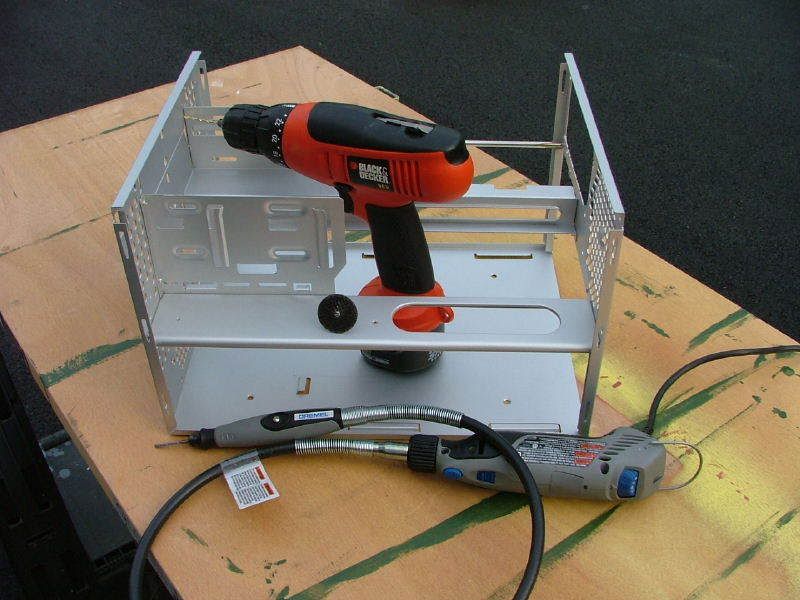
Didnt take any pics while drilling out the rivets - so here we are done, and getting ready to start cutting.

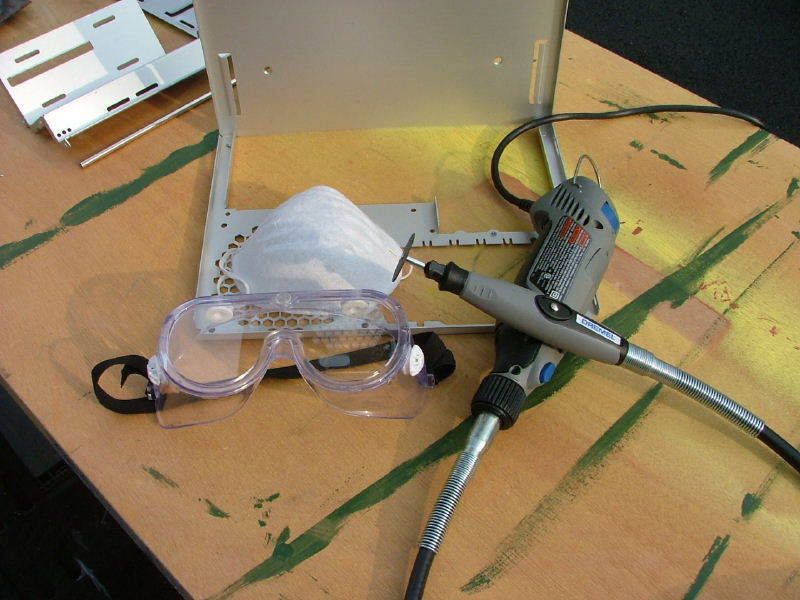
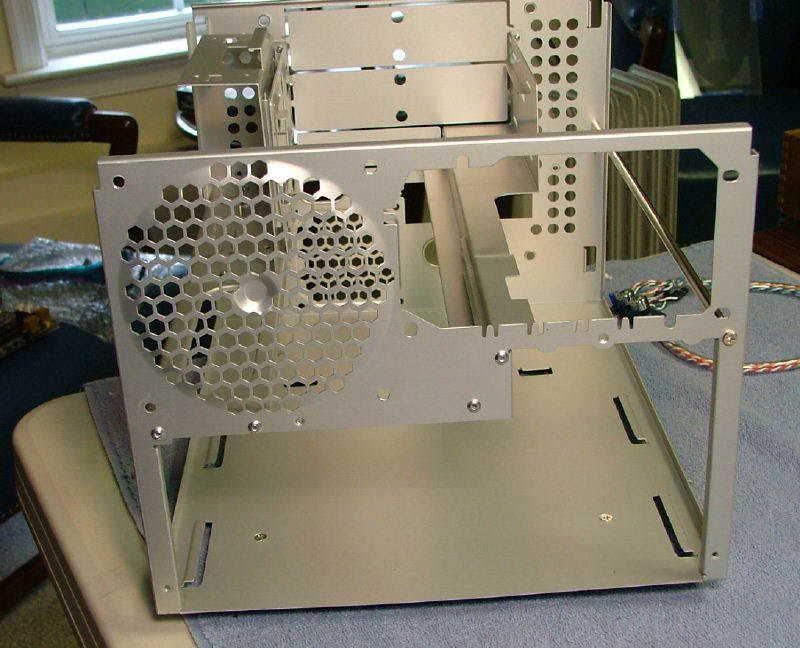
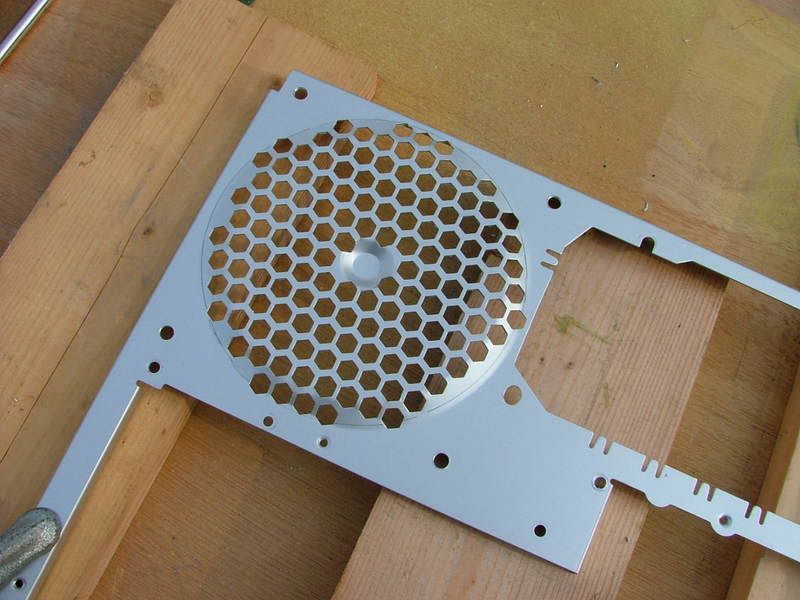
Wanted to do the small hole first as it will be good practice as Im used to steel and it is out of site. Starting out with one of the large fiberglass reinforce cutting discs (love these thing on steel!). First thing I noticed is that aluminum will melt a little at 10,000 rpm. The cleanup reminds me a little of cutting acrylic, anyway first hole done without incident. Had to revert back to the standard cutting disks (they dont last worth a tot, even on aluminum!) , oh well.
I have found that while cutting with the dremel/disc thing - supporting the work like I do with a jigsaw makes it easier (for me anyway) to cut neater.
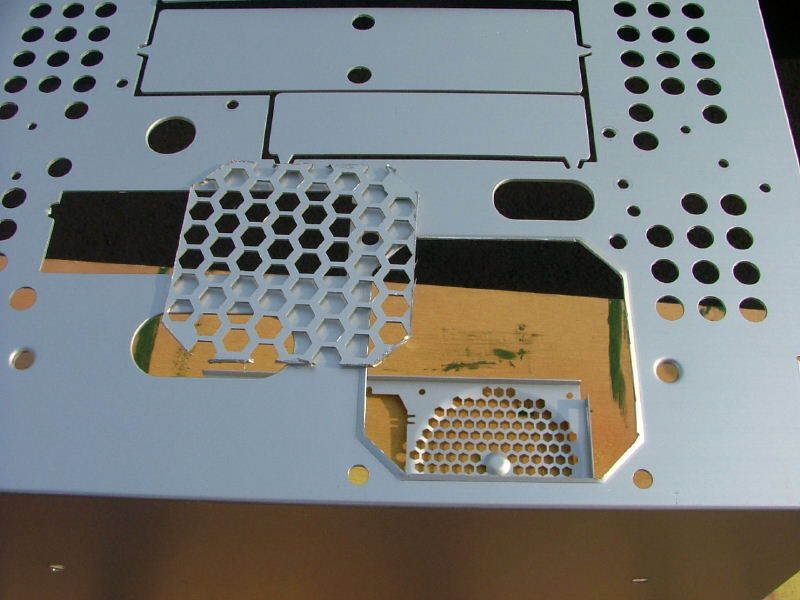
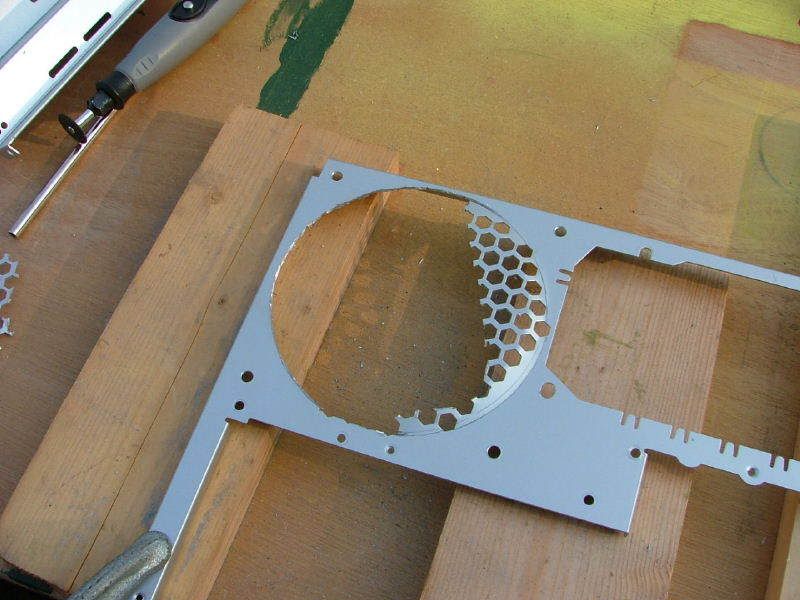
While I was trying to cut the large grill out I had to cut it away in pieces to make my arc work. Was not too pleased with the quality of my work on this cut but it is serviceable. Thanks again to the man who invented the file!

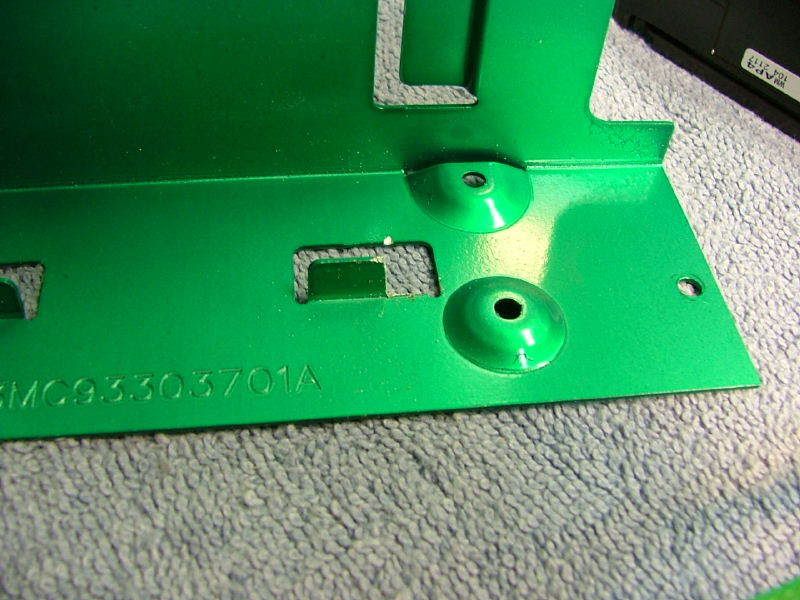
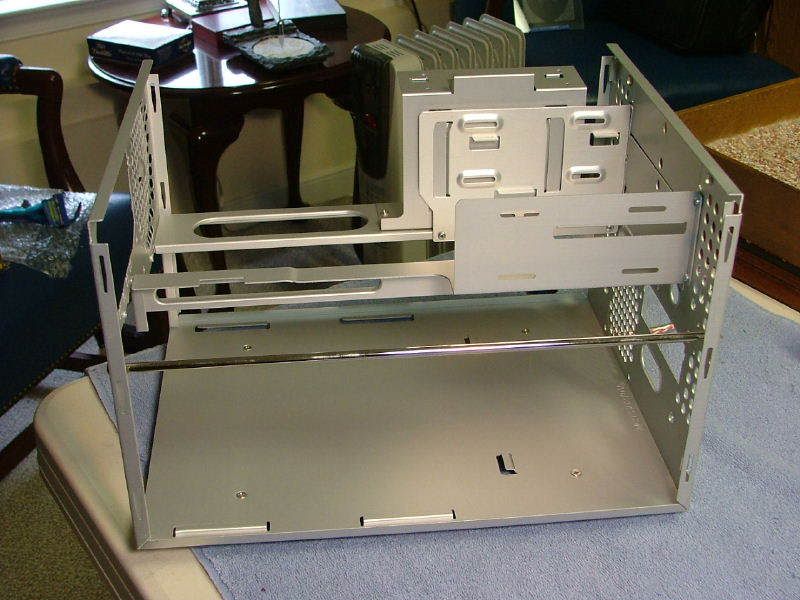
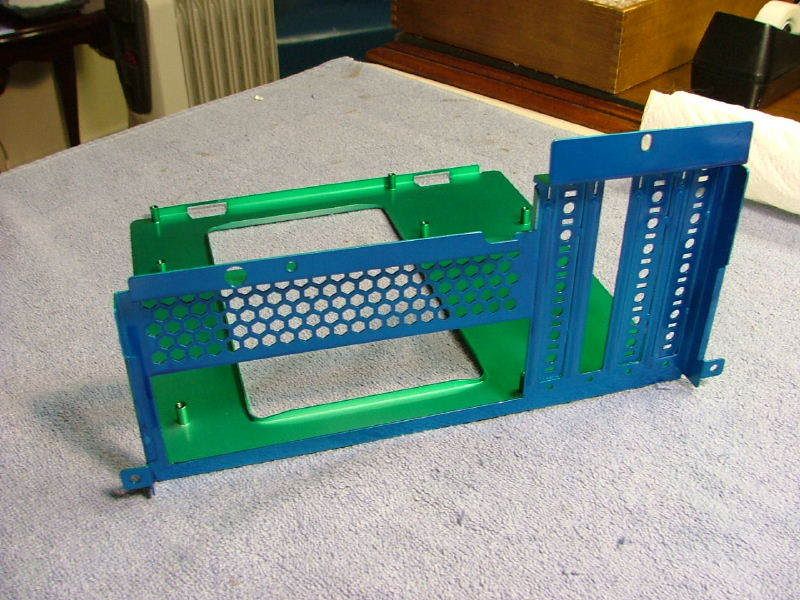
ULTRA jon over at ultraproducts.com/forums was showing me some of his mods to a MicroFly, one of which was to remove the brace that supports the HDD (right hand side facing the case) and using a support rod as on the left hand side of the case. Decided I wanted to do the same, but am a bit more paranoid. So this is my version >> use the rod and half of the sheet metal brace. Because of using the rod as one of the attachment point I needed to notch out the outside part of the flange with the rivet hole.

Then using a piece of wood to hold up the side that will be riveted to the front gave a look-see and it is what I wanted.
Well all the cutting and drilling are done and here be da scraps!
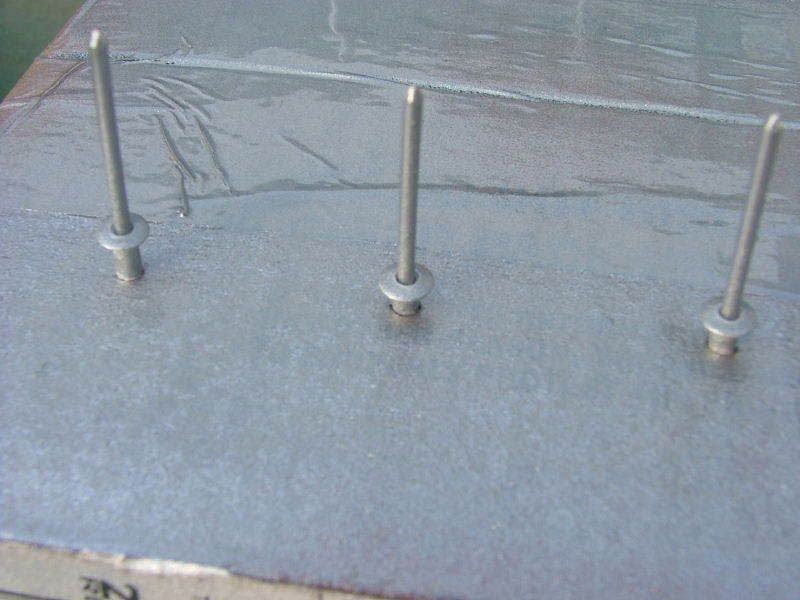
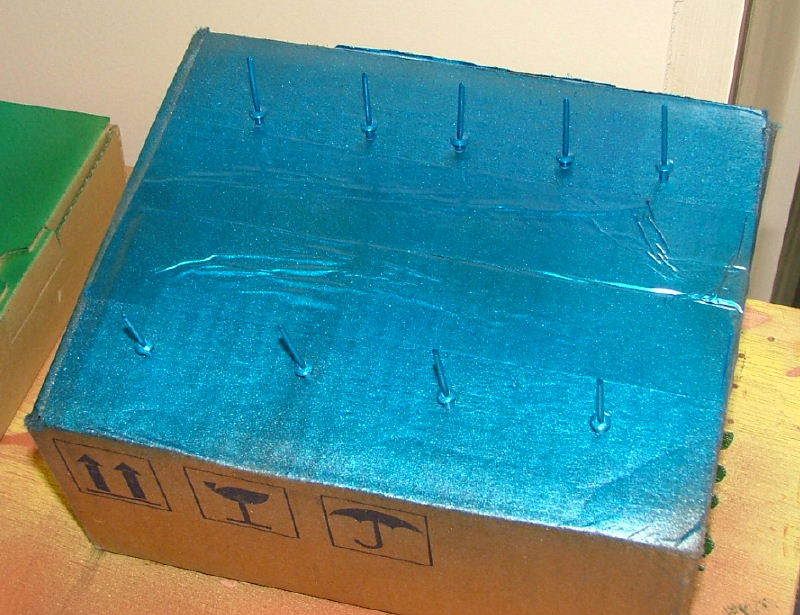
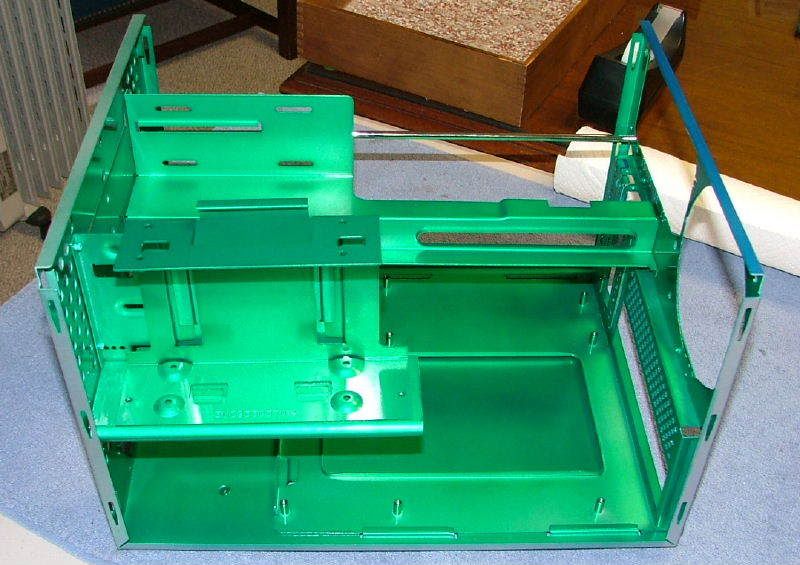
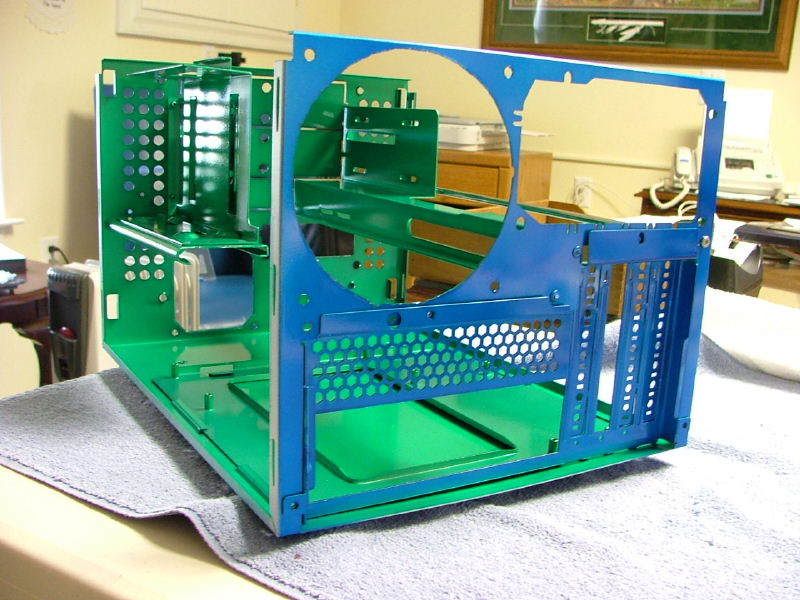
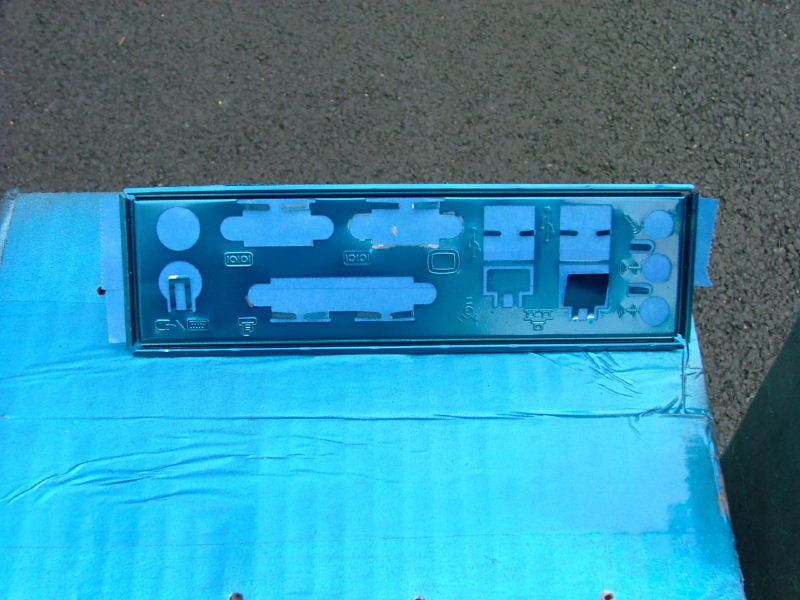
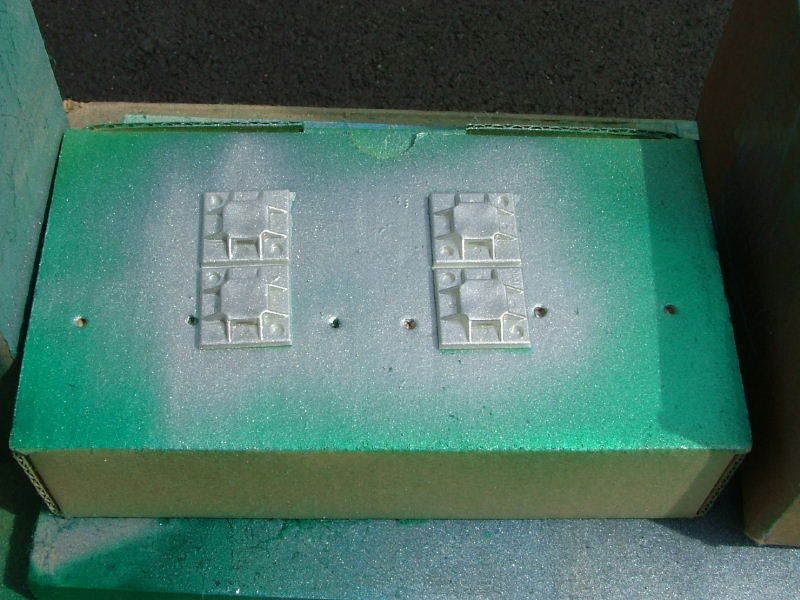
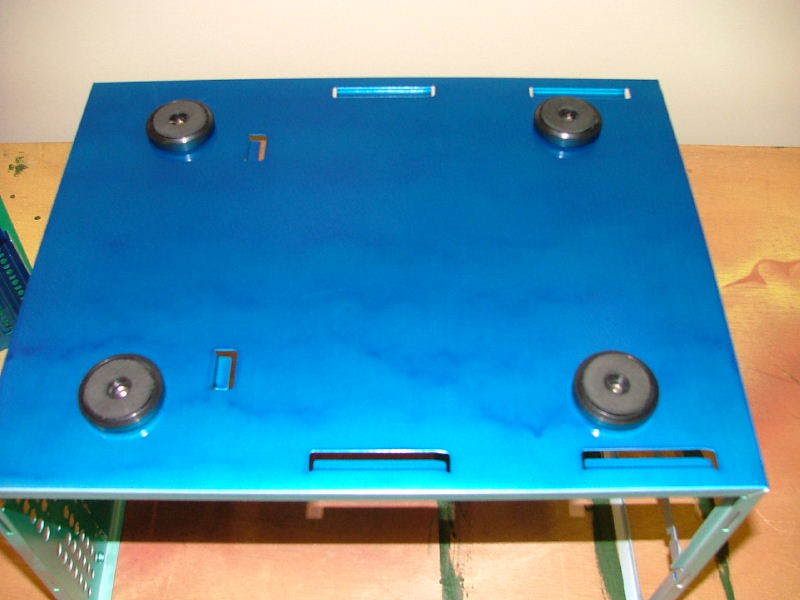
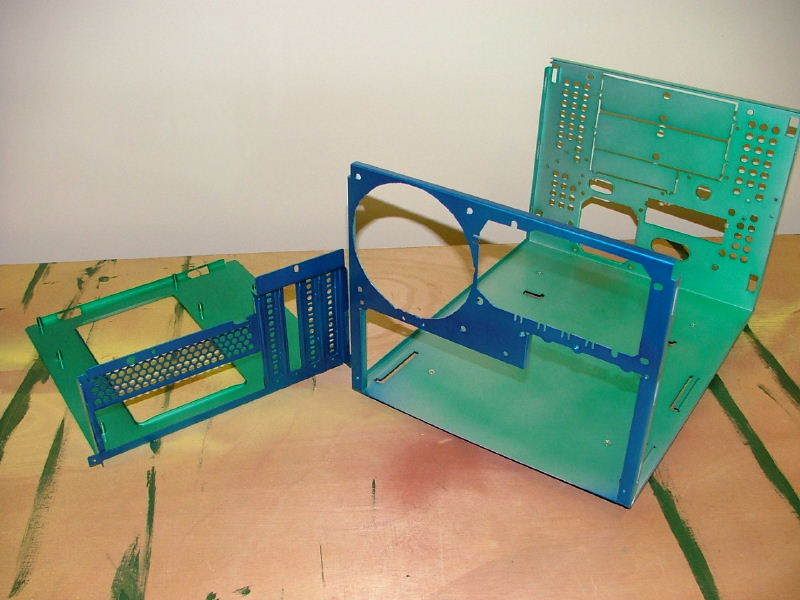
Now to get to the painting. At this time it was decided all bare metal external surfaces would be painted the anodized blue. So I masked off the mobo tray and did the rear of that and then the matching part of the chassis plus its bottom. Then on to doing the green.
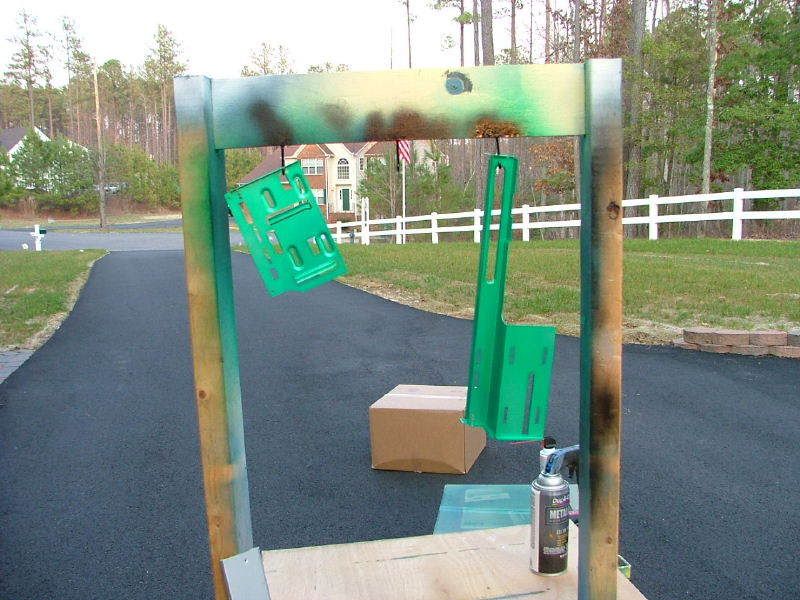
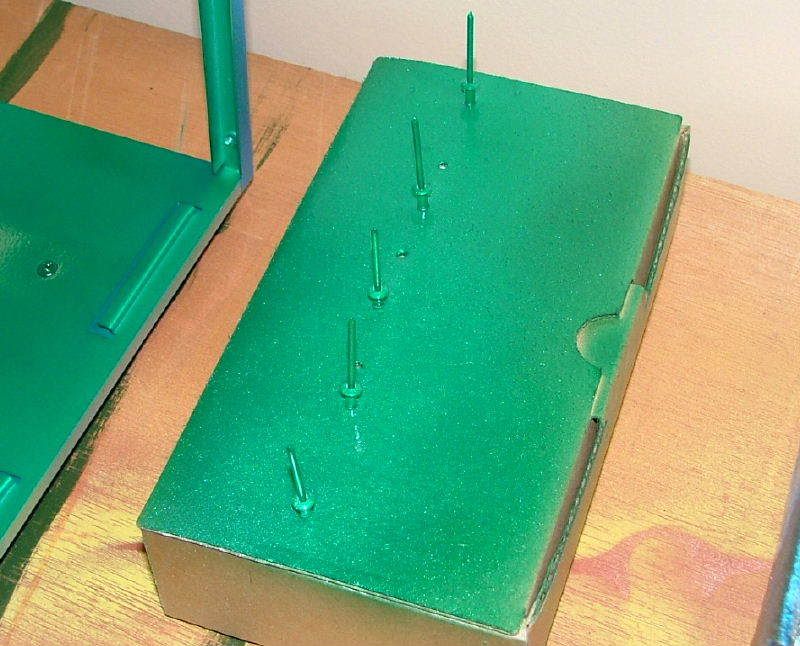
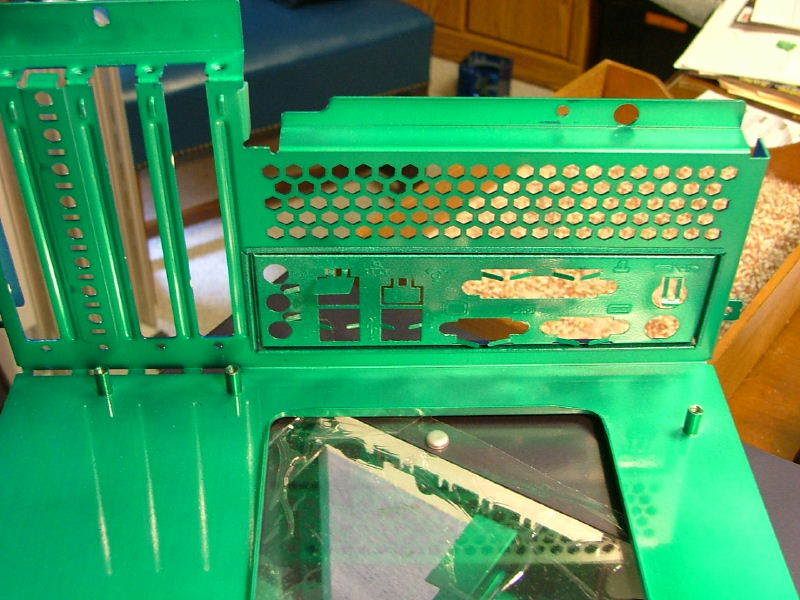
Now everything is hung out to dry overnight, this stuff on a good day is dry to the touch after about 30 minutes. However as you will see in the pic of the bottom, spray too thick and she will run, especially the pigment. The last picture shows the outside/inside appearance. However the chassis will be getting a second internal green coat Thursday because according to the instructions if the next coat is not done within 30 minutes of the first allow to dry 24 hours. Dont know for sure the why, but IT IS necessary.
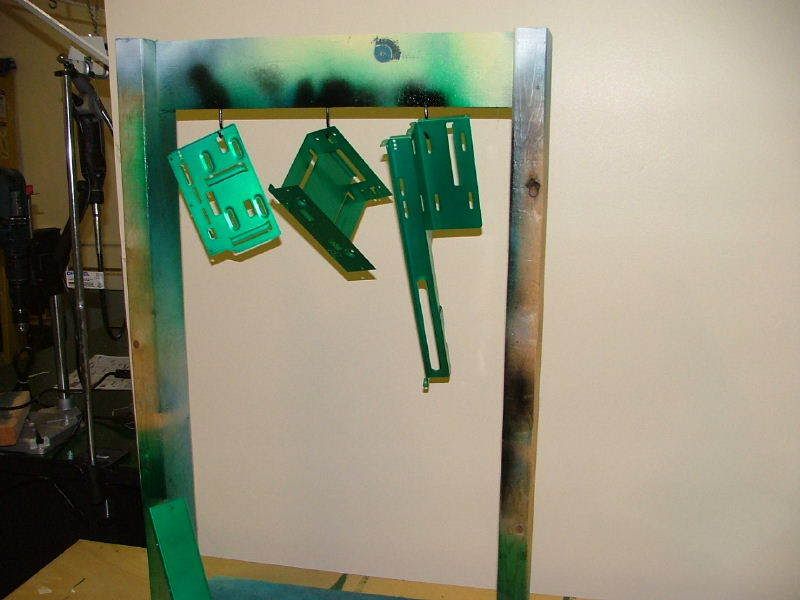
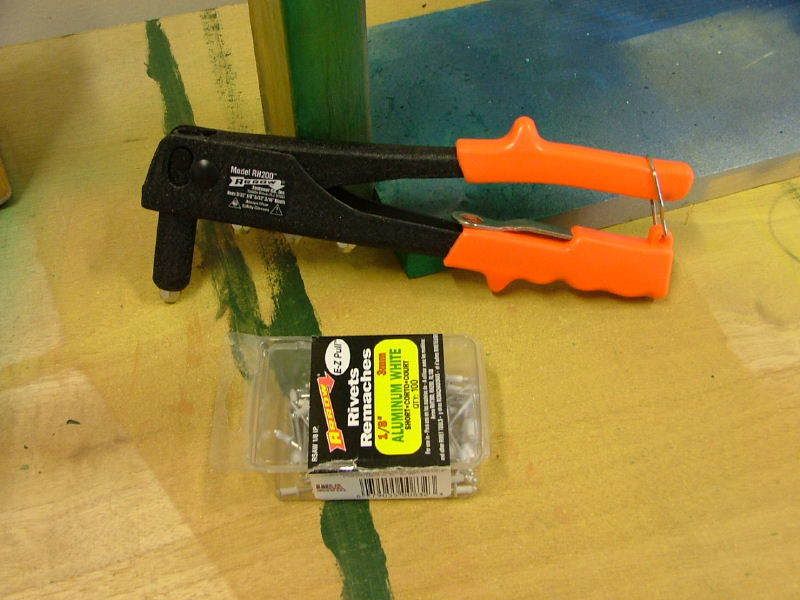
After I do that final interior green coat on the chassis, it will be time for me to find my pop rivet gun.
As fate (also known as eBay, newegg open box, MIRs, etc) would have it a computer build has been reborn. A system christened DreamCatcher last year and was to be an abit NF7S / 2500+ Barton build was abandoned in a peace overture to the wife, but now it has returned.
Here are the system specs:
CASE: Ultra MicroFly mATX, Blue, w/o PSU
PSU: Enermax Liberty ELT400AWT 400W**
MOBO: Biostar Tforce 6100-939
CPU: AMD Opteron 165, CCBBE 0610
HSF: Zalman CNS9500
GPU: Sapphire X1950 Pro Ultimate
MEMORY: g. skill F1-3200PHU2-2GBZX (2 x 1024)
HDD: WD Raptor X, 150 Gigs
Optical Drive 1: Asus 52X CD-ROM
Optical Drive 2: LG GSA-H42N-BK, 18X DVD+R Burner
** Could be upgraded to 620W if deemed necessary.
Here are the parts!
For the case check here: http://www.ultraproducts.com/product_details.php?cPath=13&pPath=439&productID=444
As the MicroFly comes with windows on both sides and top and a real nice exterior blue paint job, case mods may be at a minimum. Currently under consideration are:
1.Remove front and rear stamped case fan grills
2.Paint the chassis, mobo tray, and other related items.
3.Replace front 80mm fan with LED type; color TBD dependent on interior color pick.
4.Sleeving PSU and going with an acrylic cover and matching LED fan
This is my first aluminum case and it feels fragile to me. Then again it is aluminum! I really like the case as it has a removable mobo tray (my first), temp gage, very nice paint job, lots of windows, easy interior access, and on and on. One of my biggest gripes in doing a custom case has been that GPUs can come with all kinds of bling, which ends up facing down. With the MicroFly, the mobo sits flat and one can see the Video card through the side window.
Initial fitting concerns centered on the GPUs Zalman based cooler, the PSU, and the bracing in the chassis. As you can see with the first fitting the cooler does clear the PSU (barely) and any internal bracing. However, when removing the mobo tray the cooler hits the top of the opening. It appears that anytime the GPU needs to be removed, the PSU will need to be removed first.
[BIMG]http://i34.photobucket.com/albums/d140/jedihobbit/DreamCatcher/GPU-PSUClearence1.jpg[/BIMG] [BIMG]http://i34.photobucket.com/albums/d140/jedihobbit/DreamCatcher/GPUChassisIssue1.jpg[/BIMG]
Trying to decide on the color scheme of the interior and have been contemplating using some of the components I still have lying around. These are from what was supposed to be an upgrade for the wifes original computer. As that theme was green and yellow was wondering how an anodized interior with green and yellow components would look with a blue exterior. The two fans and PSU fan would go to green LED. Attached are some pics showing the parts and the zalman fan is painted the green Im talking about.
Without Flash:
With Flash:
03/14/07
For those of you who arent acquainted with the MicroFly here it is necked awaiting me to chop and paint >> Front, Left Side, & rear.
Okay, after everything and their uncle tried to get in the way it is time to get started! The plan is to de-rivet first, cut out the stamped fan grills, and anything else I can come up with (danger dremel in hand!).
Didnt take any pics while drilling out the rivets - so here we are done, and getting ready to start cutting.
Wanted to do the small hole first as it will be good practice as Im used to steel and it is out of site. Starting out with one of the large fiberglass reinforce cutting discs (love these thing on steel!). First thing I noticed is that aluminum will melt a little at 10,000 rpm. The cleanup reminds me a little of cutting acrylic, anyway first hole done without incident. Had to revert back to the standard cutting disks (they dont last worth a tot, even on aluminum!) , oh well.
I have found that while cutting with the dremel/disc thing - supporting the work like I do with a jigsaw makes it easier (for me anyway) to cut neater.
While I was trying to cut the large grill out I had to cut it away in pieces to make my arc work. Was not too pleased with the quality of my work on this cut but it is serviceable. Thanks again to the man who invented the file!
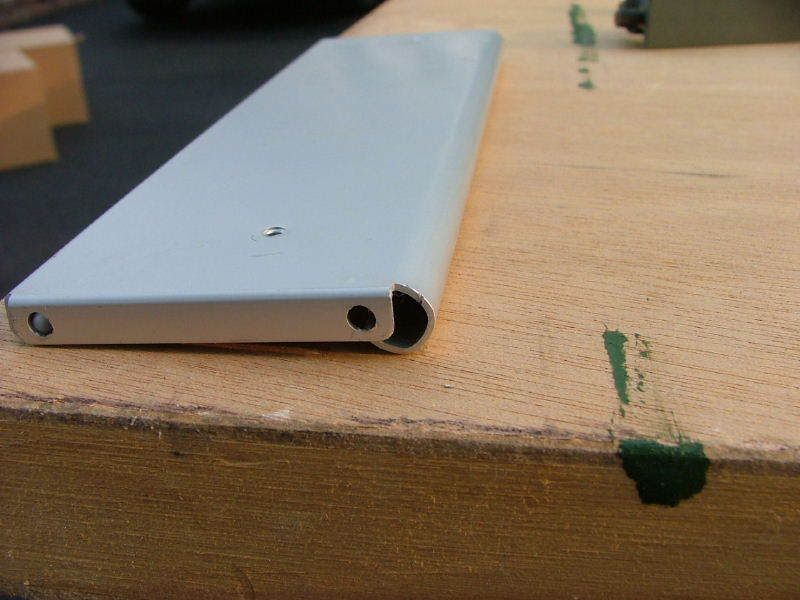
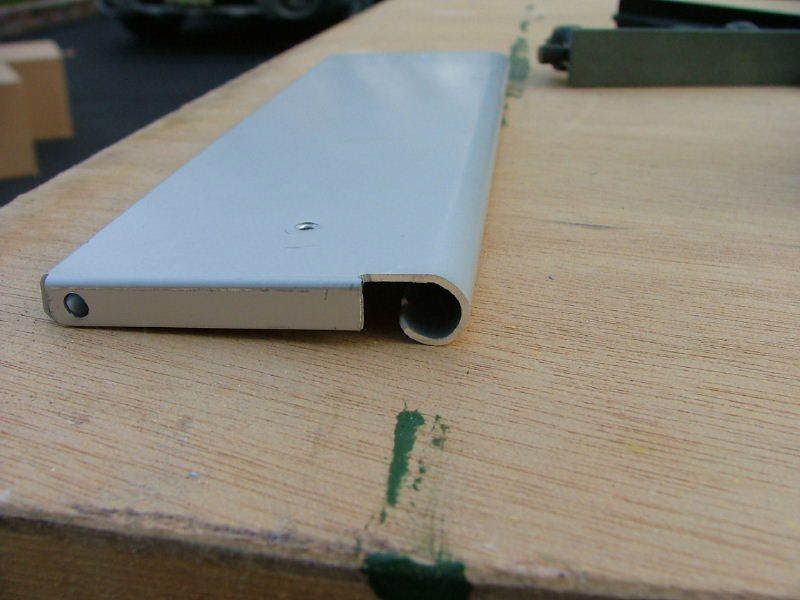
ULTRA jon over at ultraproducts.com/forums was showing me some of his mods to a MicroFly, one of which was to remove the brace that supports the HDD (right hand side facing the case) and using a support rod as on the left hand side of the case. Decided I wanted to do the same, but am a bit more paranoid. So this is my version >> use the rod and half of the sheet metal brace. Because of using the rod as one of the attachment point I needed to notch out the outside part of the flange with the rivet hole.
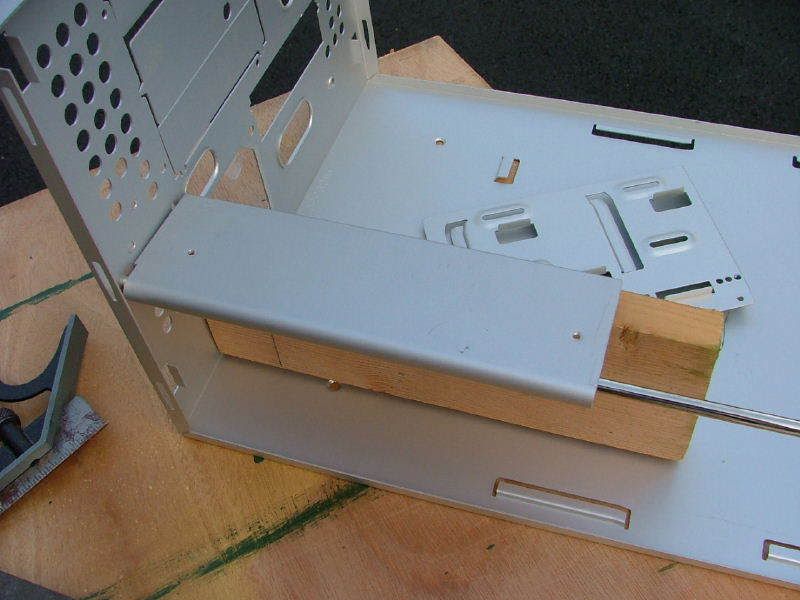
Then using a piece of wood to hold up the side that will be riveted to the front gave a look-see and it is what I wanted.
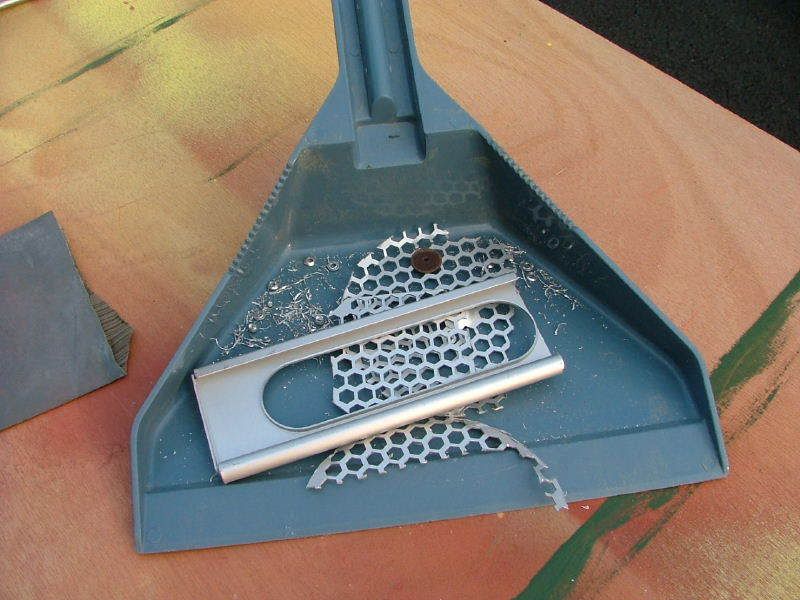
Well all the cutting and drilling are done and here be da scraps!
Now to get to the painting. At this time it was decided all bare metal external surfaces would be painted the anodized blue. So I masked off the mobo tray and did the rear of that and then the matching part of the chassis plus its bottom. Then on to doing the green.
Now everything is hung out to dry overnight, this stuff on a good day is dry to the touch after about 30 minutes. However as you will see in the pic of the bottom, spray too thick and she will run, especially the pigment. The last picture shows the outside/inside appearance. However the chassis will be getting a second internal green coat Thursday because according to the instructions if the next coat is not done within 30 minutes of the first allow to dry 24 hours. Dont know for sure the why, but IT IS necessary.
After I do that final interior green coat on the chassis, it will be time for me to find my pop rivet gun.