Here's my first case modding attempt. Wish me luck! I'm kinda playing it as I go, but I had a few things in mind, WC for one and the placement of equipment, but I'm sure some things will come to me as I get in the later stages. ")
It will also be painted.
I'm going to number every picture so it's easy to reference if you have a suggestion or comment.
And btw, I don't have 3 arms, my dad is doing some of the work so I can take pictures of the process, but I am doing most of it. I just wanted to get pictures of the actual n00bie techniques I used for this project.
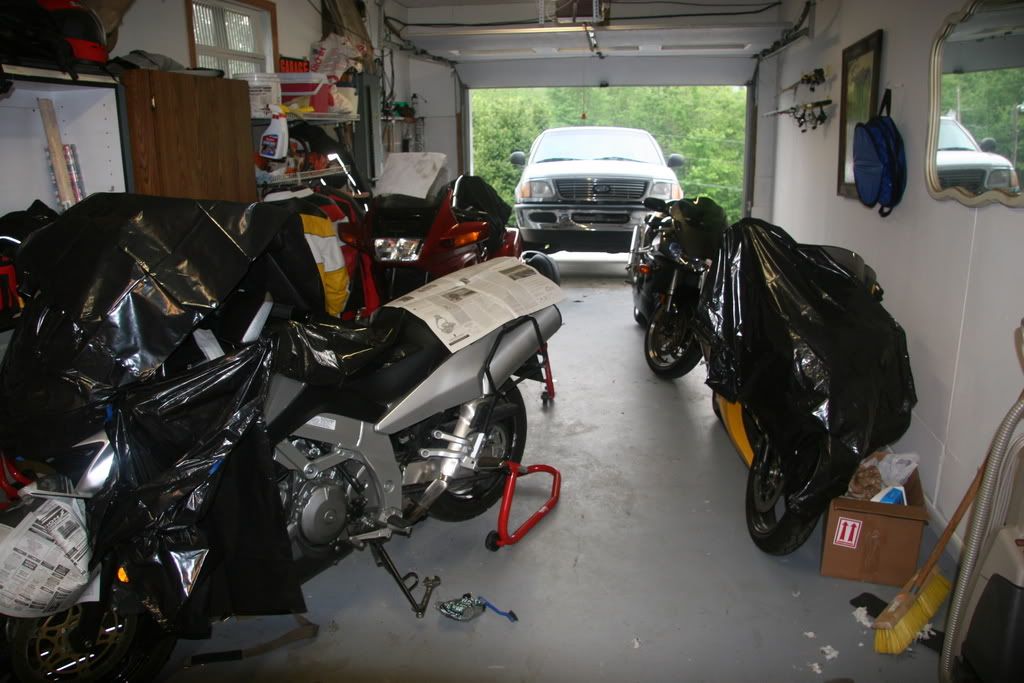
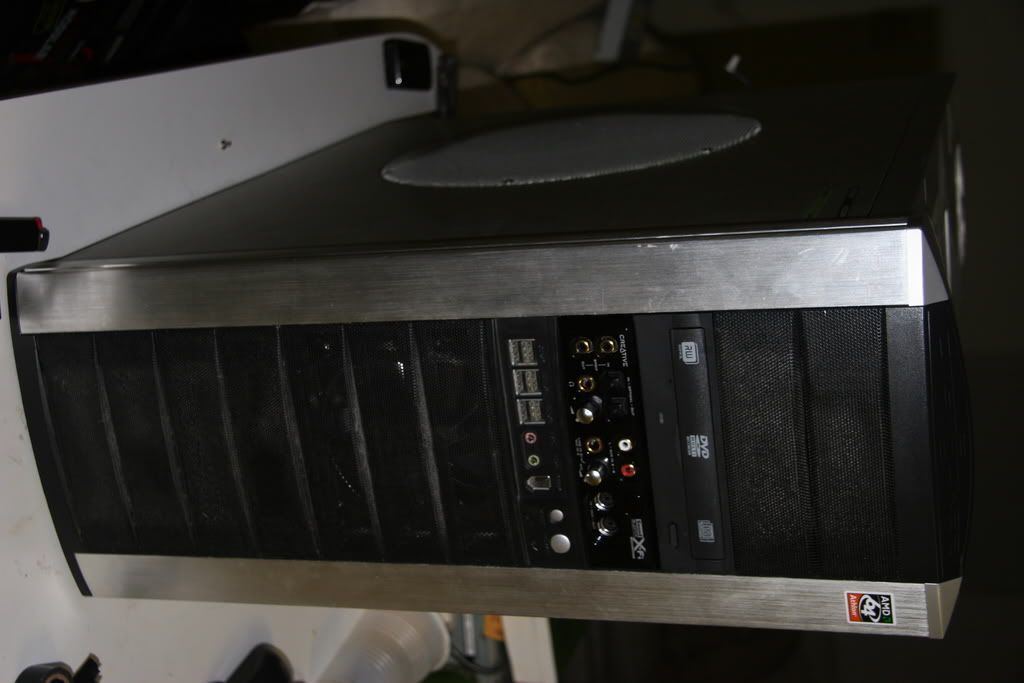
Here's the before and what I'm working with:
#1
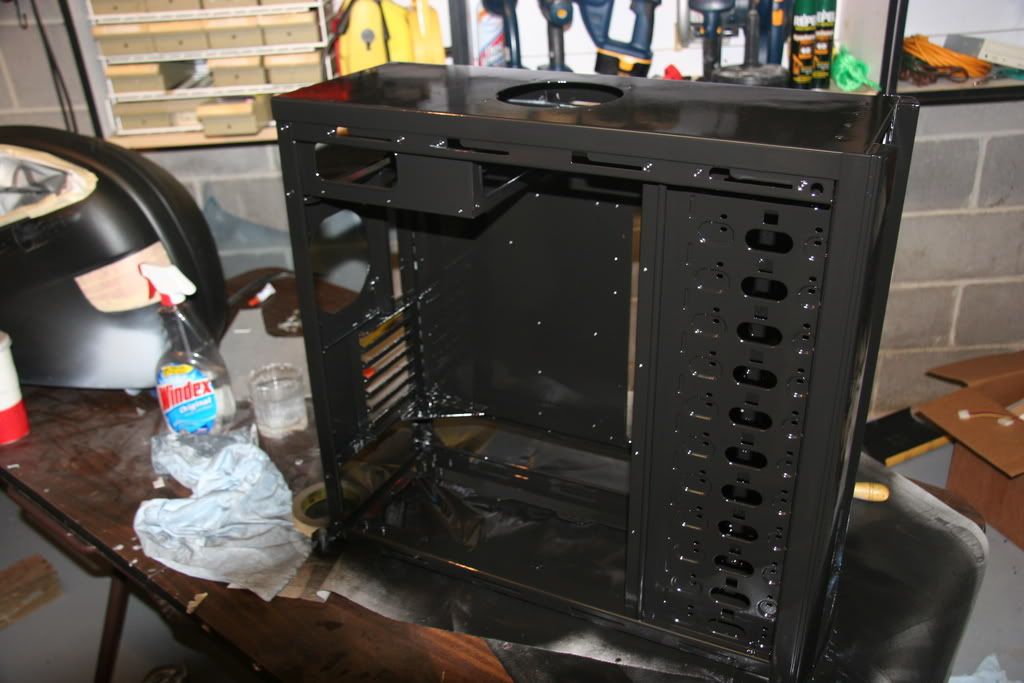
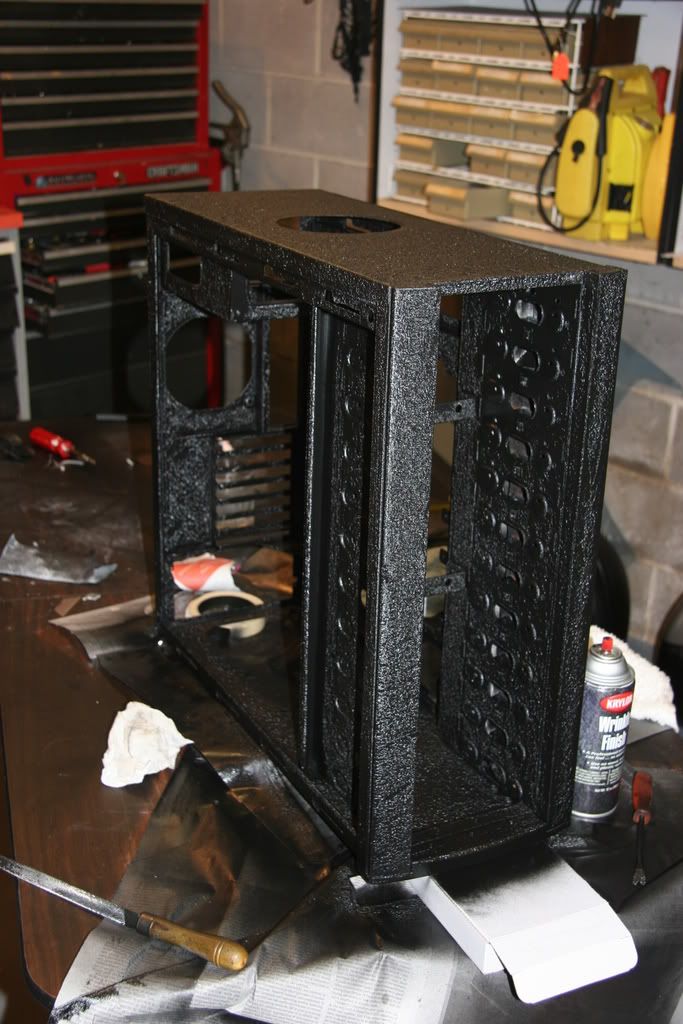
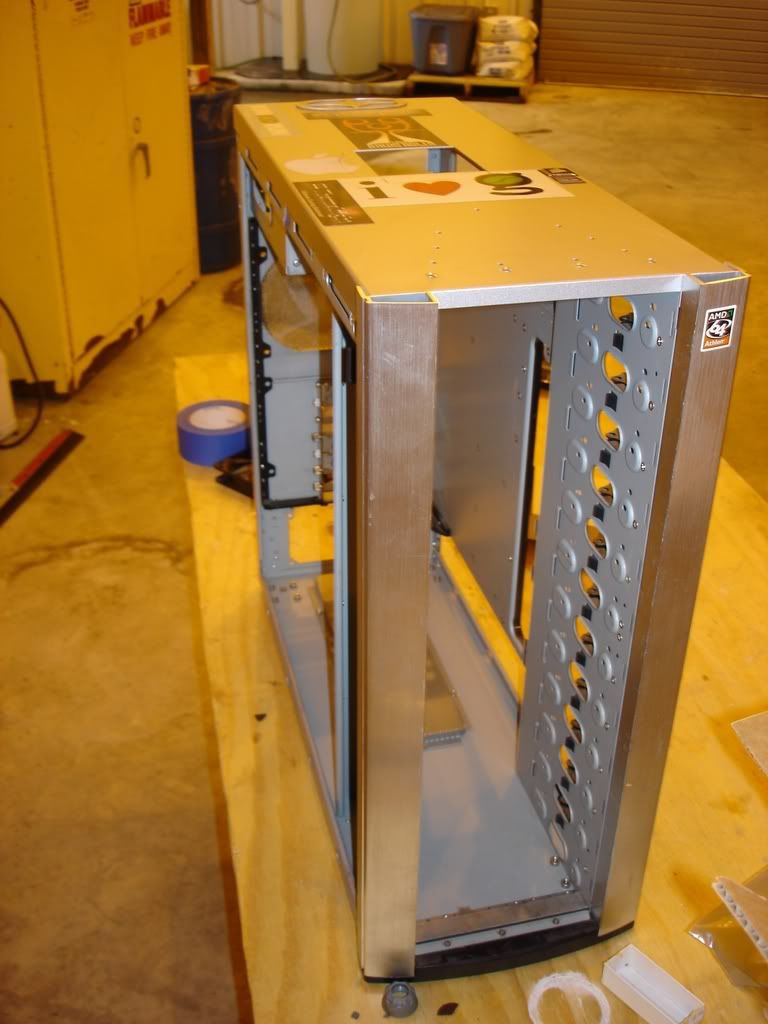
Stripped down:
#2
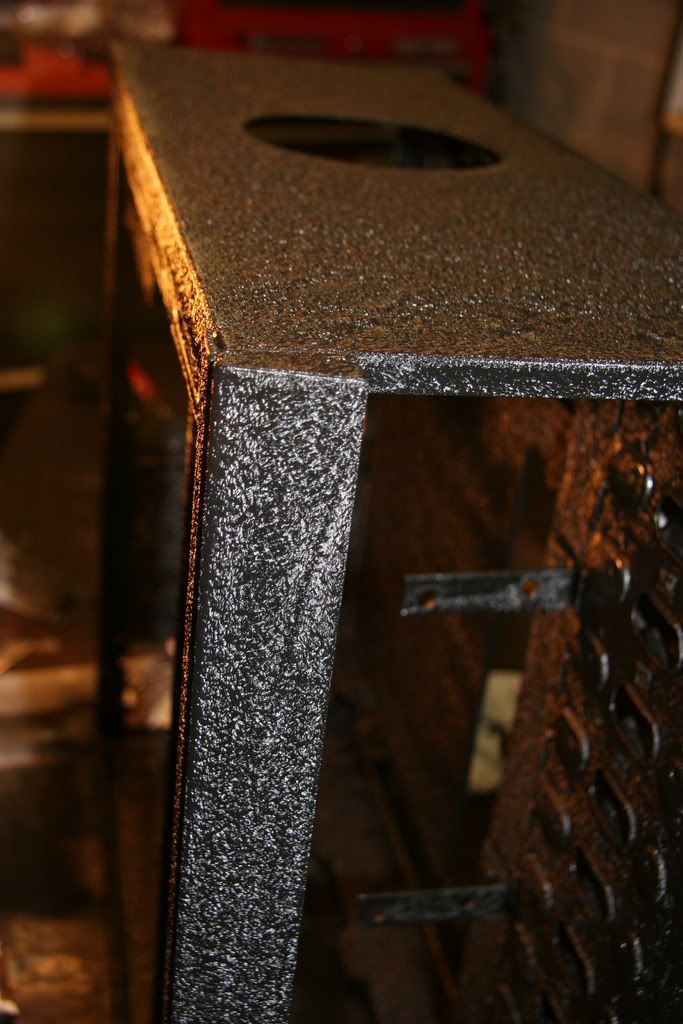
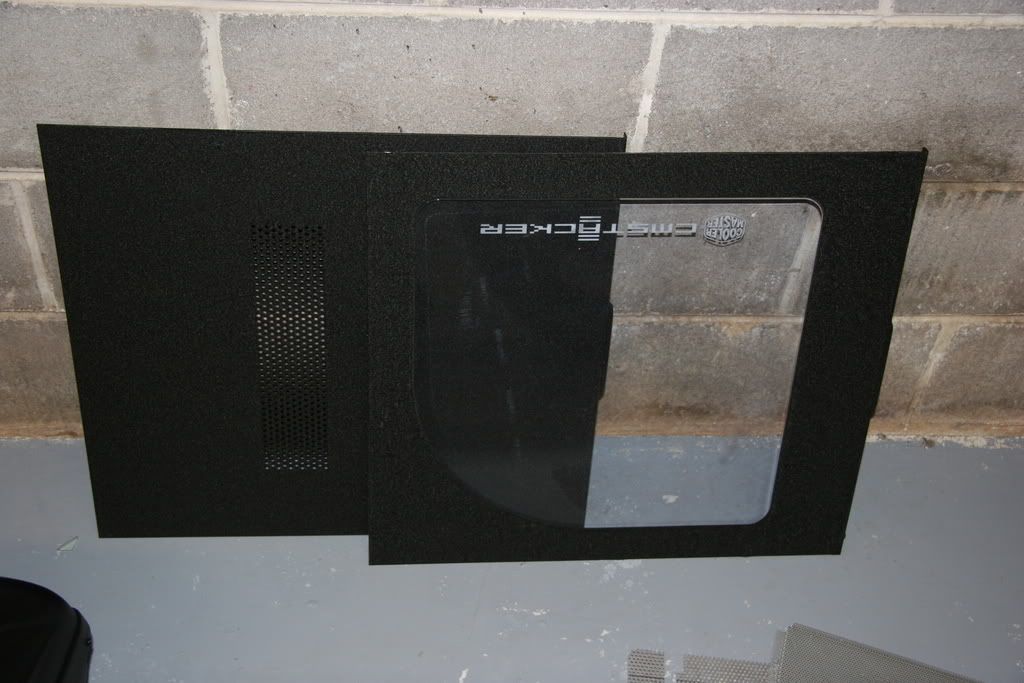
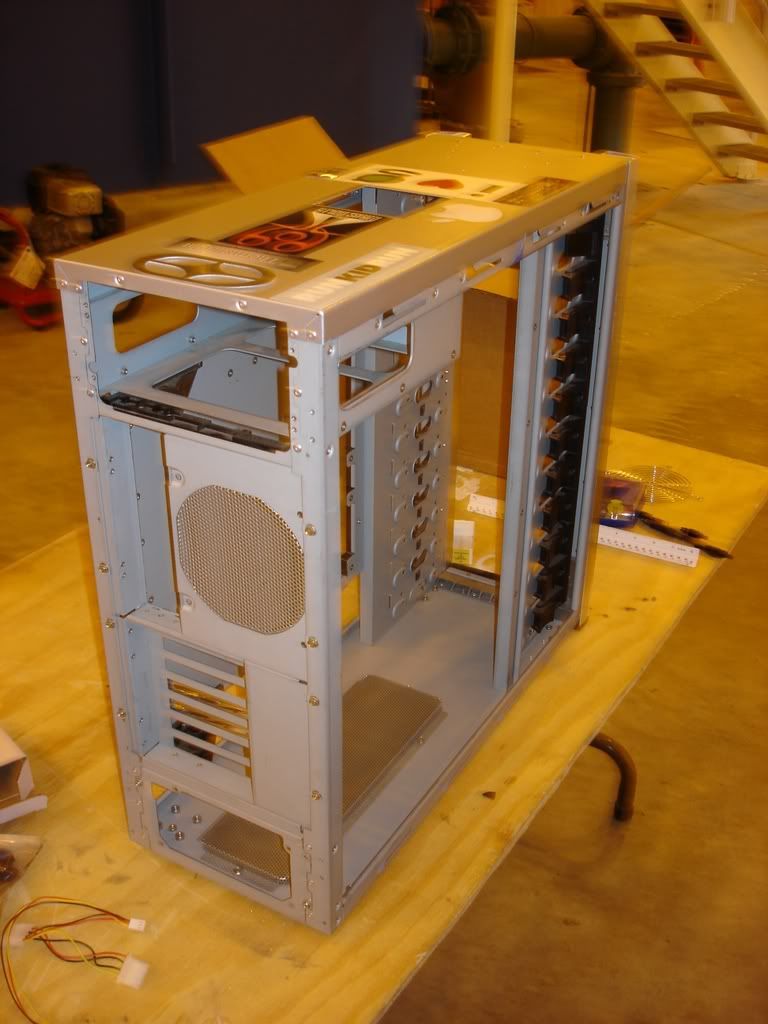
#3
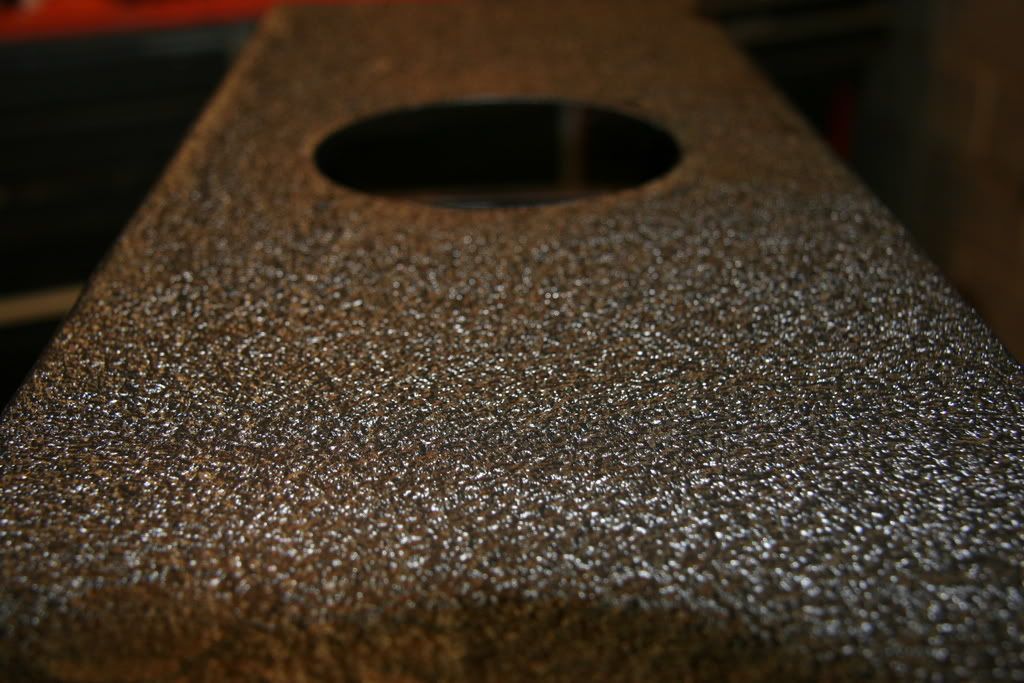
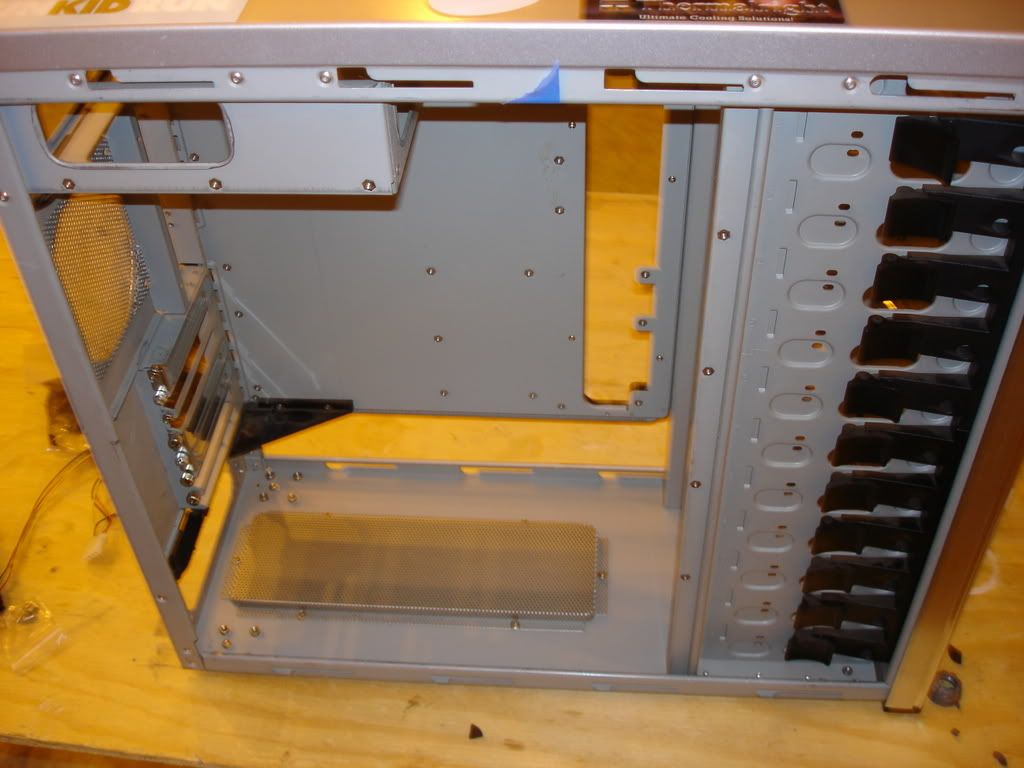
#4
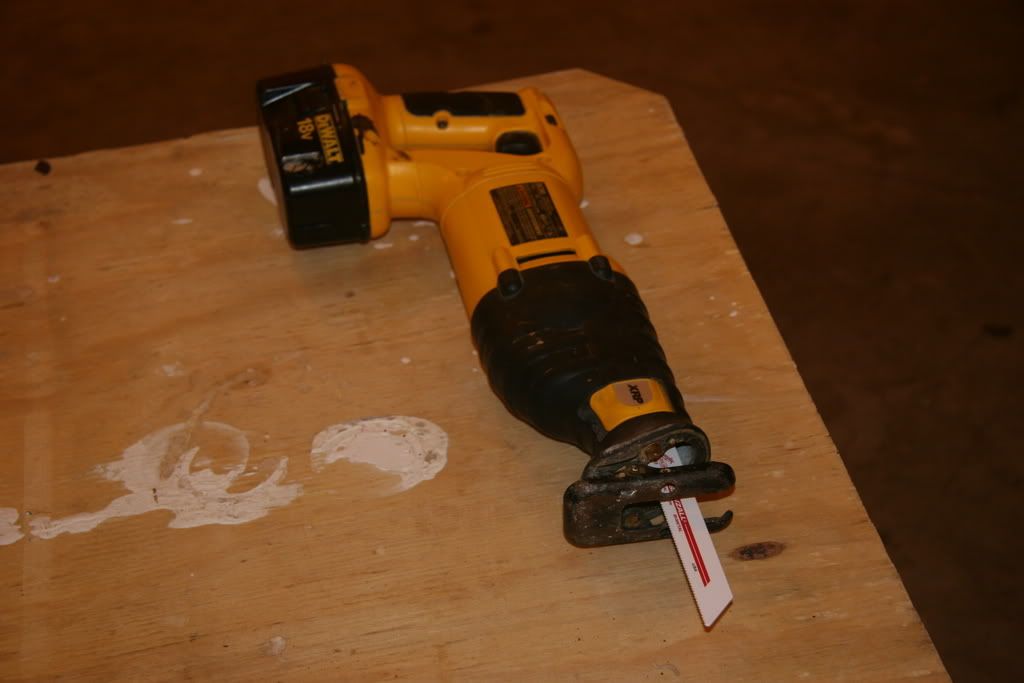
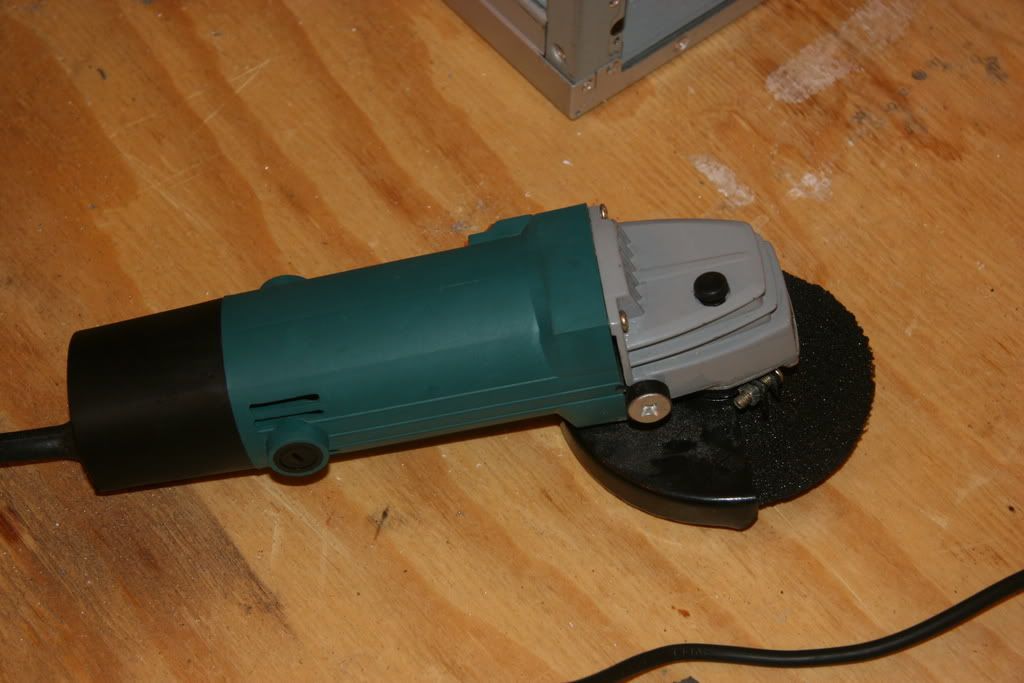
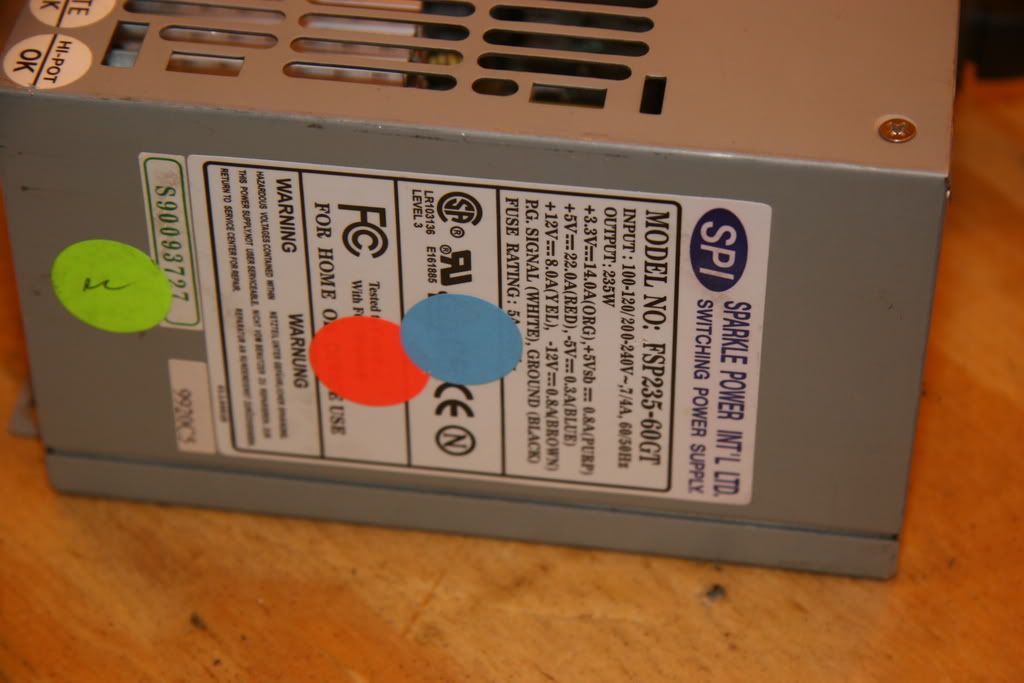
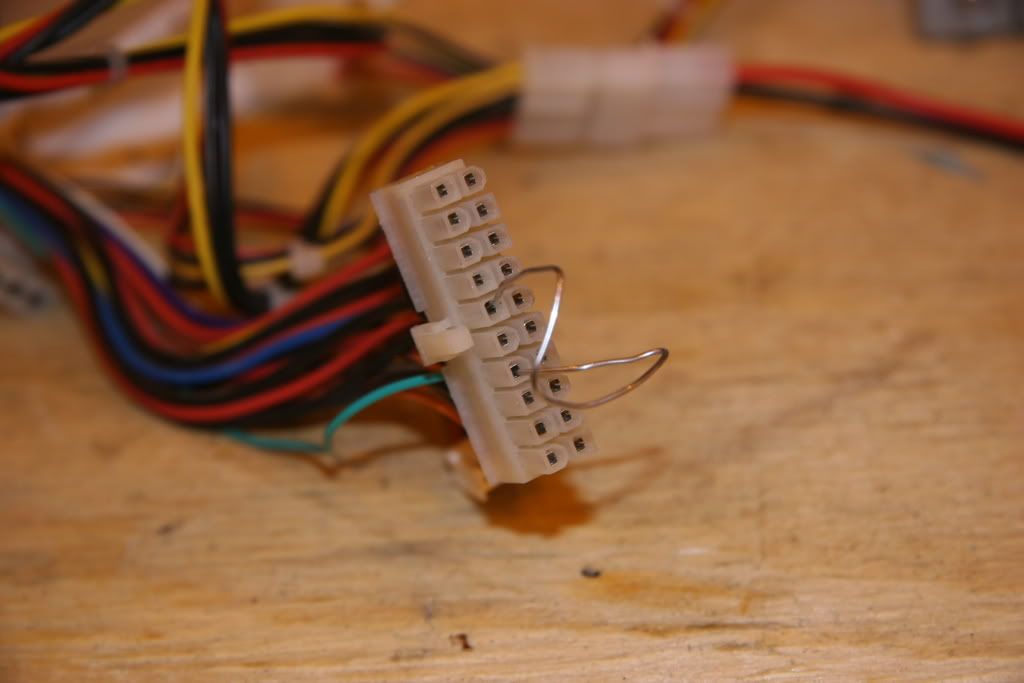
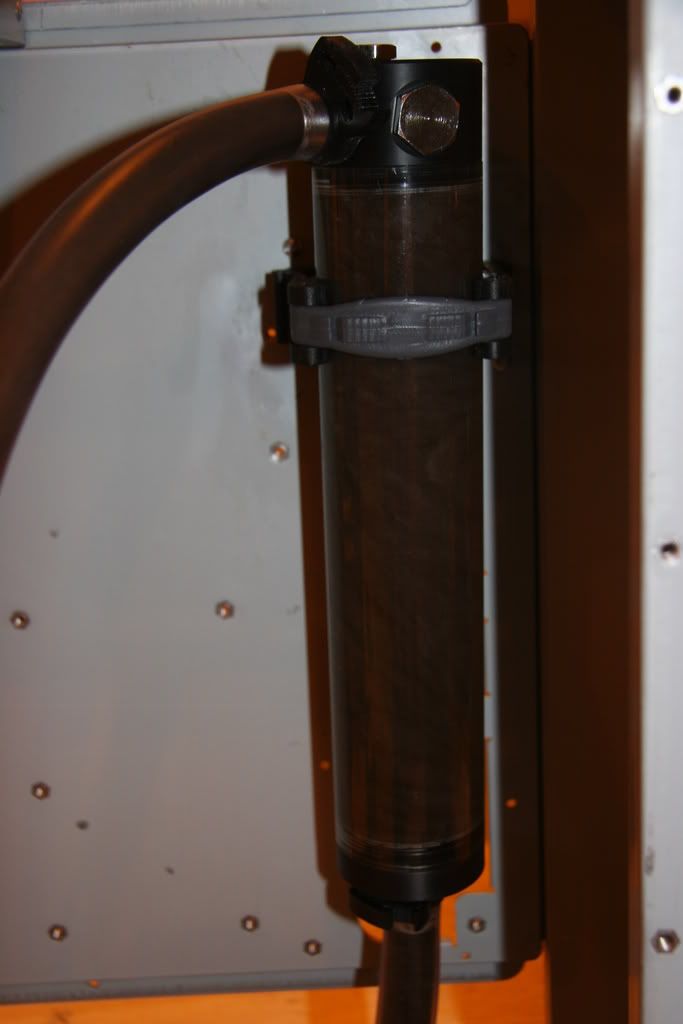
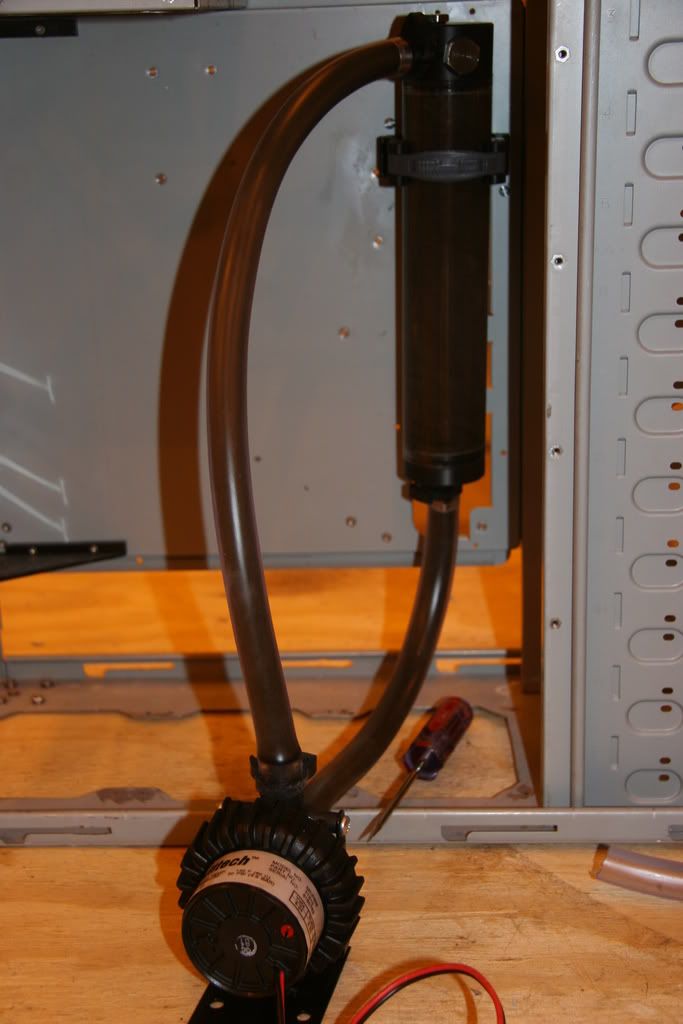
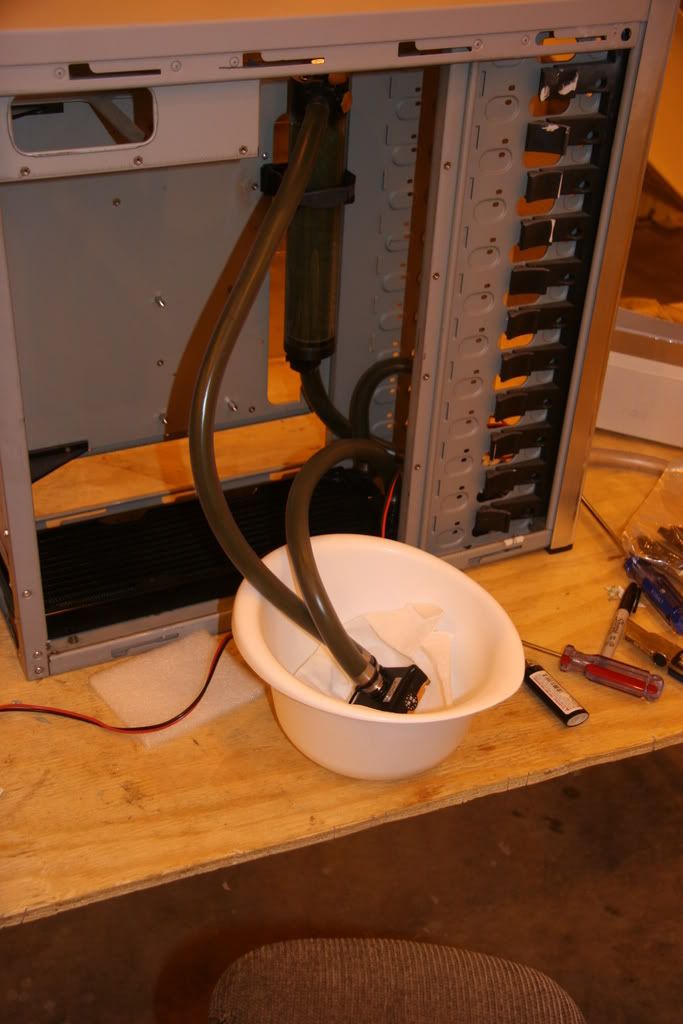
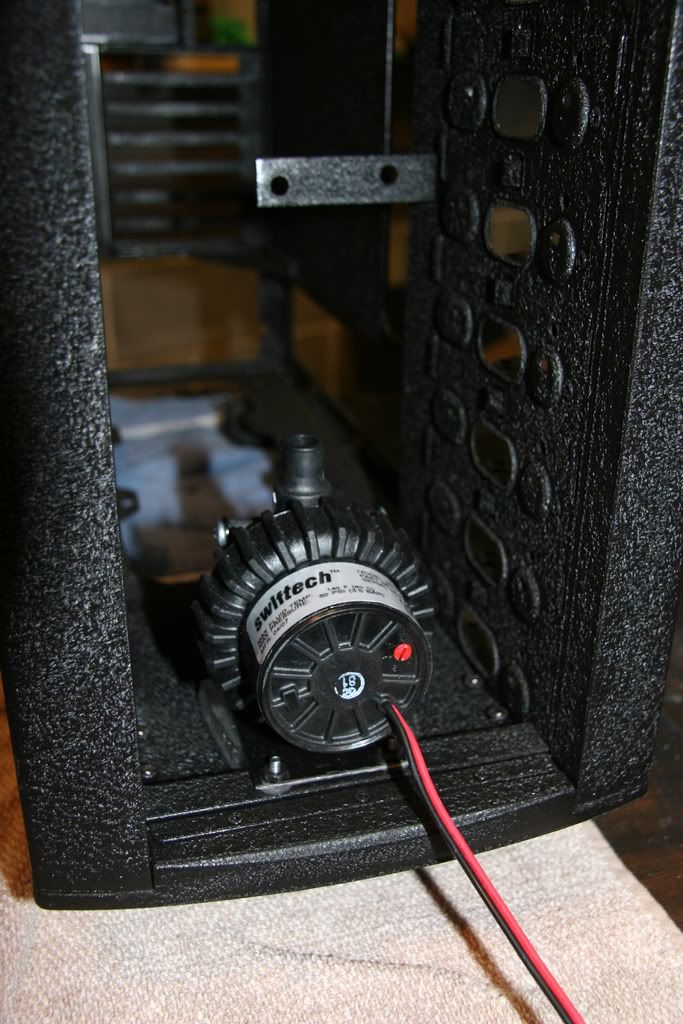
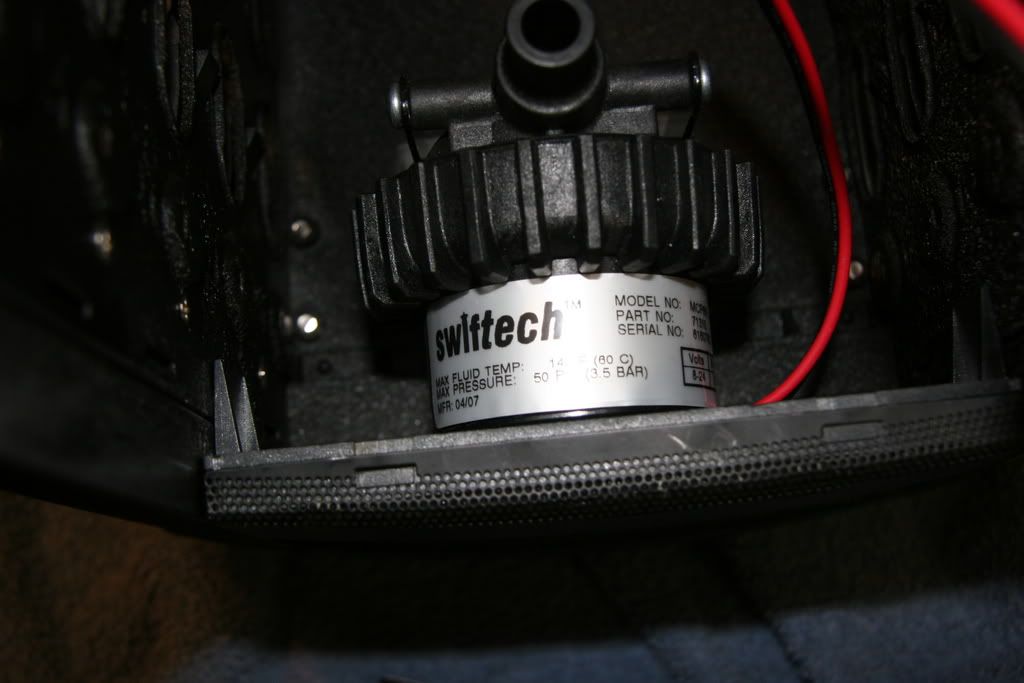
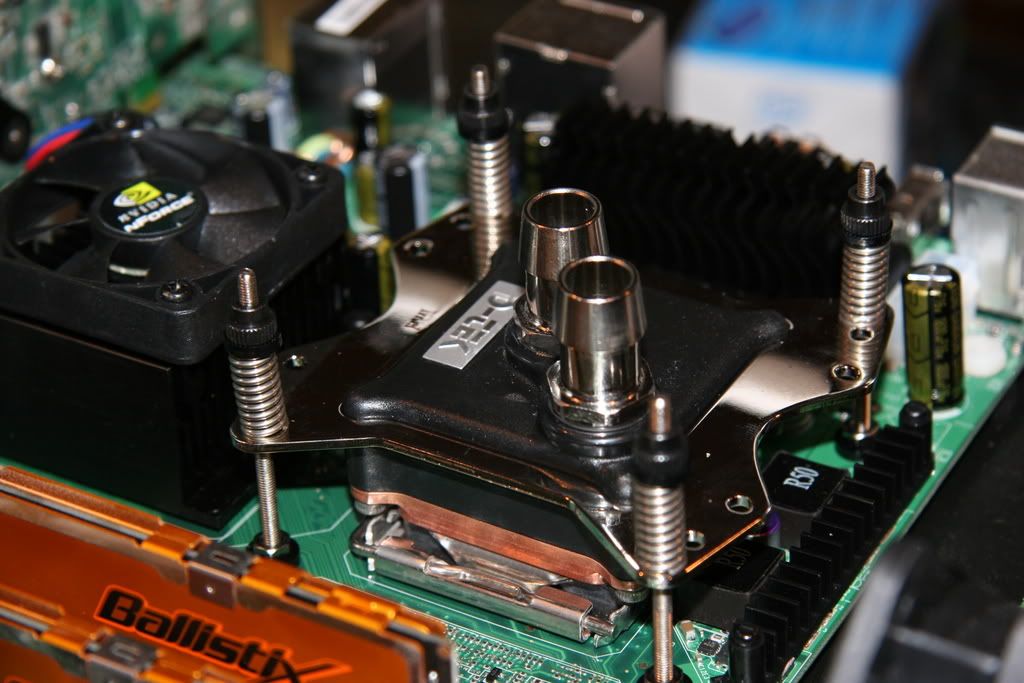
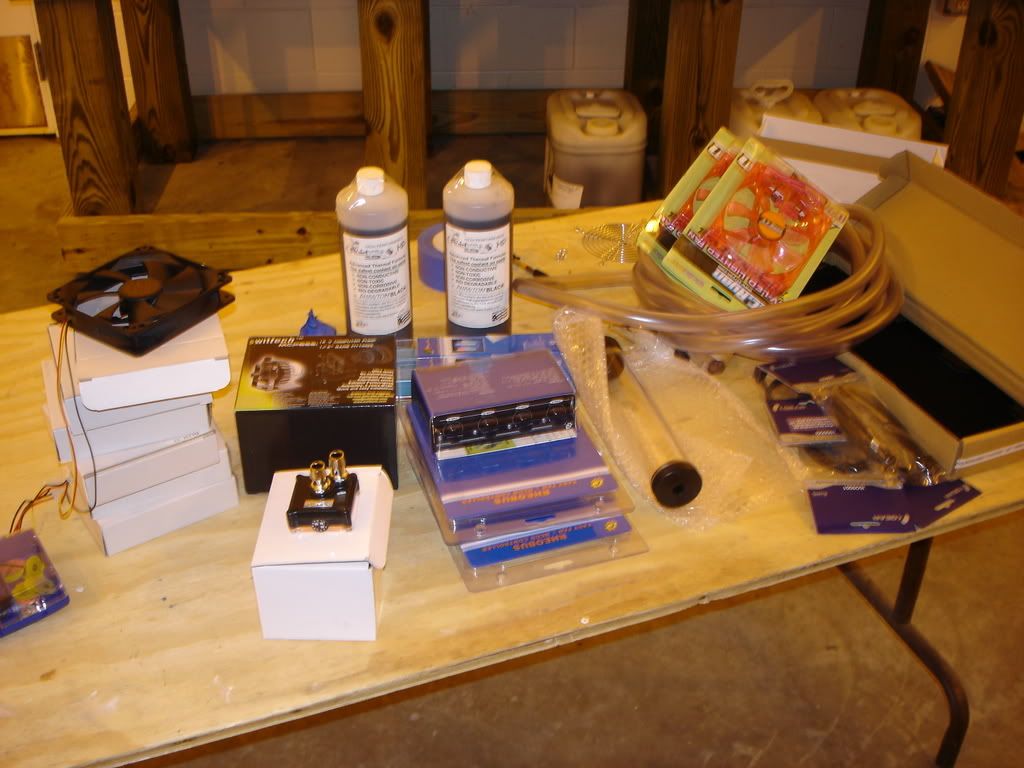
The Gear:
#5
Let's get this show on the road!
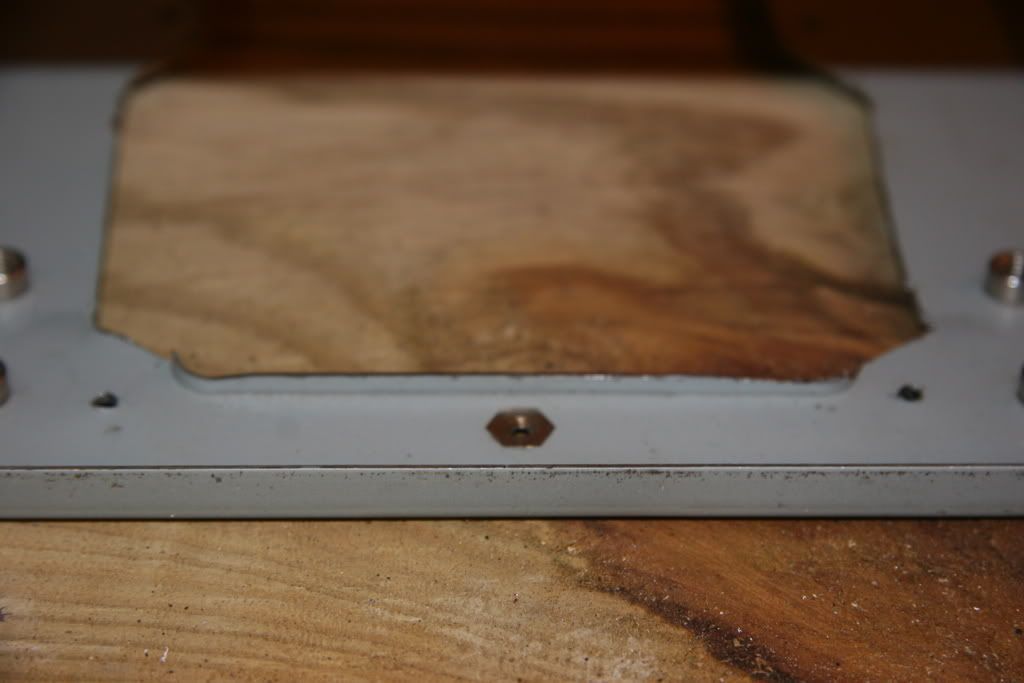
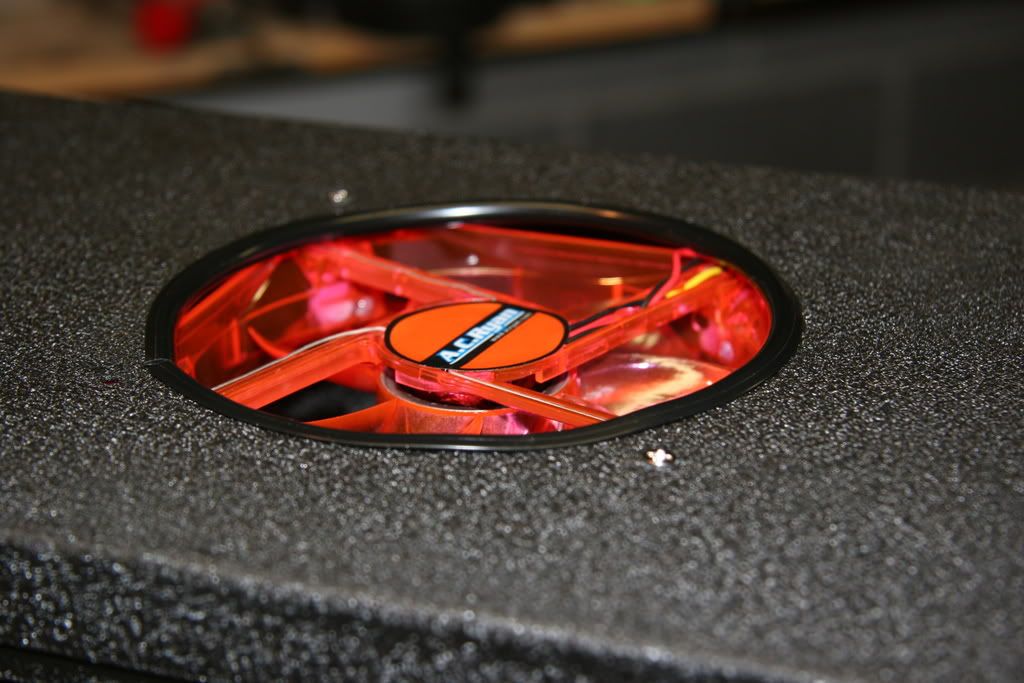
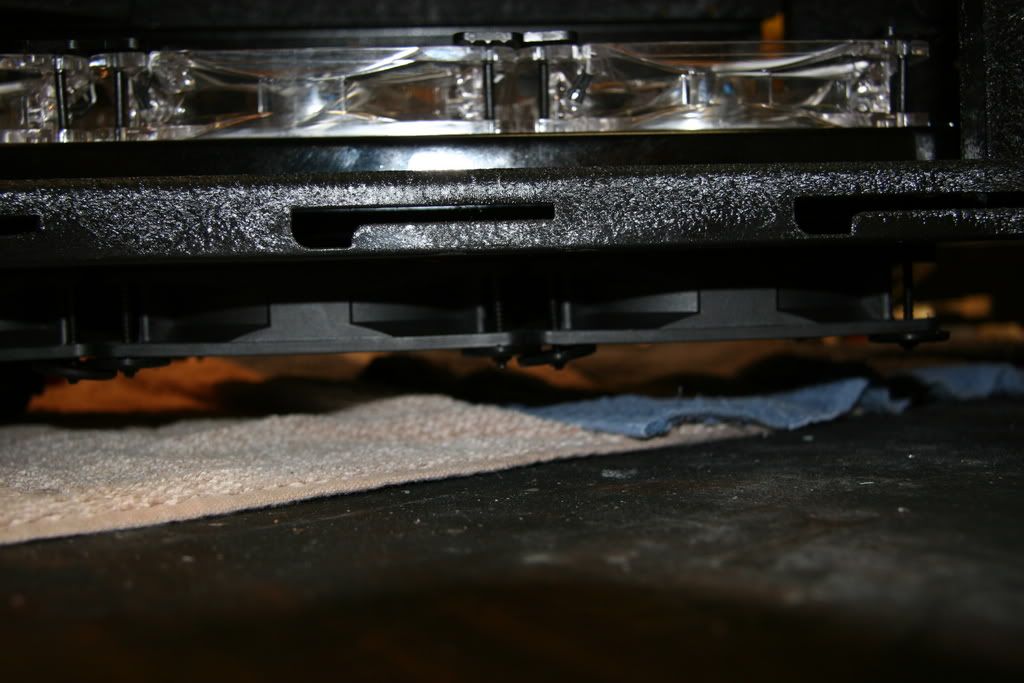
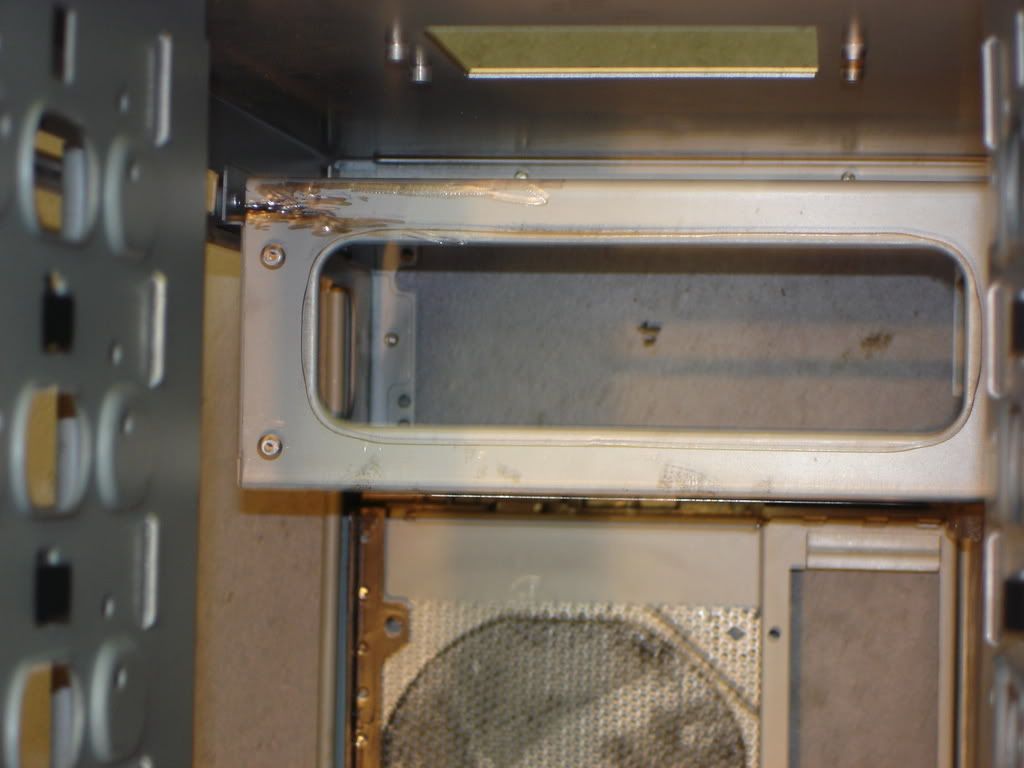
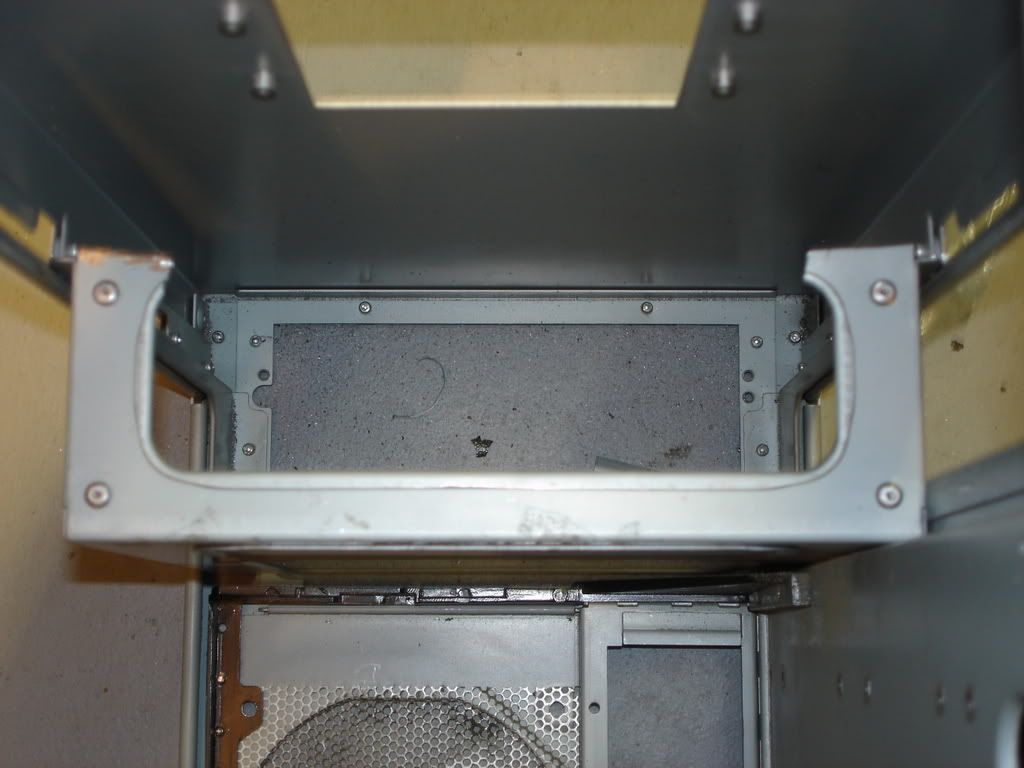
First off, I want to turn my 80mm top exhaust into a 120...
The PSU cage was going to be a problem because the fan will not fit in between the gap. Don't worry about the cut in the top of the cage already, I was experimenting with a dremel bit, lol.
#6
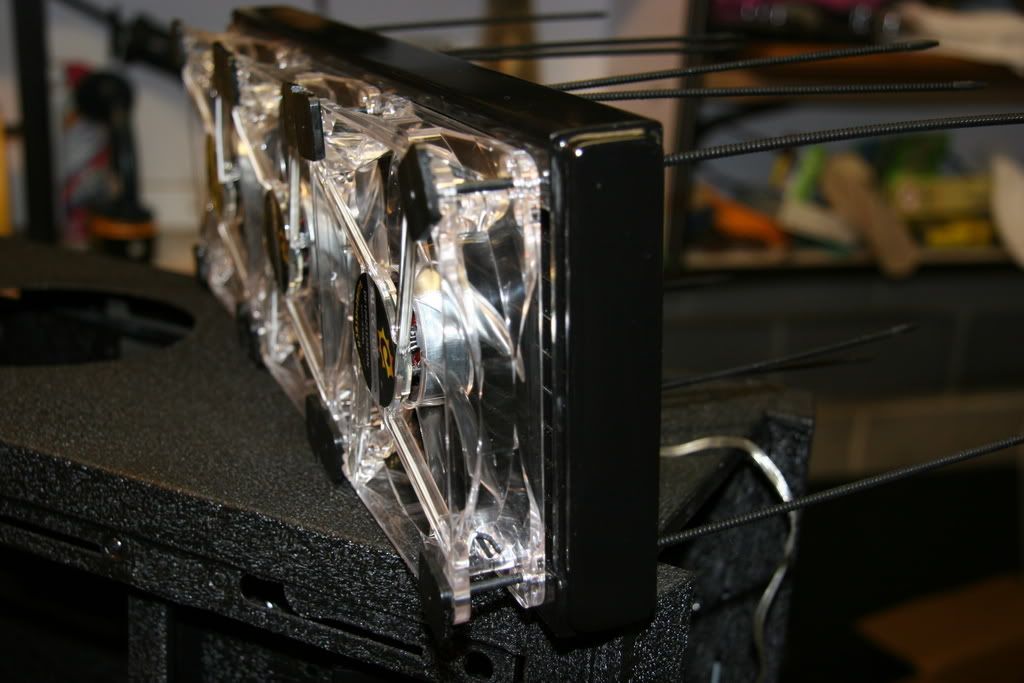
Next...
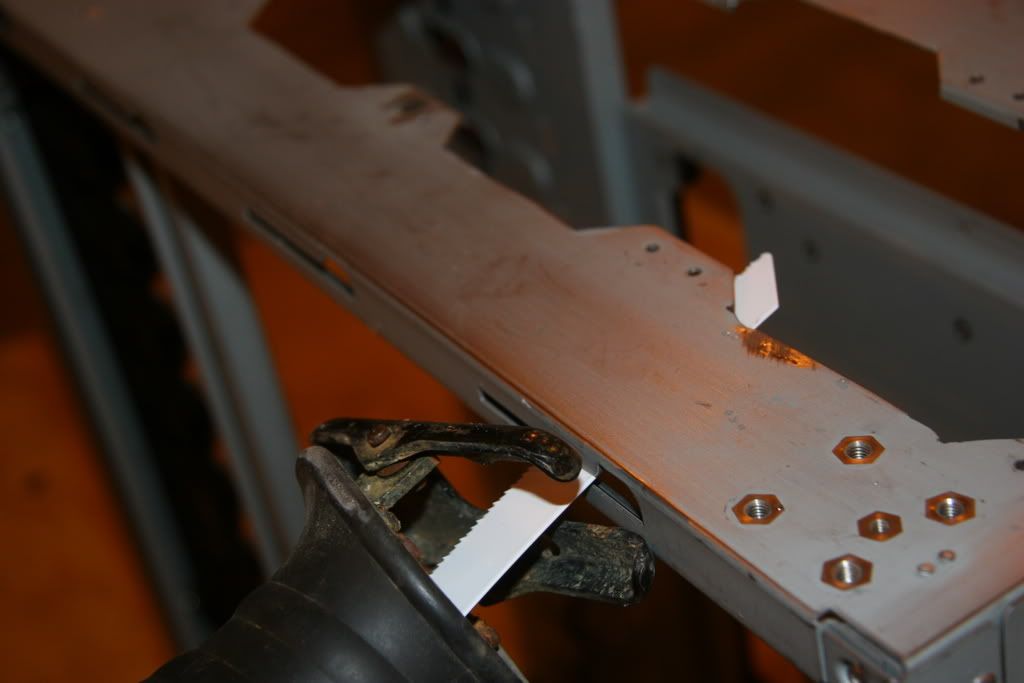
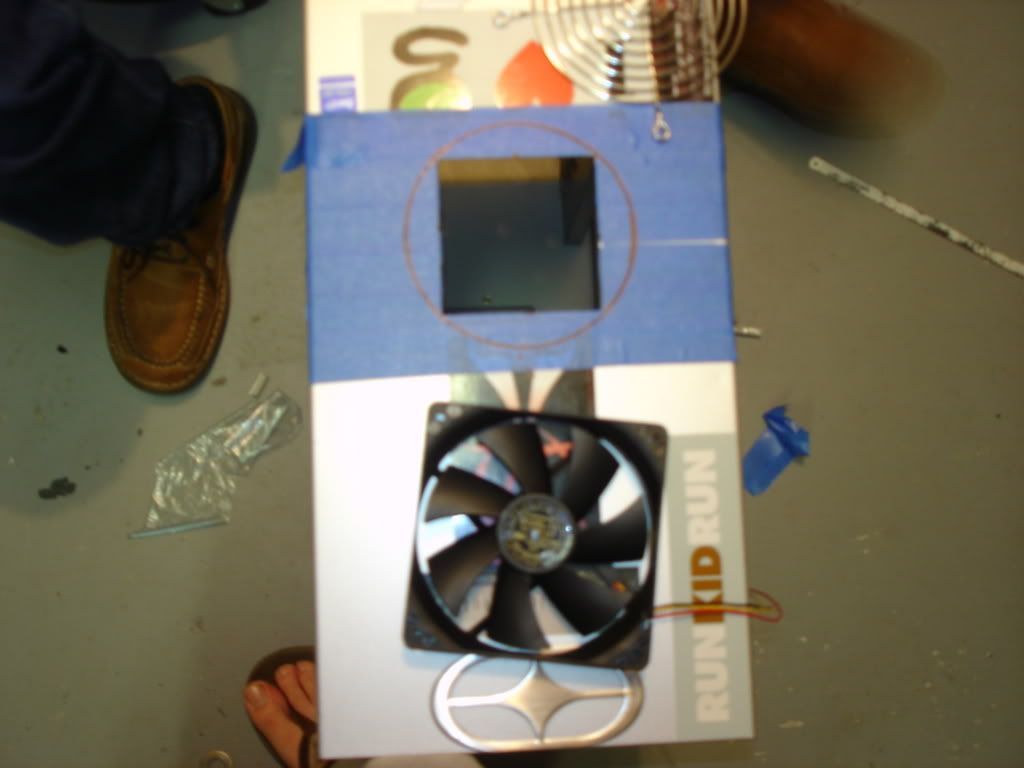
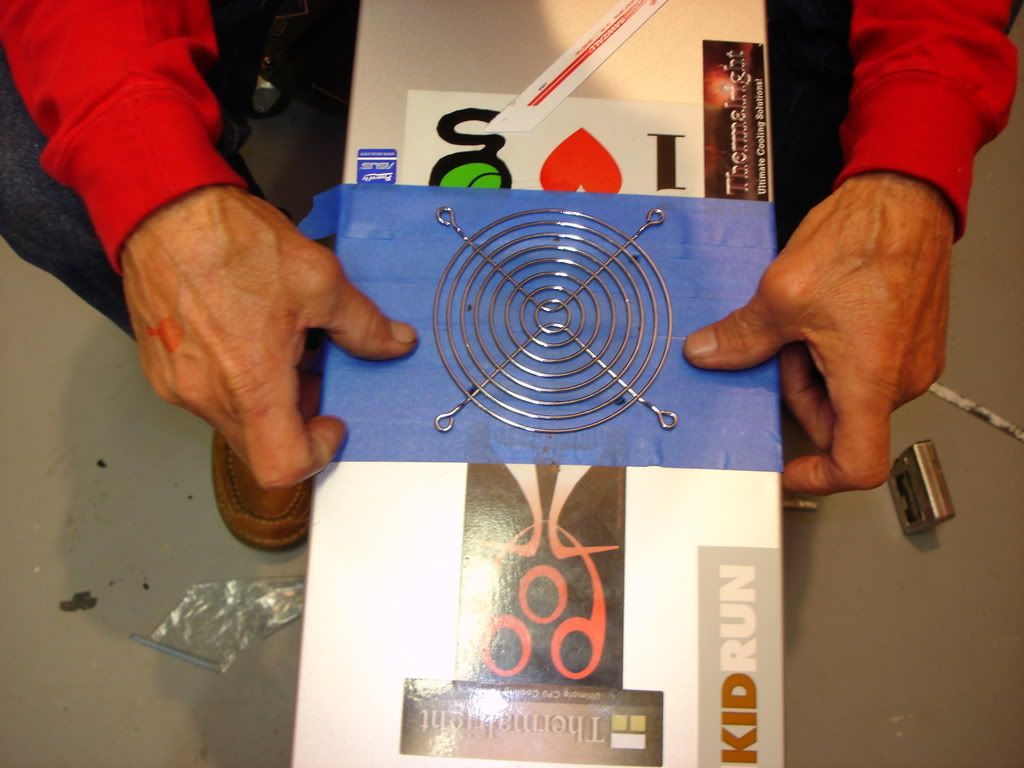
#7
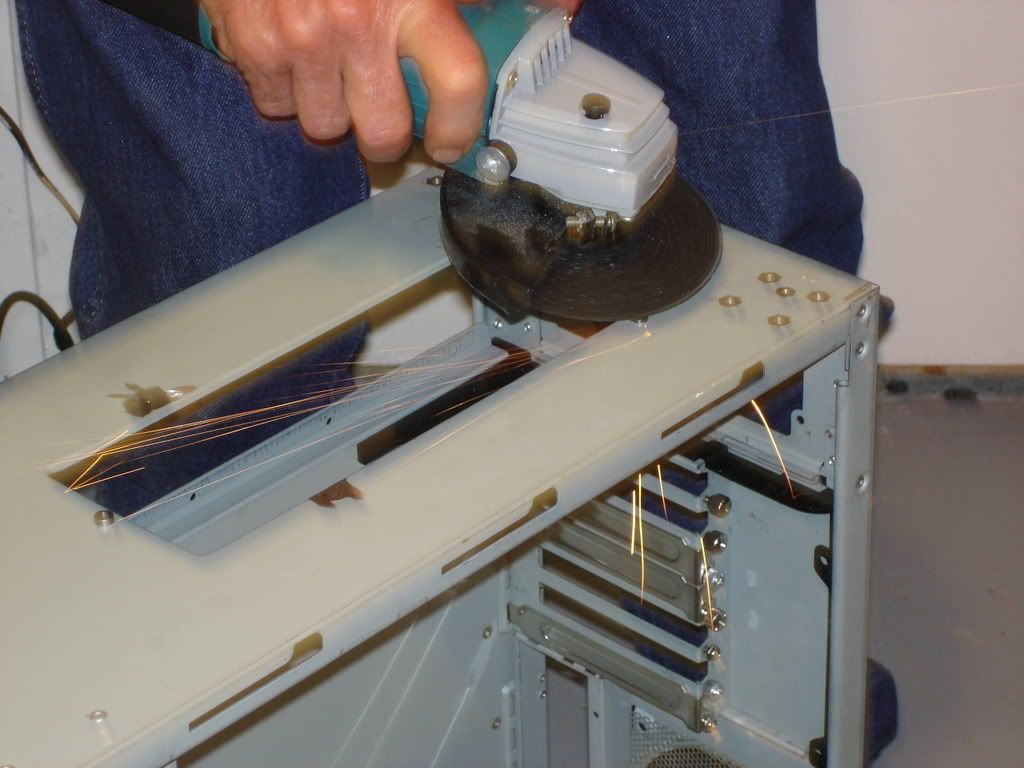
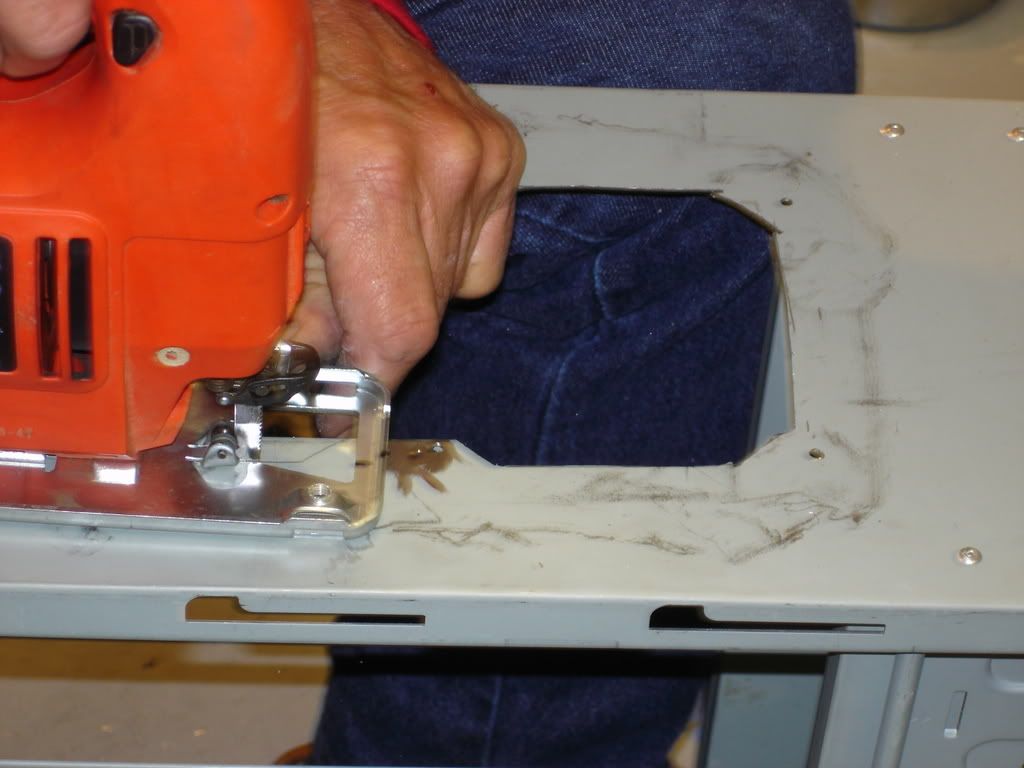
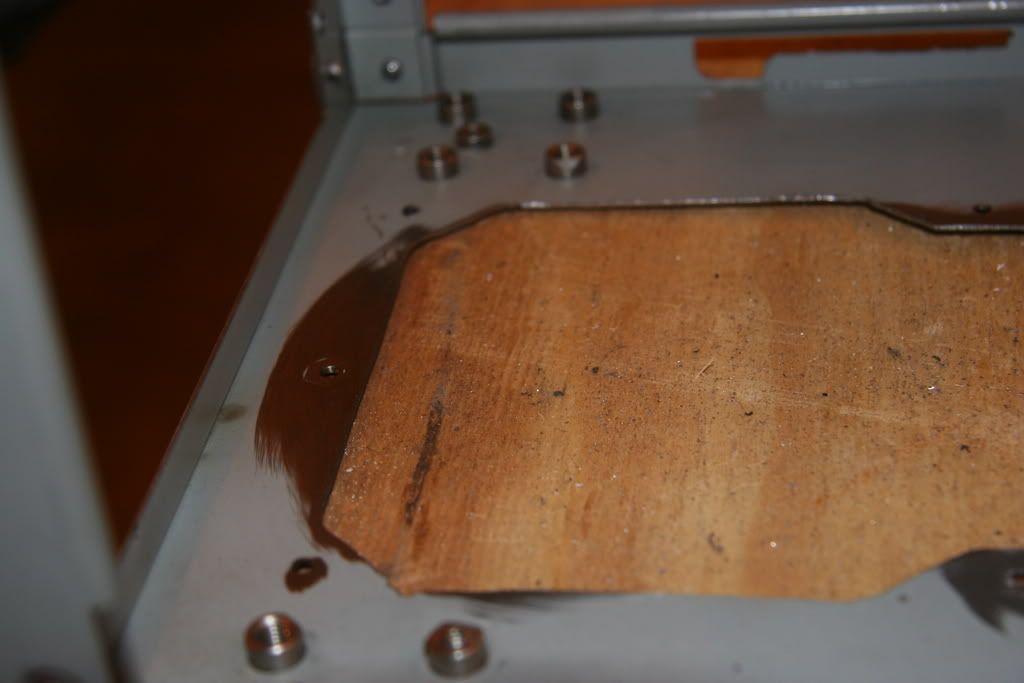
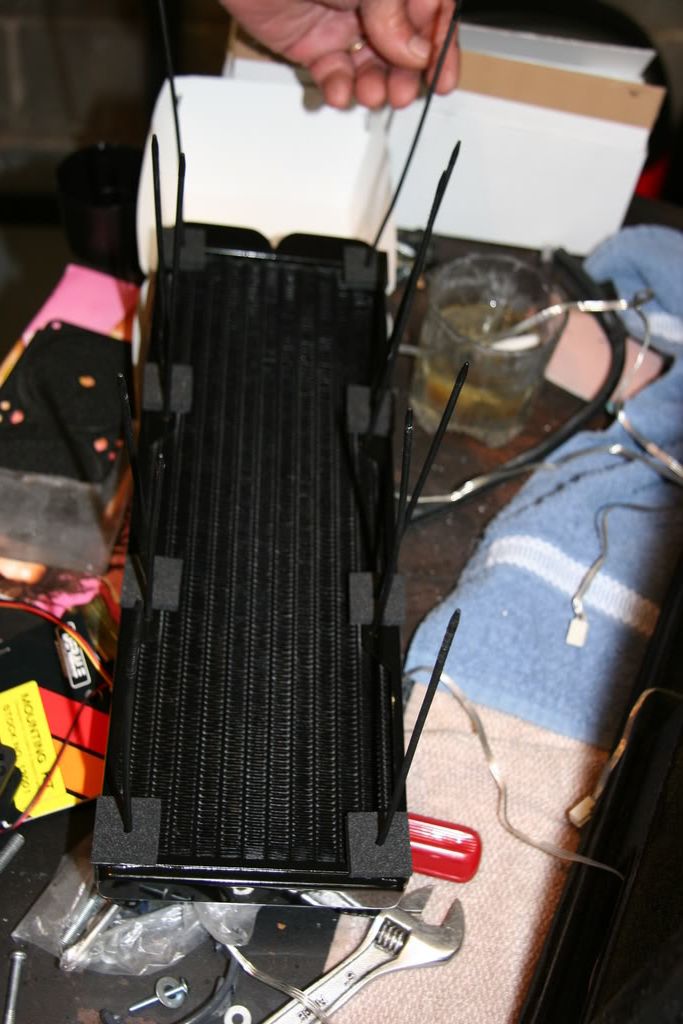
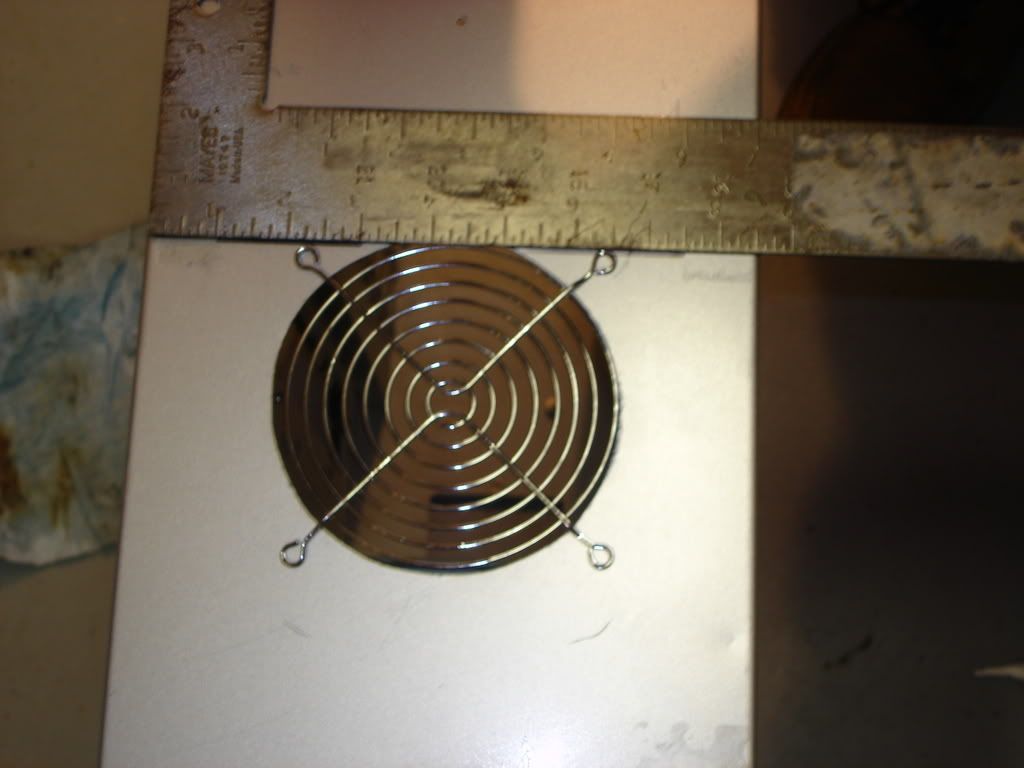
Now the cutting process starts.
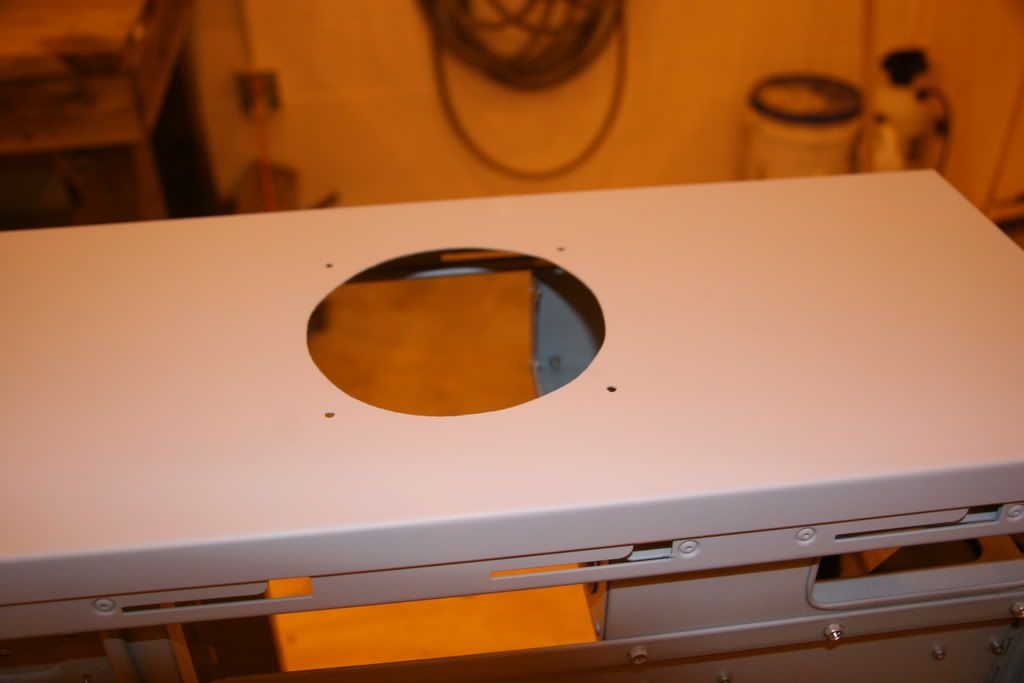
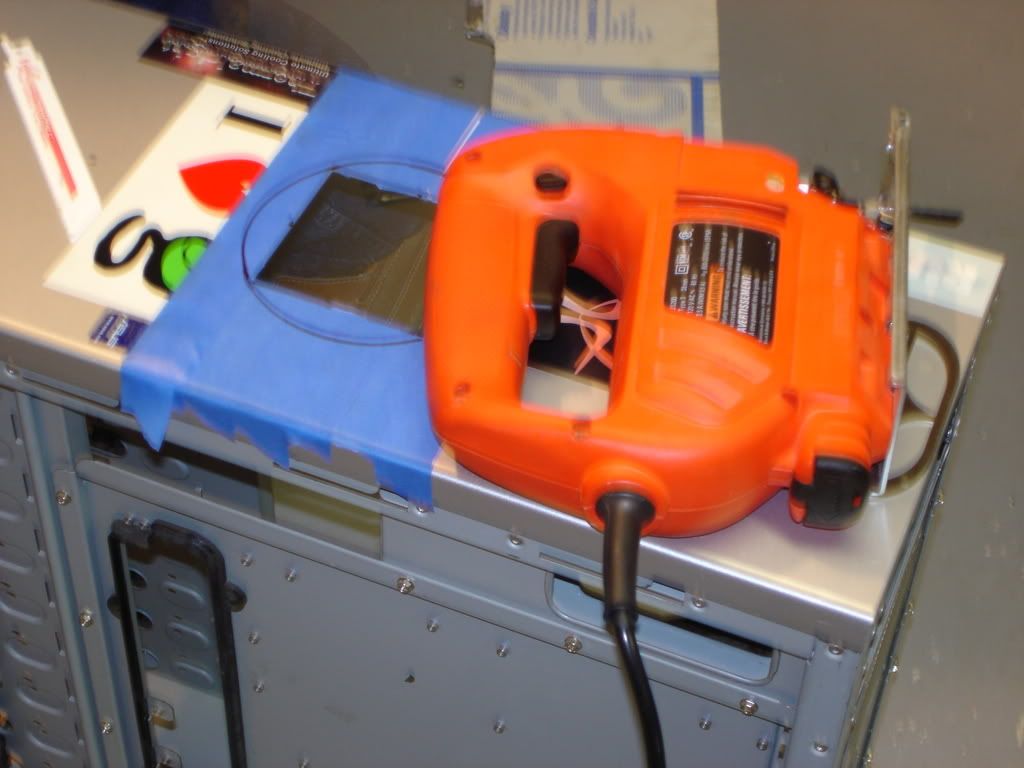
#8
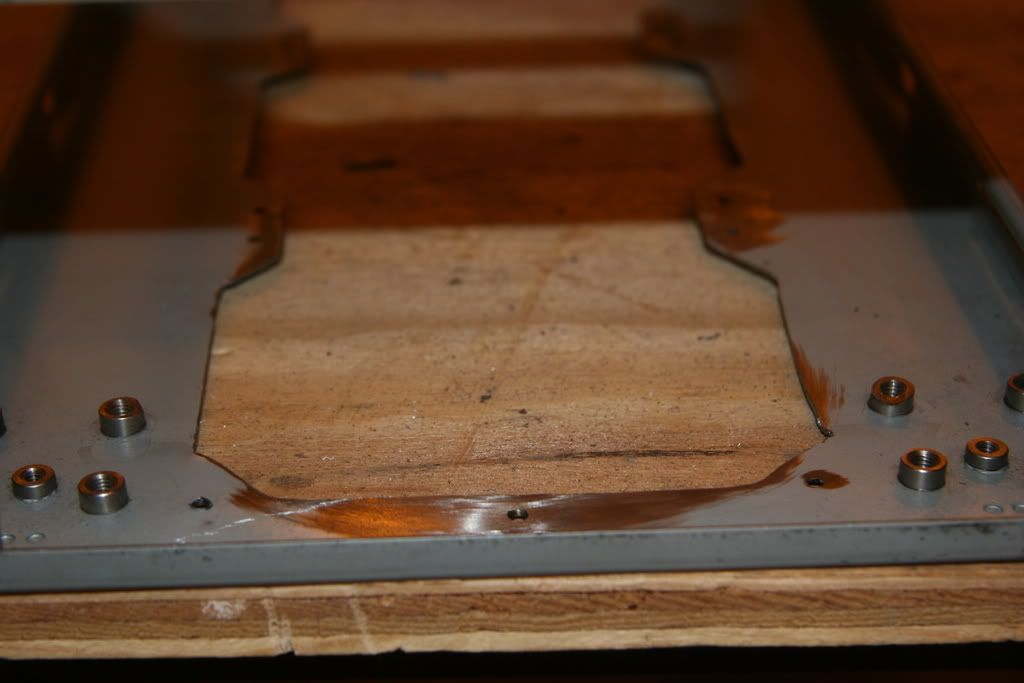
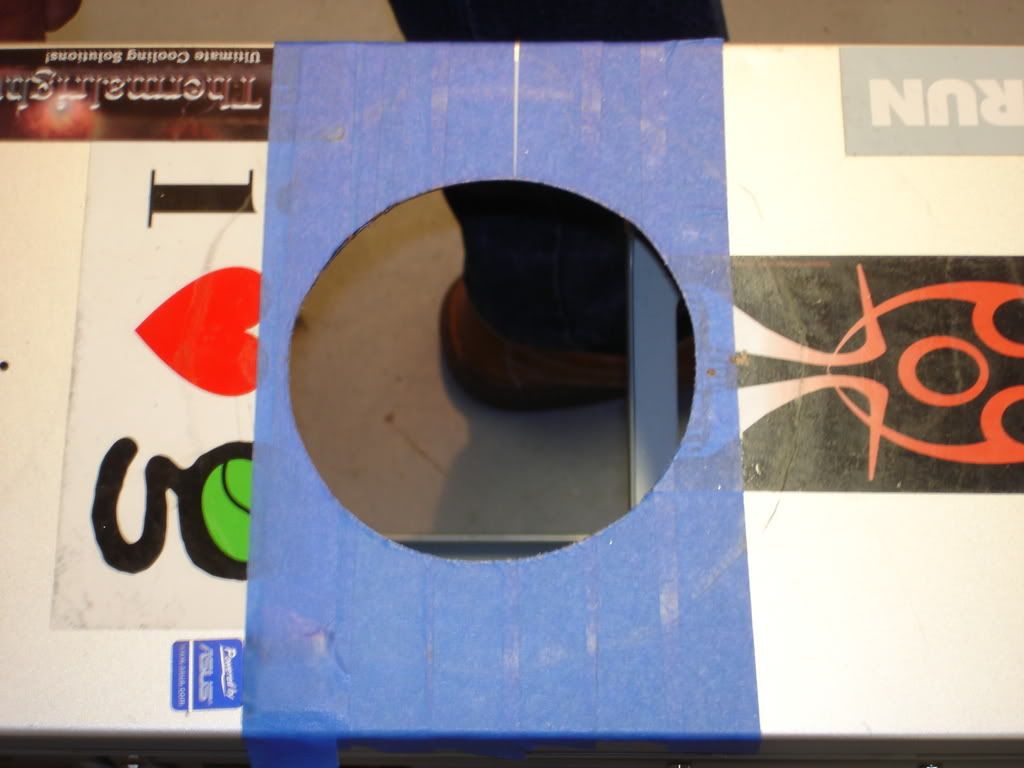
Remember to measure! I didn't show that pic but it is measured to the center here!
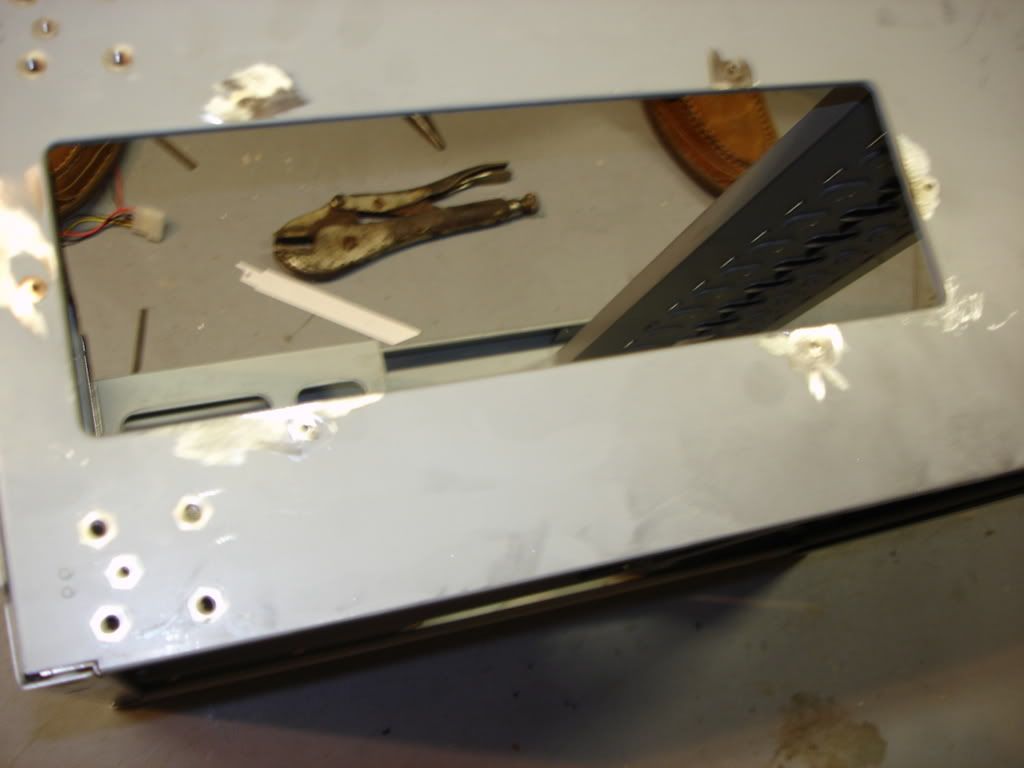
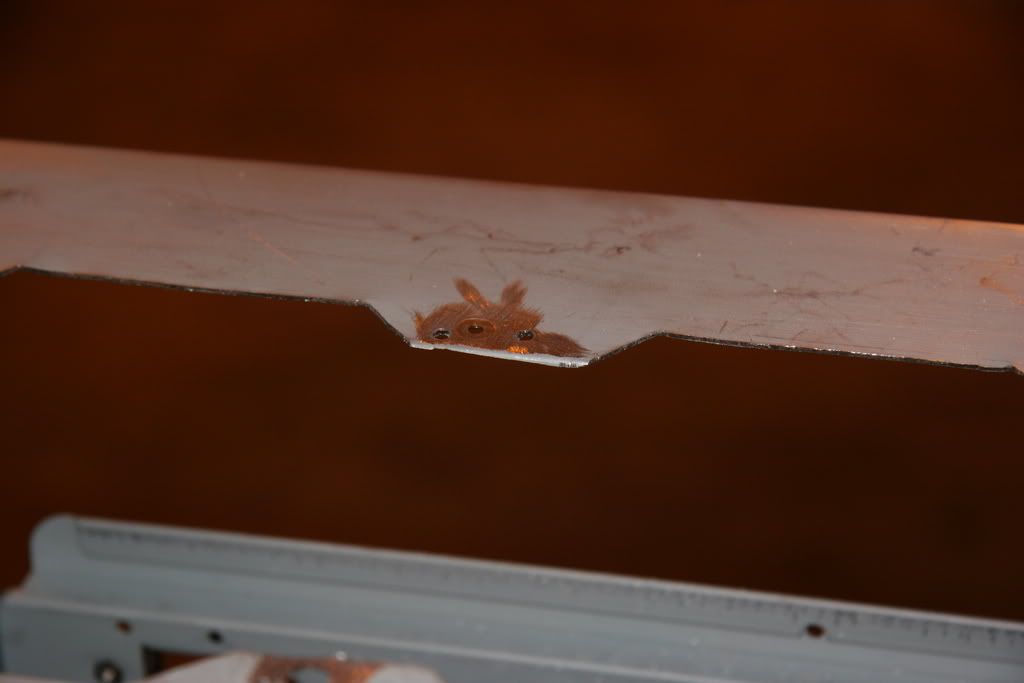
#9
#10

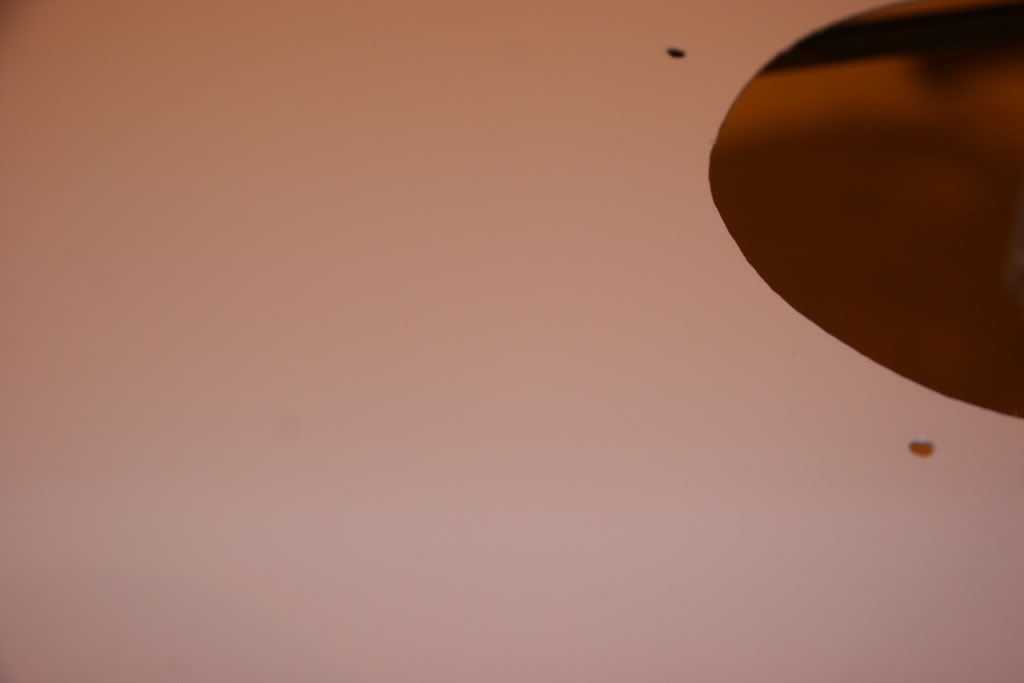
Sorry about the blurriness, I didn't have my DSLR on me. Future pics won't be so bad!
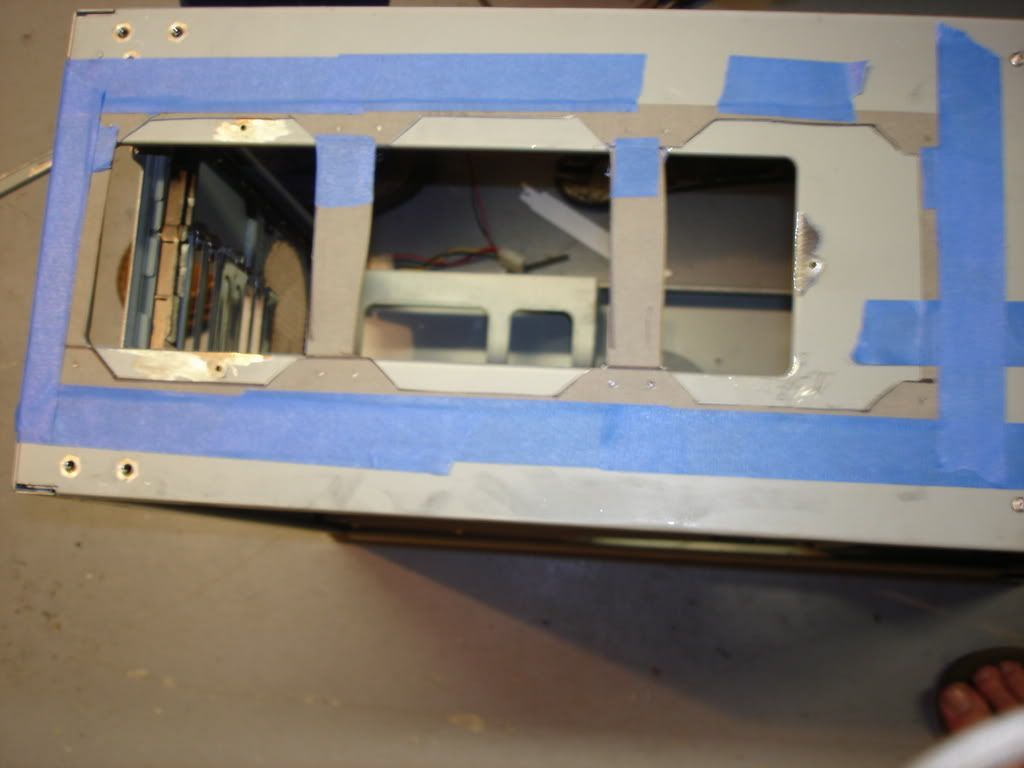
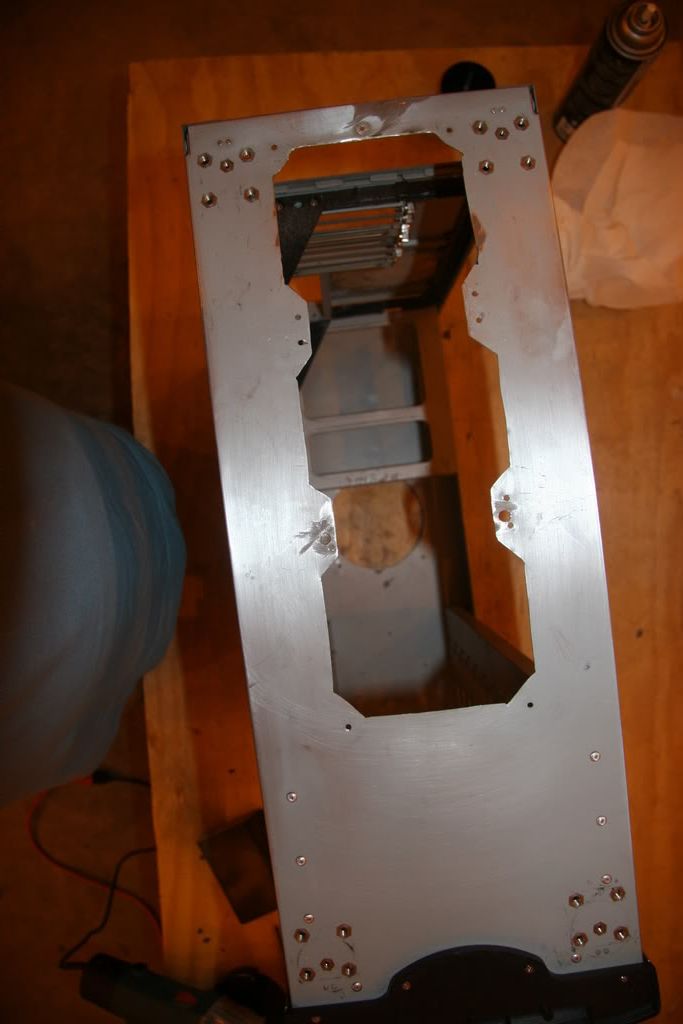
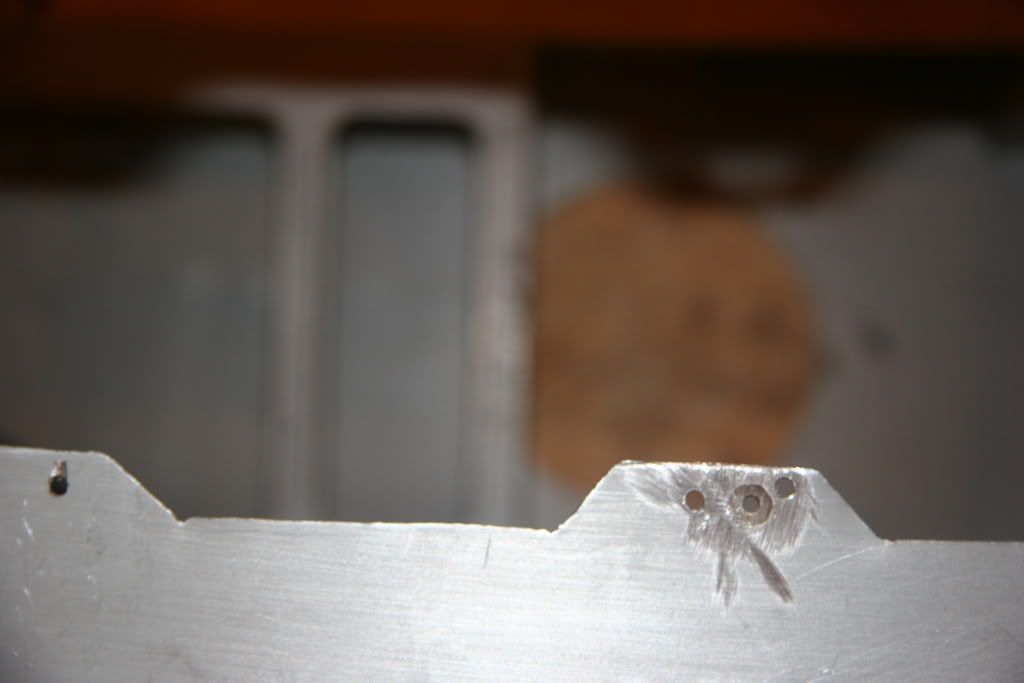
#11
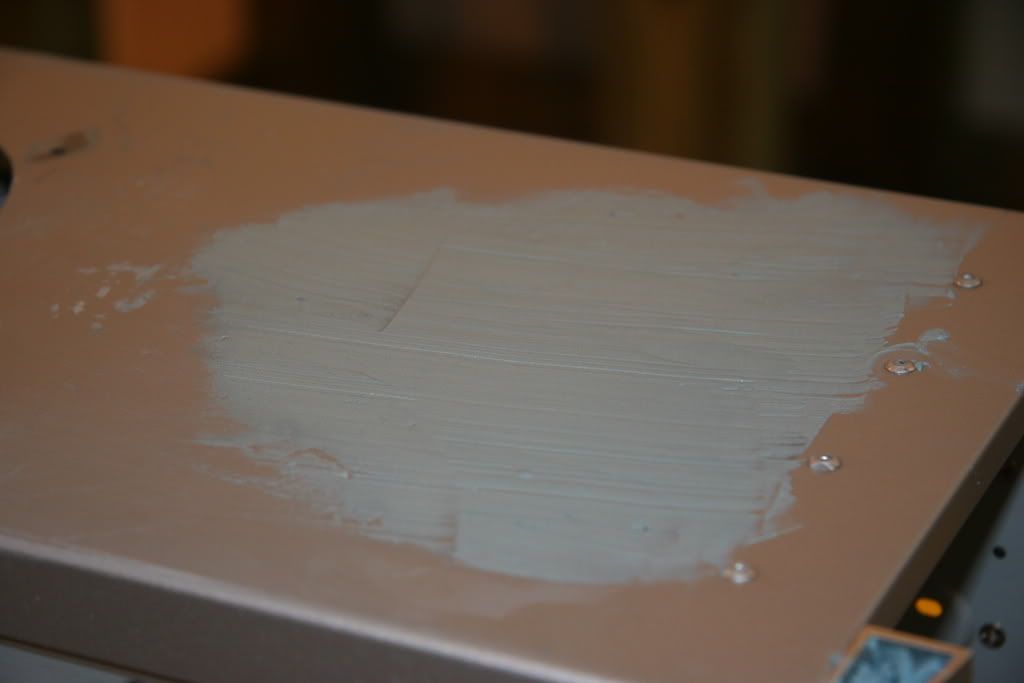
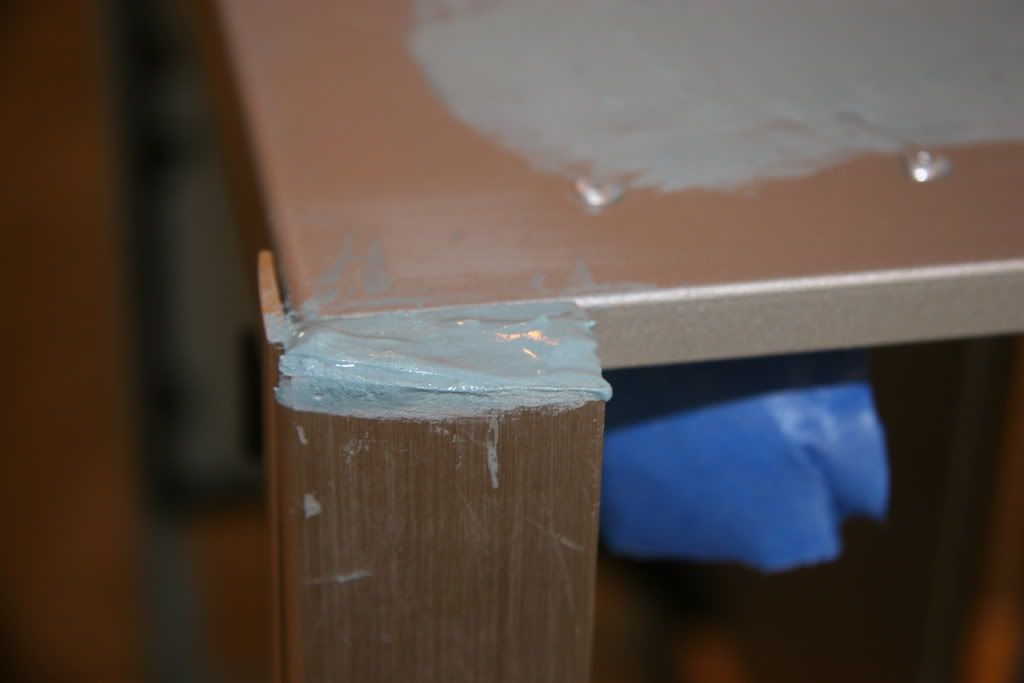
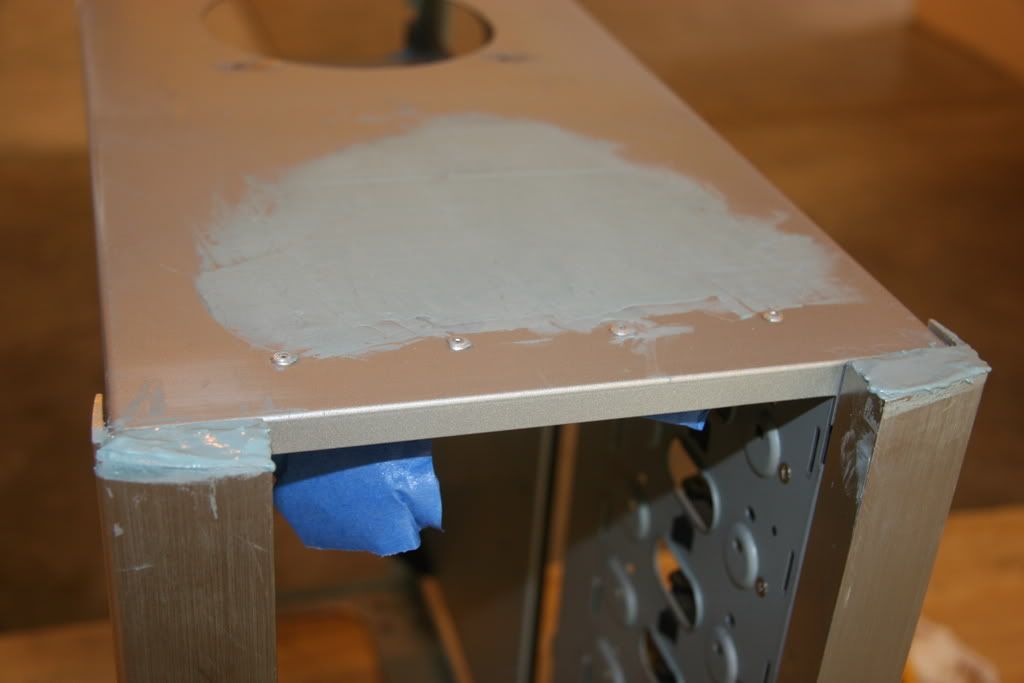
#12
#13
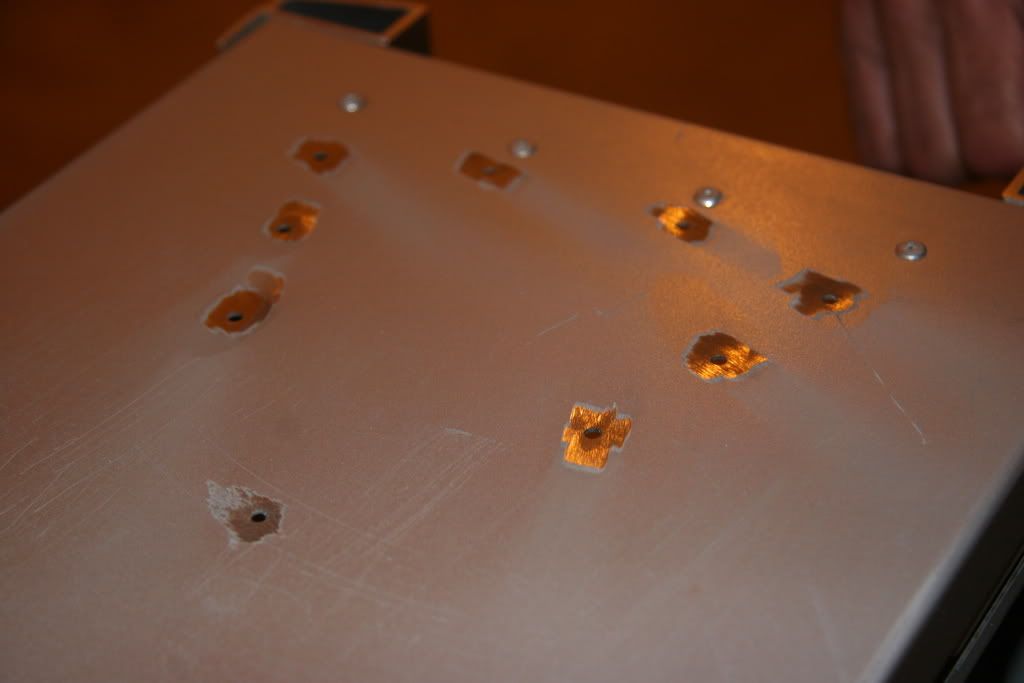
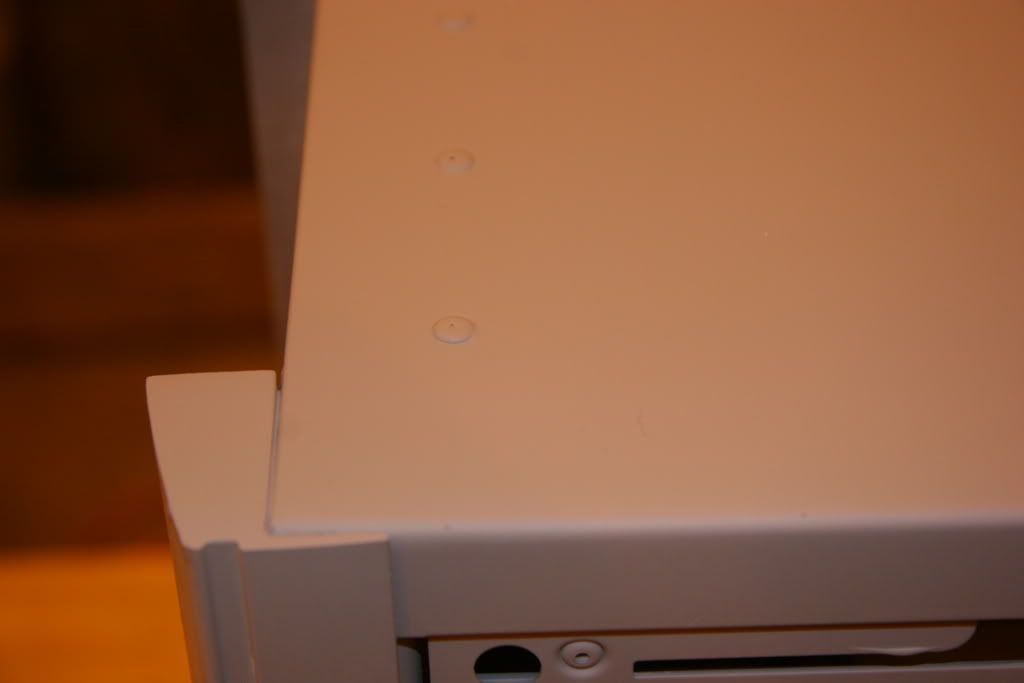
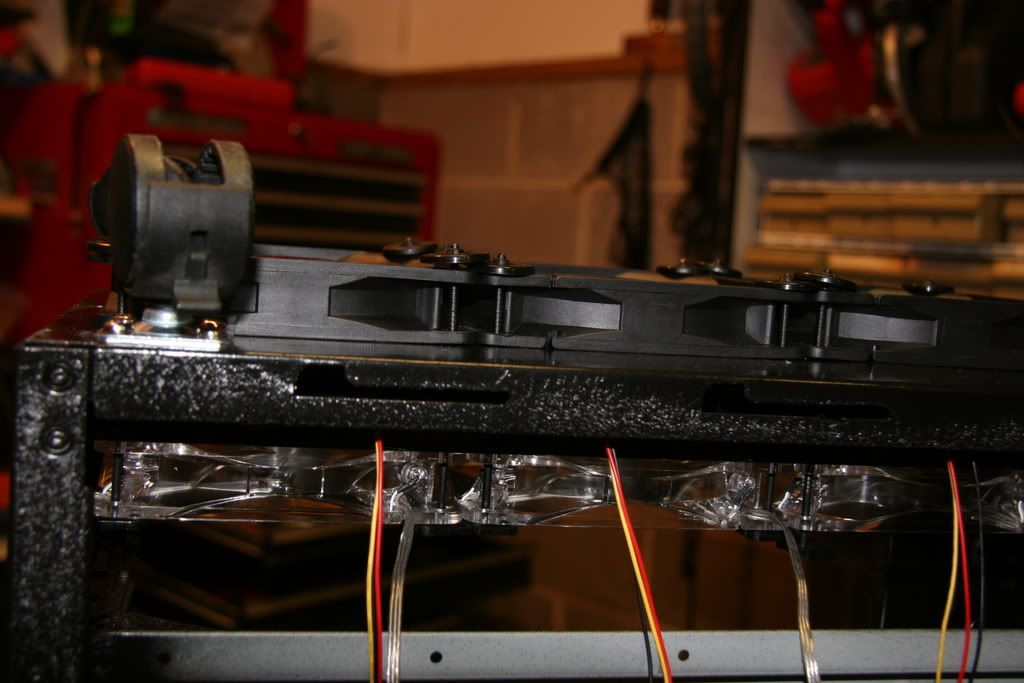
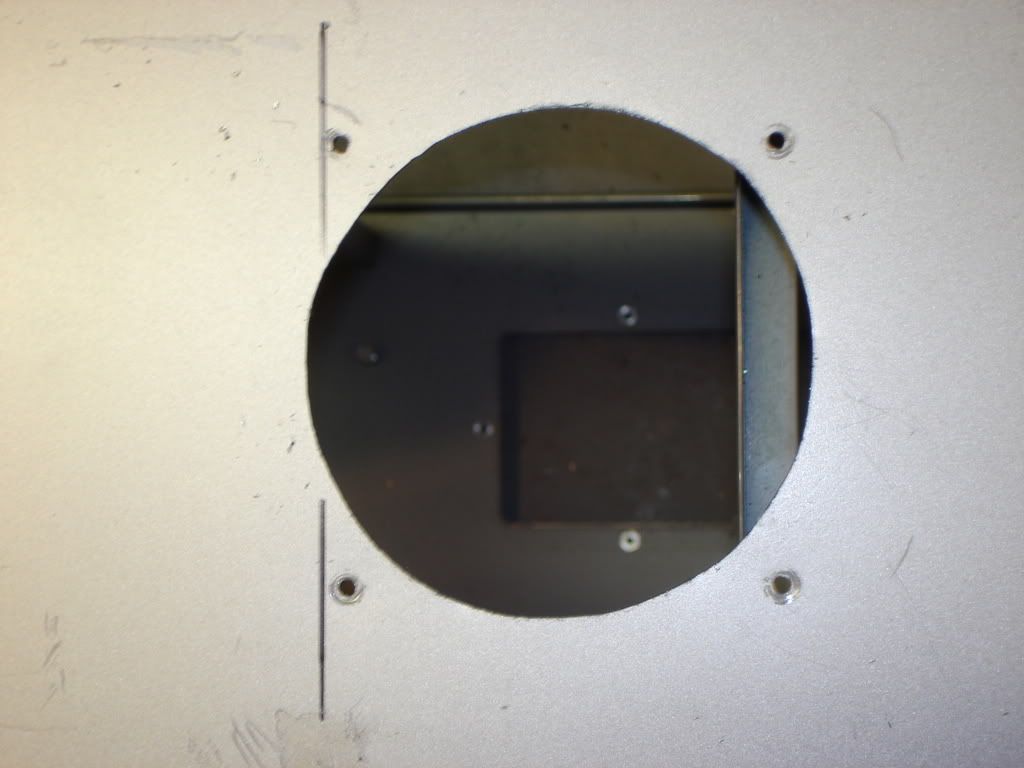
Remember to get squared up!
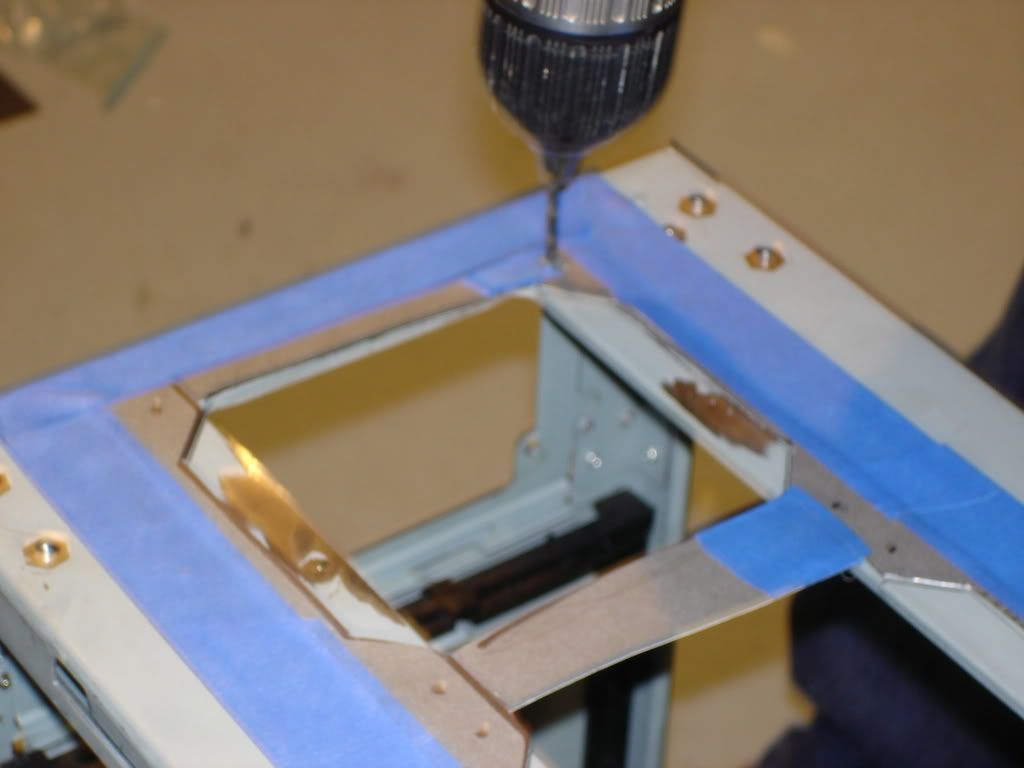
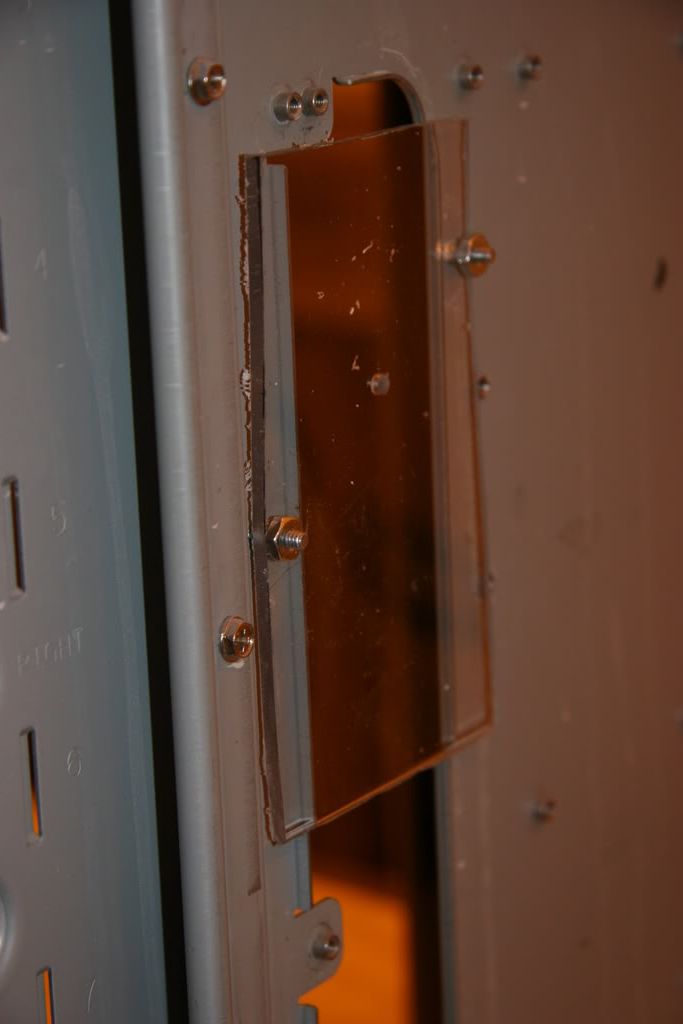
Obviously what we are doing here is getting the hole's centered, we mark them and drill the holes, I didn't think it was necessary to picture that.
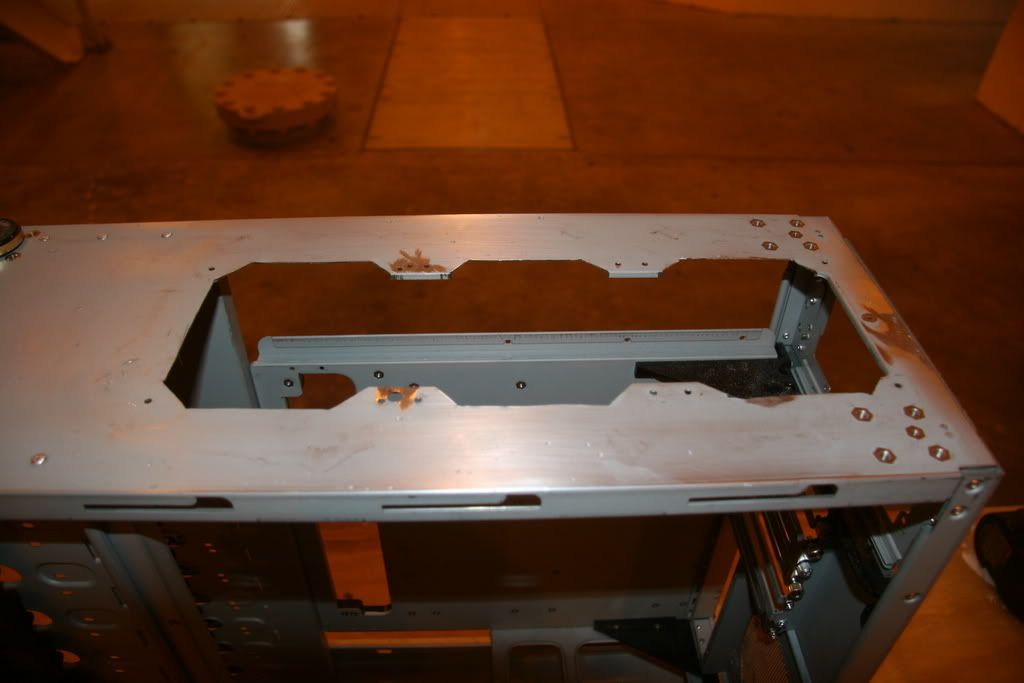
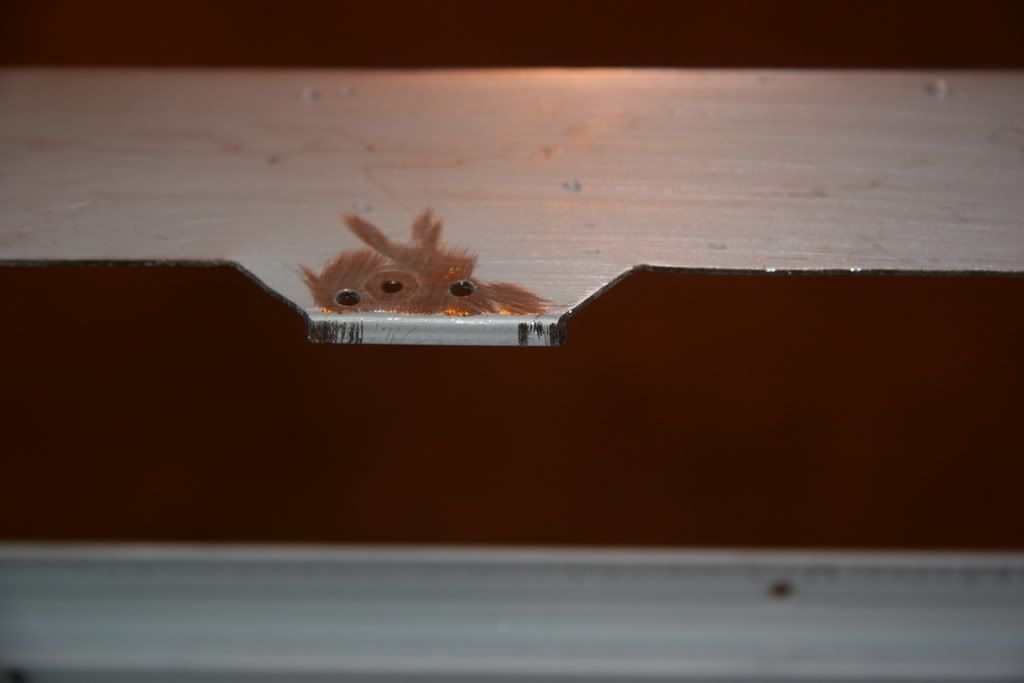
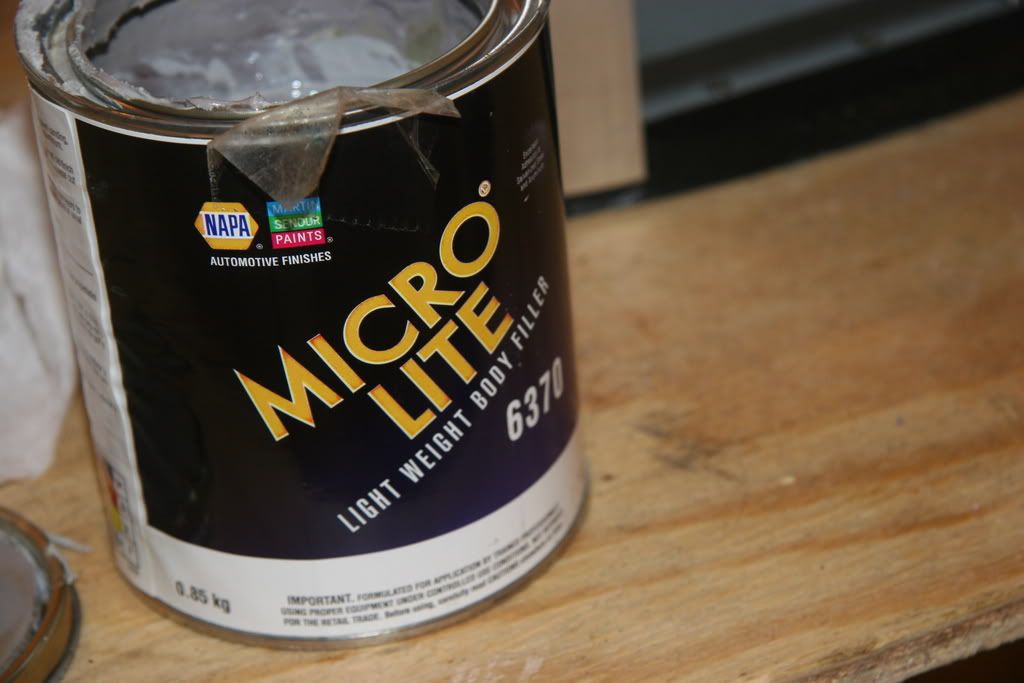
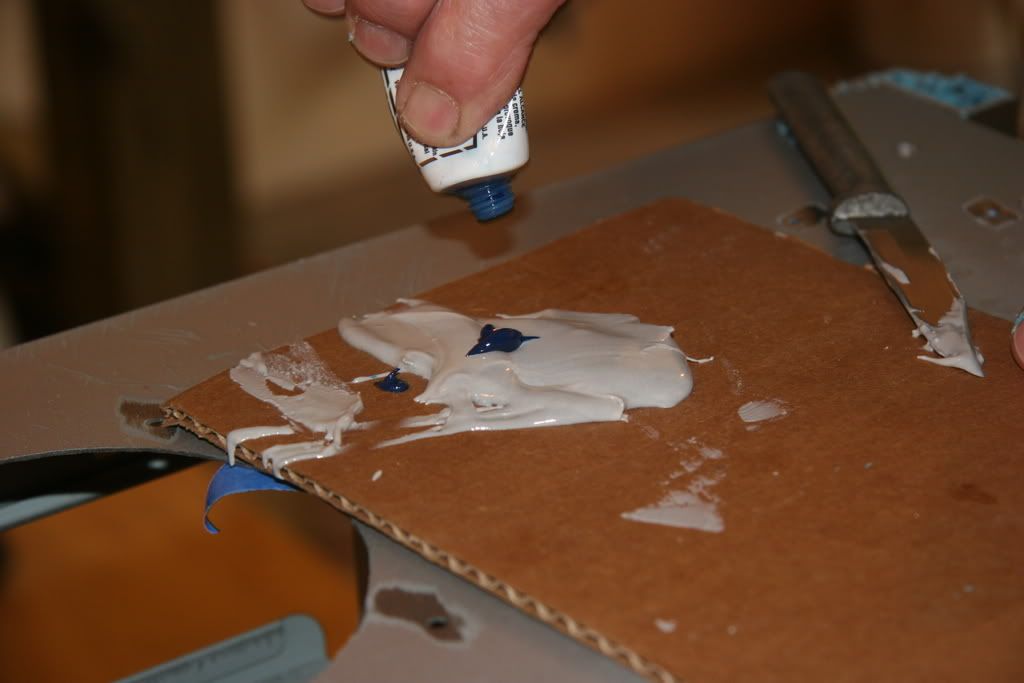
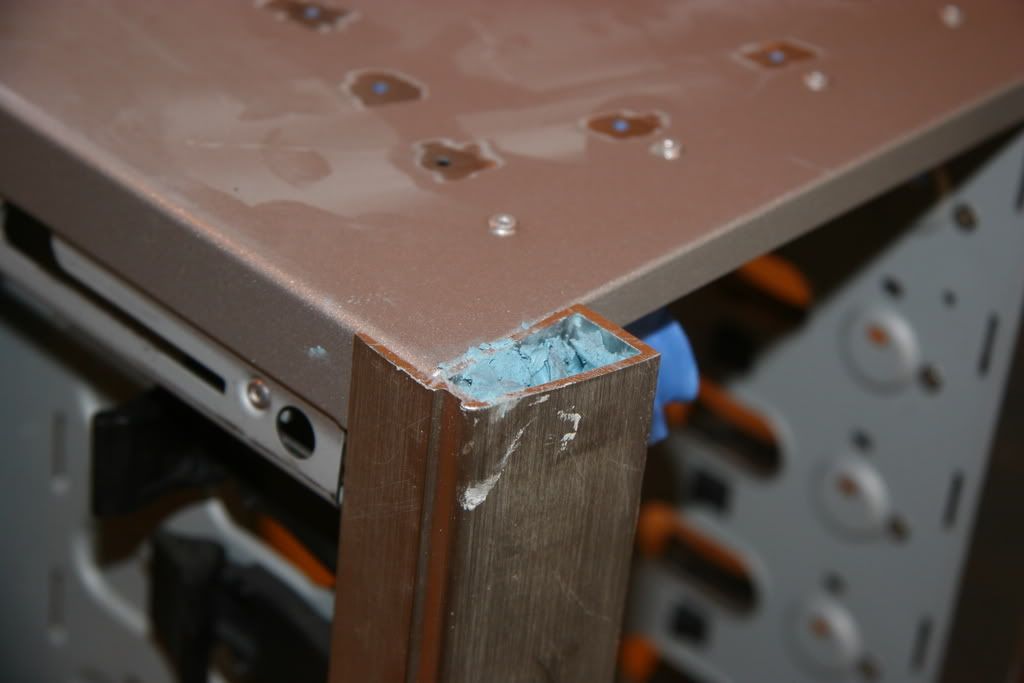
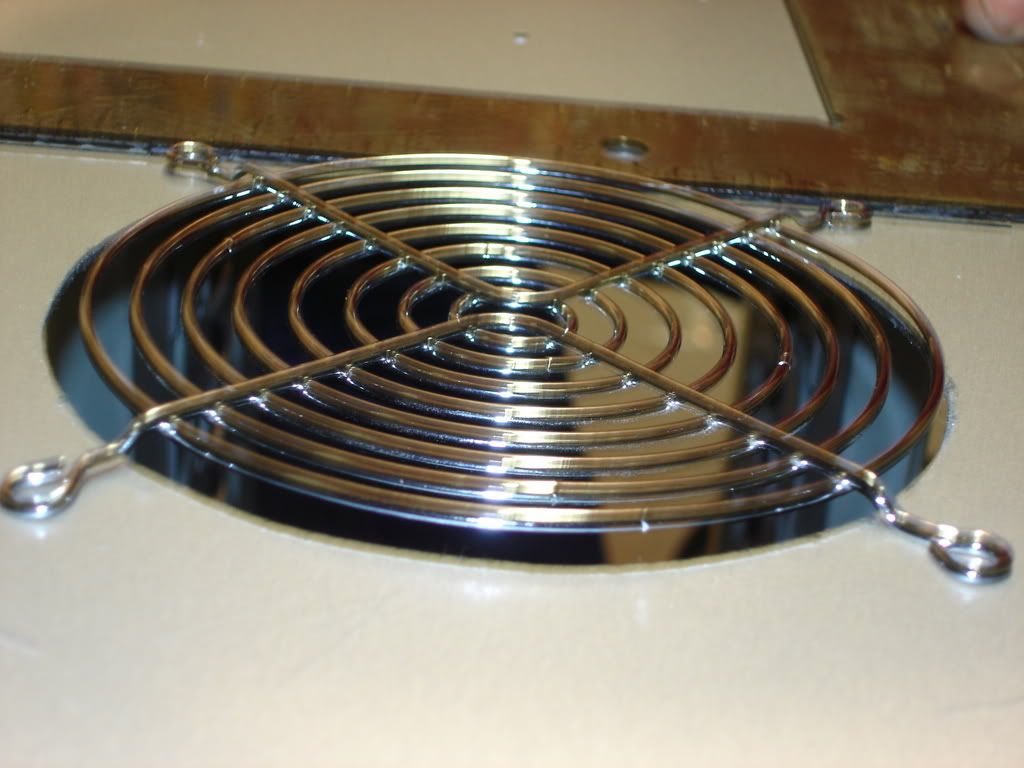
#14
#15
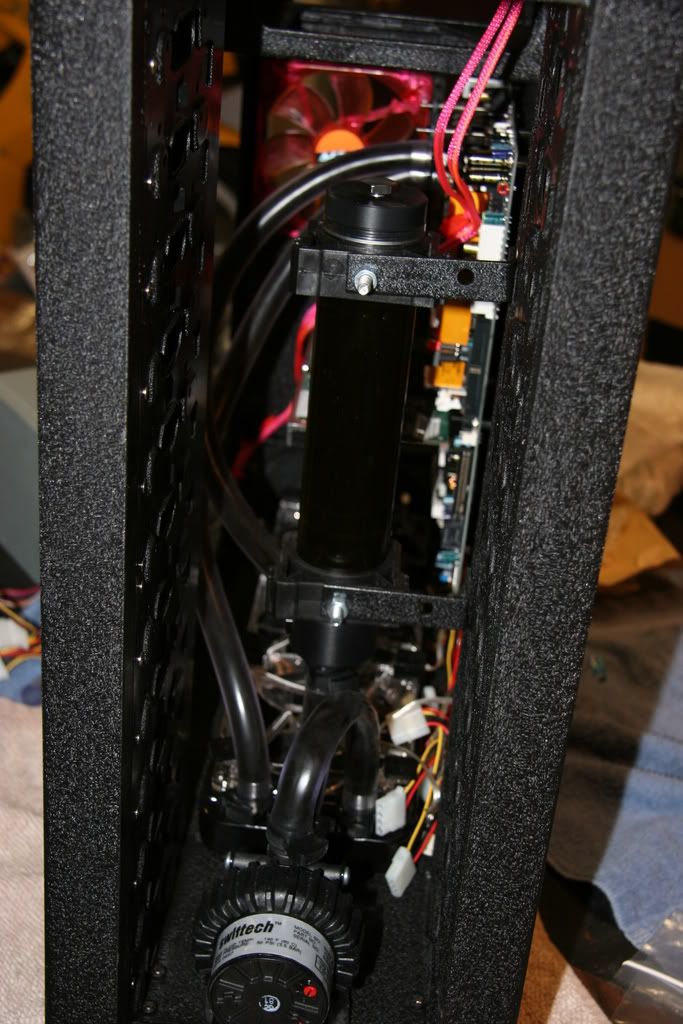
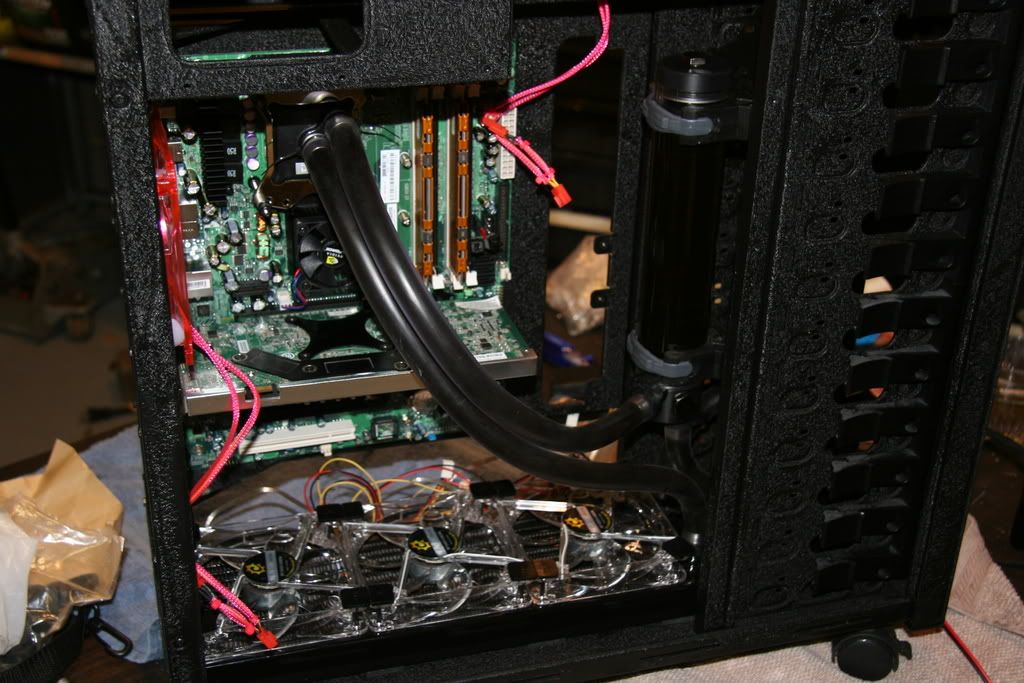
More to come, I have most of the radiator done, but I'm really tired of image codes and want a little bit of feedback before I start posting more.
Thanks!
It will also be painted.
I'm going to number every picture so it's easy to reference if you have a suggestion or comment.
And btw, I don't have 3 arms, my dad is doing some of the work so I can take pictures of the process, but I am doing most of it. I just wanted to get pictures of the actual n00bie techniques I used for this project.
Here's the before and what I'm working with:
#1
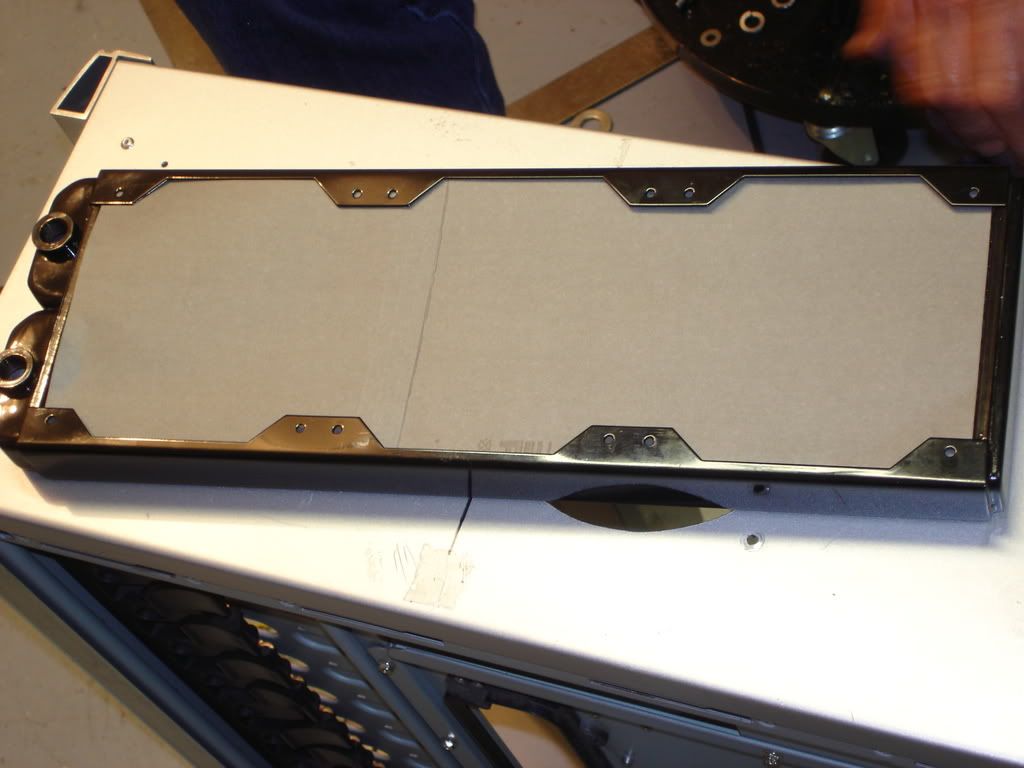
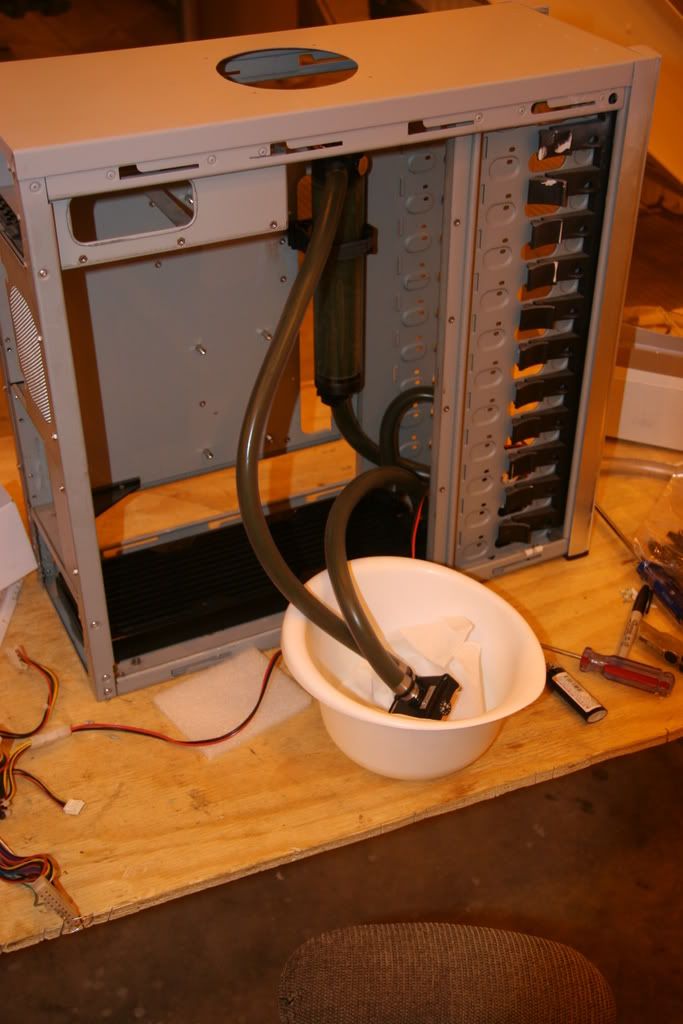
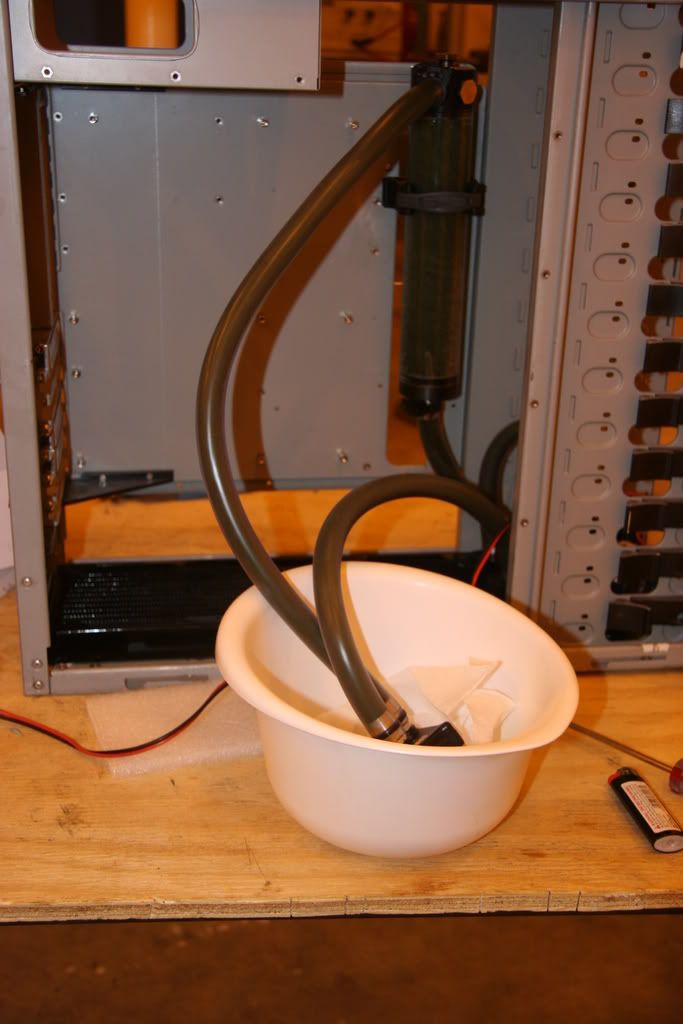
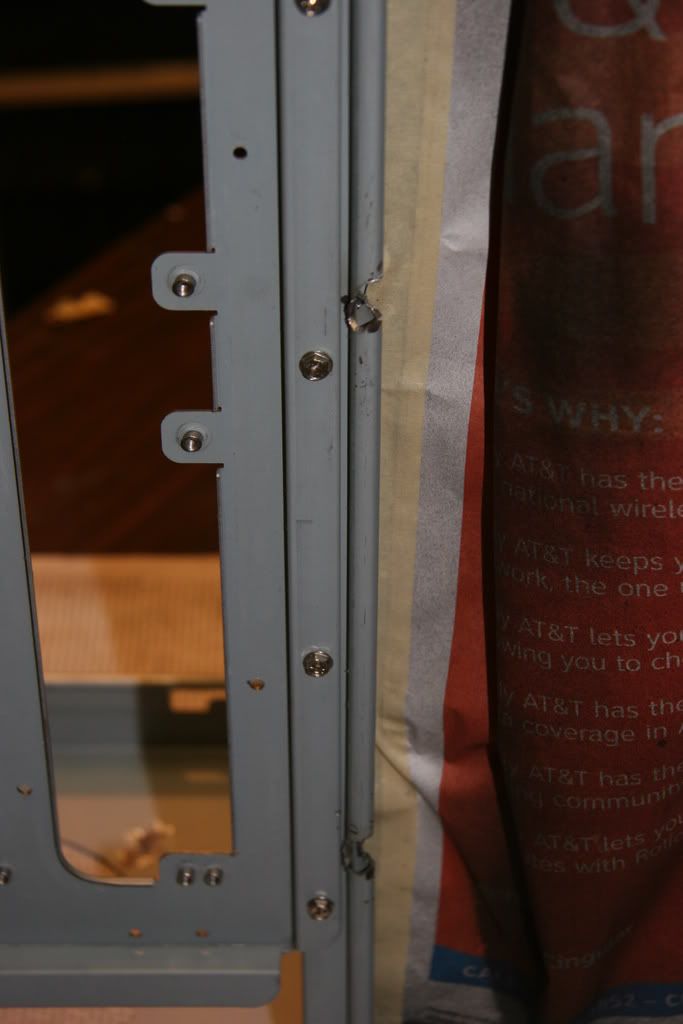
Stripped down:
#2
#3
#4
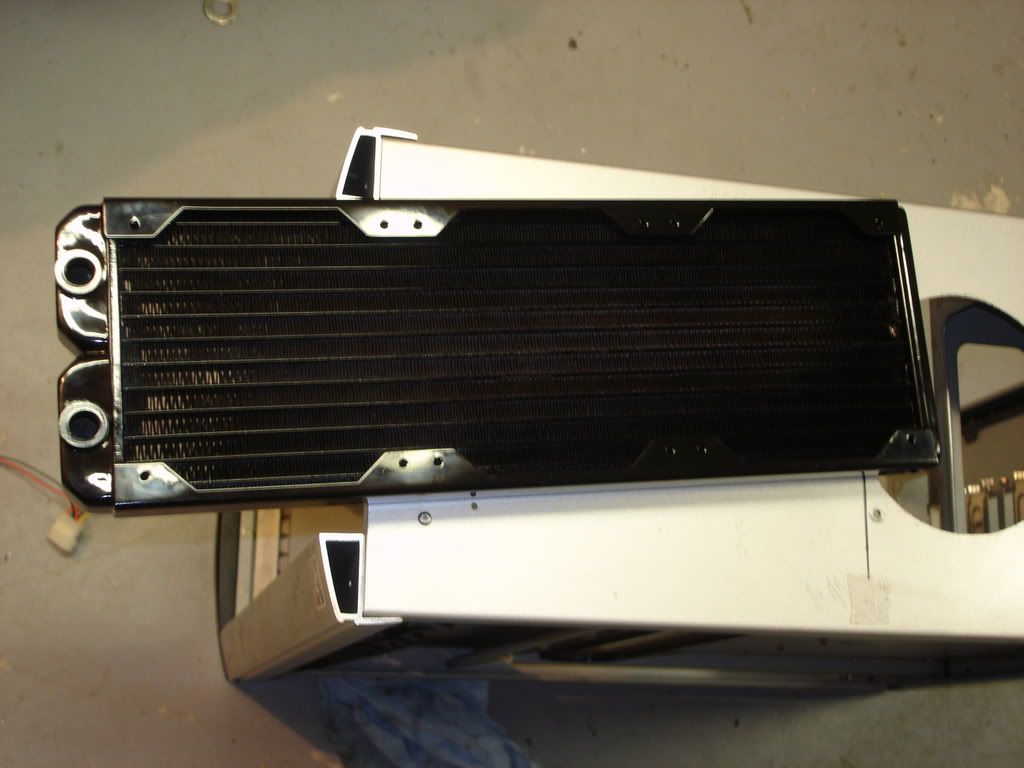
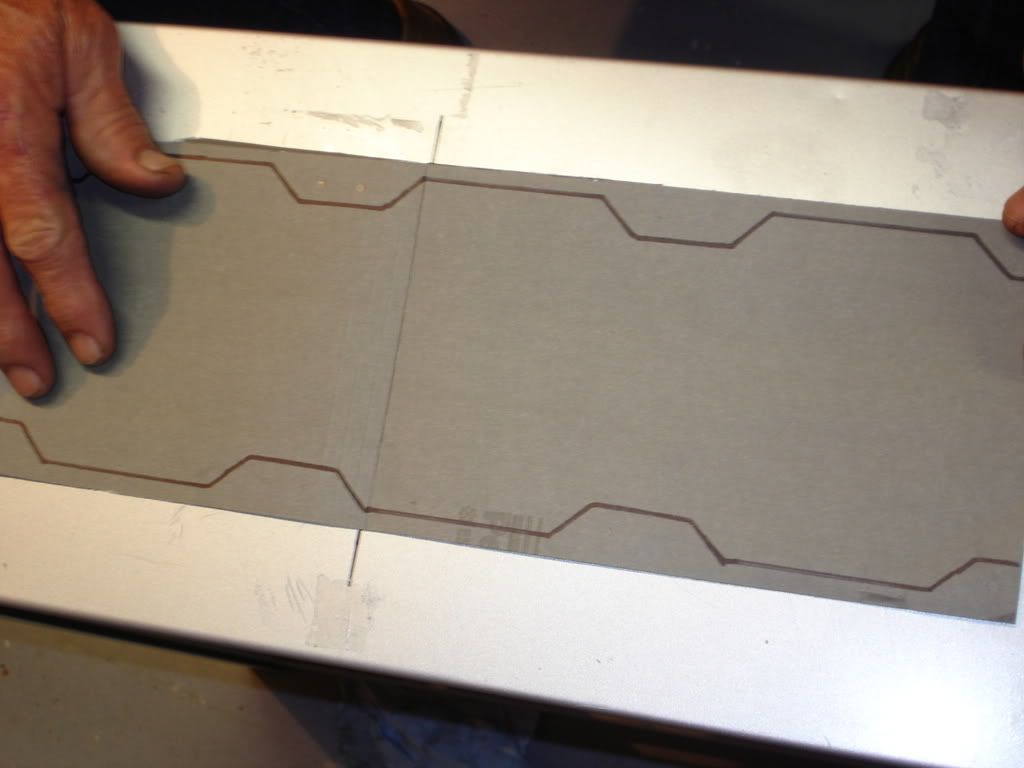
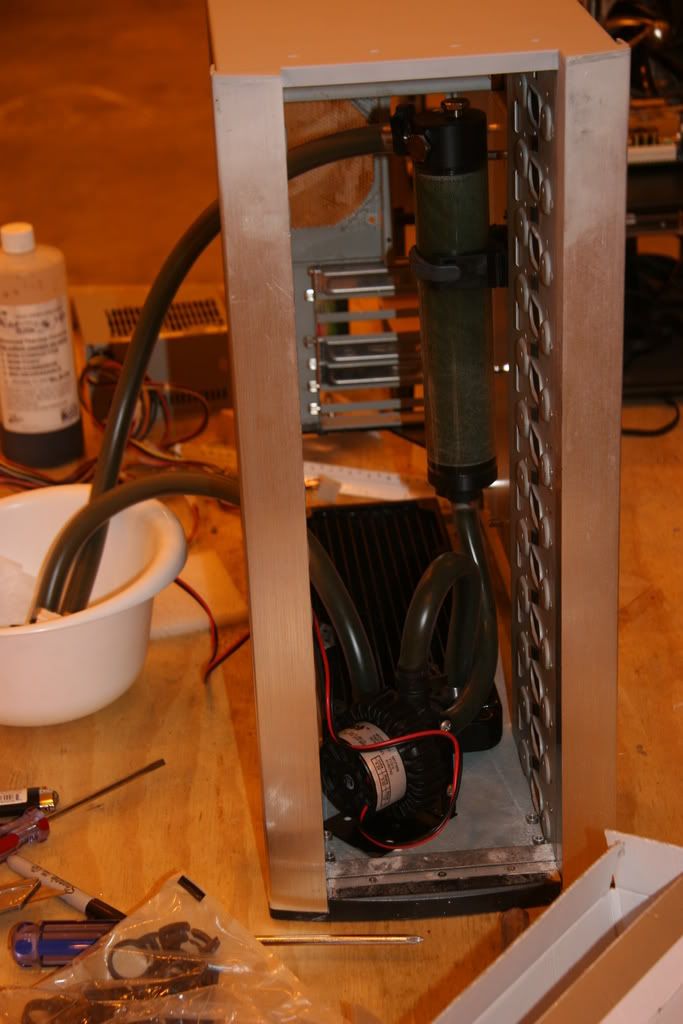
The Gear:
#5
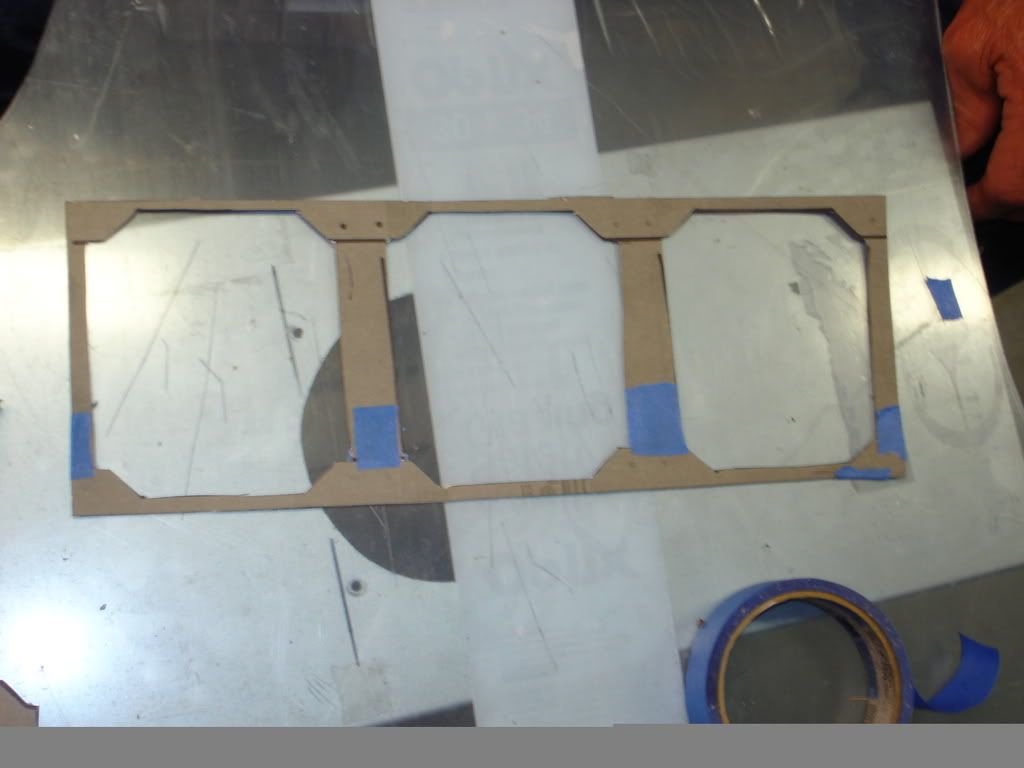
Let's get this show on the road!
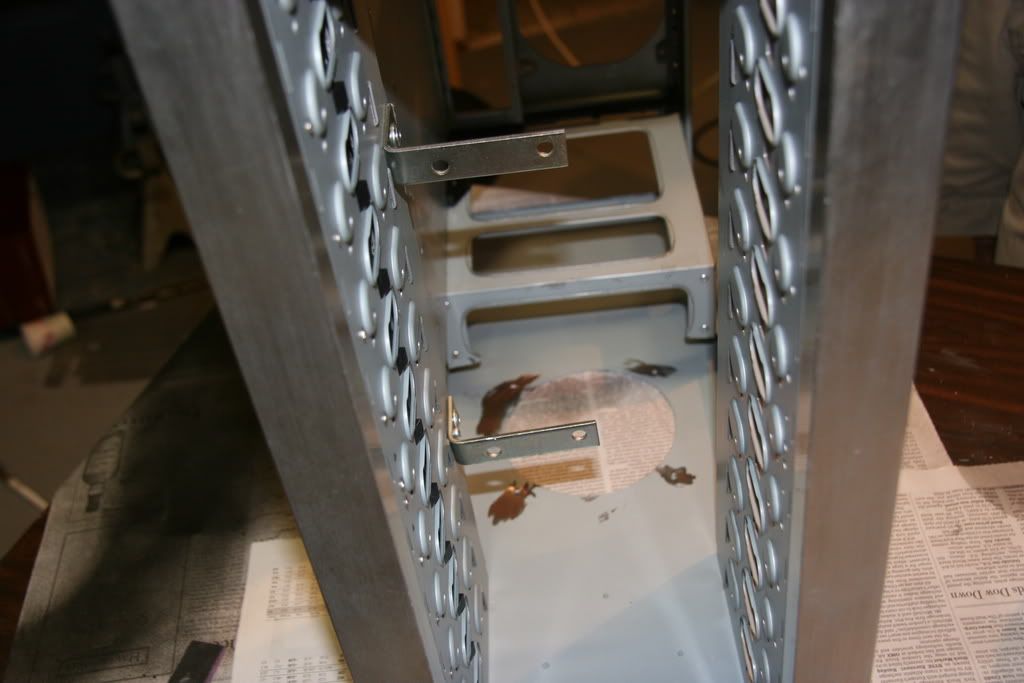
First off, I want to turn my 80mm top exhaust into a 120...
The PSU cage was going to be a problem because the fan will not fit in between the gap. Don't worry about the cut in the top of the cage already, I was experimenting with a dremel bit, lol.
#6
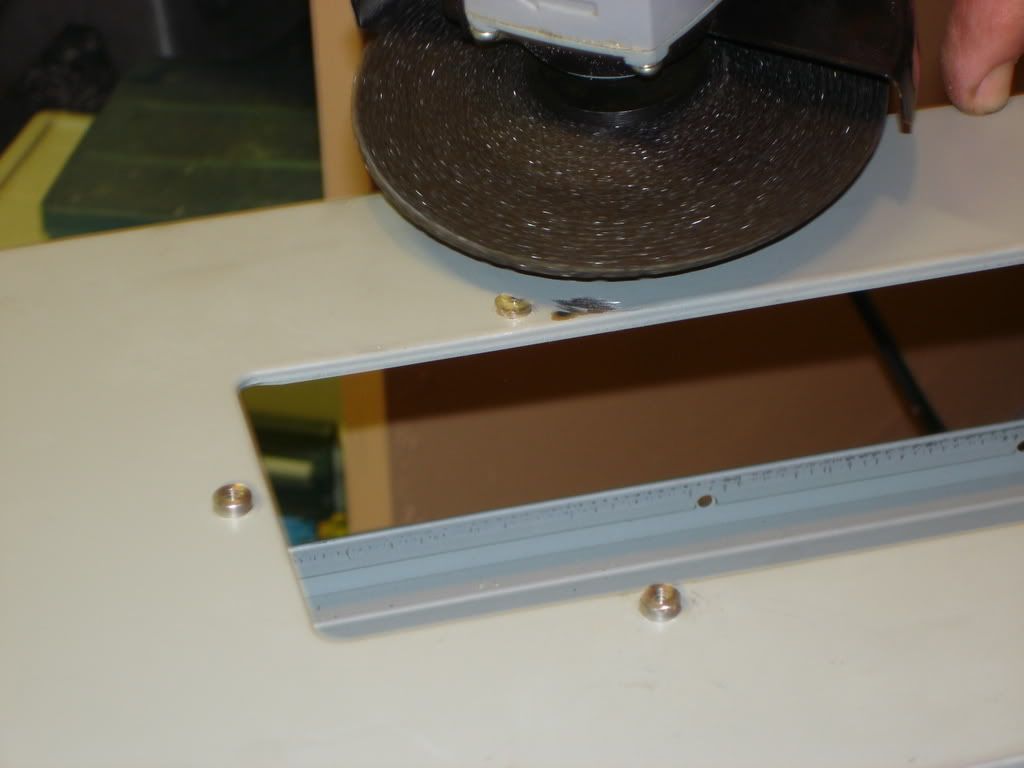
Next...
#7
Now the cutting process starts.
#8
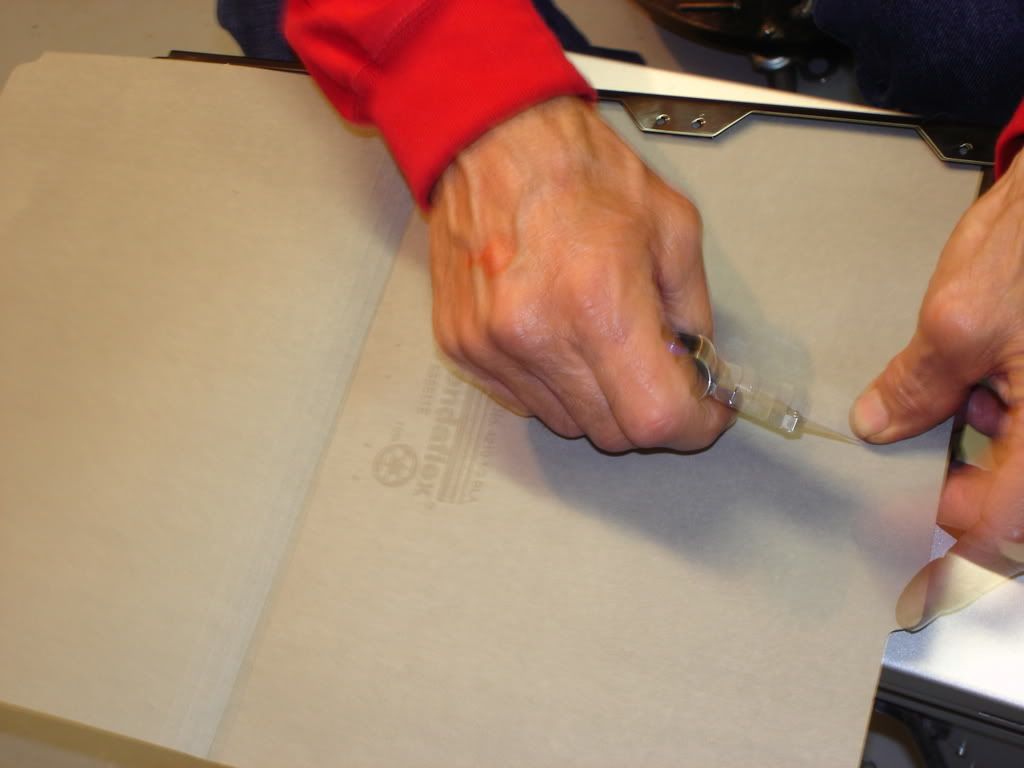
Remember to measure! I didn't show that pic but it is measured to the center here!
#9
#10
Sorry about the blurriness, I didn't have my DSLR on me.
Future pics won't be so bad!#11
#12
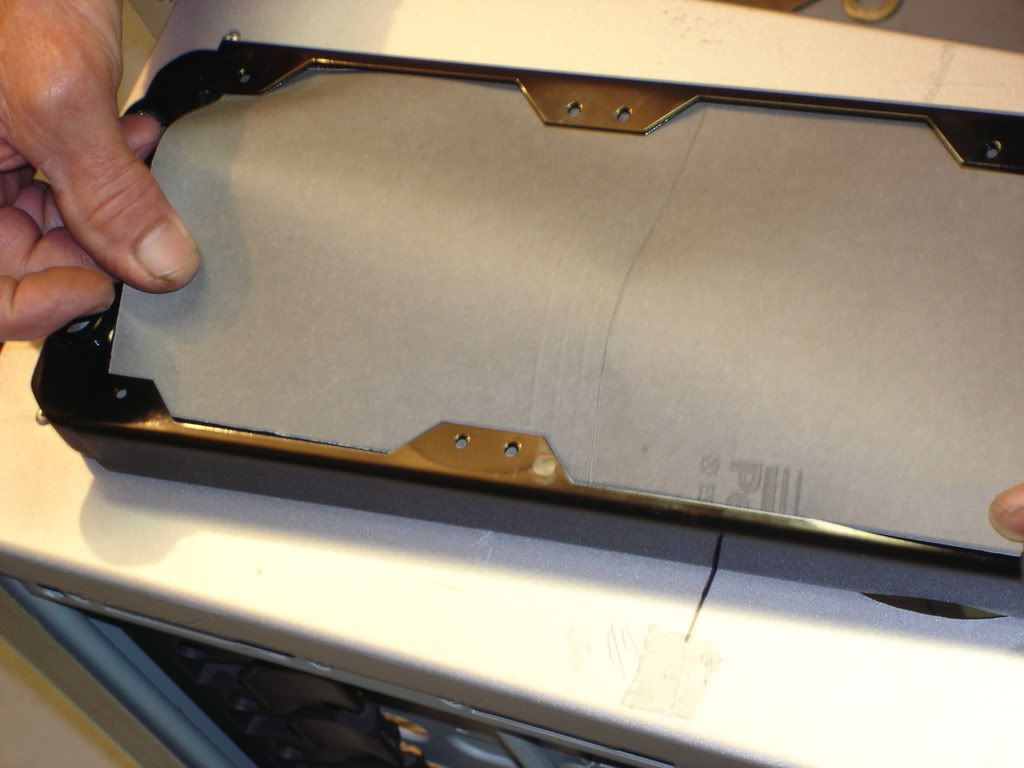
#13
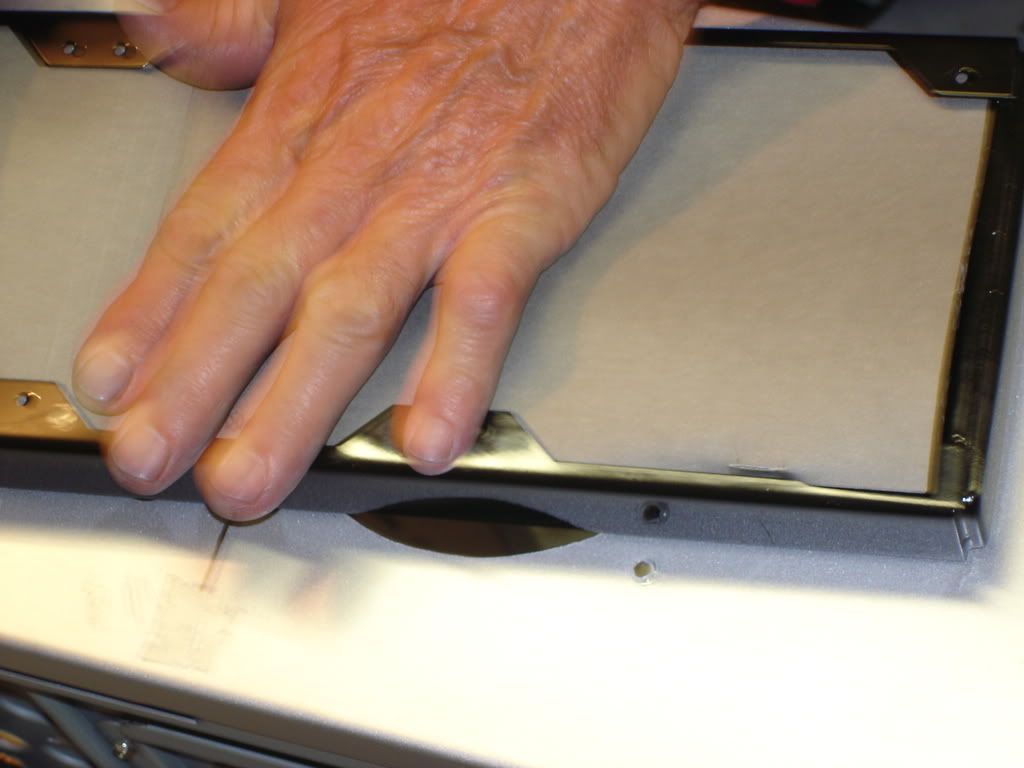
Remember to get squared up!
Obviously what we are doing here is getting the hole's centered, we mark them and drill the holes, I didn't think it was necessary to picture that.
#14
#15
More to come, I have most of the radiator done, but I'm really tired of image codes and want a little bit of feedback before I start posting more.
Thanks!