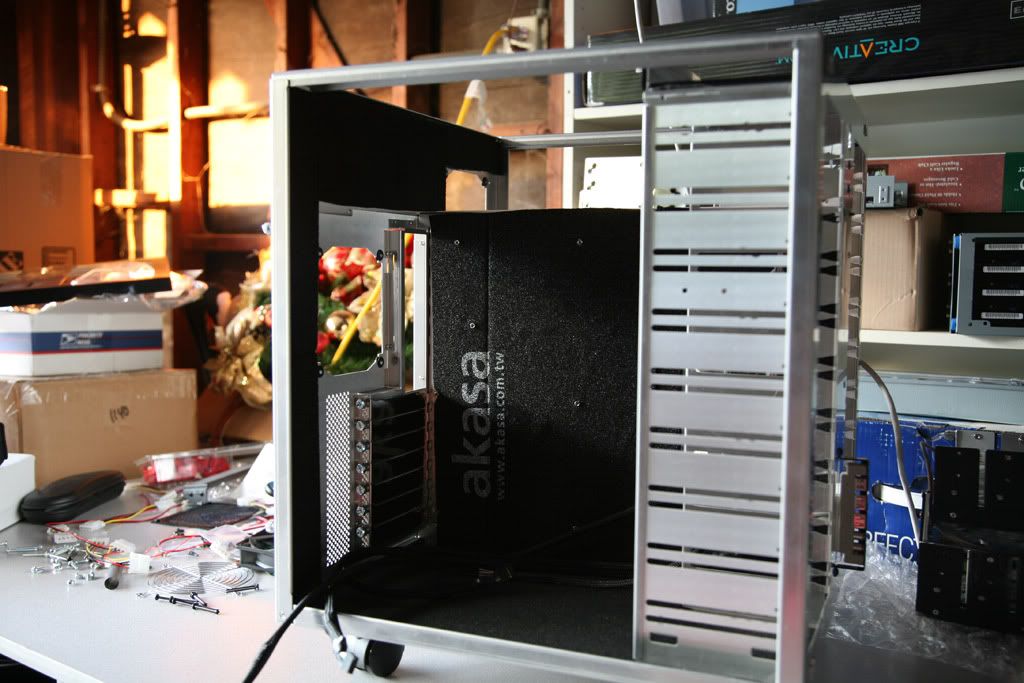
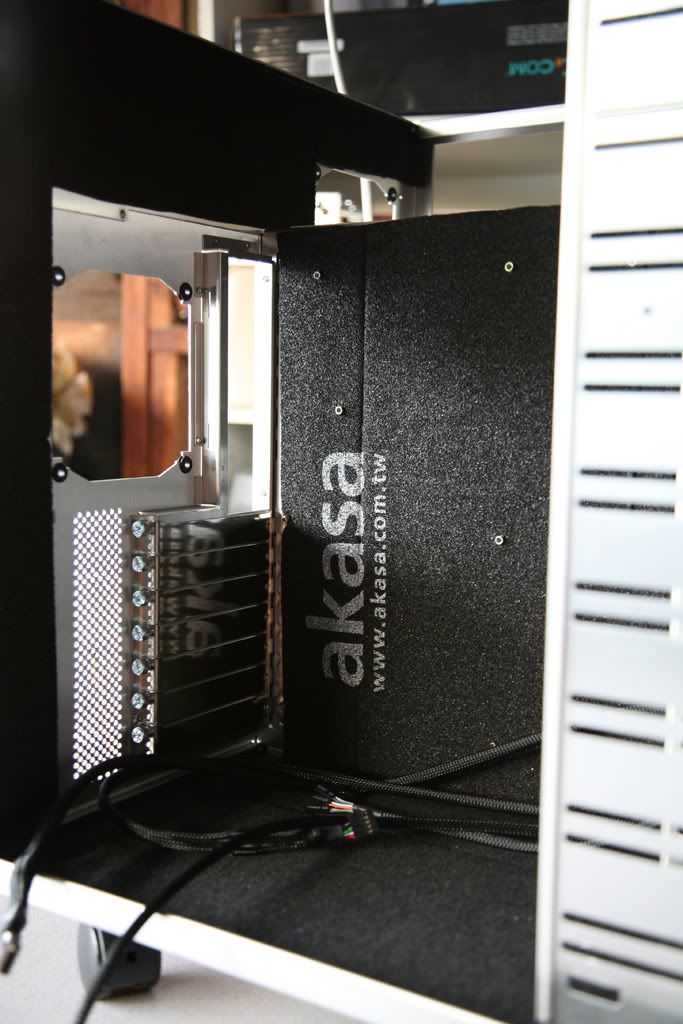
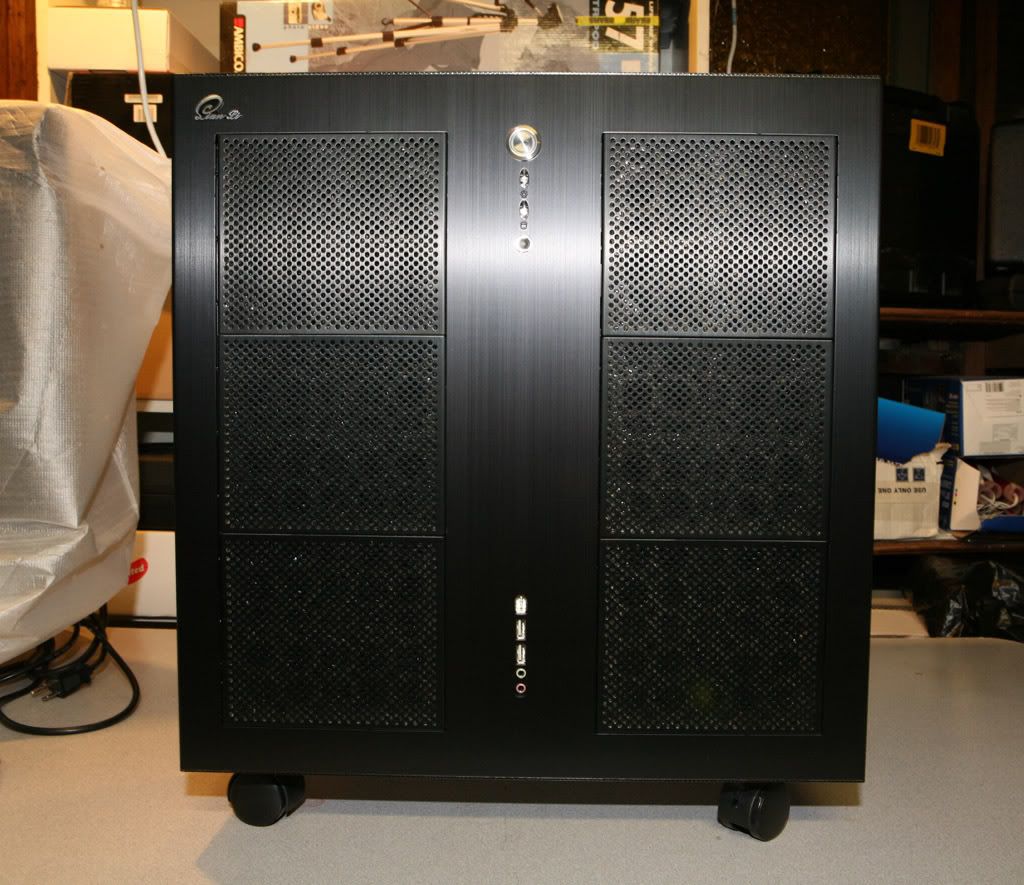
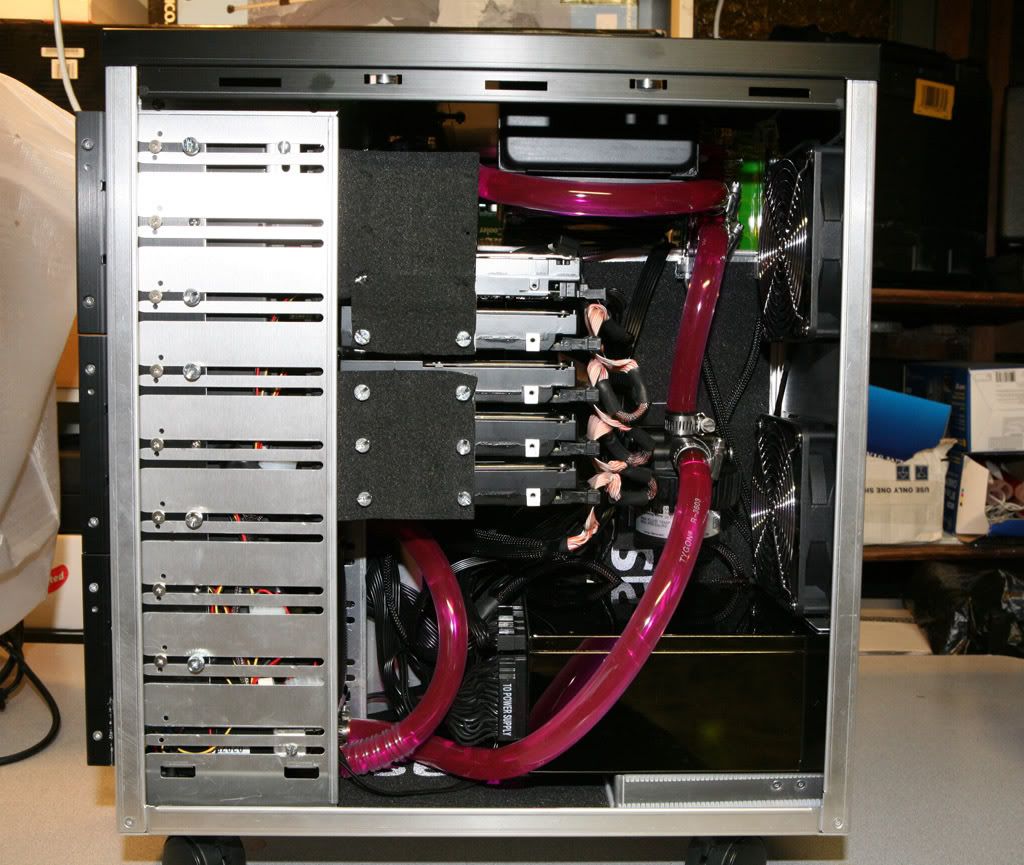
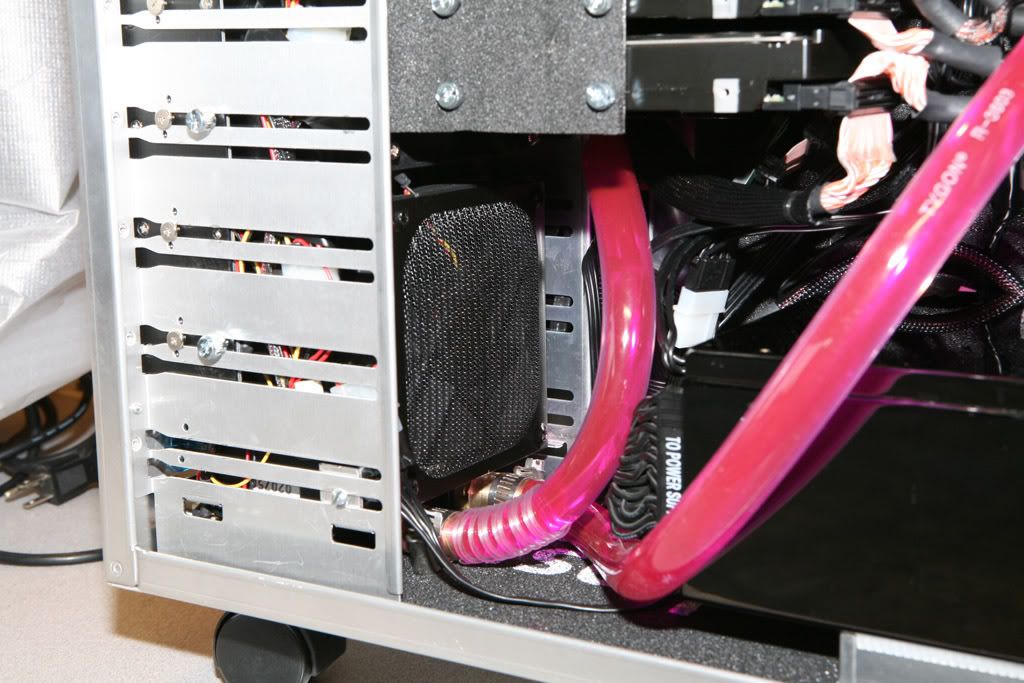
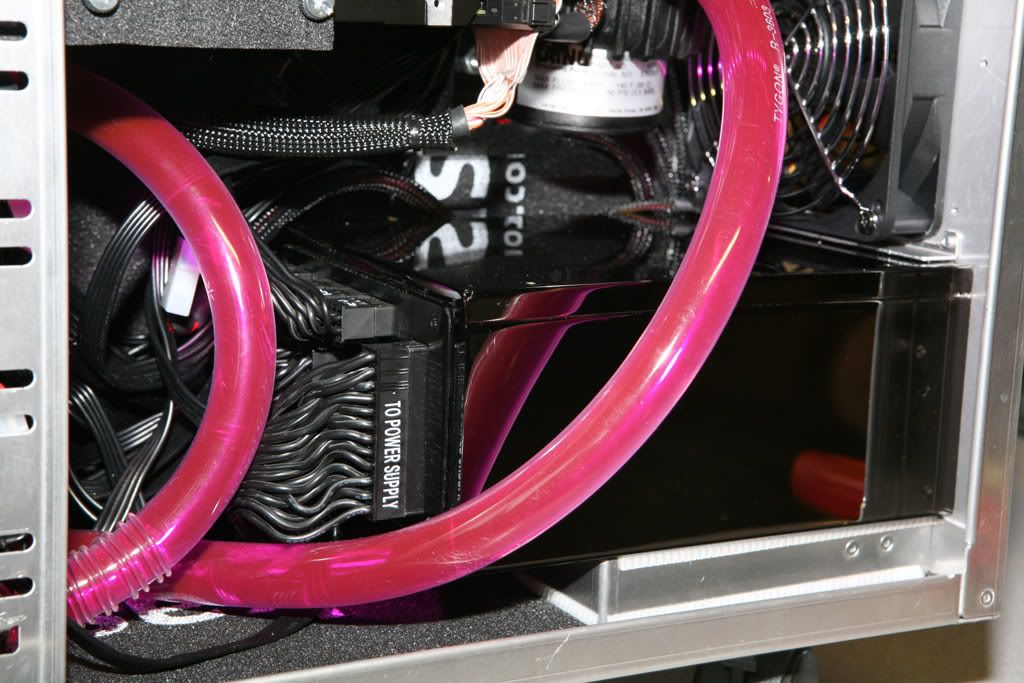
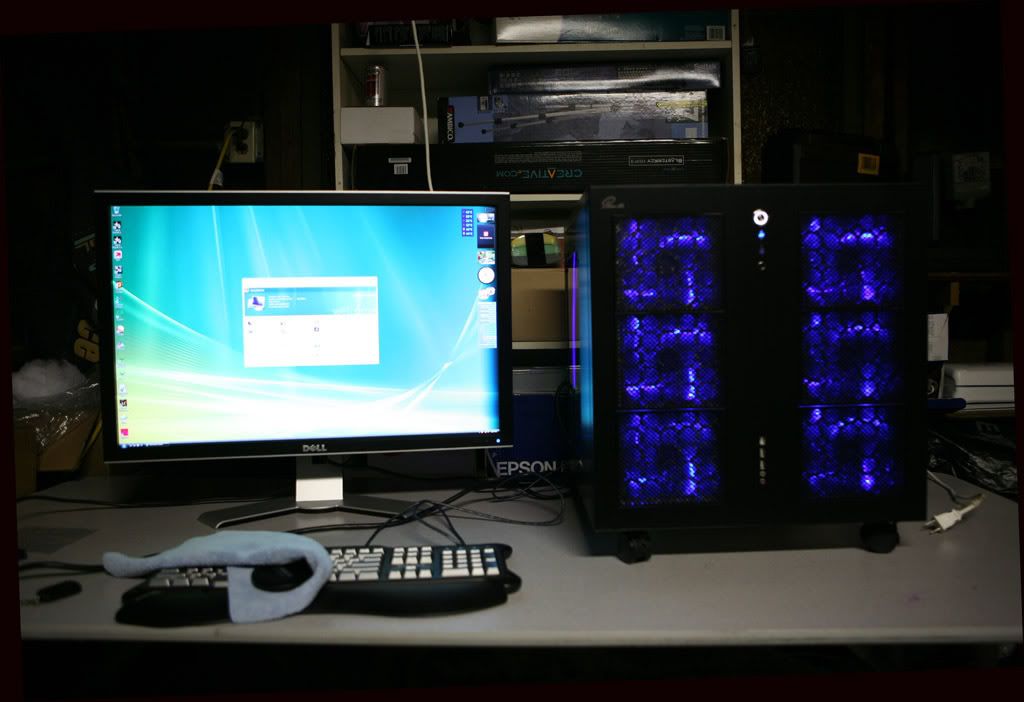
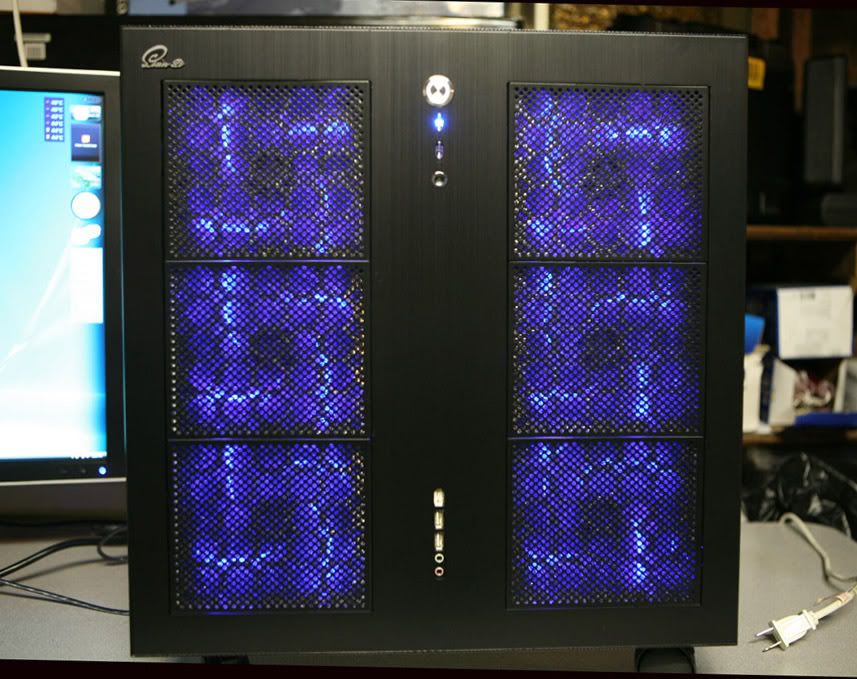
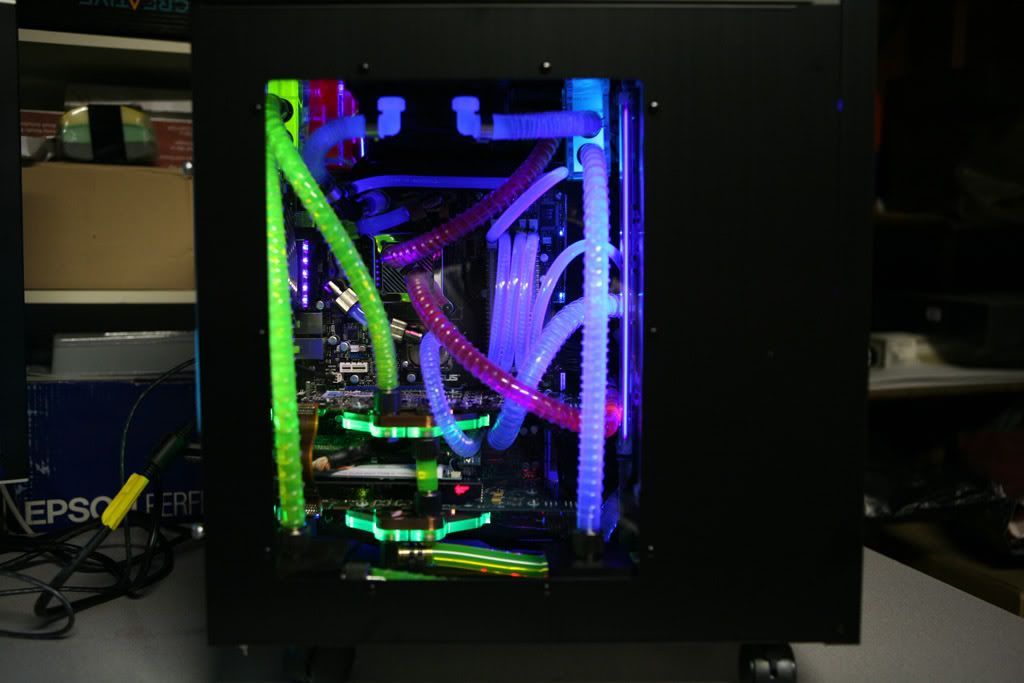
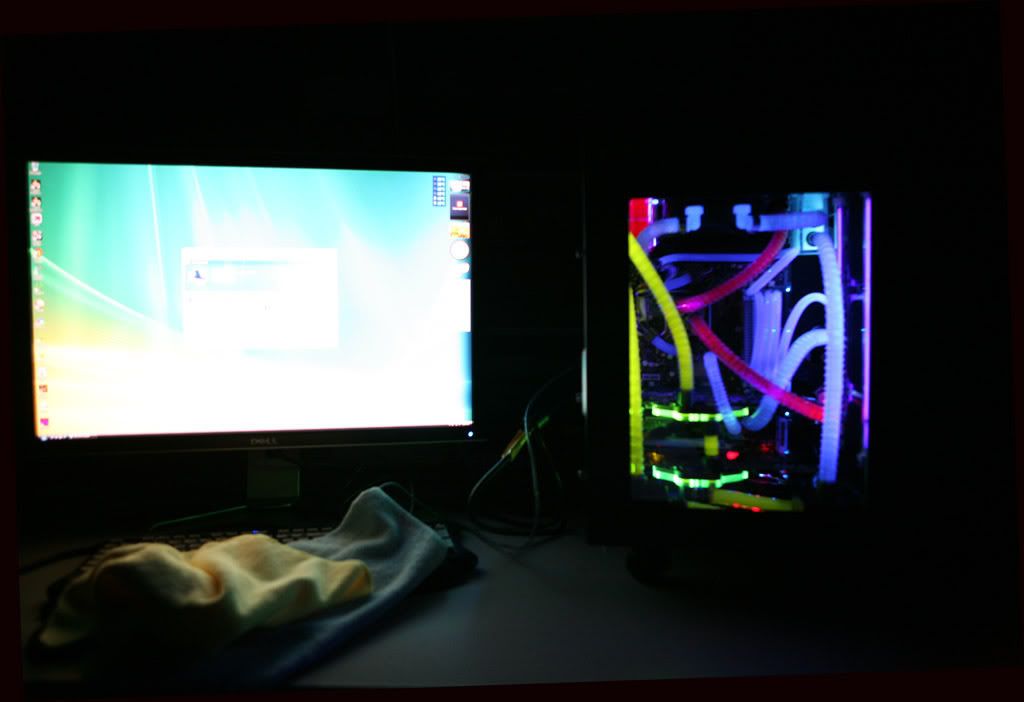
Finally, after about 5 months long, I introduce to you my new build X-343B-WC. "343B" is for the Lian Li cube case. What started out as a simple 2 loops upgrade from my previous Opteron 170 system led to an all-out extreme watercooling system. Some of you have already seen a few sneak peek pics but here's more for your viewing pleasure. Critiques and feedbacks are welcome, infact encouraged. Thx!
SYSTEM SPECS
Main Components
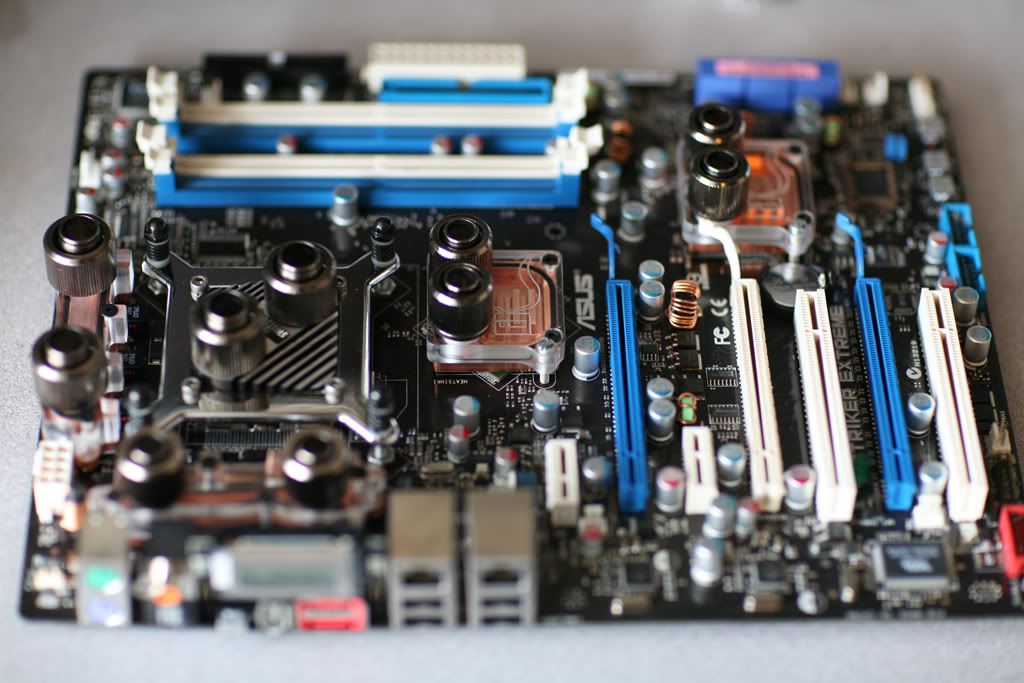
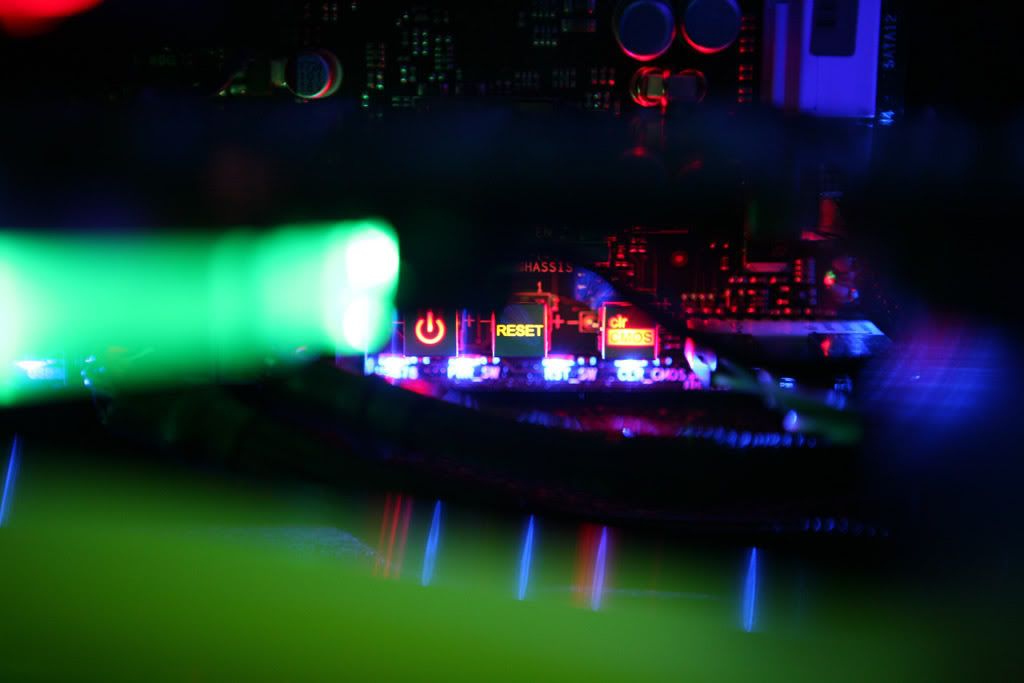
Mobo: Asus Striker Extreme
CPU: Q6600
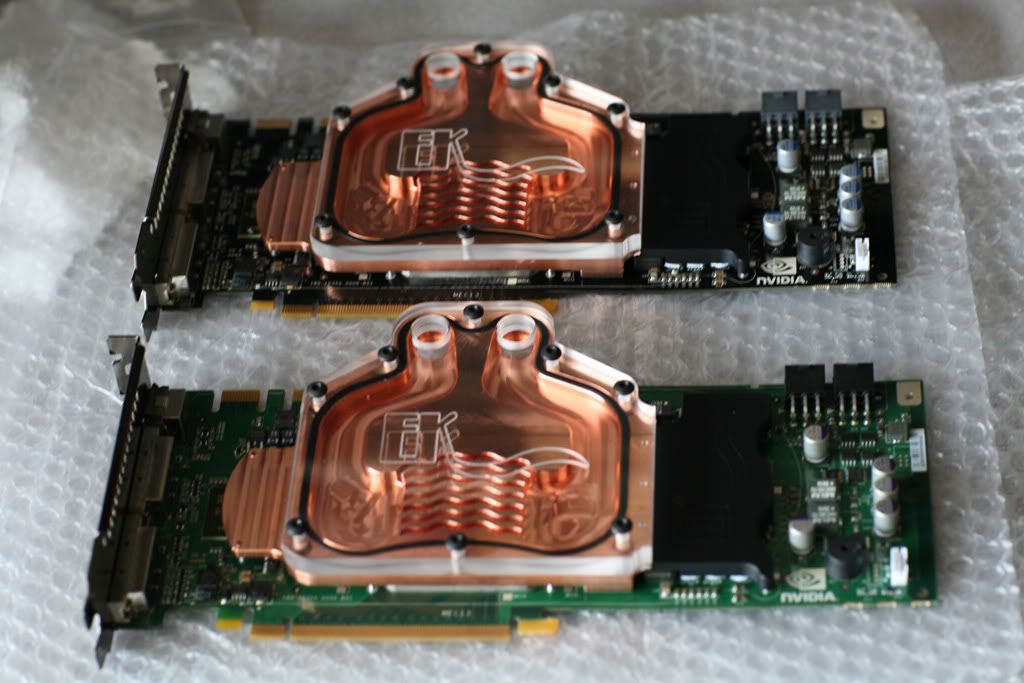
GPU: eVGA 8800GTX SLI
RAM: 4GB OCZ FlexXLC PC2-9200
Audio
SoundBlaster Fatal1ty
Storage
LSI Logic Dual Channel Ultra-320 PCI-Express SCSI Controller
580GB 147GB x 4 RAID 0 Fujitsu Ultra-320 15K RPM
750GB Seagate SATA-II NL35
500GB WDC USB
Plextor PX-755SA w/Lian Li SATA USB External Enclosure
Display
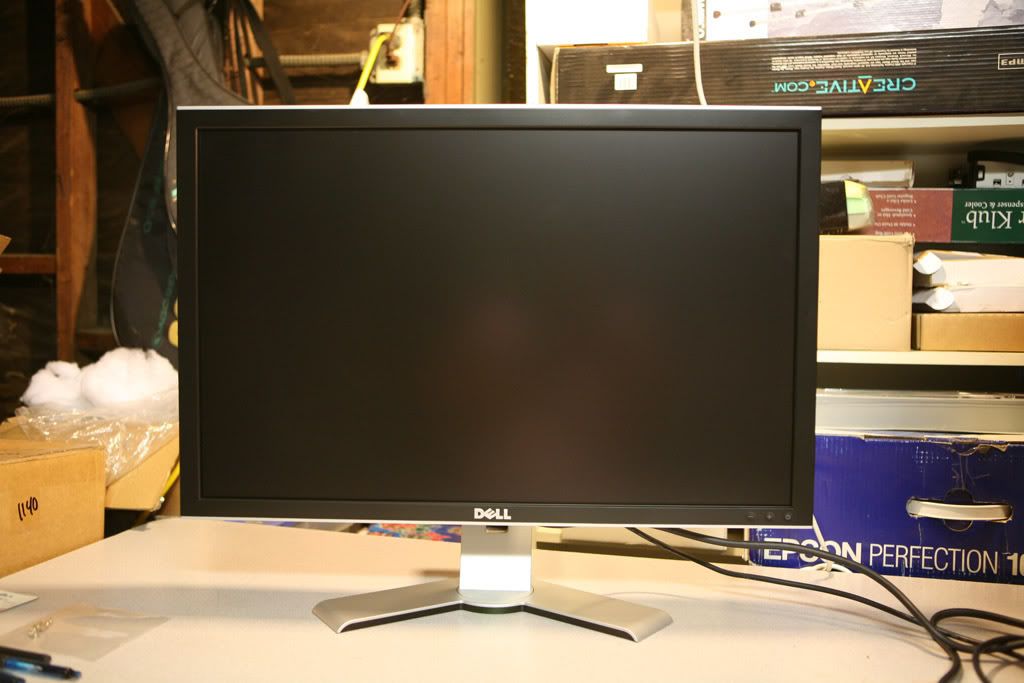
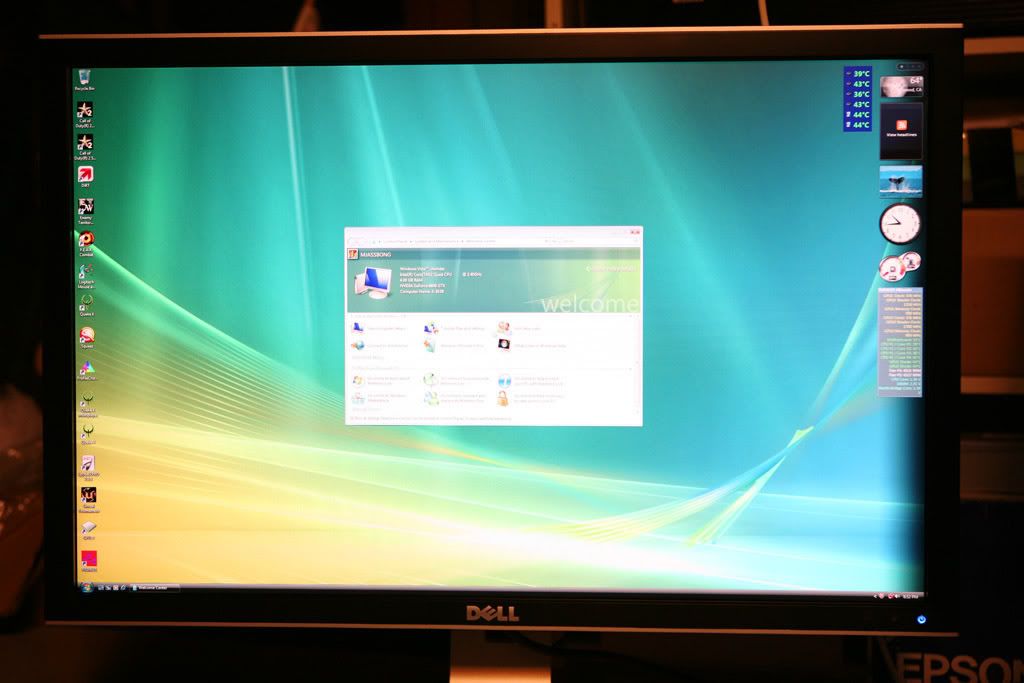
Dell 307WFP-HC
Spyder 2 Pro
Peripherals
Logitech G15 Keyboard
Logitech G7 Wireless Mouse
Watercooling
CPU: Swiftech GTX
GPU: EK 8800GTX FC x 2
Mobo: EK Asus NB/SB/Mosfetts Set
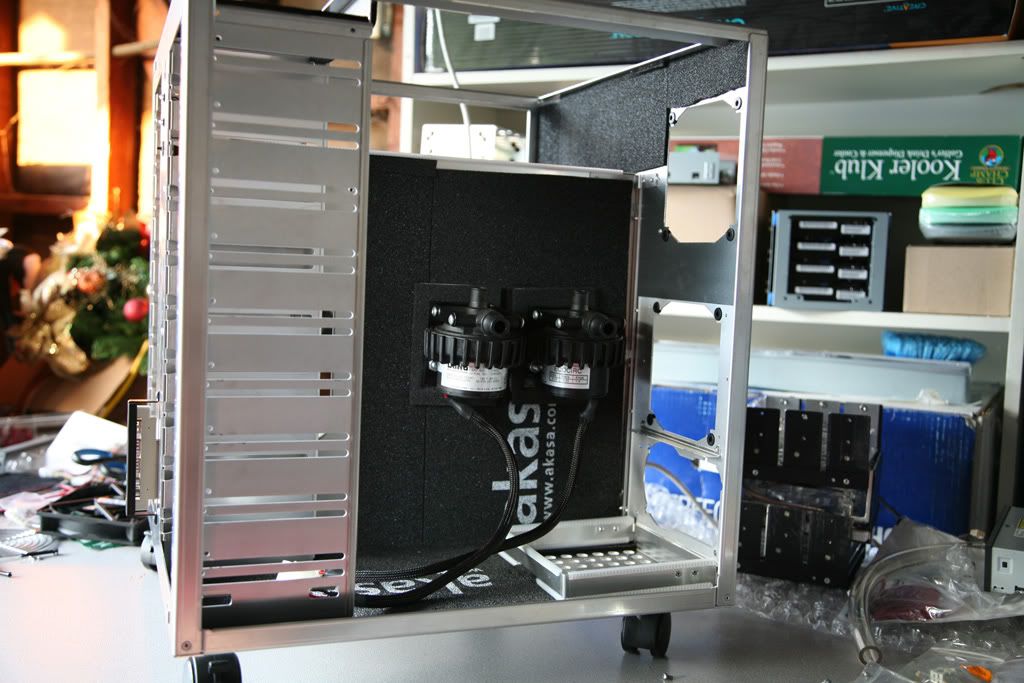
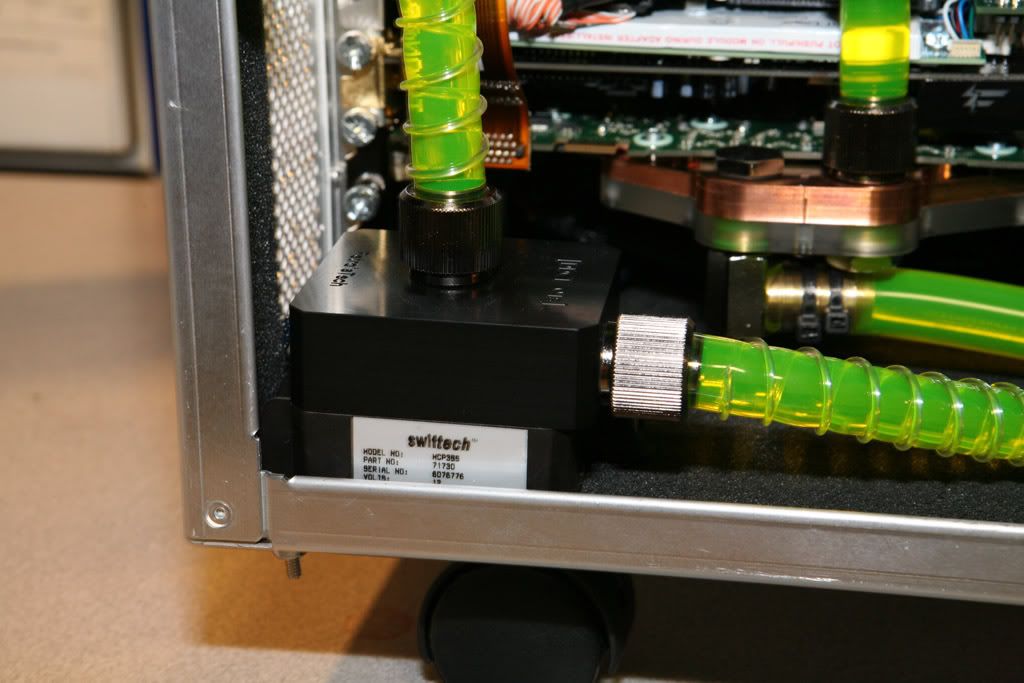
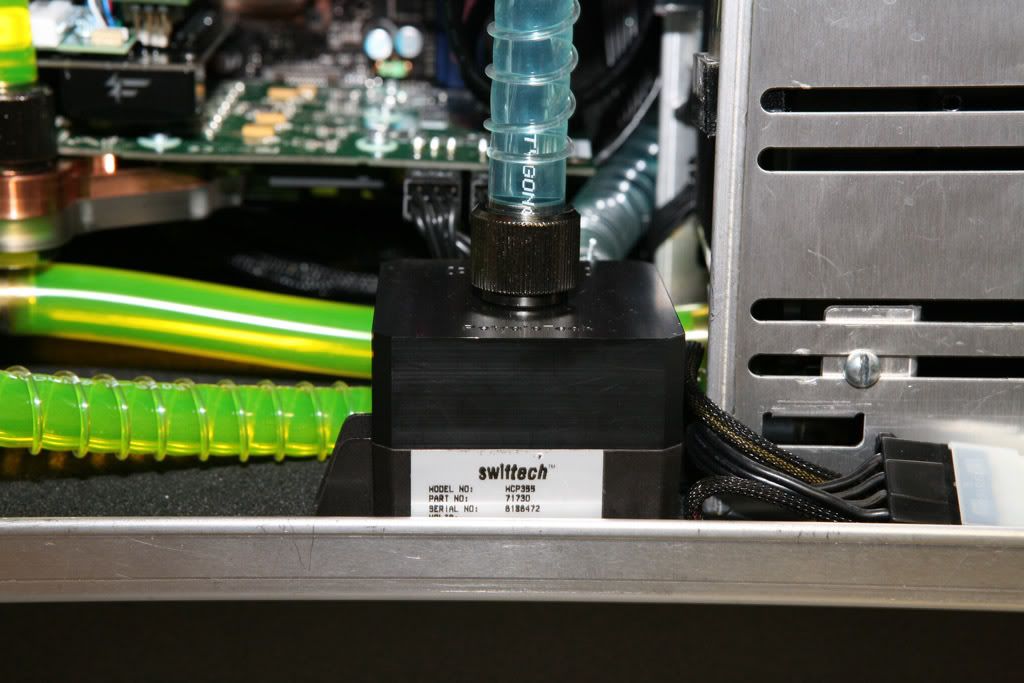
Pump: MCP655 x 1, MCP355 x 2
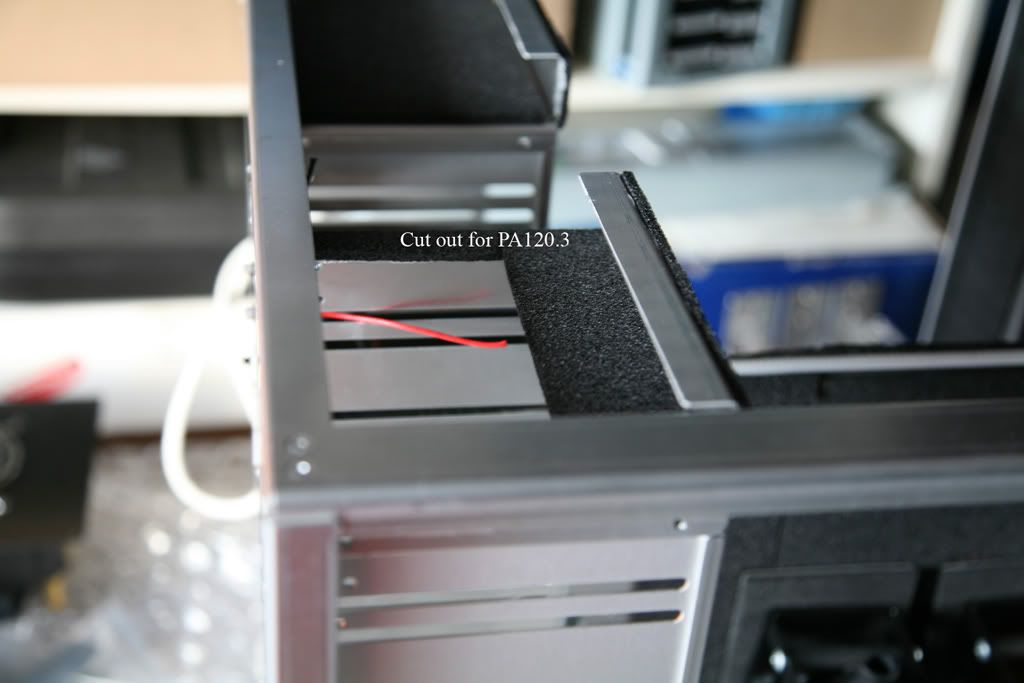
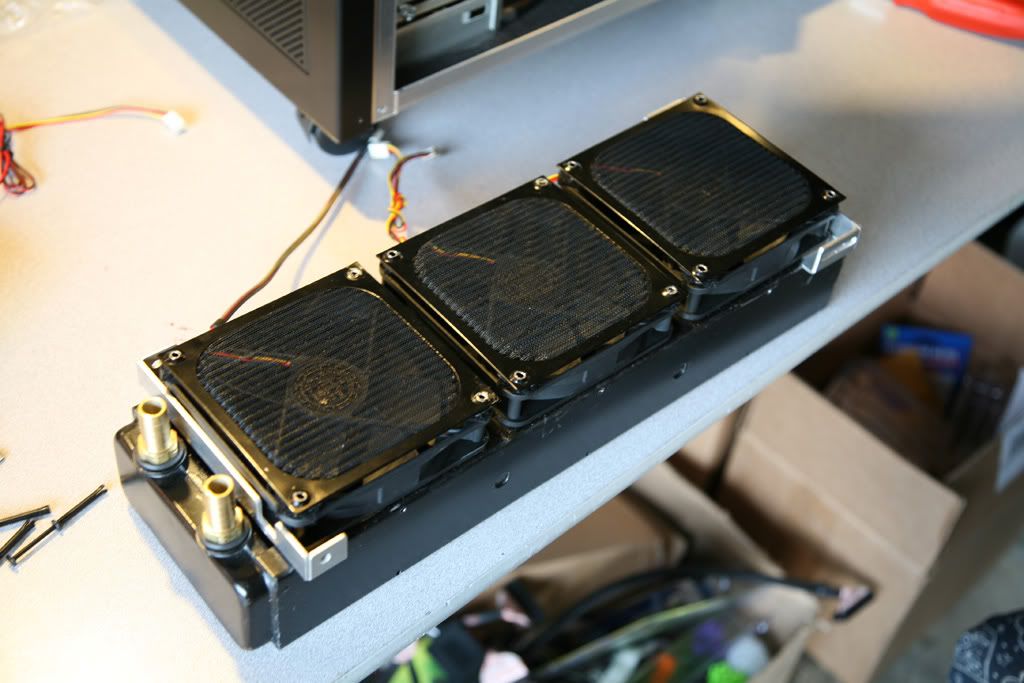
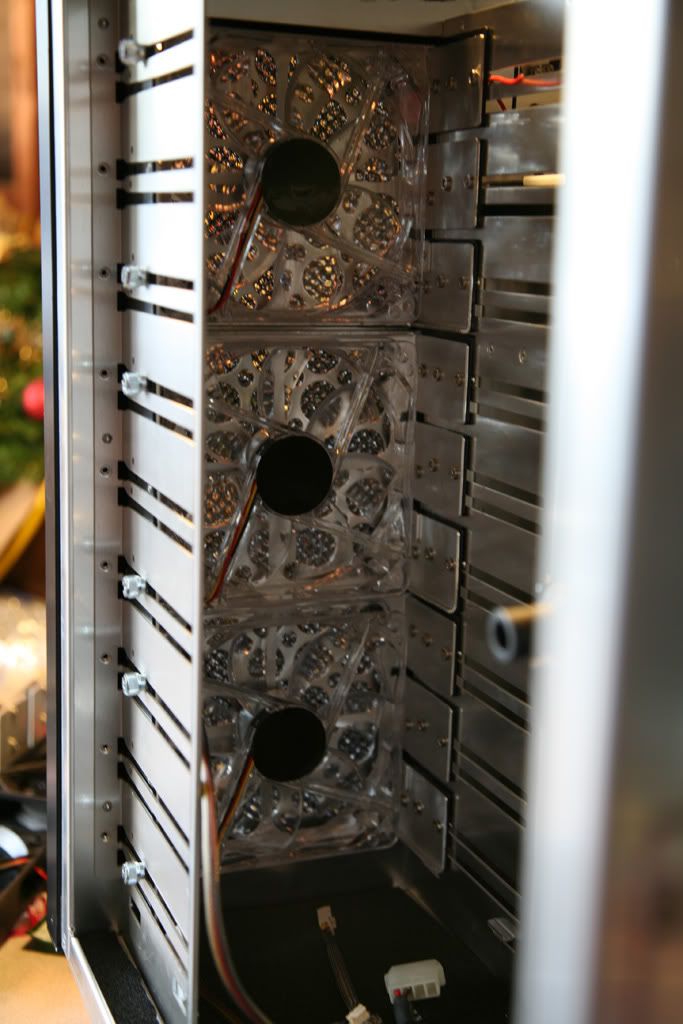
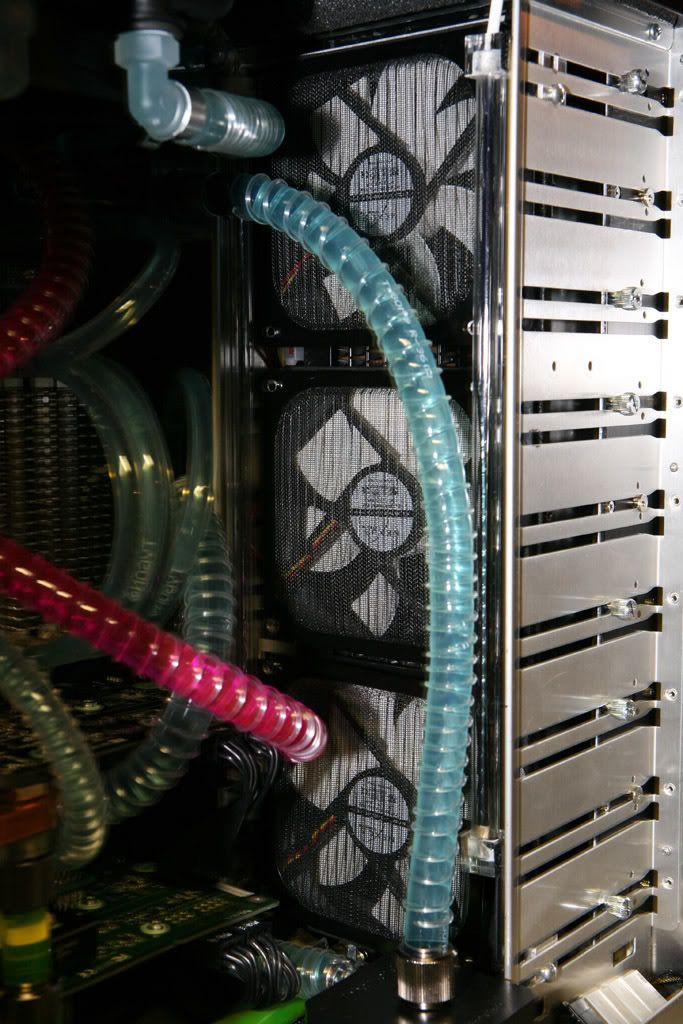
Rad: PA120.3 x 2, PA120.2 x 1
Res: Swiftech MC-Res x 3
Fitting: Koolance Compression
Tubing: Tygon 1/2", 3/8", 1/4"
Fan: Yates (Lots of It)
OS
Vista Ultimate x64
Main Use of System
Photos and Videos editing and Gaming
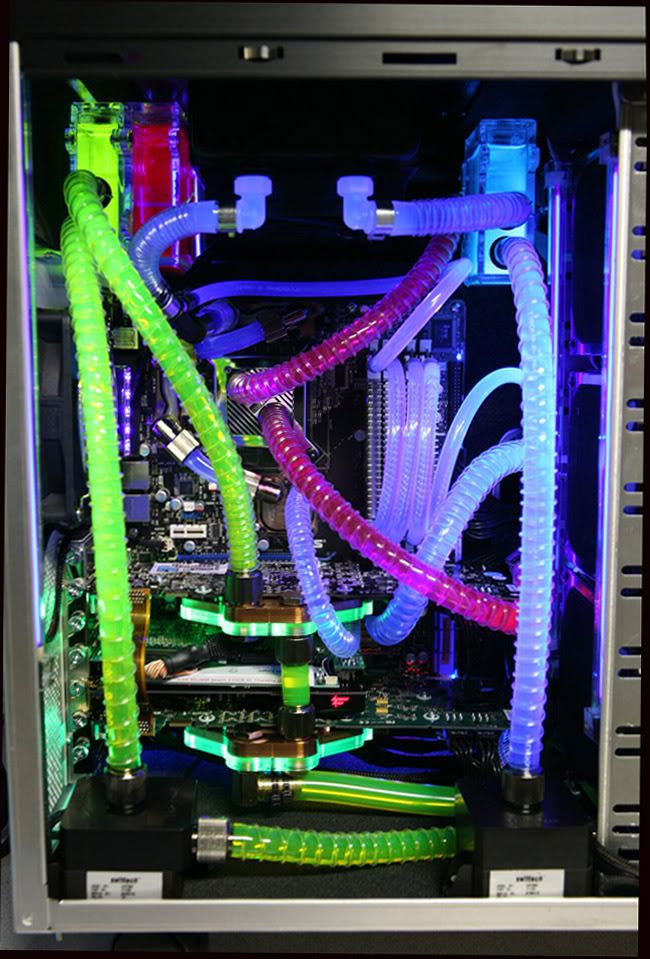
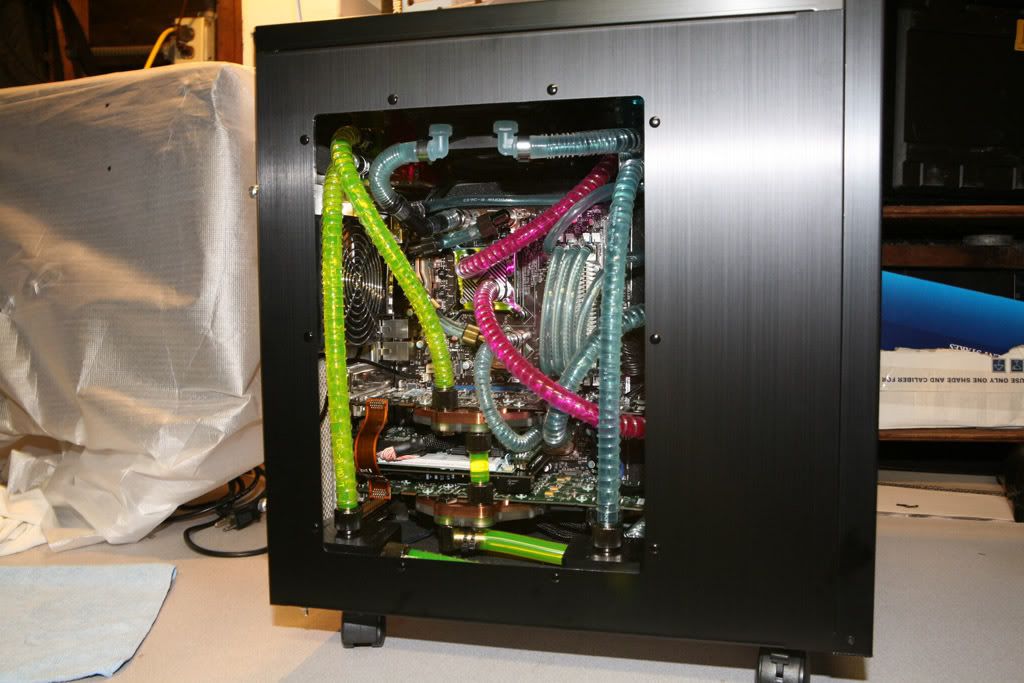
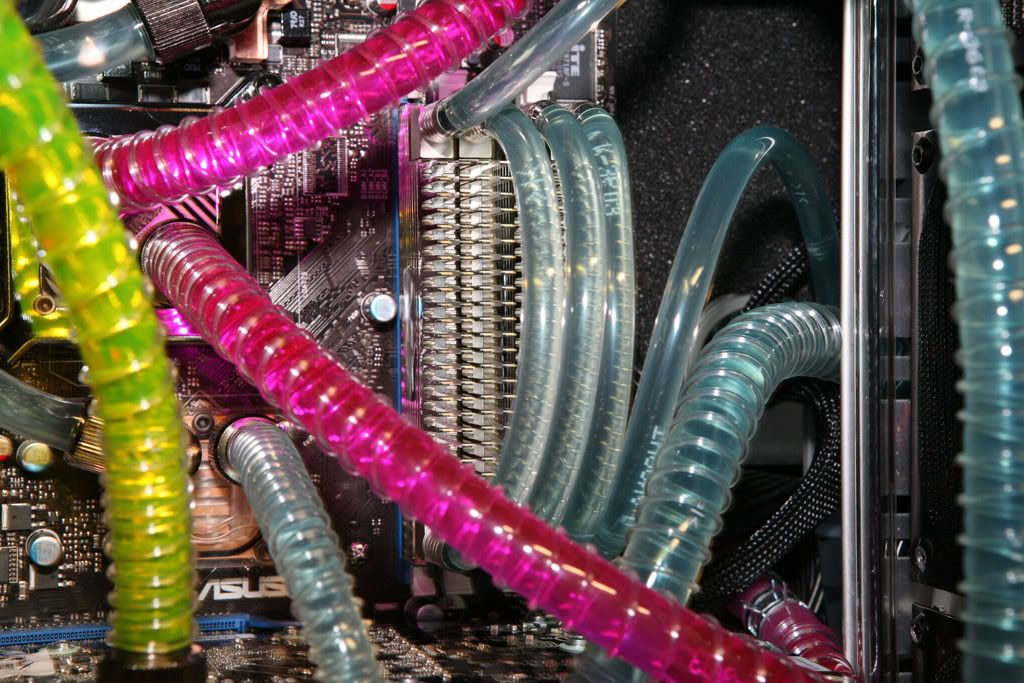
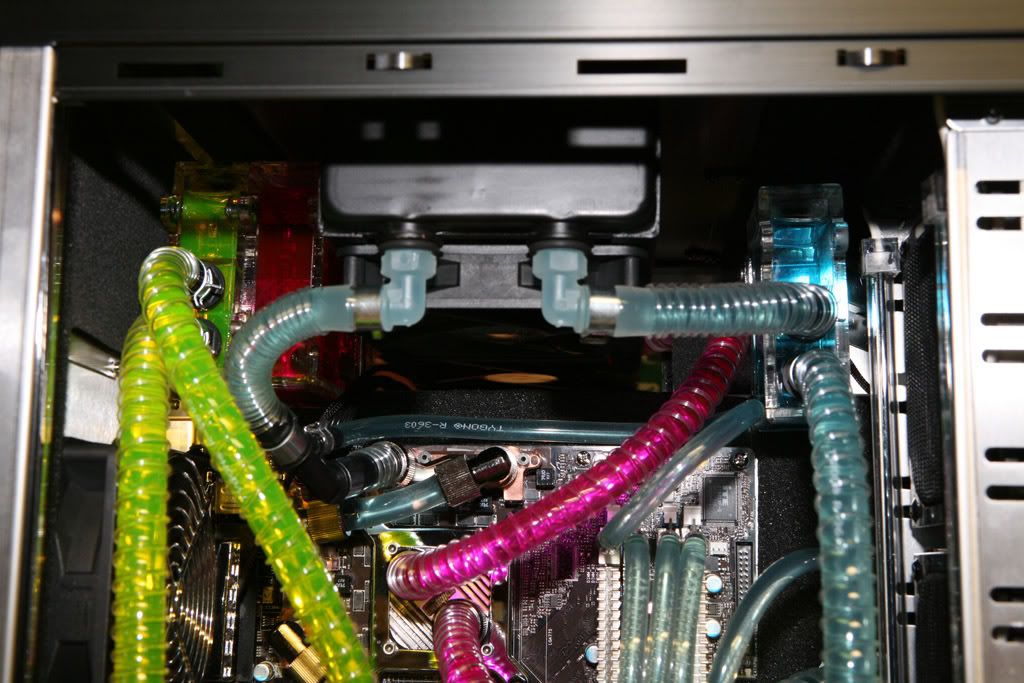
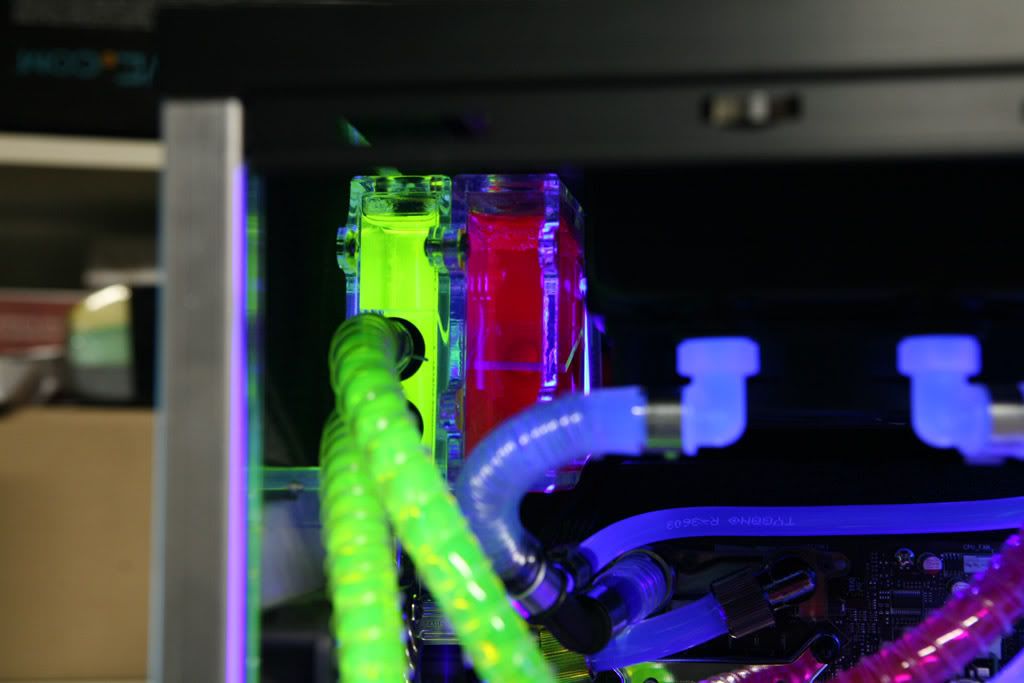
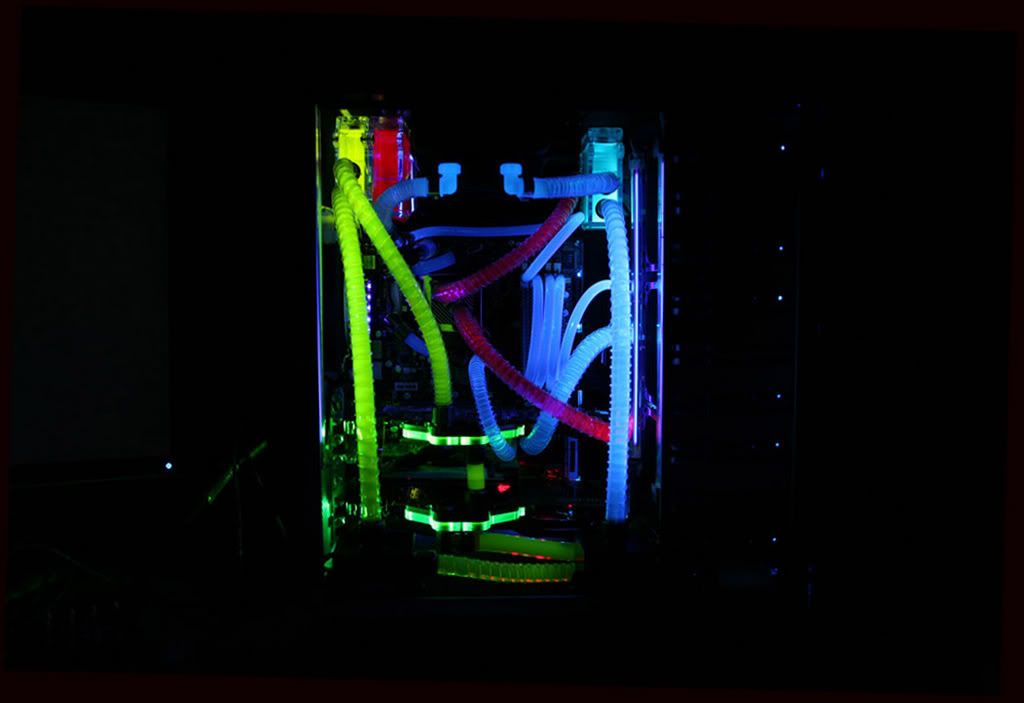
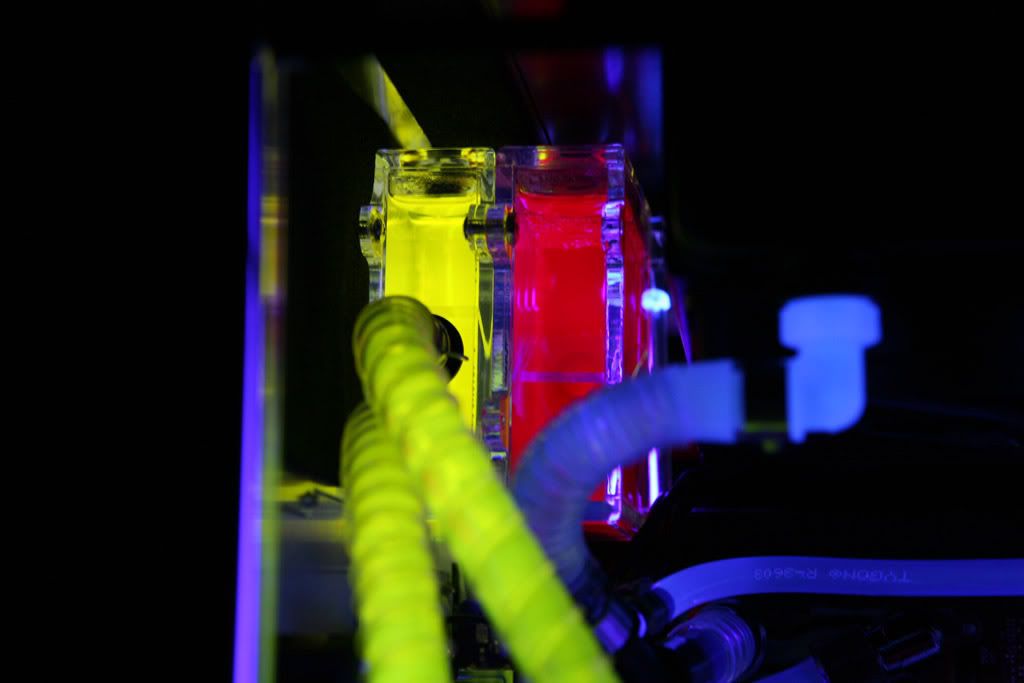
LOOPS
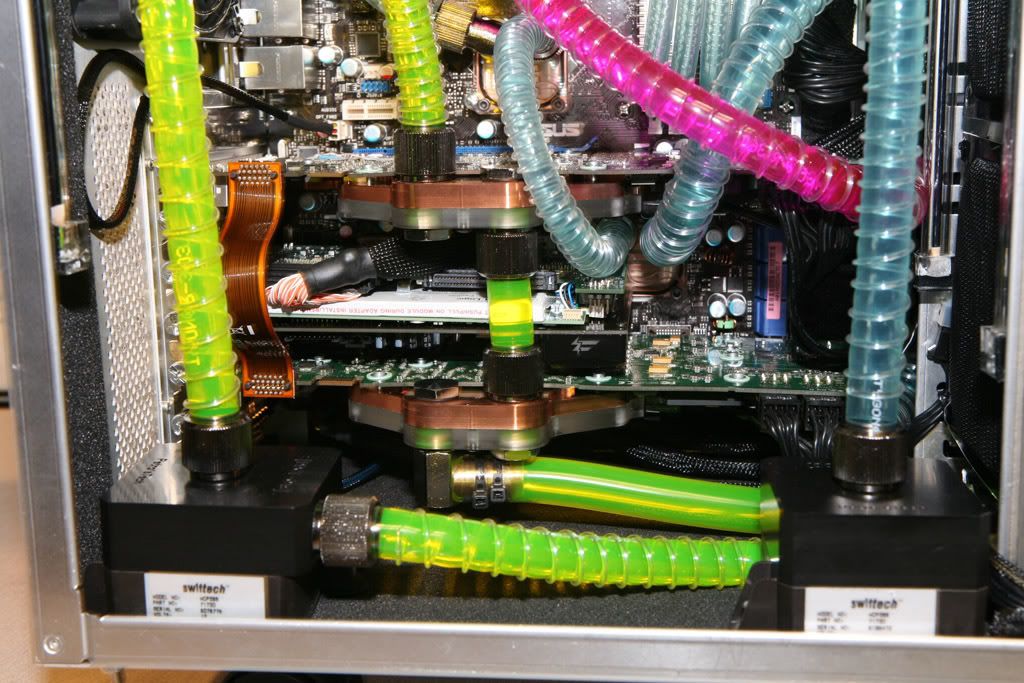
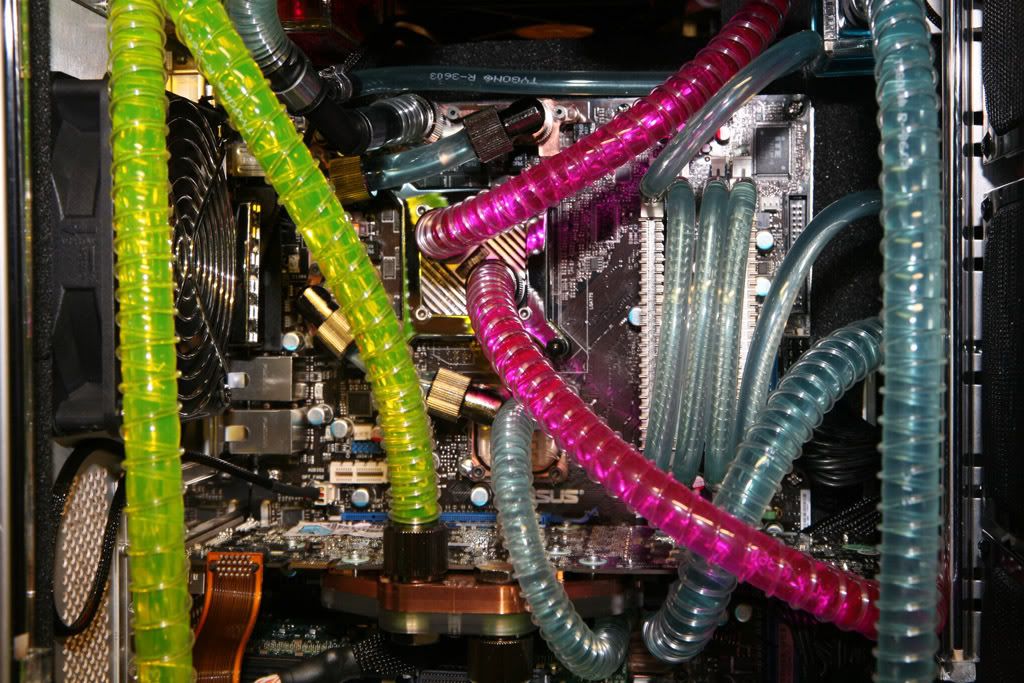
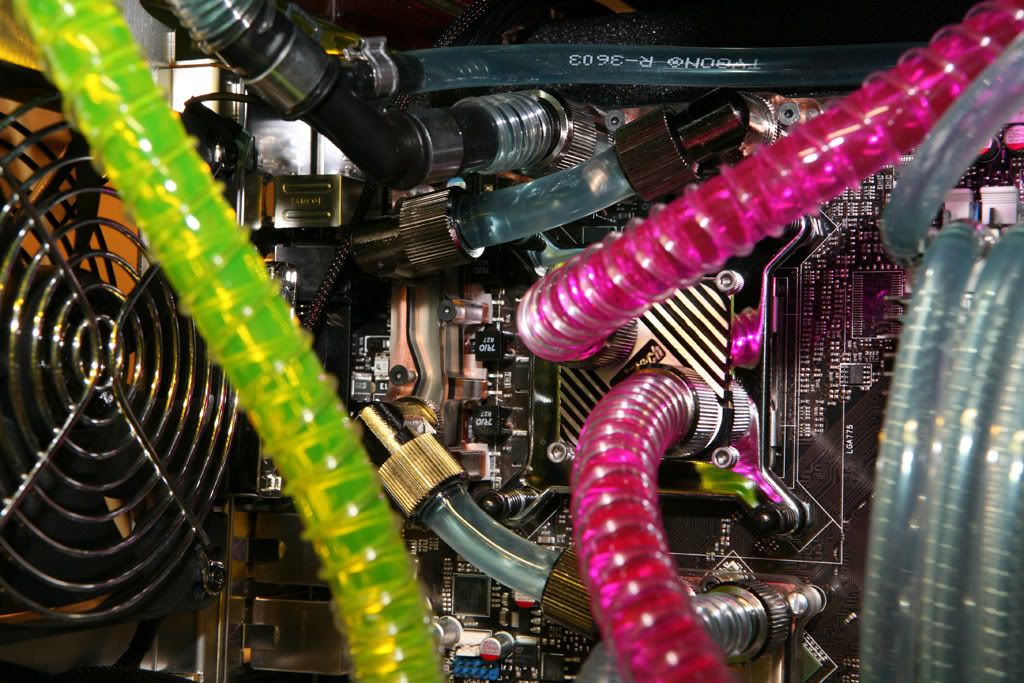
Red: Res > MCP655 > PA120.3 > CPU > Res (All 1/2")
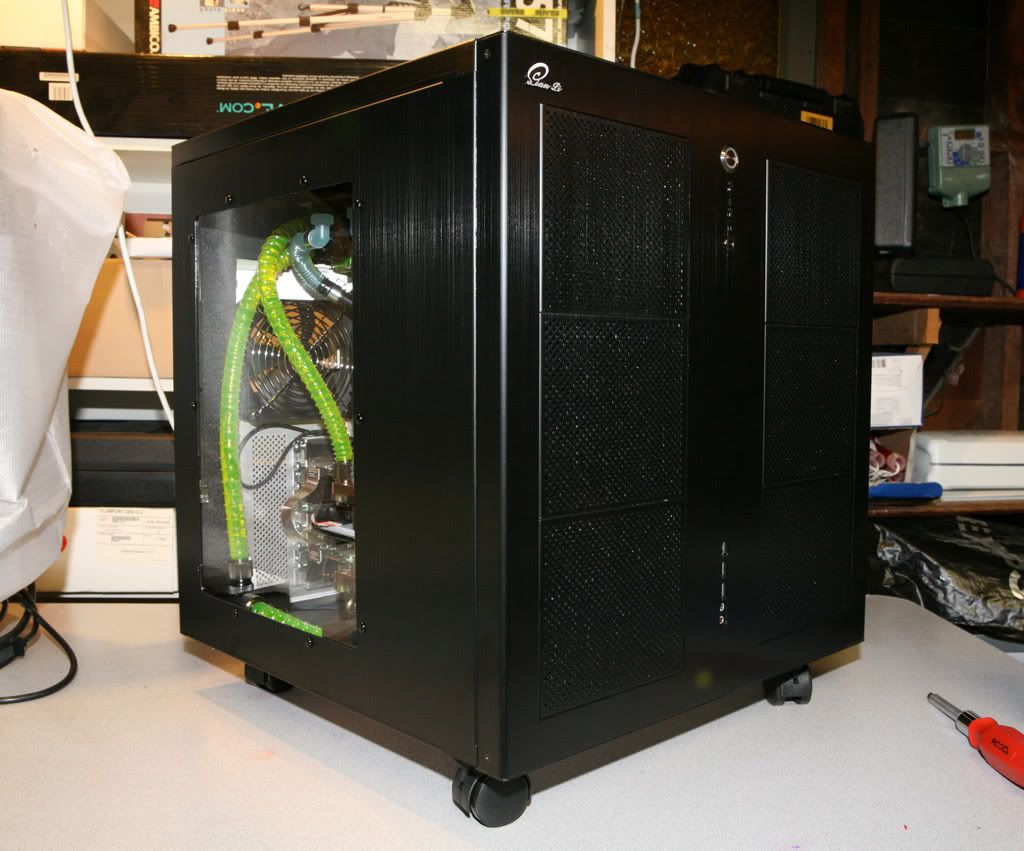
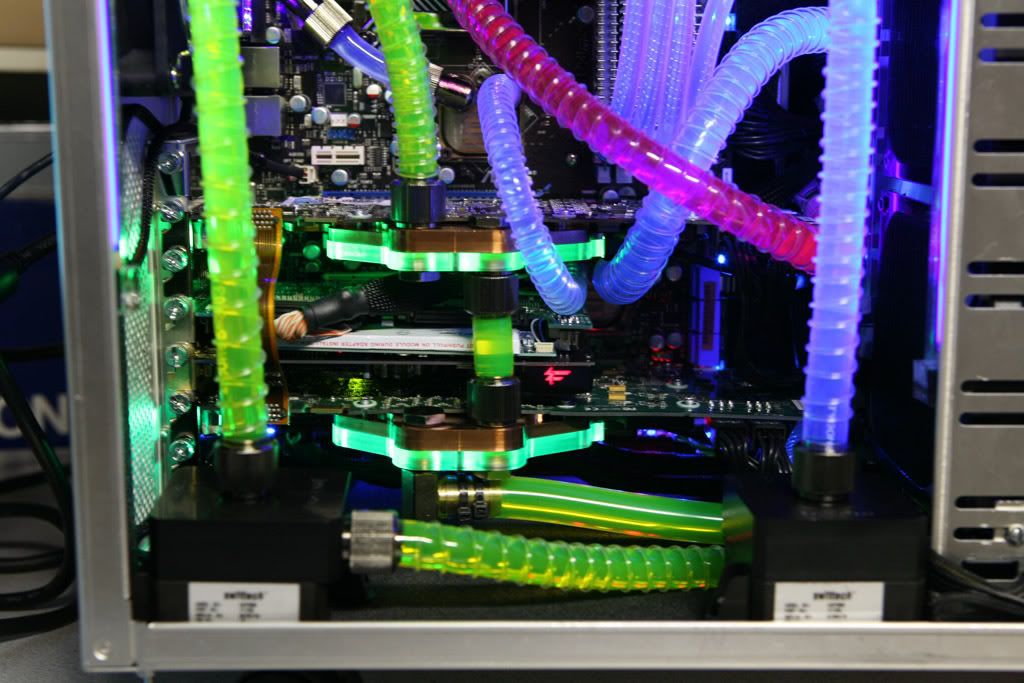
Alien Green: Res > MCP355 > PA120.3 > GPU2 > GPU1 > Res (All 1/2")
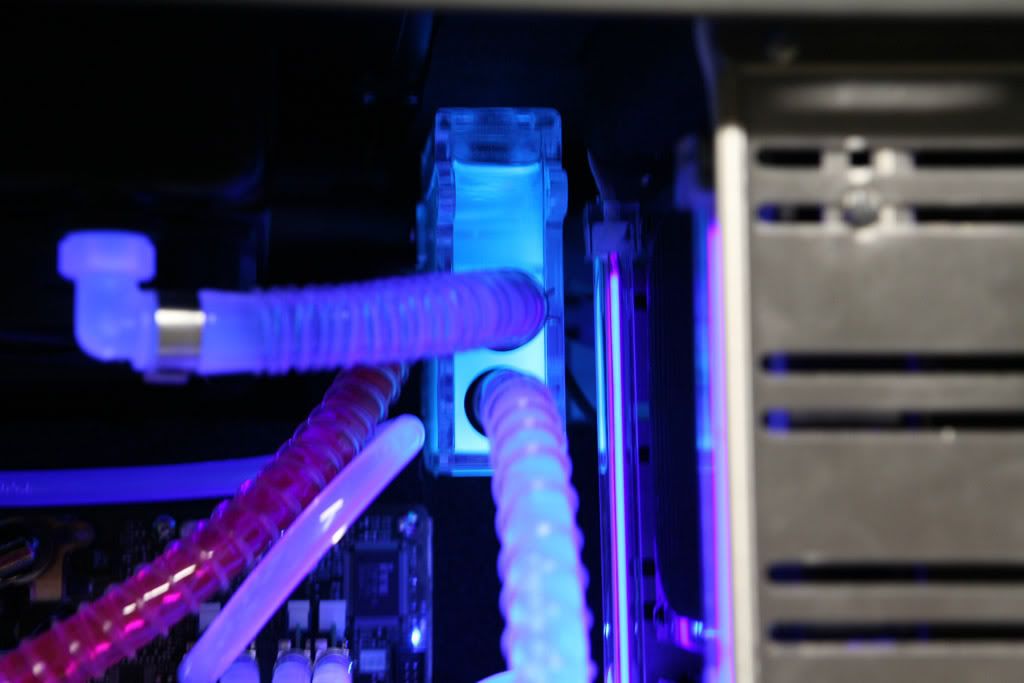
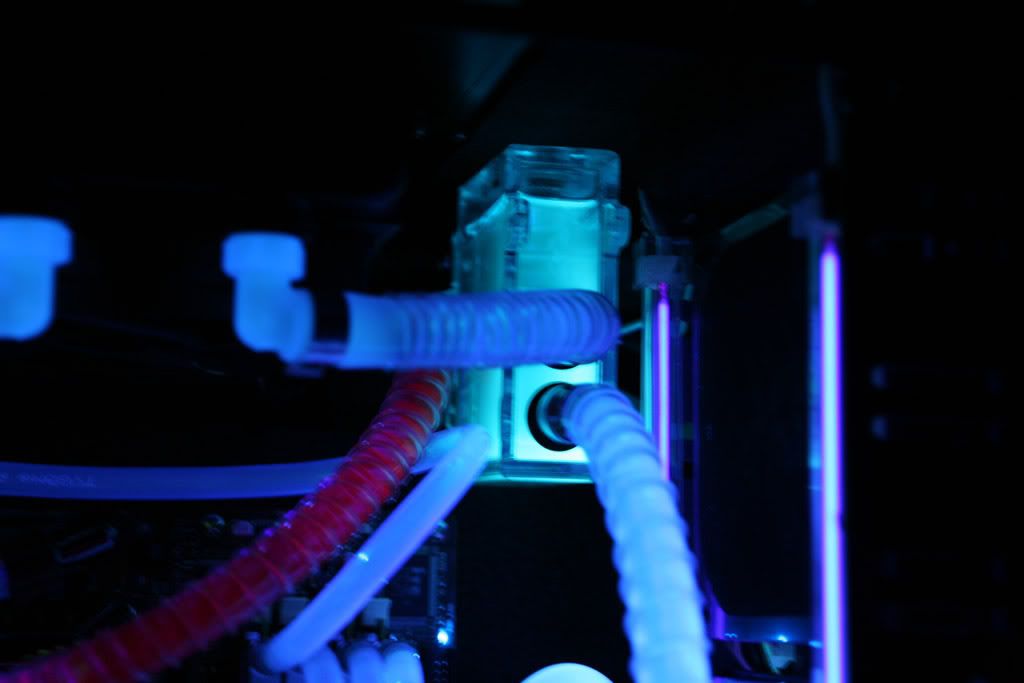
Blue: Res > MCP355 > 1/2" Y ..... F > PA120.2 > Res
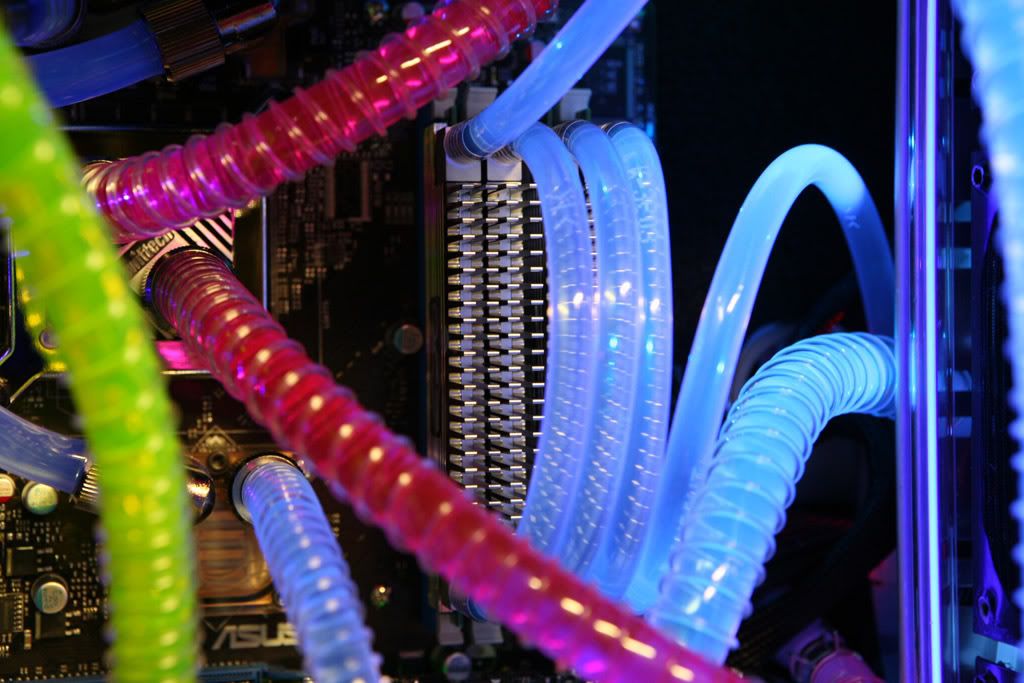
Y1: > 1/2" to 1/4" > RAM1 > RAM2 > RAM3 > RAM4 > 1/4"-1/2" F
Y2: > SB > NB > MOS1 > MOS2 > 1/4"-1/2" F
SYSTEM SPECS
Main Components
Mobo: Asus Striker Extreme
CPU: Q6600
GPU: eVGA 8800GTX SLI
RAM: 4GB OCZ FlexXLC PC2-9200
Audio
SoundBlaster Fatal1ty
Storage
LSI Logic Dual Channel Ultra-320 PCI-Express SCSI Controller
580GB 147GB x 4 RAID 0 Fujitsu Ultra-320 15K RPM
750GB Seagate SATA-II NL35
500GB WDC USB
Plextor PX-755SA w/Lian Li SATA USB External Enclosure
Display
Dell 307WFP-HC
Spyder 2 Pro
Peripherals
Logitech G15 Keyboard
Logitech G7 Wireless Mouse
Watercooling
CPU: Swiftech GTX
GPU: EK 8800GTX FC x 2
Mobo: EK Asus NB/SB/Mosfetts Set
Pump: MCP655 x 1, MCP355 x 2
Rad: PA120.3 x 2, PA120.2 x 1
Res: Swiftech MC-Res x 3
Fitting: Koolance Compression
Tubing: Tygon 1/2", 3/8", 1/4"
Fan: Yates (Lots of It)
OS
Vista Ultimate x64
Main Use of System
Photos and Videos editing and Gaming
LOOPS
Red: Res > MCP655 > PA120.3 > CPU > Res (All 1/2")
Alien Green: Res > MCP355 > PA120.3 > GPU2 > GPU1 > Res (All 1/2")
Blue: Res > MCP355 > 1/2" Y ..... F > PA120.2 > Res
Y1: > 1/2" to 1/4" > RAM1 > RAM2 > RAM3 > RAM4 > 1/4"-1/2" F
Y2: > SB > NB > MOS1 > MOS2 > 1/4"-1/2" F