Hybridchemistry
Limp Gawd
- Joined
- May 3, 2007
- Messages
- 216
Thought I would post this up here as well. After I heard about the x58 mATX boards comming out, I decided it was time to go to i7 so I grabbed some parts I had laying around, and bought a bunch more (wallet opens to show nothing inside  )
)
Thus SunTzu H20 was born.
Simple specs:
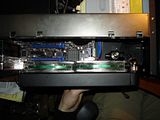
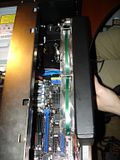
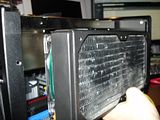
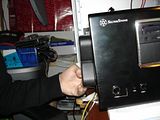
Silverstone SG-01
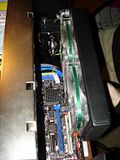
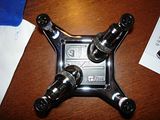
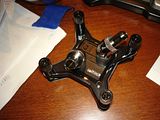
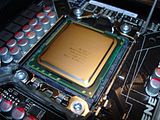
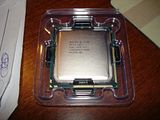
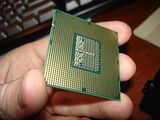
Intel i7 920 on SwiftTech GTZ
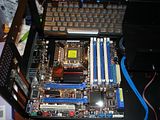
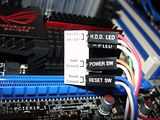
Asus Rampage II Gene mATX x58
6gb Corsair XMS3
MSI GTX280 on Swifttech GTX200 ramsink and MCW60
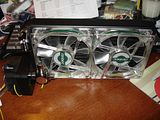
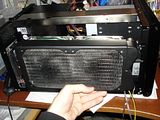
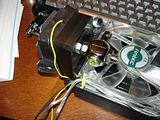
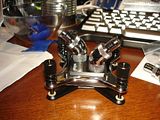
2x120mm Radiator and being pumped by a MCP350 pump with Petras top
74gb Raptor boot drive, maybe a 750gb storage if I can fit it :X
DVDrw
650w Silverstone PSU
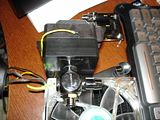
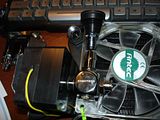
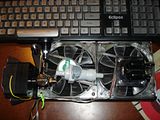
Here's a lot of pics from before:
This is the sketch of about how it is going to be, some revisions have been made:

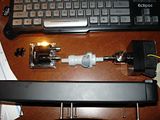
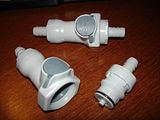
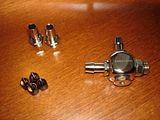
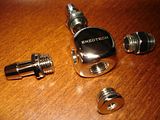
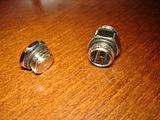
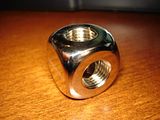
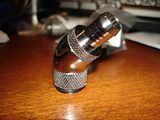
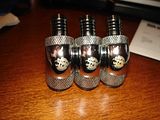
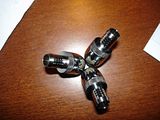
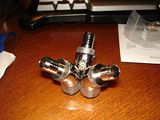
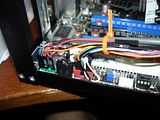
And here's the bracket that I was thinking would be needed for the pump, but after getting a male to male fitting from Petra's Tech, I don't know if it will be necessary.


Dang this post is too long :\
)Thus SunTzu H20 was born.
Simple specs:
Silverstone SG-01
Intel i7 920 on SwiftTech GTZ
Asus Rampage II Gene mATX x58
6gb Corsair XMS3
MSI GTX280 on Swifttech GTX200 ramsink and MCW60
2x120mm Radiator and being pumped by a MCP350 pump with Petras top
74gb Raptor boot drive, maybe a 750gb storage if I can fit it :X
DVDrw
650w Silverstone PSU
Here's a lot of pics from before:
This is the sketch of about how it is going to be, some revisions have been made:
And here's the bracket that I was thinking would be needed for the pump, but after getting a male to male fitting from Petra's Tech, I don't know if it will be necessary.


Dang this post is too long :\