craigr1982
Limp Gawd
- Joined
- Jun 26, 2006
- Messages
- 133
Ok, this post is kind of like a condensed work log as I'm trying to post it everywhere I can to show it off. This is as far as I have got so far but it is looking good.
I wanted a PC that was original and that would look good, I thought about building from scratch but found a cheat. A kit that had all the parts to make whatever I wanted with a mobo tray included for less than it would cost to have the entire thing made from sheet metal.
So I started by buying this kit, called a lubic kit.
http://www.aerocool.us/aerocool-files-v3/lubic/kits/lubic-combo.htm
This kit is a bit of a pain in the a*s to start with, you have to work out where to put sliders in order to mount further pieces and I found myself virtually ripping the entire structure apart just to put in one slider.
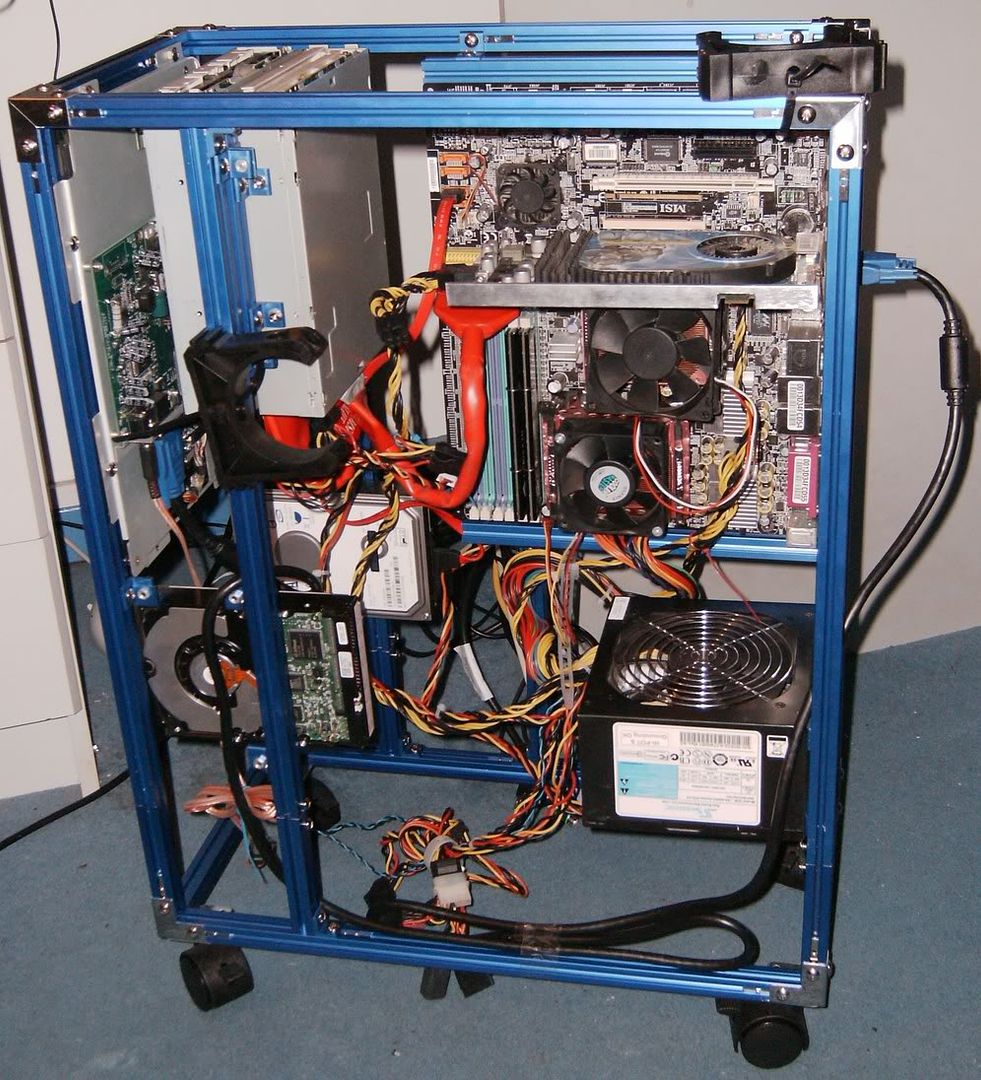
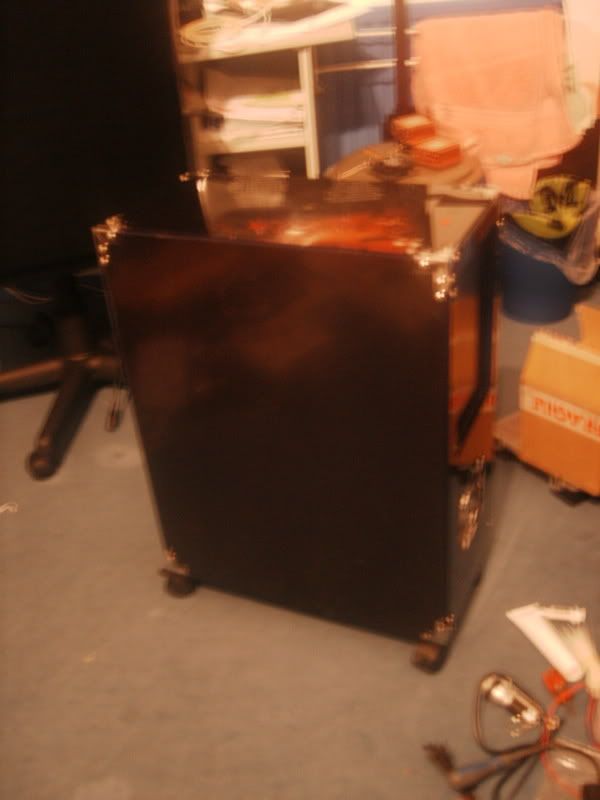
Finally I finished my case, Version 1.
As my imagination is slightly limited it was just a basic ATX case on wheels, I didnt take any pictures as I didnt like the design. So I dismantled it and started all over again.
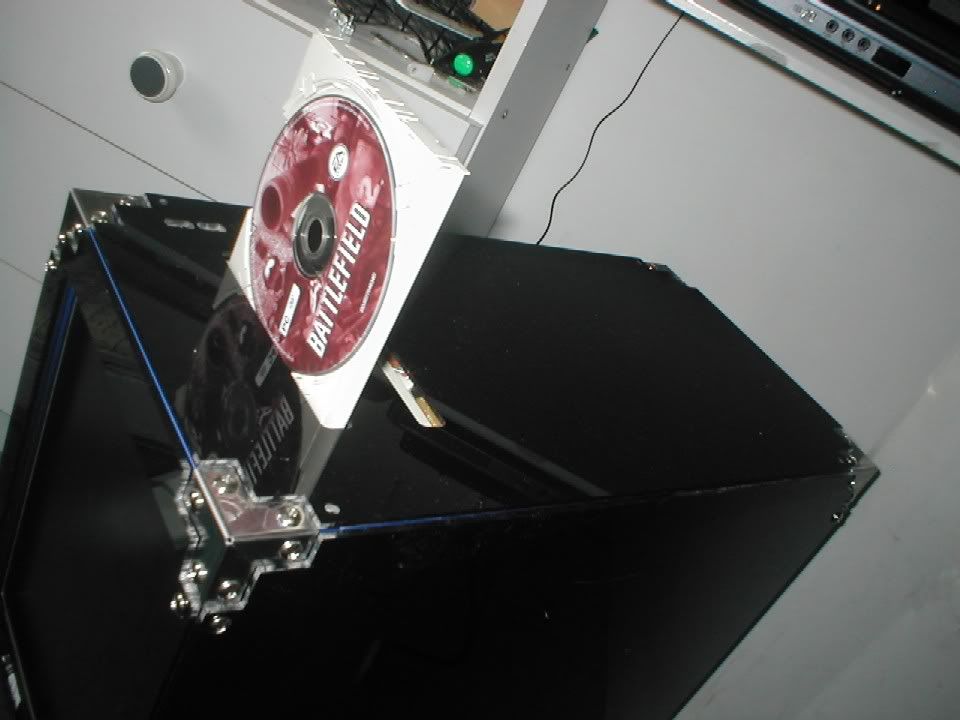
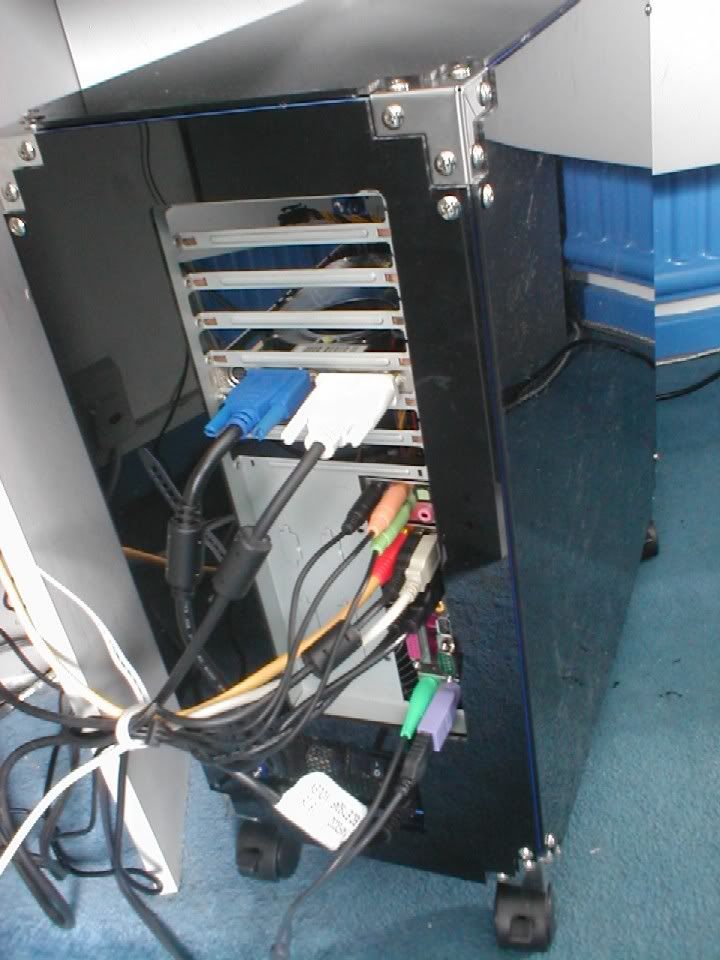
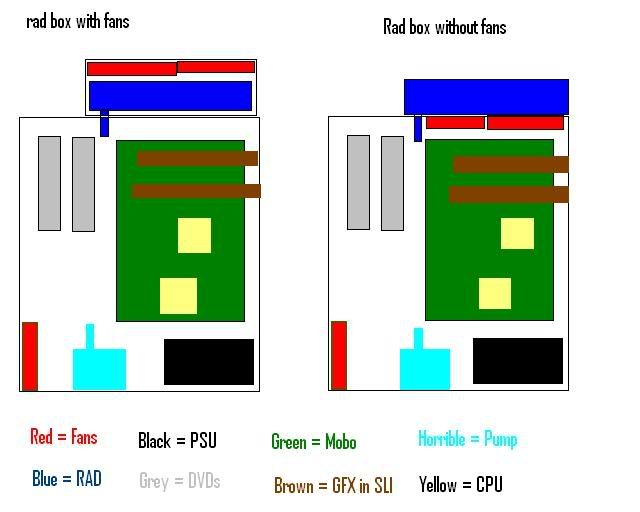
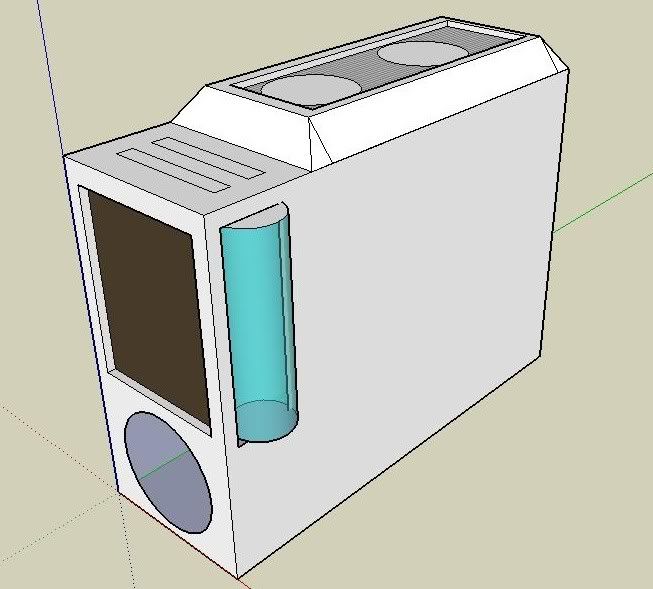
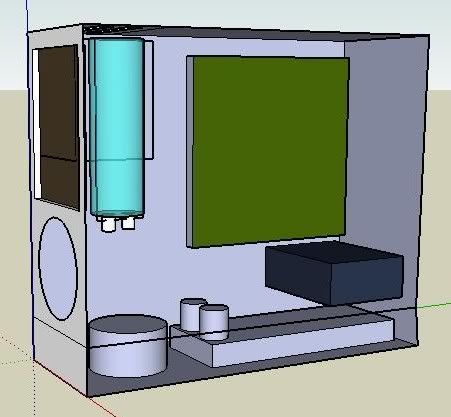
This time I had more of an idea what I wanted to do, I started with the top and worked down, mounted the motherboard tray at the top and made it so it slid out, allowing easy access. Then further down still I placed the PSU, now I ended up with an inverted ATX design. The only problems I had were the drive mounts, I wanted to be original so I devised a way to mount the CDs vertically and place the HDs vertically below them.
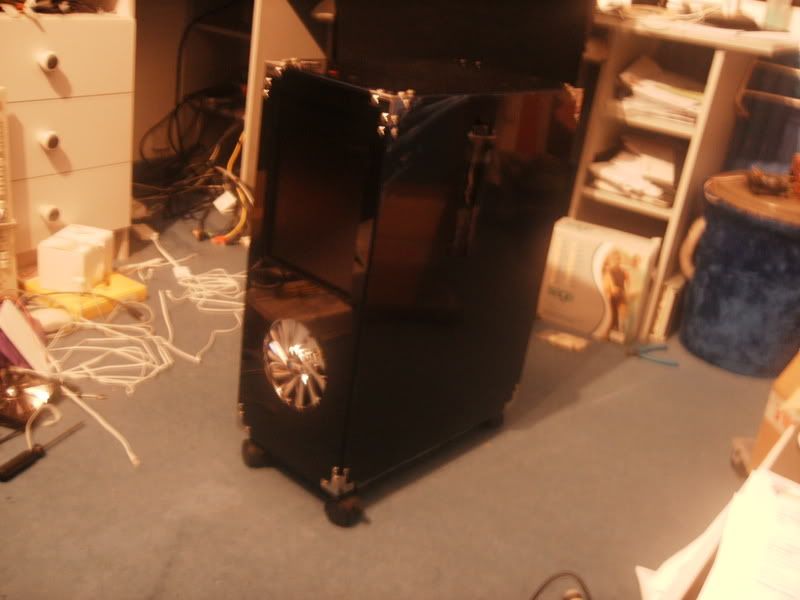
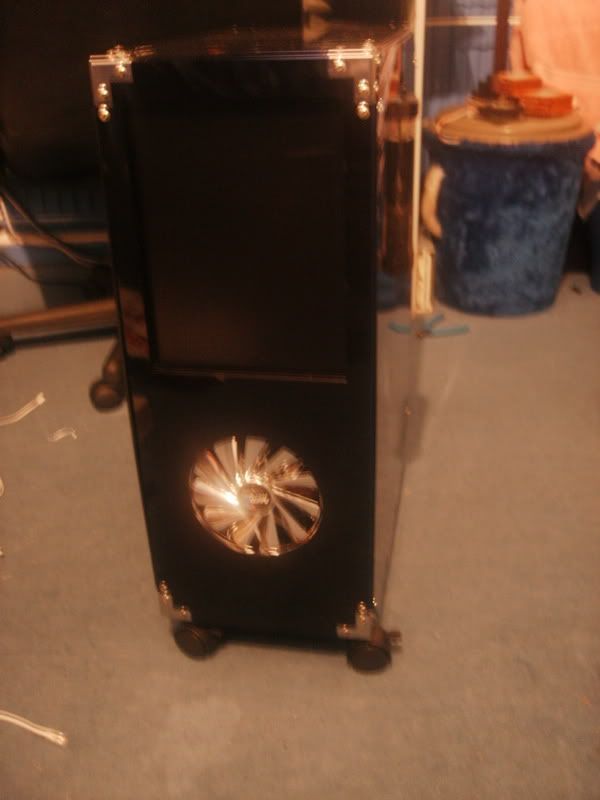
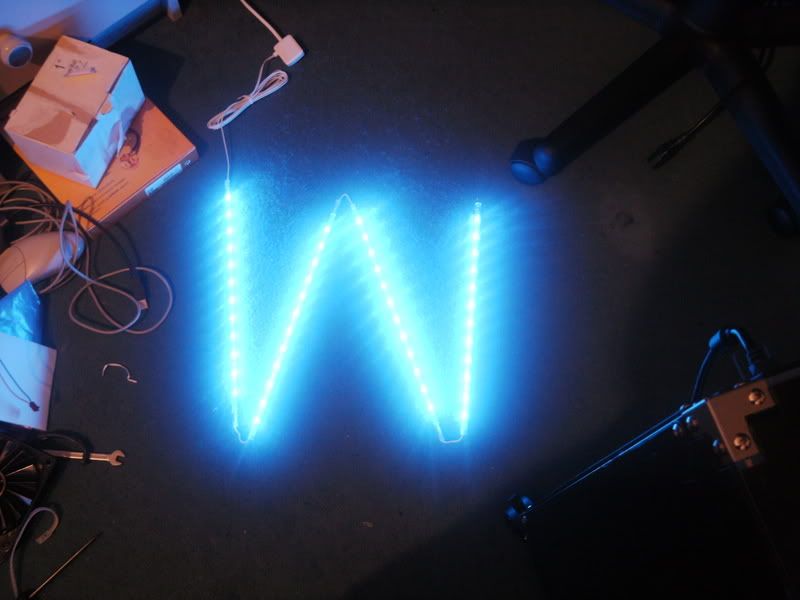
This caused a problem with airflow so I moved the HDs to the side of the case but still vertical, allowing space for a 140mm fan in the centre.
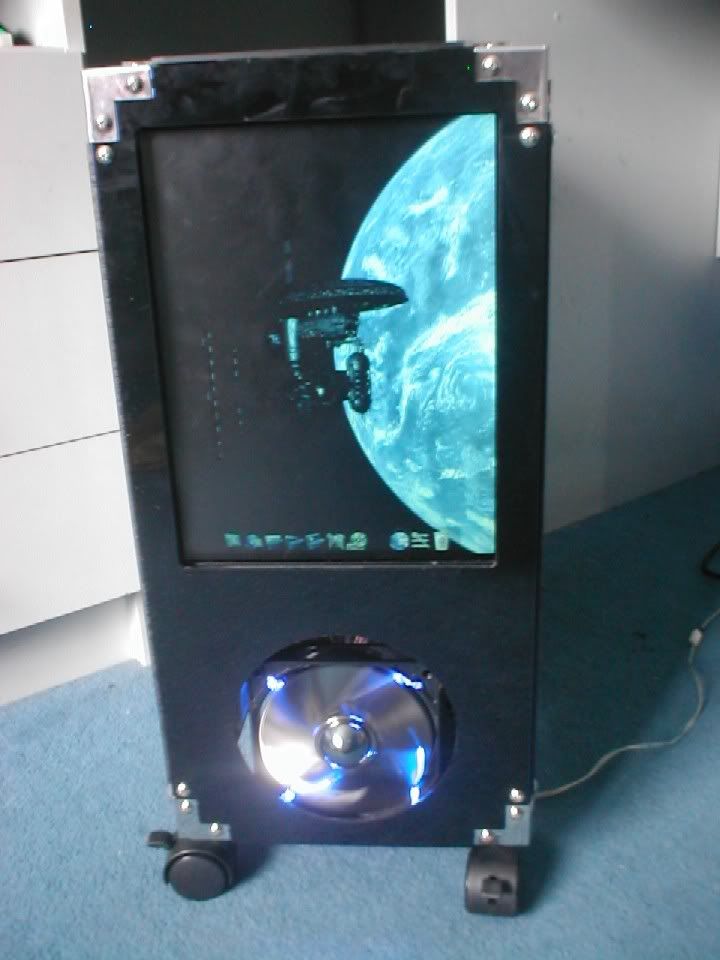
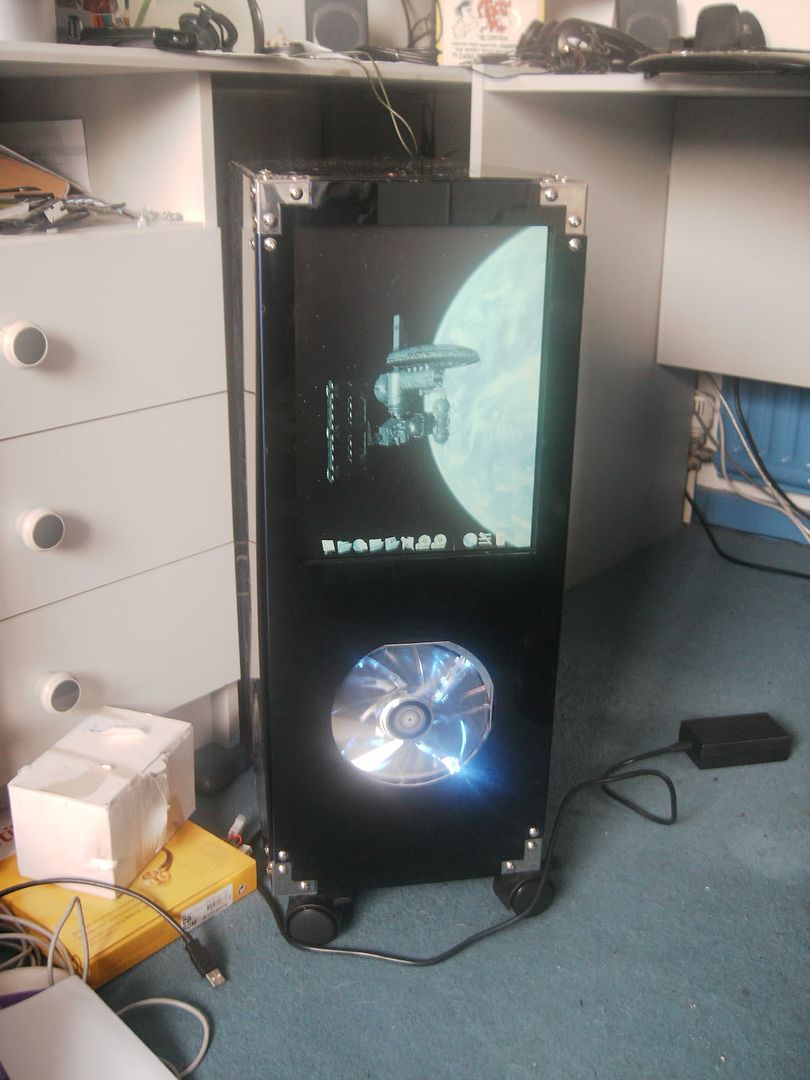
Now for the screen, the exciting bit.
I tried to get a 12 Touchscreen but found they were too pricey so I settled for a 12 TFT from Ebay.
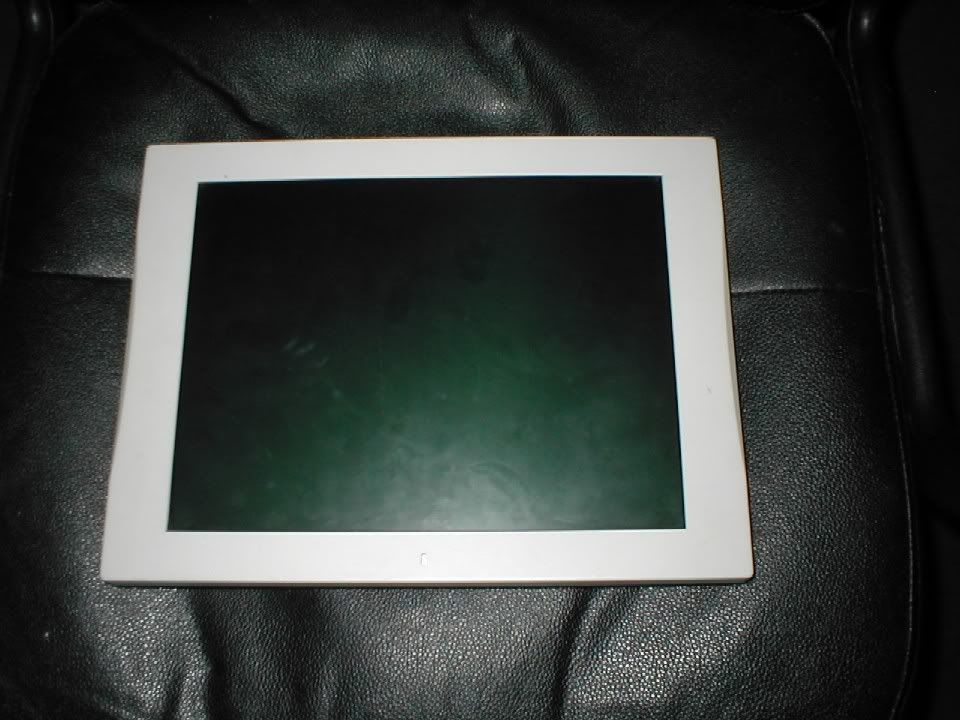
Got it and took the casing off, drilled a few holes in the mounting plate and fixed it into my case but portrait not landscape. On the front where normally CD drives would be.
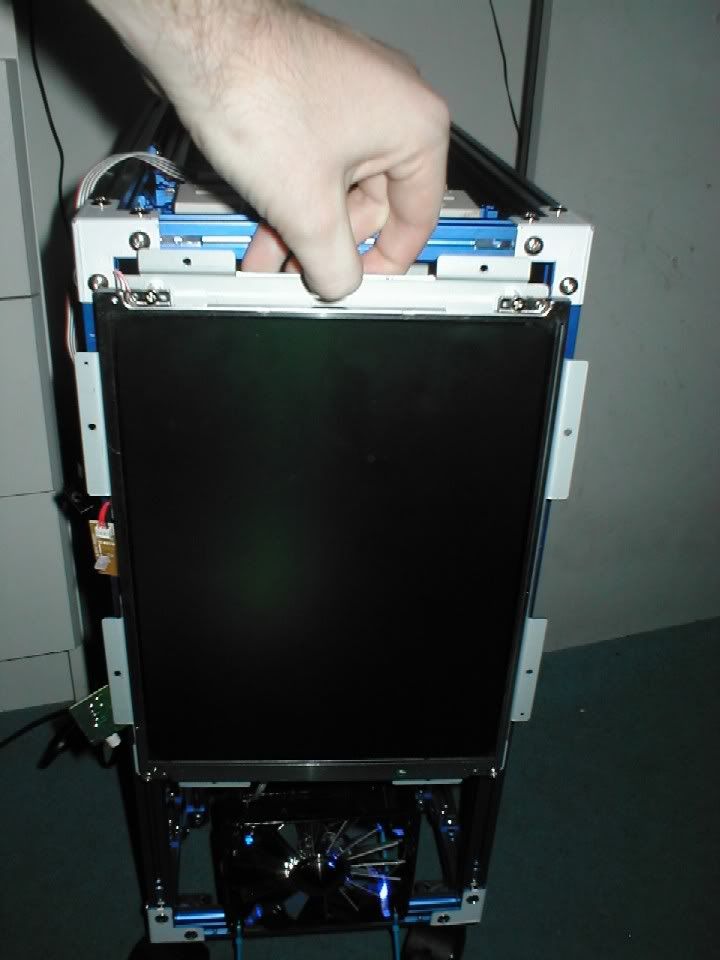
I rigged a VGA lead internally to give me output and made a connection from a molex to the Power pin I needed, (Not ideal but it will last for a while).
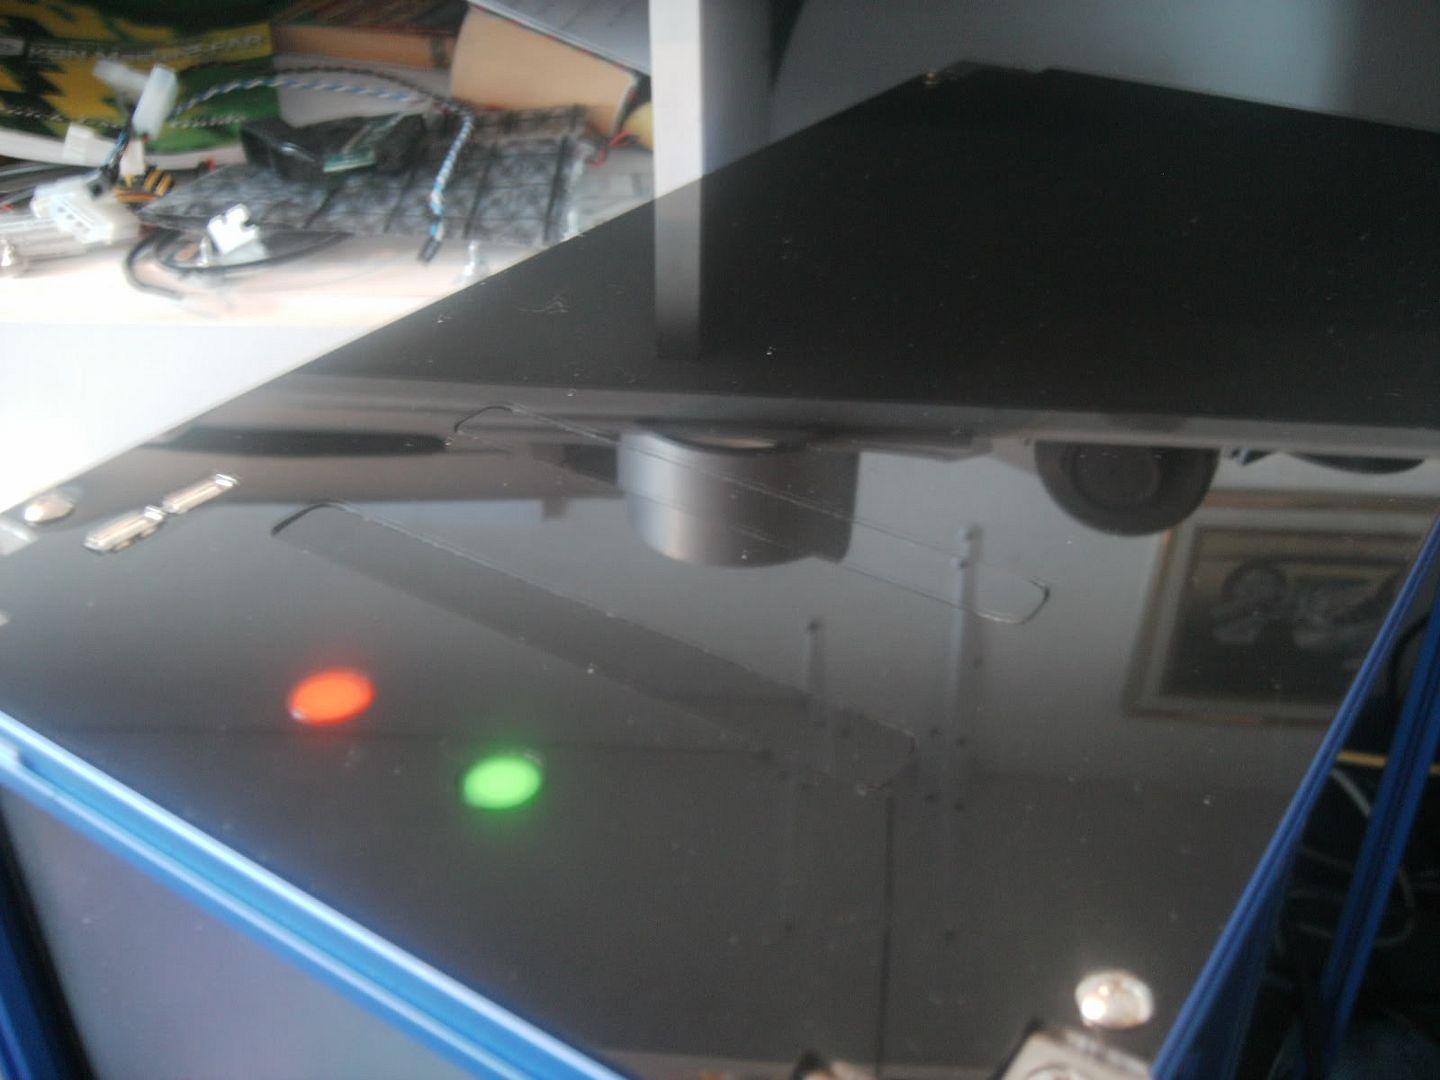
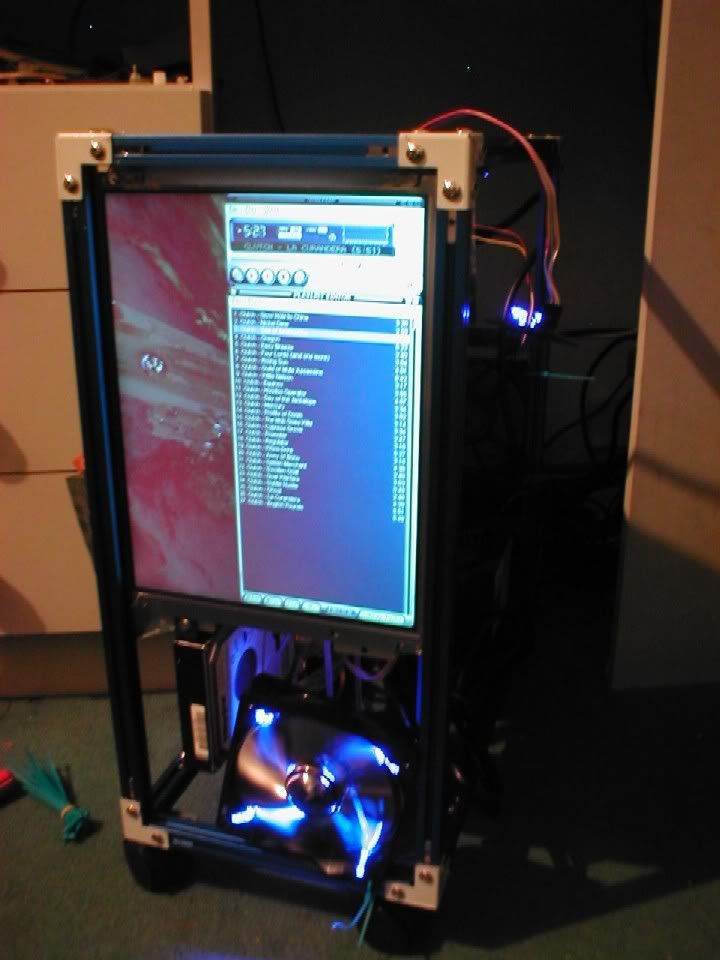
I mounted the rest of my components and then fired it up, the screen worked although still set to landscape.

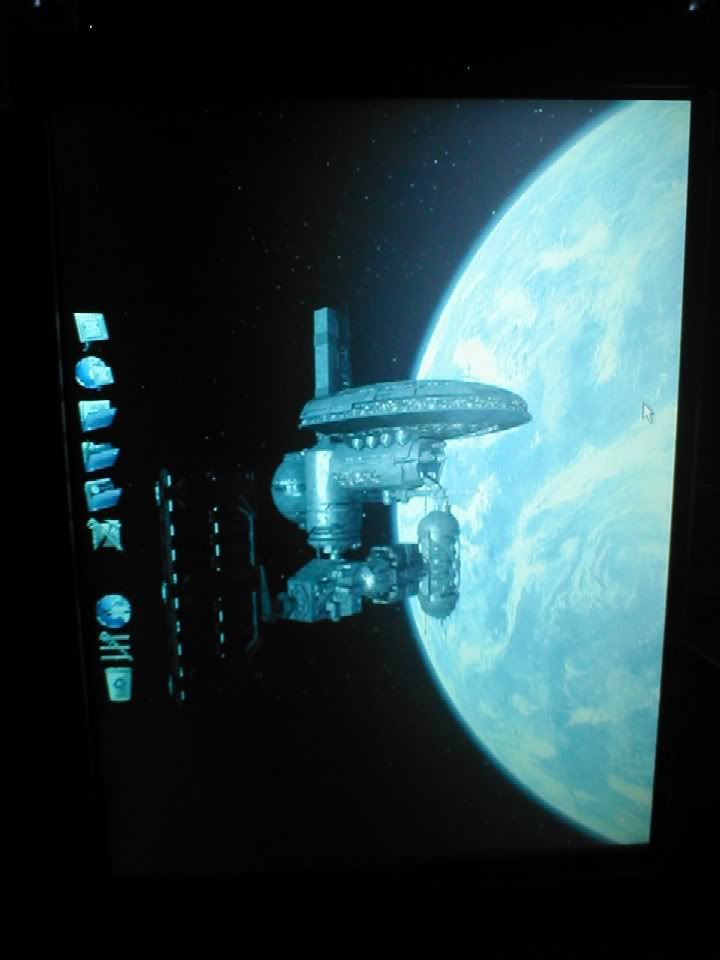
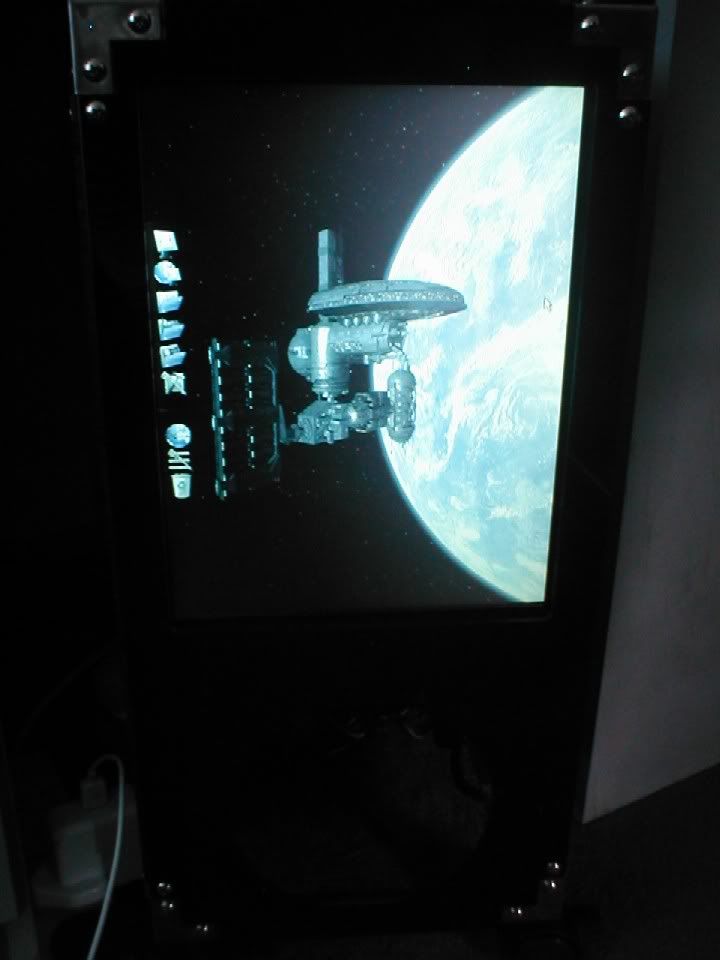
After a while of playing around with the Nvidia Desktop I got my screen to run at 600x800 at a 90degree angle at a refresh of 80hz, threw on a RocketDock to allow easy application loading and then it was done.
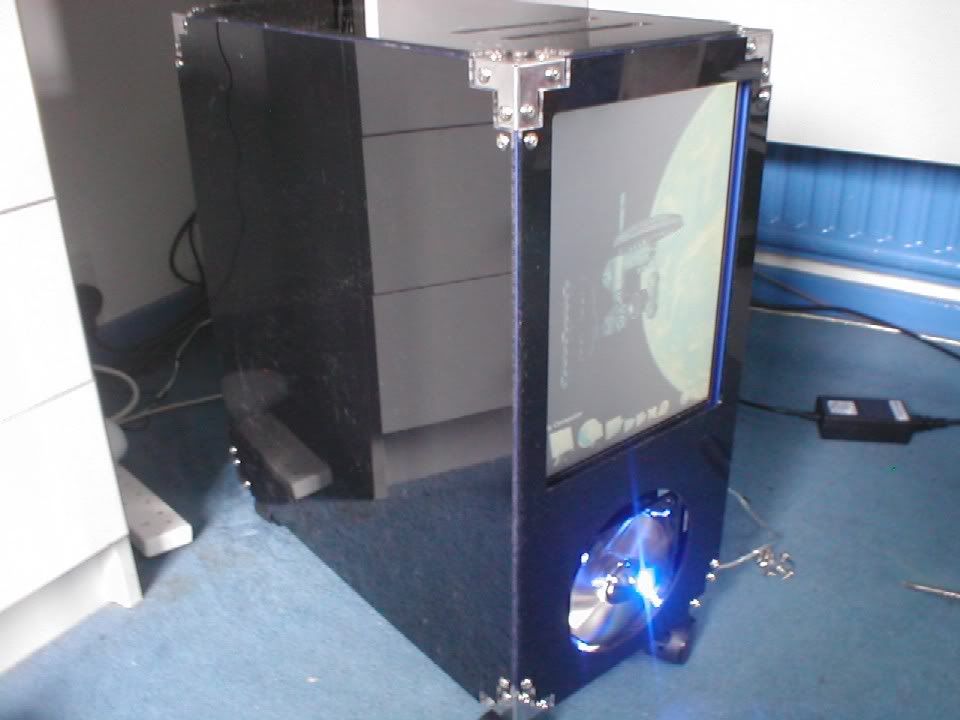
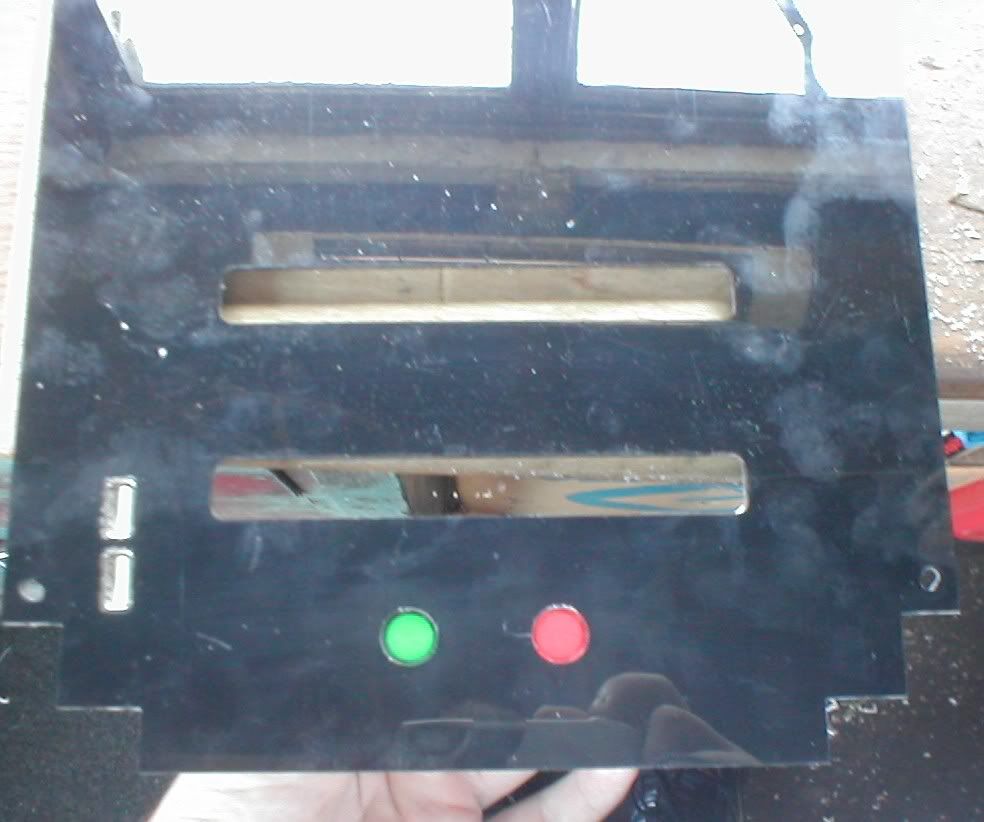
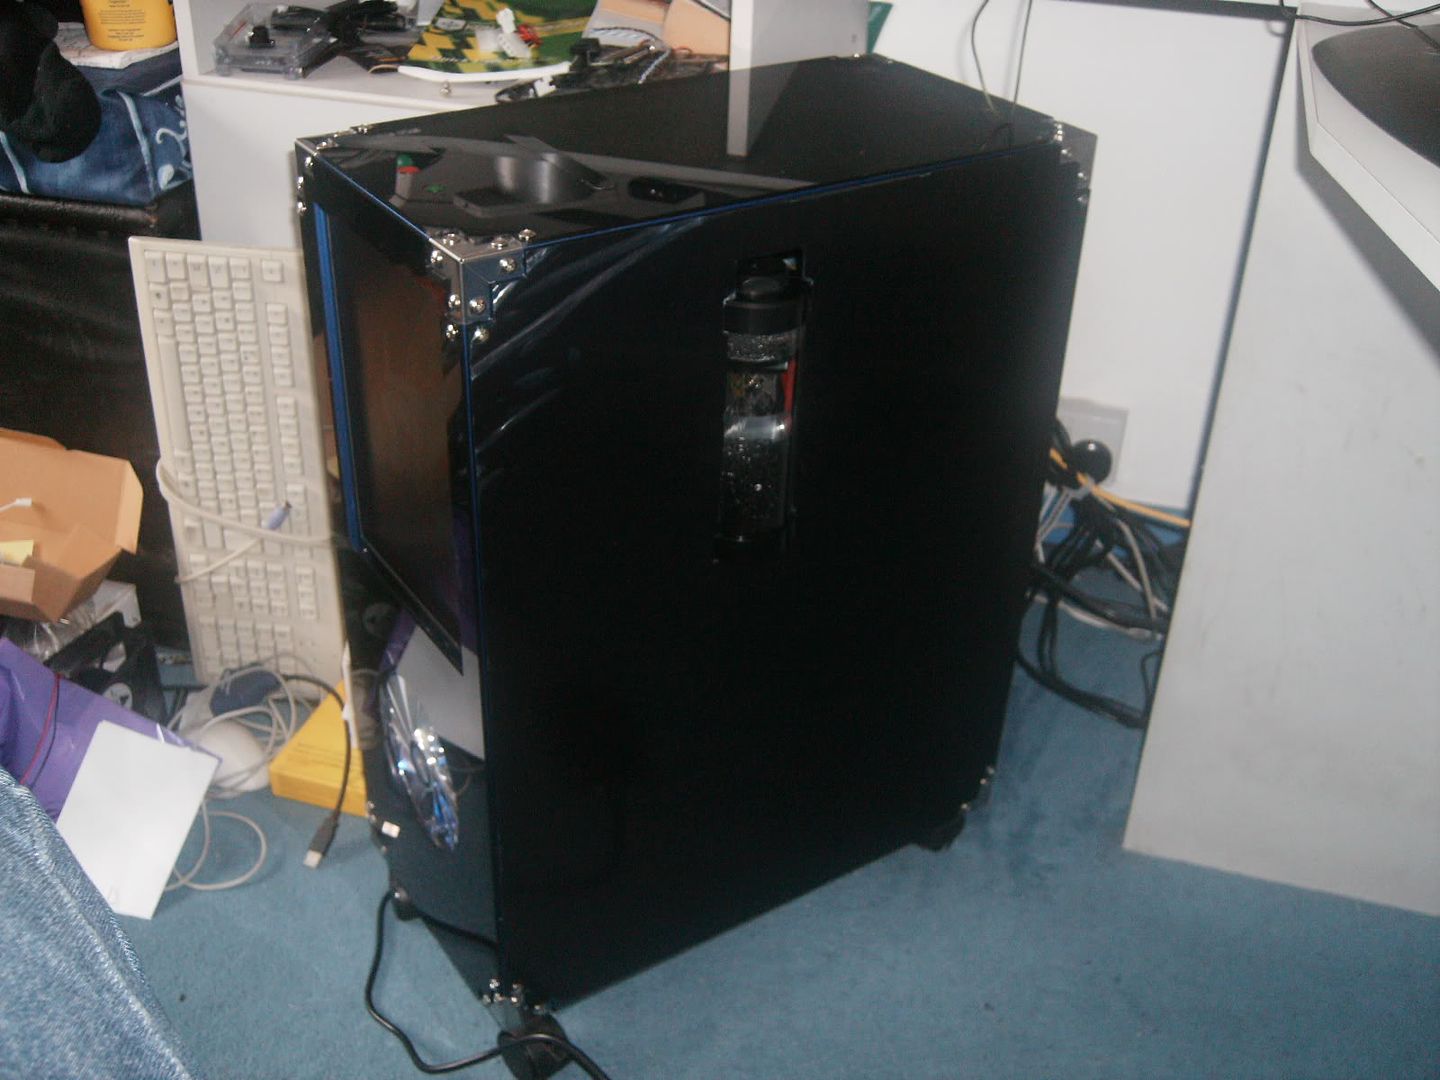
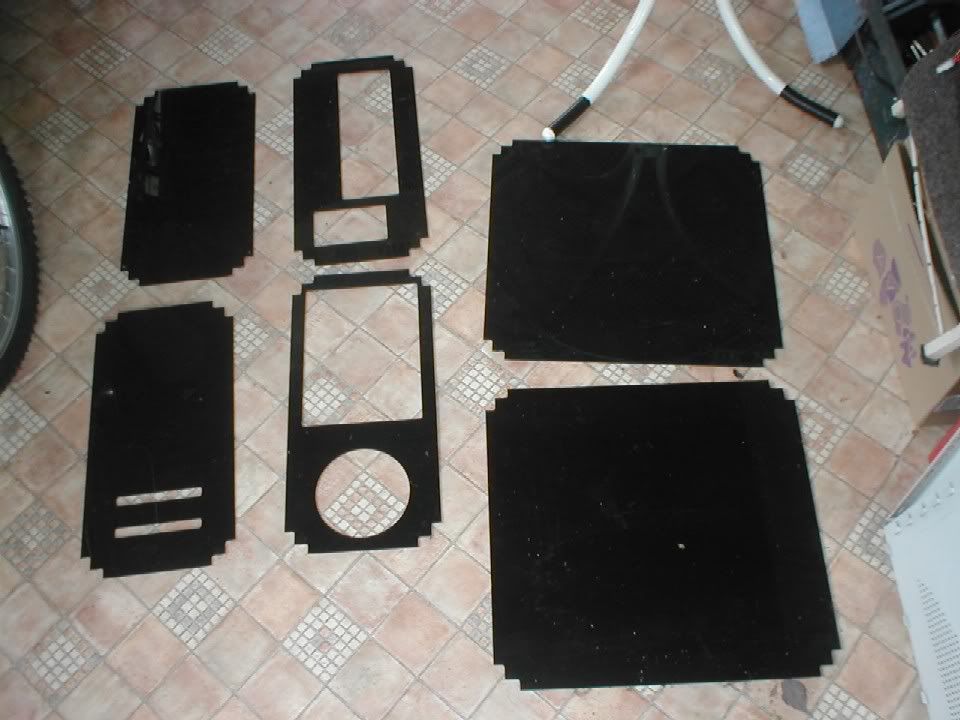
From then on I spent about 1 week measuring all the externals so that I could have some Plexi cut. I went on to Ebay again and found some black gloss plexi at 3mm.
It arrived and I talked to friend of mine who has a CNC machine, gave him some drawings with all the measurements I needed, including holes for CD trays, fans etc and send him the plexi.
A few days later my plexi returned all cut and ready to mount, but I needed holes drilling to mount it onto my case.
Hopefully it will be finished soon.
Pics of the screen in action.
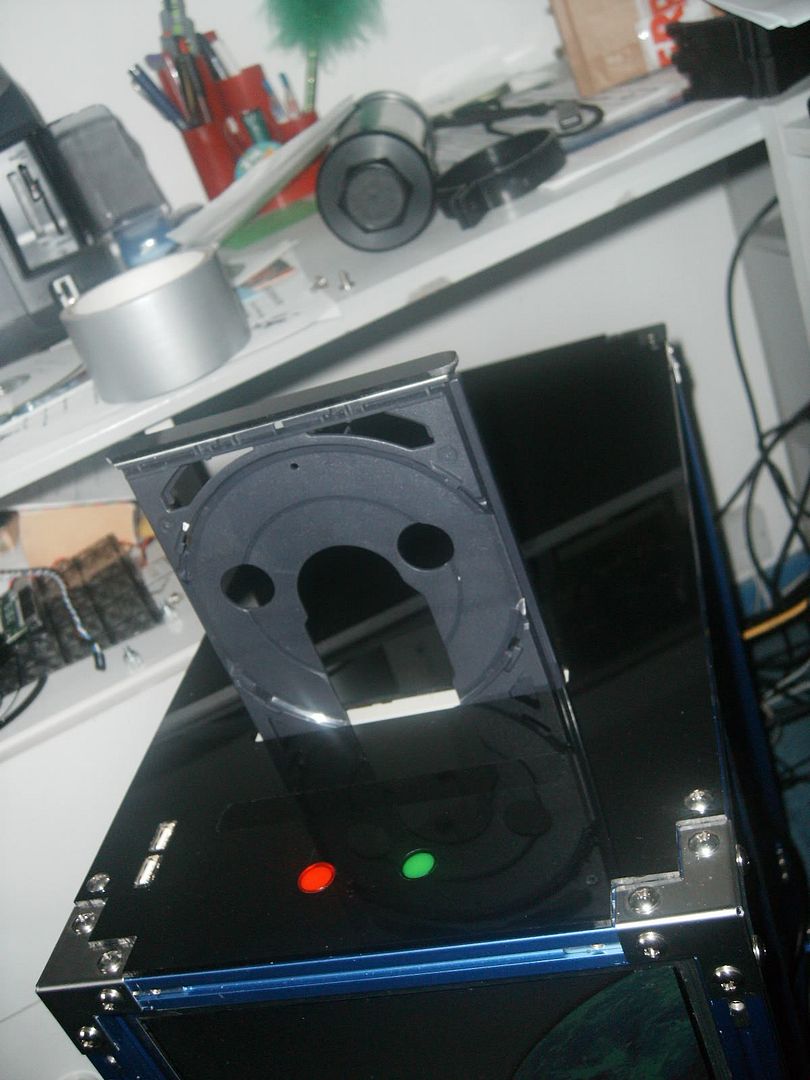
OK , I have just finished some more modding and its nearly there. I have cut out 2 holes in the top for usb connections and power, reset etc. I have program that will allow me to open my cd bays from an icon
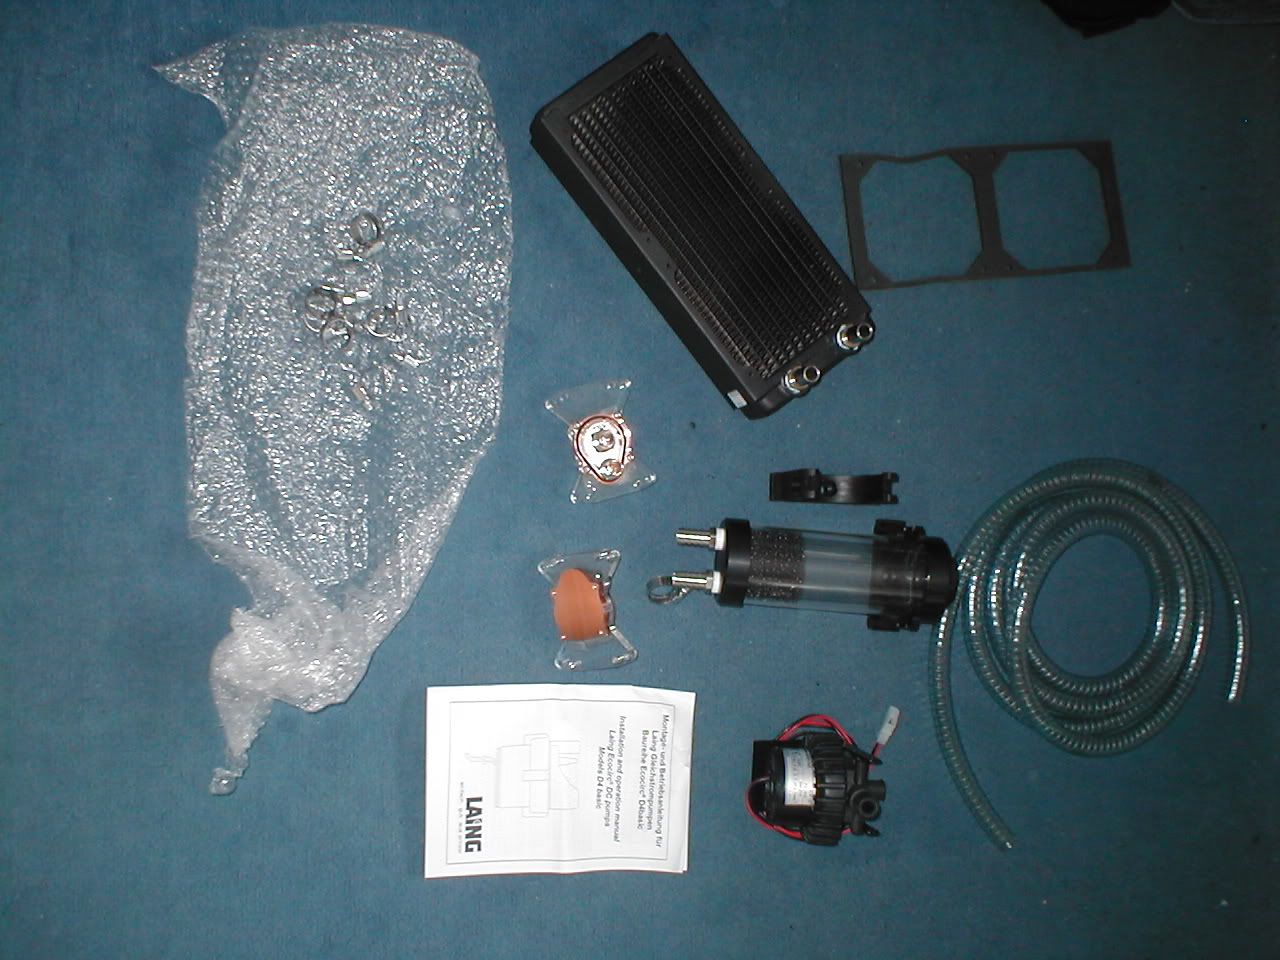
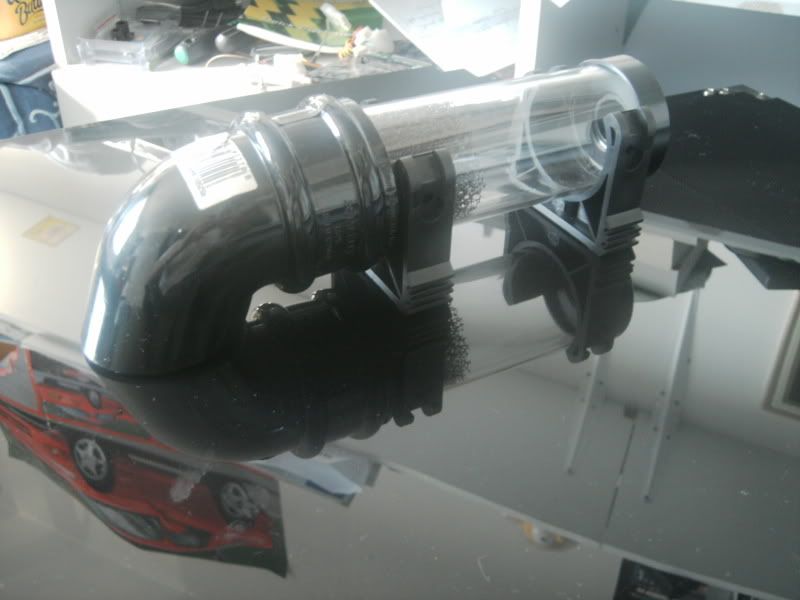
Cant get my waterblocks made so I will have to buy some. Got to buy 2 xeon waterblocks and a dual 120mm rad. works out about £105 plus I want to change both my cd drives and I think SATA will be better, looking at the top scorer in this months CUSTOMPC
Keep your comments coming, pics will follow 2moro.
EDITED (Pics Resized)
I wanted a PC that was original and that would look good, I thought about building from scratch but found a cheat. A kit that had all the parts to make whatever I wanted with a mobo tray included for less than it would cost to have the entire thing made from sheet metal.
So I started by buying this kit, called a lubic kit.
http://www.aerocool.us/aerocool-files-v3/lubic/kits/lubic-combo.htm
This kit is a bit of a pain in the a*s to start with, you have to work out where to put sliders in order to mount further pieces and I found myself virtually ripping the entire structure apart just to put in one slider.
Finally I finished my case, Version 1.
As my imagination is slightly limited it was just a basic ATX case on wheels, I didnt take any pictures as I didnt like the design. So I dismantled it and started all over again.
This time I had more of an idea what I wanted to do, I started with the top and worked down, mounted the motherboard tray at the top and made it so it slid out, allowing easy access. Then further down still I placed the PSU, now I ended up with an inverted ATX design. The only problems I had were the drive mounts, I wanted to be original so I devised a way to mount the CDs vertically and place the HDs vertically below them.
This caused a problem with airflow so I moved the HDs to the side of the case but still vertical, allowing space for a 140mm fan in the centre.
Now for the screen, the exciting bit.
I tried to get a 12 Touchscreen but found they were too pricey so I settled for a 12 TFT from Ebay.
Got it and took the casing off, drilled a few holes in the mounting plate and fixed it into my case but portrait not landscape. On the front where normally CD drives would be.
I rigged a VGA lead internally to give me output and made a connection from a molex to the Power pin I needed, (Not ideal but it will last for a while).
I mounted the rest of my components and then fired it up, the screen worked although still set to landscape.
After a while of playing around with the Nvidia Desktop I got my screen to run at 600x800 at a 90degree angle at a refresh of 80hz, threw on a RocketDock to allow easy application loading and then it was done.
From then on I spent about 1 week measuring all the externals so that I could have some Plexi cut. I went on to Ebay again and found some black gloss plexi at 3mm.
It arrived and I talked to friend of mine who has a CNC machine, gave him some drawings with all the measurements I needed, including holes for CD trays, fans etc and send him the plexi.
A few days later my plexi returned all cut and ready to mount, but I needed holes drilling to mount it onto my case.
Hopefully it will be finished soon.
Pics of the screen in action.
OK , I have just finished some more modding and its nearly there. I have cut out 2 holes in the top for usb connections and power, reset etc. I have program that will allow me to open my cd bays from an icon
Cant get my waterblocks made so I will have to buy some. Got to buy 2 xeon waterblocks and a dual 120mm rad. works out about £105 plus I want to change both my cd drives and I think SATA will be better, looking at the top scorer in this months CUSTOMPC
Keep your comments coming, pics will follow 2moro.
EDITED (Pics Resized)
 )
)