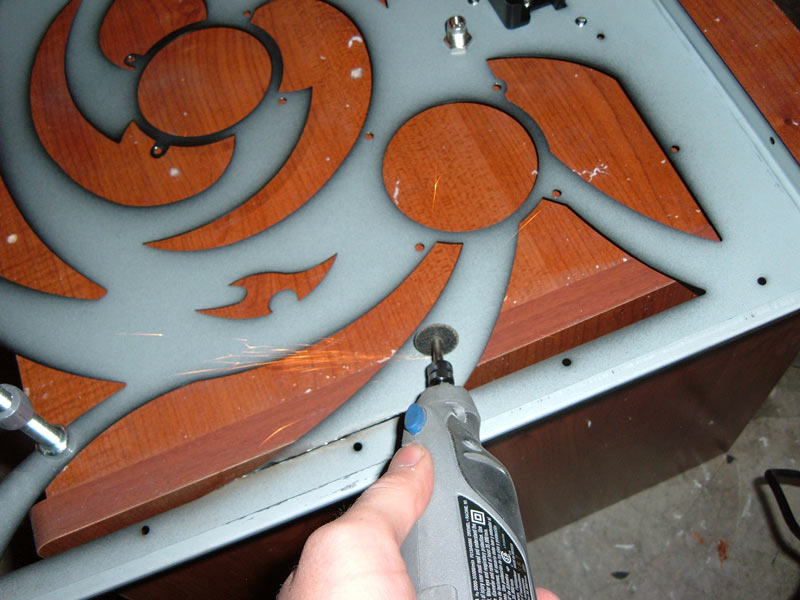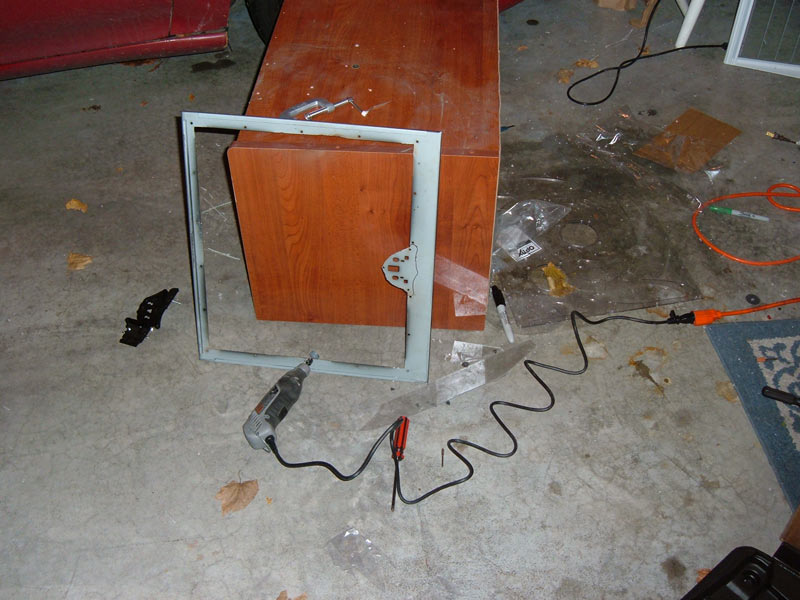
I forgot to take before pictures so:
http://www.newegg.com/Product/Product.aspx?Item=N82E16811166004
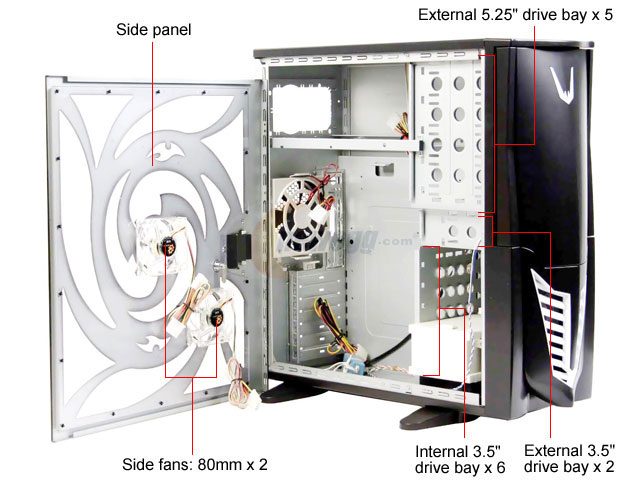
I really didnt like the inside being that boring old bare metal you see all computers in so I went to the store and bought me some nice blue metallic spray paint...
Blue:
http://www.acehardwareoutlet.com/(lhsqcs55emlggb45eqbhas45)/ProductDetails.aspx?SKU=1096049
And for the fan, drive rails, fan covers, Silver:
http://www.acehardwareoutlet.com/(lhsqcs55emlggb45eqbhas45)/ProductDetails.aspx?SKU=1096023
(I didnt buy from ace, I just found the website, I think I paid ~3.50 a can. 2x blue 1x silver 1x clear)
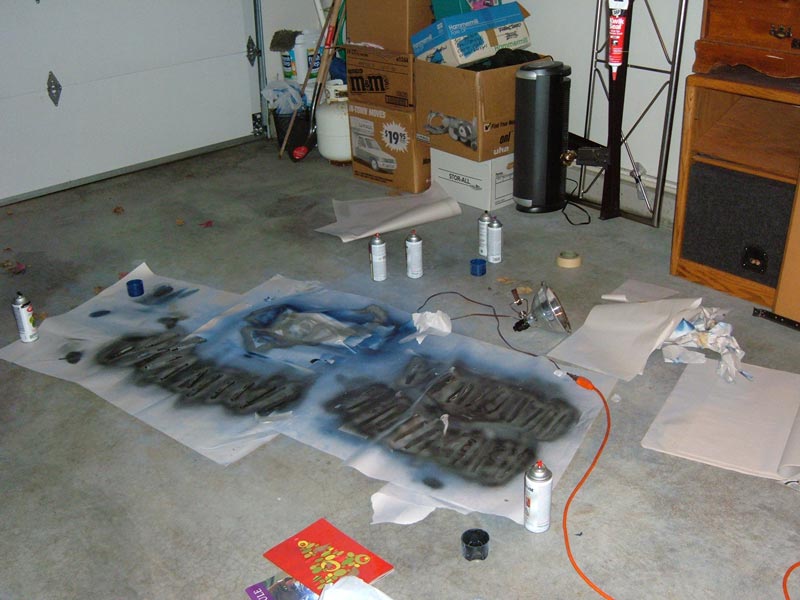
Me painting:
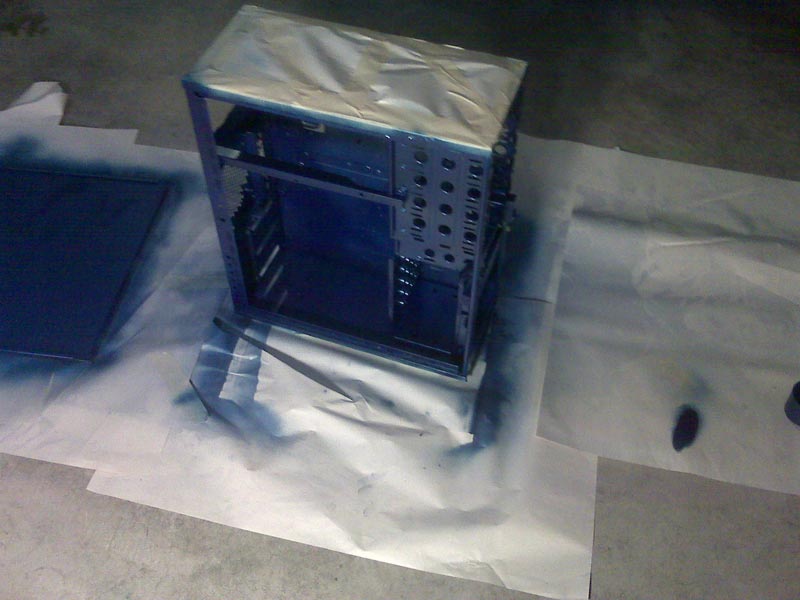
and here is a pic of my garage after:
The final pictures of the case with stuff back in it:

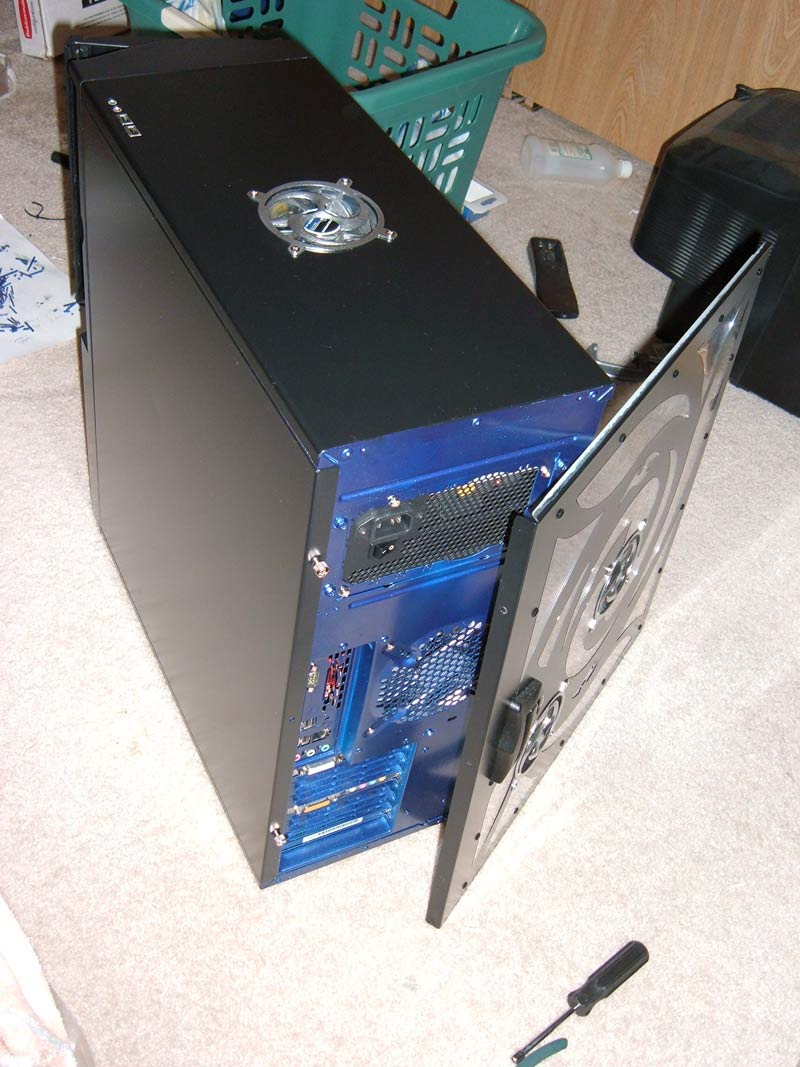

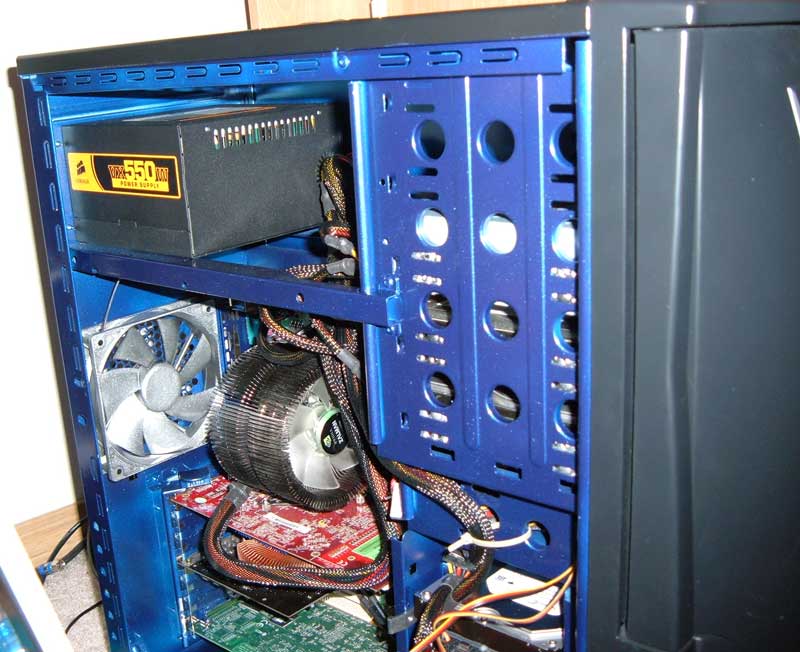
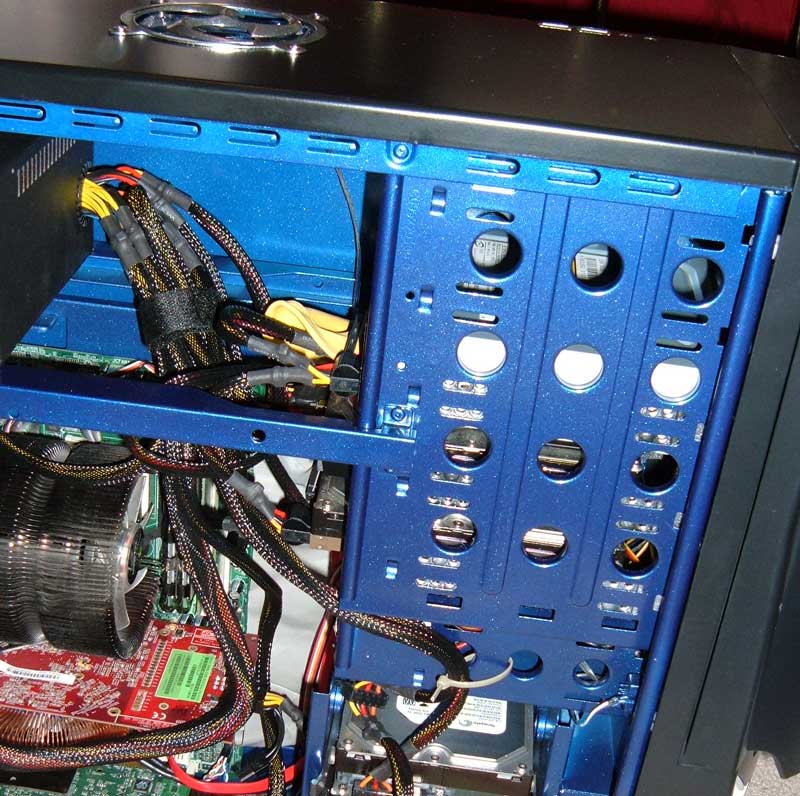
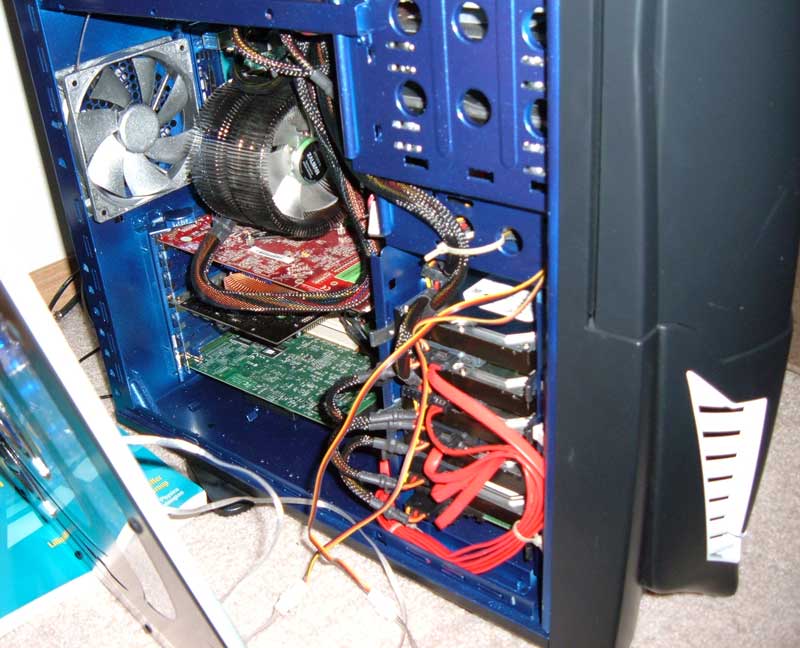
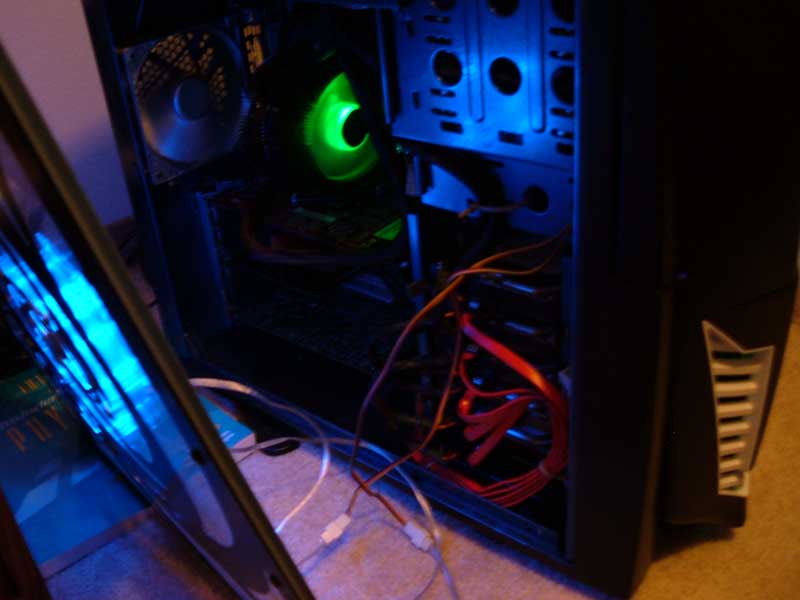
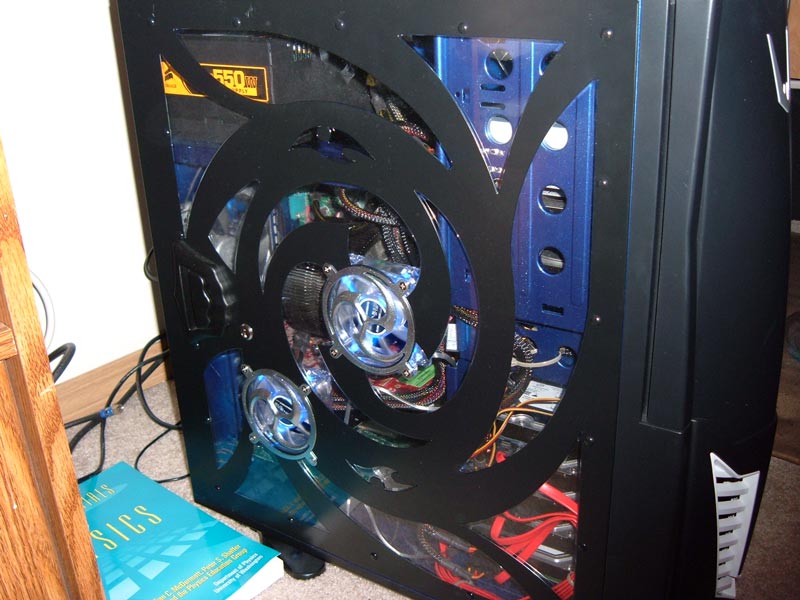
Note bad for my first time painting something like this .
Now the first thing that came to my mind was... Cable Management.
I tried just moving them around and tying them w/ zip ties... And failed.
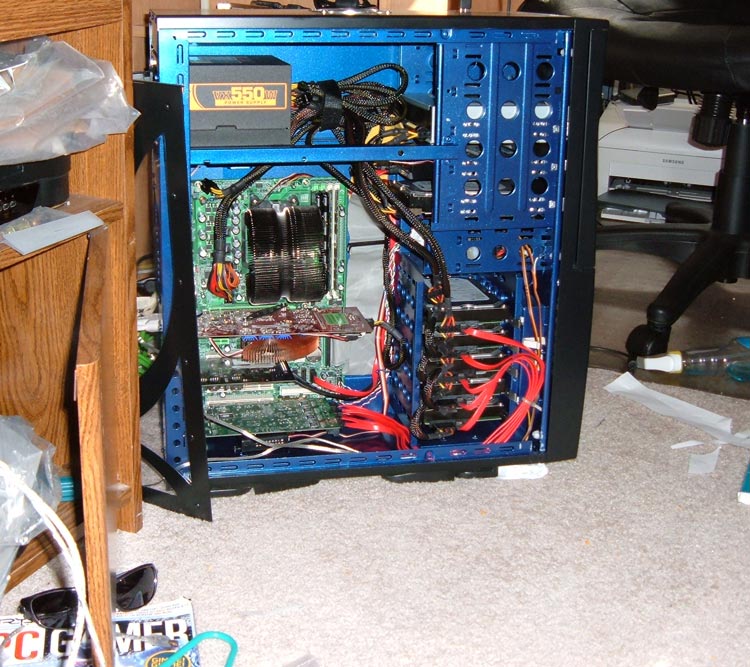
So I made plans to use acrylic to cover my wires...
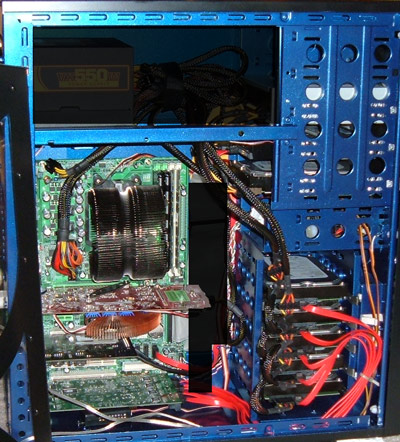
Well for at least the time being I decided to just work on the top half, the bottom piece seems out of place anyway...
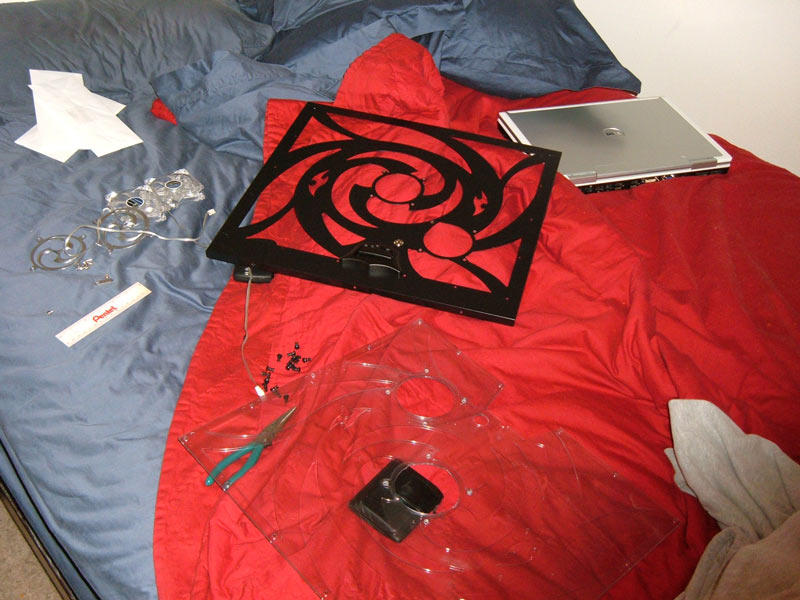
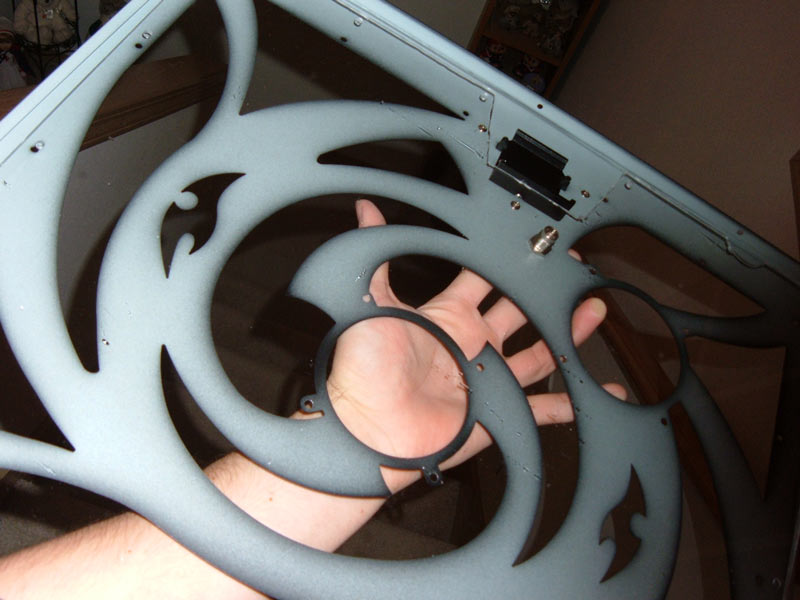
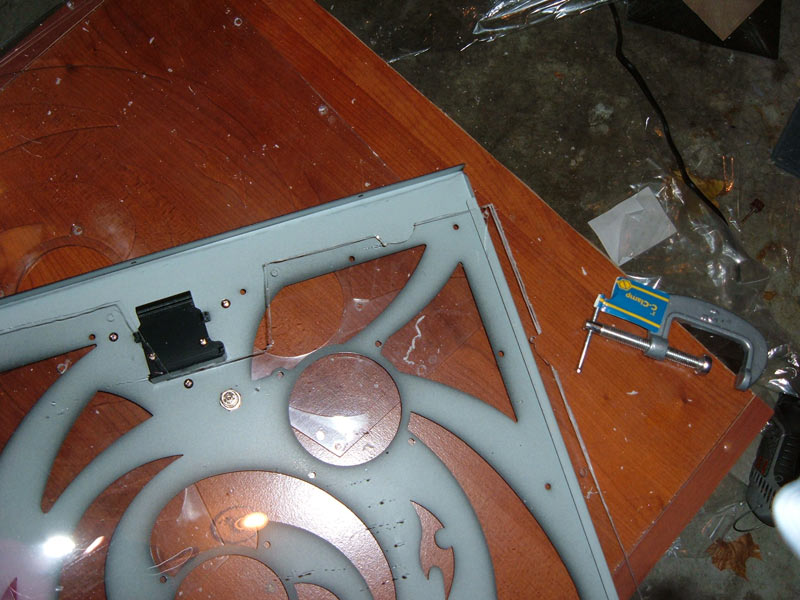
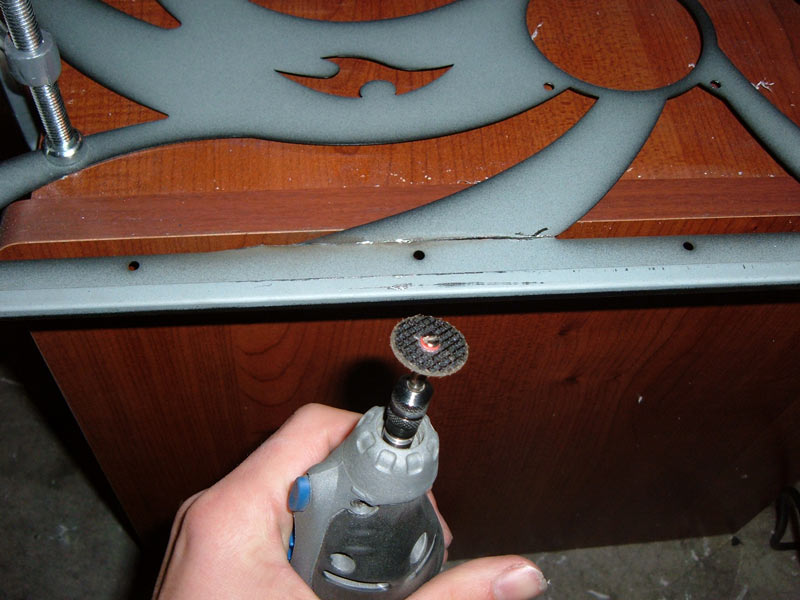
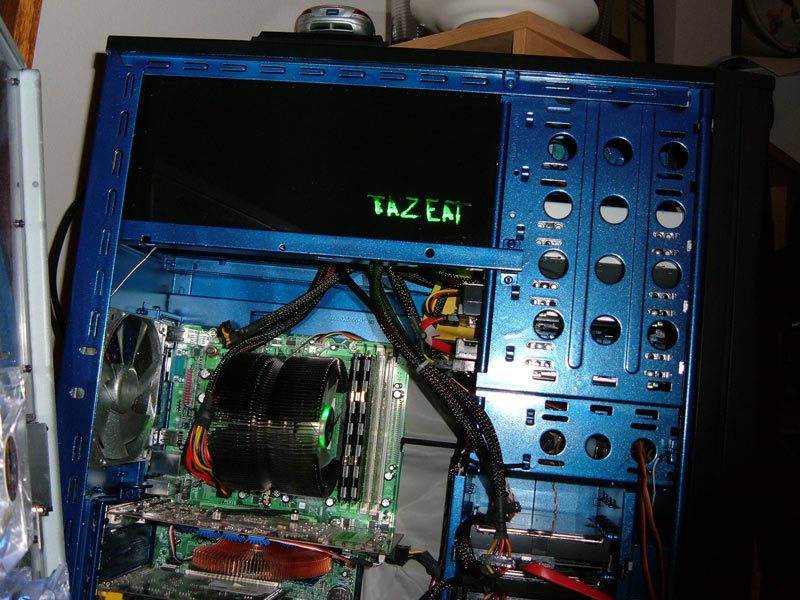
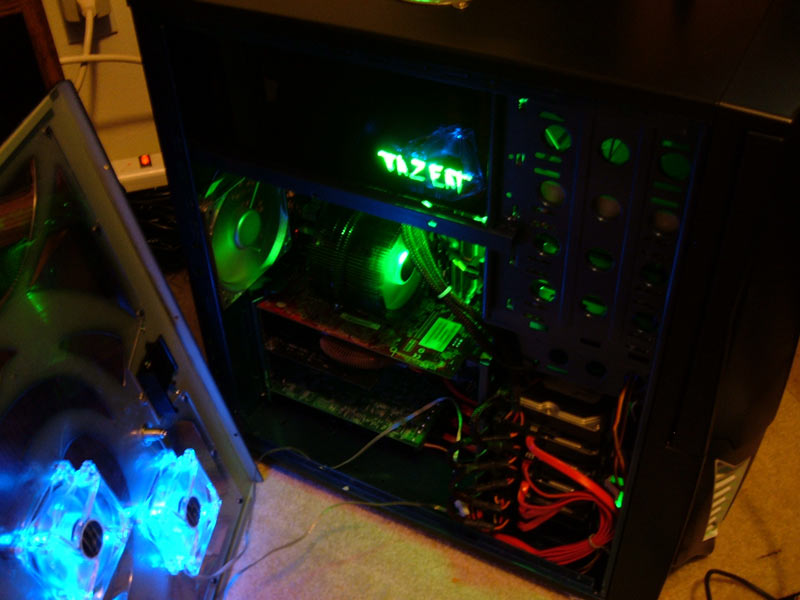
So I bought some acrylic, I was looking for tinted, but the hardware stores I checked only had clear, so I bought an $8 sheet of acrylic and cut out the piece (with a dremel cutting tool lol)... I had to sand off the sides, but I still didnt like the look of clear it made it all seem so pointless... So I wanted to try something, I spray painted the back black and wanted to cut in to it...
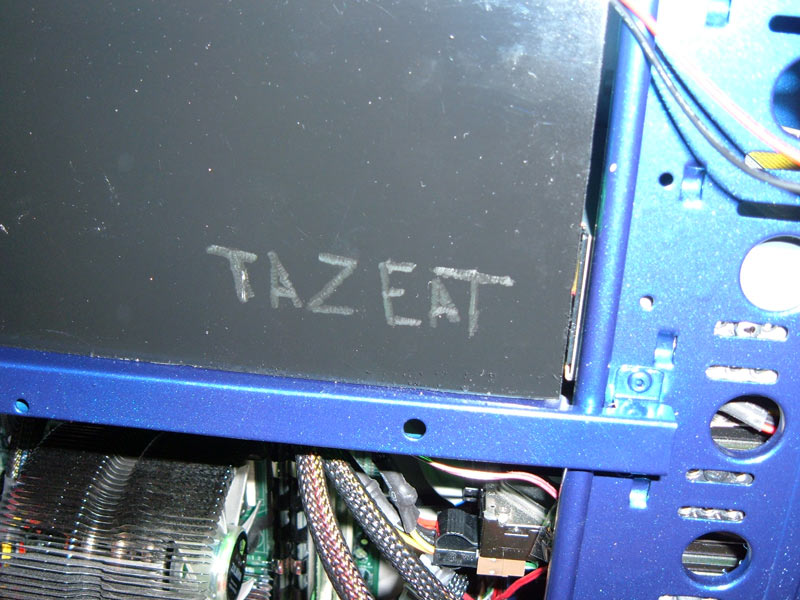
I liked the design, but without light behind it, it was kinda hard to see, so I went and dug up the cold cathode light that came w/ my case that I never used....
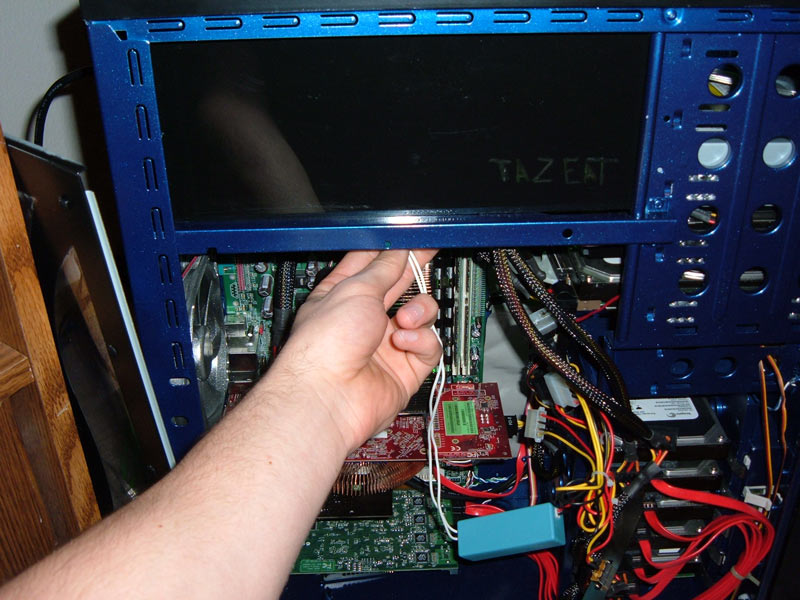
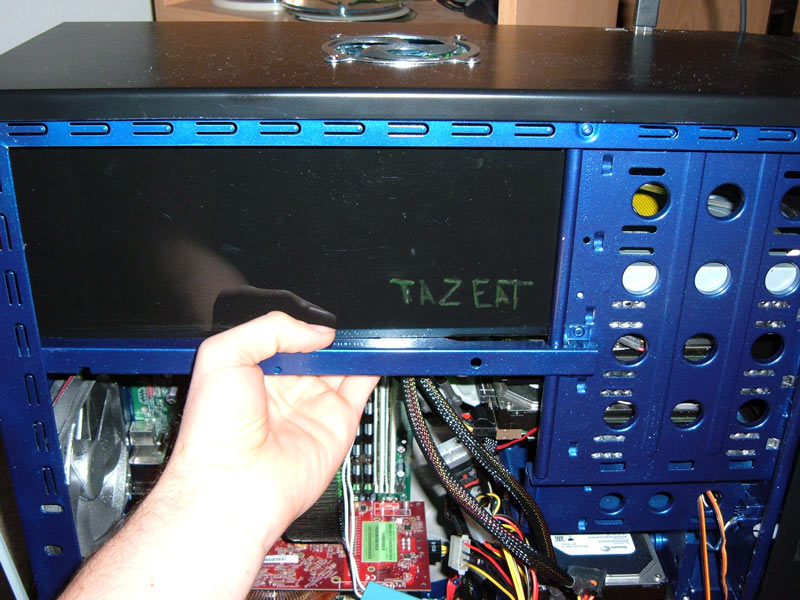
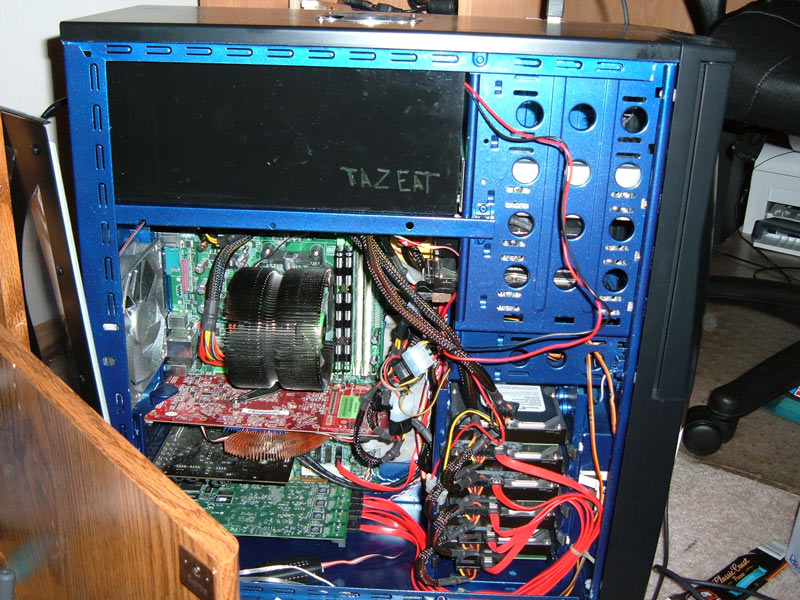
Used some hot glue to hold it in place, worked really nice actually.
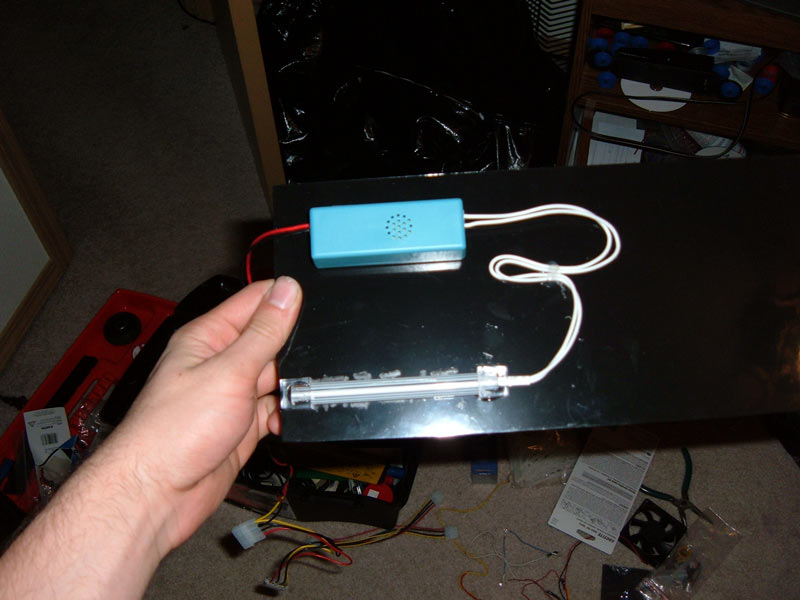
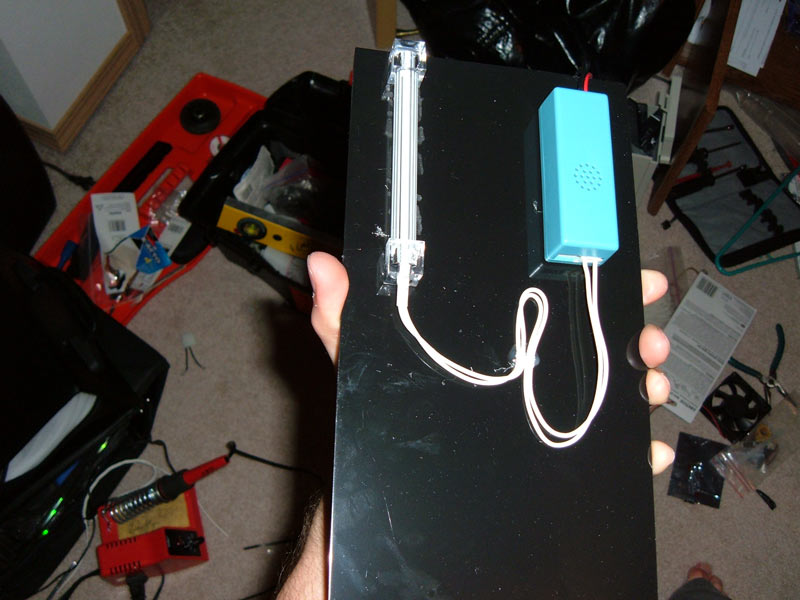
Now for the final result...

Me aligning the side panel...

Me wanting to tear this thing in half:
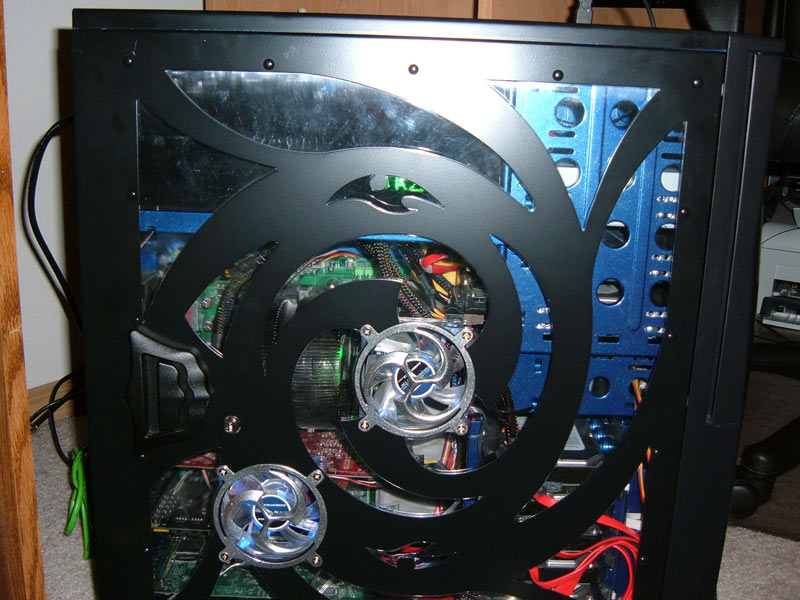
The last picture is what makes me want to tear it all up and do it again... the goddamn case bar goes right in front of it GRRR, either that or tear apart the side and just make the whole thing a window, get rid of those damn ugly blue fans and the weird ass design... Anyway I'm quite happy with it with the side panel off, but that side panel still bugs me, but thats it for now... Maybe a new side panel next week
note: I seem to have lost my old thread I think it was in the wrong category, so I am just making a new one feel free to moderate as needed (Sorry!).
http://www.newegg.com/Product/Product.aspx?Item=N82E16811166004
I really didnt like the inside being that boring old bare metal you see all computers in so I went to the store and bought me some nice blue metallic spray paint...
Blue:
http://www.acehardwareoutlet.com/(lhsqcs55emlggb45eqbhas45)/ProductDetails.aspx?SKU=1096049
And for the fan, drive rails, fan covers, Silver:
http://www.acehardwareoutlet.com/(lhsqcs55emlggb45eqbhas45)/ProductDetails.aspx?SKU=1096023
(I didnt buy from ace, I just found the website, I think I paid ~3.50 a can. 2x blue 1x silver 1x clear)
Me painting:
and here is a pic of my garage after:
The final pictures of the case with stuff back in it:
Note bad for my first time painting something like this
.Now the first thing that came to my mind was... Cable Management.
I tried just moving them around and tying them w/ zip ties... And failed.
So I made plans to use acrylic to cover my wires...
Well for at least the time being I decided to just work on the top half, the bottom piece seems out of place anyway...
So I bought some acrylic, I was looking for tinted, but the hardware stores I checked only had clear, so I bought an $8 sheet of acrylic and cut out the piece (with a dremel cutting tool lol)... I had to sand off the sides, but I still didnt like the look of clear it made it all seem so pointless... So I wanted to try something, I spray painted the back black and wanted to cut in to it...
I liked the design, but without light behind it, it was kinda hard to see, so I went and dug up the cold cathode light that came w/ my case that I never used....
Used some hot glue to hold it in place, worked really nice actually.
Now for the final result...
Me aligning the side panel...
Me wanting to tear this thing in half:
The last picture is what makes me want to tear it all up and do it again... the goddamn case bar goes right in front of it GRRR, either that or tear apart the side and just make the whole thing a window, get rid of those damn ugly blue fans and the weird ass design... Anyway I'm quite happy with it with the side panel off, but that side panel still bugs me, but thats it for now... Maybe a new side panel next week
note: I seem to have lost my old thread I think it was in the wrong category, so I am just making a new one feel free to moderate as needed (Sorry!).