• Some users have recently had their accounts hijacked. It seems that the now defunct EVGA forums might have compromised your password there and seems many are using the same PW here. We would suggest you UPDATE YOUR PASSWORD and TURN ON 2FA for your account here to further secure it. None of the compromised accounts had 2FA turned on.
    Once you have enabled 2FA, your account will be updated soon to show a badge, letting other members know that you use 2FA to protect your account. This should be beneficial for everyone that uses FSFT.

"Tenshi" My spray paint laptop project...*many pics*

Dark Prodigy

Jawbreaker
Joined
Mar 10, 2006
Messages
2,803
There aren't many notebook projects around, so I decided to post pics about my spray paint notebook project. Started the project for my girlfriend because she needed a computer (and to keep her off mine! :mad:), so I came across a 1.5 yr old scratched and worn darkgrey/black Gateway notebook with good specs that needed some slight repairs... screen, keyboard,..etc.

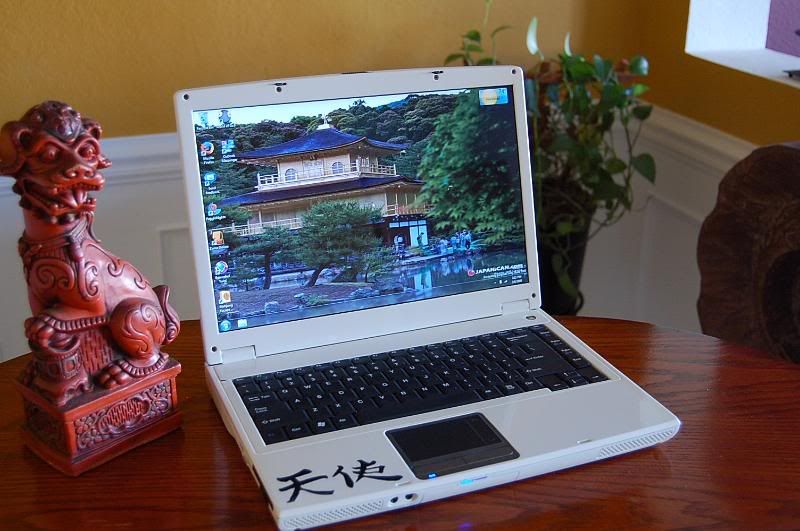
Just repairing it wasn't enough for me and decided to completely refurbish it and paint it with a slight asian theme...her favorite.... and give it to her as a birthday gift. I call it "tenshi" which is japanese kanji for "angel" (which is stenciled on the hand rest).

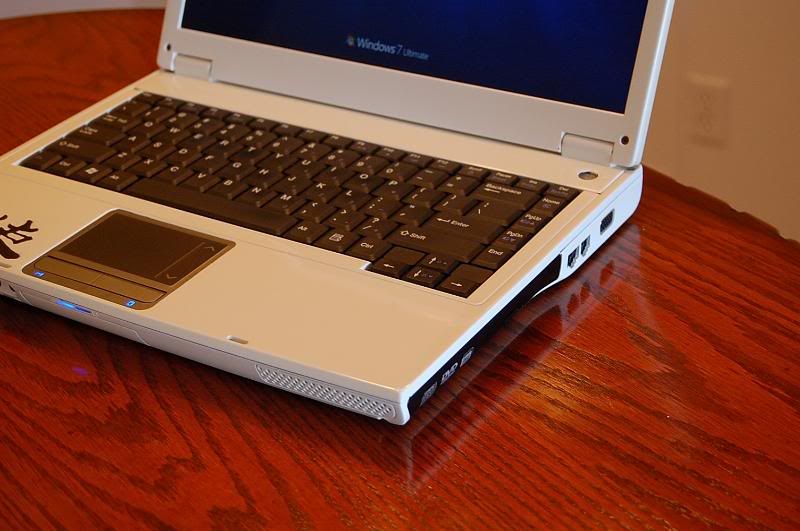
With a bit of effort and patience with normal automotive spray paint..this is how it came out. I originally wasn't going to post any pics..so I don't have many "before pictures" at all.


This is really the only "before" I took. As I was disassembling, I snapped a few shots as a picture log so I had a reference when I put it back together.


DSC_0010-4.jpg


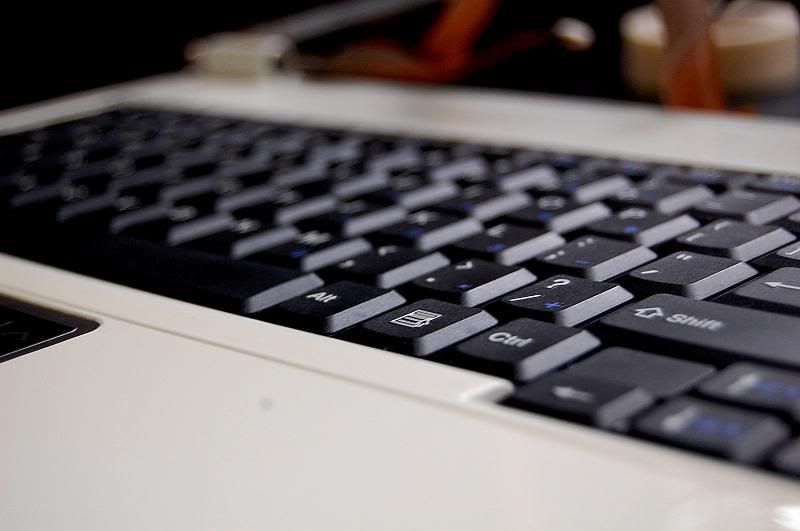
I took the next four pics during reassembly to show off the reflectiveness of the paint after sanding/rubbing/polishing it for 2 weeks :( (my arm hurts).


DSC_0010-5.jpg


DSC_0007-3.jpg


DSC_0012-2.jpg


DSC_0014-1.jpg


DSC_0002-4.jpg


DSC_0021.jpg


DSC_0025.jpg


DSC_0017-1.jpg


DSC_0020-1.jpg


DSC_0003-6.jpg


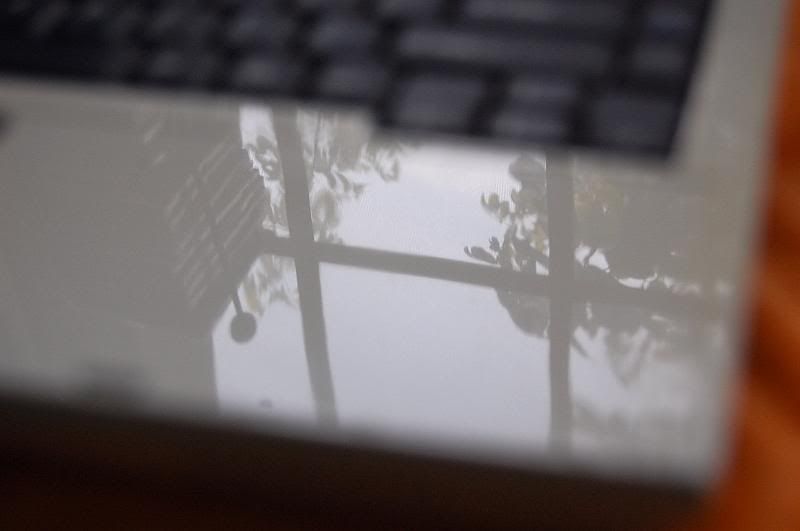
With white paint its hard to take pics that give a good "mile deep" reflection, but this one shows the complete smoothness and glass like surface I spent hours wetsanding trying to get... You can clearly make out the chandelier on the surface.

DSC_0034-1.jpg


And this is ALL I used to complete this project...sans the wet/dry sandpaper, stencil paper and elbow grease. ($40 total)
DSC_0003-5.jpg


I'll be applying carnauba wax in another 2 weeks to top it all off.
Hopefully we can get more laptop mods in this section.
 
Wow, that's awesome work! Did any machine buffering go into that gloss? :cool: (Looks at his pathetic tablet with worn-off paint beneath the keyboard)

FYI, the DVD drive face plates on a lot of laptops are removable and paintable, too ;).
 
Thanks for the compliments guys. ::humbled::


Wow, that's awesome work! Did any machine buffering go into that gloss? :cool: (Looks at his pathetic tablet with worn-off paint beneath the keyboard)

FYI, the DVD drive face plates on a lot of laptops are removable and paintable, too ;).


Thanks. :) No machine buffering at all.... all elbow grease and sore wrist and shoulder :(, using wet/dry sandpaper and the compounds pictured. I realize I could have painted the DVD drive bezel but I thought leaving it black would bring good dark/light contrast in line with the keyboard..
 
Hey buddy, great work. What steps did you take in painting. Like how many coats what order of sandpaper etc. :rolleyes:
 
Wow! Fantastic job on this laptop. I too am interested in more detailed steps taken i.e how many coats and what grit sandpaper.
 
Shouldn't it be "Tienshi" or "Tianshi"?

Tenshi is Japanese not the Chinese pronounciation.

I'm not sure I like the plain black kanji on the case, it looks a bit cheap. Sort of like people with asian characters tatooed on pale white skin :D IMO, it would be beautiful if they were white characters with some kind of contrasting shape or background or even a stripe that was behind the characters. Sort of like the nosecone of Super Sylph Yukikaze. The other thing I would do is make them more like brush strokes on paper with brush lines and flick some black ink across the lid.

ALT_SUPER_SYLPH_FFR-31.jpg
 
Tenshi is Japanese not the Chinese pronounciation.

I'm not sure I like the plain black kanji on the case, it looks a bit cheap. Sort of like people with asian characters tatooed on pale white skin :D IMO, it would be beautiful if they were white characters with some kind of contrasting shape or background or even a stripe that was behind the characters.

I actually thought about this. My first design was to do just that... make the kanji like shadow outline. To do that I would have to airbrush. I have airbrush tools but not the proper nozzle, and I didn't want to spend $60.00 for the right one.

When I first stenciled the kanji they were too "perfect", almost like stickers and I wasn't happy with it. So I added more acrylic enamel to them and lightly sanded them... made it look alot more like imperfect brush strokes with raised lines. Hard to capture that even with my D50 camera.
 
For those interested in what I did to accomplish the paint job, here's a simple write up on the process.


First thing...TAKE YOUR TIME. This is not a 2-day or even a week job. This took me about 3 weeks from start to finish.


First thing was full disassembly. If you have not taken apart a laptop before, I suggest you take pictures as your doing it to have a sort of picture log so it can help you remember where everything was fitted including the precise wiring.

The laptop was all somewhat smooth plastic parts, so the first thing I did was to lightly dry sand all the parts with 400 grit sandpaper so the primer could adhere better.--about 1 hour total time.

Then I carefully blue taped over all parts that were not to be painted, such as the touch pad and buttons..etc. -- about 45 minutes total time.

I wiped all the parts with a tack cloth to prepare them to be primered. I used Duplicolor♥™ white primer that has flexible properties and a quick drying time. I applied 4 medium/light coats of primer, waiting 30 min between each coat. I waited 48 hours THEN wetsanded the primered parts with 600 grit wet/dry sandpaper. --total time about 3-4 hours.

After another 24 hours to fully let the primered parts dry I started laying the color coat (white). I applied 4 medium/light coats of white for each part...and 6 coats for the lid and hand rest area. I waited 45 min between each coat. THERE IS NO NEED TO SAND BETWEEN COATS...I repeat - THERE IS NO NEED TO SAND BETWEEN COATS. Some people swear by wetsanding between coats and most good painters believe it is not needed and the latter is true from experience. This took me 2 days because I did the bigger parts one day and the small parts the next.


Automotive paint is soft until it is fully cured. Be advised dry DOES NOT equal cured. It can be dry to the touch but underneath is not. I found this out the hard way by handling a part to rough to inspect it after it was "dry" and it had a perfect thumbprint on it to show. Wetsanding took care of it later.

After only 48 hours of dry time (took time to do the kanji stencil in this time) and a full light wipe down with a tack cloth, I started laying the gloss enamel. I laid 3 coats of clear (5 coats for the lid and handrest area) waiting 30 min between each coat. ONCE again..no need to wetsand between color coat and clear coat. Absolutely no need.

Acrylic enamel in rattle can form should take about 6-7 days to fully cure. I recommend waiting for at least this amount of time before trying to wetsand it. So that's what I did.

After the cure time I began wetsanding. I took a bucket of warm water with a nice drop of dish soap (for lubrication) and started wetsanding with 800/1000 grit (either one of these is fine to start off with) then moved to 1500 grit and finally finished with 2000 grit wetsanding. No need to apply pressure when wetsanding, just let the weight of the rubber block be enough. Start work horizontally and then vertically.... total time about 3-4 hours.

After wetsanding and being pleased with the silky smoothness, I started applying the rubbing compound later that night. There was no need to use a machine buffer because the parts are small and irregular..unlike the large flat panels of a normal desktop tower. I basically rubbed these parts for about a week off and on before I was pleased with the finish..being careful not to rub through the gloss enamel. I still have yet to add the carnauba wax... in about a week I'll be doing that.


Here's a few pics I snapped as I was going through the polishing process.


These first 2 pics show the horrible spray paint orange peel 1 week after laying down the gloss clear coat:


DSC_0003-7.jpg


DSC_0005-4.jpg


This pic shows the gradual process of the polishing on the lid. There's 3 polishing stages if you look carefully.

DSC_0004-3.jpg


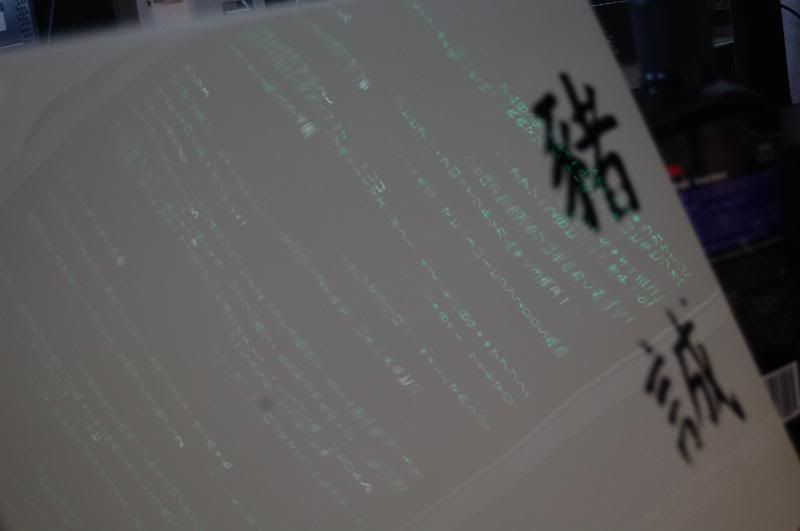
And you can see my "Matrix" screen saver from my monitor reflected by the lid after only 3 hours and about 10 applications of rubbing compound.

DSC_0010-6.jpg


Feel free to ask any more questions, I'd be happy to help. =)
 
will the pain on the handrest peel or chip or is it coated enough where it will be like normal pain wear and tear?
 
Back
Top