D
Deleted member 184142
Guest
Ok, So I got my new CM 590 in and thought it would look better black on the inside, and I had seen a few threads here and there about painting on the cheap so I thought I would do a quick and dirty write up, it may not answer all your questions but it should help with the overall steps. Feel free to ask questions or point something out that needs to be explained better.
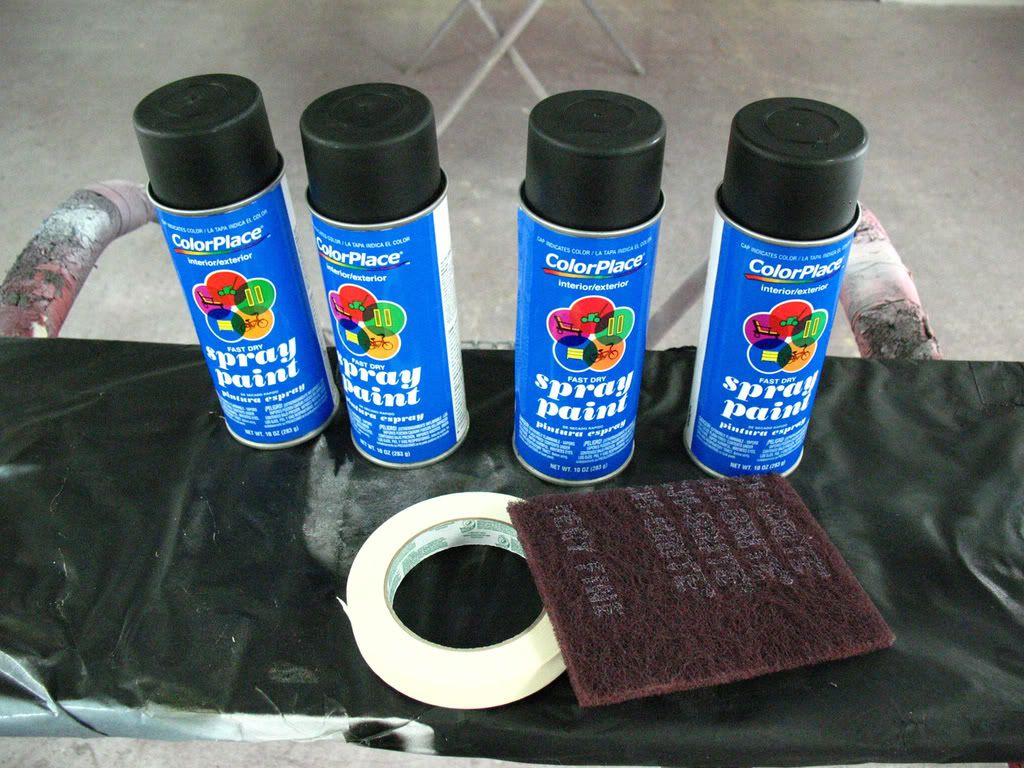
I tried my best to keep costs down, but some things can't be helped, so no HVLP guns , just aerosol spray cans, and the cheapest walmart ones you can get, they ran me 99 cents each and took a total of 4 cans, though I did cut it close. A quick word about prices, Once you pass $2 a can your not going to find much better, and are just throwing money away spending more, unless its a fancy color or custom mixed from a paint store. Overall you should be able to get away with spending about $10 on painting a case depending on size, color choice, matte, semi-gloss, gloss, basecoat/clearcoat etc etc. and most of all where you live and shop for the supplies.
Another thing is I also chose to do scuffing with a scotch pad rather than sandpaper, it's easier to use on the inside of a case with all the weird shapes and odd/hard to get to places and should cost less than sandpaper. One pad should be more than enough for most case sizes. You can use either the red or gray pads, red is about the same as 400 grit sandpaper and gray is about 600, I use the red.
I am doing a single stage matte black on this case, though doing a gloss basecoat/clearcoat follows the same steps with just one more for the application of the clear.
Now, a list of things needed to start:
1. PAINT!
2. Scotch-Brite,
3. Tape and masking supplies, most will probably use newspaper as you already have some laying around.
4. Some kind of wax and grease remover, though just washing the case could work out ok and save you a few bucks, but if you get fisheye or cracking in the paint don't say I didn't warn you.
5. Tack cloth and compressed air.
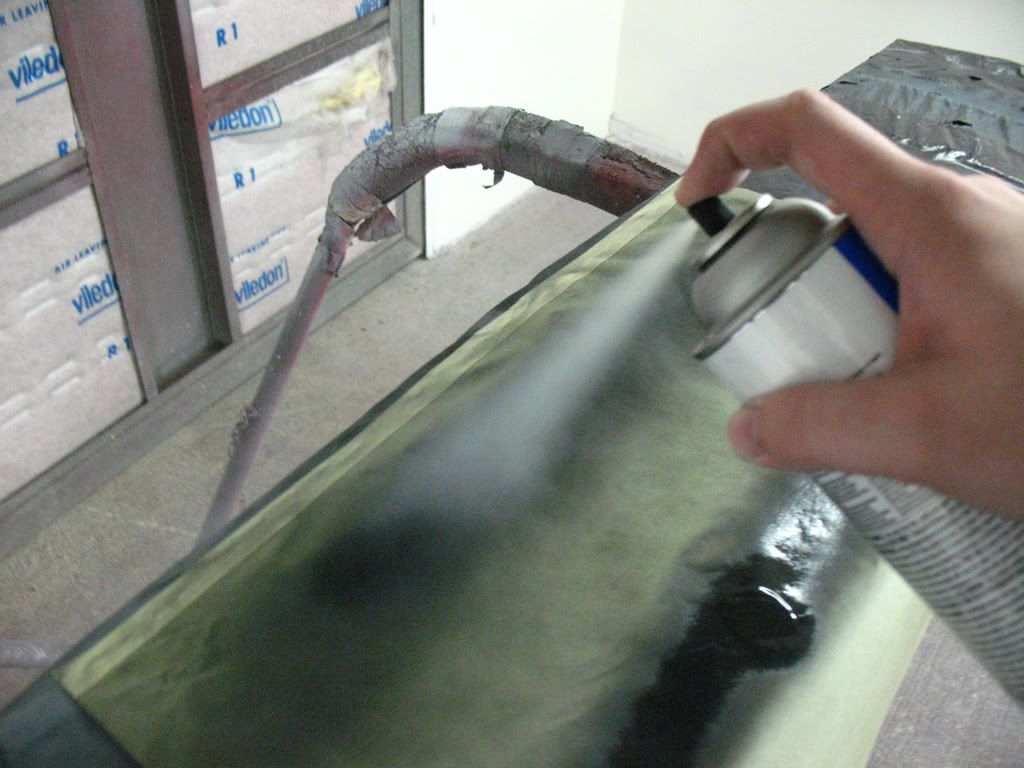
Before we get started I will give a few pointers, the biggest problem I see is people painting with the nozzle to close to the surface. This will cause what look like "wet" streaks in the paint even after it dries.
now these photos are a bit deceiving, as it is hard to spray and take a photo at the same time. Every can will be different, and it also matters on the painter and at the speed you are making passes.
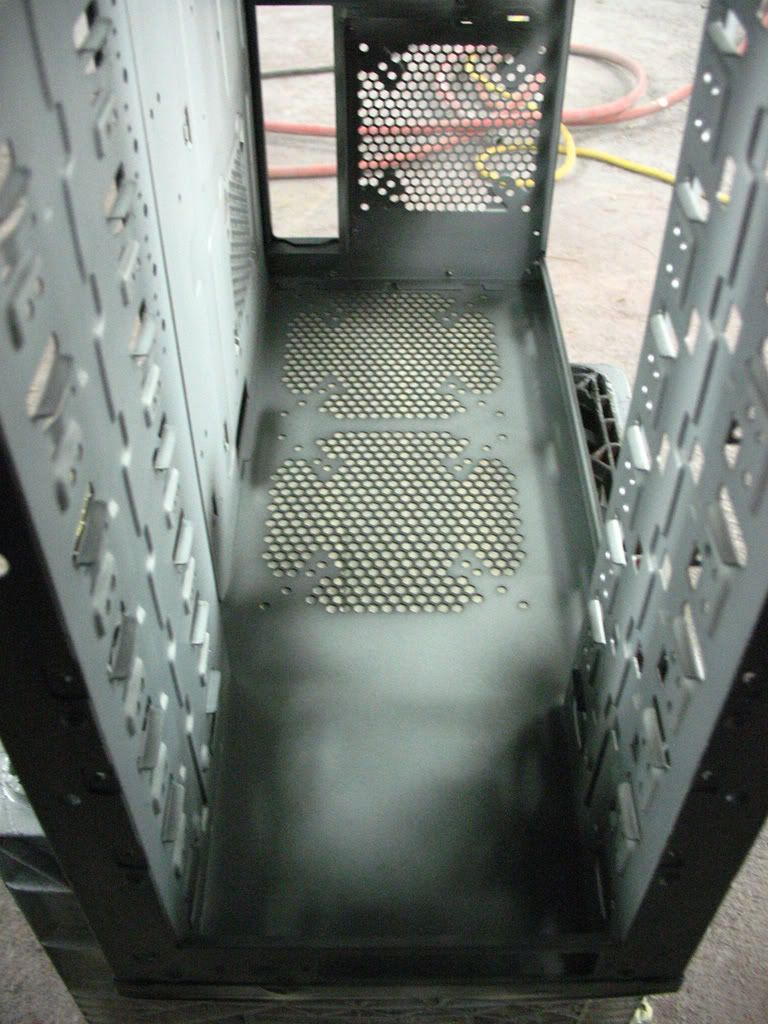
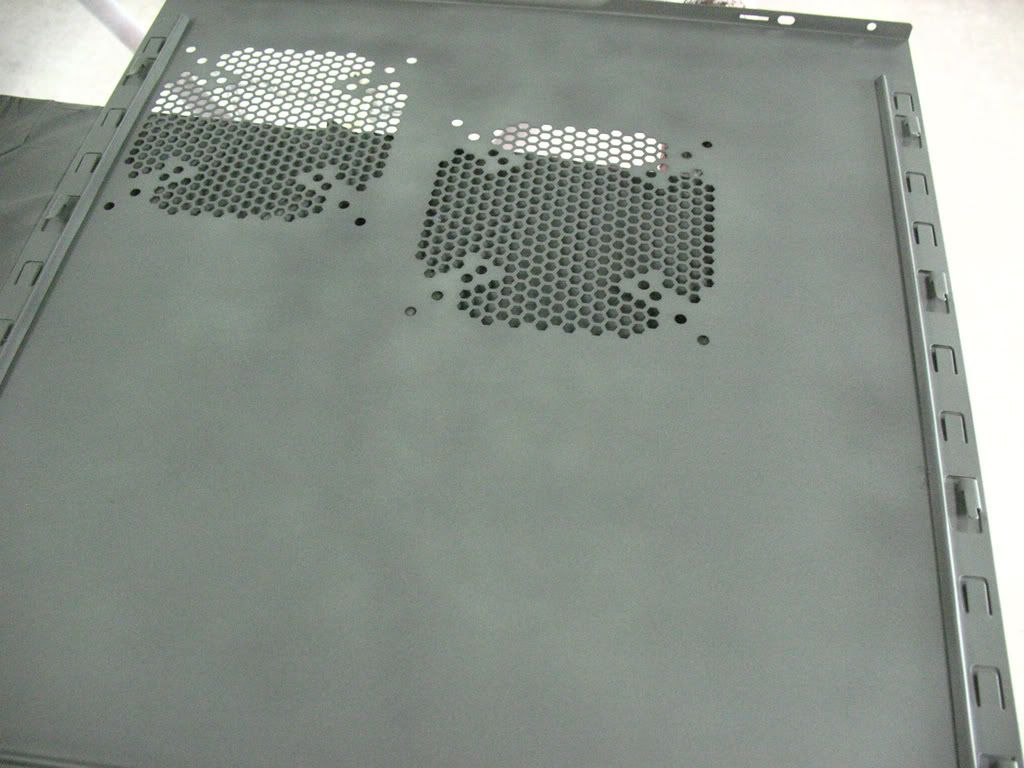
This first image is what NOT to do, you are either to close, moving to slow or both.

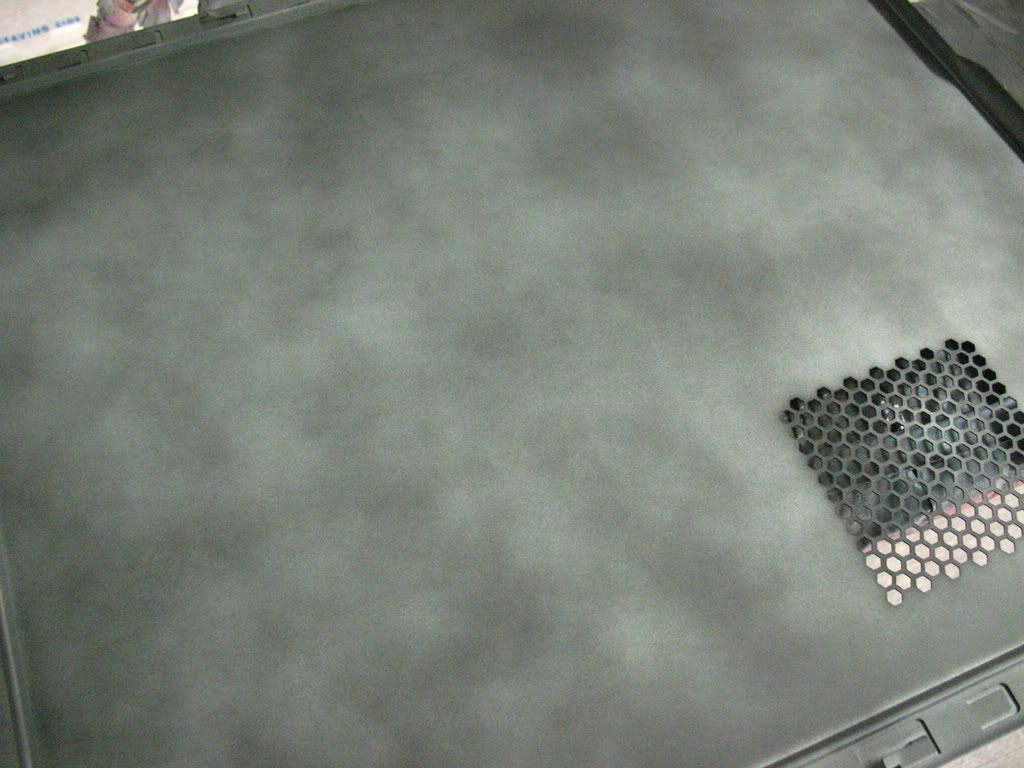
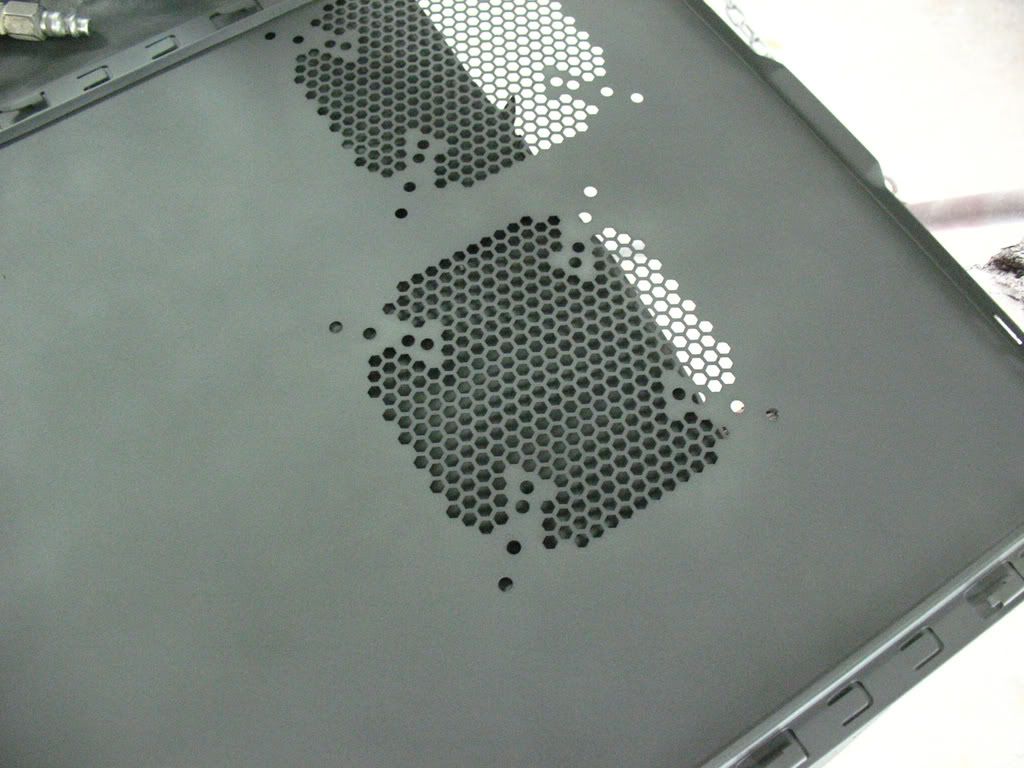
This is about where you want to be, nice even coats with a 50/50 overlap, meaning that each following pass should overlap the last by half. You might want to invest in a can that has a "fan" nozzle, if it's well made it can make a world of difference wile painting. You also are not trying to cover everything on the first pass, so don't bear down on one spot or get so close wile trying to get 100% coverage in one pass, you are going to cause yourself to put runs in the paint.
Ok, so to start, get out your supplies.
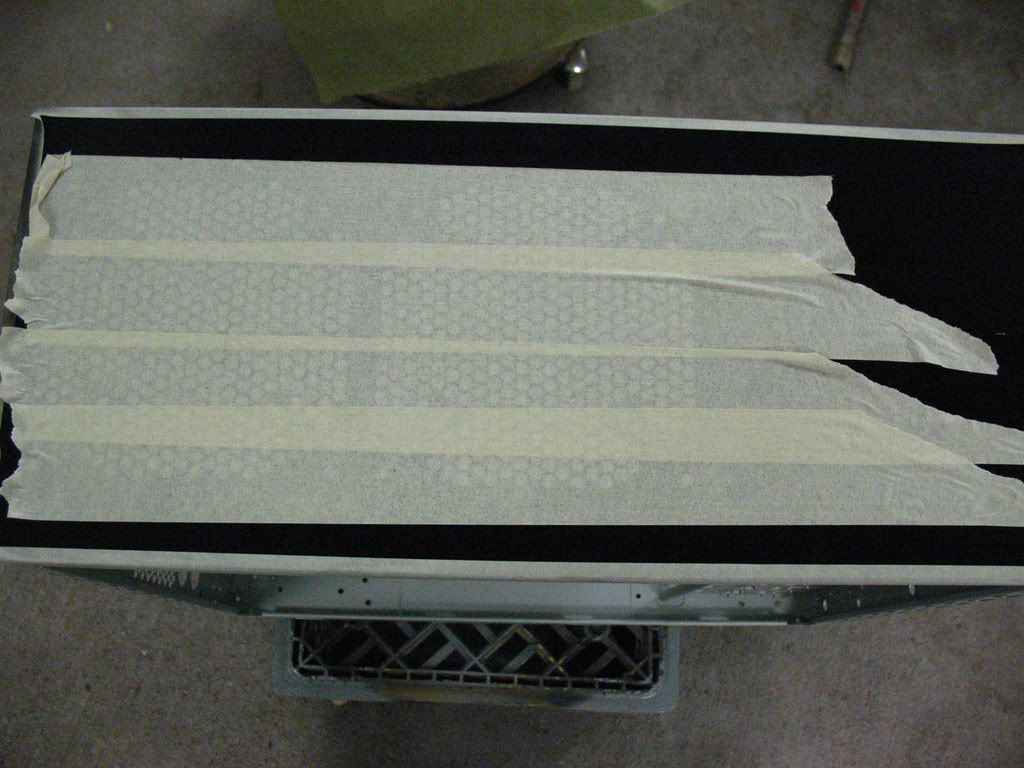
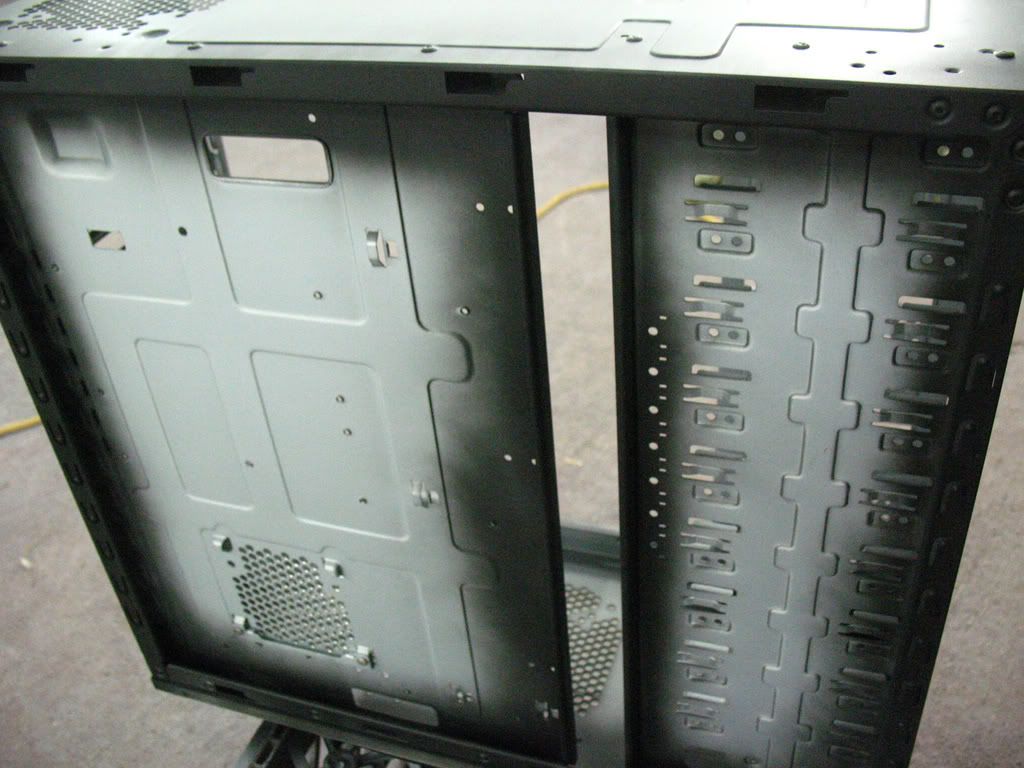
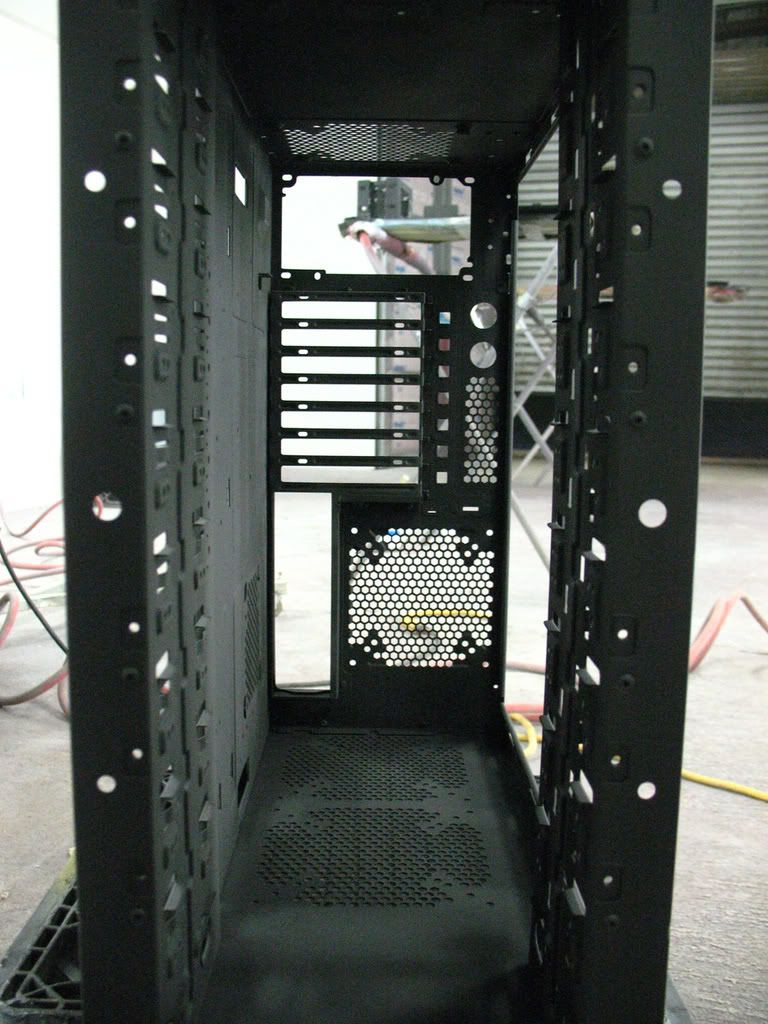
You are gonna want to start off by stripping the case down, it is MUCH easier to take something off than it is to tape it off, it also helps for a much cleaner look. Skipping ahead a bit, If your case has vents or fan holes on an area you are masking off make sure you tape over the holes so you are not just trapping in over spray under the paper.
Tape first:
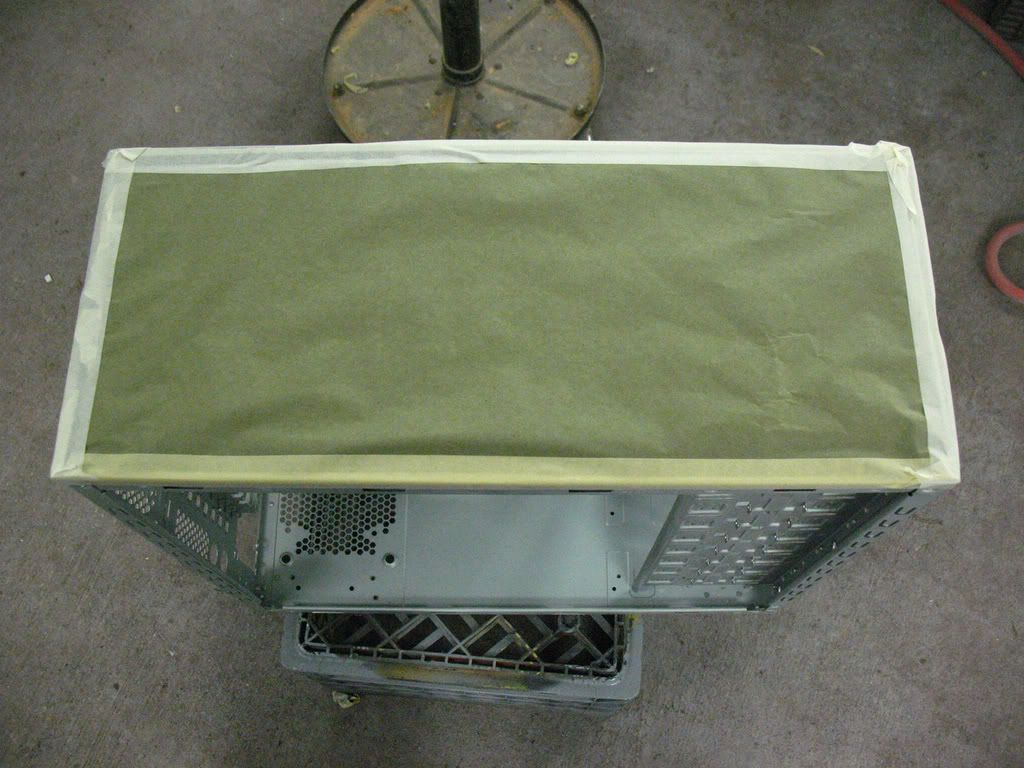
Then paper:
Ok, back on track, at this point you should be scuffing everything you want painted, take your time and do a good job, unlike with sandpaper it can be hard to see the areas that you have already scuffed, and there is no such thing as going over board. you also might want to put some tape along edges and other areas you don't want to scuff up with the pad, doing that now can save you allot of headaches down the road.
After you are done scuffing the case it is a good idea to use some compressed air to blow off any dust or strands from the scotch pad, if nothing else the air you use for cleaning out dust from your HS should work just fine.
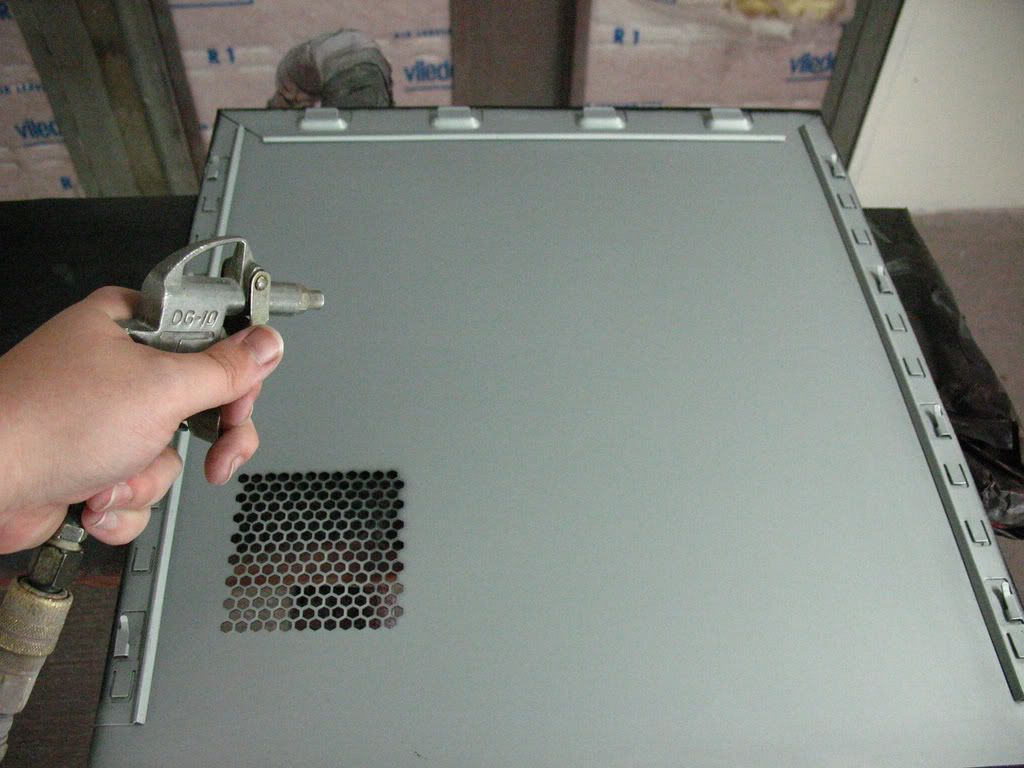
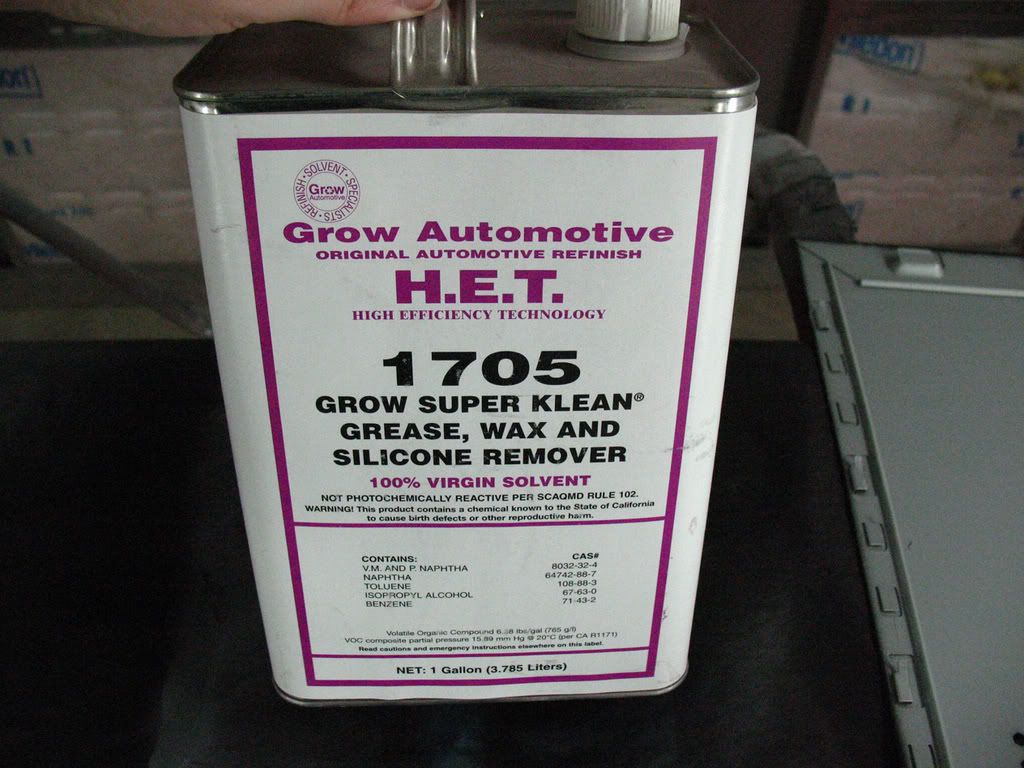
Next is the Wax and Grease remover and/or wash time, the whole point is to get off any contaminants that might prohibit the paint from adhering to the surface. I used my shops 1705 cleaner, you can get this at just about any automotive paint store.
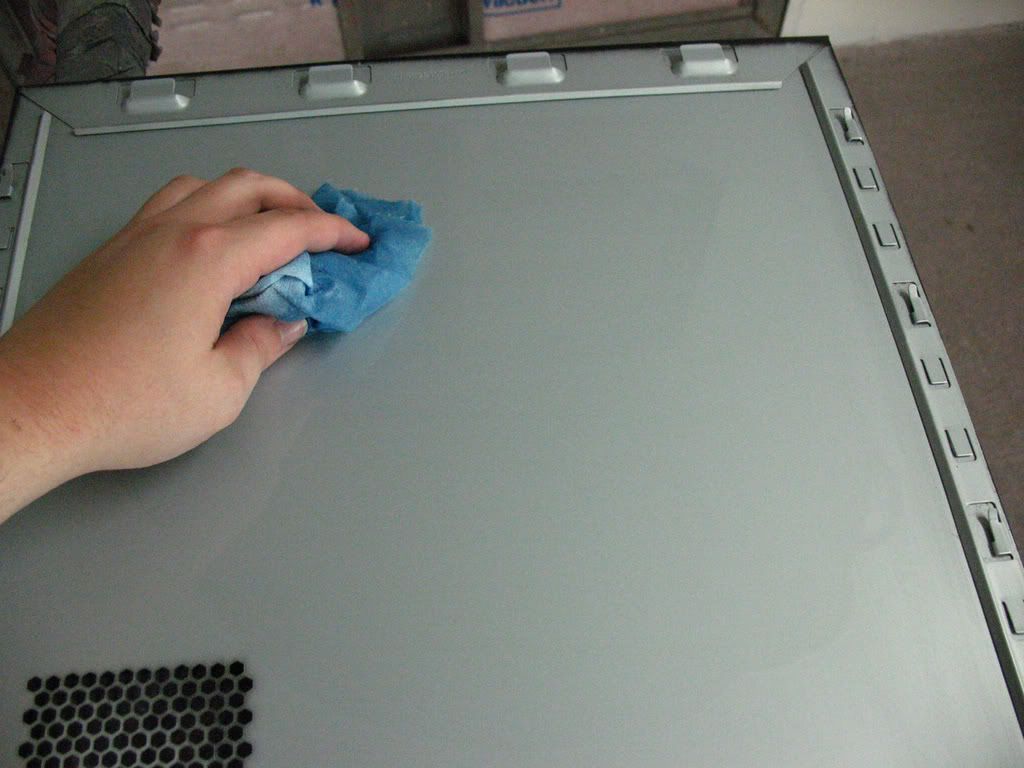
After you wipe the surface you should always come back with a clean rag to wipe off any residue.
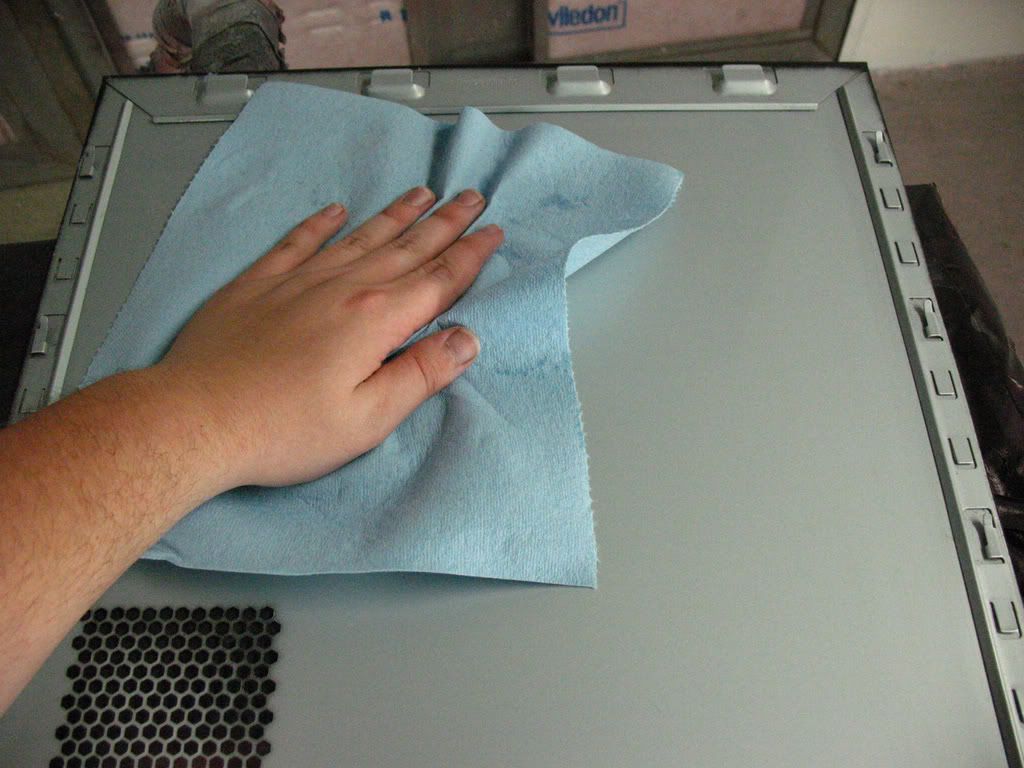
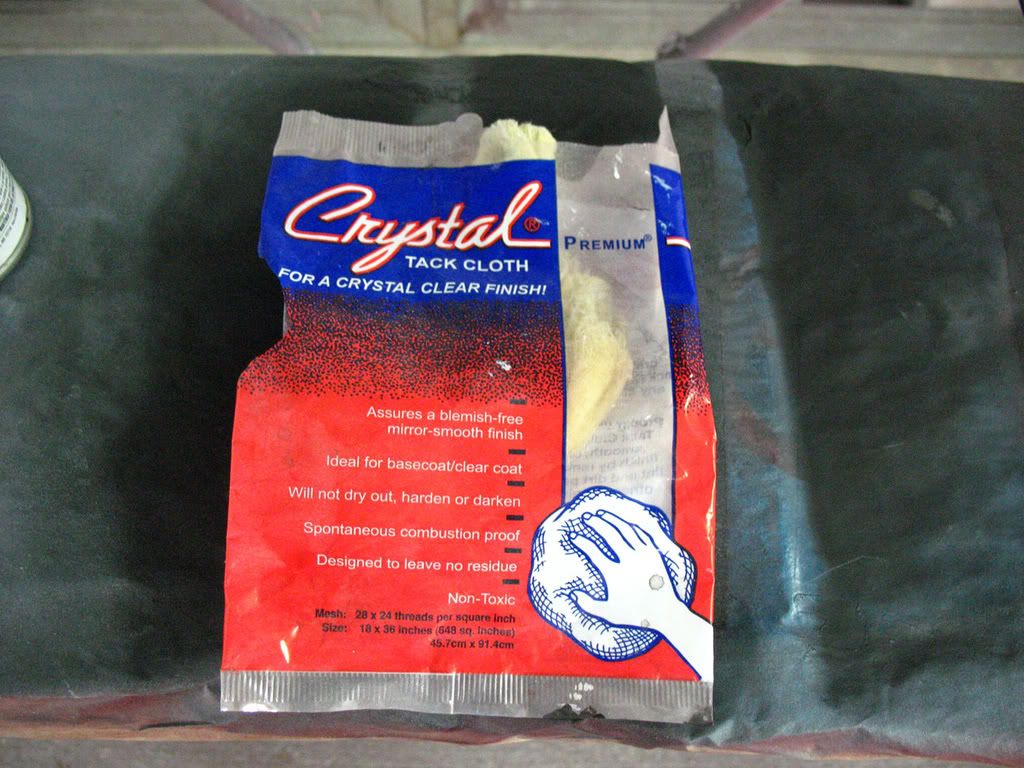
Next step is tacking, again can be found at any automotive paint store, even allot of the parts stores are starting to carry some paint supplies, such as O'Reillys, but be ready to bend over.
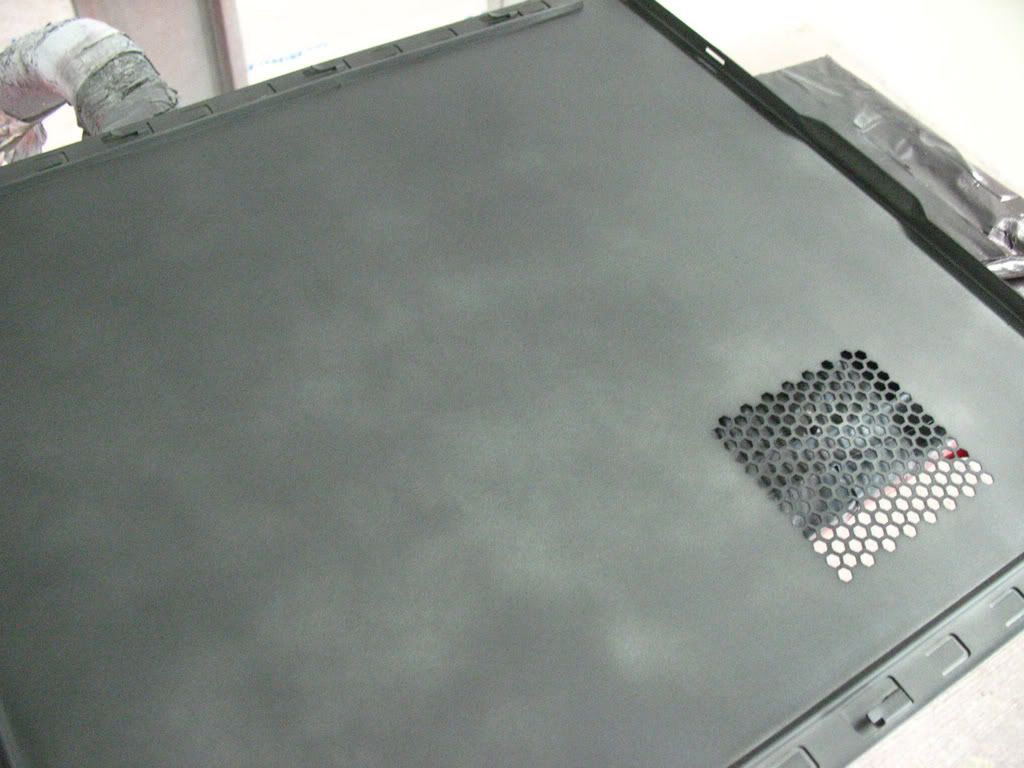
Ok, now it's the fun part! Painting! A few tips, the inside of cases have allot of hard to reach areas, it is best to shoot them first to get some color in the area, it will help you to keep from putting runs in the paint and will help reduce overspray on the larger flat surfaces and reduces the risk of touching wet paint wile sticking your hand in the case to get in those odd places. Keeping the can well shaken and warm will help, it also helps for it to be dry out, in my case is was freezing cold and had been raining for 4 days straight, not the best condition's to be painting in. As you can see I opted not to use primer, as I said I am trying to do this for the people looking to do it as cheap as can be done.
Now remember what I said about spraying, not to heavy even coats. You should give about a 10 min. flash time after each coat.
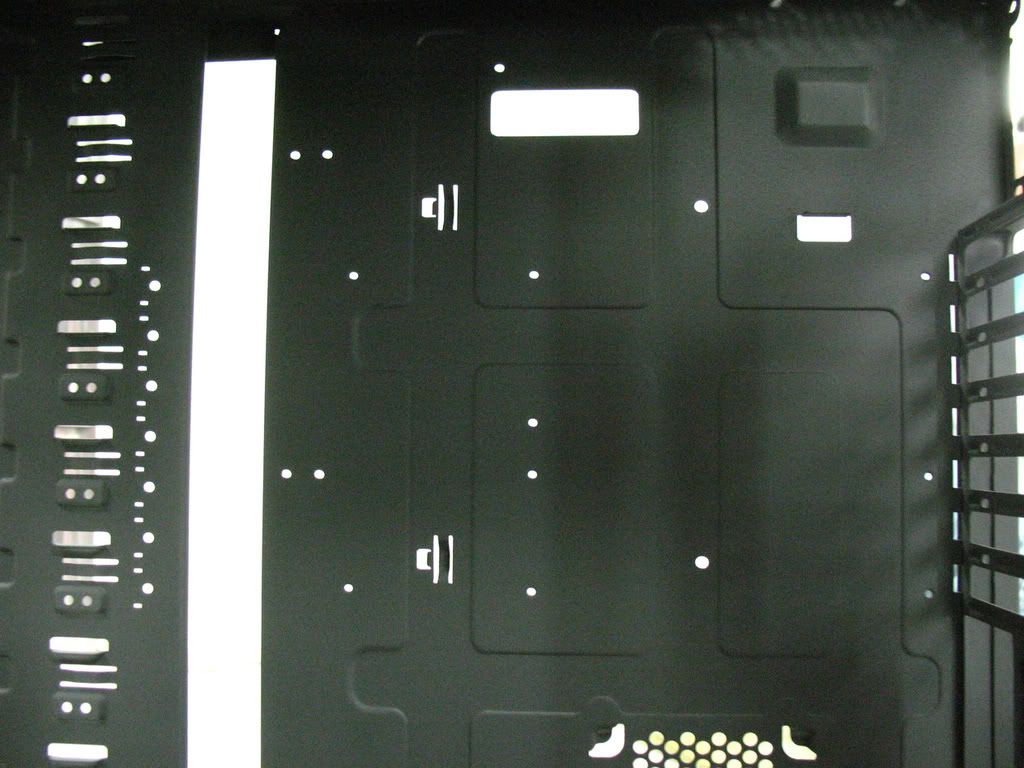
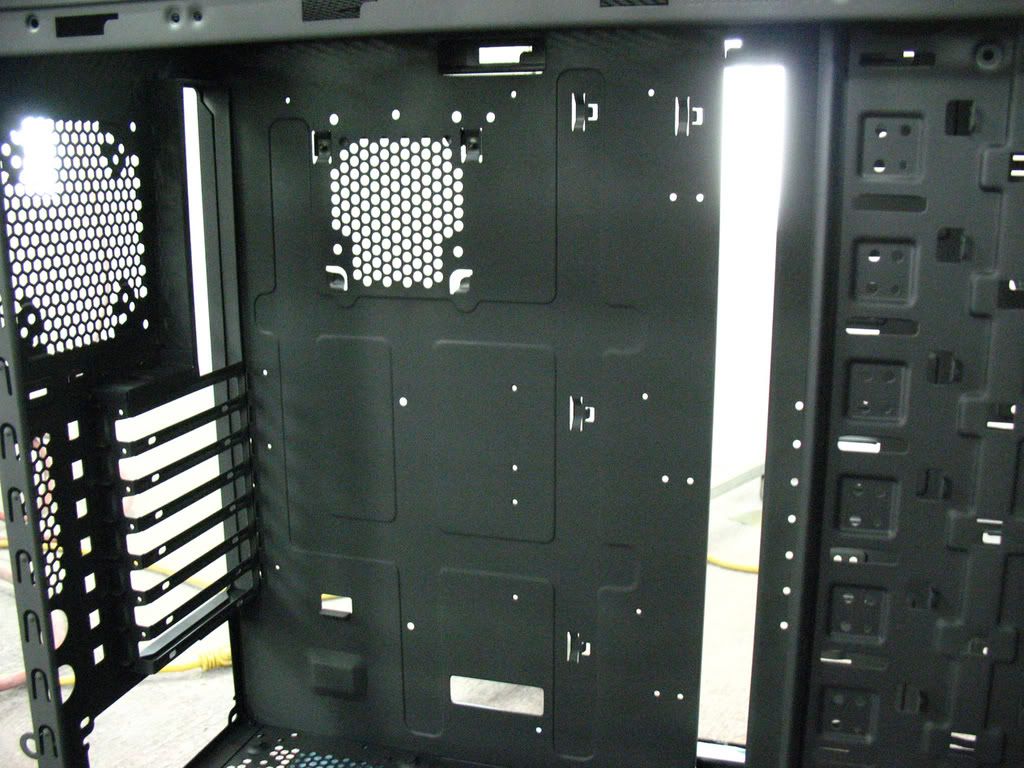
First coat:
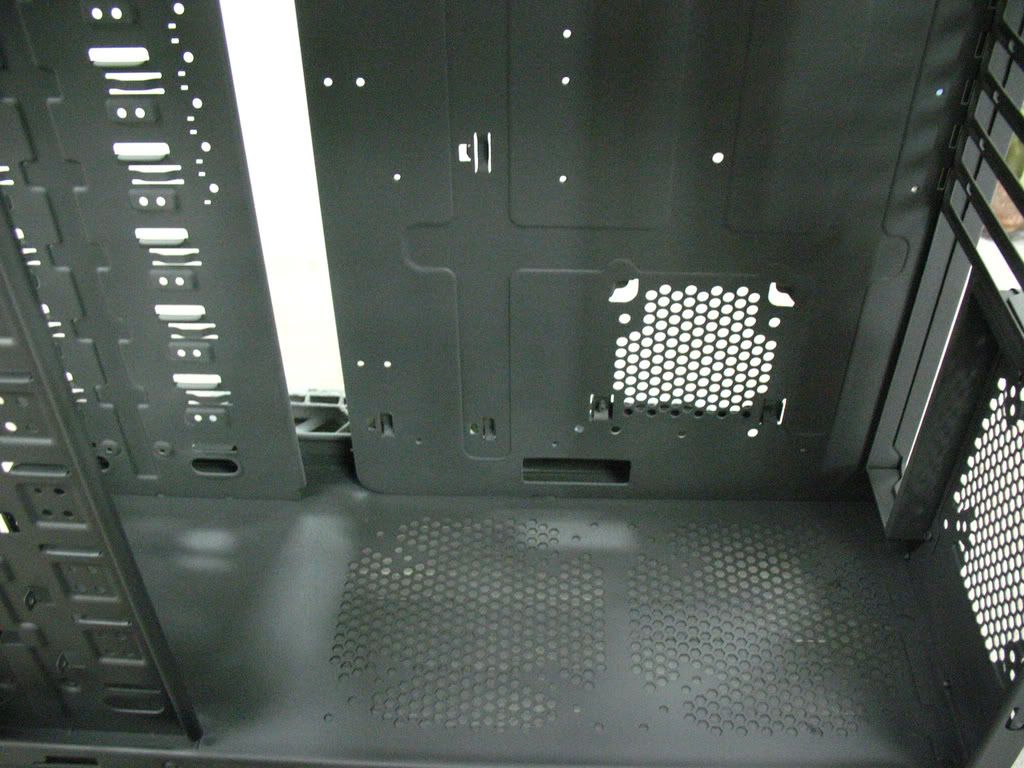
Second coat:
Third coat:
Final fourth coat:
In these cases matte is easier to do than gloss, it is harder to get a even look and to keep overspray from ruining the paint job, you will also need to put on heavier coats to get a nice "wet" look, but watch out as runs are a pain in the ass. If you are doing BC/CC at this point you would go on in the same manner as before but with the clear.
And now, what you have when you are done!
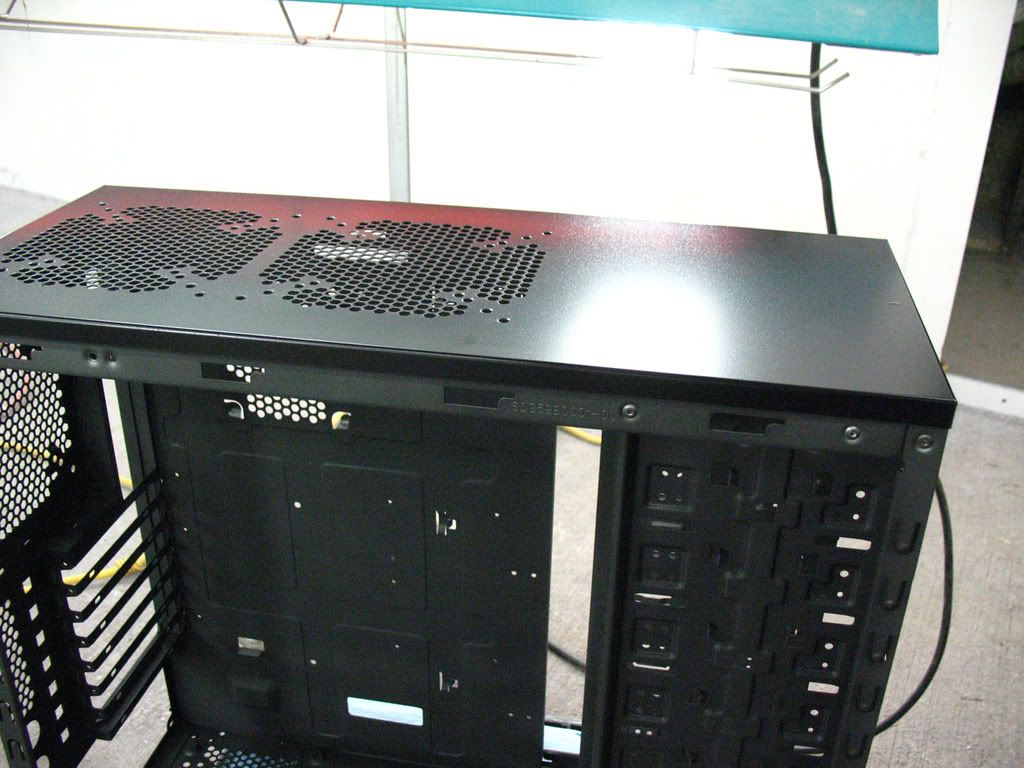
Overall it looks better in person, and considering it was a real cheap quickie, I give it a solid 4 out of 10.
I hope this little write up is useful for someone trying to paint their case for the first time.
Total cost (for me) $5.86 after tax, had I needed to buy paper, cleaner etc. I think I could have gotten away with $10-15.
I tried my best to keep costs down, but some things can't be helped, so no HVLP guns
, just aerosol spray cans, and the cheapest walmart ones you can get, they ran me 99 cents each and took a total of 4 cans, though I did cut it close. A quick word about prices, Once you pass $2 a can your not going to find much better, and are just throwing money away spending more, unless its a fancy color or custom mixed from a paint store. Overall you should be able to get away with spending about $10 on painting a case depending on size, color choice, matte, semi-gloss, gloss, basecoat/clearcoat etc etc. and most of all where you live and shop for the supplies.Another thing is I also chose to do scuffing with a scotch pad rather than sandpaper, it's easier to use on the inside of a case with all the weird shapes and odd/hard to get to places and should cost less than sandpaper. One pad should be more than enough for most case sizes. You can use either the red or gray pads, red is about the same as 400 grit sandpaper and gray is about 600, I use the red.
I am doing a single stage matte black on this case, though doing a gloss basecoat/clearcoat follows the same steps with just one more for the application of the clear.
Now, a list of things needed to start:
1. PAINT!
2. Scotch-Brite,
3. Tape and masking supplies, most will probably use newspaper as you already have some laying around.
4. Some kind of wax and grease remover, though just washing the case could work out ok and save you a few bucks, but if you get fisheye or cracking in the paint don't say I didn't warn you.
5. Tack cloth and compressed air.
Before we get started I will give a few pointers, the biggest problem I see is people painting with the nozzle to close to the surface. This will cause what look like "wet" streaks in the paint even after it dries.
now these photos are a bit deceiving, as it is hard to spray and take a photo at the same time. Every can will be different, and it also matters on the painter and at the speed you are making passes.
This first image is what NOT to do, you are either to close, moving to slow or both.
This is about where you want to be, nice even coats with a 50/50 overlap, meaning that each following pass should overlap the last by half. You might want to invest in a can that has a "fan" nozzle, if it's well made it can make a world of difference wile painting. You also are not trying to cover everything on the first pass, so don't bear down on one spot or get so close wile trying to get 100% coverage in one pass, you are going to cause yourself to put runs in the paint.
Ok, so to start, get out your supplies.
You are gonna want to start off by stripping the case down, it is MUCH easier to take something off than it is to tape it off, it also helps for a much cleaner look. Skipping ahead a bit, If your case has vents or fan holes on an area you are masking off make sure you tape over the holes so you are not just trapping in over spray under the paper.
Tape first:
Then paper:
Ok, back on track, at this point you should be scuffing everything you want painted, take your time and do a good job, unlike with sandpaper it can be hard to see the areas that you have already scuffed, and there is no such thing as going over board. you also might want to put some tape along edges and other areas you don't want to scuff up with the pad, doing that now can save you allot of headaches down the road.
After you are done scuffing the case it is a good idea to use some compressed air to blow off any dust or strands from the scotch pad, if nothing else the air you use for cleaning out dust from your HS should work just fine.
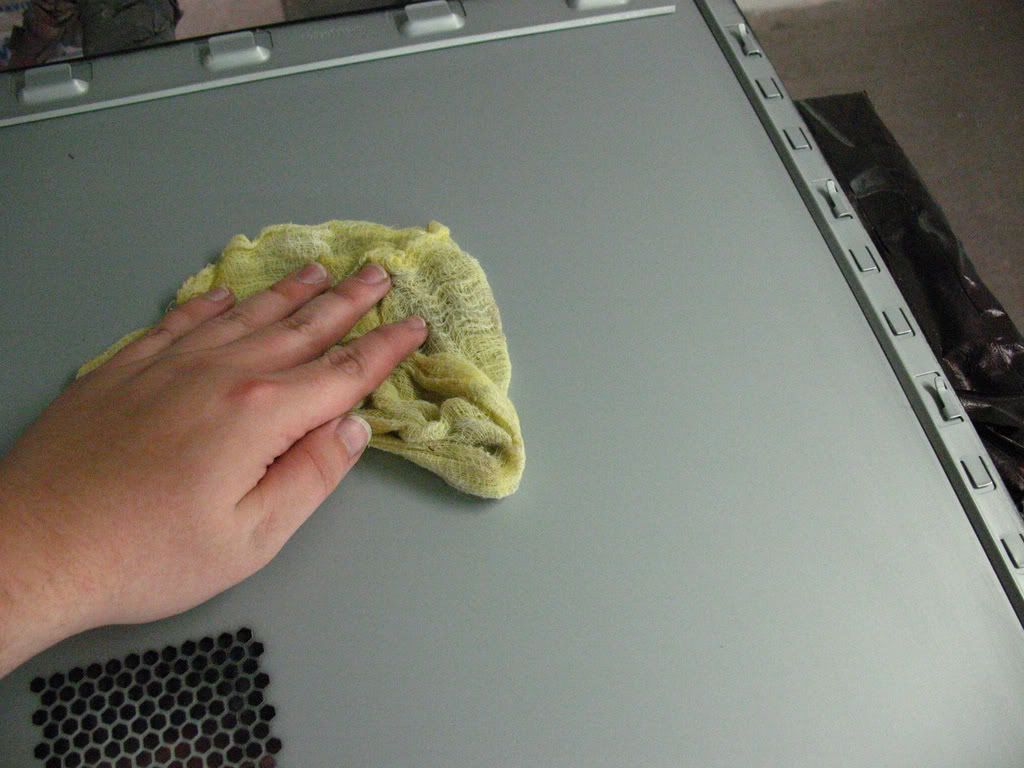
Next is the Wax and Grease remover and/or wash time, the whole point is to get off any contaminants that might prohibit the paint from adhering to the surface. I used my shops 1705 cleaner, you can get this at just about any automotive paint store.
After you wipe the surface you should always come back with a clean rag to wipe off any residue.
Next step is tacking, again can be found at any automotive paint store, even allot of the parts stores are starting to carry some paint supplies, such as O'Reillys, but be ready to bend over.
Ok, now it's the fun part! Painting! A few tips, the inside of cases have allot of hard to reach areas, it is best to shoot them first to get some color in the area, it will help you to keep from putting runs in the paint and will help reduce overspray on the larger flat surfaces and reduces the risk of touching wet paint wile sticking your hand in the case to get in those odd places. Keeping the can well shaken and warm will help, it also helps for it to be dry out, in my case is was freezing cold and had been raining for 4 days straight, not the best condition's to be painting in. As you can see I opted not to use primer, as I said I am trying to do this for the people looking to do it as cheap as can be done.
Now remember what I said about spraying, not to heavy even coats. You should give about a 10 min. flash time after each coat.
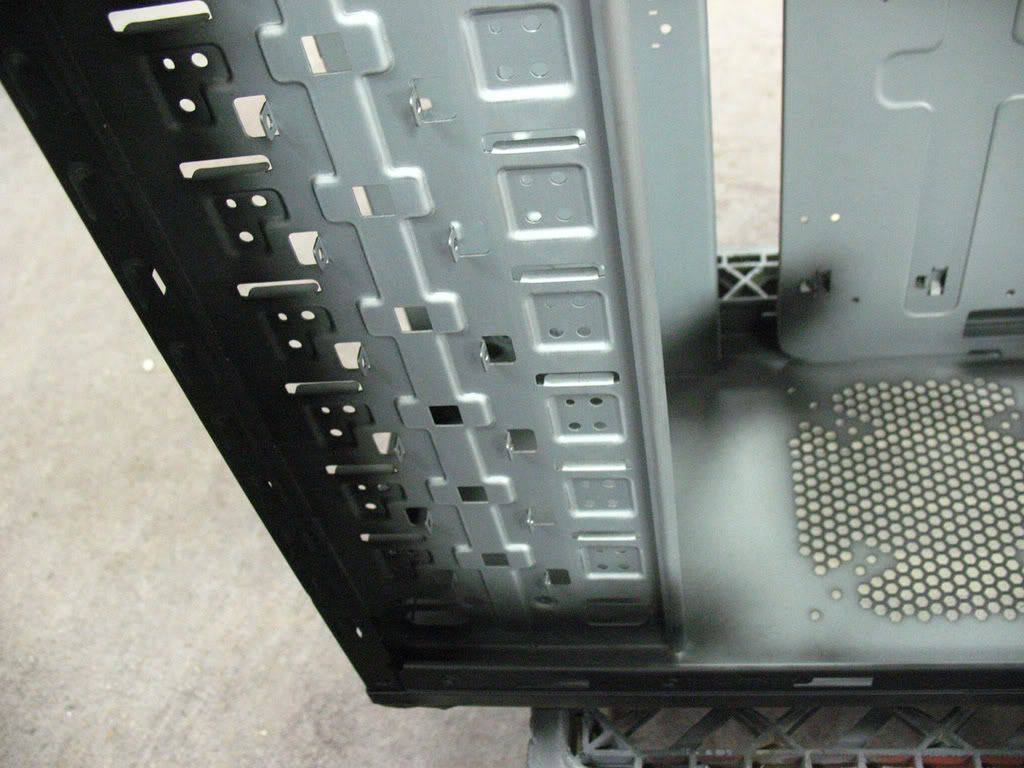
First coat:
Second coat:
Third coat:
Final fourth coat:
In these cases matte is easier to do than gloss, it is harder to get a even look and to keep overspray from ruining the paint job, you will also need to put on heavier coats to get a nice "wet" look, but watch out as runs are a pain in the ass. If you are doing BC/CC at this point you would go on in the same manner as before but with the clear.
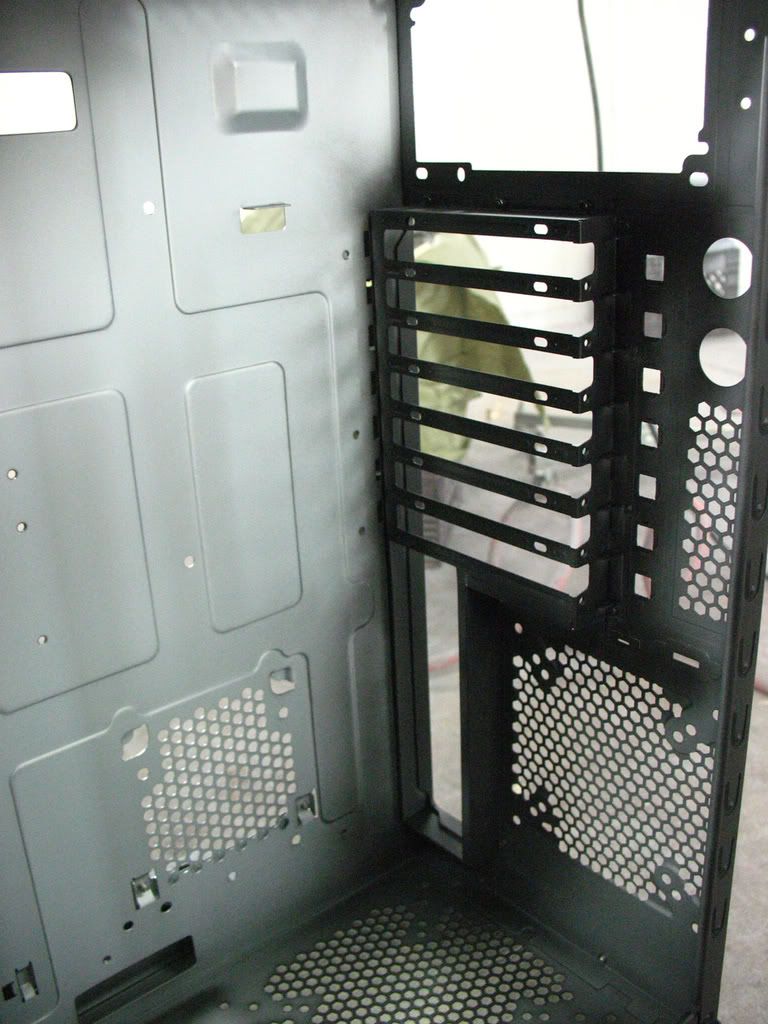
And now, what you have when you are done!
Overall it looks better in person, and considering it was a real cheap quickie, I give it a solid 4 out of 10.
I hope this little write up is useful for someone trying to paint their case for the first time.
Total cost (for me) $5.86 after tax, had I needed to buy paper, cleaner etc. I think I could have gotten away with $10-15.