A small update today.
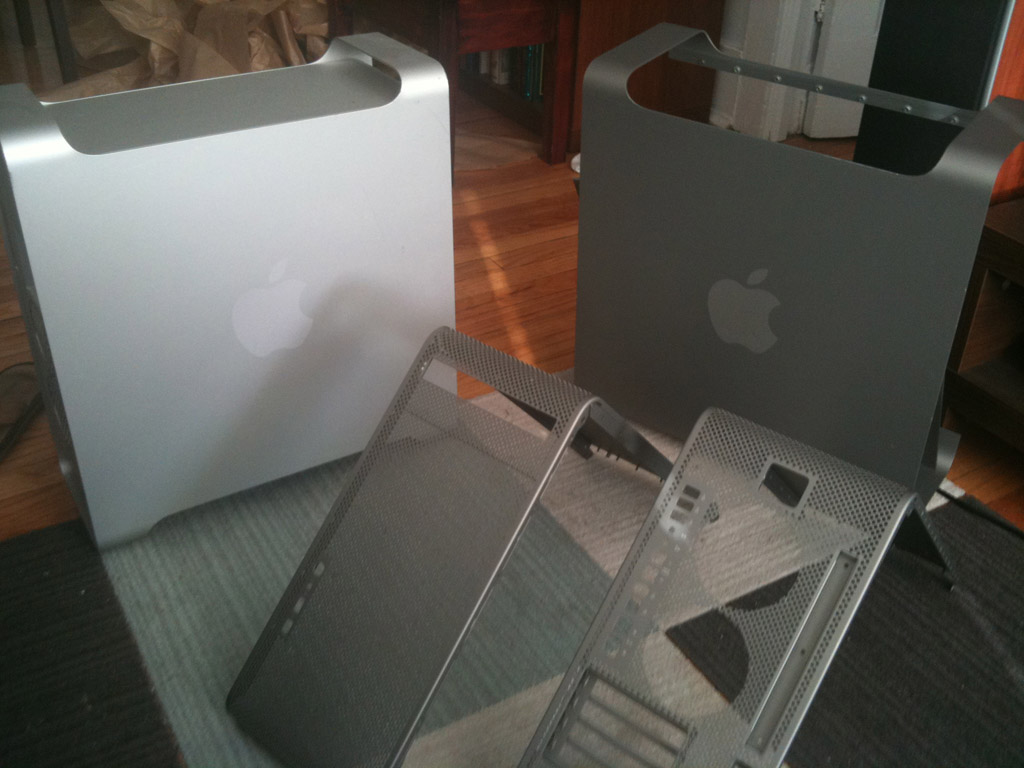
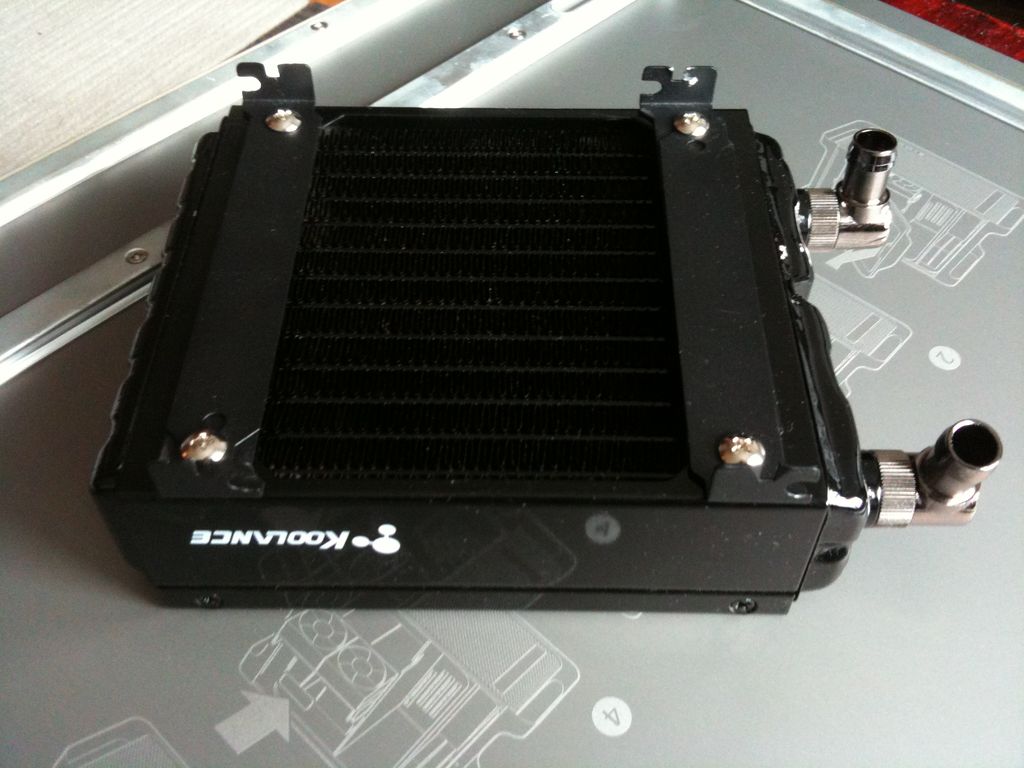
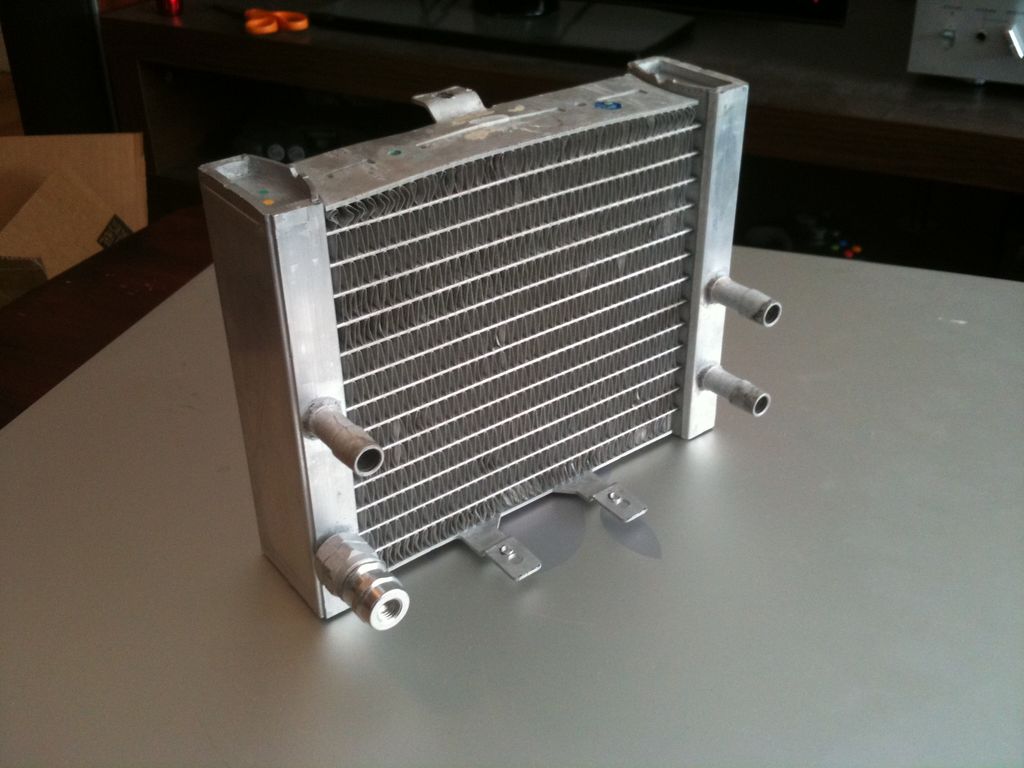
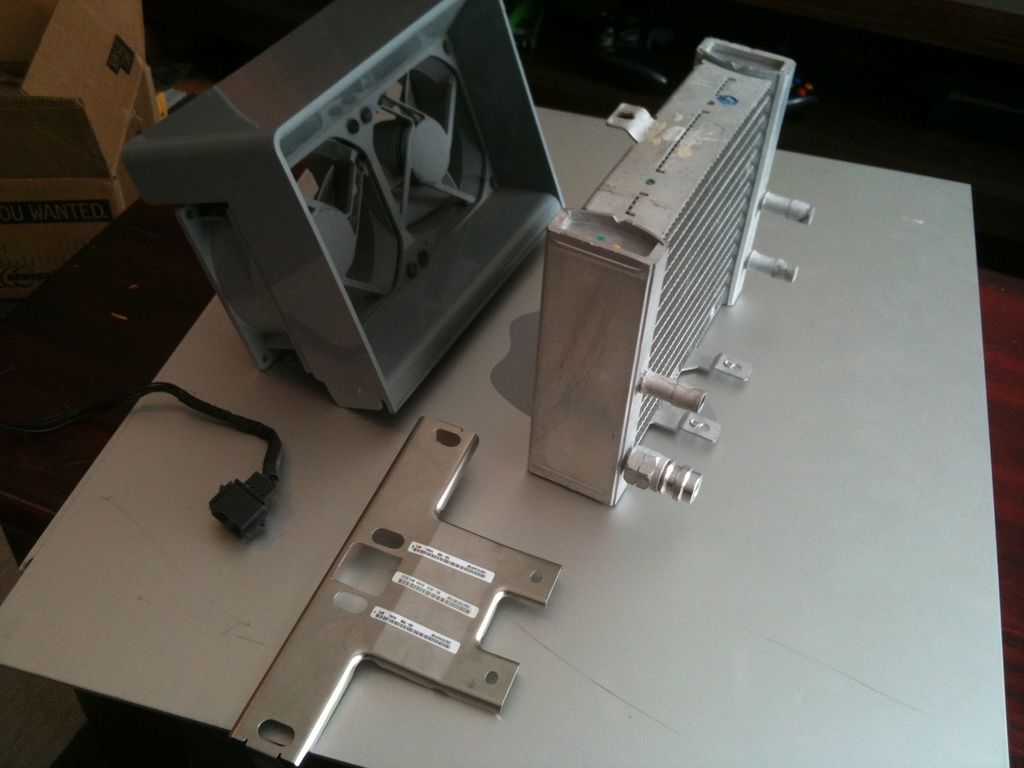
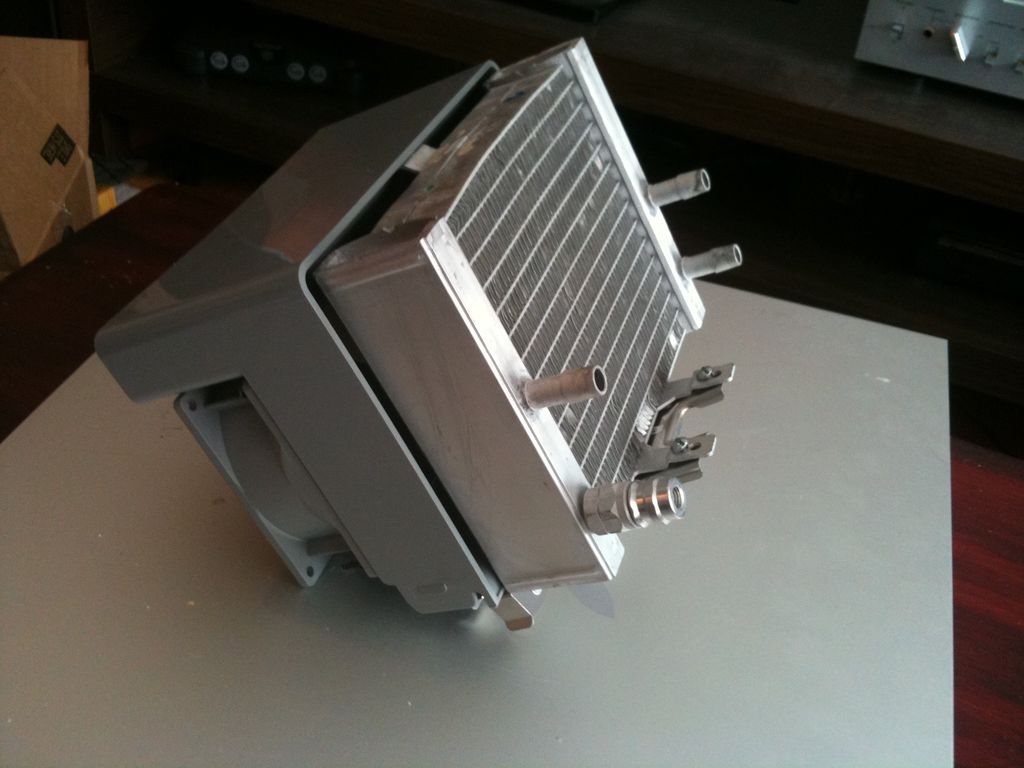
Here is the G5 radiator which I will be utilizing. I unfortunately crushed some of the top (actually it's the bottom but I'll be using it inverted) while dismantling the original fixture. Apple used well over 50 screws to hold the rest of the CPU/cooling fixture together, but for some reason they GLUED the radiator to it's bracket. I was too hasty in trying to pry it off, so I was left with some crushed fins. I might try to repair it, I might not. Regardless, the top of the whole thing will get sanded down to remove all those markings and the remaining glue residue.
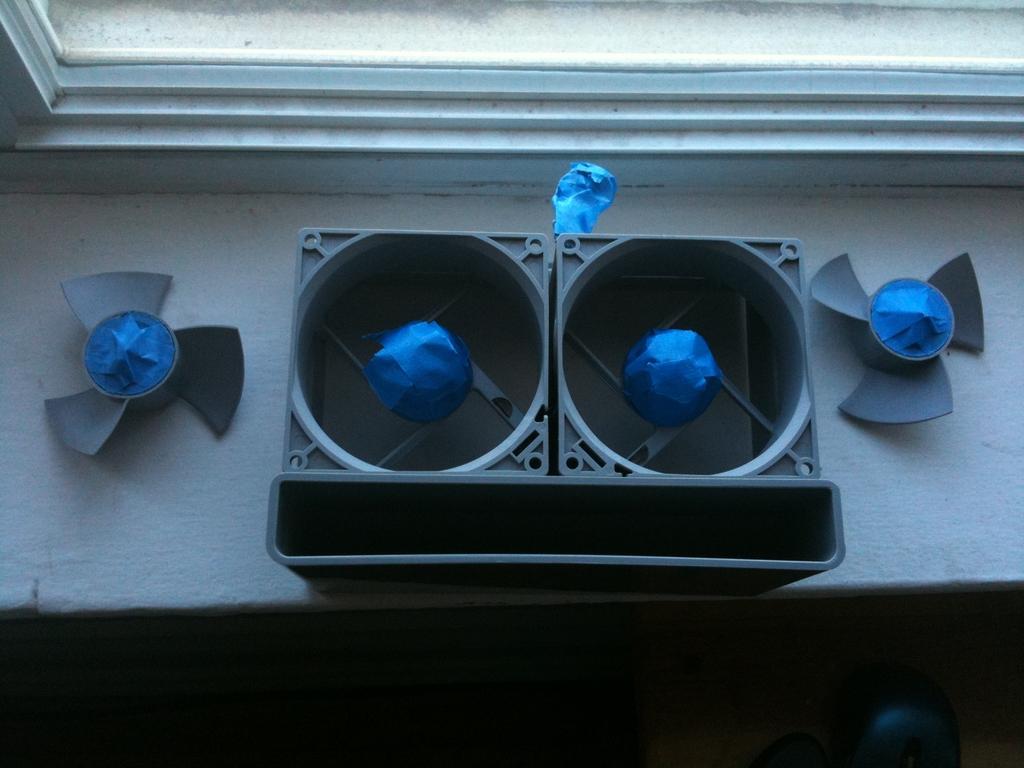
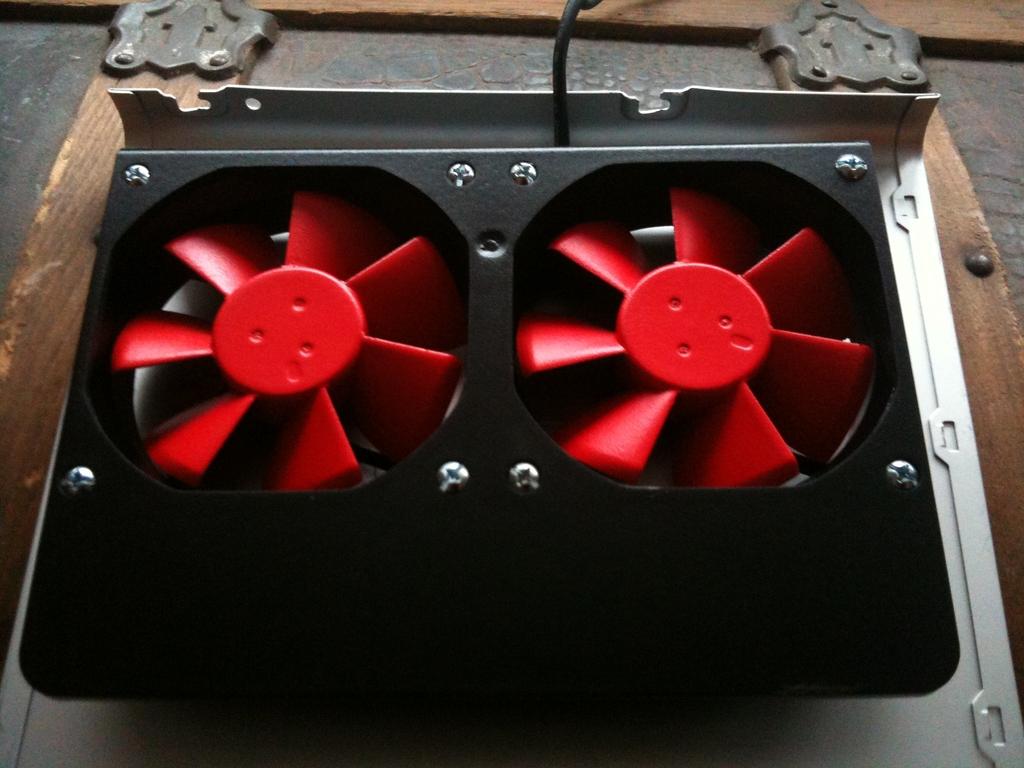
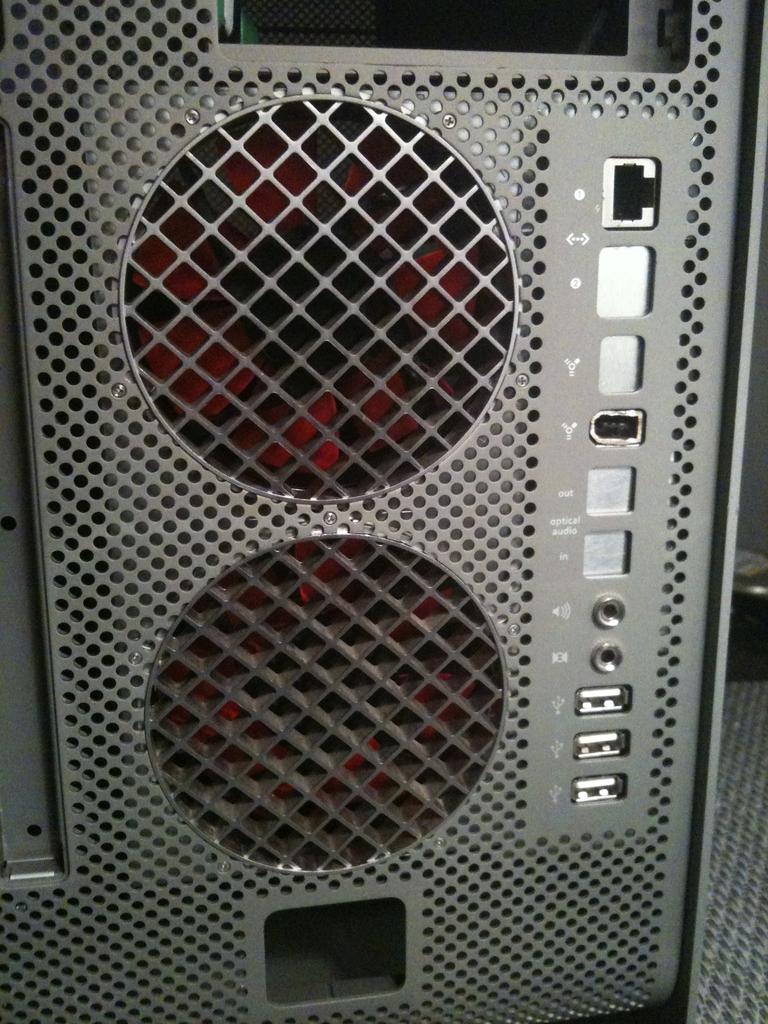
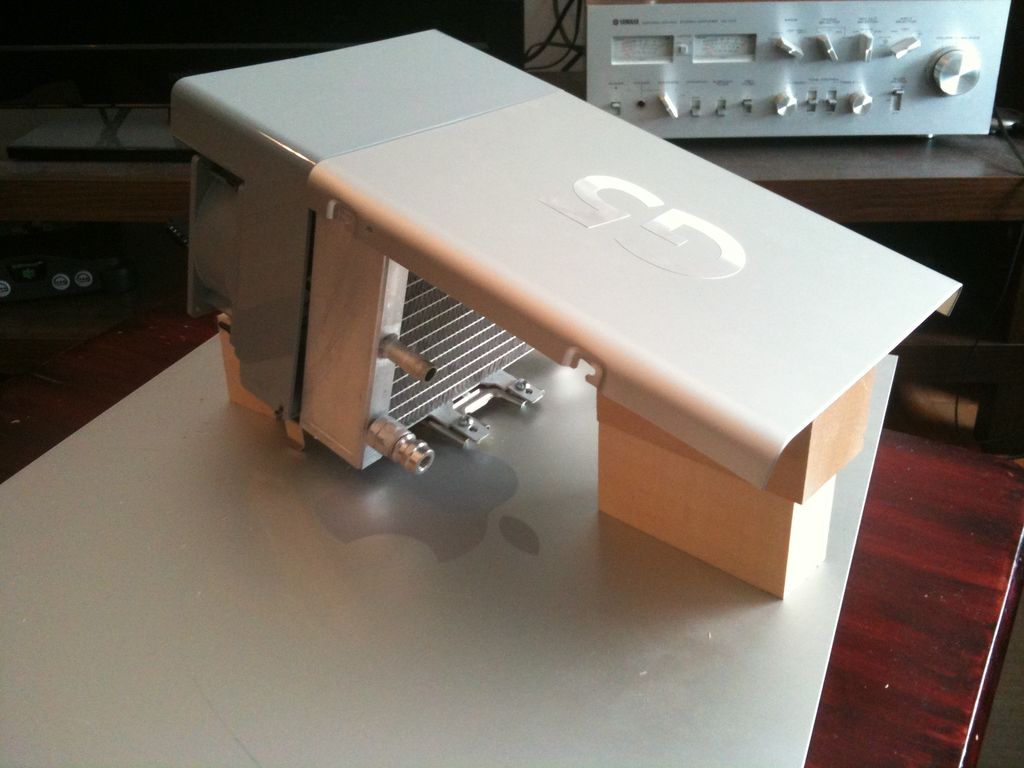
The beauty of using the G5 radiator is that the G5 fan shroud fits perfectly. The bracket here was not originally used exactly for the purpose of marrying the two like this, but it fortunately fits nearly perfectly.
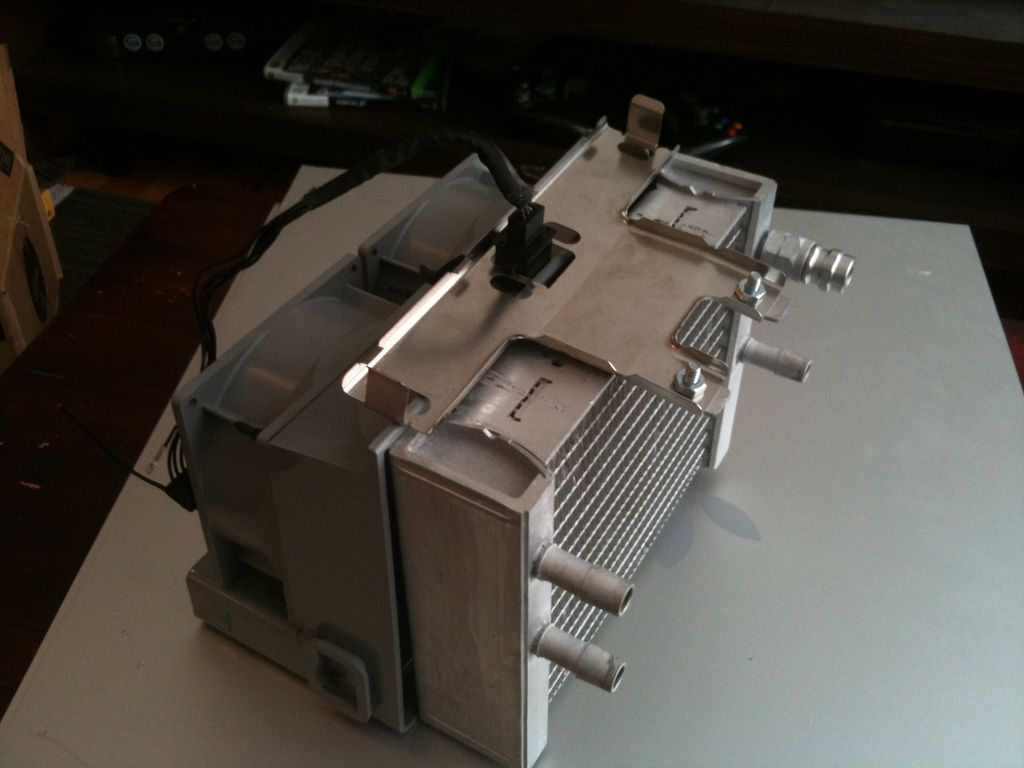
Just a couple of screws and voila.
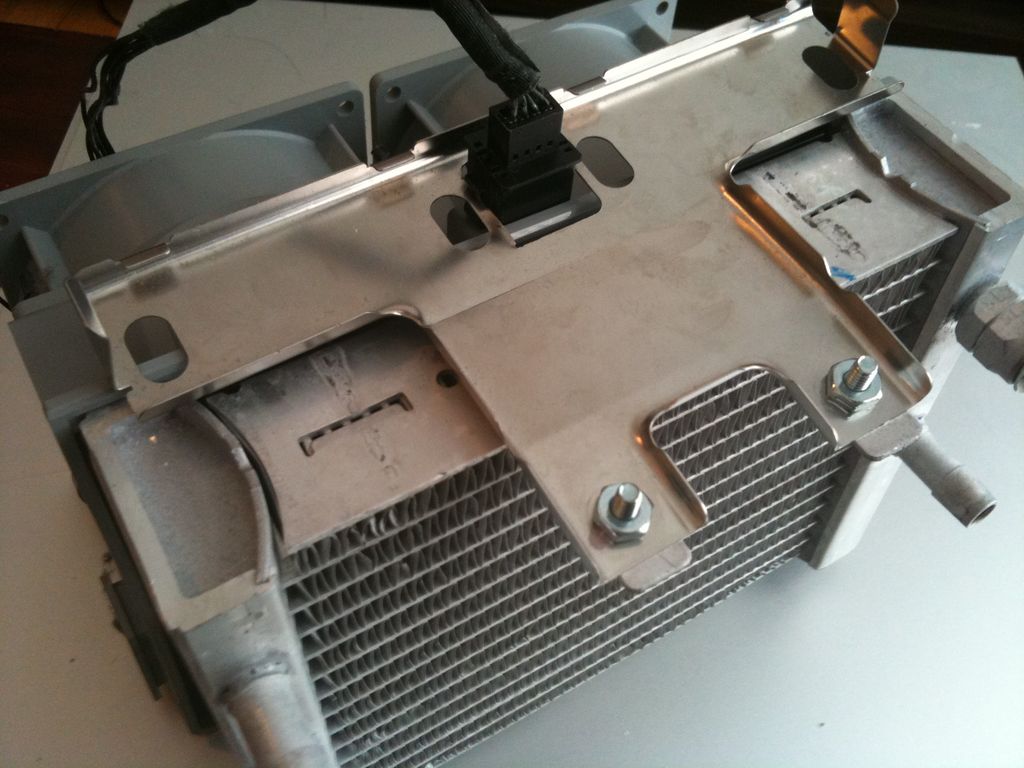
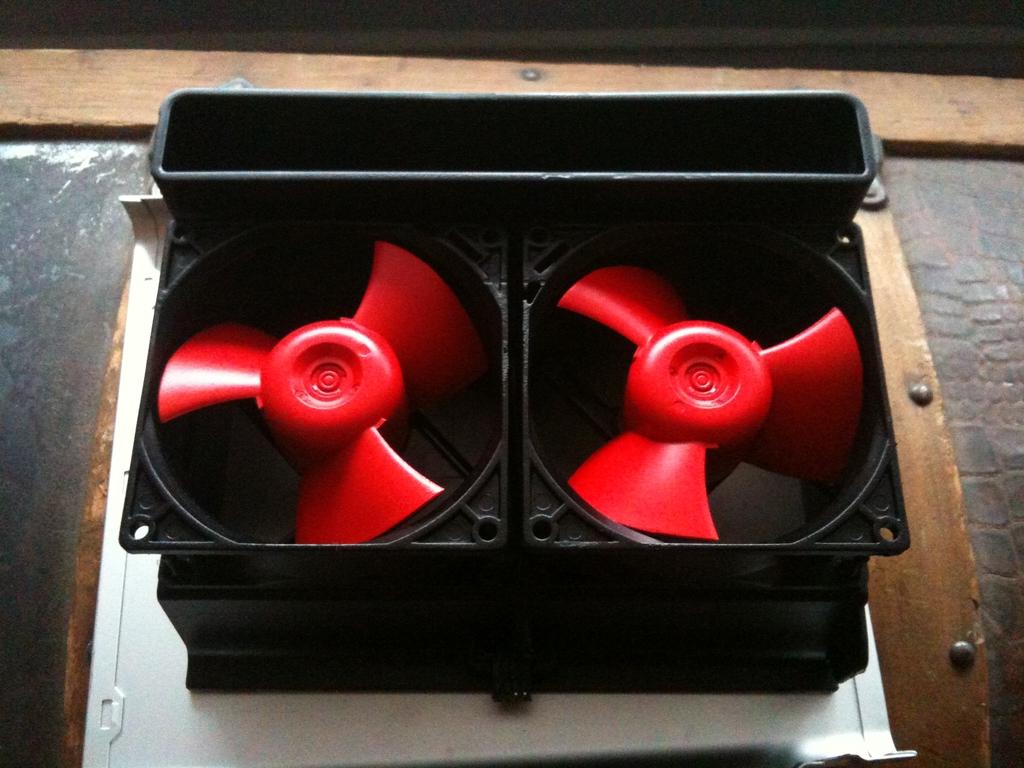
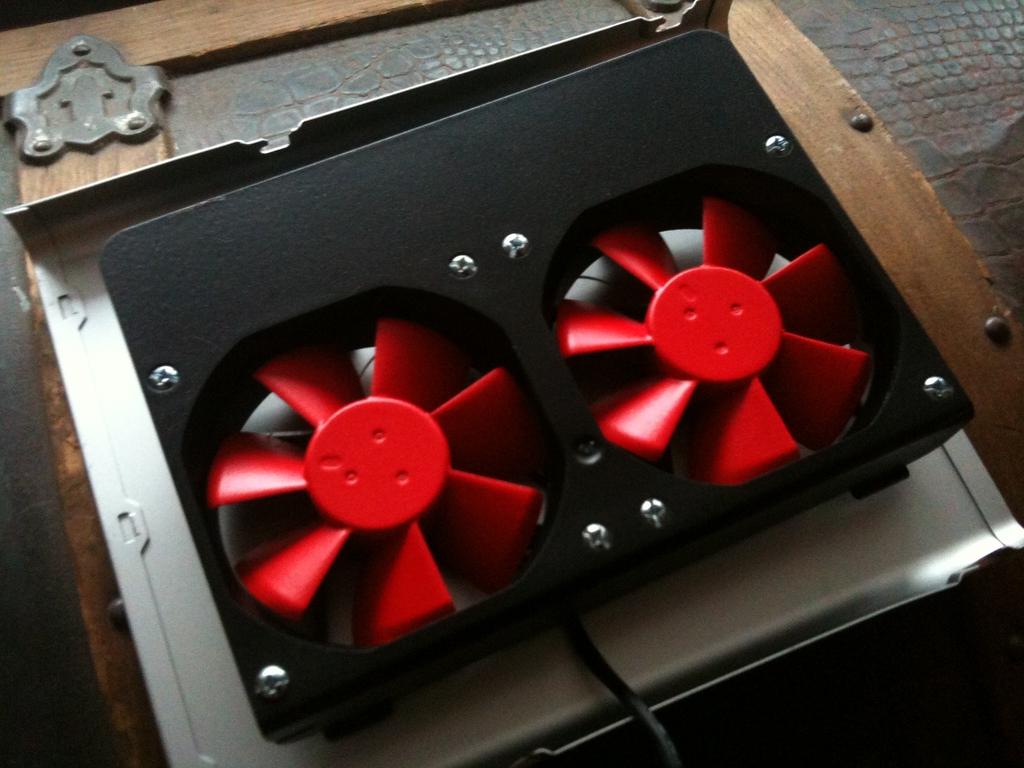
It also happens to have a bracket on the other side too which fits perfectly inside the shroud. Again, it was not originally intended to work this way but luck would have it that it will work for me here. I don't want to drill through it (to keep the clean look), so perhaps I can use some JB Weld to attach a mounting screw to the inside lip of the shroud.
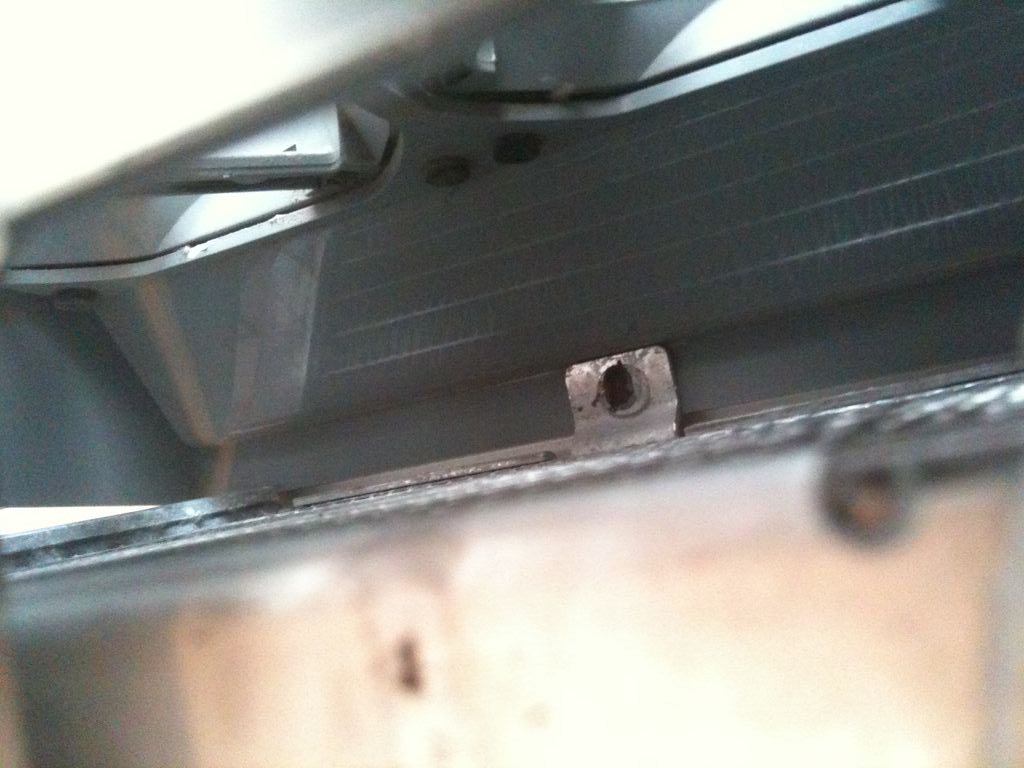
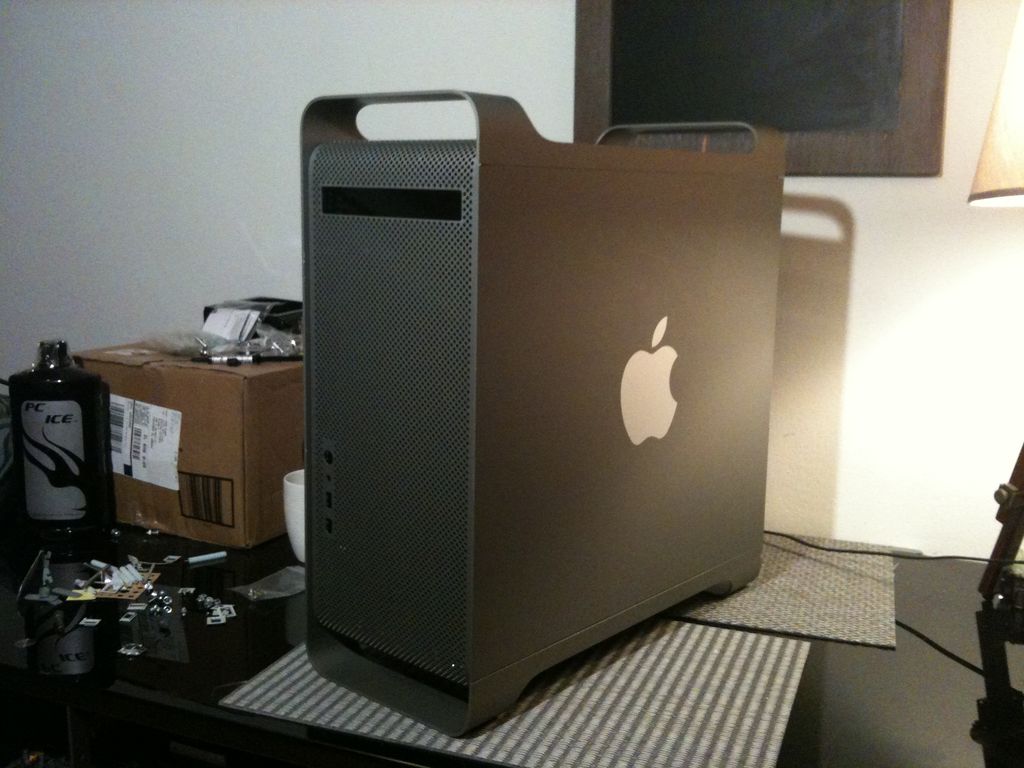
Lines up pretty nicely, and the best part is that I'll still be able to use the old G5 aluminum hood.
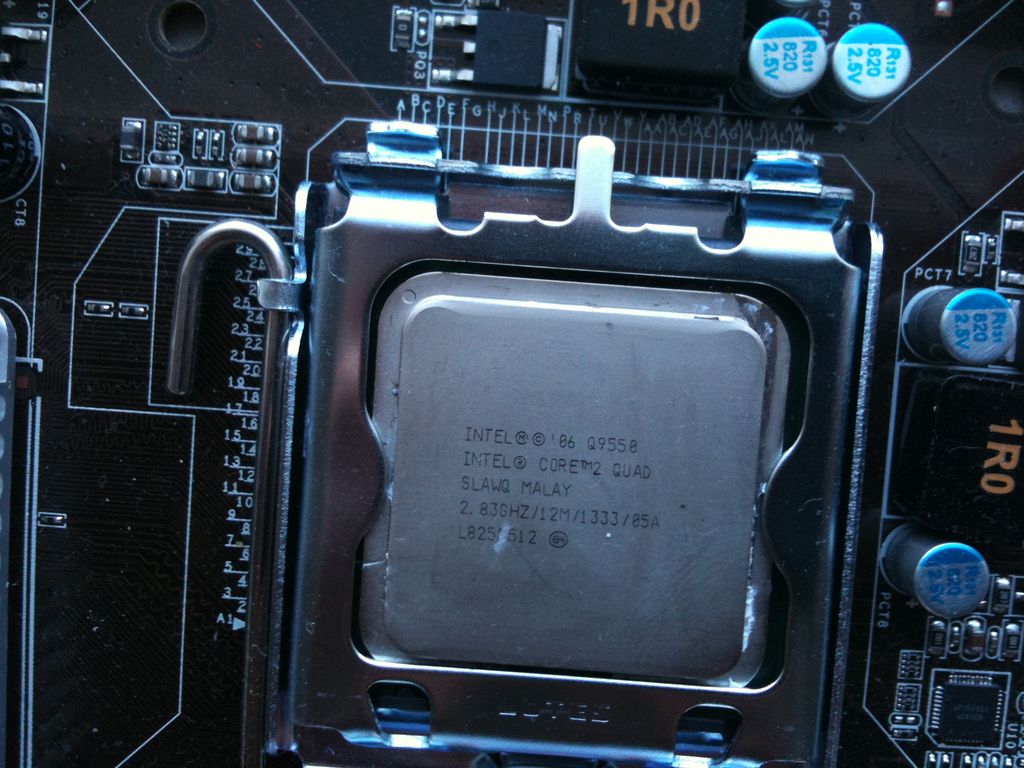
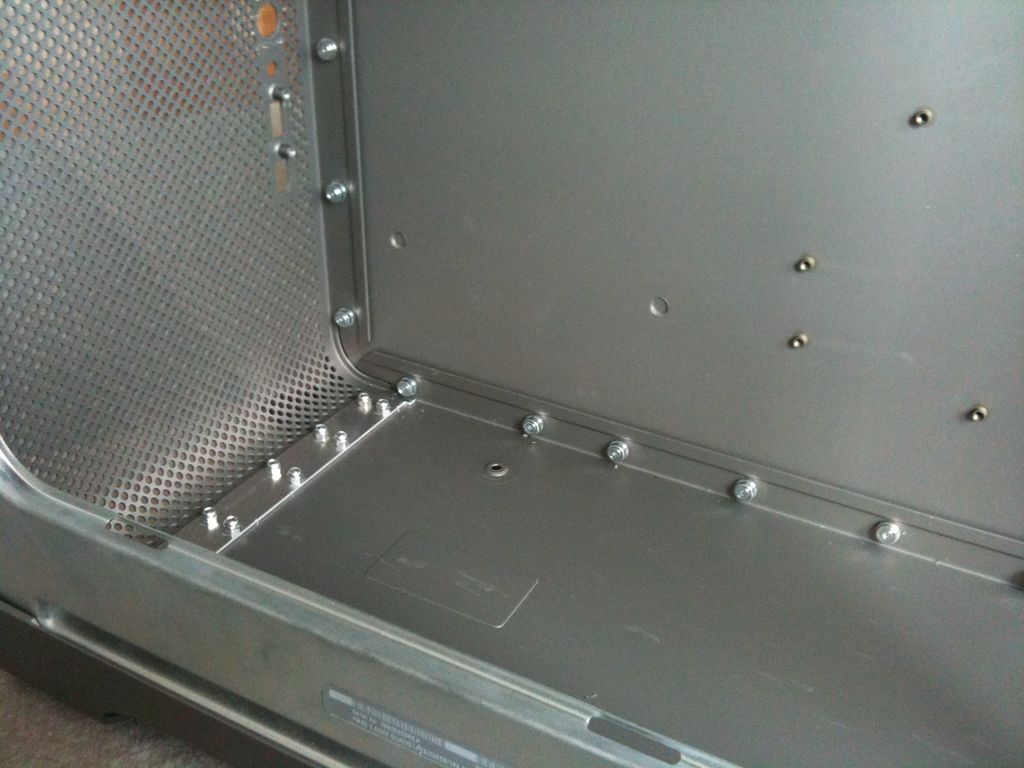
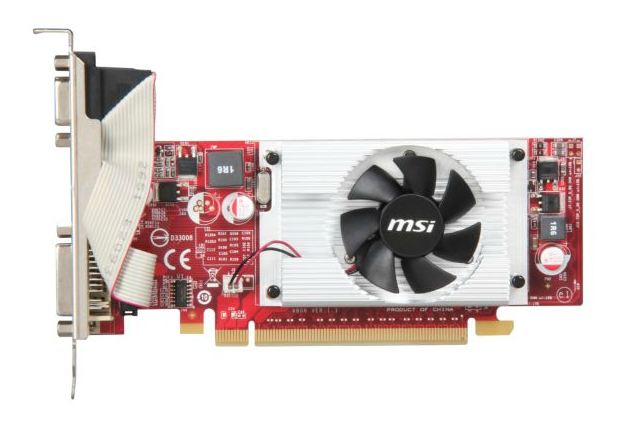
I also got the new motherboard in the mail. I trimmed down my back-plate to fit MicroATX.
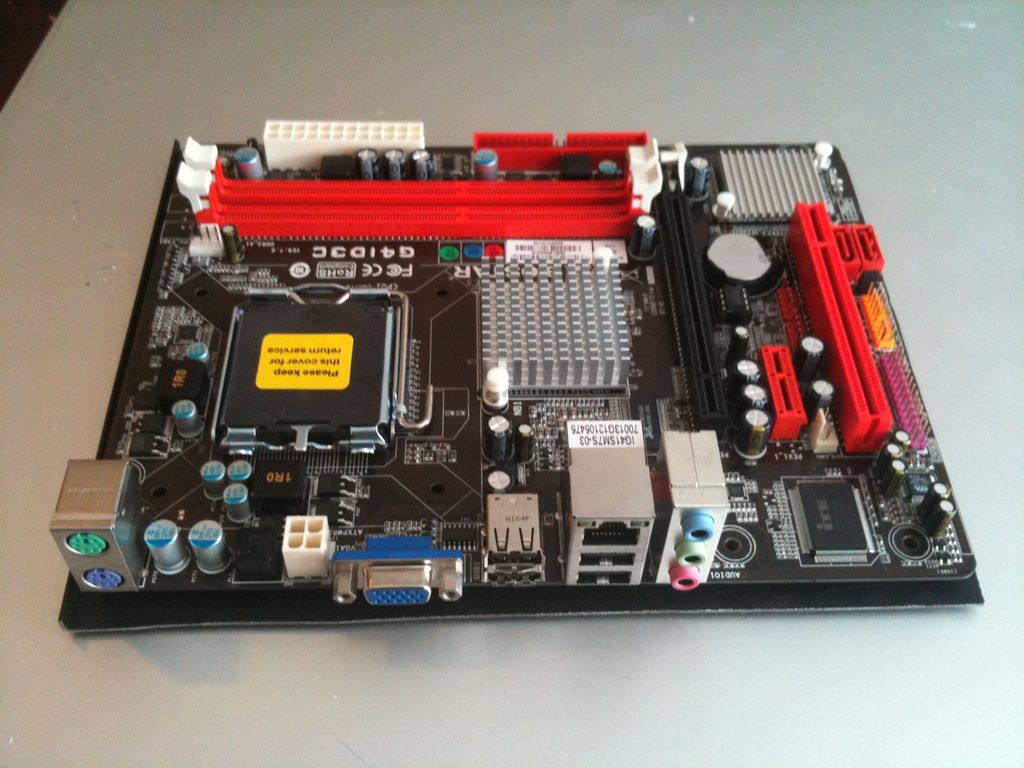
And the motherboard standoffs.

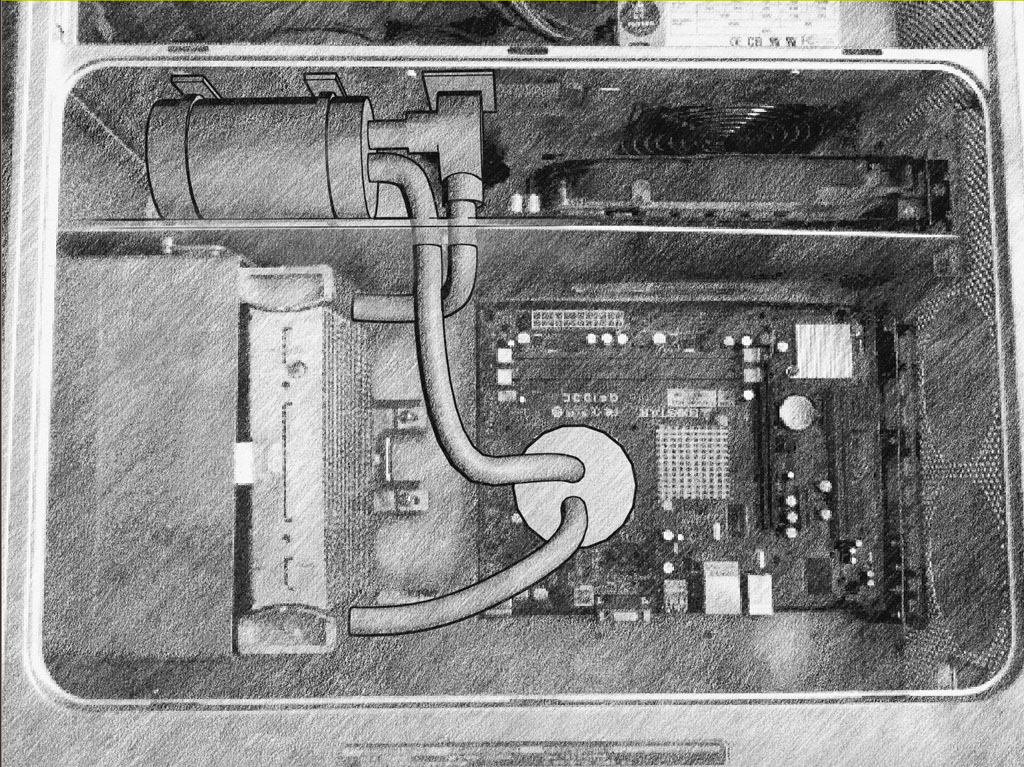
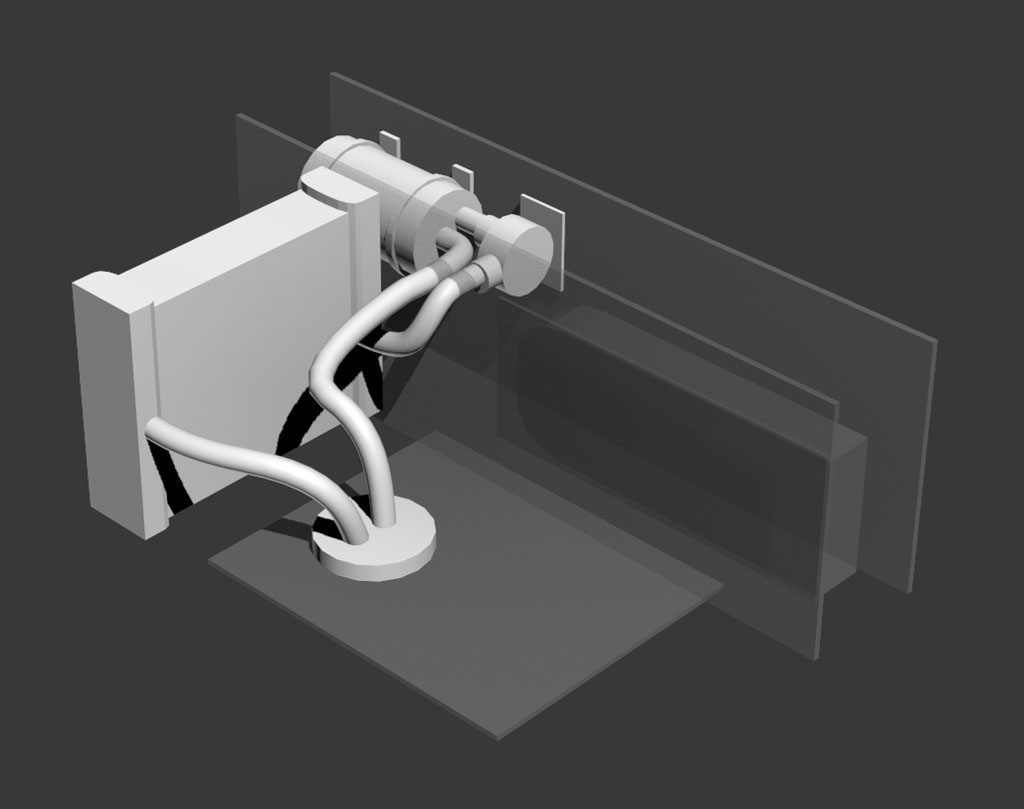
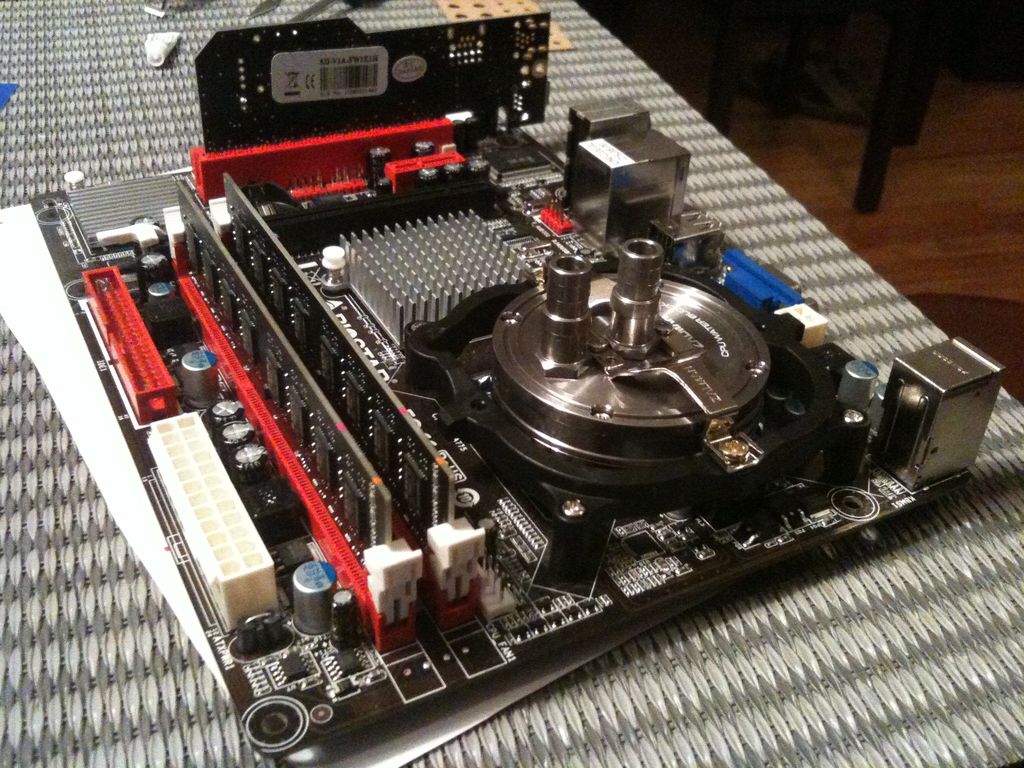
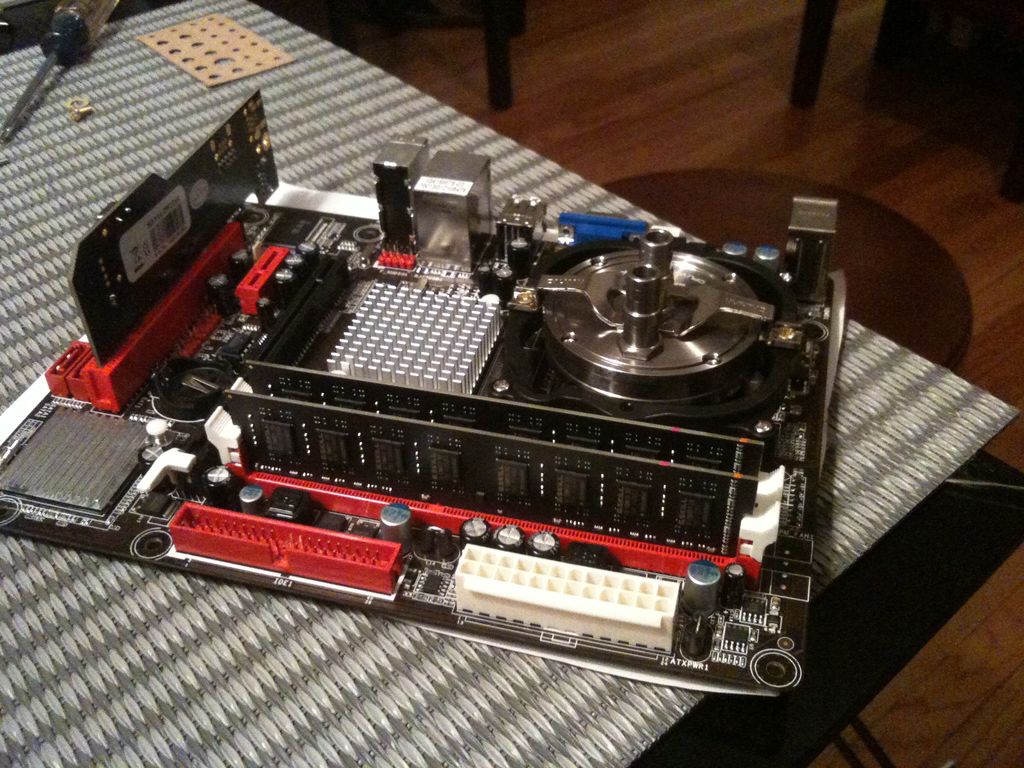
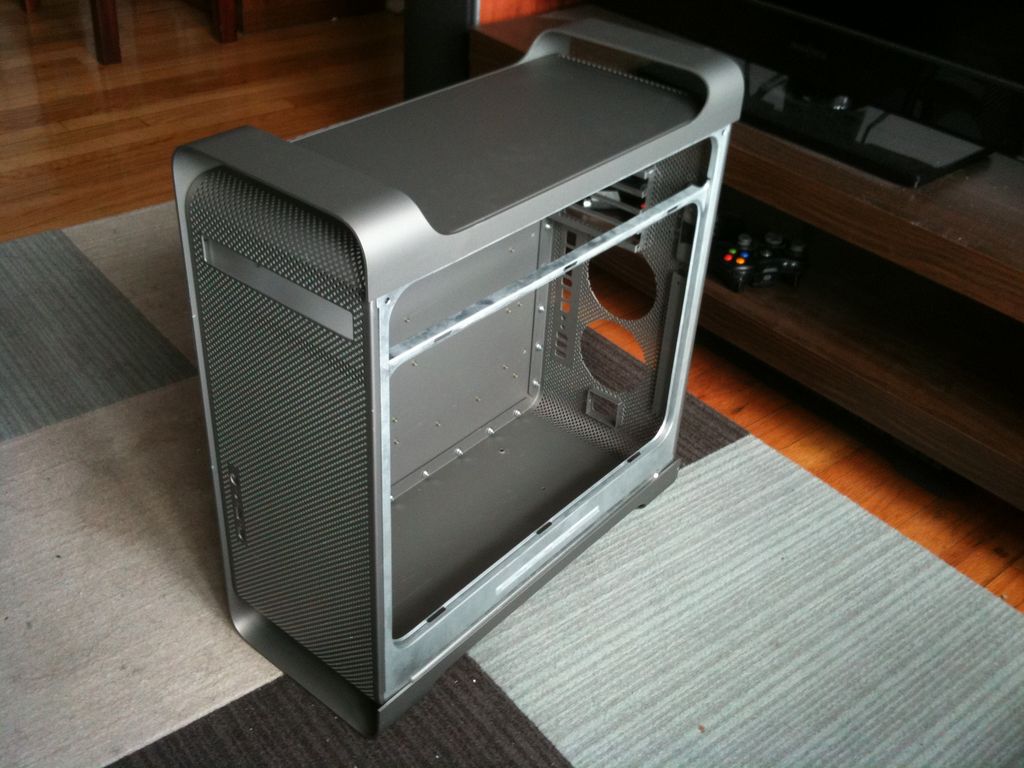
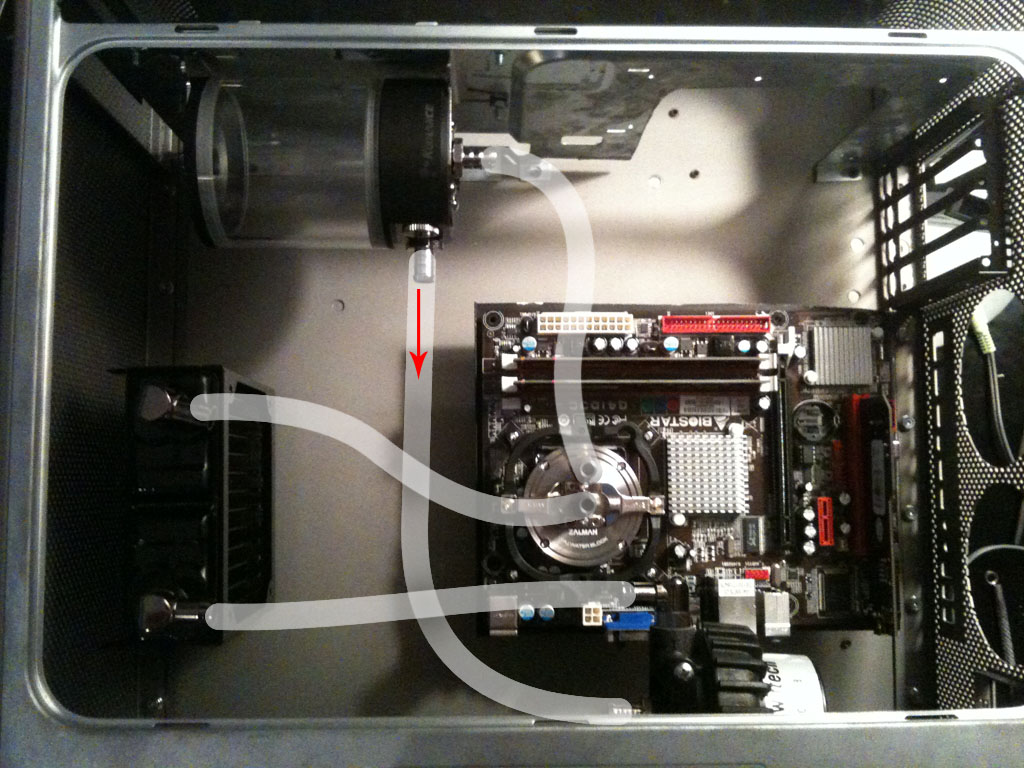
Here are a couple of shots of the new arrangement.
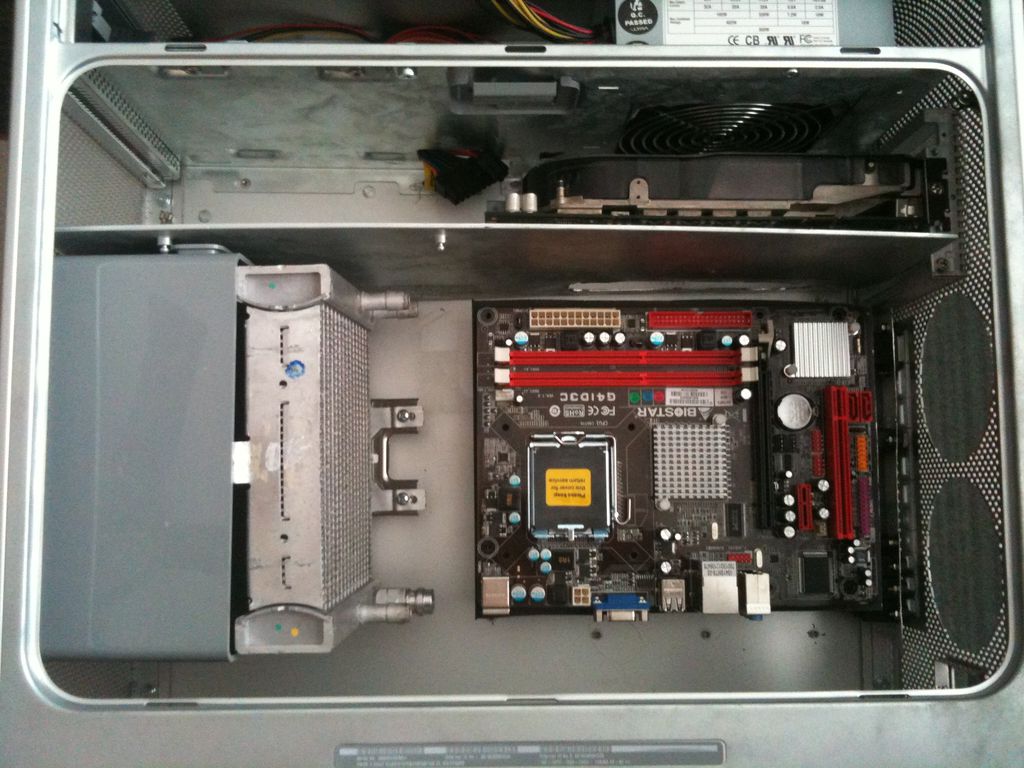
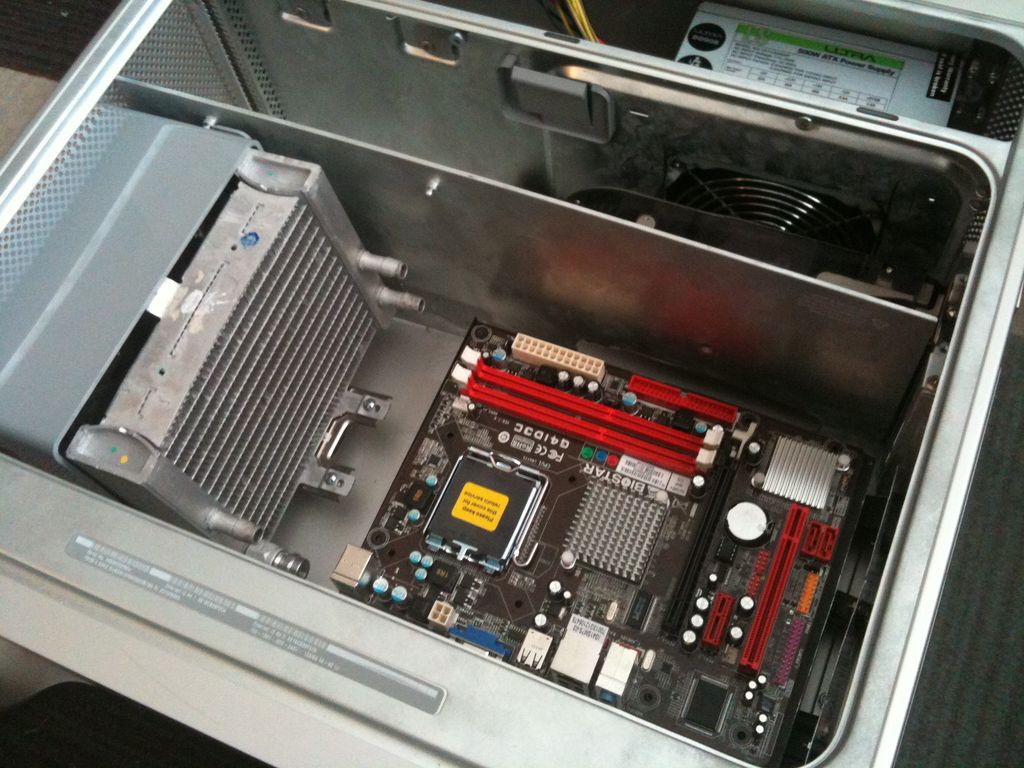
I'll be mounting a pump on the bottom of the case, but the mystery of where to put the reservoir remains. I don't think I have any space for a vertical resevoir, so I am looking for one that functions horizontally. Any suggestions?
EDIT: It is unfortunate to see that this motherboard is photographing as brown, just as I was worried about. The brown effect is minimized in person, but exaggerated in the photos. We'll just see how it goes as more components are added.
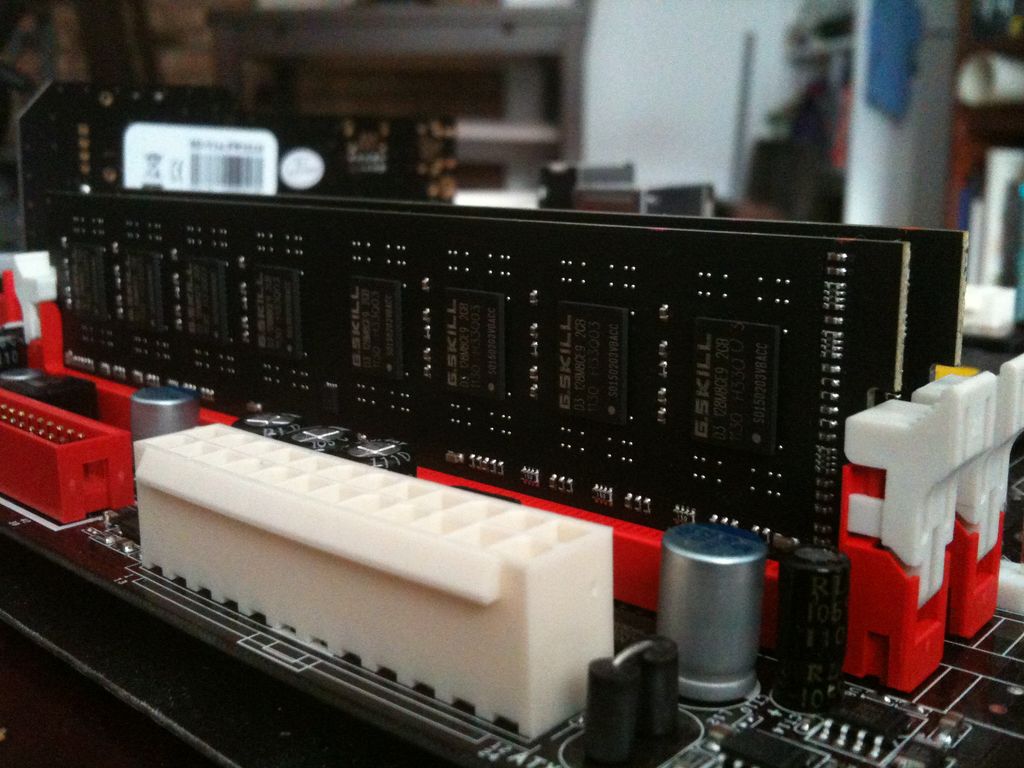
EDIT 02: The black RAM I ordered from Newegg arrived as green RAM! So I have submitted for an exchange order for properly black memory. In-case this falls through, does anybody know of any other verifiable black circuited memory?
Here is the G5 radiator which I will be utilizing. I unfortunately crushed some of the top (actually it's the bottom but I'll be using it inverted) while dismantling the original fixture. Apple used well over 50 screws to hold the rest of the CPU/cooling fixture together, but for some reason they GLUED the radiator to it's bracket. I was too hasty in trying to pry it off, so I was left with some crushed fins. I might try to repair it, I might not. Regardless, the top of the whole thing will get sanded down to remove all those markings and the remaining glue residue.
The beauty of using the G5 radiator is that the G5 fan shroud fits perfectly. The bracket here was not originally used exactly for the purpose of marrying the two like this, but it fortunately fits nearly perfectly.
Just a couple of screws and voila.
It also happens to have a bracket on the other side too which fits perfectly inside the shroud. Again, it was not originally intended to work this way but luck would have it that it will work for me here. I don't want to drill through it (to keep the clean look), so perhaps I can use some JB Weld to attach a mounting screw to the inside lip of the shroud.
Lines up pretty nicely, and the best part is that I'll still be able to use the old G5 aluminum hood.
I also got the new motherboard in the mail. I trimmed down my back-plate to fit MicroATX.
And the motherboard standoffs.
Here are a couple of shots of the new arrangement.
I'll be mounting a pump on the bottom of the case, but the mystery of where to put the reservoir remains. I don't think I have any space for a vertical resevoir, so I am looking for one that functions horizontally. Any suggestions?
EDIT: It is unfortunate to see that this motherboard is photographing as brown, just as I was worried about. The brown effect is minimized in person, but exaggerated in the photos. We'll just see how it goes as more components are added.
EDIT 02: The black RAM I ordered from Newegg arrived as green RAM! So I have submitted for an exchange order for properly black memory. In-case this falls through, does anybody know of any other verifiable black circuited memory?
Last edited: