Converting my P180 to water (pics)

AndyM

Limp Gawd
Joined
Dec 24, 2006
Messages
322
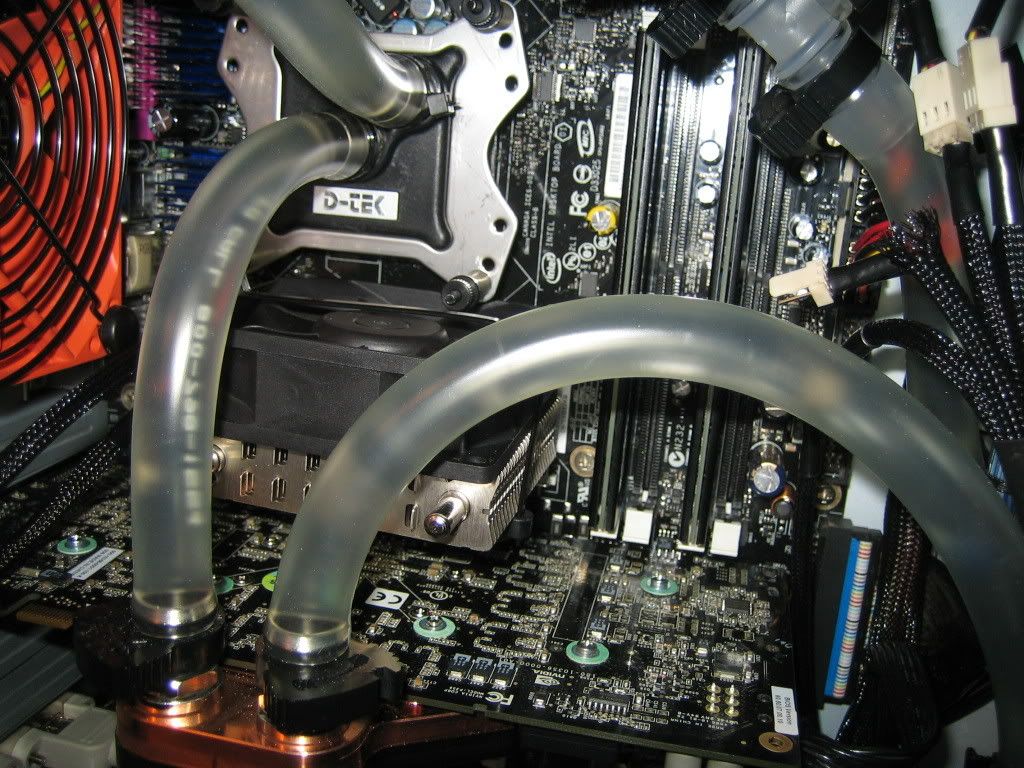
Here's a little photo essay of installing 2 BIP rads, Dtek Fuzion CPU block, EK 8800 GTS block, and a D5 pump:

To start, the intended victim...

computer_rewired_1.jpg


Nice enough computer, but (yawn) its just another somewhat audible P180...let's get down to bidness...

build255.jpg


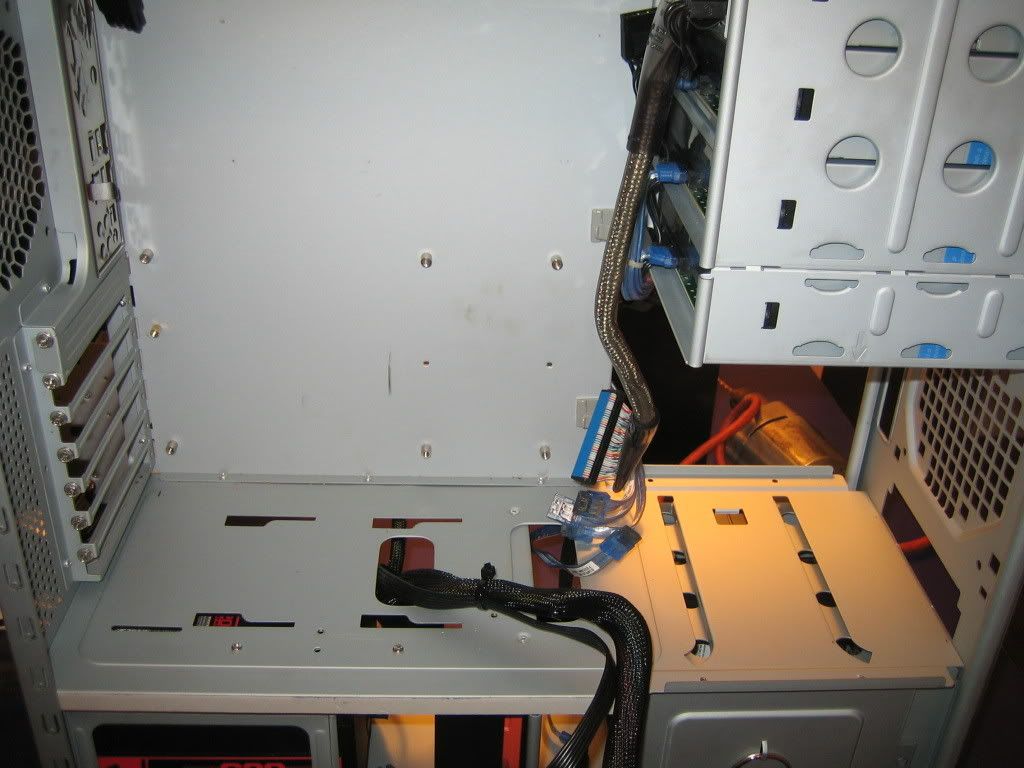
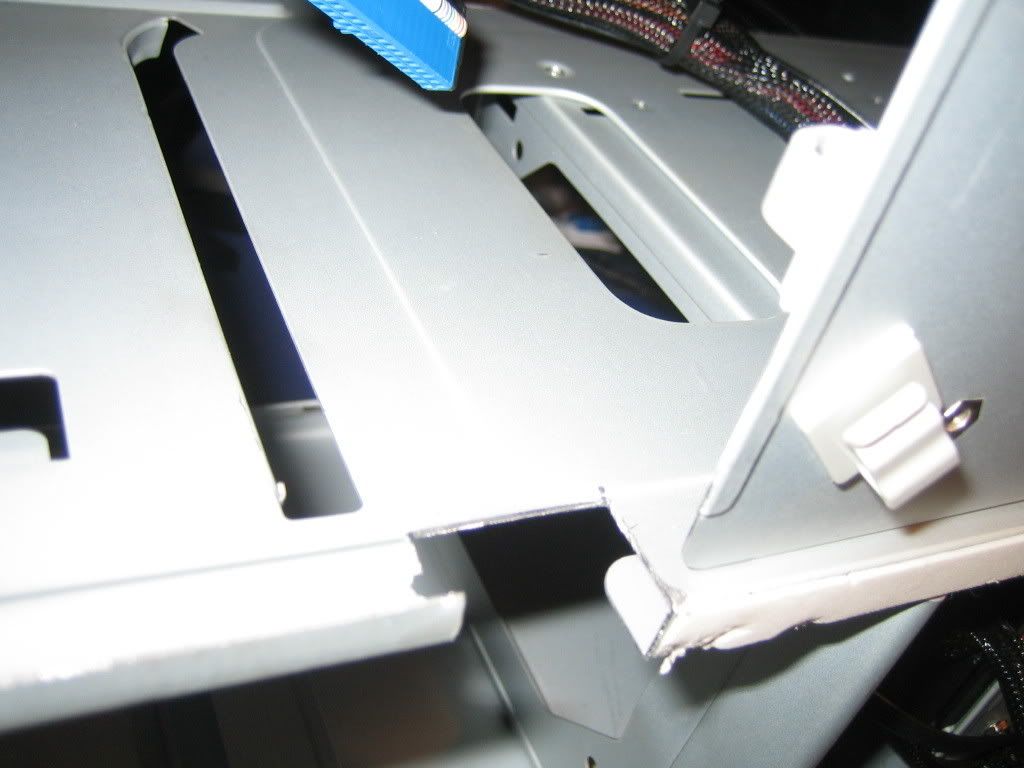
Now that we have all those pesky parts out of the way, lets pull out the trusty jig saw, tinsnips, and file and do some elective surgury. First up...make a path so the 24 pin cable isnt popping up from the middle of the floor...

build273.jpg


This looks rather restrictive, that cant work too well with a Yate Loon at 7 volts trying to breathe through that...

build263.jpg


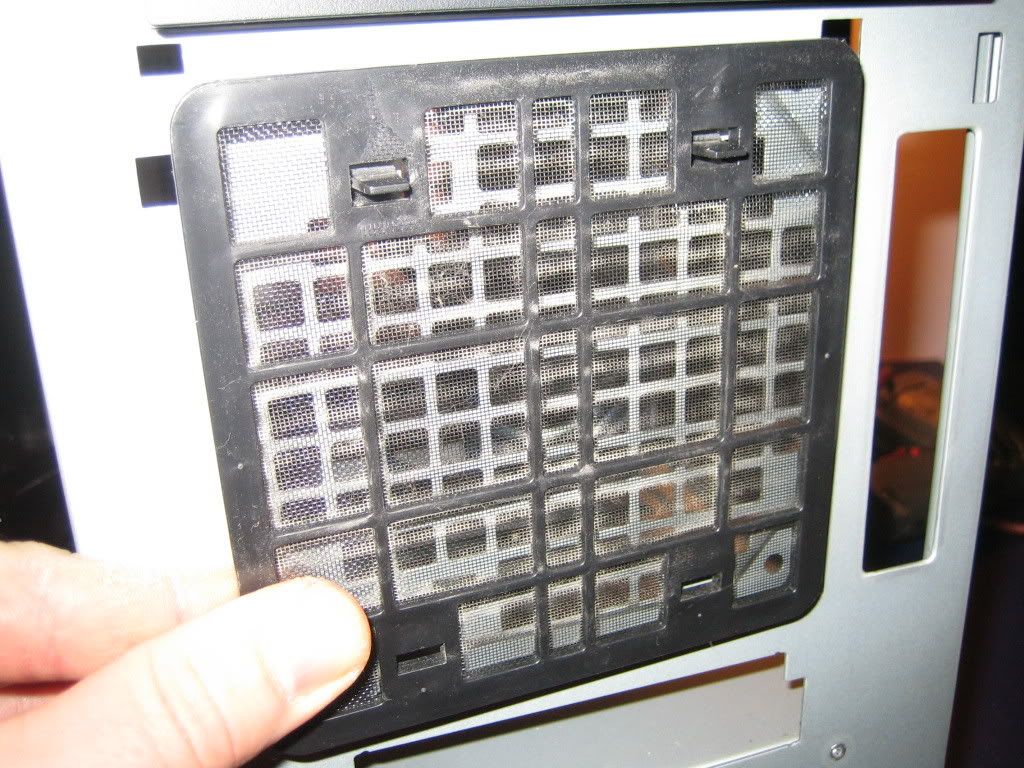
The solution: Chop away the offending case area and replace the filter with something less restrictive (you'll see later on why I went to town with the tape)...

build385.jpg


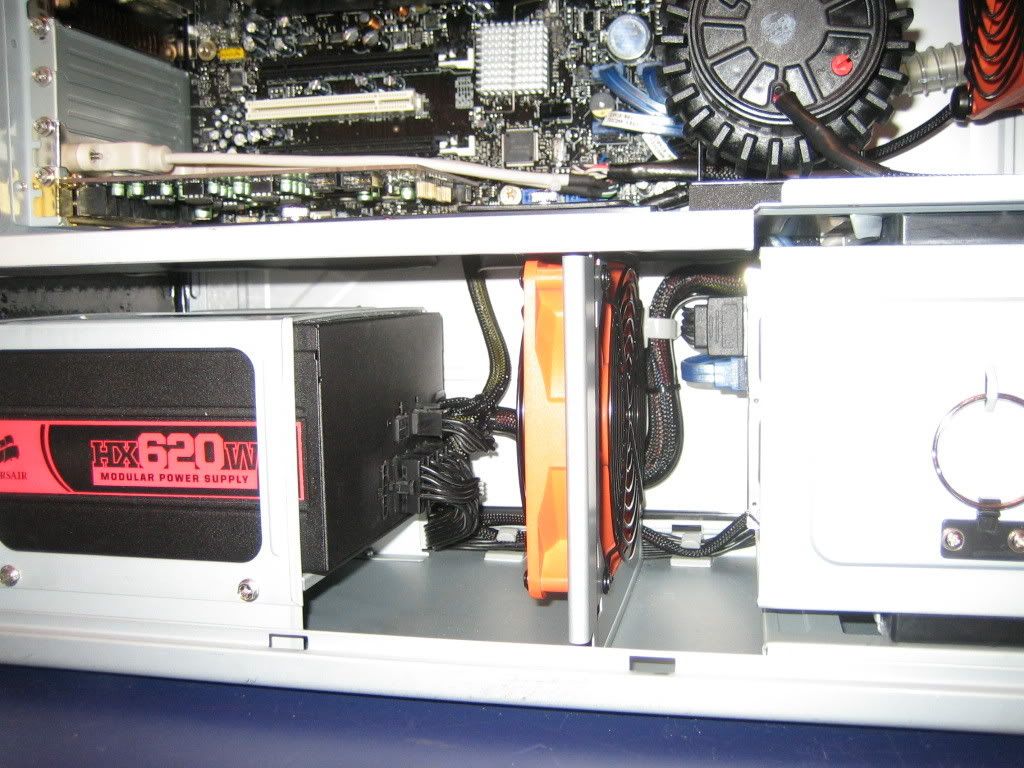
While having fun with my roll of tape, might as well tape up the power supply area (thanks to Silent PC Review for this idea)...

build402.jpg


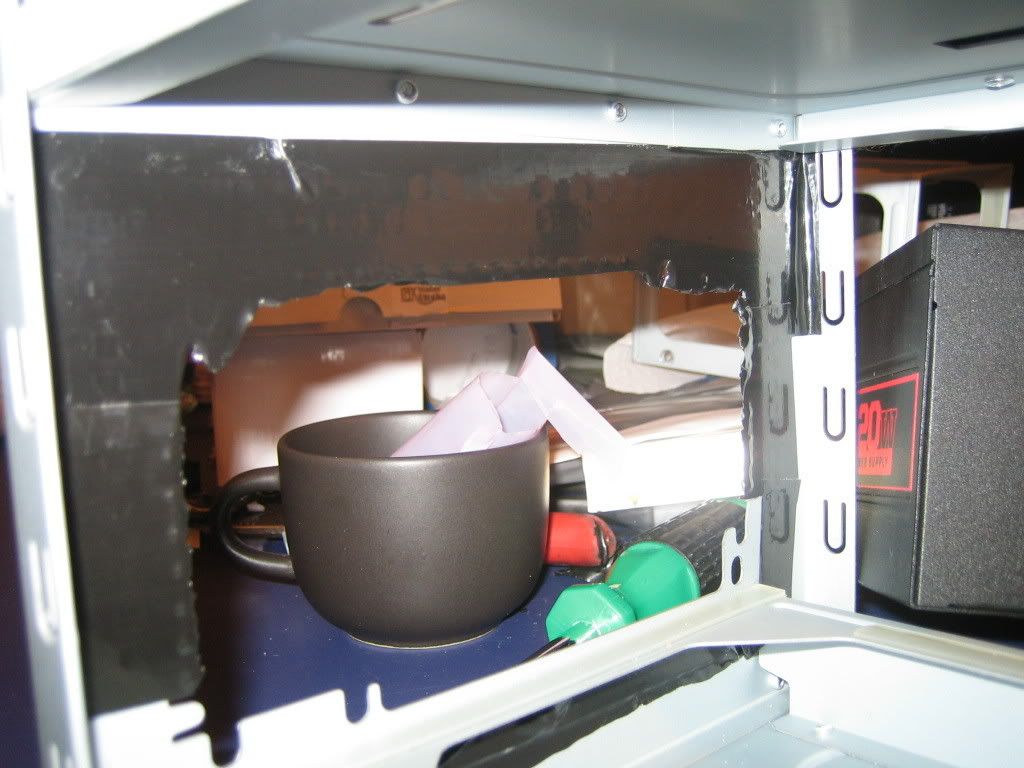
That hole wont be needed anymore...more tape...

build389.jpg


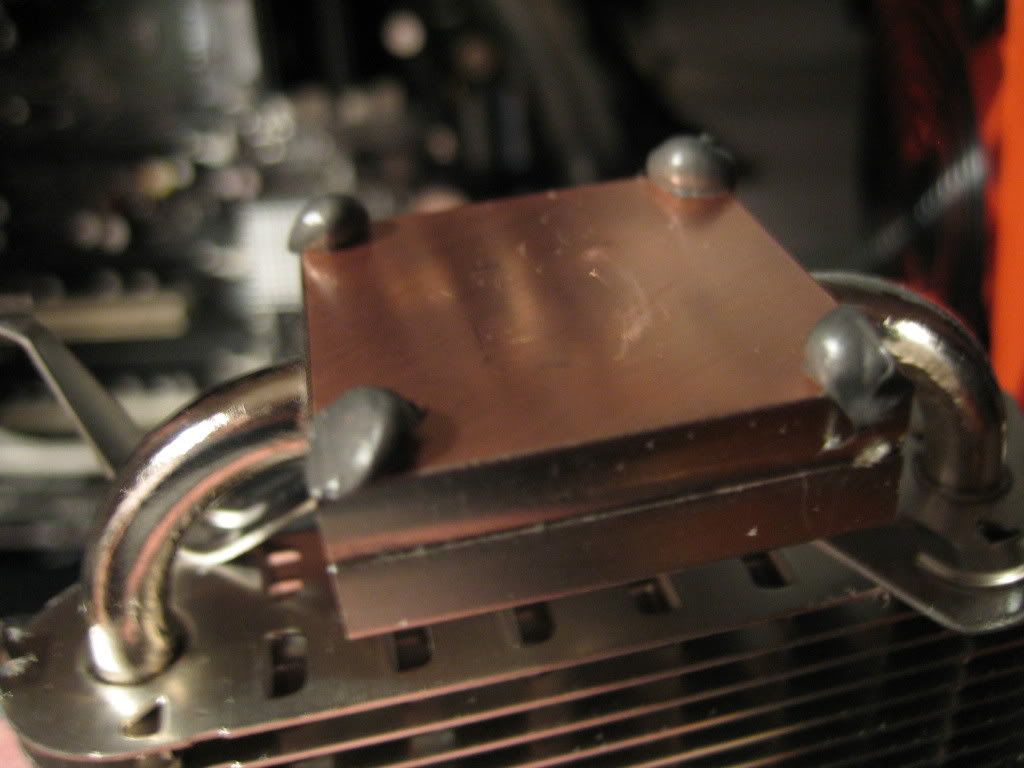
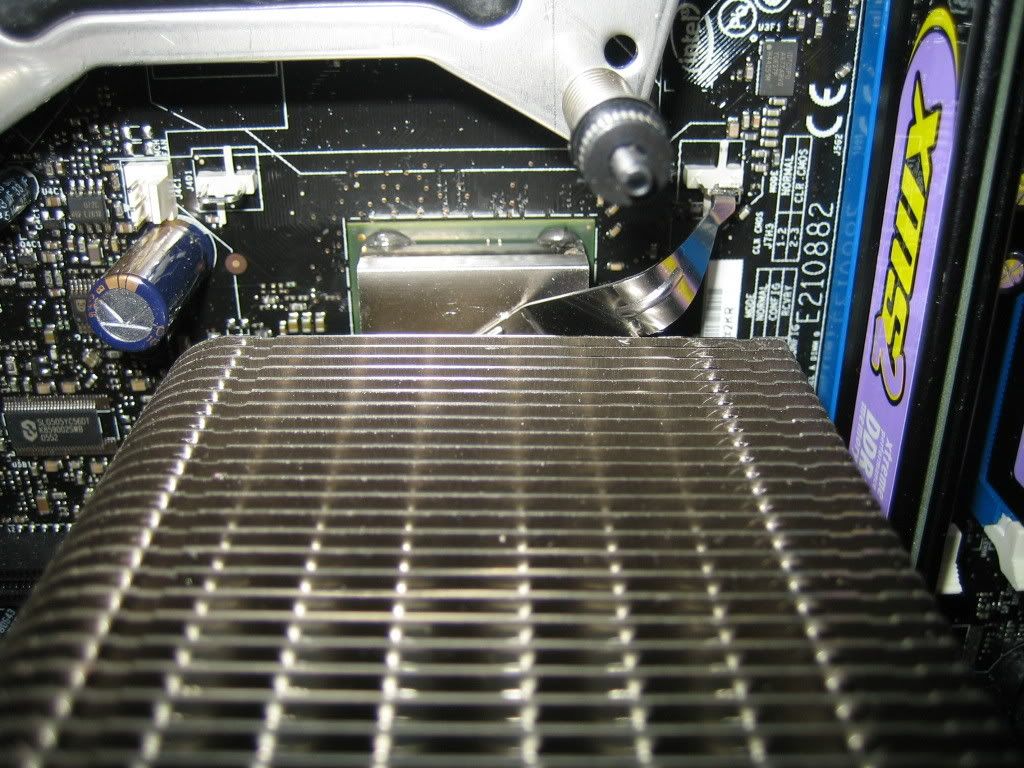
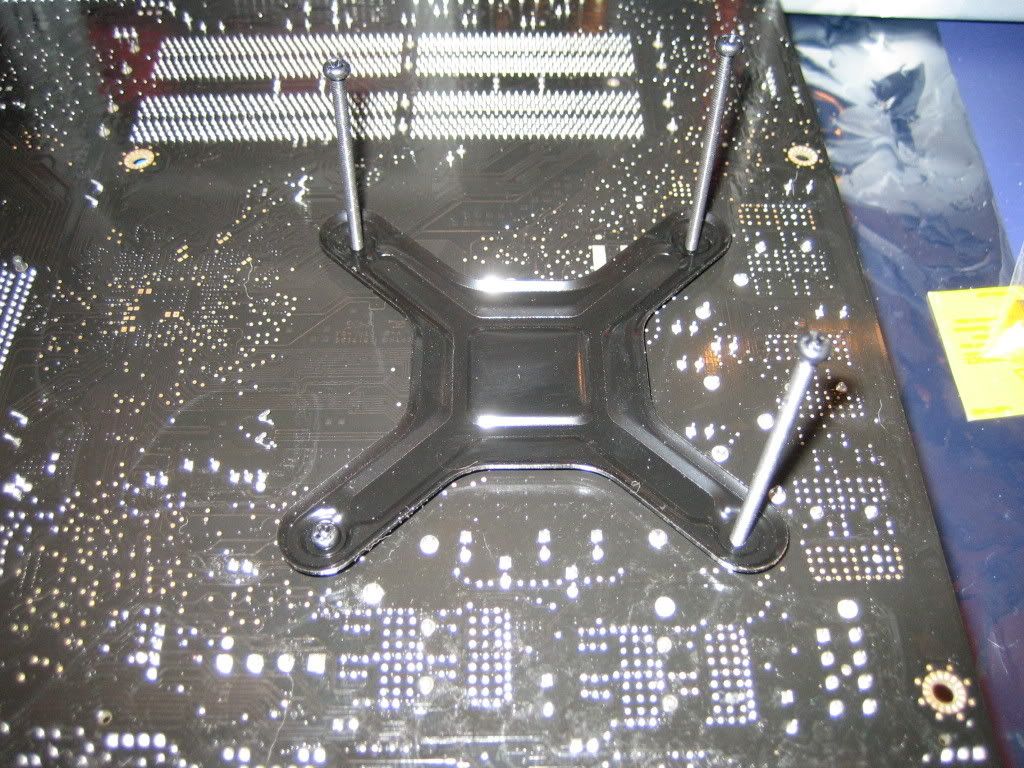
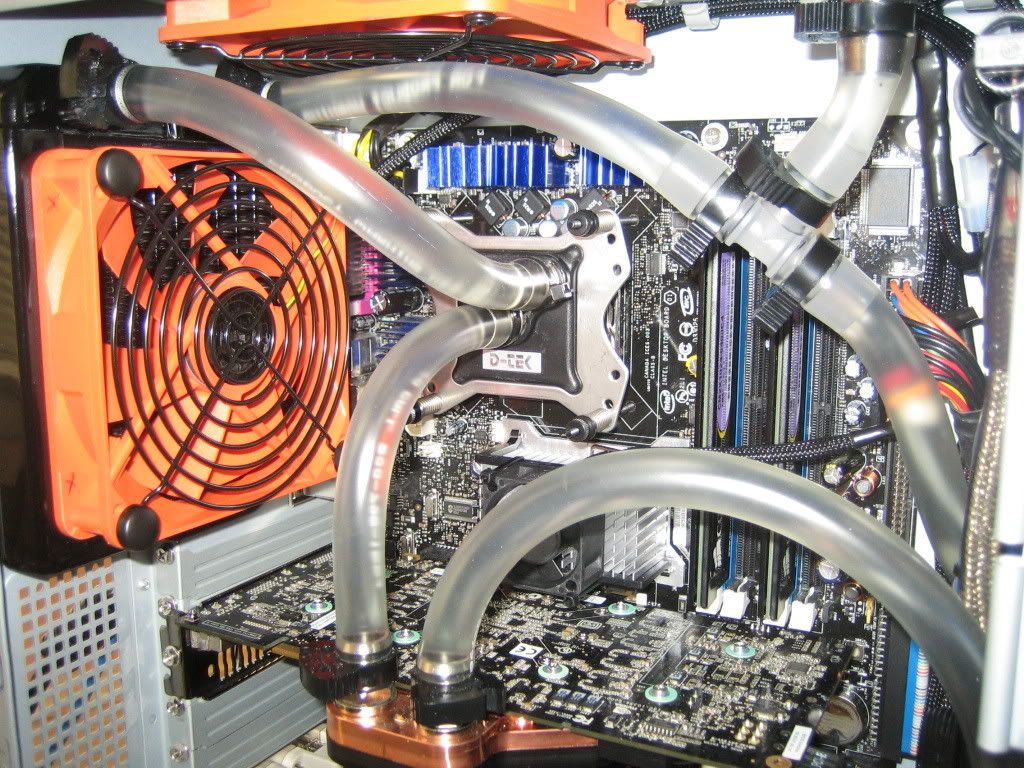
Ok, now that we have that tape fetish out of the way...I was pleasantly surprised to find I would be able to use my Tuniq backplate with the new Fuzion water block hardware. No bent up boards here...

build240.jpg


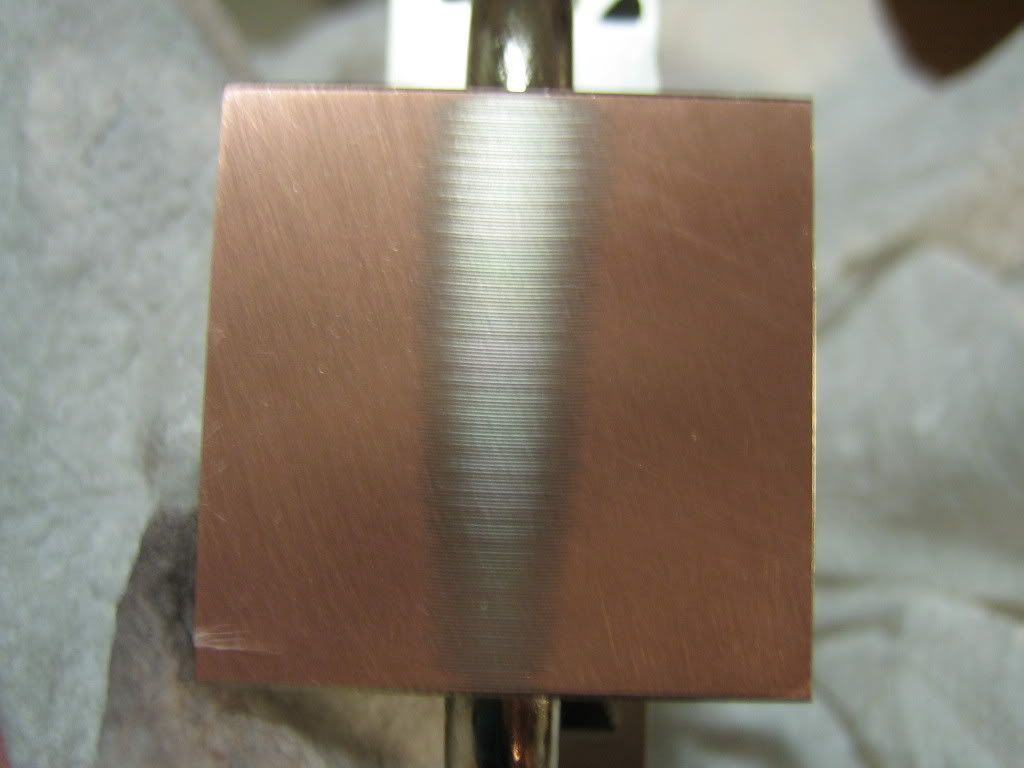
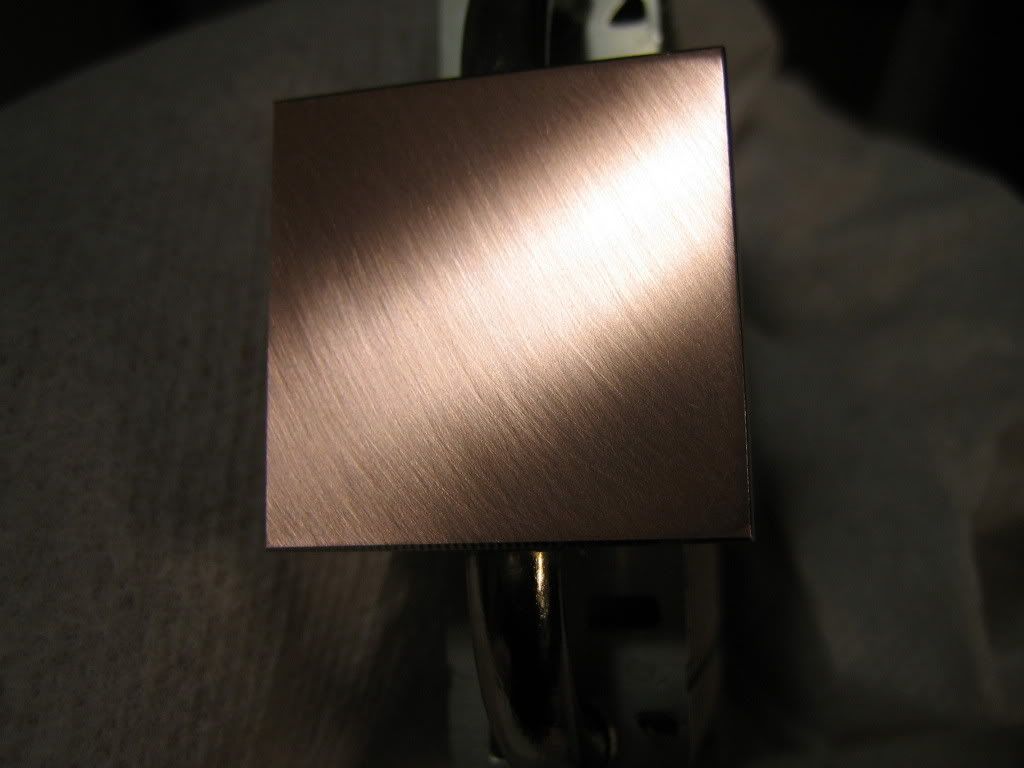
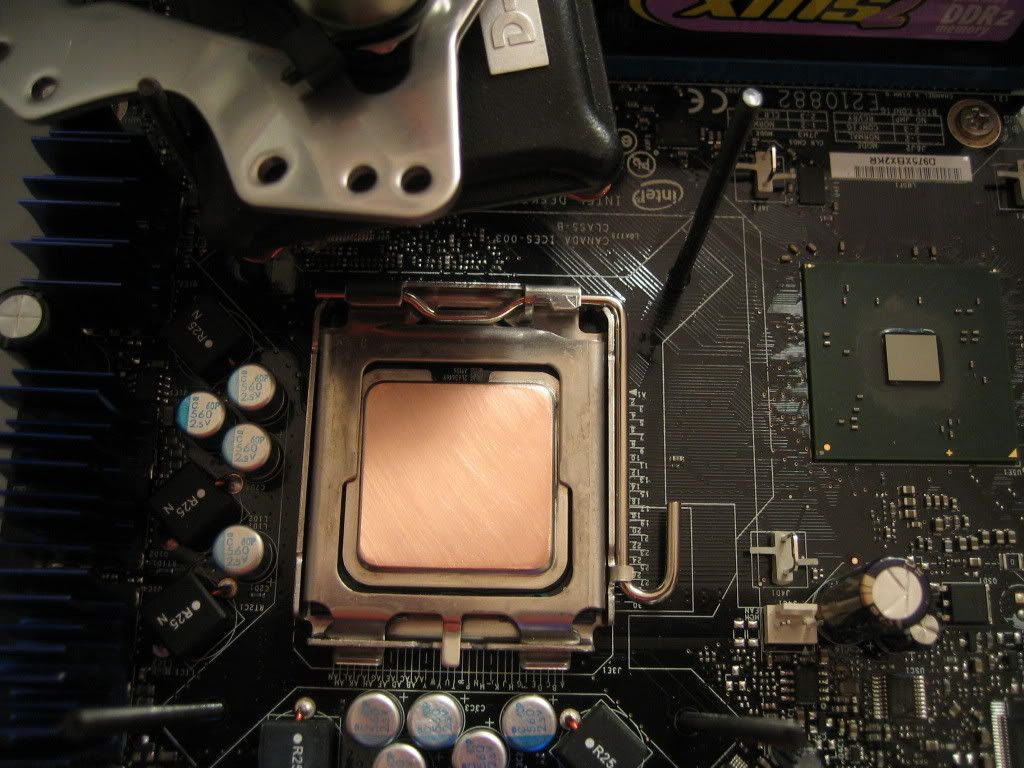
The CPU after a fresh pass on the sandpaper covered mirror for good luck...

build333.jpg


One 'oops' of this build...I was going to use those spiffy Cooling Works shrouds on both radiators in this project. I guess one isnt going to be used...

build312.jpg


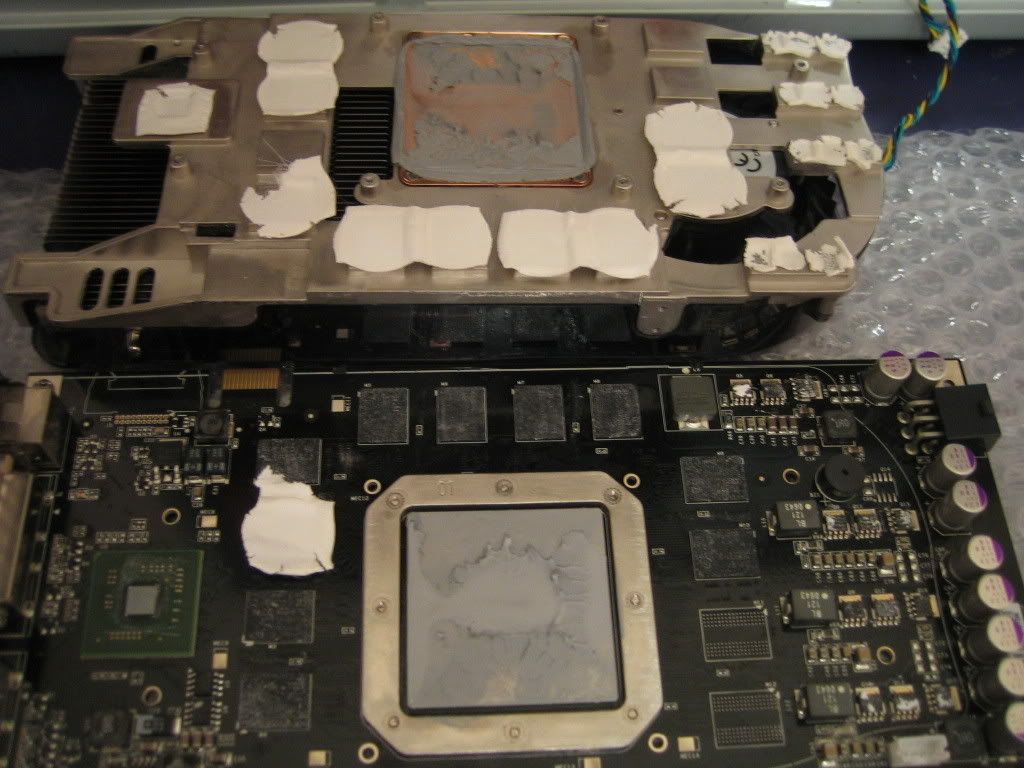
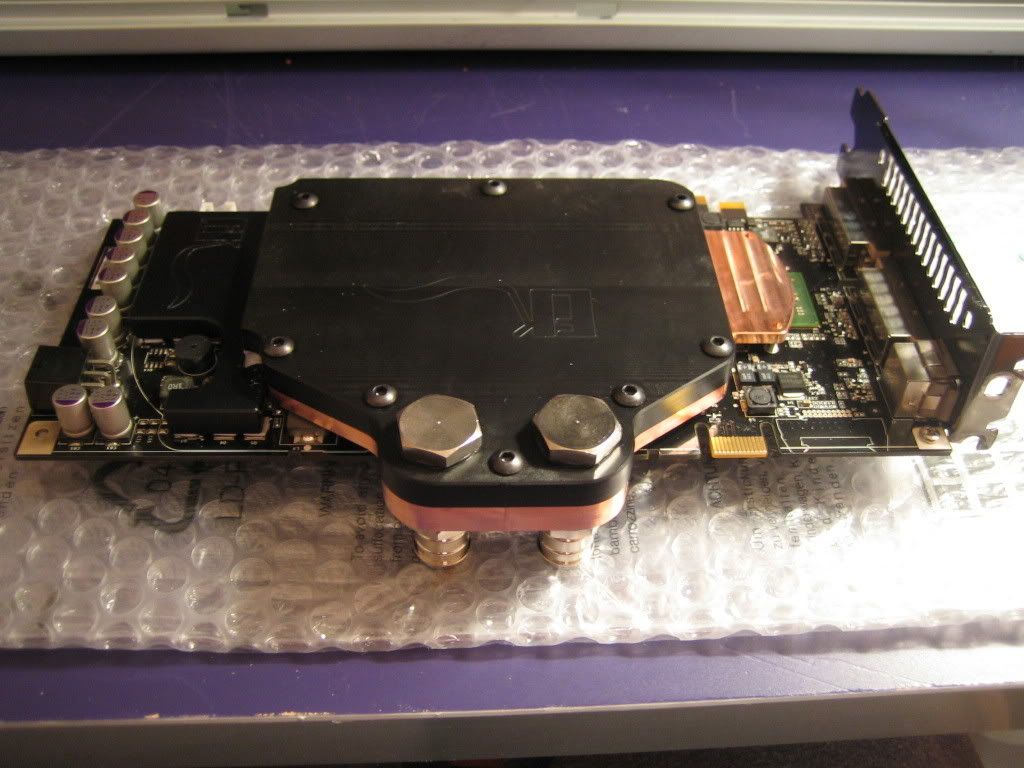
8800 GTS shivering in fear as I menace it with a screwdriver...

build403.jpg


Hmmm, I know why it was fearful, it didnt want me to see that awesome 1/8" thick coating of thermal goop on the GPU, no wonder these things run kind of hot...

build434-1.jpg


Much better now...

build459.jpg


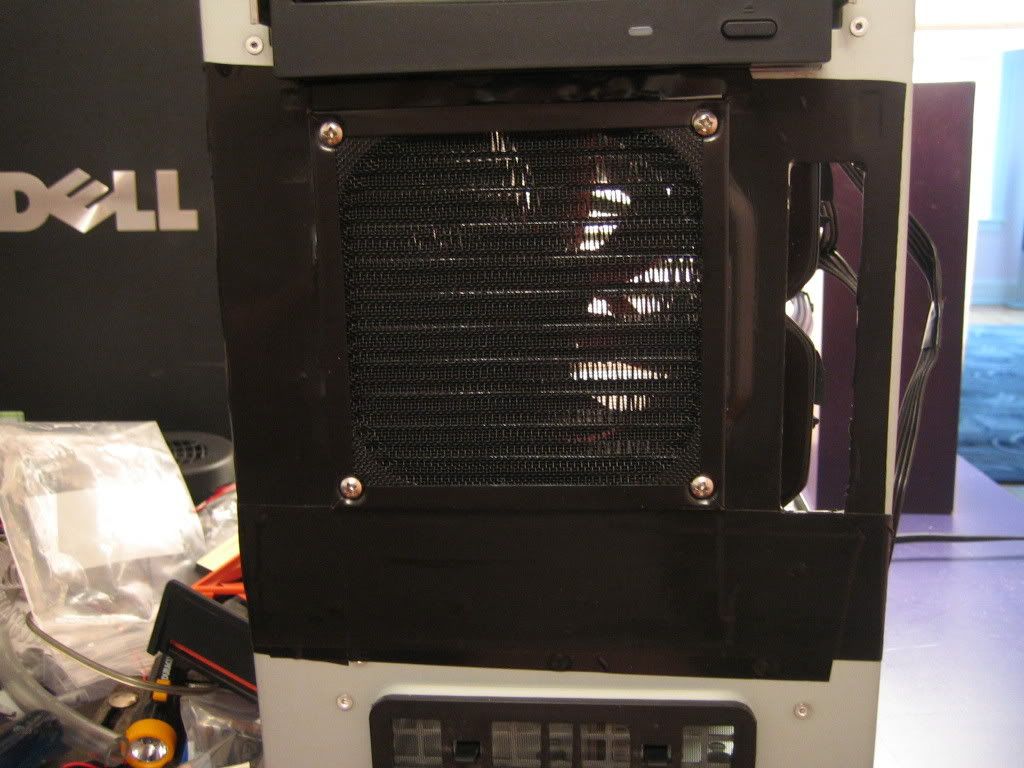
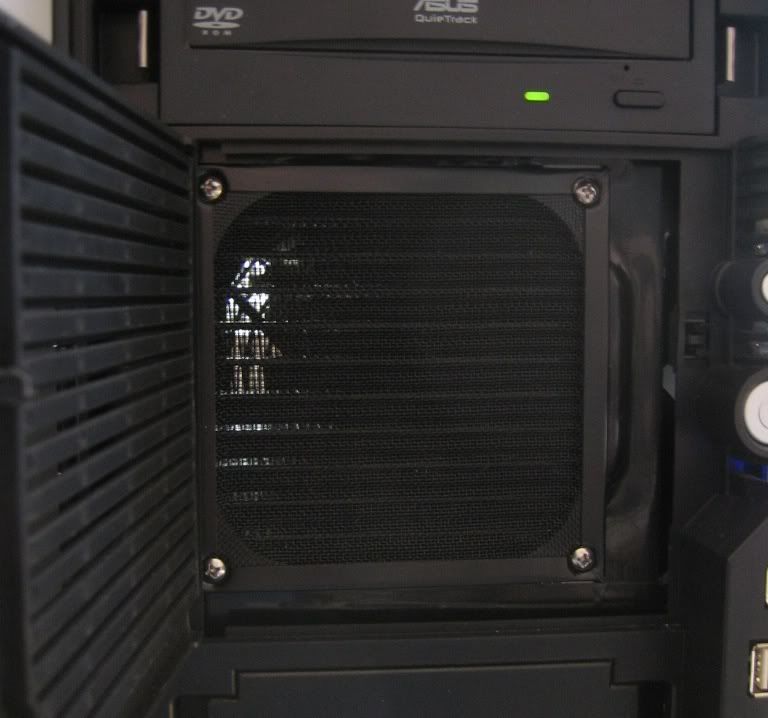
Ok, ok, I know you are saying 'less BS photos, get to the point already!' I will once I point out the end result of going nutty with the roll of tape on that front fan hole. It just looks better this way...

build_1vent.jpg


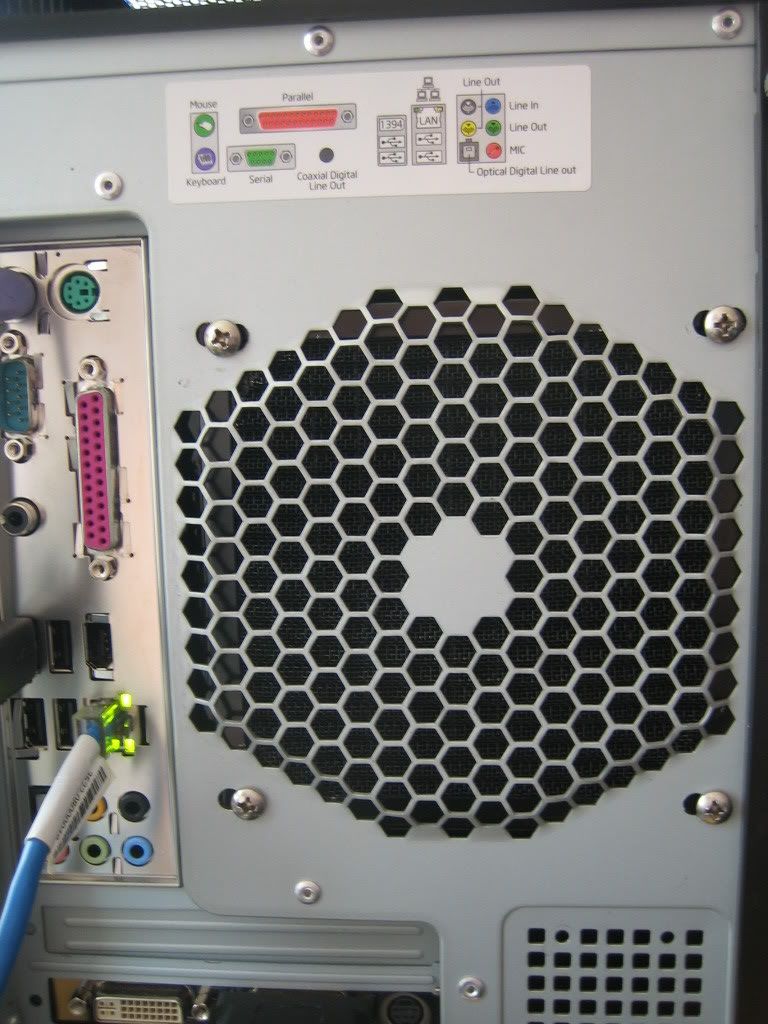
And speaking of fan holes...I put a filter in the rear one as it will now be an intake for that radiator. Isnt that some amazing professional-style hole slotting? LOL...

build_1006.jpg


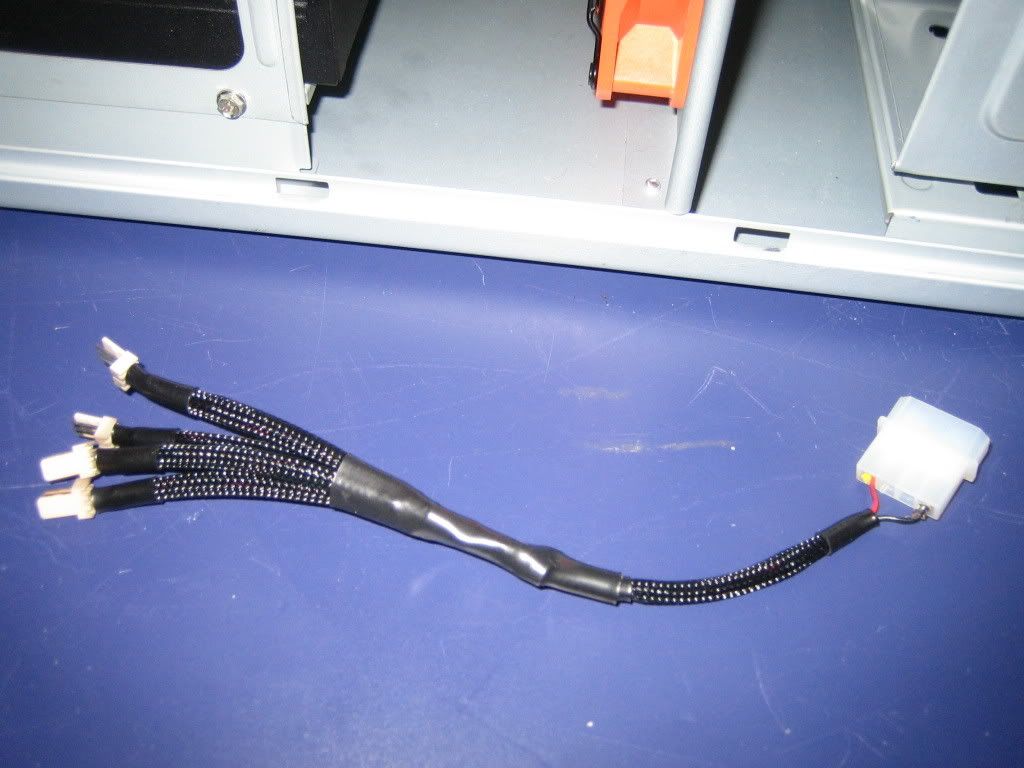
And who says you need a fan controller when all you want to do is run all your fans at 7 volts so it is quiet? You really dont, especially when you have some mad cablez skillz (patting self on back)...

build468.jpg


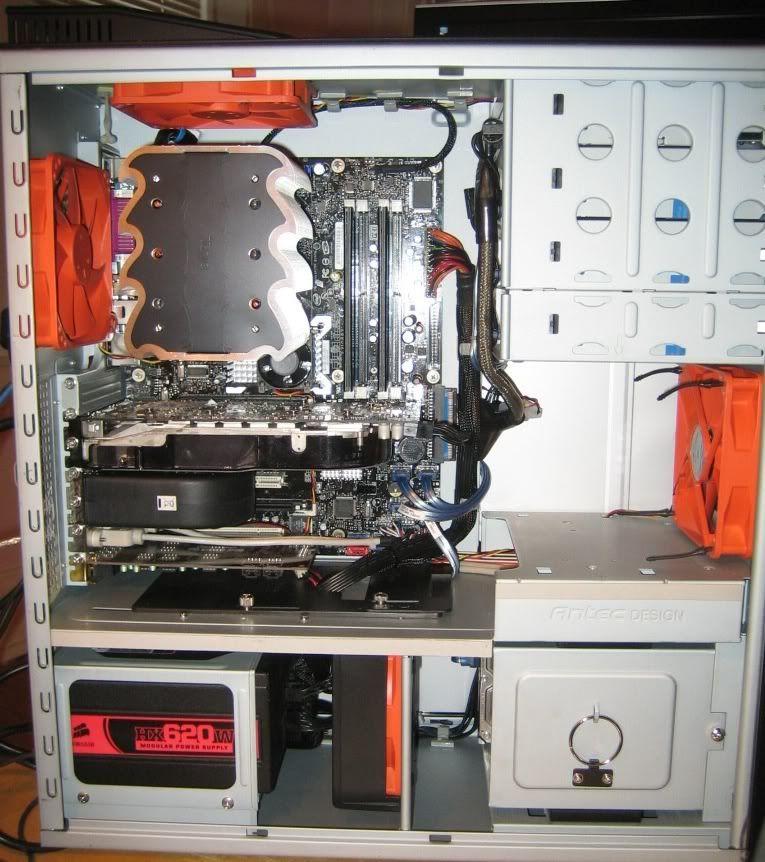
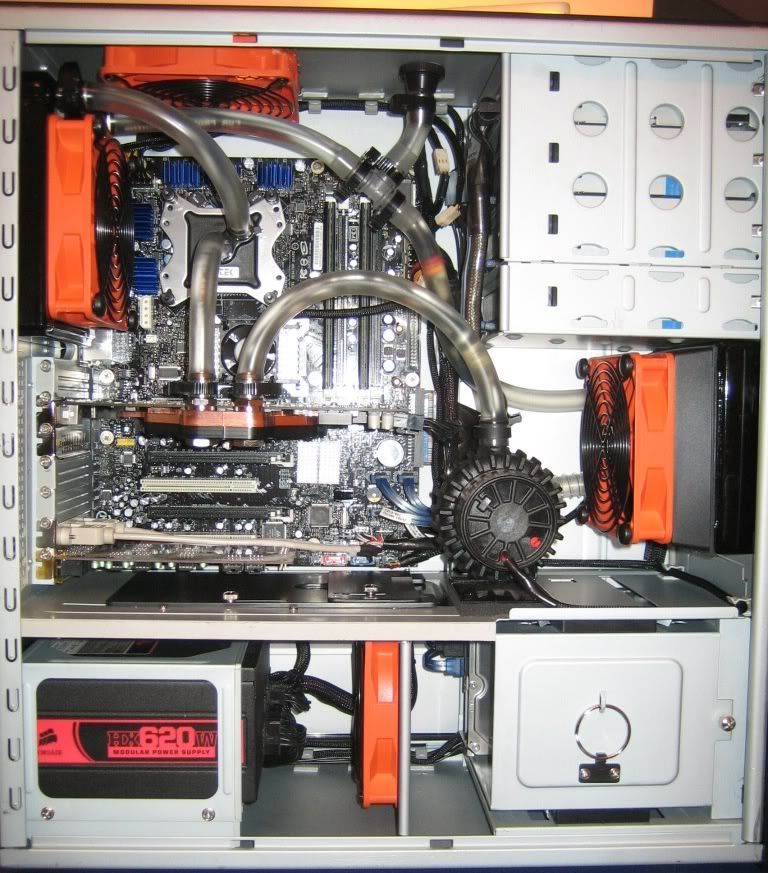
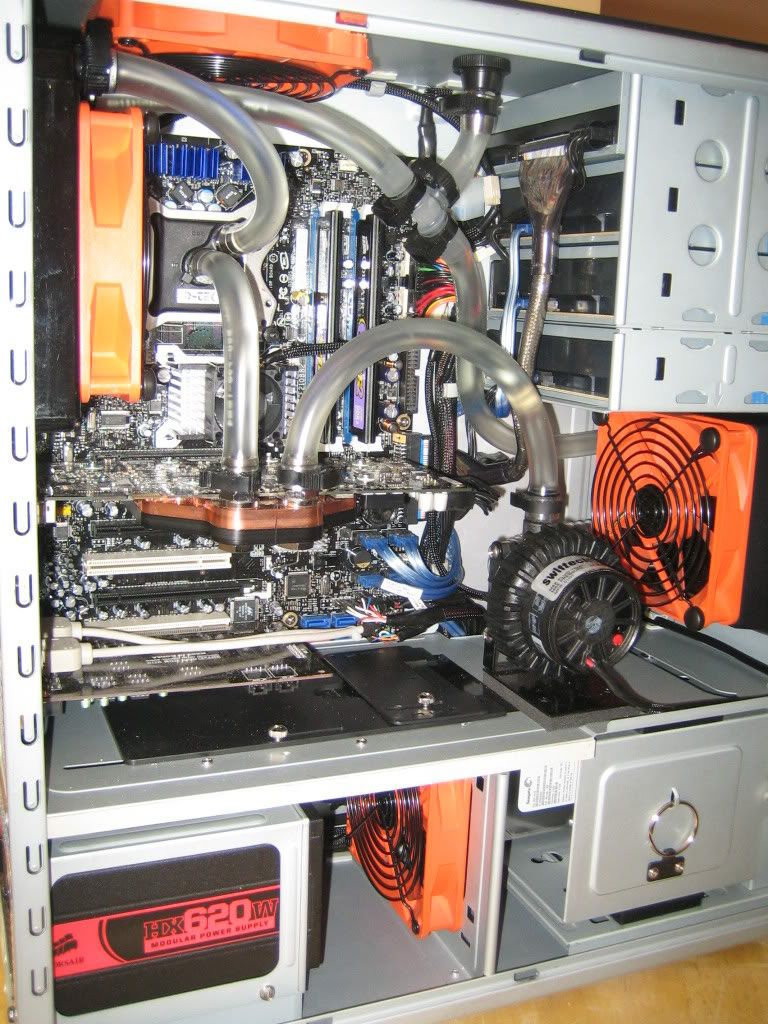
Alright, I'll get to the point already...the finished computer...

newwater.jpg

build_1012.jpg

build_1009.jpg

build_1011.jpg

build480.jpg
 
that looks really clean and well done. i think it was very wise to go with two 180's and not 1 2x180. i hope that made sense
 
i really dont like the placement of your T fill line within the loop....it shuold be right before the pump...not randomly in the middle of the loop
 
why do you have both front and rear as pull?

you need an exhaust....

If I had to guess, I would say it's because he doesn't want to push the air across the radiator. Rather, he wants to pull across it for better cooling.

If this is the case howerver, why wouldn't you just put the fan mounted on the case and mount the radiator on the back of the fan? Then you can have it pull across the radiator and expell warm air.
 
i really dont like the placement of your T fill line within the loop....it shuold be right before the pump...not randomly in the middle of the loop

he can gravity-feed the pump either ways. It just has to flood the rad first.
 
Nice job. The black fan grills are a nice touch. The wiring is fantastic, though the fan cables and connectors can be touched up a little and the sata cables could be more uniform if they were black like the rest of the sleeving.The tubing is routed nicely and efficiently and don't seem to be overextended in any way.


Q&A:

Why should the T be right before the pump? The way I figure it as long as it is at the highest point for air evacuation, all is good. As far as having a 'reservoir' before the pump...the pump has the contents of the rad, the tubing, etc. Makes for a neater build with no functional difference beyond taking a little more effort to fill due to the low capacity of the hose above the T.

Max OC gain: Going from air to water enabled doing several hour Orthos runs at 3.7 without the machine creeping into the 70C+ ranges read by TAT as it would with air. I played around with 3.8 also now with water cooling, and it works too. Tried 3.9, it would boot to windows, but crash Orthos. I didnt go over 1.5 volt on the CPU though for 3.9. I'm keeping it at 3.6 as the voltage scaling needed for higher speeds starts to get up there, along with the associated heat, so it isnt worth it to me for a couple 100 mhz. I could leave it at 3.7 as the volts are not ridiculous at that speed, but I like my fans at 7 volts (quiet), and the temps rise alarmingly at that speed under Orthos especially with the 8800 under load as well if I keep the machine quiet. And I like a silent machine ;)

Front and rear fans as 'pull': Yep, the 2 rad fans draw outside air. I tried it as it was under the standard air cooling setup, but drawing hot air from inside the case to run over the rear rad didnt work so well. It would start to run into the high 60C temps after several hours of Orthos and ATI Tool loading the CPU and GFX card. Making both rads draw cool air fixed that. The blowhole fan is an exhaust, and the vents above the expansion slots take care of the rest of exhaust duties. An added benefit to this is that all intake air is now filtered. Before when it was set up as an air cooling machine the venting above the expansion slots was sucking in unfiltered air since there was 1 intake and 2 exhaust fans. This should keep the dust inside to a minimum.
 
Q&A:
Front and rear fans as 'pull': Yep, the 2 rad fans draw outside air. I tried it as it was under the standard air cooling setup, but drawing hot air from inside the case to run over the rear rad didnt work so well. It would start to run into the high 60C temps after several hours of Orthos and ATI Tool loading the CPU and GFX card. Making both rads draw cool air fixed that. The blowhole fan is an exhaust, and the vents above the expansion slots take care of the rest of exhaust duties. An added benefit to this is that all intake air is now filtered. Before when it was set up as an air cooling machine the venting above the expansion slots was sucking in unfiltered air since there was 1 intake and 2 exhaust fans. This should keep the dust inside to a minimum.

That makes sense, and you can't argue with results...namely yours :p
 
while I'm not much of a watercooling person, I will say that your rig looks quite impression.

simple and neat. my two kinds of setups. :)
 
nice work...

2cents:

i would've flipped your rear radiator so that the barbs are on teh bottom and had the loop go from GPU to RAD then to CPU to get some intermediary cooling in there before the CPU...

your T-Line isn't in the most optimal place but whatever it takes to make the loop short and efficient is good enough for me.

and personally, i'd have both fans PULLING air through the rad... it looks like your rear rad is having air pushed through it.

anyways - that's all minor stuff...

GREAT WORK.
 
Nicely done and clean cable job.

Mind if I ask what's the resistor you used to lower the voltage down to 7?
 
Nicely done and clean cable job.

Mind if I ask what's the resistor you used to lower the voltage down to 7?

Most people do it by rewiring the plug so the fan runs off the 12V and 5V line instead of 12V and ground (12V - 5V = 7V). No resistor needed.
 
amazing job! this is exactly what i planned for my rig in the future. i will definitely be using this thread as reference

i hope to see before and after temps/benches as well :D
 
A rundown of temps...

Here's what I have been finding so far...all temps read by TAT. Room temps 78F +/- 1F.

Using the Tuniq, 3.6 GHz (1.3875 vcore in bios) under Orthos was max'ing around 65-68C. This was with the Tuniq fan (I was using a JMC PWM fan in it) set on 'kill' around 1600rpm (higher I think it just made more noise and didnt push more air IMO).

3.6 under water with the fans on 'silent' (7 volts) running Orthos, temps wont go over 58 after several hours of loading.

3.7 under water with 1.4375 vcore in bios for a nice long "for the [H] OC database thread e-penis run" had max TAT temps at 60C, but that was with the fans at 12V.

3.8 under water with 1.5 vcore in bios running Orthos hung around 65C for about 1/2 hour, but then Orthos switched to a test that spiked the temp to 68C and then crashed. I probably need more vcore for Orthos stability at 3.8, but I also believe my cpu-block interface is weak at this heat loading. I'm planning on trying Coollaboratory Liquid Metal and redo'ing the block mount so I can get a nice 10 hour Orthos run at a decent temp at this speed.

General computing and surfing the system hangs around the low 40's with the fans at the silent 7 volts. Gaming type loading has the cpu/gfx temps read by TAT and Rivatuner in the low 50's, fans at 7 volts as well.

A little 'proof' so you guys know I'm not talking out of my butt when telling of temps :D ...

37orthos_crop.jpg
 
nice. im looking at a water cooling system similar to yours but with a 360mm ext rad and an 8800gtx. what size tubing is that? have you tried overclocking the gfx card?
 
The 8800 is at 648/900. I'd like to make it 648/1000, but ATI Tool finds errors within 15 minutes, I guess my memory on the 8800 isnt as good as some (I want the extra 200 3d06 marks back, lol)

Temps on the 8800 never go over 60C with ATI Tool running and with Orthos on the CPU for full loop heating. Cooler under more normal loading. Rivatuner says low 40's idleing, interestingly Rivatuner reads the 8800 +/- 1C at idle of TAT's reading of the CPU at idle.
 
Sounds good. What speed are you running the pump at and how loud is it, say compared to your fans @ 7v?
 
That came out a HELL of a lot better than when I watercooled my old P180. :p :(
 
I have it on '4' (1-5). I chose this because it was the quietest. Just a very mild slight hum, barely peceptable with the case closed. Airflow from the fans with the case closed drowns it out (not that it makes noise). Seems '4' matches the harmonics of the case to my ears.
 
Got a new accessory for the machine...A Thermalright HR-05 chipset cooler. One thing that always bothered me about the 975 in my machine was that I was running it at 1.6 volts vs the stock 1.5 to achieve the OC, and knowing how much more voltage really adds to the temperatures. My Sunon Maglev buzzbomb (it is not 18db either :p ) running at 7 volts probably didnt really do a whole lot, and the rough based aluminum heatsink really didnt seem to work all that well. Putting the HR-05 on I could really see a huge improvement in the amount of heat absorbed by that cooler...It was getting really hot compared to the aluminum heatsink. Which I guess would mean the 975 was getting cooled a lot better too. To top it off, I put a Nexus 80mm fan on the HR-05. Nice fan too, you can run it at the full 12V 1500rpm speed and it is totally unnoticable with the case closed up...barely heard out in the open. I can say that my 975 probably is much happier now with maybe 5X the cooling it used to have. No OC improvements to note as of yet, this was just a cooling/keeping it quiet mod for now.

And now the install:

First up...a good idea to lap the HR-05, it isnt flat:

HR05020.jpg


Much flatter now to match the bare die 975 for better heat transfer:

HR05040.jpg


In playing around with mounting of this cooler and considering the added weight of the fan on the cooler...I felt the stock 2 hook mounting with a foam footing was marginal at best. Even without the fan the stock mounting I felt was pretty weak. I like my coolers solid and not easily movable. Solution: Silcone (Permatex Ultra Black). Much more stable. I dont anticipate removing it anytime soon, and if just gently pulling it off doesnt work...dental floss should take care of any future removal issues:

HR05_glue008.jpg


A view of the HR-05's new custom 'feet' to keep it stable:

HR05_glue021.jpg


And in completion, that Nexus 80mm fan ghetto ziptied to the cooler. While not the prettiest solution to NB cooling...it sure works a lot better! :cool:

HR05_glue067.jpg
 
Your worklogs are both fun to read, and very well done.

Well. That settles it. You're getting 60 load in a 25c room at 3.7ghz?

I'm getting a Fuzion to replace my TDX.
 
Back
Top