Ah good old computer modding, such a fun project back in the day but I'd been away from it for so long I forgot how to do it. My last adventure in modding was my Lian-Li PC-76 tower that I installed a water cooling system in back in 2004. Now this chassis was never really that popular I think, when I first invested in it I could only find a handful of reviews. For the curious, you can find a review of the stock case at this link:
http://www.dansdata.com/pc76.htm
Also for posterity, my original mod post (complete with dead pics I don't have anymore) here:
http://hardforum.com/showthread.php?t=845904
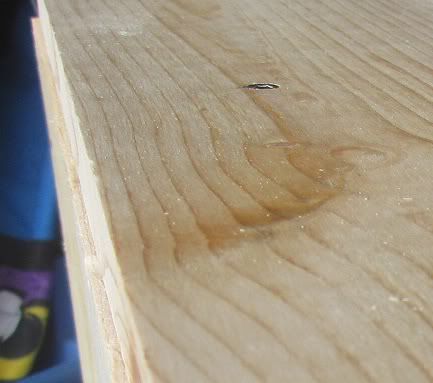
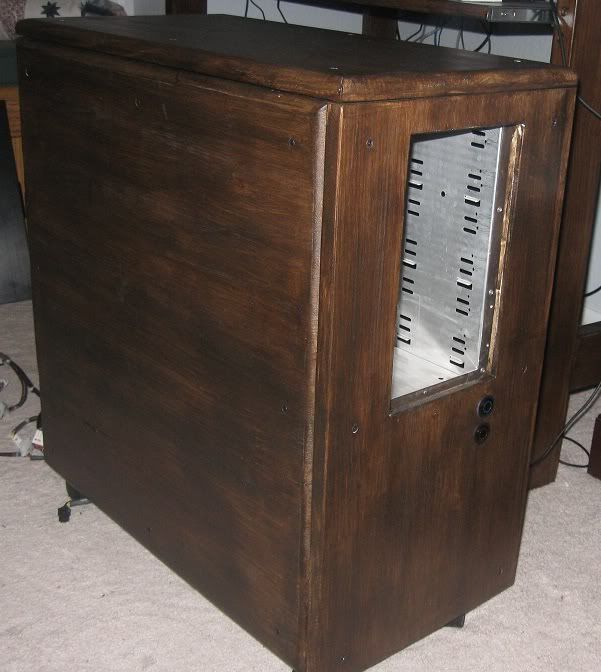
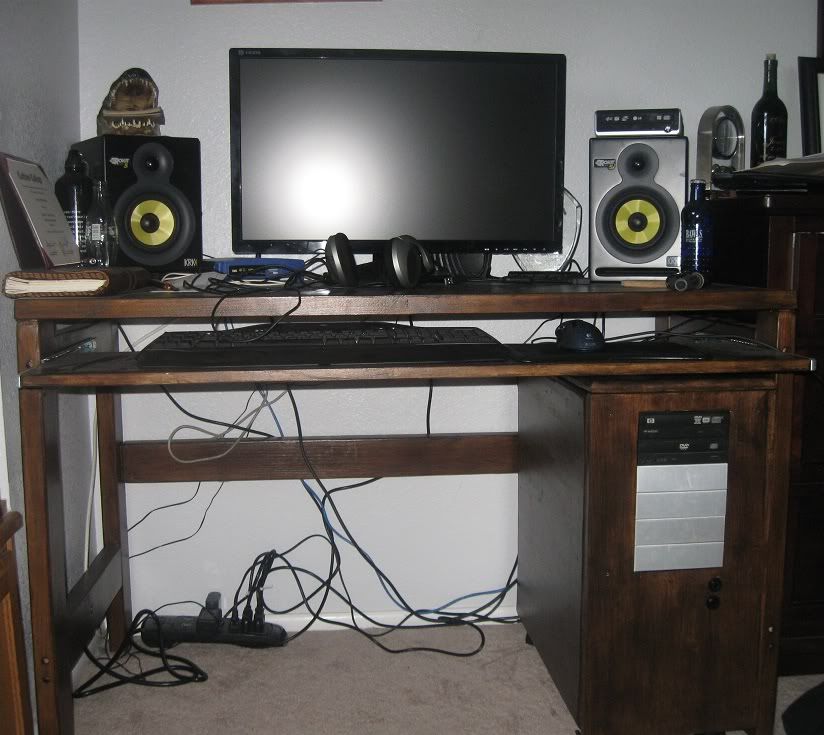
So why has it been so long since I've done any modding? Well, a couple of deployments plus getting married and having kids can tend to slow a guy down. I recently convinced my wife to let me build a desk for my pc though and it ended up actually looking pretty nice:

I did that with about $40 worth of lumber so it got me thinking...Wonder if I could build a nice wood computer case to match? I eventually decided that I didn't want to spend that much effort building a completely wood case from scratch, but I thought it might be kind of cool if I took the old LL and gave it wood exterior panels so it will look like a piece of furniture instead of a plain computer (or as the wife called it, "a big ugly box").
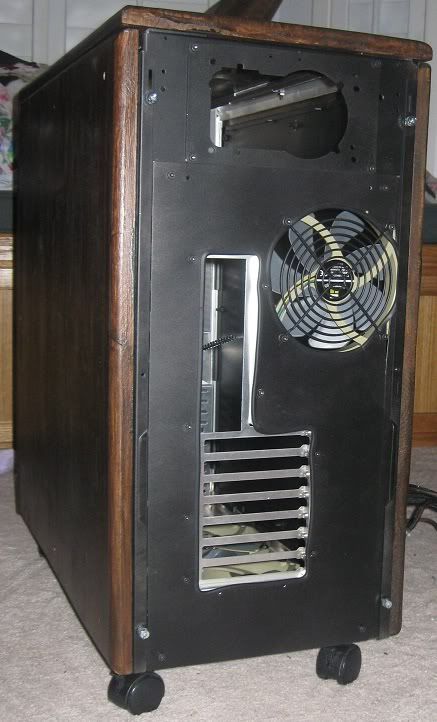
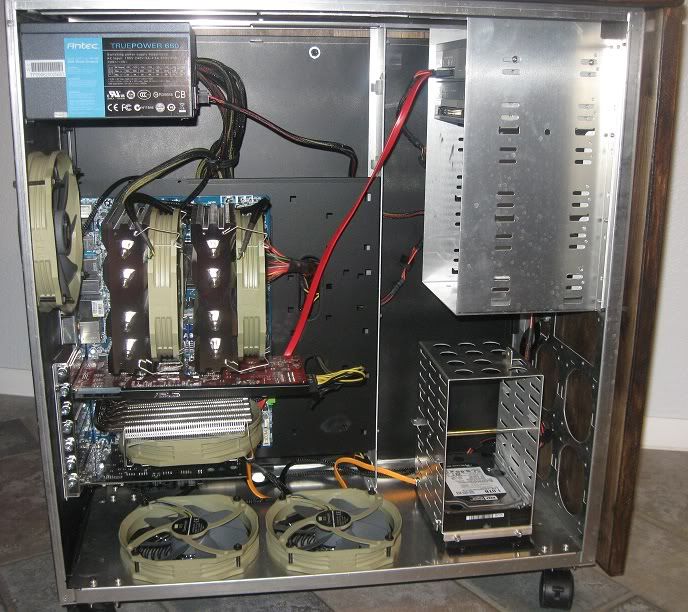
Naturally if I'm going to mod something, I want to increase the functionality too. I.E. I want better cooling and low noise. I turned away from water cooling back in 2006 when my tower sprung a leak and ruined a video card, despite that it was a nice excuse to upgrade. So after some deliberation, I decided to remodel the inside before adding wood decor. First, here is what it looked like mostly stock with parts installed:
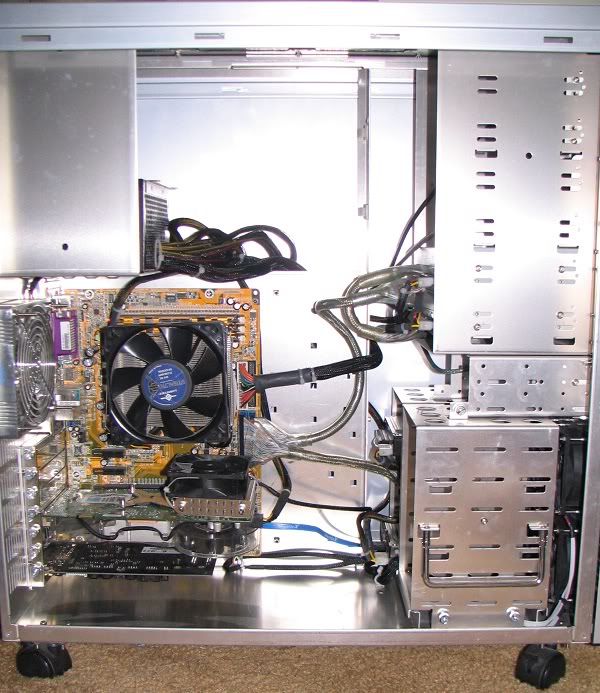
My plans for it were fairly simple, at least in concept:
1 - Rotate the HDDs 90* so the cables come out towards the right side of the case.
2 - Replace the rear panel and raise the MB 2" in the process
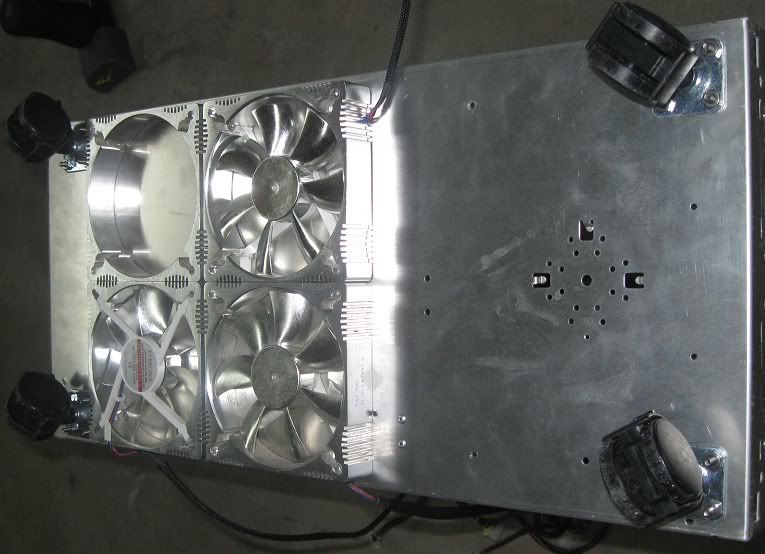
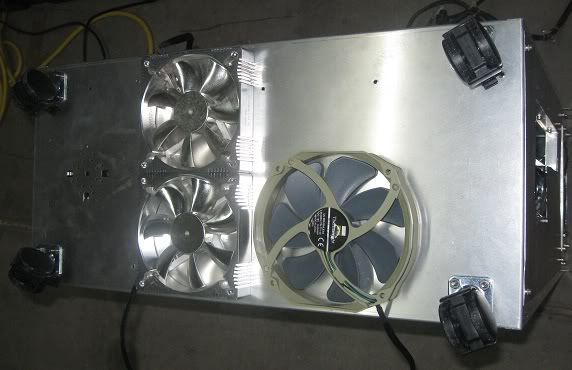
3 - Add 2-4 x 120mm (possibly 140mm) intake fans on the bottom, under the MB area.
4 - Hack up the MB tray some more for some wire holes/rear access to the cpu HSF
5 - Raise PSU near top of case.
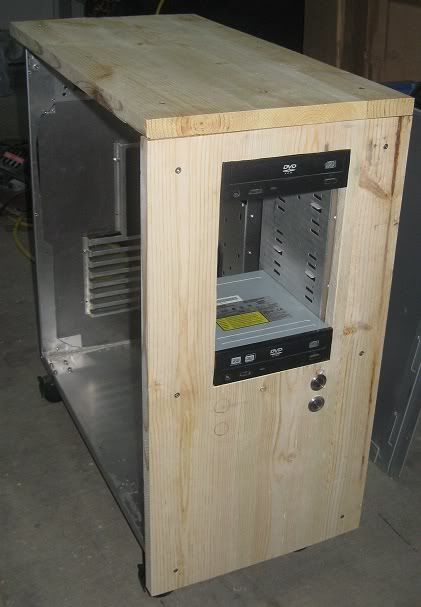
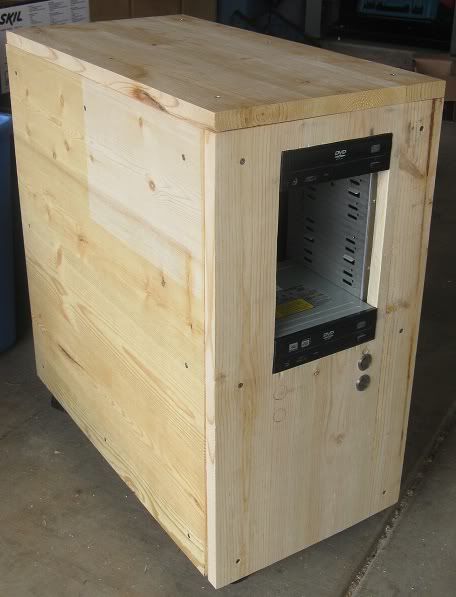
6 - Panel the exterior in wood to match the desk.
After that I'm a little iffy on what to do. Part of me wants to replace the MB tray altogether, but then I'd have to buy or fab one. Part of me wants to enclose the PSU in it's own box with a 120/140mm fan, which is why it ended up so high up in the case. Part of me also thinks I should paint it because that might help it not be so ugly after all this hacking. Did I menation I am hacking this case up and not really modding? Yeah, it could get ugly inside. Guess I should get started.
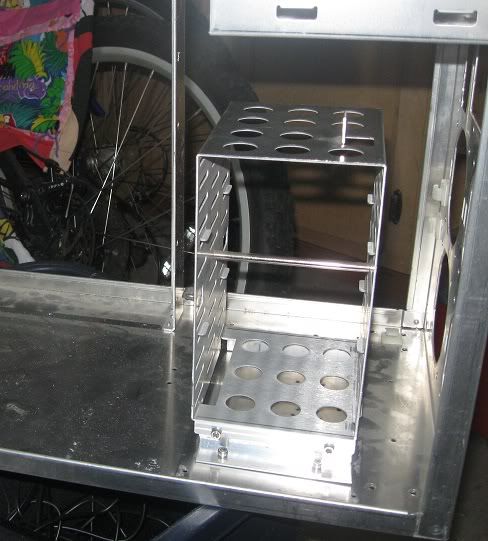
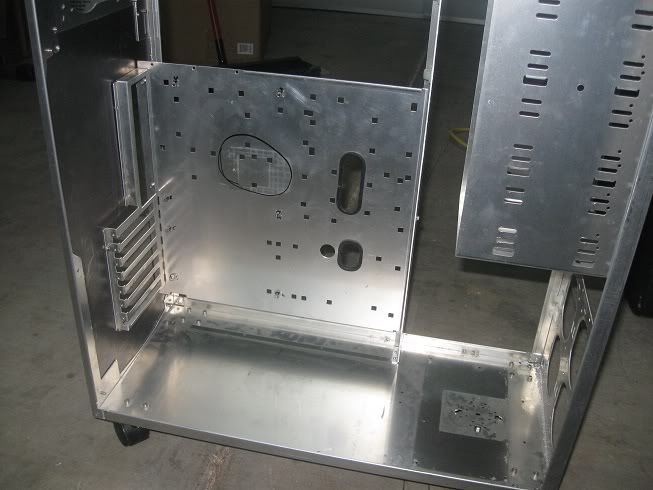
First step of course is to strip it back down to the frame, here it is mostly nekkid:
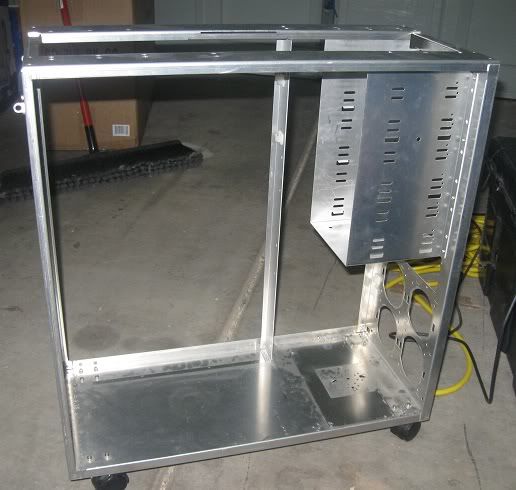
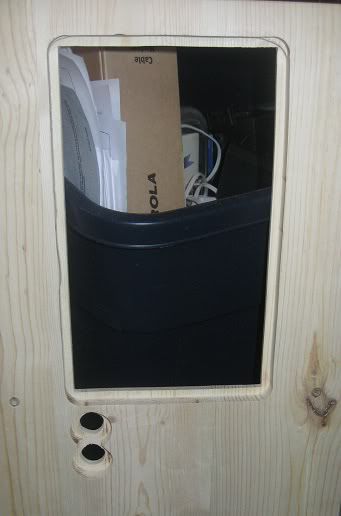
Next step was to hack out the rear panel. My jigsaw took a royal dump on my work here when the blade bent and I didn't notice it because the laser on my saw was still right on line. You'll see what I mean in a couple of pics, but here's how the back looks so far:
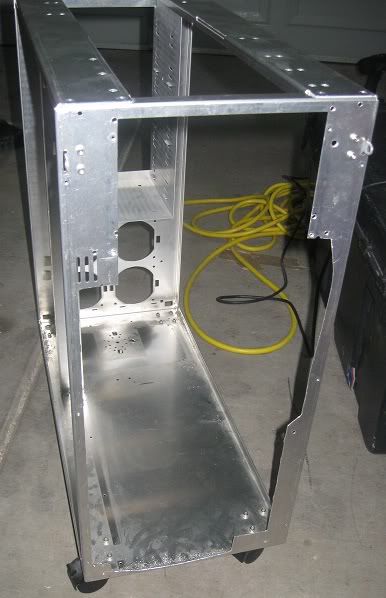
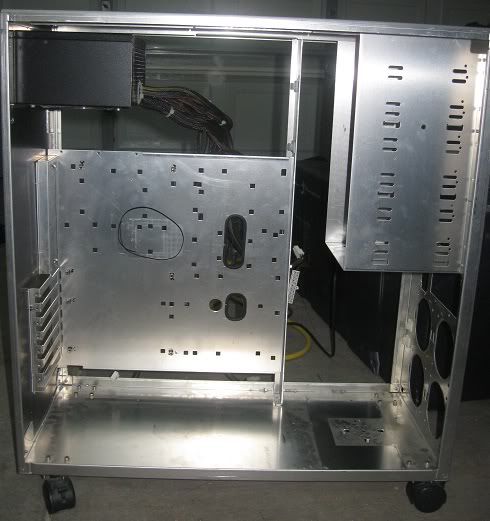
I did get a panel cut from sheet steel and made it fit. Cutting out the slot opening in the back was a PITA, it probably would've been cleaner had I used an Al panel and my dremel, but I used steel with a crap jigsaw. I also hacked the PSU bracket in half to make it fit my needs. I still need to cut a 120/140mm fan slot in the steel. You can see the deviation in the steel panel itself and the frame if you look at the upper right part of the steel panel:
So far I don't think that's too terrible, and if nothing else I can use it as an excuse to do a better job later with some plexi or a more expensive panel.
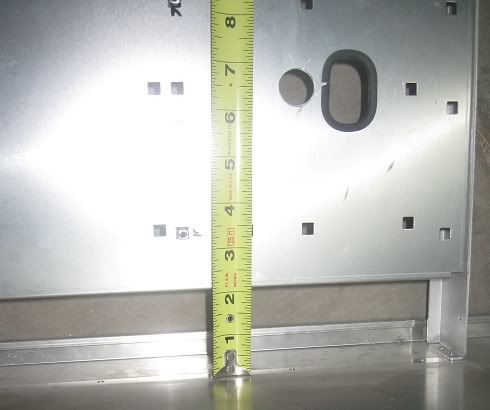
It was kind of a lot of effort to do, so why did I do all that? Well, simply put I wanted to raise the MB tray about 2" off the floor of the case. That will help me with my wiring ideas and allow me to add intake fans to the floor. Why that position instead of the 80mm stock front fans? So that the incoming air will blow directly on my GPU of course
You can also see in this picture where I plan to cut the MB panel behind the CPU. It was a bit of serendipity (and about 4 years of not removing the MB) that left the cpu HSF bracket mark on the MB tray, making it easy for me to figure out where to cut.
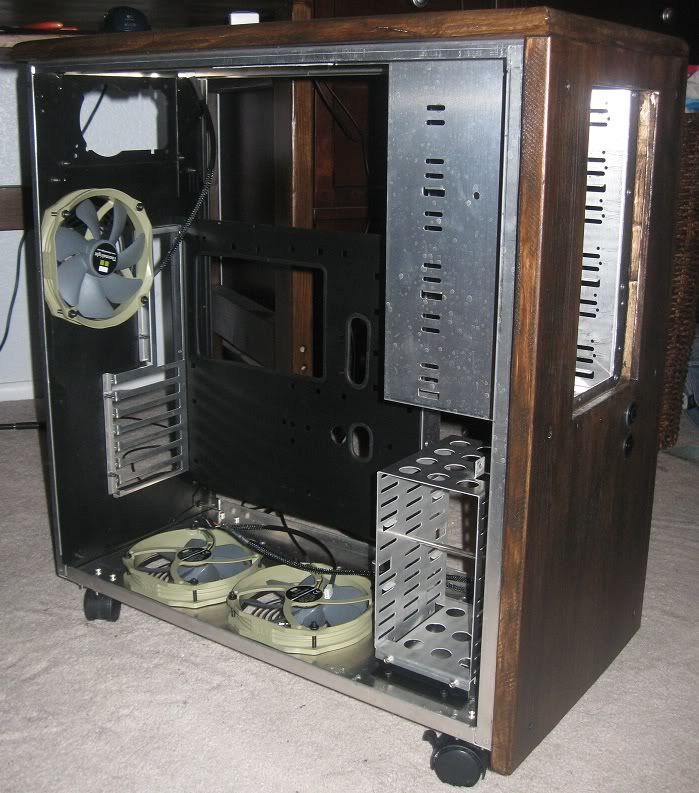
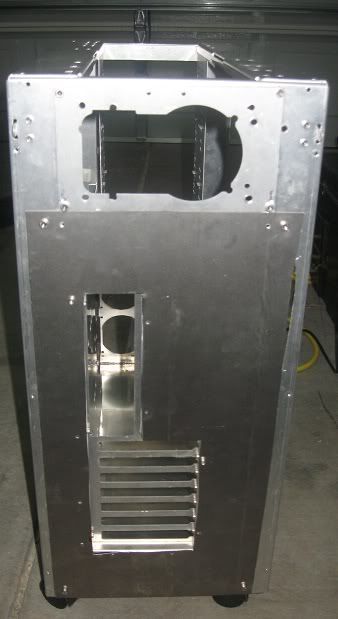
The moment of truth came when I did a mock-up and bolted the MB tray in place. Overall so far I'm gonna say it's a success:
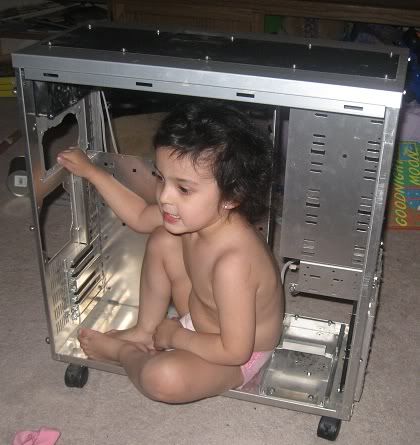
If you're still having trouble visualizing the size of the case, here it is with my daughter chillin inside:
While typing this I realized I should throw the PSU in there just to check it out. Hmm...
Looks like it'll work, and the exposed cables don't really look that bad. Some of you kids these days get all crazy with sleeving individual psu cables and then taking pro pictures of it. I think I'm gonna kick it old school and just try to keep them out of the way lol. Well to be honest, that's pretty much the other point of building a box for the PSU as it'll hide all that crap. If it all goes well, by the time I am finished there should be very little exposed cabling. Time will tell I guess, I think I'm going to have to wait until next weekend to get any more work done on it. So in the mean time I ask for your opinions:
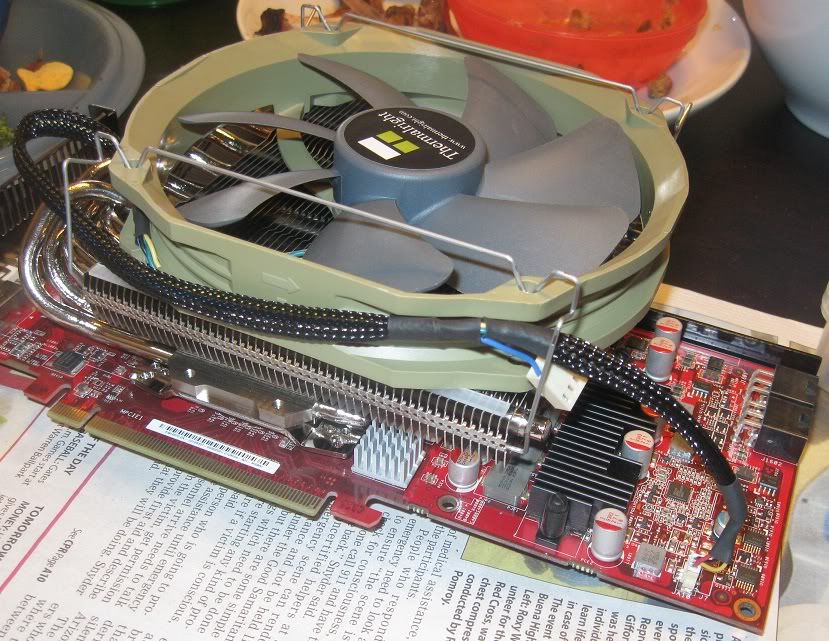
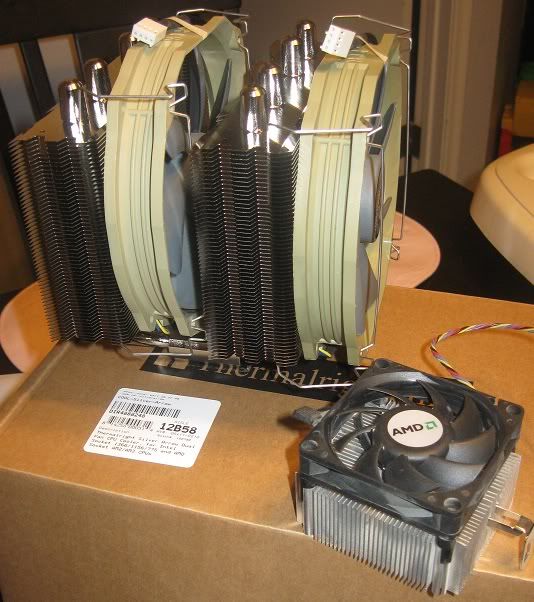
In the quest for silence, how do the current "quiet" 120mm and 140mm fans fare? Anyone have 4-8 of them in a system they would call "quiet"? I have a Thermaltake TY-140 fan en-route so I can check it out but my last experience with quiet fans was doing the 7v mod to Panaflo 80Ls.
Also, what do you guys think of painting it vs leaving the aluminum bare? I'm going to paint the steel panel for sure, but the rest of it I'm actually thinking it wouldn't be worth the effort since I'm going to cover the exterior in wood. Though...the thought had occurred to me to add a side window while I'm at it...
http://www.dansdata.com/pc76.htm
Also for posterity, my original mod post (complete with dead pics I don't have anymore) here:
http://hardforum.com/showthread.php?t=845904
So why has it been so long since I've done any modding? Well, a couple of deployments plus getting married and having kids can tend to slow a guy down. I recently convinced my wife to let me build a desk for my pc though and it ended up actually looking pretty nice:
I did that with about $40 worth of lumber so it got me thinking...Wonder if I could build a nice wood computer case to match? I eventually decided that I didn't want to spend that much effort building a completely wood case from scratch, but I thought it might be kind of cool if I took the old LL and gave it wood exterior panels so it will look like a piece of furniture instead of a plain computer (or as the wife called it, "a big ugly box").
Naturally if I'm going to mod something, I want to increase the functionality too. I.E. I want better cooling and low noise. I turned away from water cooling back in 2006 when my tower sprung a leak and ruined a video card, despite that it was a nice excuse to upgrade. So after some deliberation, I decided to remodel the inside before adding wood decor. First, here is what it looked like mostly stock with parts installed:
My plans for it were fairly simple, at least in concept:
1 - Rotate the HDDs 90* so the cables come out towards the right side of the case.
2 - Replace the rear panel and raise the MB 2" in the process
3 - Add 2-4 x 120mm (possibly 140mm) intake fans on the bottom, under the MB area.
4 - Hack up the MB tray some more for some wire holes/rear access to the cpu HSF
5 - Raise PSU near top of case.
6 - Panel the exterior in wood to match the desk.
After that I'm a little iffy on what to do. Part of me wants to replace the MB tray altogether, but then I'd have to buy or fab one. Part of me wants to enclose the PSU in it's own box with a 120/140mm fan, which is why it ended up so high up in the case. Part of me also thinks I should paint it because that might help it not be so ugly after all this hacking. Did I menation I am hacking this case up and not really modding? Yeah, it could get ugly inside. Guess I should get started.
First step of course is to strip it back down to the frame, here it is mostly nekkid:
Next step was to hack out the rear panel. My jigsaw took a royal dump on my work here when the blade bent and I didn't notice it because the laser on my saw was still right on line. You'll see what I mean in a couple of pics, but here's how the back looks so far:
I did get a panel cut from sheet steel and made it fit. Cutting out the slot opening in the back was a PITA, it probably would've been cleaner had I used an Al panel and my dremel, but I used steel with a crap jigsaw. I also hacked the PSU bracket in half to make it fit my needs. I still need to cut a 120/140mm fan slot in the steel. You can see the deviation in the steel panel itself and the frame if you look at the upper right part of the steel panel:
So far I don't think that's too terrible, and if nothing else I can use it as an excuse to do a better job later with some plexi or a more expensive panel.
It was kind of a lot of effort to do, so why did I do all that? Well, simply put I wanted to raise the MB tray about 2" off the floor of the case. That will help me with my wiring ideas and allow me to add intake fans to the floor. Why that position instead of the 80mm stock front fans? So that the incoming air will blow directly on my GPU of course
You can also see in this picture where I plan to cut the MB panel behind the CPU. It was a bit of serendipity (and about 4 years of not removing the MB) that left the cpu HSF bracket mark on the MB tray, making it easy for me to figure out where to cut.
The moment of truth came when I did a mock-up and bolted the MB tray in place. Overall so far I'm gonna say it's a success:
If you're still having trouble visualizing the size of the case, here it is with my daughter chillin inside:
While typing this I realized I should throw the PSU in there just to check it out. Hmm...
Looks like it'll work, and the exposed cables don't really look that bad. Some of you kids these days get all crazy with sleeving individual psu cables and then taking pro pictures of it. I think I'm gonna kick it old school and just try to keep them out of the way lol. Well to be honest, that's pretty much the other point of building a box for the PSU as it'll hide all that crap. If it all goes well, by the time I am finished there should be very little exposed cabling. Time will tell I guess, I think I'm going to have to wait until next weekend to get any more work done on it. So in the mean time I ask for your opinions:
In the quest for silence, how do the current "quiet" 120mm and 140mm fans fare? Anyone have 4-8 of them in a system they would call "quiet"? I have a Thermaltake TY-140 fan en-route so I can check it out but my last experience with quiet fans was doing the 7v mod to Panaflo 80Ls.
Also, what do you guys think of painting it vs leaving the aluminum bare? I'm going to paint the steel panel for sure, but the rest of it I'm actually thinking it wouldn't be worth the effort since I'm going to cover the exterior in wood. Though...the thought had occurred to me to add a side window while I'm at it...