Richatarded
Bad Trader
- Joined
- May 28, 2006
- Messages
- 100


Follow along with the video below to see how to install our site as a web app on your home screen.
Note: This feature may not be available in some browsers.


 .
. 


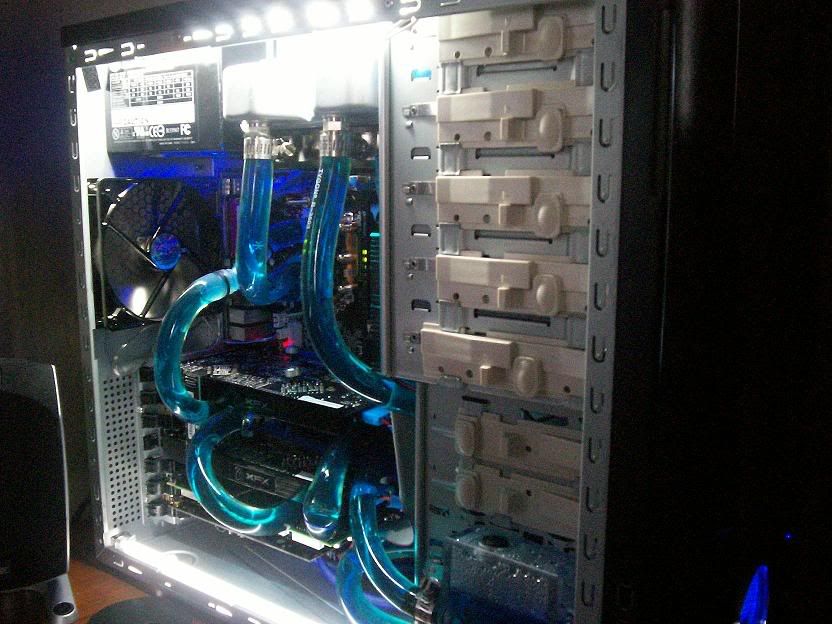
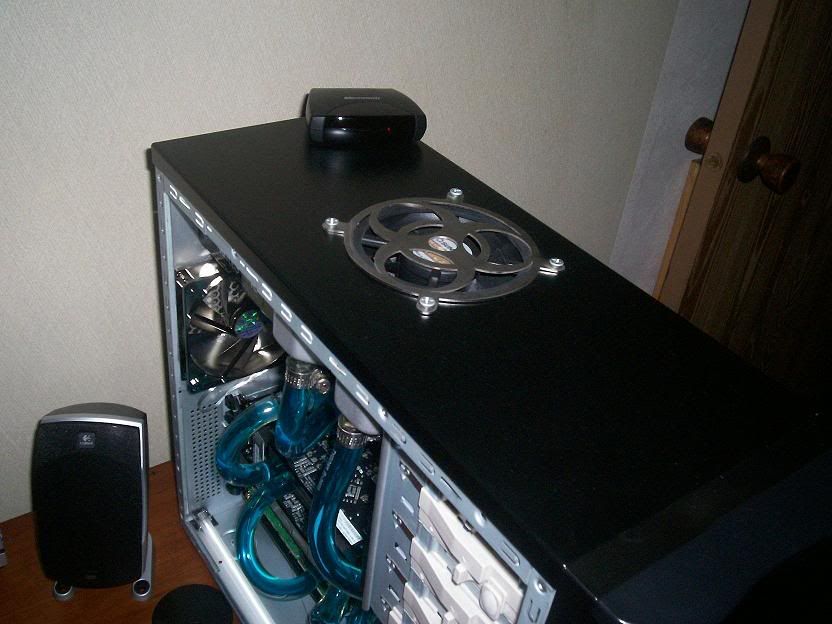
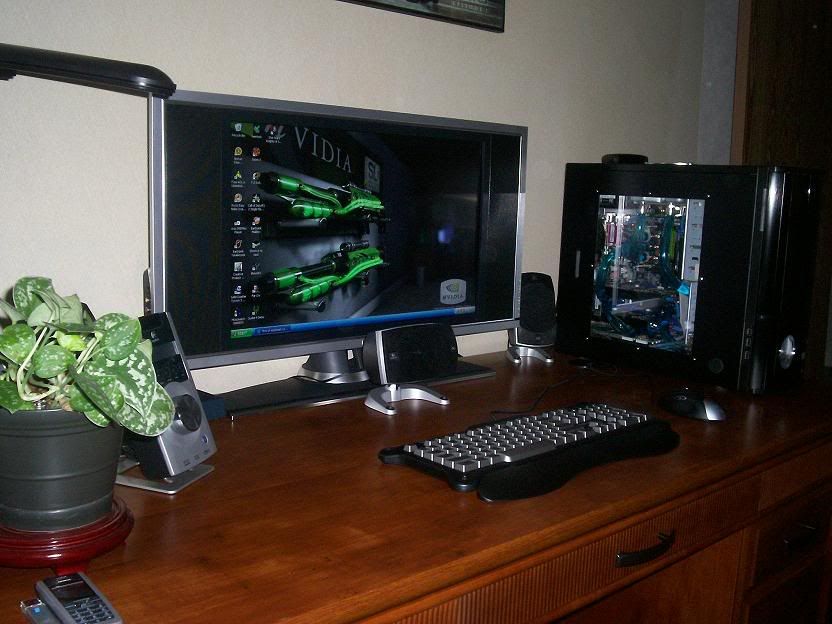
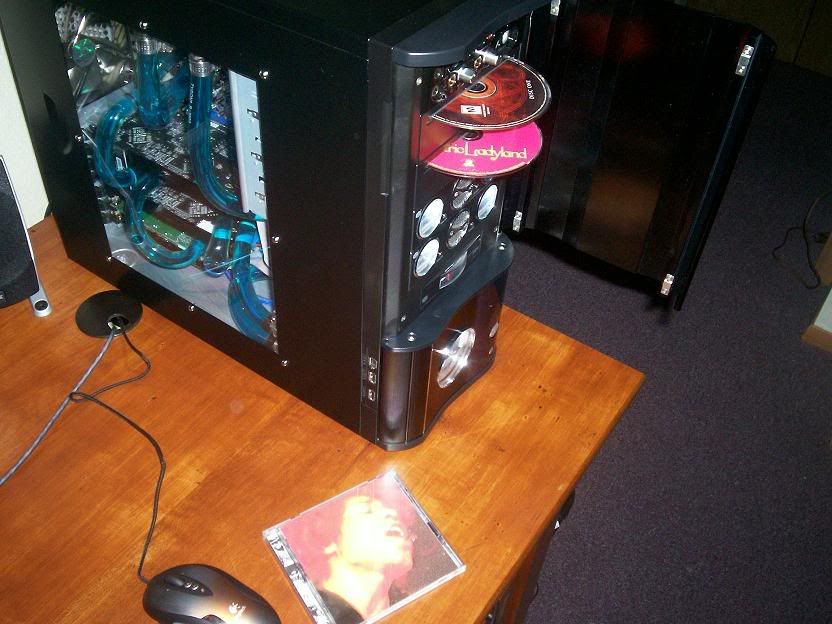

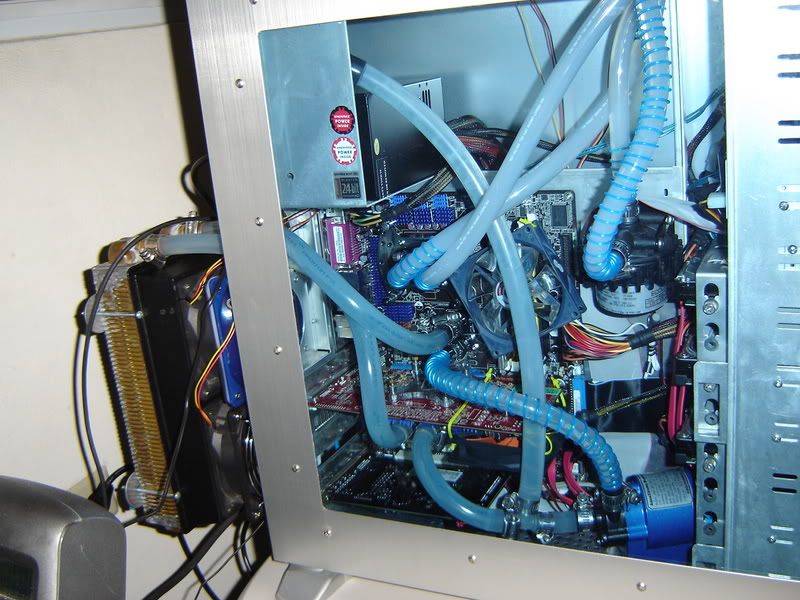
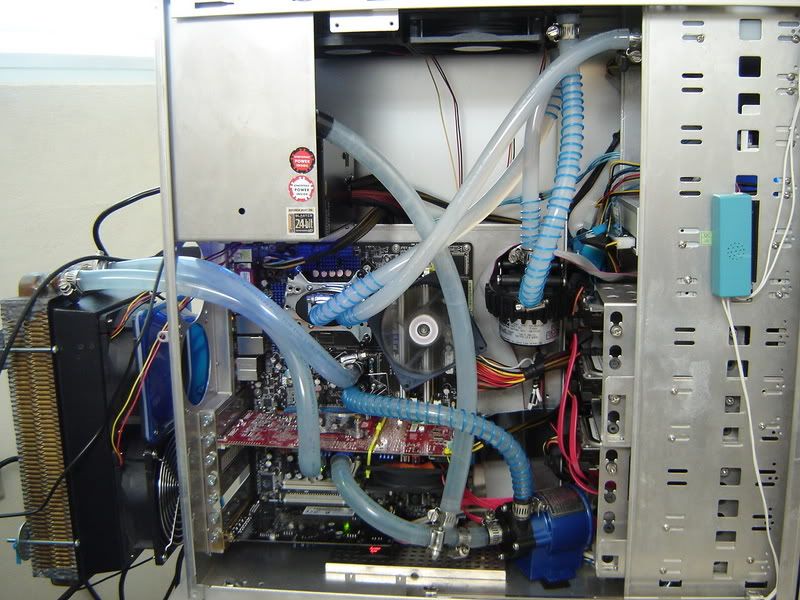


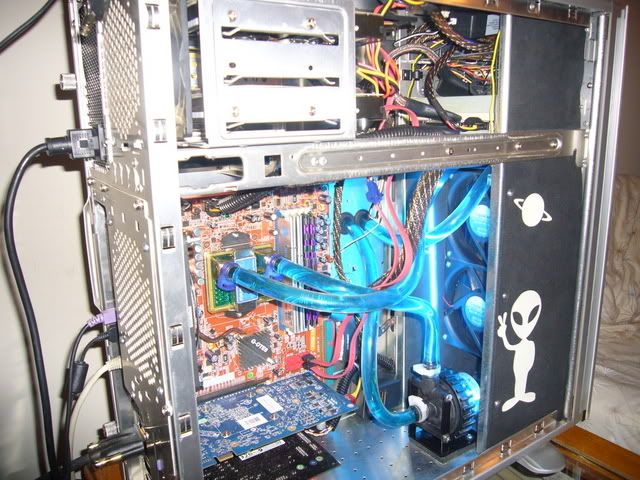
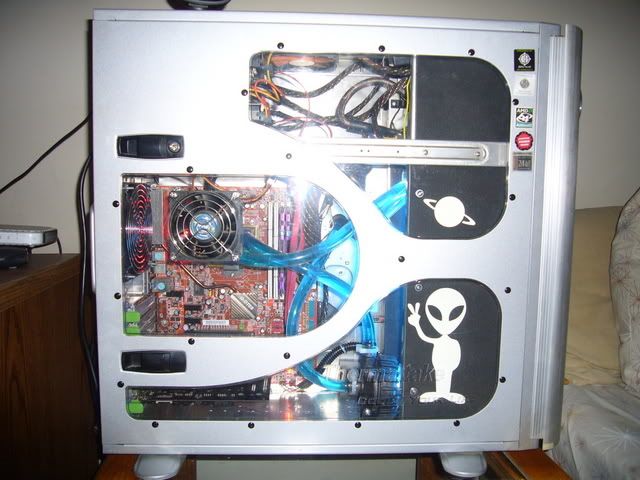
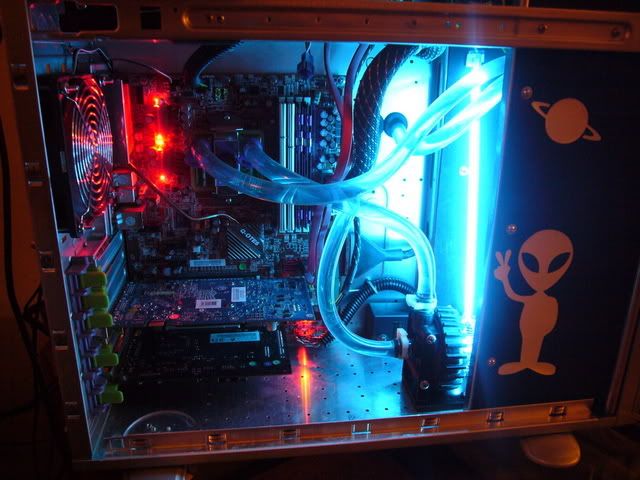
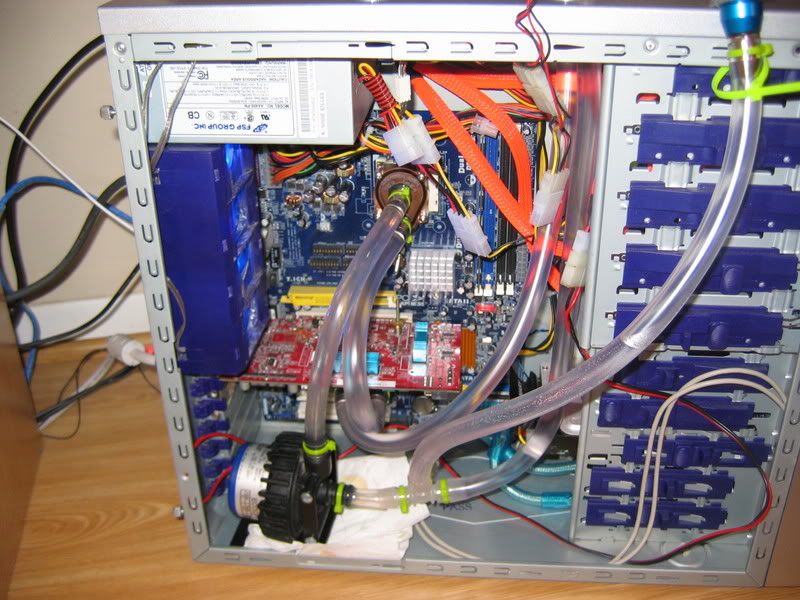
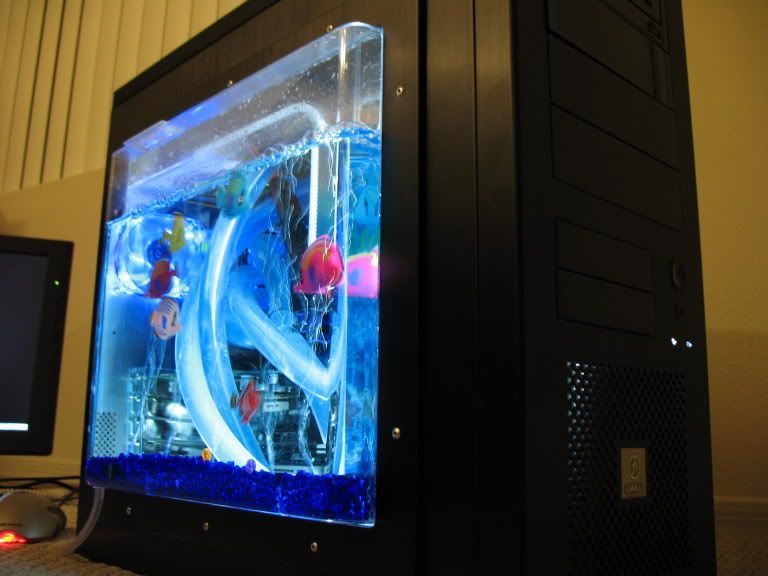
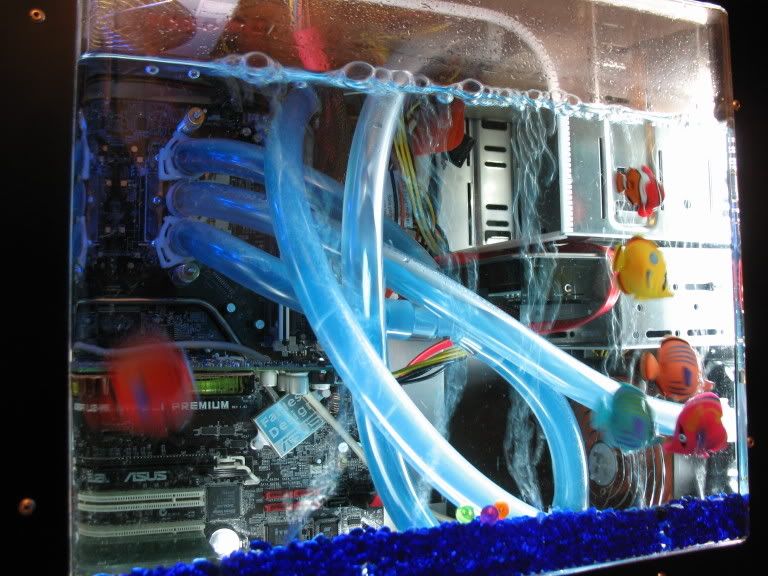
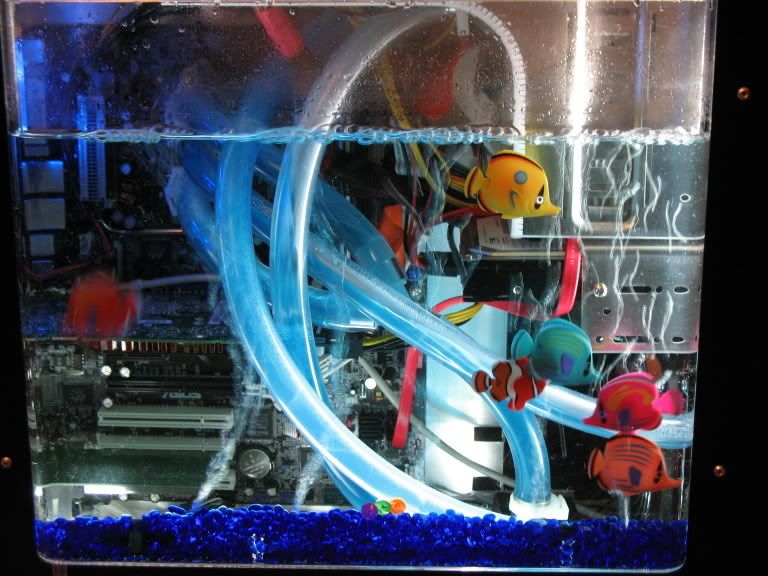
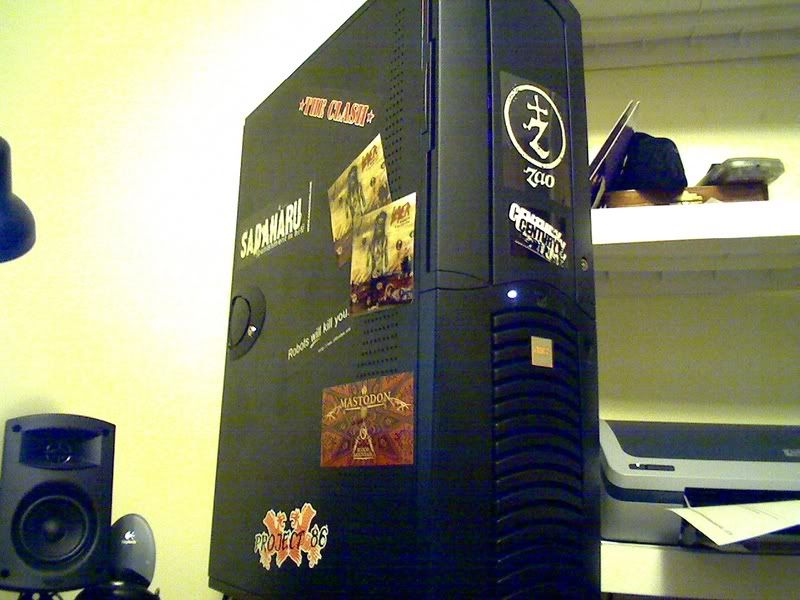
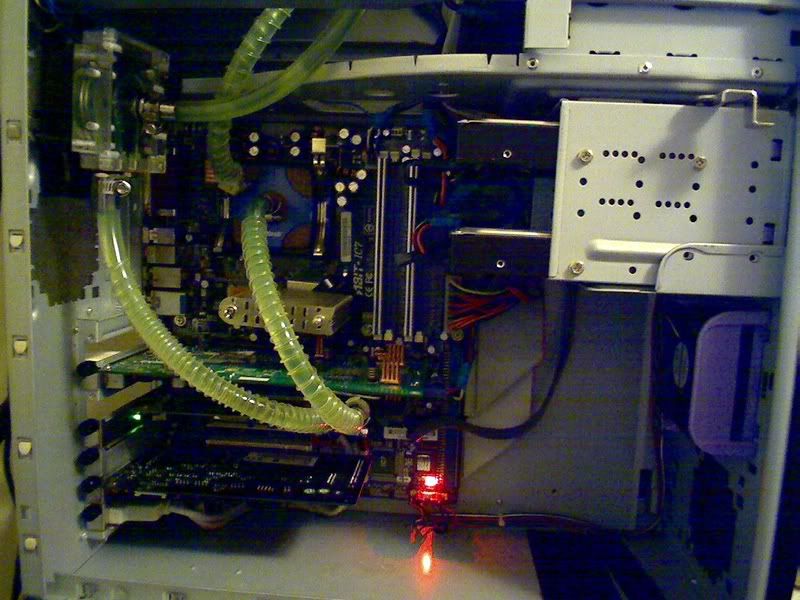
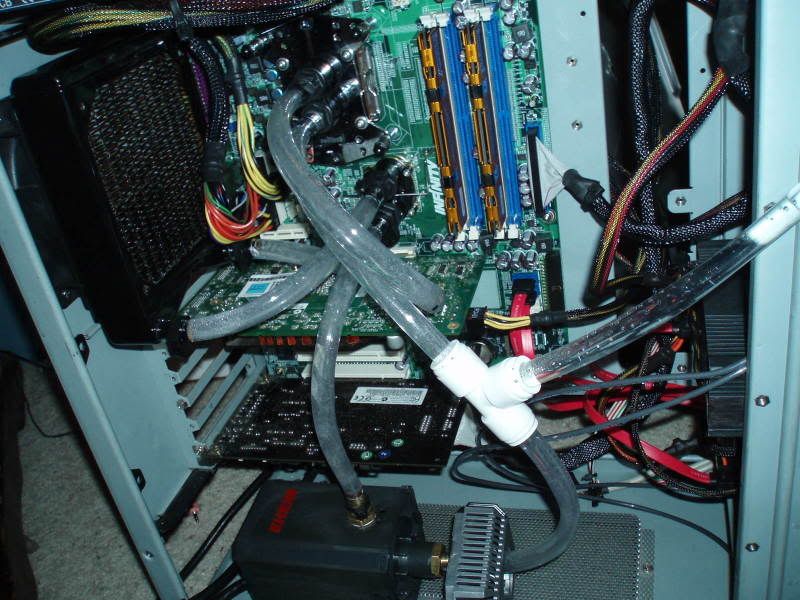
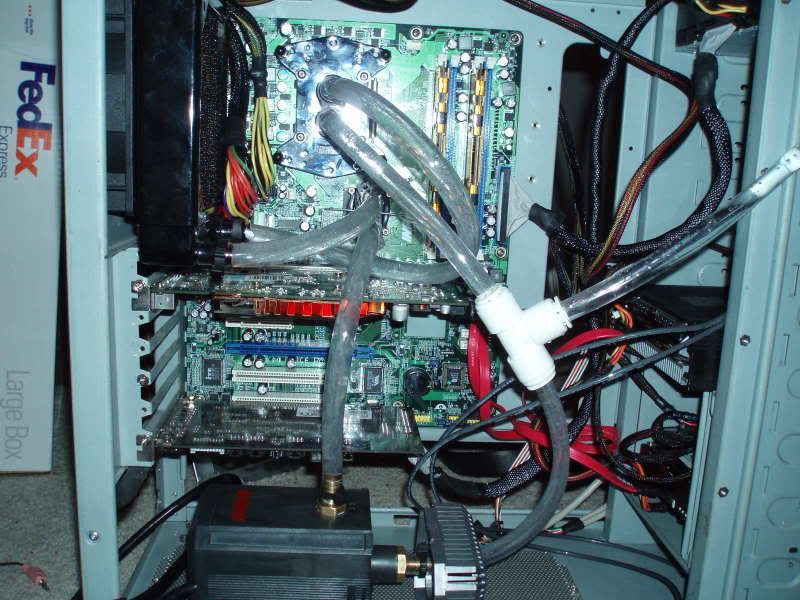
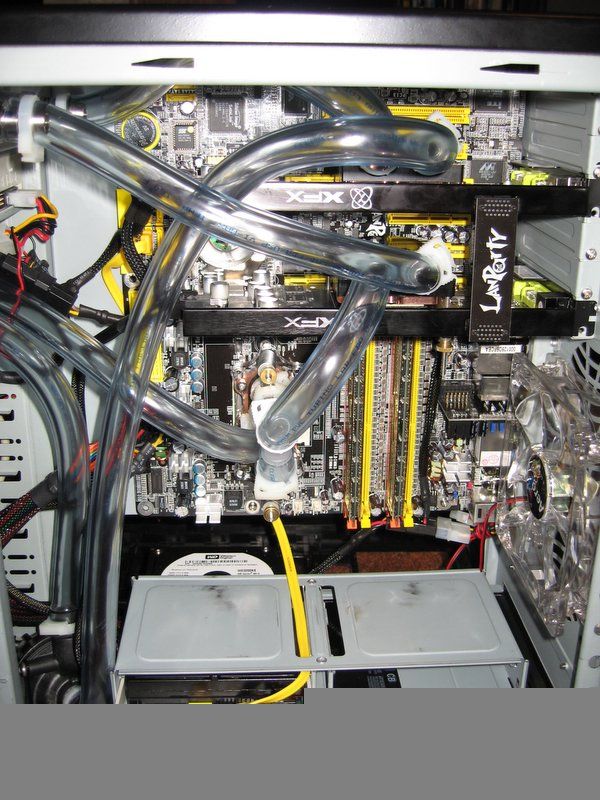
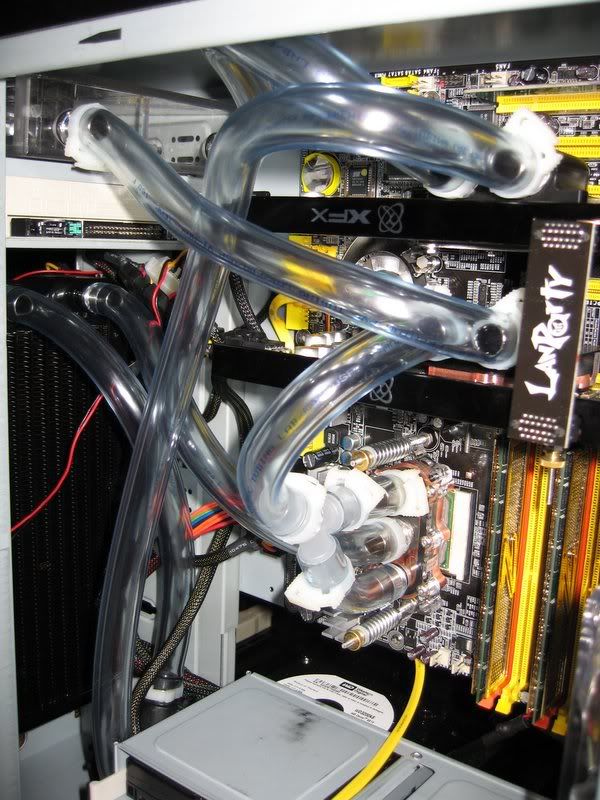
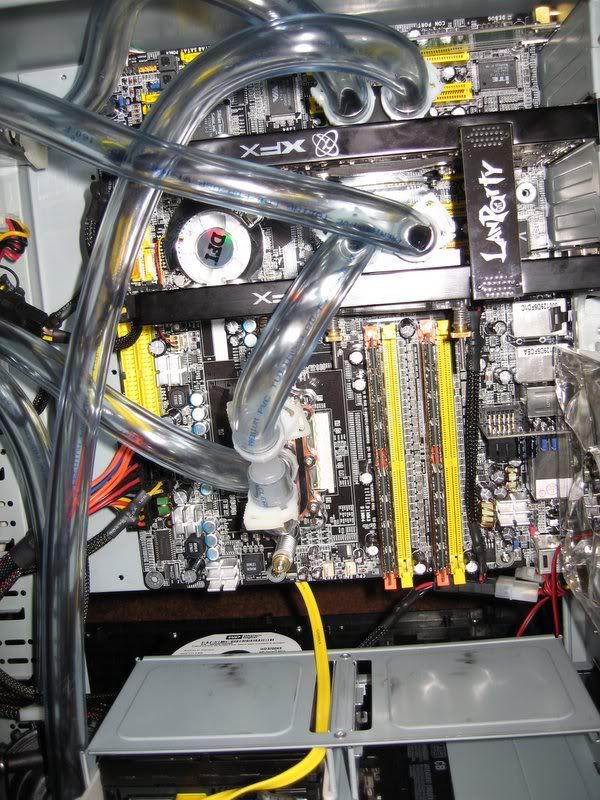
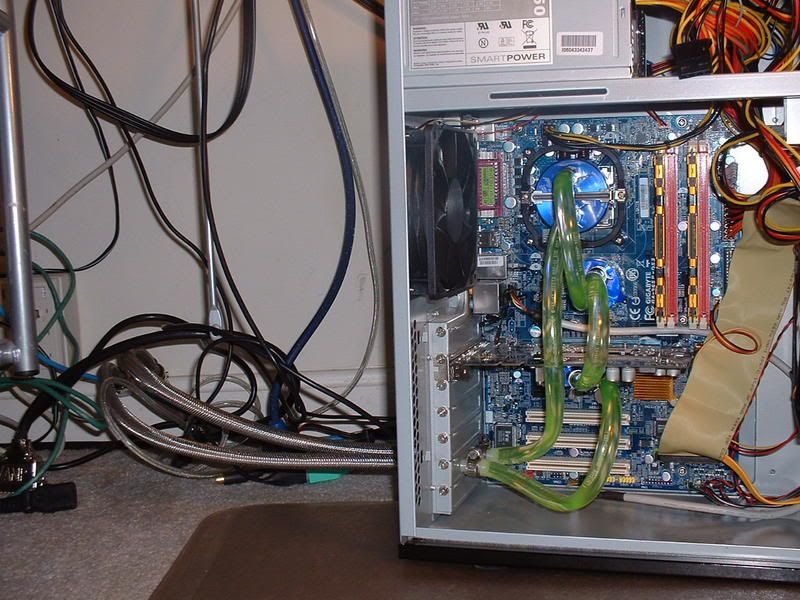
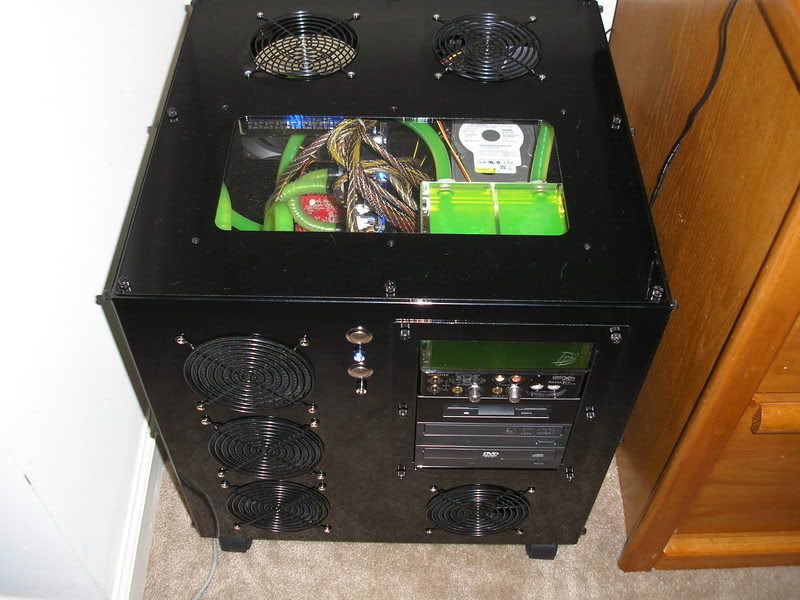
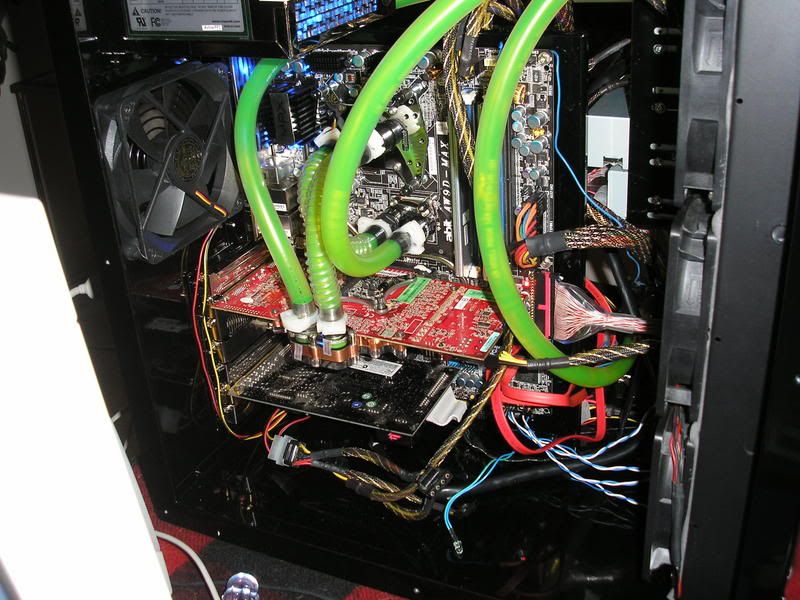
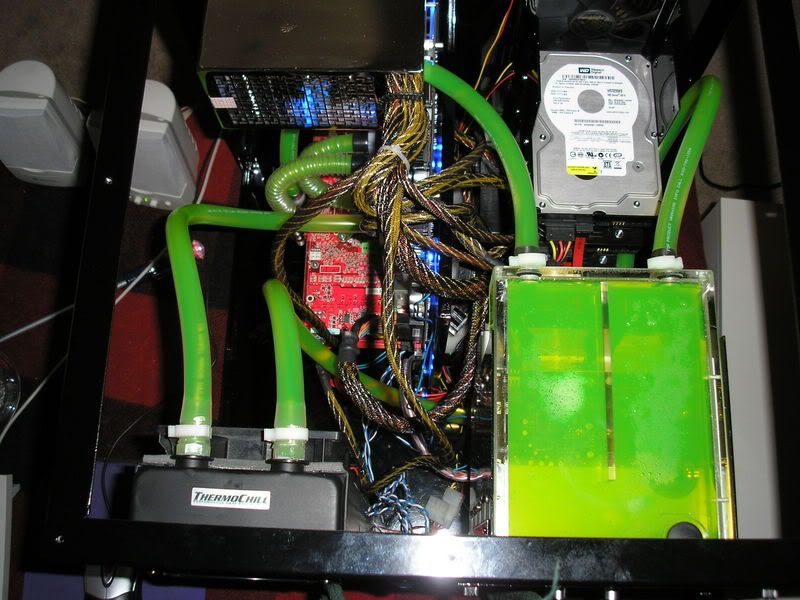
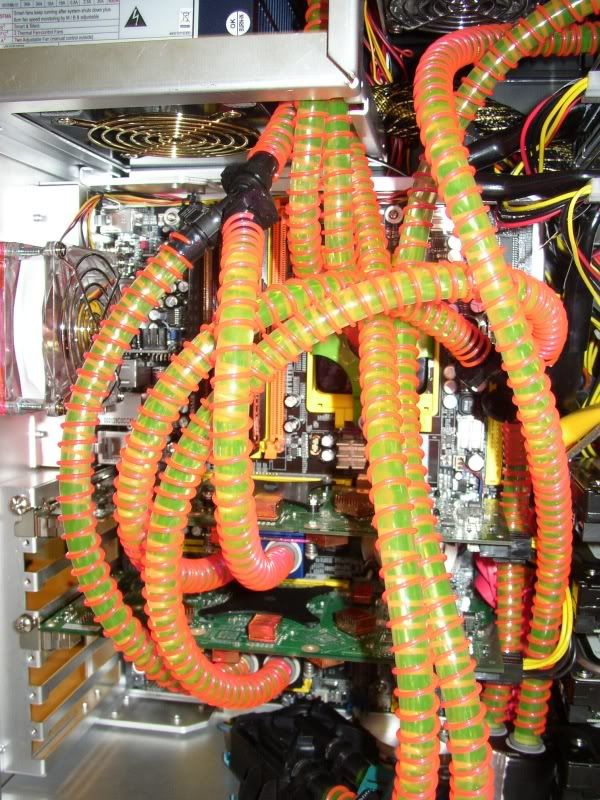
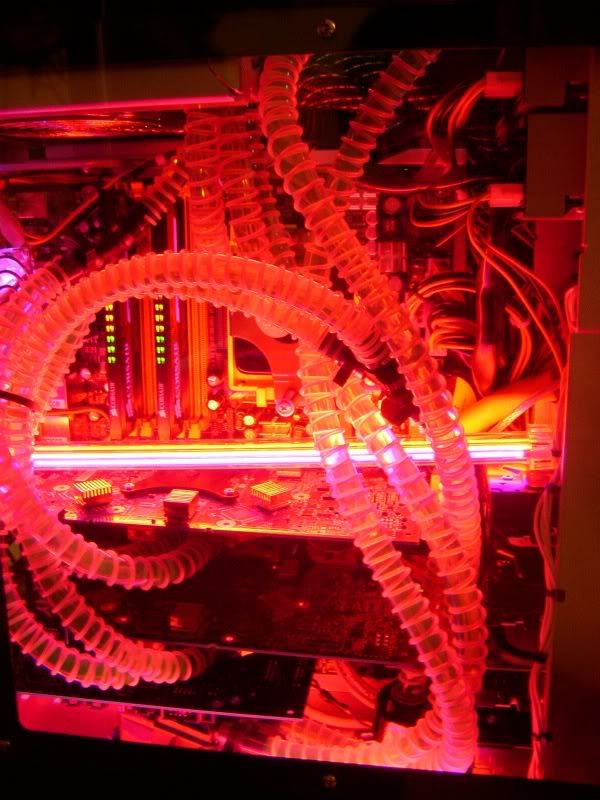
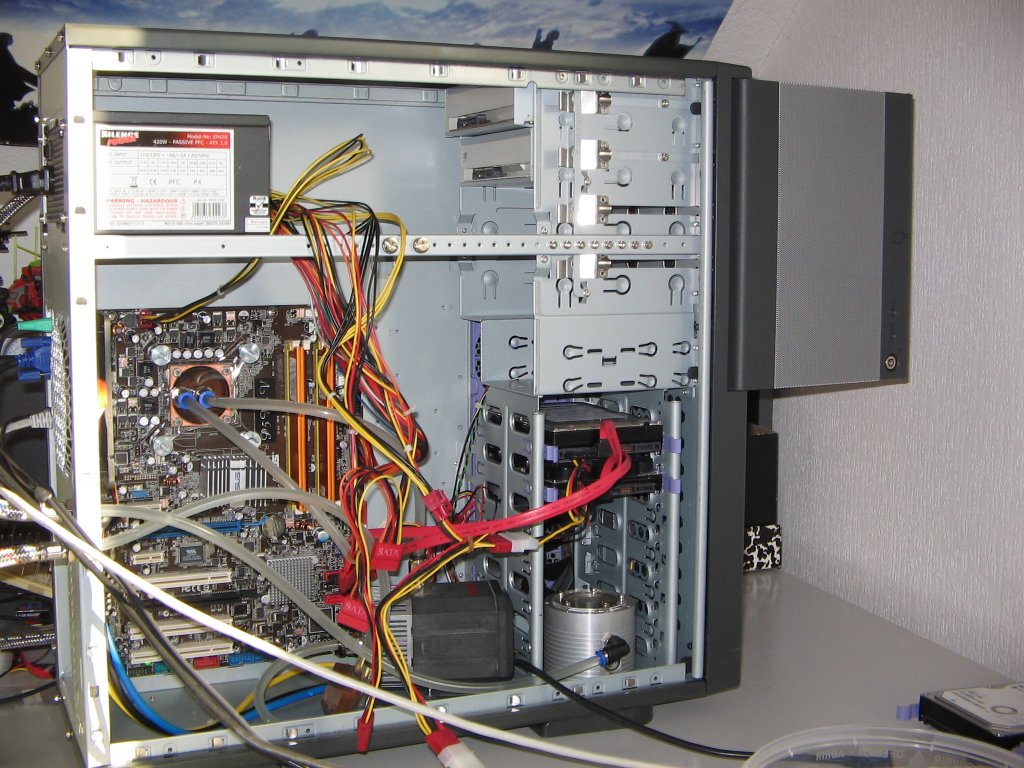
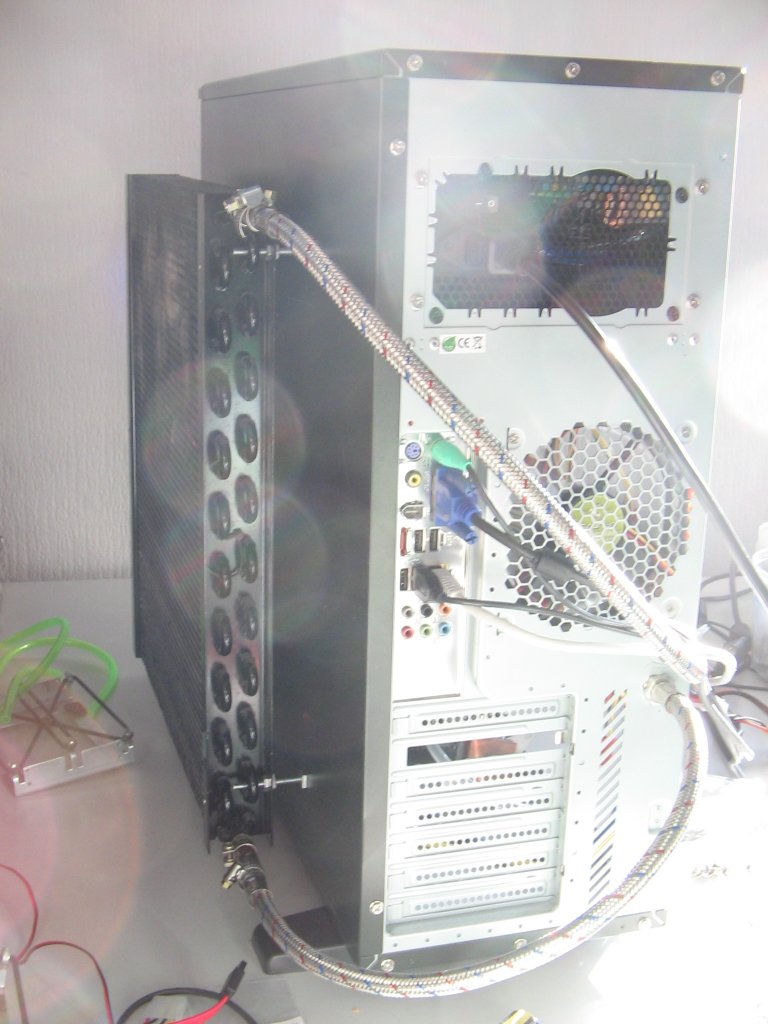
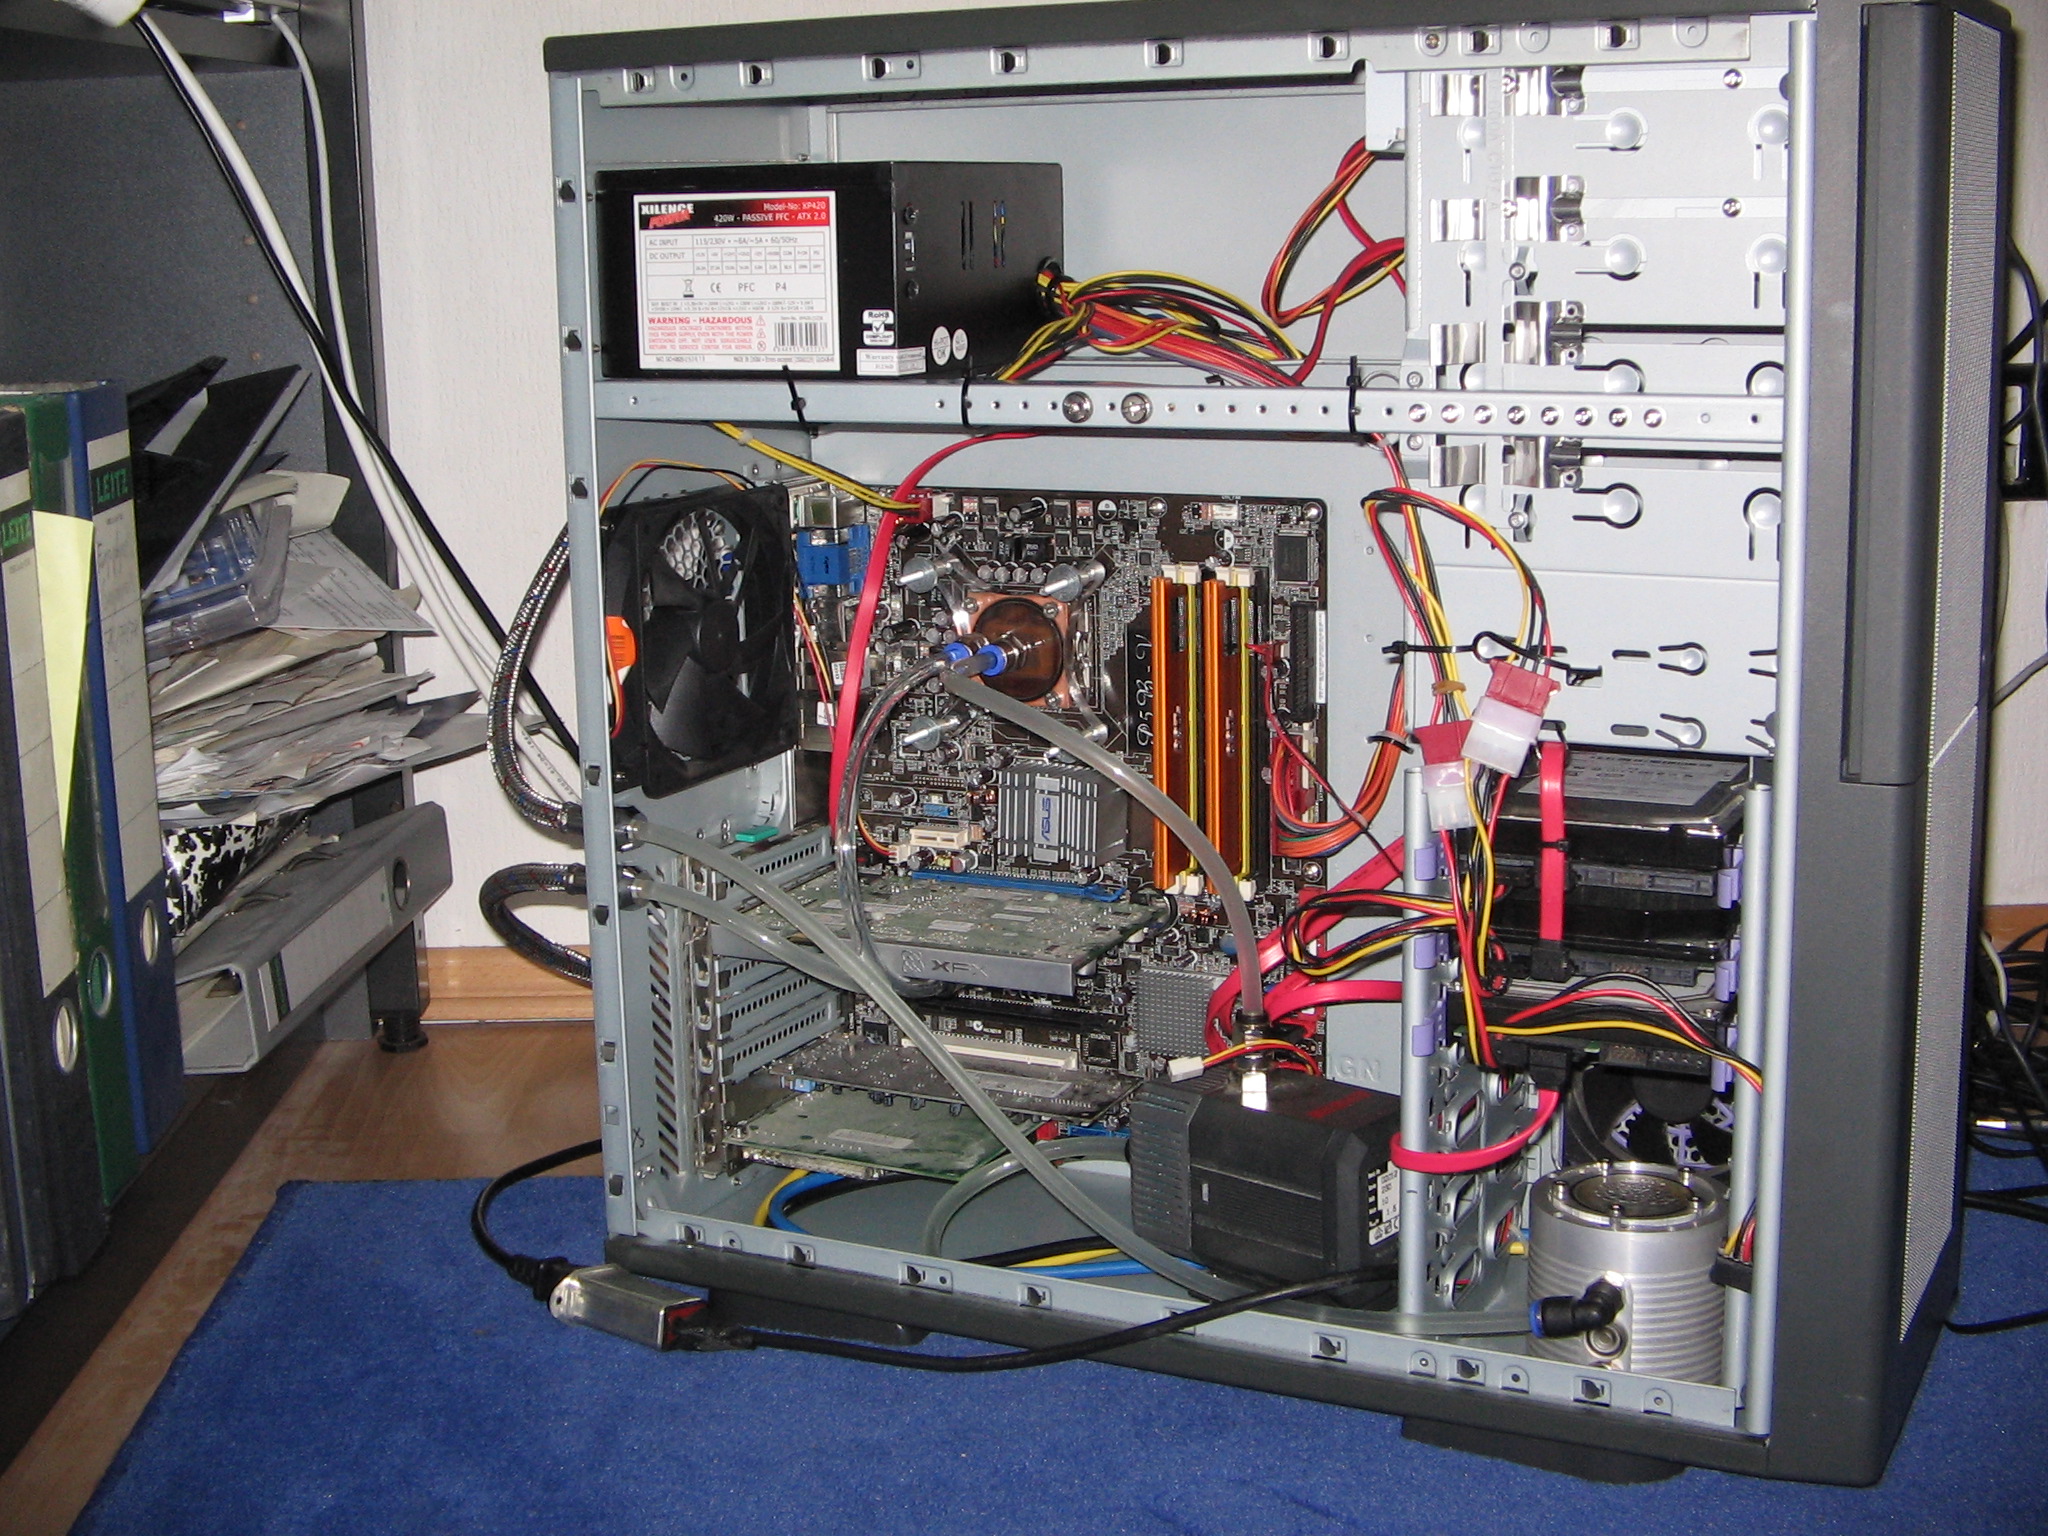
danks said:Finally put together my new loop in a u2-ufo.
System Specs:
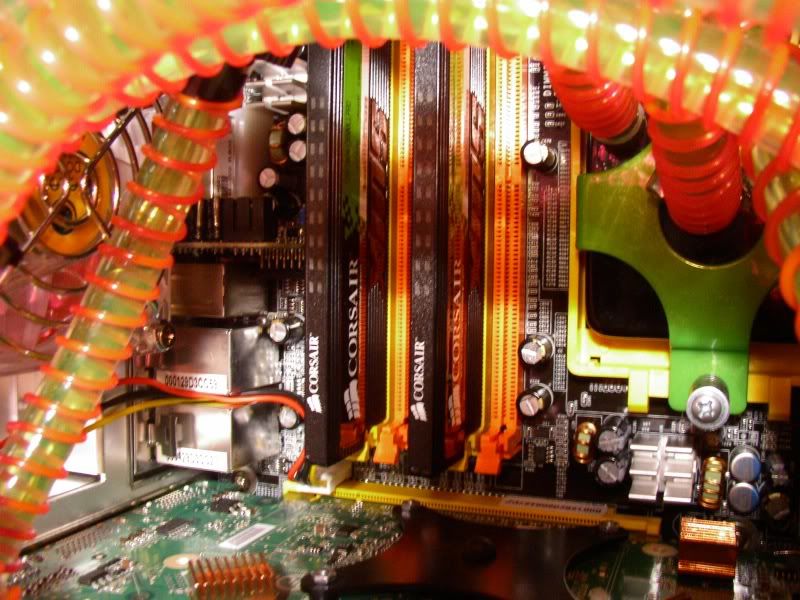
Asus A8N-SLI Premium
Athlon X2 4800+ @ 2.6 1.31v
2gb corsair xms
2x bfg 7800gtx @ 490/1.32
2x 74gb Raptor
500gb Hitachi Deskstar
400gb Hitachi Deskstar
Audigy 4 Pro
Plextor sata dvd-rw
6x Yate Loon
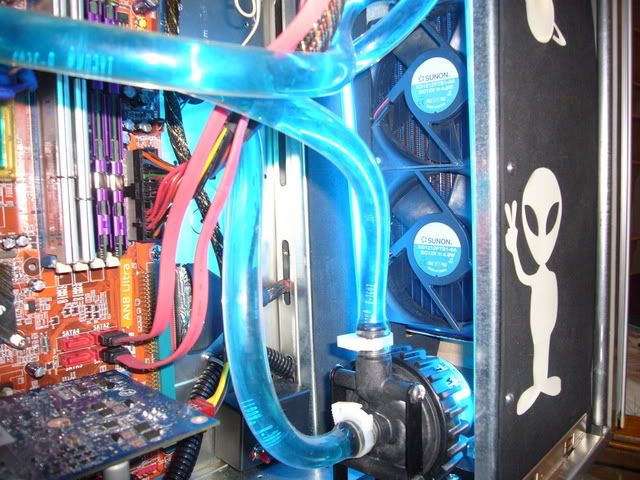
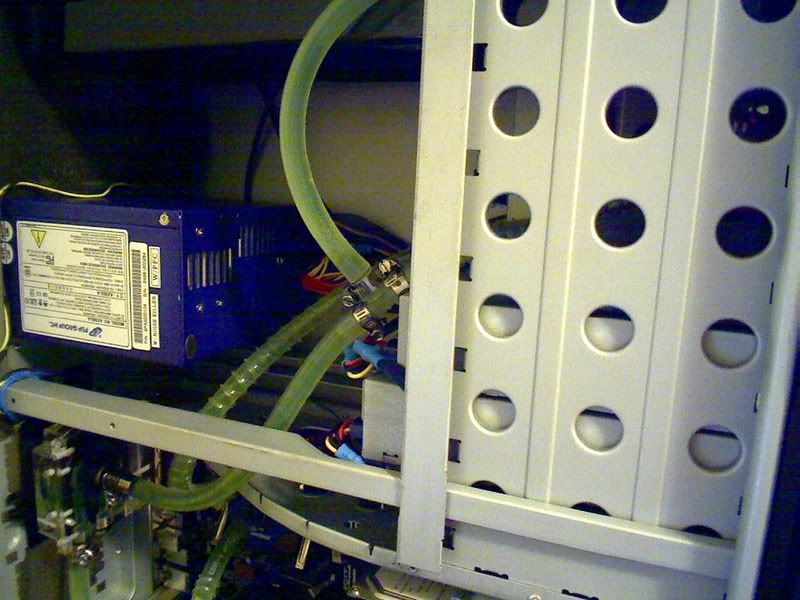
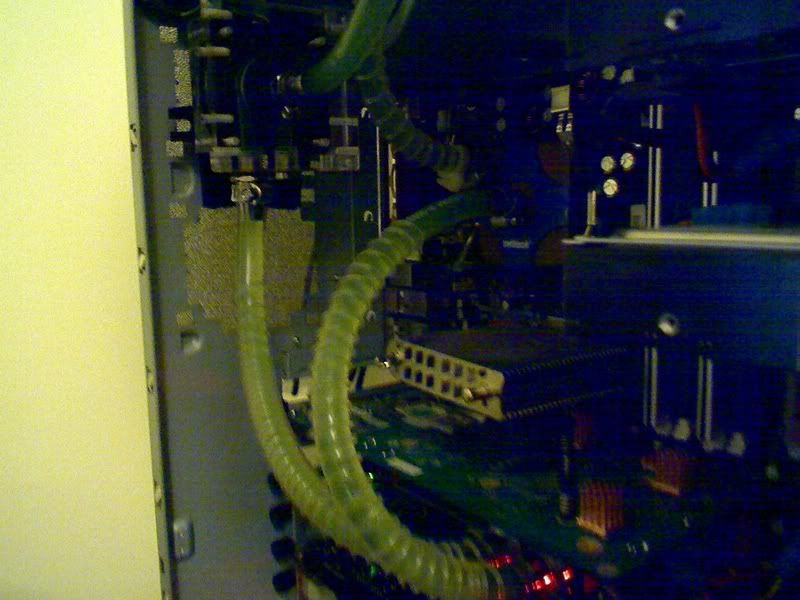
Water-Cooling Specs:
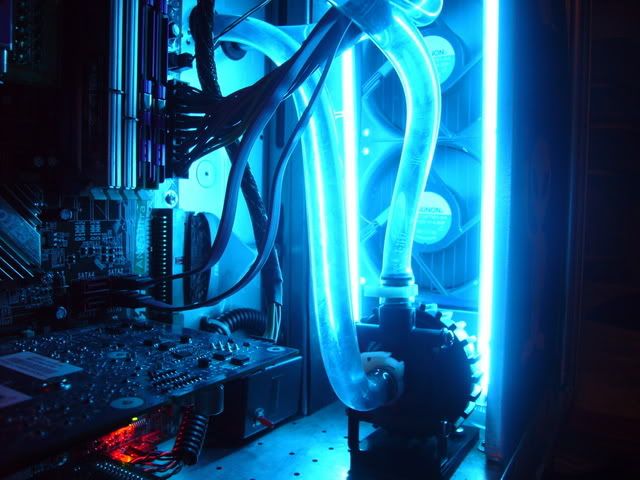
Laing D5 Pump
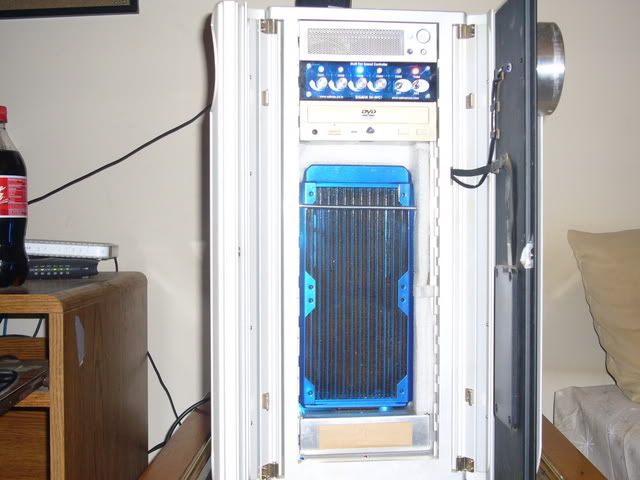
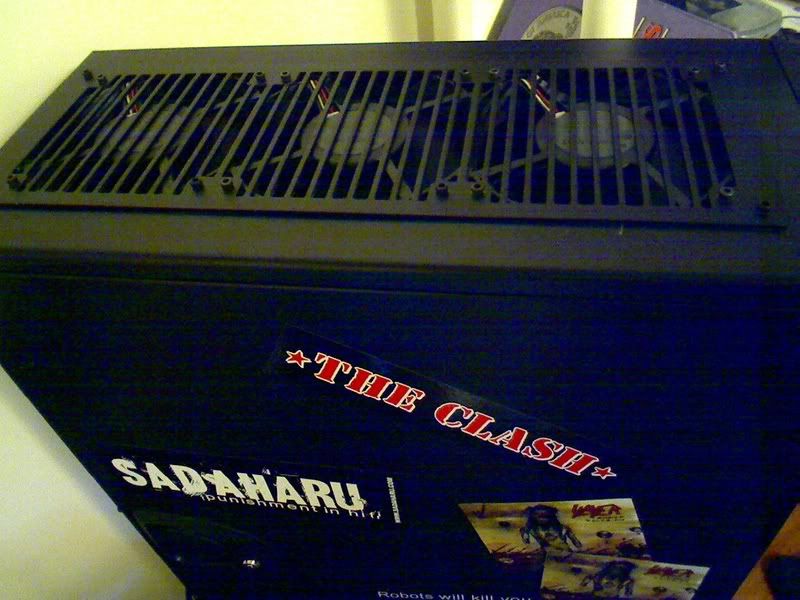
Thermochill PA 120.3 w/ gasket, 3x Panaflo U1A
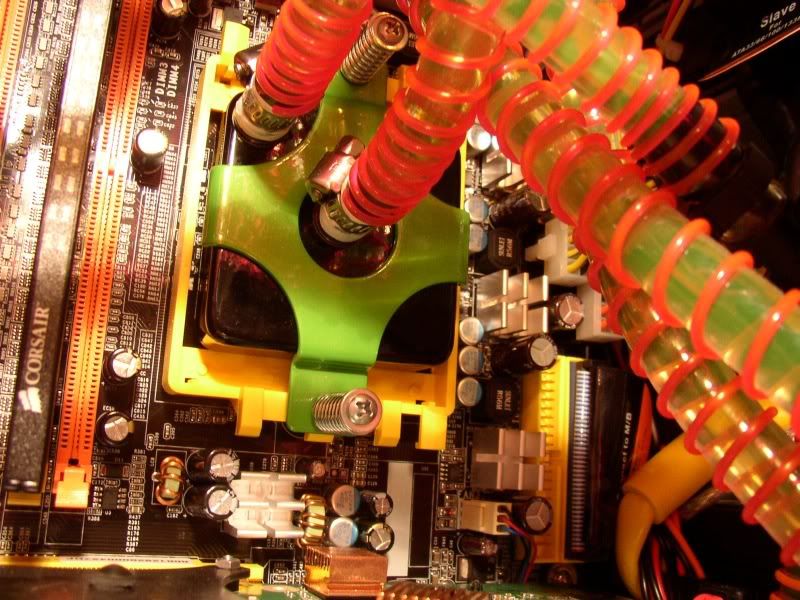
Swiftech Storm rev 2
Swiftech Microres
2x Danger Den Maze4 GPU
Masterkleer 7/16 tubing
Temps:
Ambient: 23-25c
CPU Idle: 27-29c
CPU Load: 38-40c
GPU Idle: 35-36c
GPU Load: 39-40c
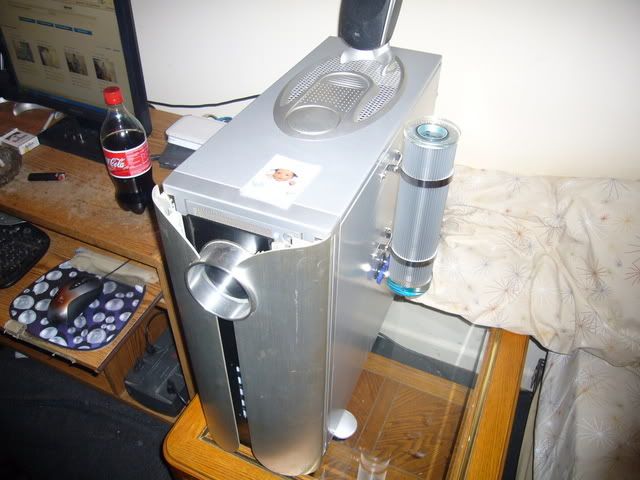
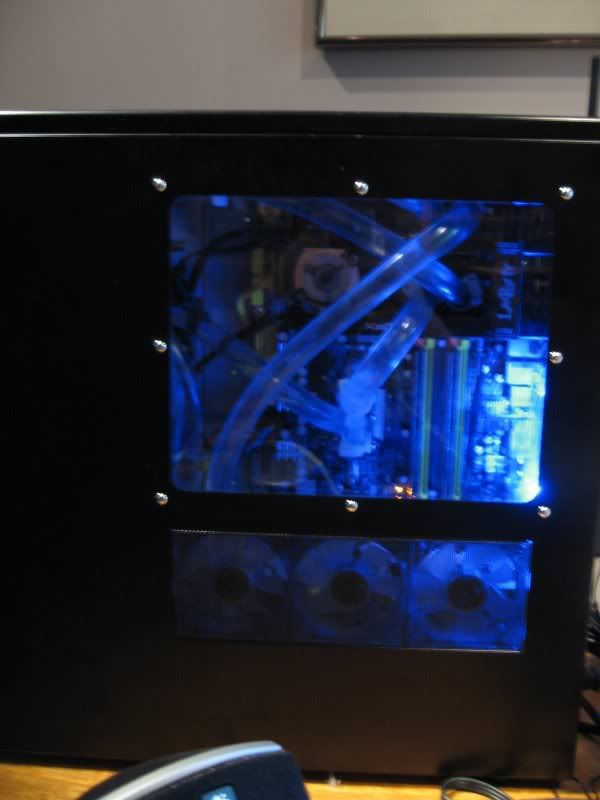
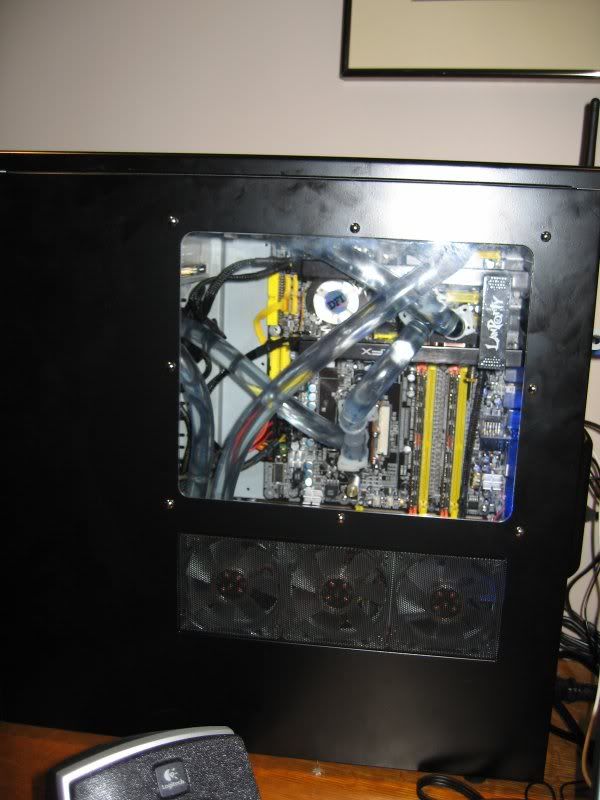
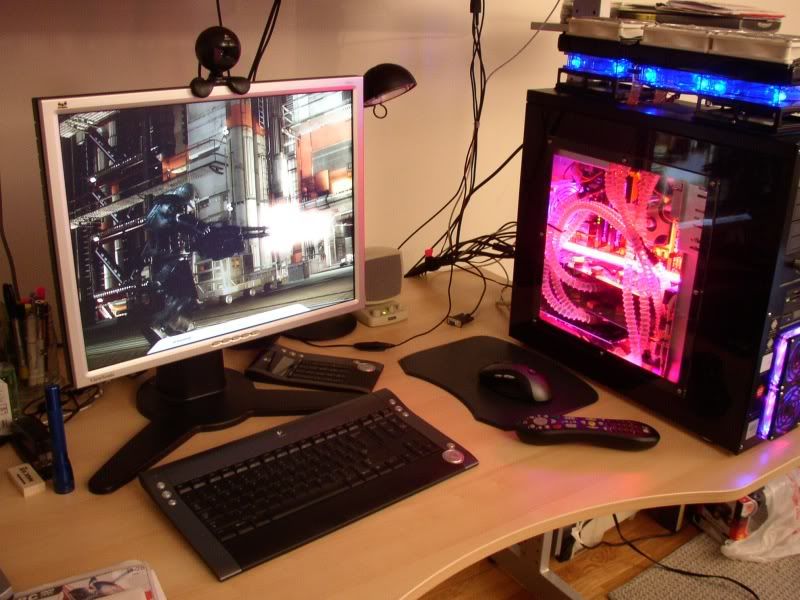
Please excuse my crappy camera, dark shots didnt come out too well.
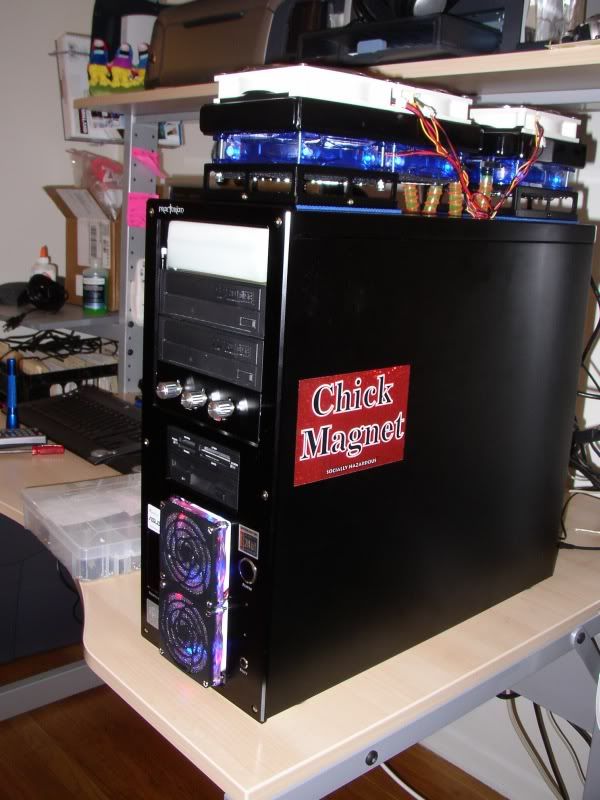
As anyone with this case will tell you its really hard to hide the wires so the next project will be sleeving. Probably will replace the fan grills with something nicer too.


 Its REALLY quiet and offers high GPM.


 (hey it was free after rebate!).