OK here we go!
I have this super tall, old assed tower that was taken out of service at work. We used it for troubleshooting dialup issues. It was an old Win98 pc that had an external 33.3k modem and we all referred to it as "Dial Buddy". Someone I suggested I call it 33.3k and have an extermal dialup modem on it somewhere, so that's where the name of this project came from. I finally got the funds to get the x58 m/b I wanted (MSI Big Bang X-Power) to go along with my i7 920, 3GB G.Skill 2,000MHz DDR3, and i7 Apogee GT water block. (I've had these 3 components for almost 2 years now- just didnt have the funds for an x58 m/b). Anyways, I had my dual loops external in my last build (check sig) and wanted this one to be all enclosed.
Specs at a glance:
Core i7 920 (D0)
3GB G.Skill Pi Black PC3-16000 2,000MHz DDR3
MSI Big Bang X-Power M/B
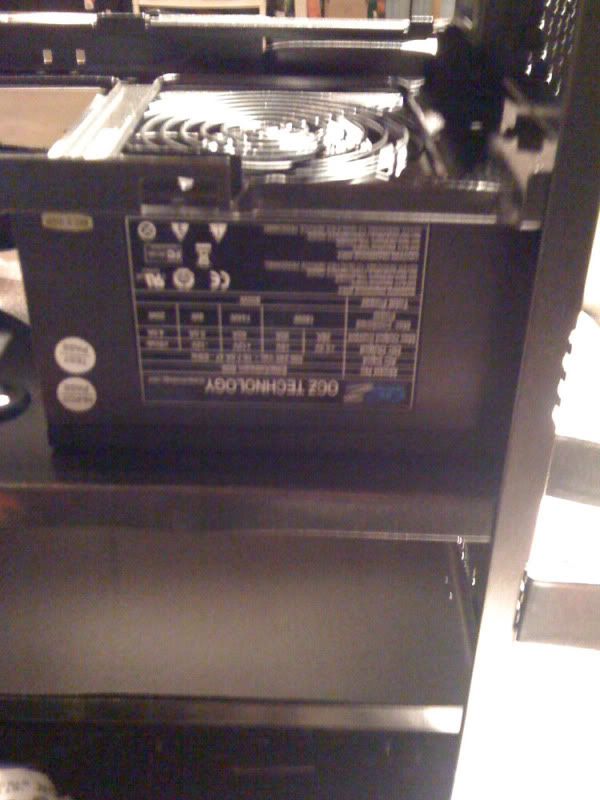
OCZ 850w PSU
3x120mm radiator
Apogee GT CPU water block
(2) 64GB SSD's (in RAID 0)
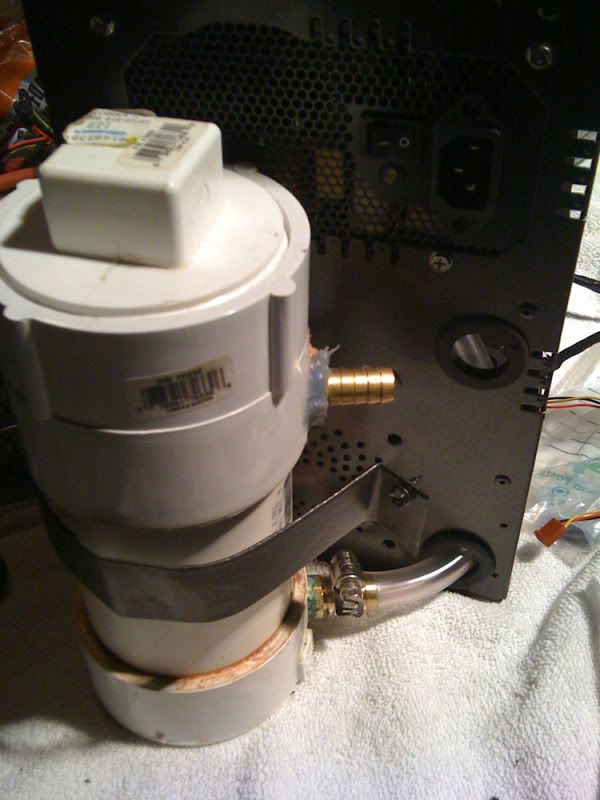
MCP 655 pump
OK here we go
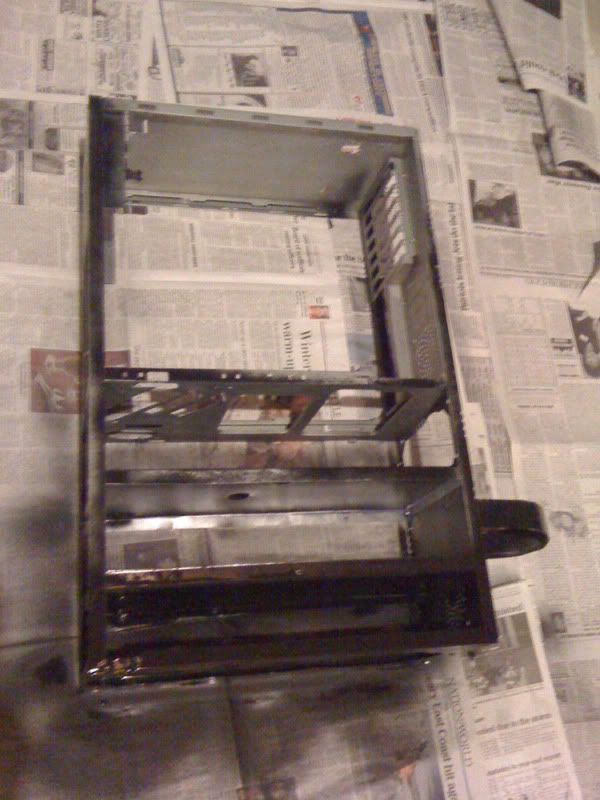
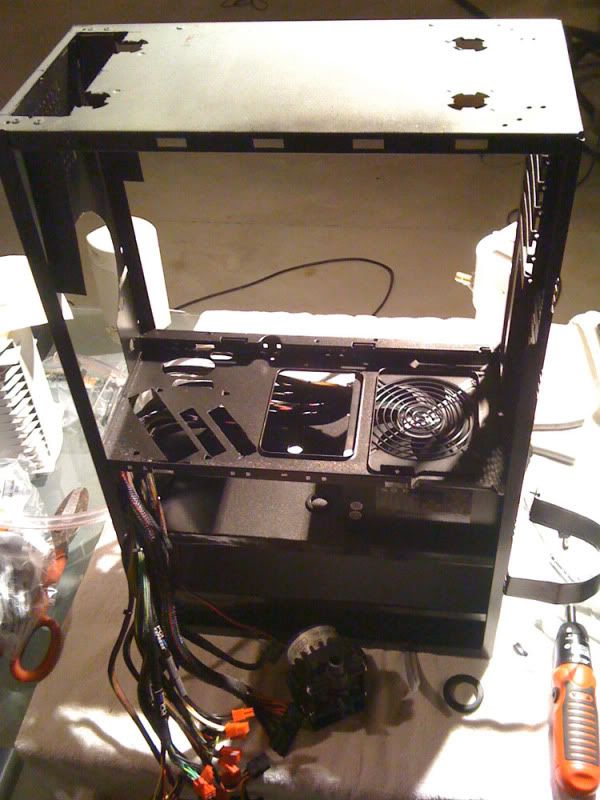
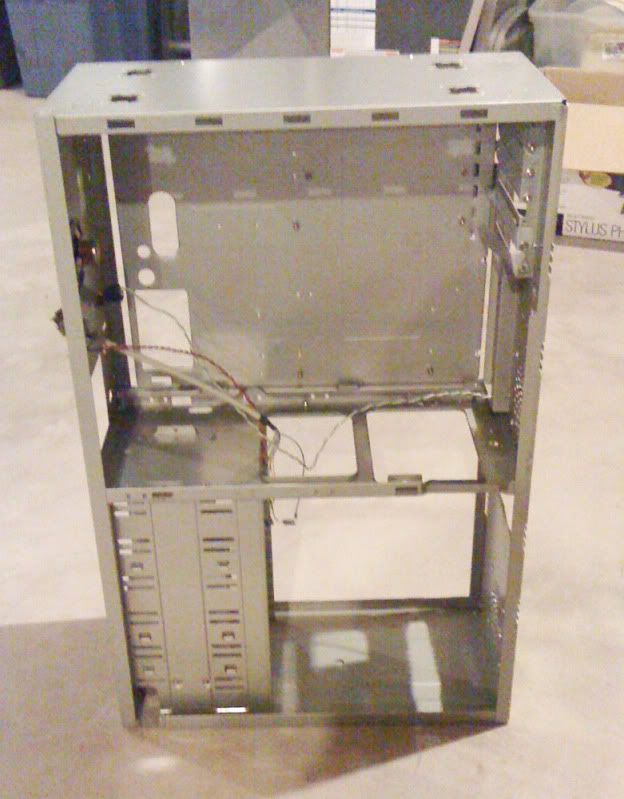
Here's the case in it's virgin form:

And here's his twin brother:

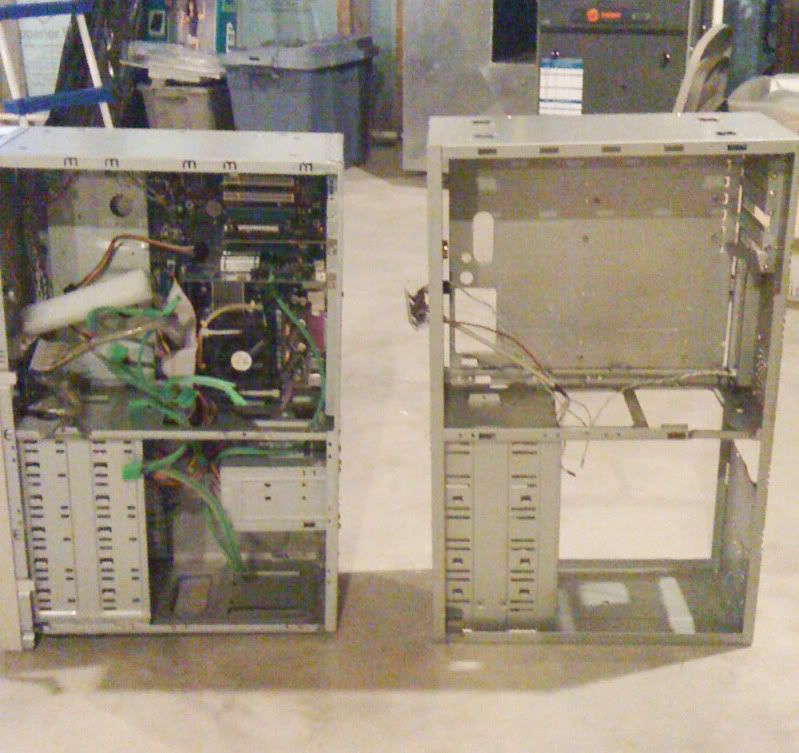
(All you real [H]ARD members should notice something odd about both of these towers)
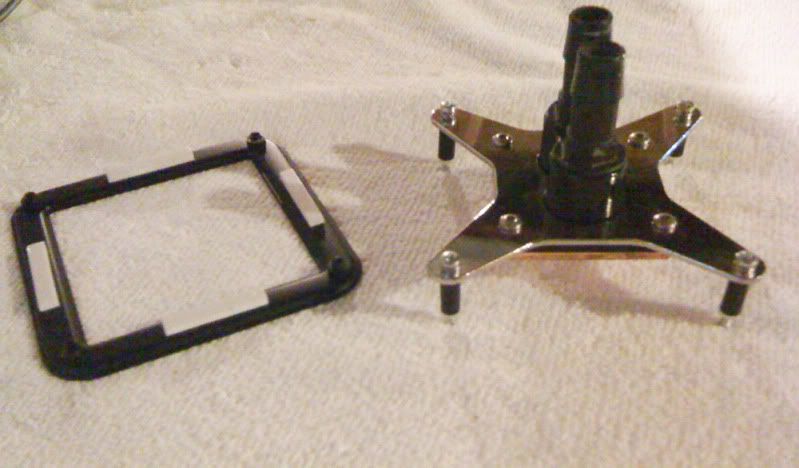
Apogee GT w/new i7 bracket:

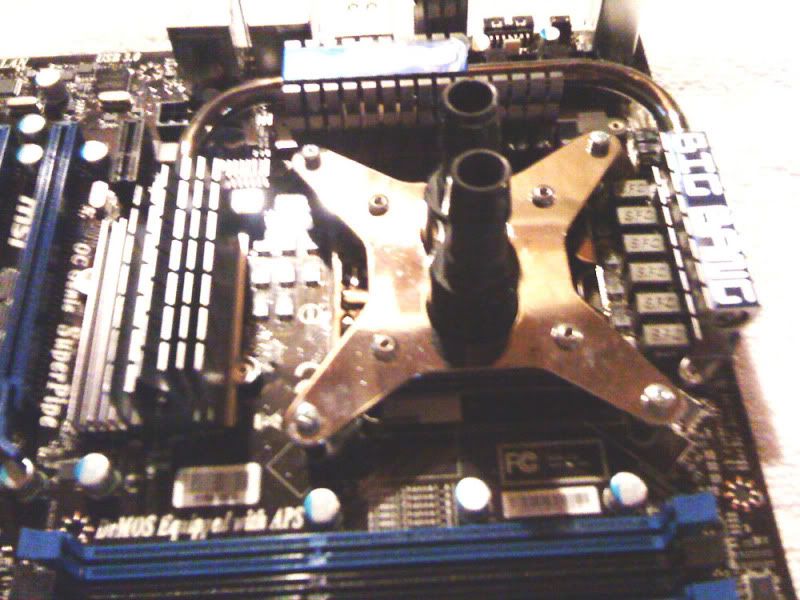
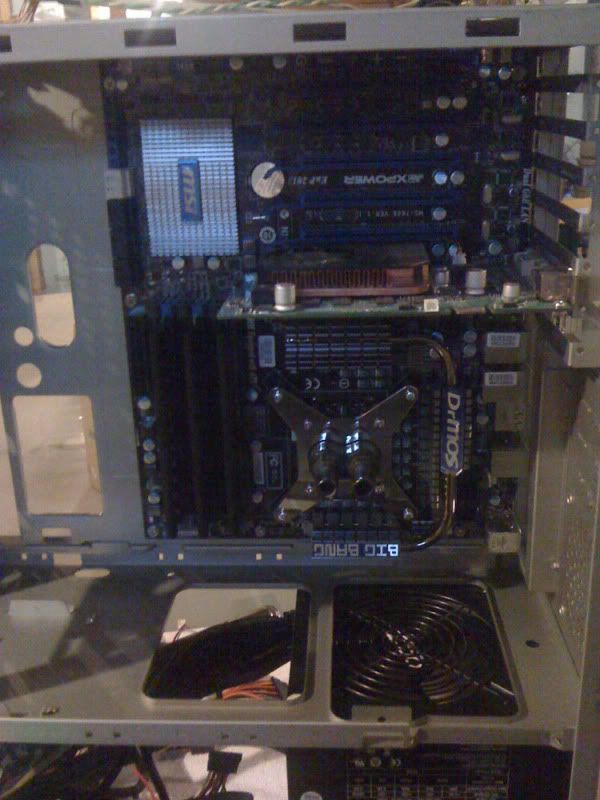
My new BIG BANG X-POWER w/water block installed! (For some reason I always feel the need to shout the name of that m/b)
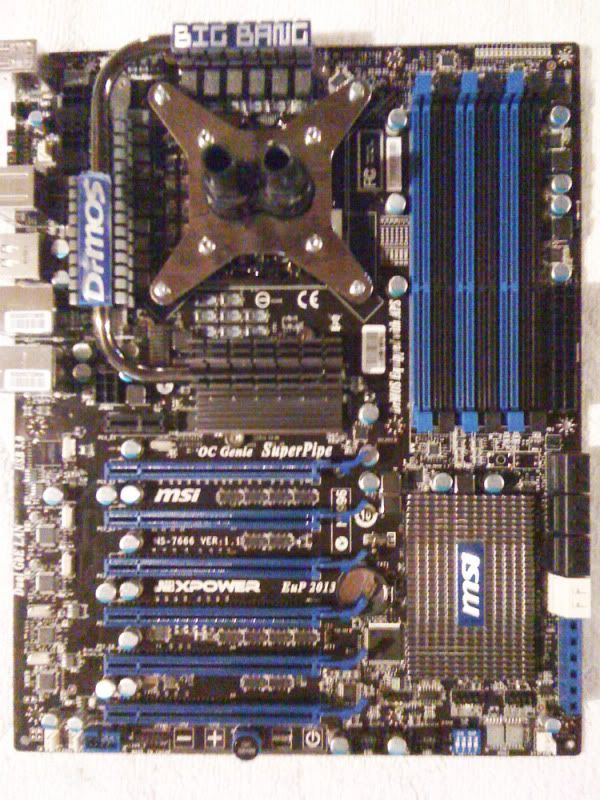
Another look:

Won't be needing these:


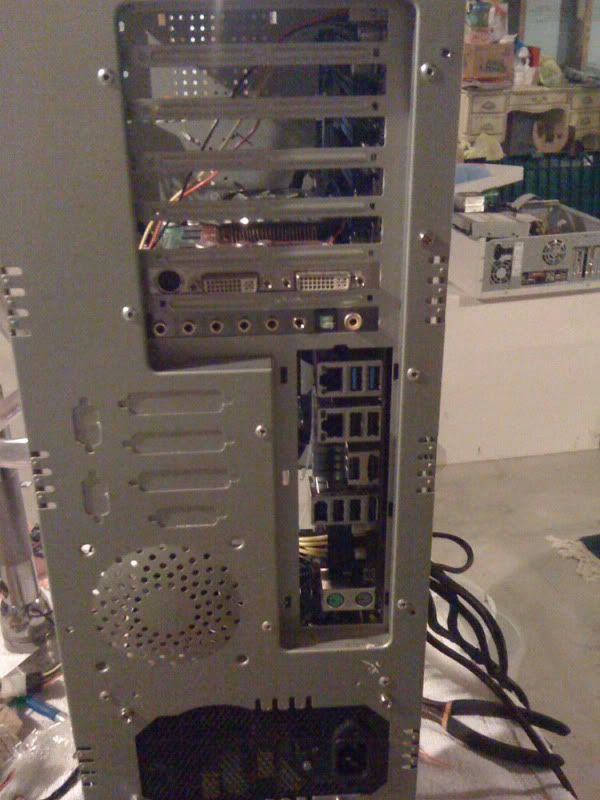
Motherboard mounted:

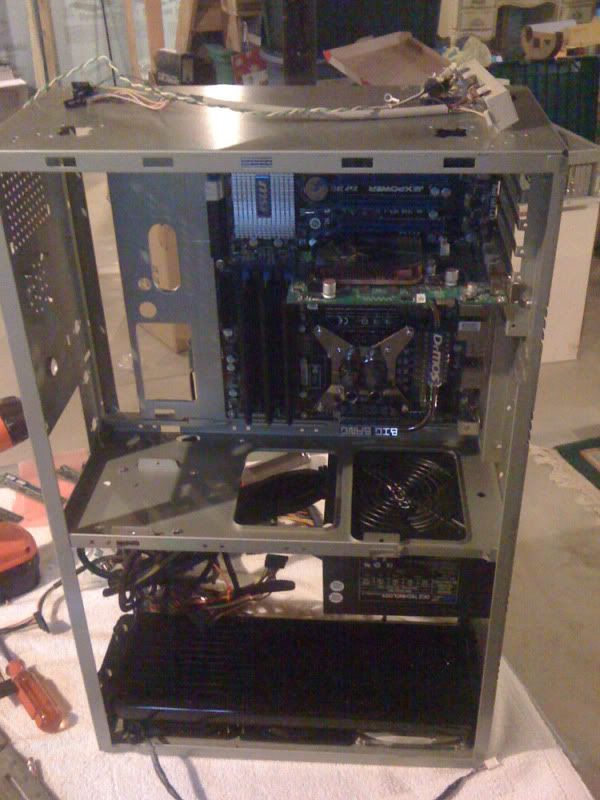

FYI, I'm assembling all the parts to make sure there's no issues with the M/B before I get all excited.
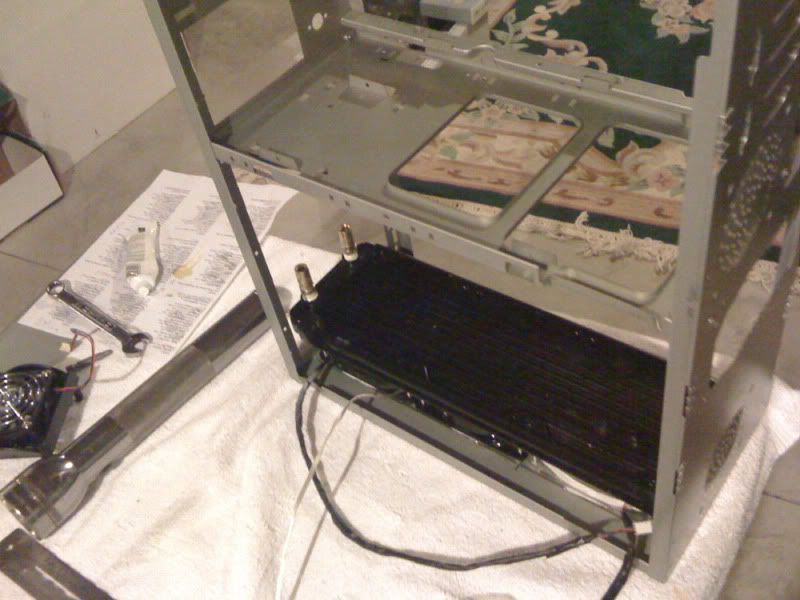
It's also important to know that at this point in the process I had no idea what/where/how this was going to go. Most of the time spent on this wasn't working, but rather THINKING about layout, design, etc. At first I was going to put the radiator in the front, but that didn't work out very well with the DVD drive and hard drives. So after much consideration I decided the bottom was the best placement.
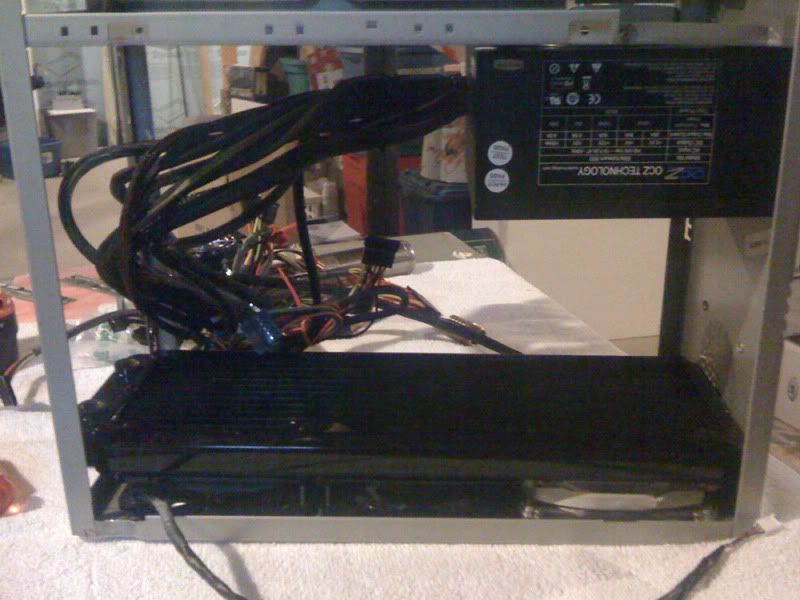
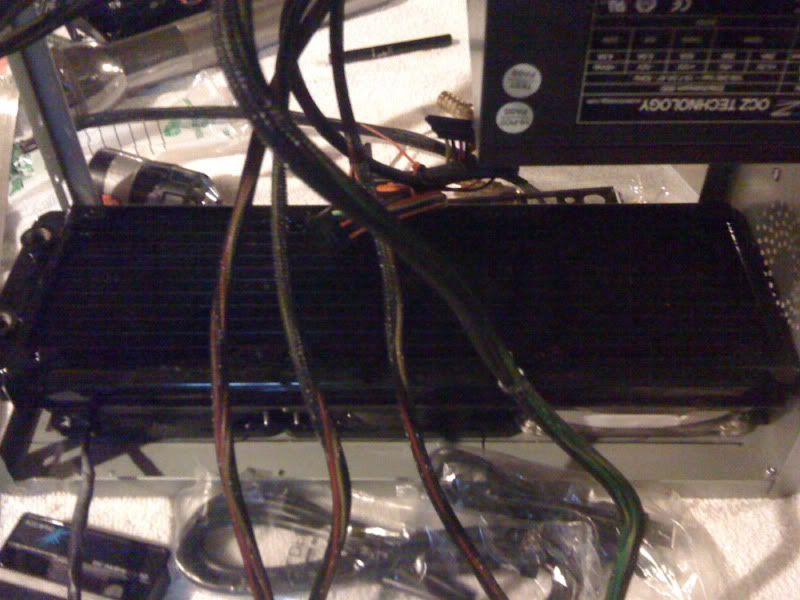
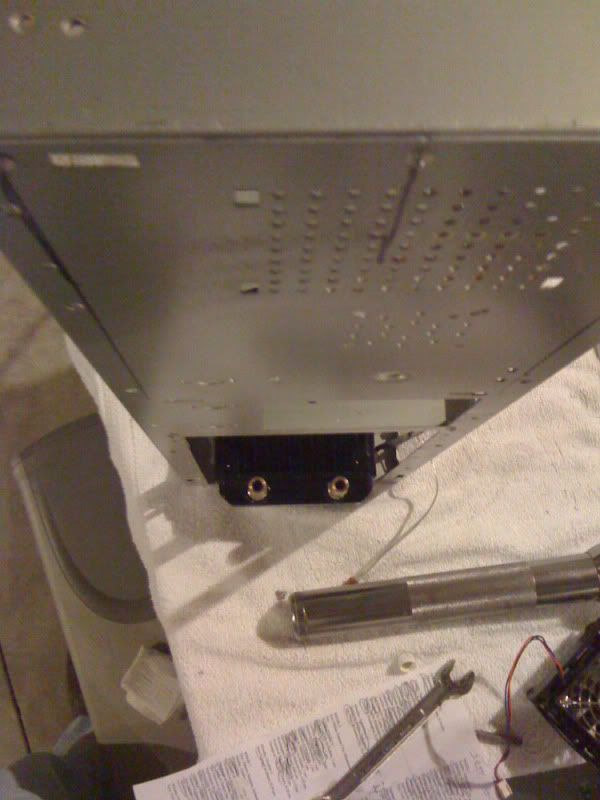
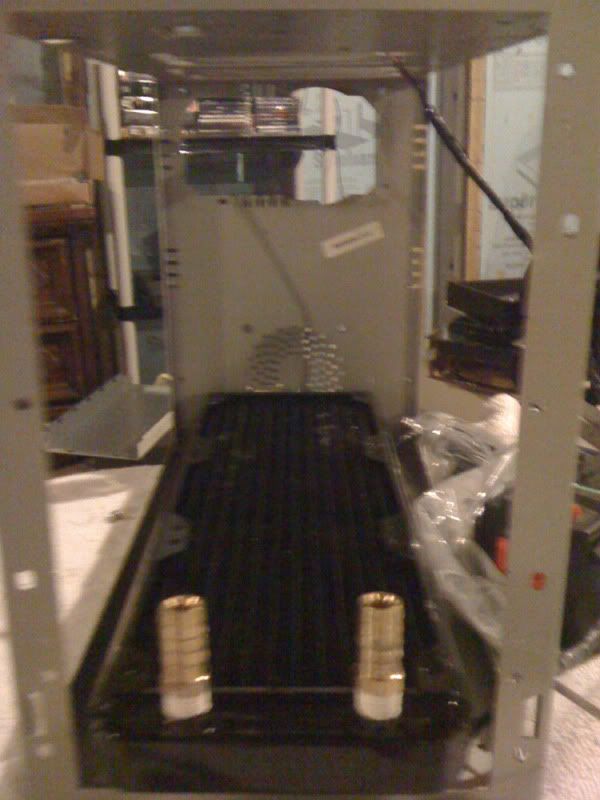
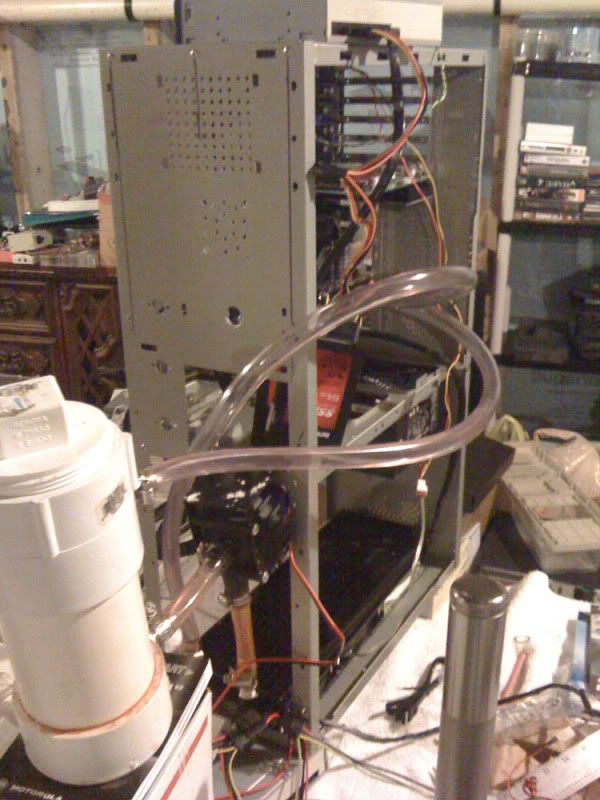
Rad set in place:

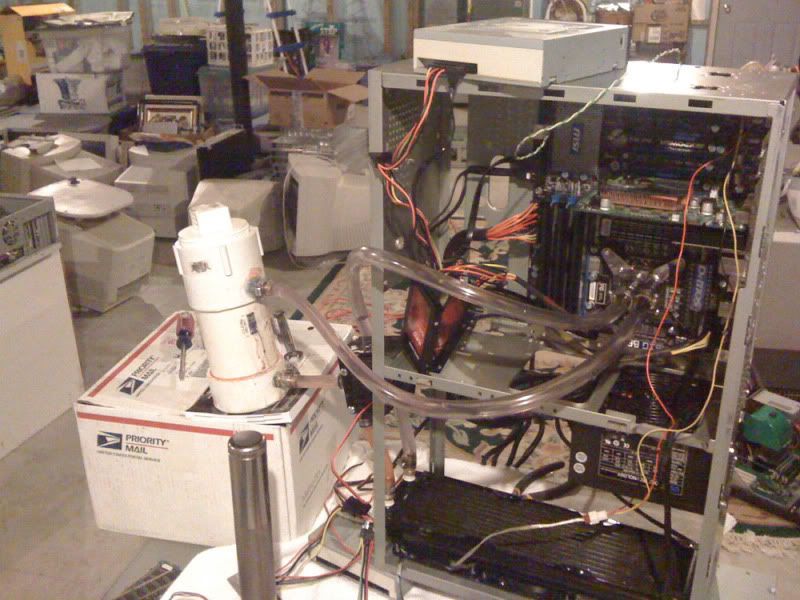
Getting everything in place to power on and test functionality still:

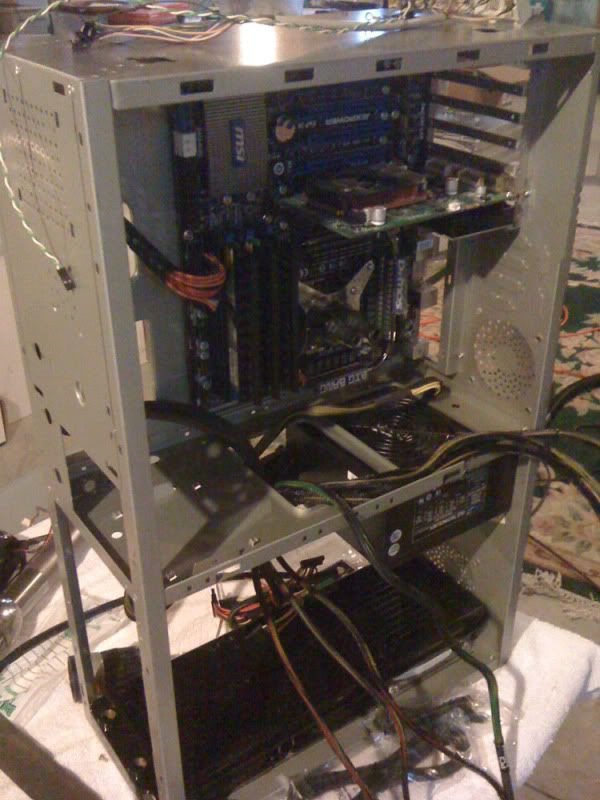
closer:

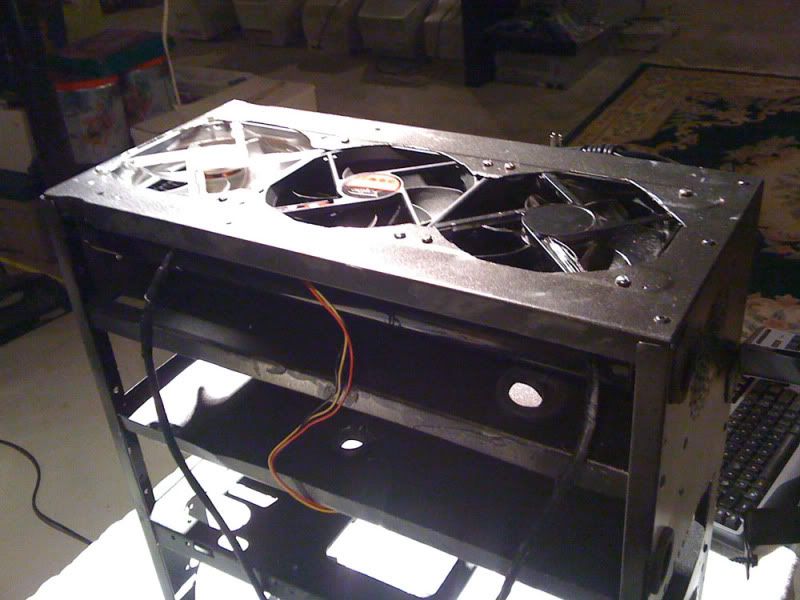
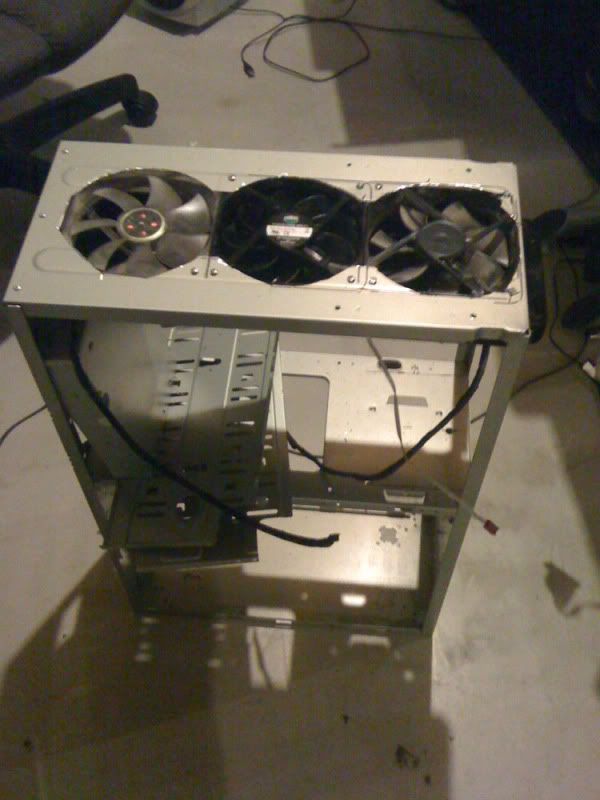
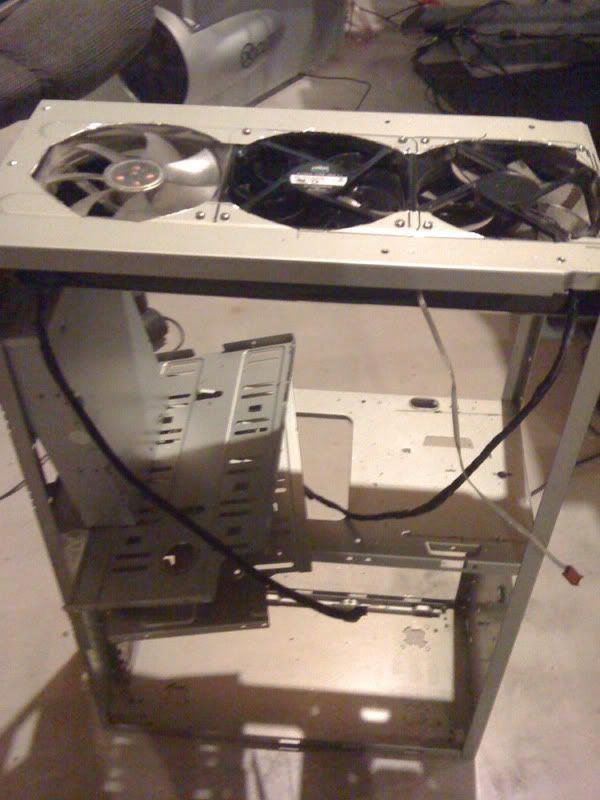
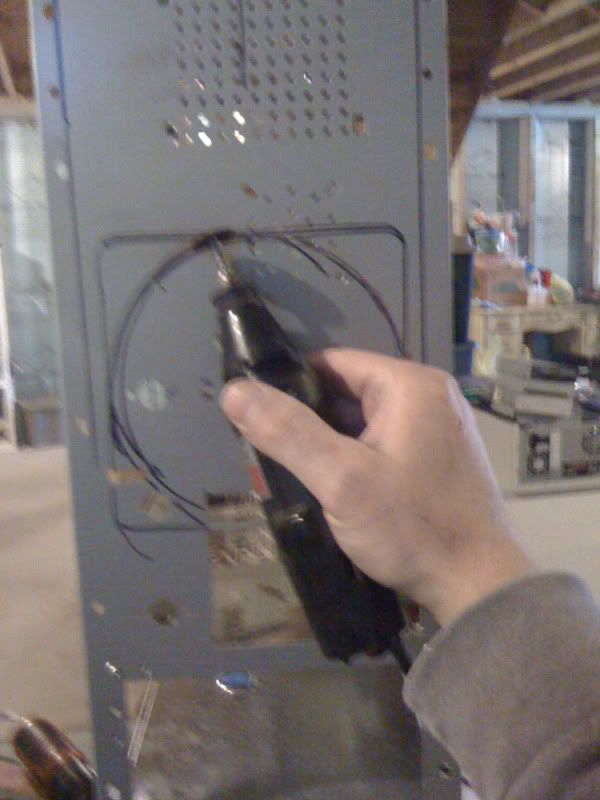
Holes cut for fans/rad:

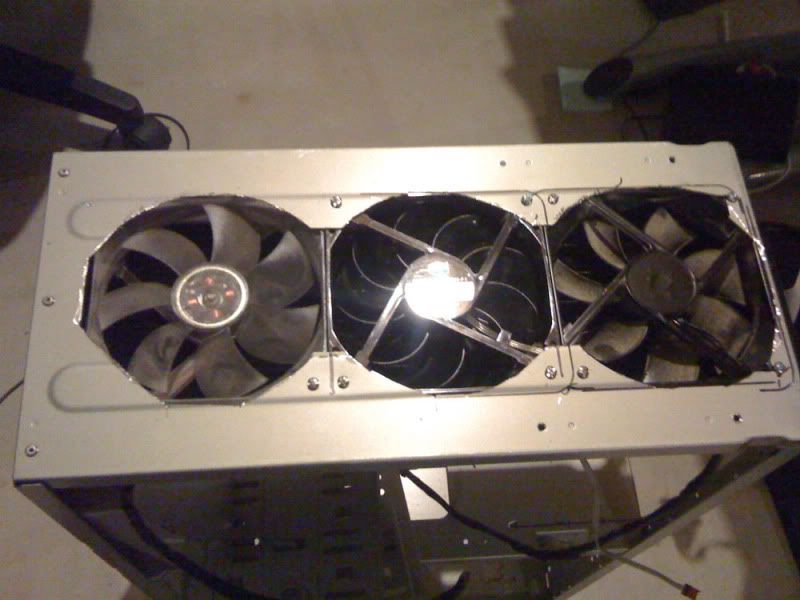


A rare action shot! (LOLz):

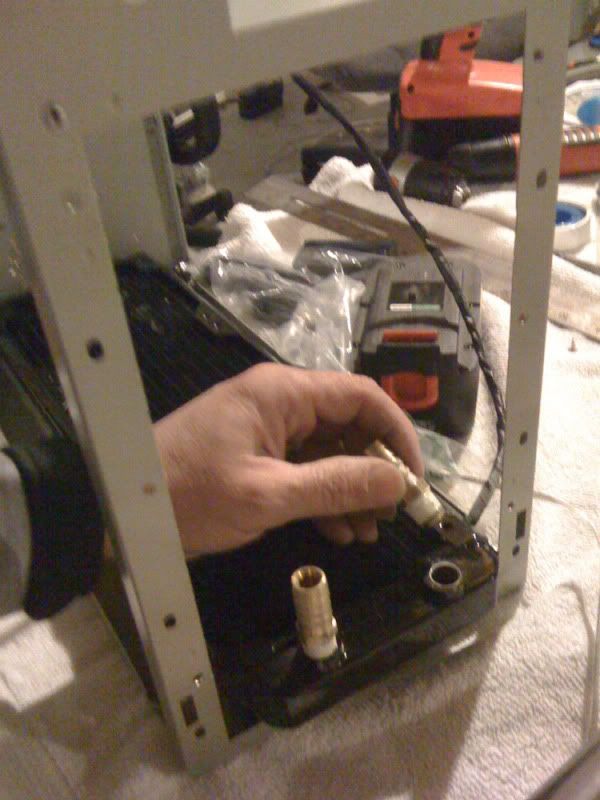


Almost as if this case was built for watercooling")

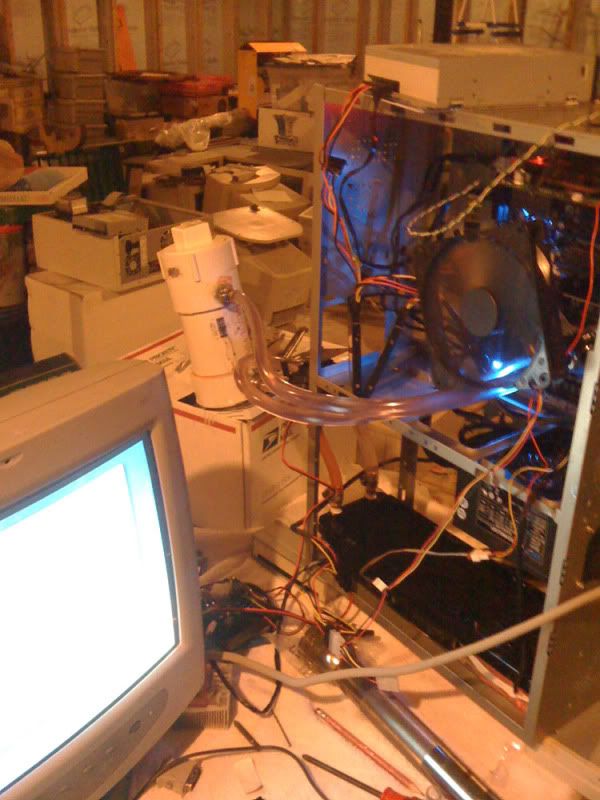
OK< here she is all connected and ready to test (crossed fingers for no RMA):

SUCCESS!

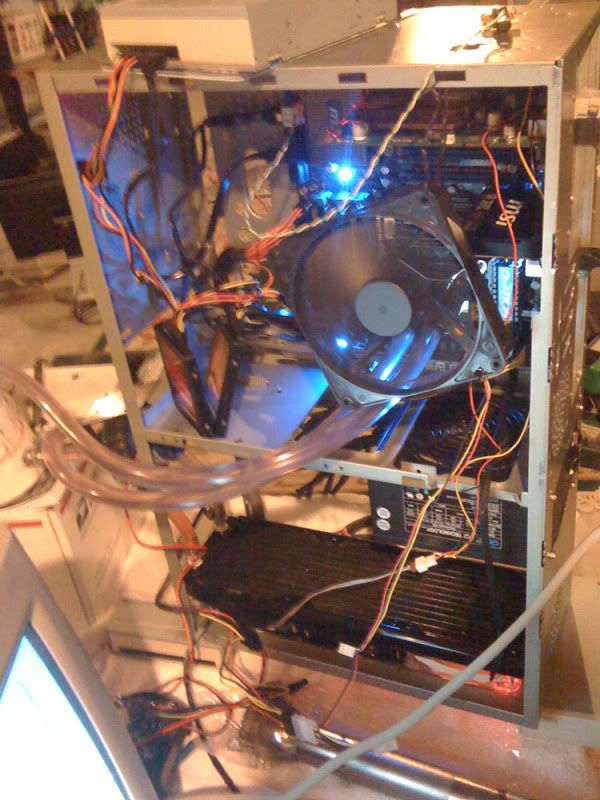
Shame on MSI for not supplying us with a small fan for the North Bridge. That sonuva bitch gets so hot you can't stand to touch it. For now, a Yate Loon 140 will do:

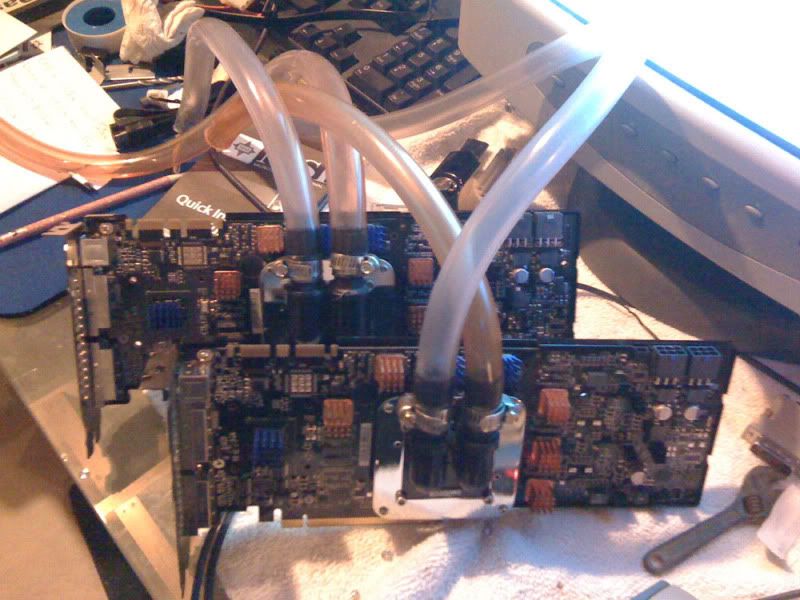
OK, it works (no RMA) so now it's time to start putting this thing together FOR REAL. My twin GTX 260 Black Edition's (I had a 9500GT in there to test):

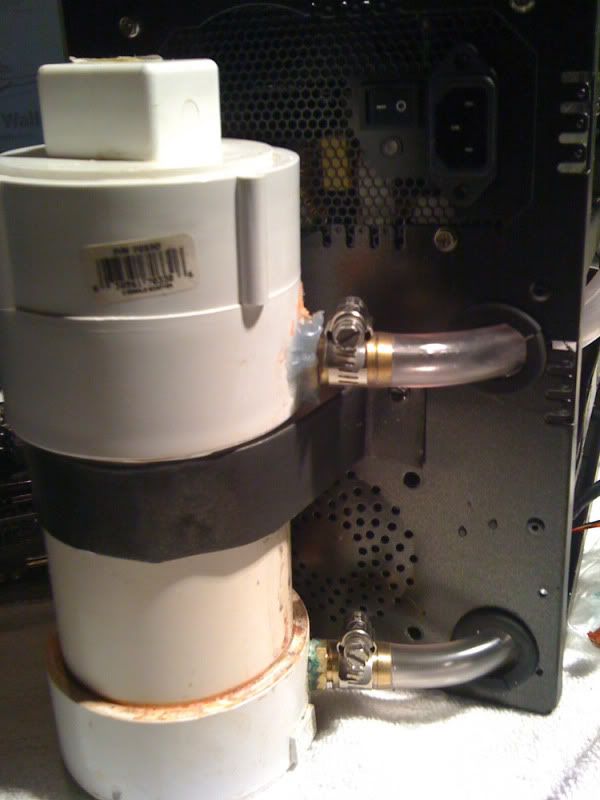
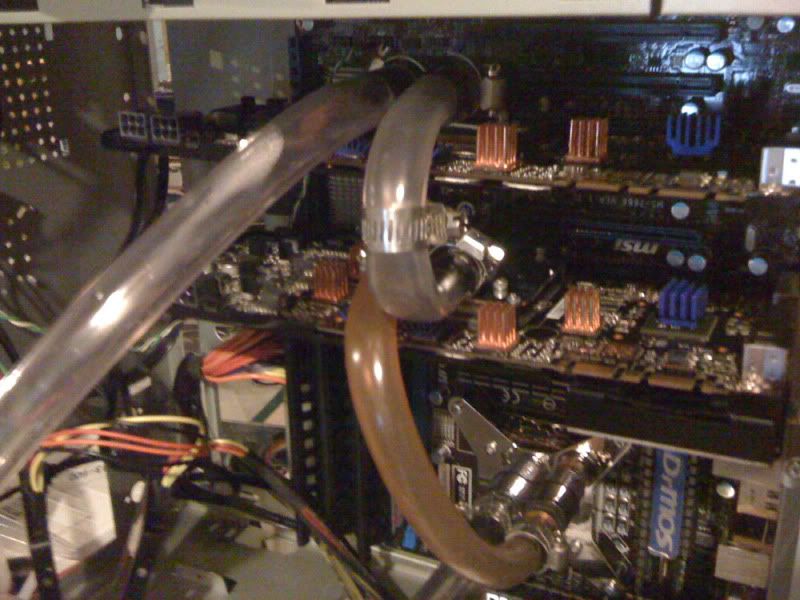
This I don't like. I didn't want 90's and I didn't see anything with a round curve so this will have to do for a while:

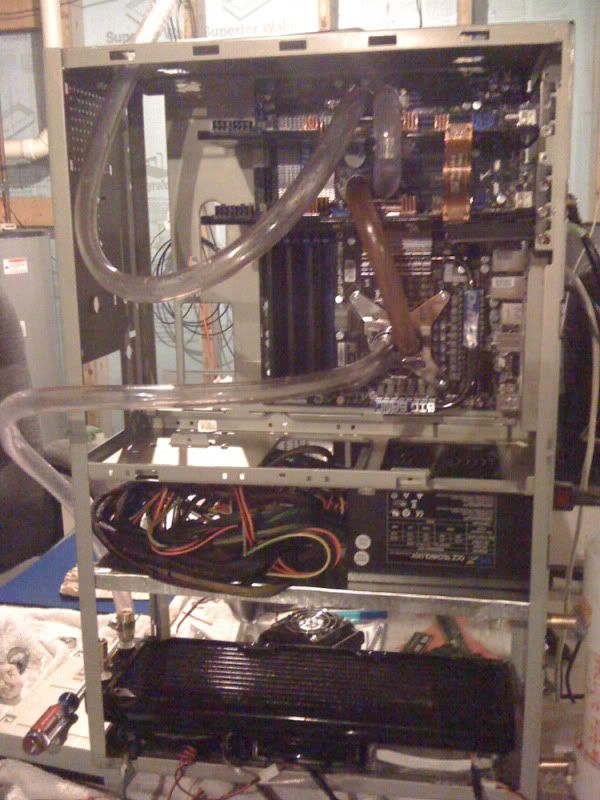
Coming along:

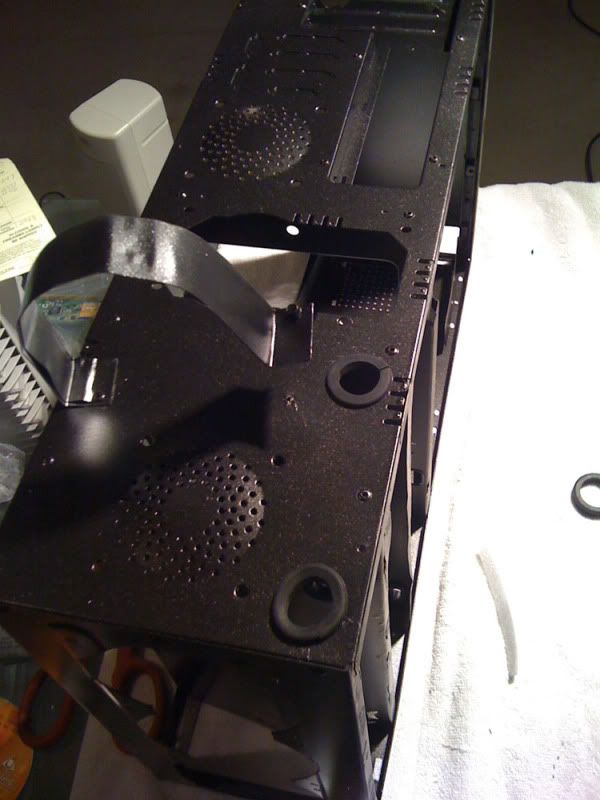
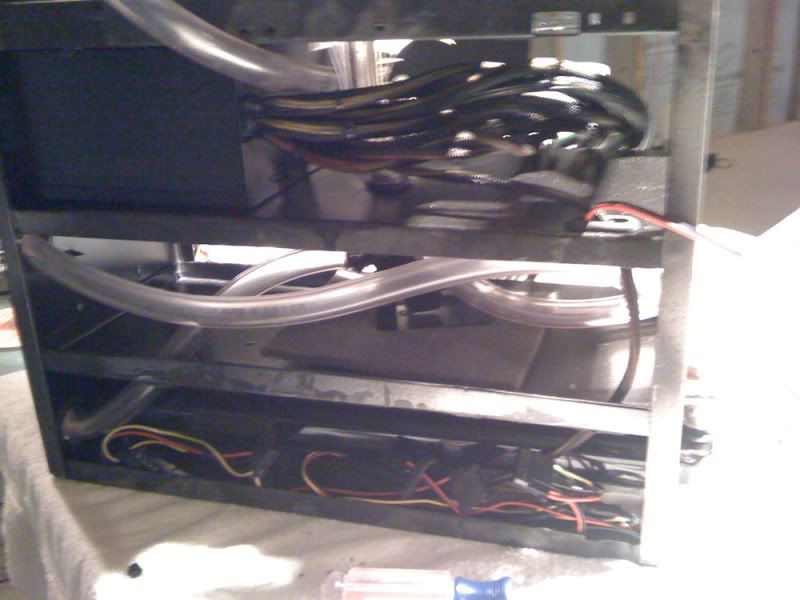
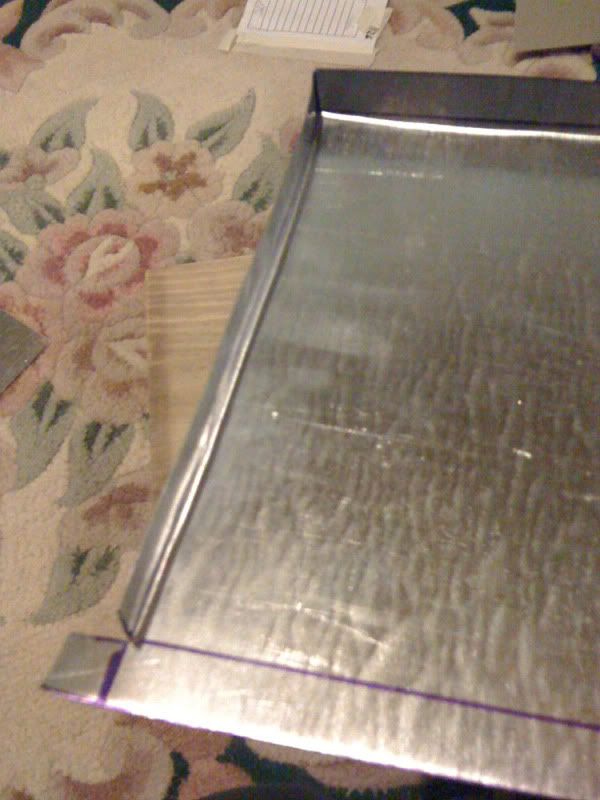
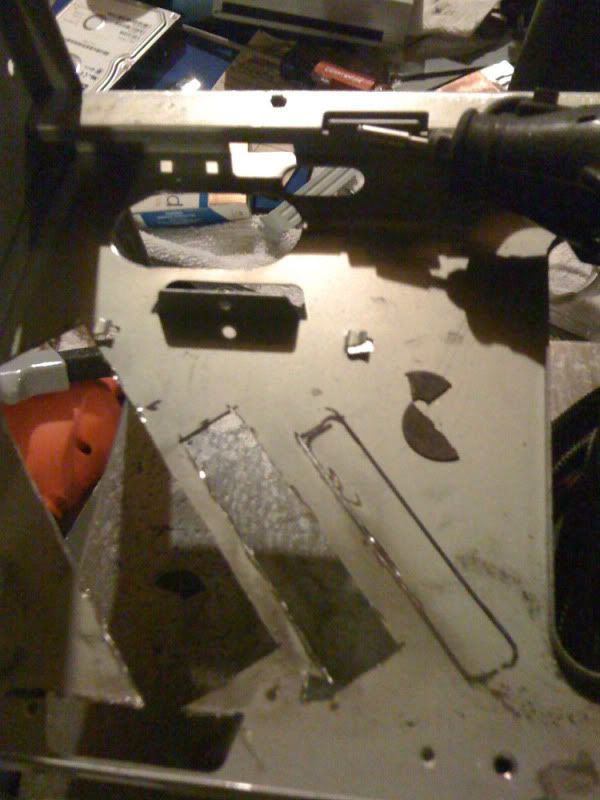
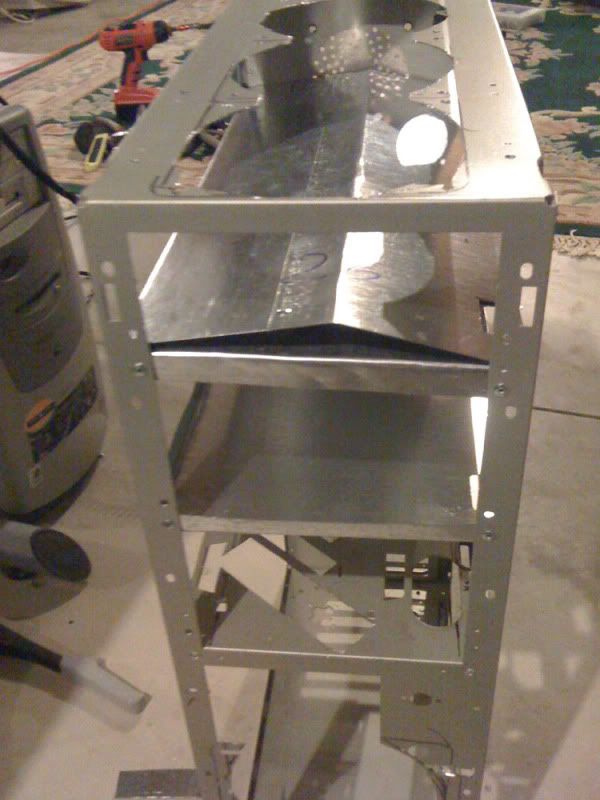
This tower didn't offer the shelving I needed. So I made my own:


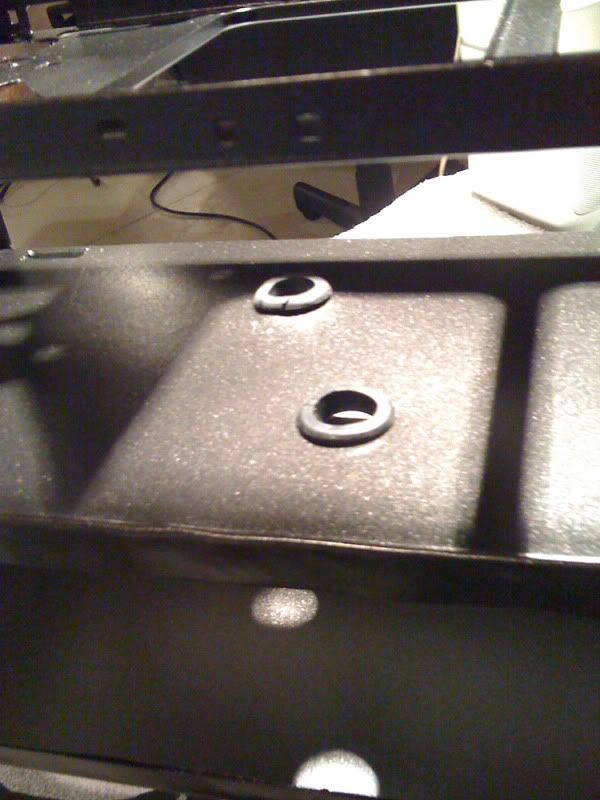
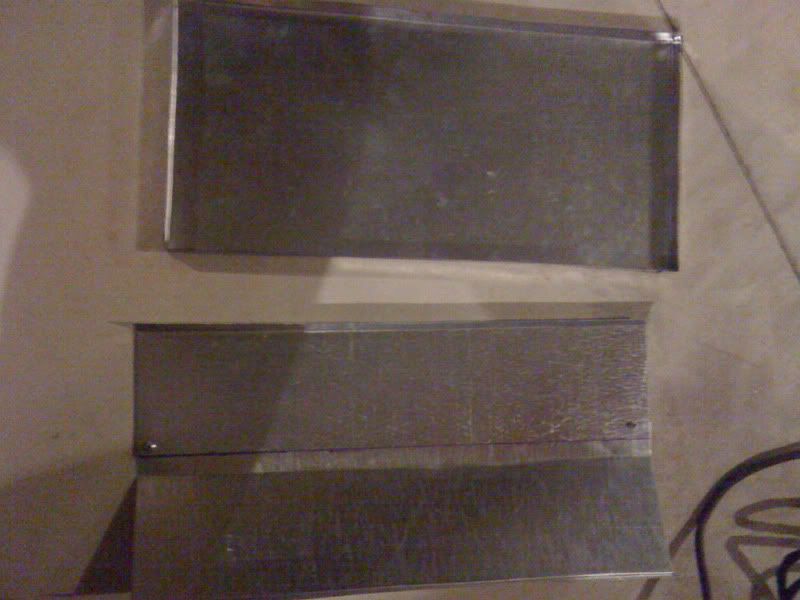
I didn't want my radiator fans to simply blow into a flat shelf, so I made a sort of baffle to assist in better airflow:


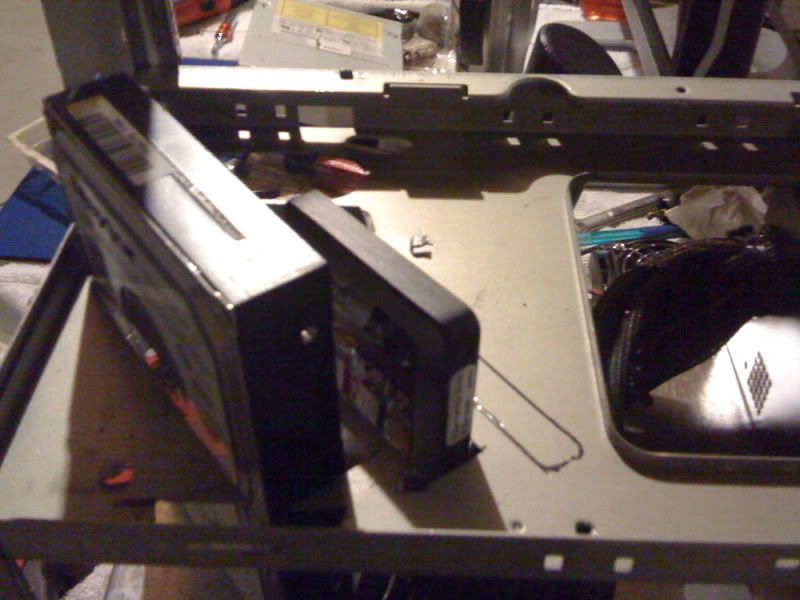
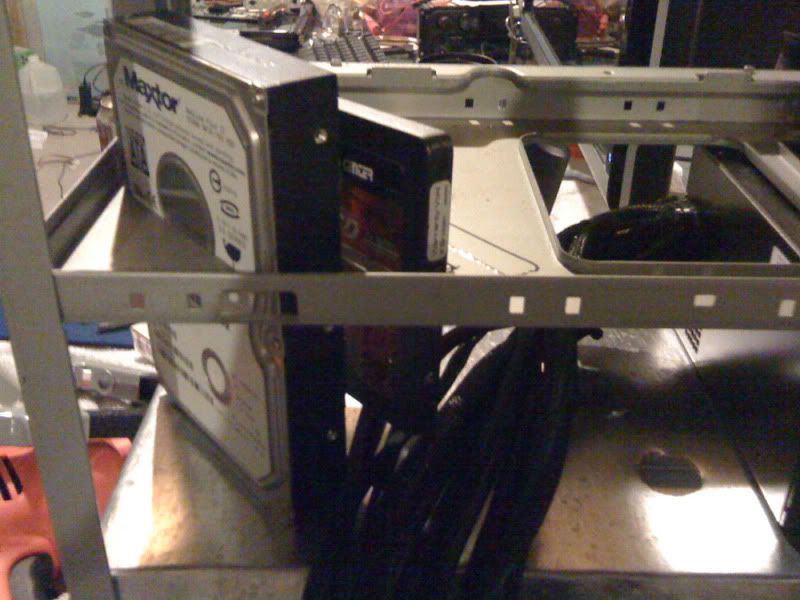
Now to make room for the hard drives:

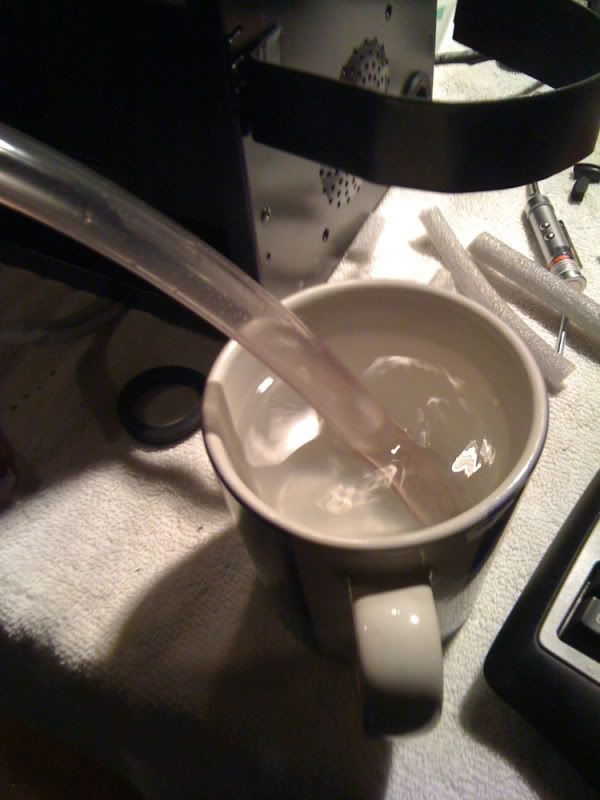
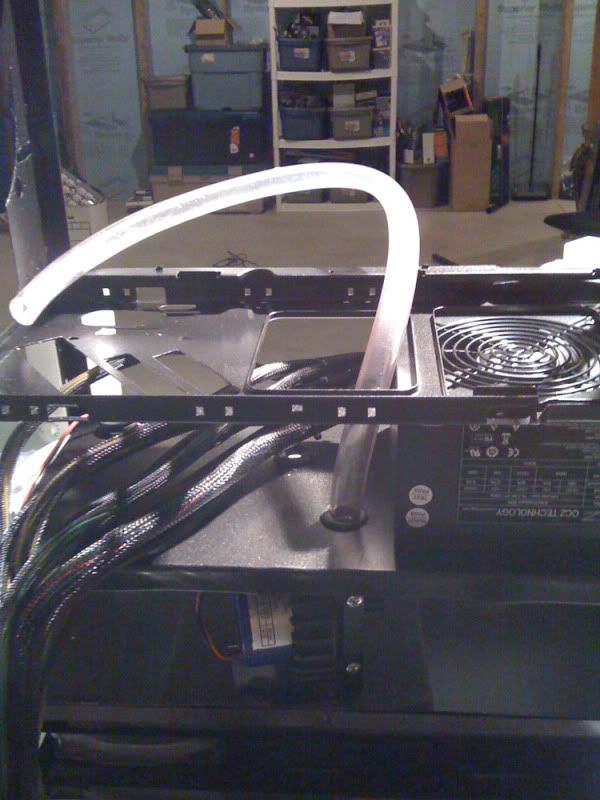
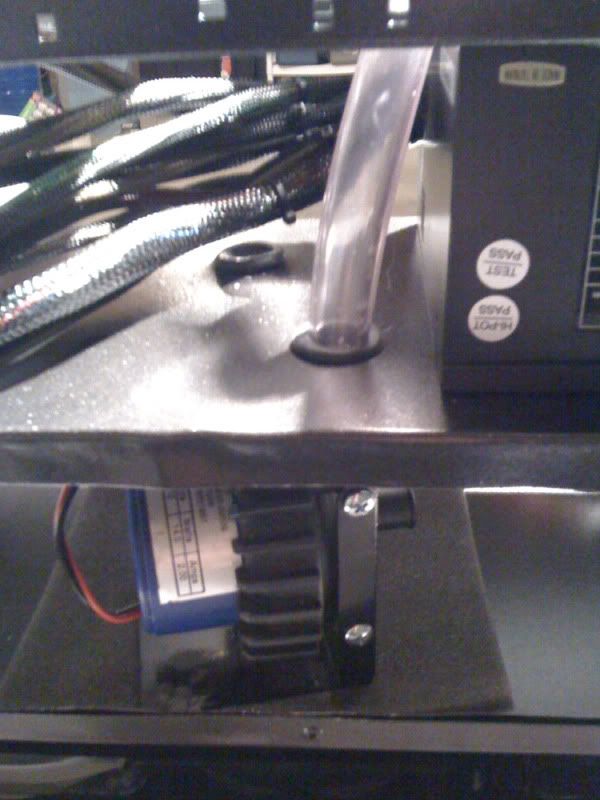
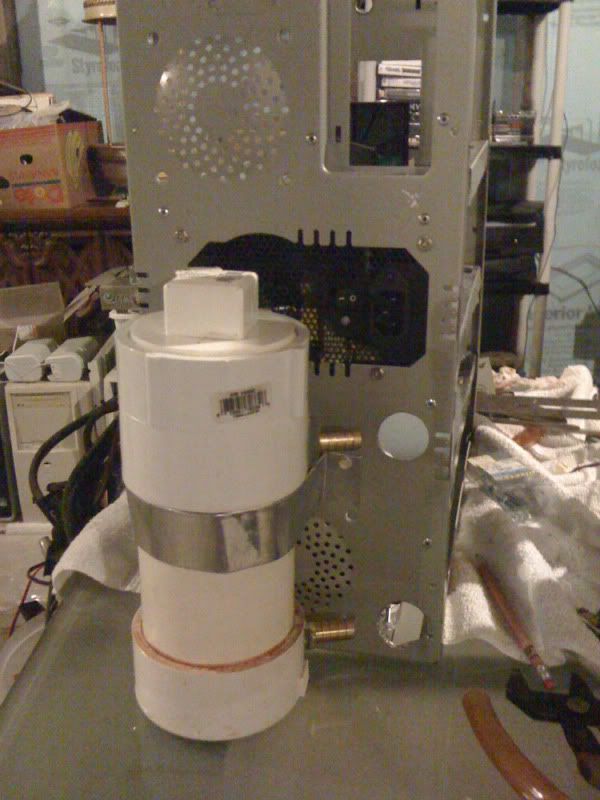
reservoir fitment:

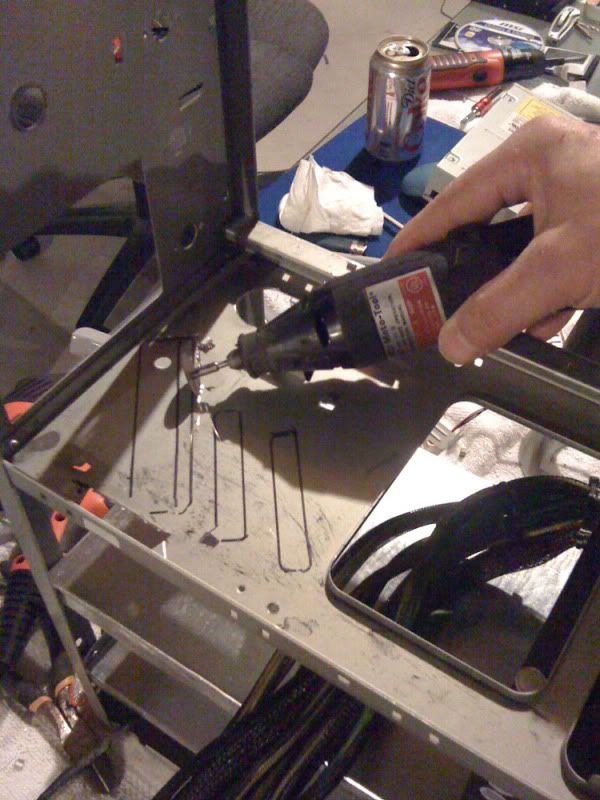
Another (rare) action photo!!! (making hole for 140MM fan)

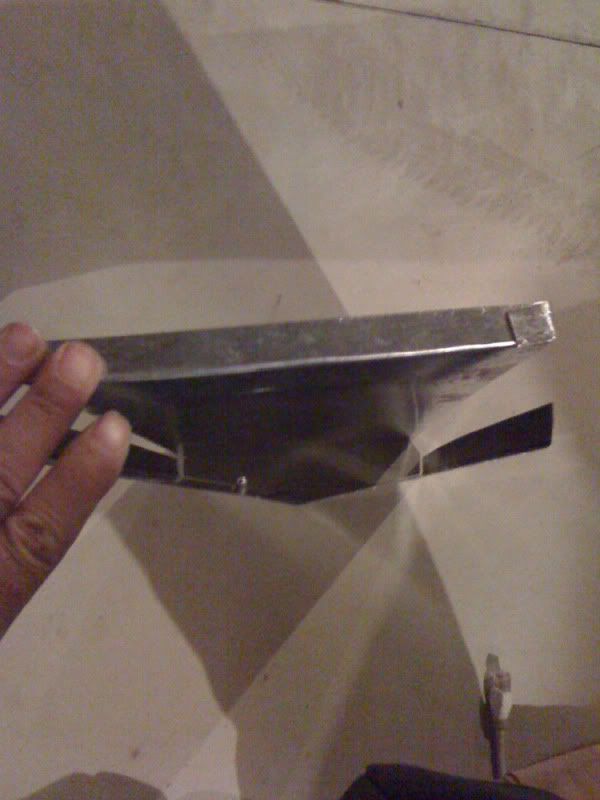
The baffle I mentioned previously:

OK, enough for the now. will post more in a few starting with paint.
Oh! and in case you didn't know, the "something odd" with the towers in the first two pics is they're upside down!! Yup! I didn't want my m/b to be below all the water gear so I simply turned it upside down!
']['
I have this super tall, old assed tower that was taken out of service at work. We used it for troubleshooting dialup issues. It was an old Win98 pc that had an external 33.3k modem and we all referred to it as "Dial Buddy". Someone I suggested I call it 33.3k and have an extermal dialup modem on it somewhere, so that's where the name of this project came from. I finally got the funds to get the x58 m/b I wanted (MSI Big Bang X-Power) to go along with my i7 920, 3GB G.Skill 2,000MHz DDR3, and i7 Apogee GT water block. (I've had these 3 components for almost 2 years now- just didnt have the funds for an x58 m/b). Anyways, I had my dual loops external in my last build (check sig) and wanted this one to be all enclosed.
Specs at a glance:
Core i7 920 (D0)
3GB G.Skill Pi Black PC3-16000 2,000MHz DDR3
MSI Big Bang X-Power M/B
OCZ 850w PSU
3x120mm radiator
Apogee GT CPU water block
(2) 64GB SSD's (in RAID 0)
MCP 655 pump
OK here we go
Here's the case in it's virgin form:
And here's his twin brother:
(All you real [H]ARD members should notice something odd about both of these towers)
Apogee GT w/new i7 bracket:
My new BIG BANG X-POWER w/water block installed! (For some reason I always feel the need to shout the name of that m/b)
Another look:
Won't be needing these:
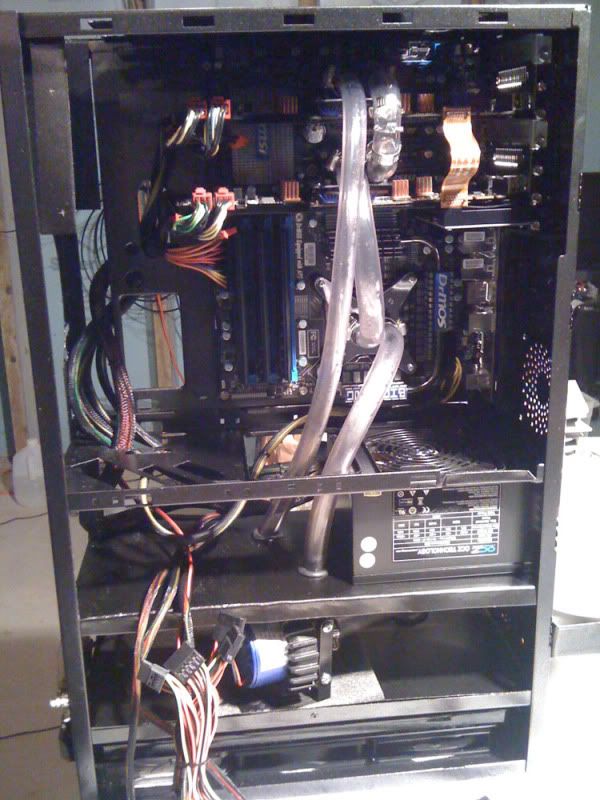
Motherboard mounted:
FYI, I'm assembling all the parts to make sure there's no issues with the M/B before I get all excited.
It's also important to know that at this point in the process I had no idea what/where/how this was going to go. Most of the time spent on this wasn't working, but rather THINKING about layout, design, etc. At first I was going to put the radiator in the front, but that didn't work out very well with the DVD drive and hard drives. So after much consideration I decided the bottom was the best placement.
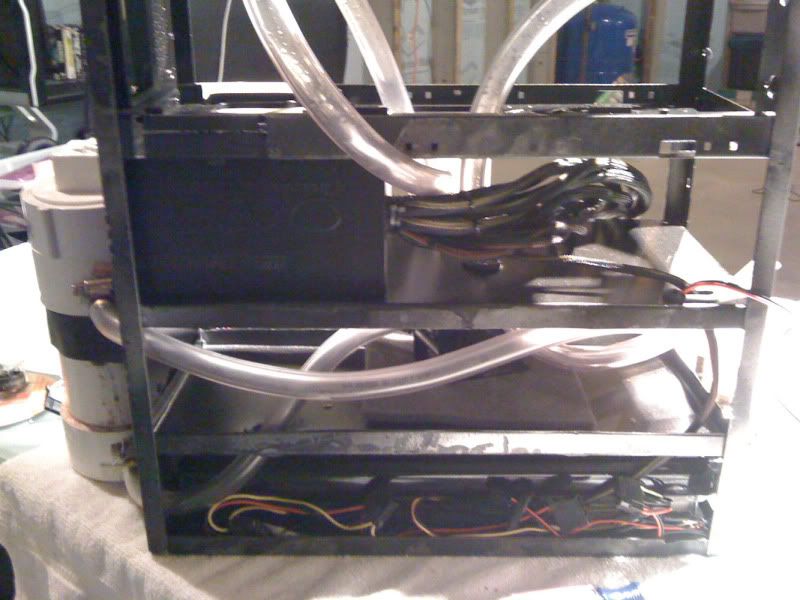
Rad set in place:
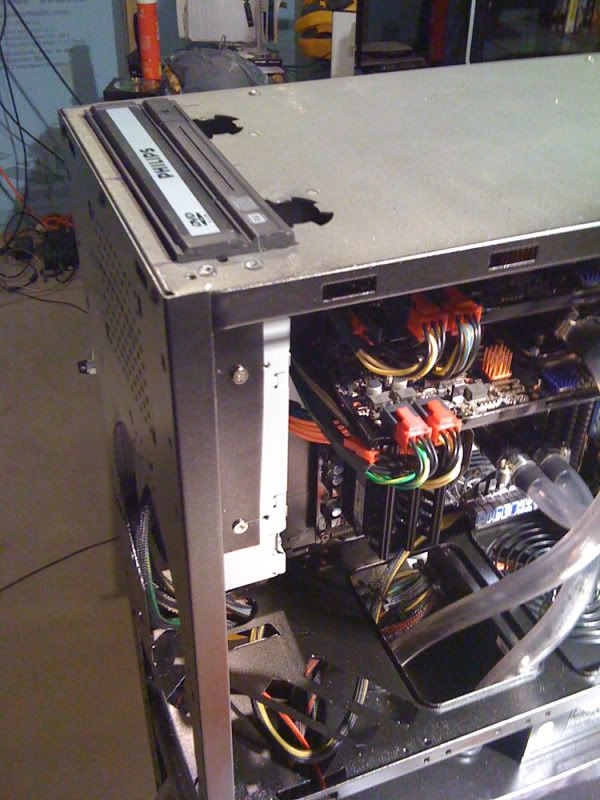
Getting everything in place to power on and test functionality still:
closer:
Holes cut for fans/rad:
A rare action shot! (LOLz):
Almost as if this case was built for watercooling
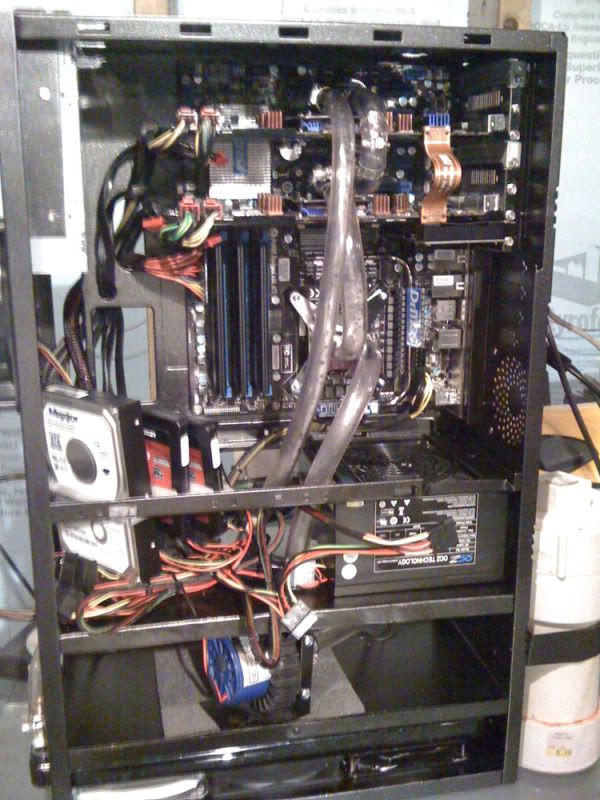
OK< here she is all connected and ready to test (crossed fingers for no RMA):
SUCCESS!
Shame on MSI for not supplying us with a small fan for the North Bridge. That sonuva bitch gets so hot you can't stand to touch it. For now, a Yate Loon 140 will do:
OK, it works (no RMA) so now it's time to start putting this thing together FOR REAL. My twin GTX 260 Black Edition's (I had a 9500GT in there to test):
This I don't like. I didn't want 90's and I didn't see anything with a round curve so this will have to do for a while:
Coming along:
This tower didn't offer the shelving I needed. So I made my own:
I didn't want my radiator fans to simply blow into a flat shelf, so I made a sort of baffle to assist in better airflow:
Now to make room for the hard drives:
reservoir fitment:
Another (rare) action photo!!! (making hole for 140MM fan)
The baffle I mentioned previously:
OK, enough for the now. will post more in a few starting with paint.
Oh! and in case you didn't know, the "something odd" with the towers in the first two pics is they're upside down!! Yup! I didn't want my m/b to be below all the water gear so I simply turned it upside down!
']['
Last edited: