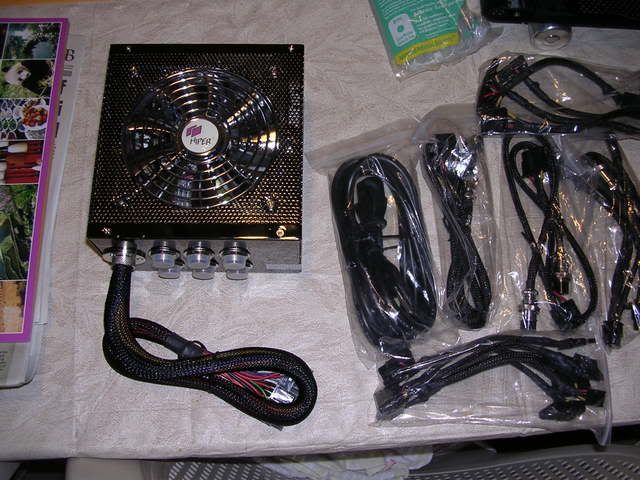
Hi, I've been wanting to do this project for quite a while now, and since its winter break (college guy) I decided to have a crack at it. At first this was just a clean case project (neat wires, sleved etc) Now it has become a full blown case mod. Starting with a power mod. In which all you do is hook up the power supply to the molex connector beside the psu and its completely routed for you.
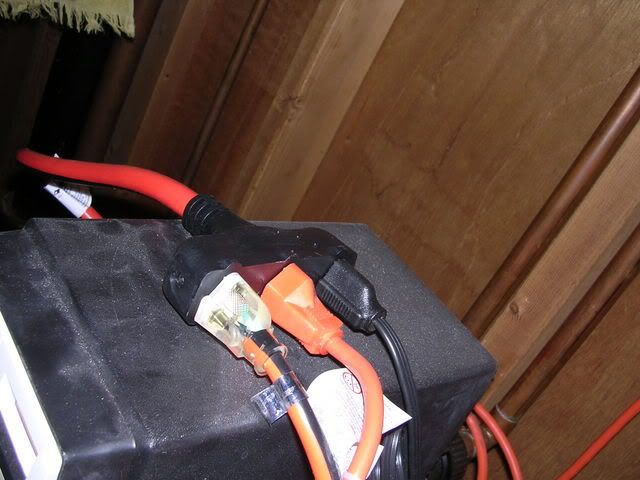
This all started when i accidently discharged a live 120 volt ac wire from my psu (former psu) on to my case. It fried my psu but I think the rest of the components are fine as the psu was grounded to the outlet (Anyones opinion here, are the rest of the components fine or do I need a new computer....?)
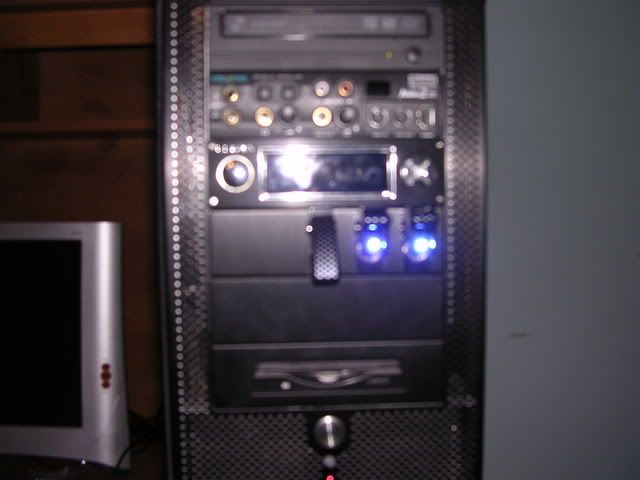
Here is the unlucky bastard.

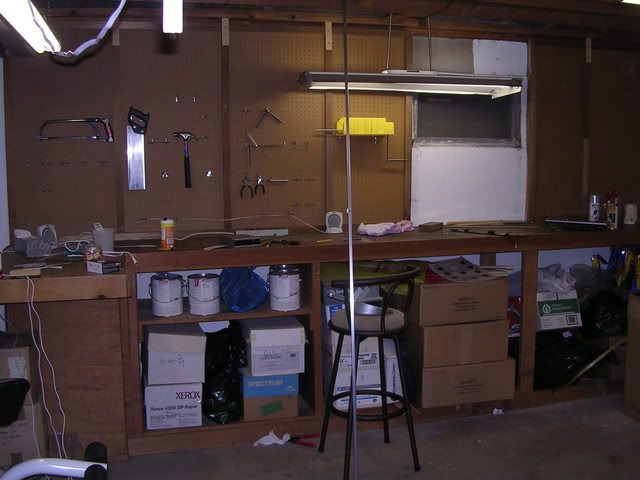
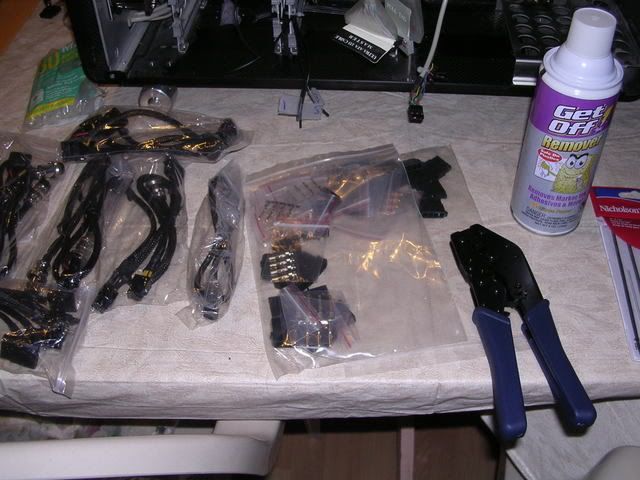
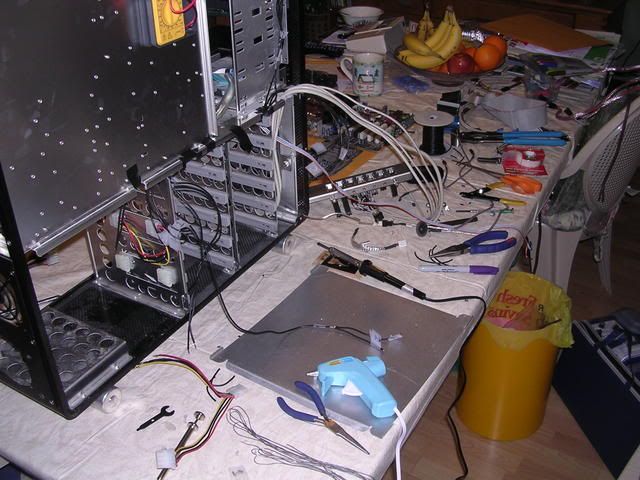
My work area (dining table)
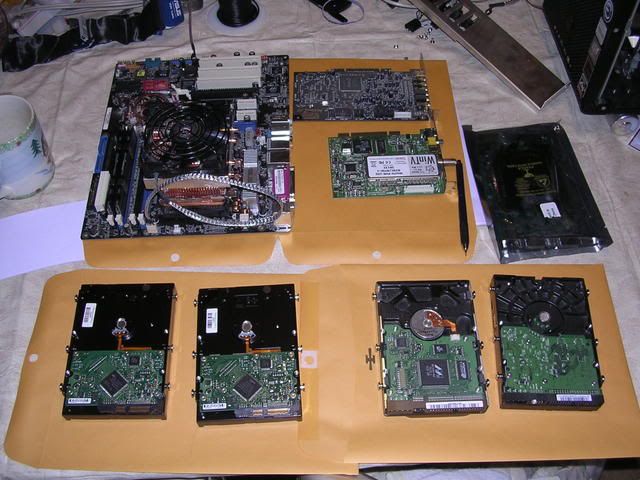
My computer in pieces (on visual inspection nothing looks blown... then again it doesnt have to be.)
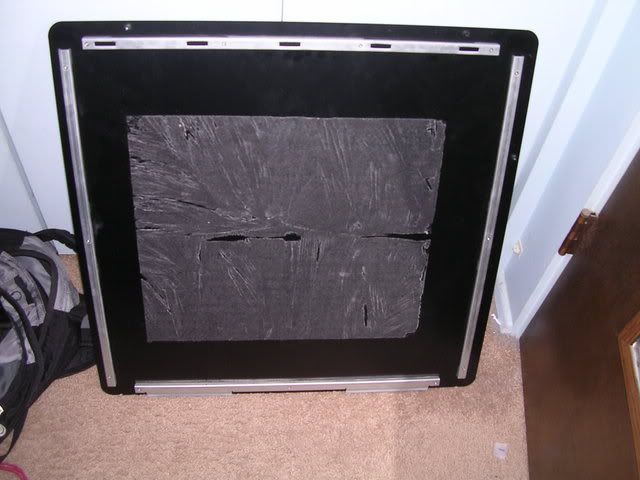
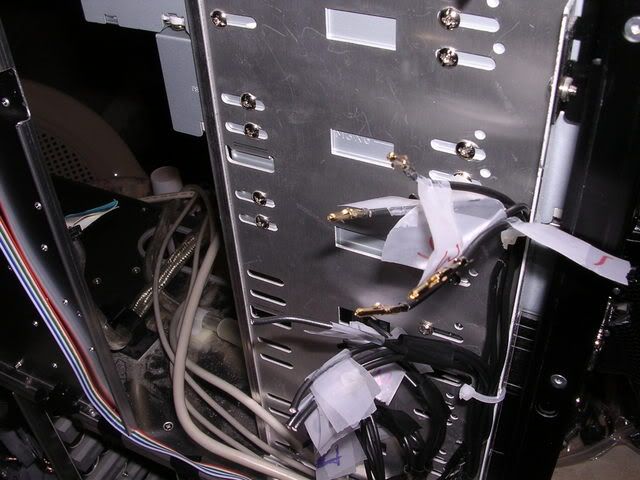
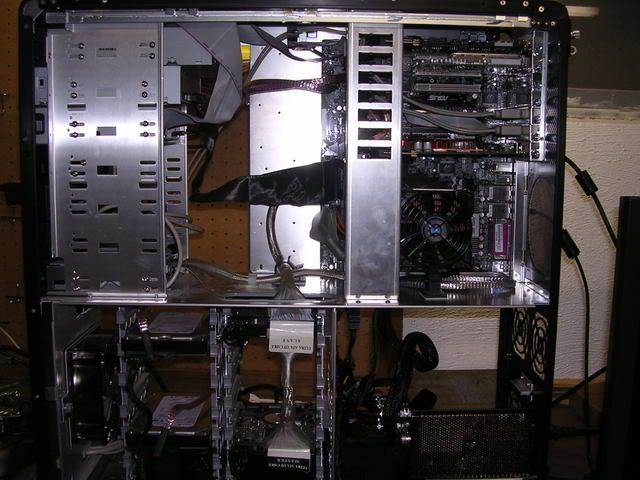
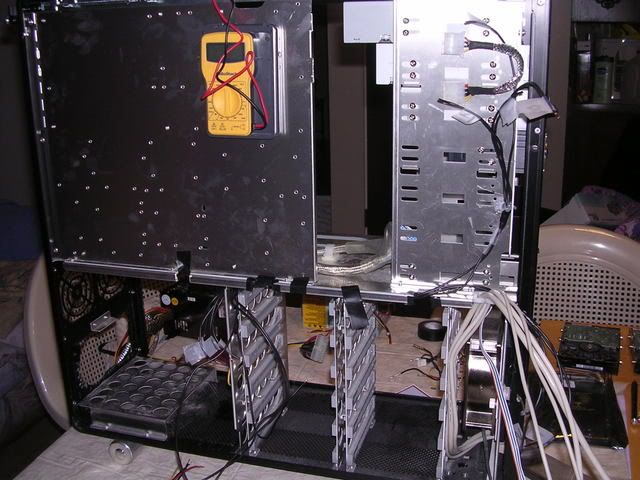
The stripped case
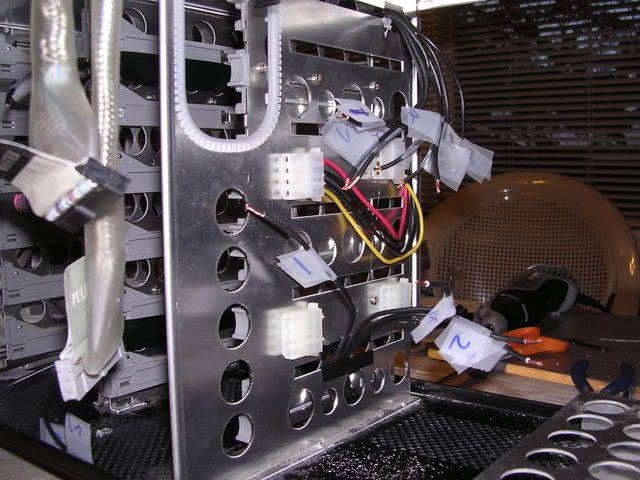
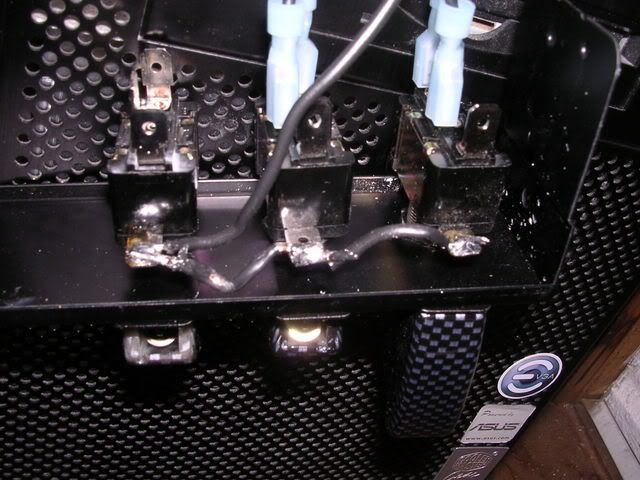
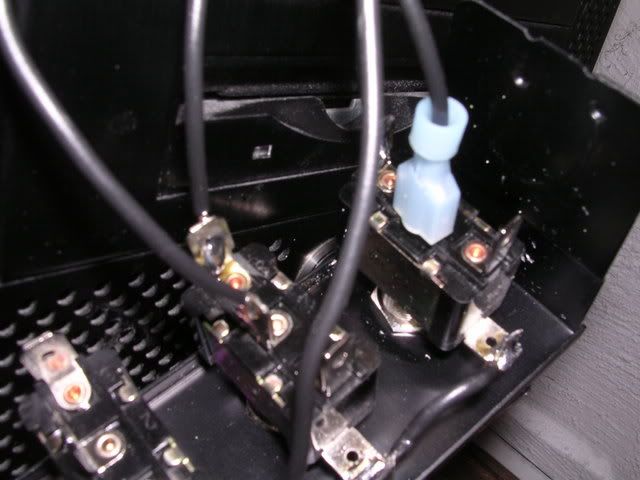
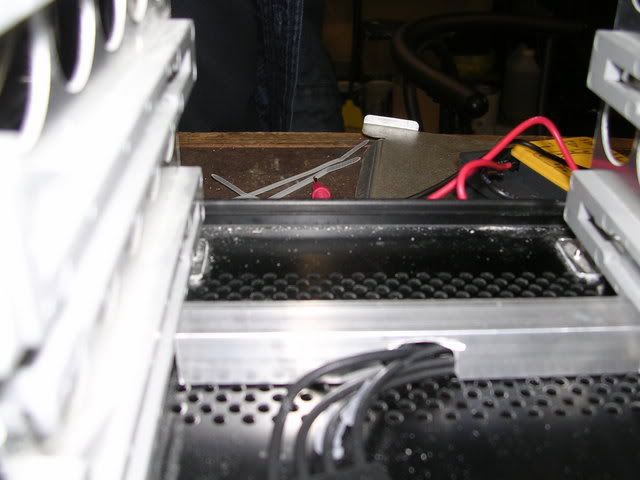
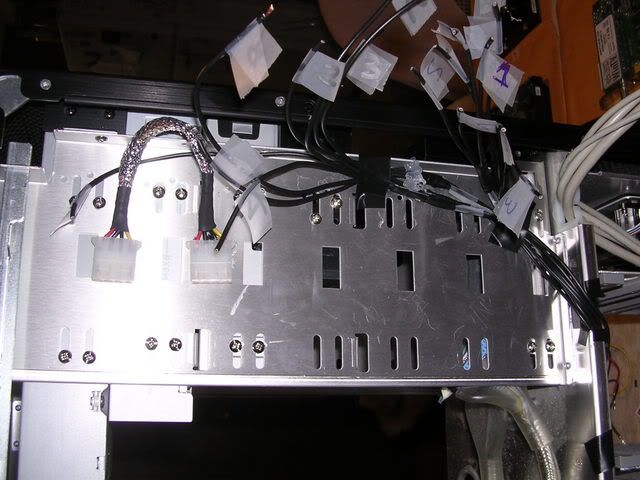
Now my idea if you read above is so you just have to connect your power supply to the molex connector two inches away from the supply (or there abouts) and the cords will already be run (So no actual modding of the psu itself) to hidden little spots where you can plug in and get power. Which brings me to these pics: currently just testing with old connectors the spacing needed.
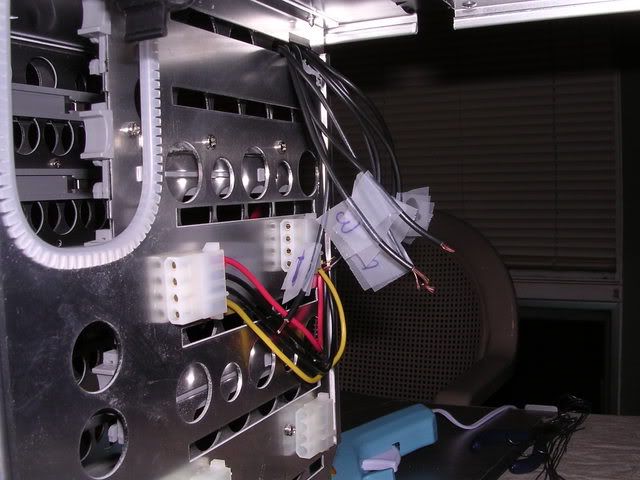
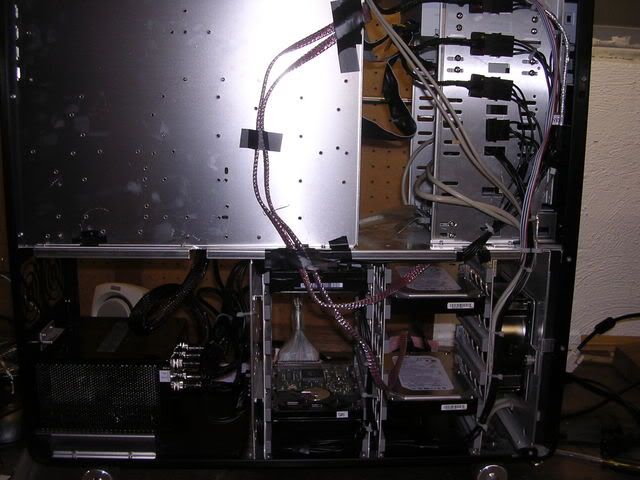
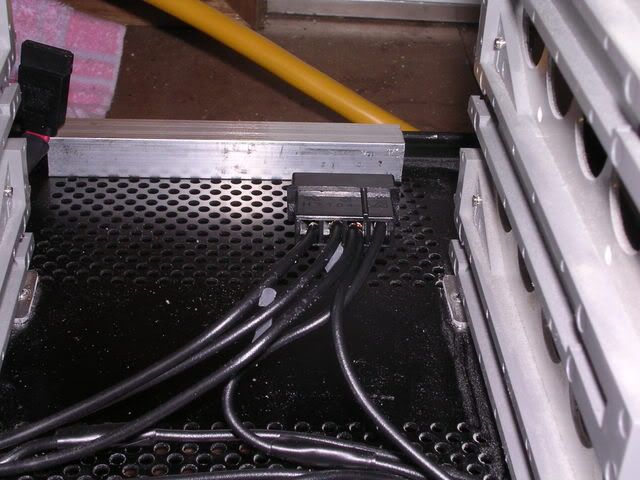
I had it so that one branch broke off into two (one branch from the PSU went into the connector, which then had a Y split and ended up at two (for the front bay drives, I have 4 total connectors up there, just for expandability later on) up front (you can see it in the above pics.
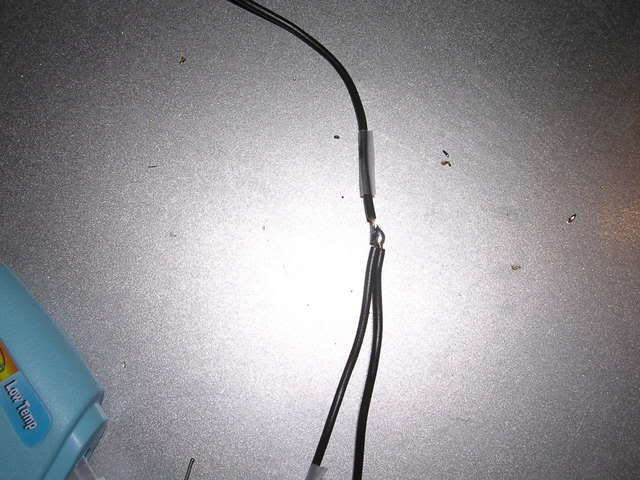
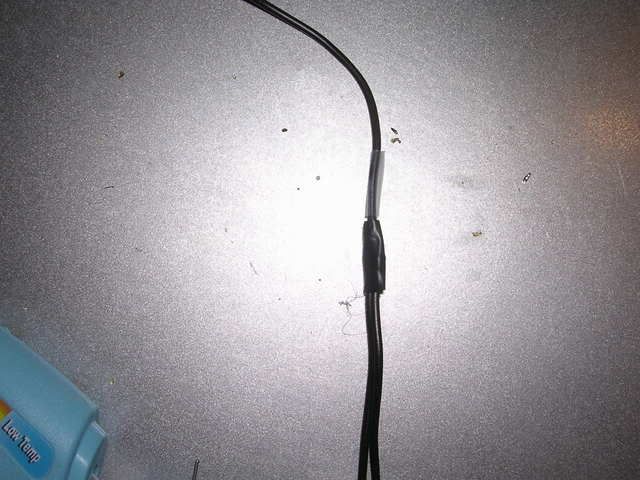
Well to do that I had to cut wire to length and soldier them together :
and tape
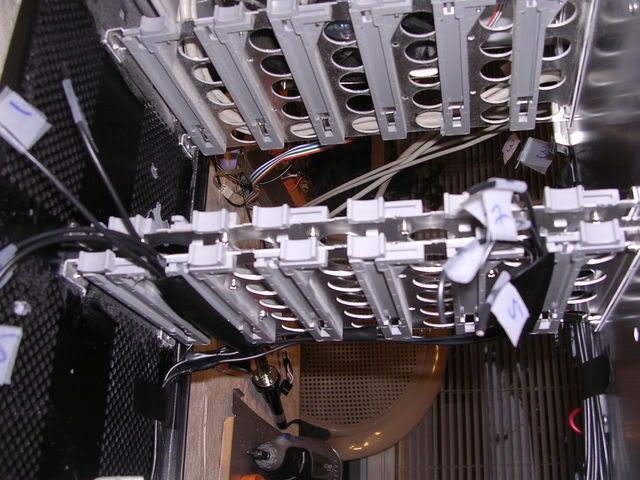
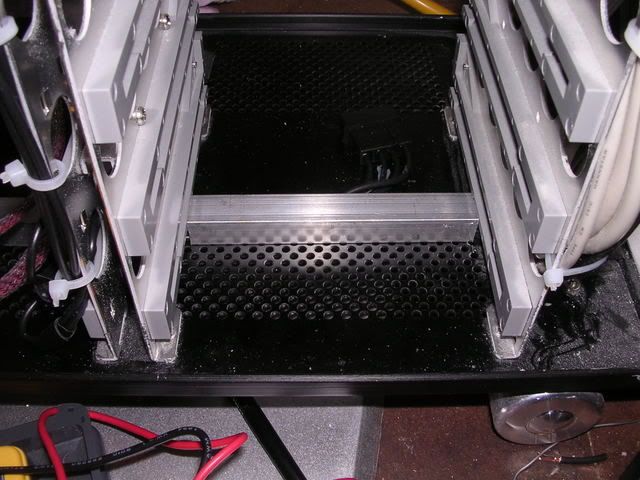
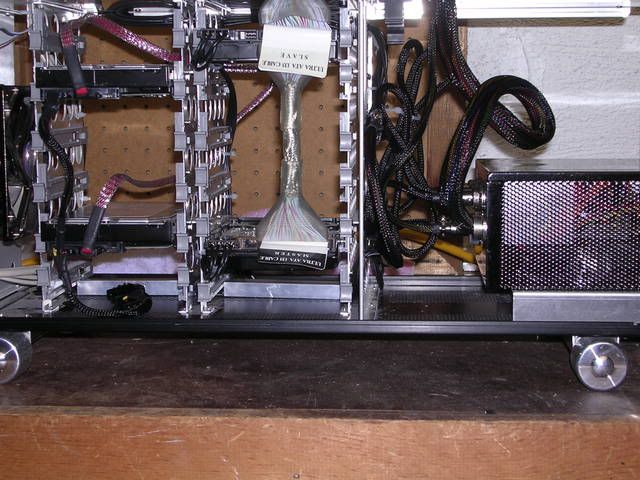
And finsihed wiring for the front bay drives, now moving on to the harddrives...
Currently I have the wires layed for the molex connectors, however I have to buy them... Its 4 in the morning so Ill finish this up when I'm actually concious. But I would really like the question answered up top (with the little frowny purple face on it. As it has been worrying me for awhile).
This all started when i accidently discharged a live 120 volt ac wire from my psu (former psu) on to my case. It fried my psu but I think the rest of the components are fine as the psu was grounded to the outlet (Anyones opinion here, are the rest of the components fine or do I need a new computer....?)
Here is the unlucky bastard.
My work area (dining table)
My computer in pieces (on visual inspection nothing looks blown... then again it doesnt have to be.)
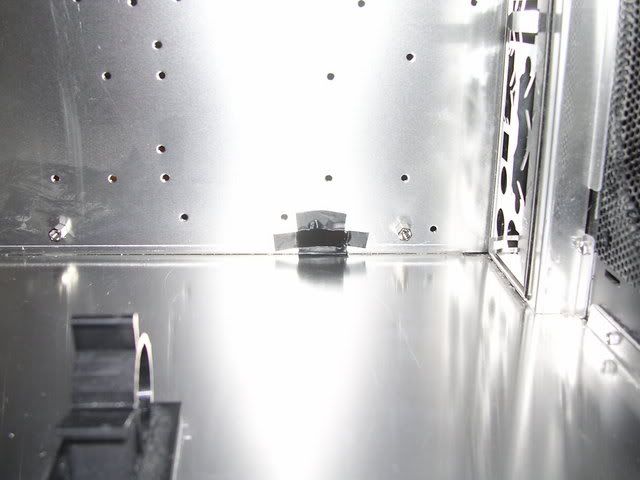
The stripped case
Now my idea if you read above is so you just have to connect your power supply to the molex connector two inches away from the supply (or there abouts) and the cords will already be run (So no actual modding of the psu itself) to hidden little spots where you can plug in and get power. Which brings me to these pics: currently just testing with old connectors the spacing needed.
I had it so that one branch broke off into two (one branch from the PSU went into the connector, which then had a Y split and ended up at two (for the front bay drives, I have 4 total connectors up there, just for expandability later on) up front (you can see it in the above pics.
Well to do that I had to cut wire to length and soldier them together :
and tape
And finsihed wiring for the front bay drives, now moving on to the harddrives...
Currently I have the wires layed for the molex connectors, however I have to buy them... Its 4 in the morning so Ill finish this up when I'm actually concious. But I would really like the question answered up top (with the little frowny purple face on it. As it has been worrying me for awhile).