Stevennoland
Limp Gawd
- Joined
- Jan 5, 2006
- Messages
- 418
Well, It's that time again. The itch has struck. Time to scratch. For those that have been following some of my other builds, Beast III is on permanent hold. Many of the ideas for that build are no longer pertinent. So I thought a completely new build was in order. The pics will be brief with fewer dedicated to the build of the custom pieces. I don't have time to stop and take pics of every little step. If I feel it is worthy, I will do so. On with the post.
Case always comes first. Cooler Master Cosmos II. This thing is heavy (hence the title).

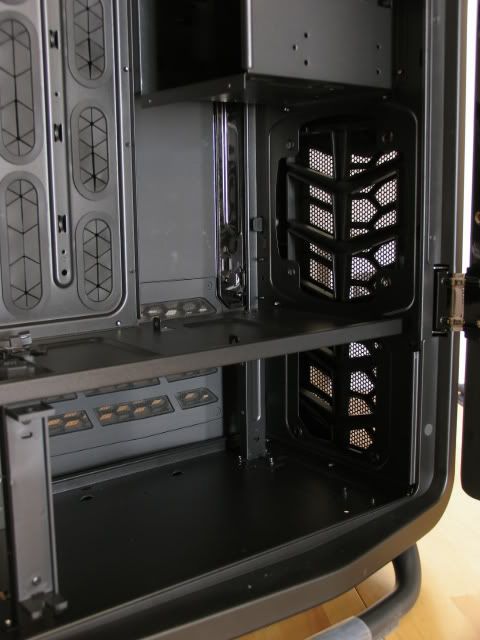
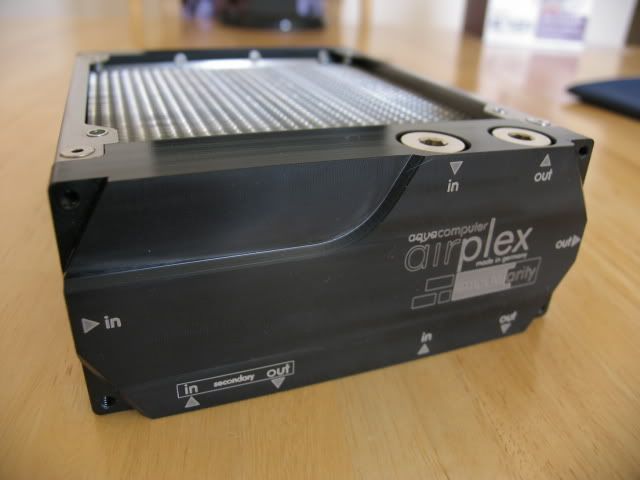
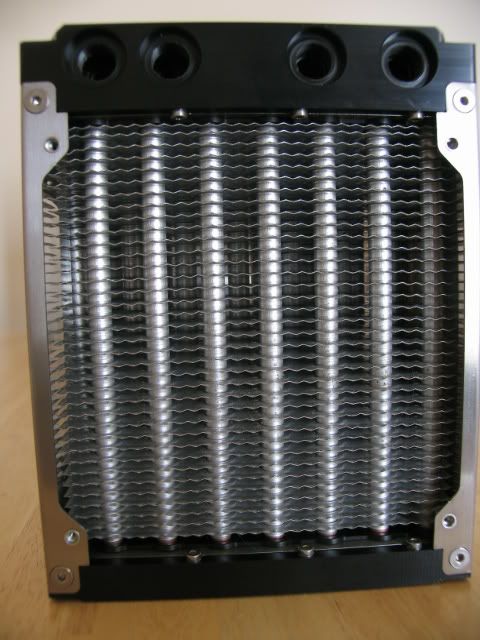
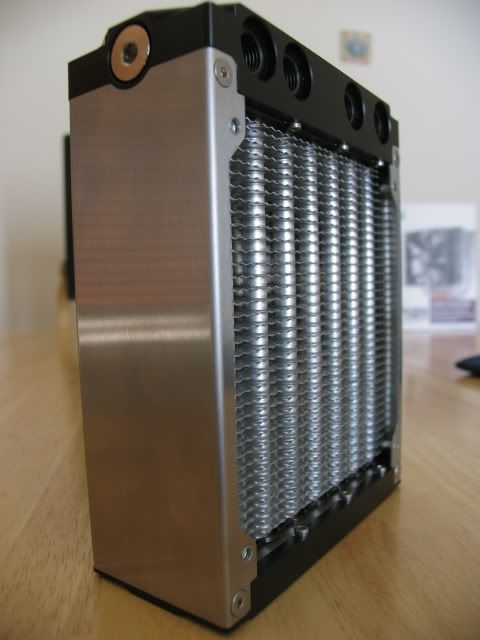
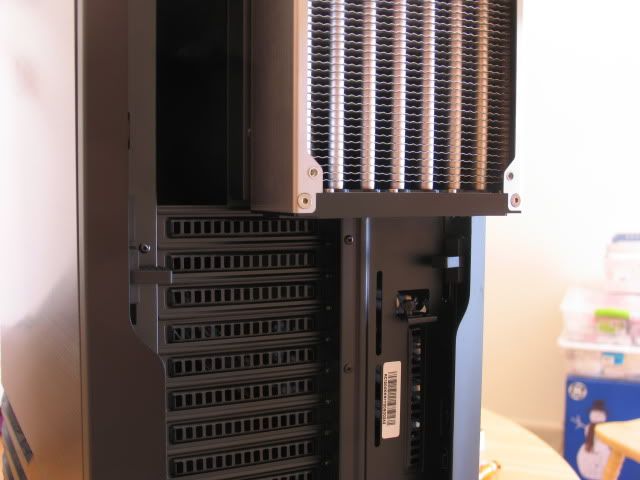
AquaComputer Airplex 140mm Aluminum Radiator. This is going on the rear exhaust.
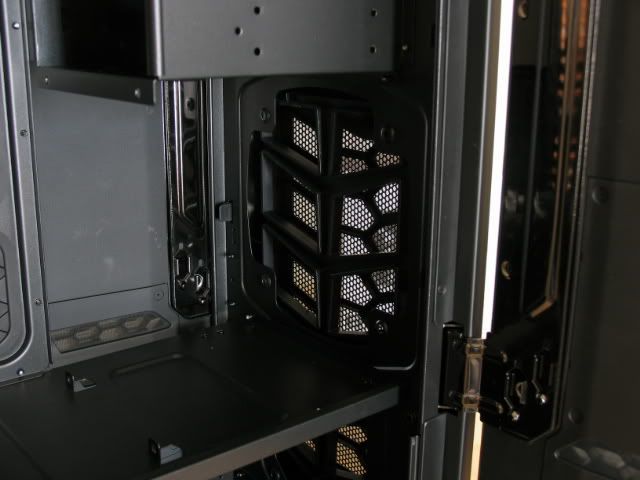
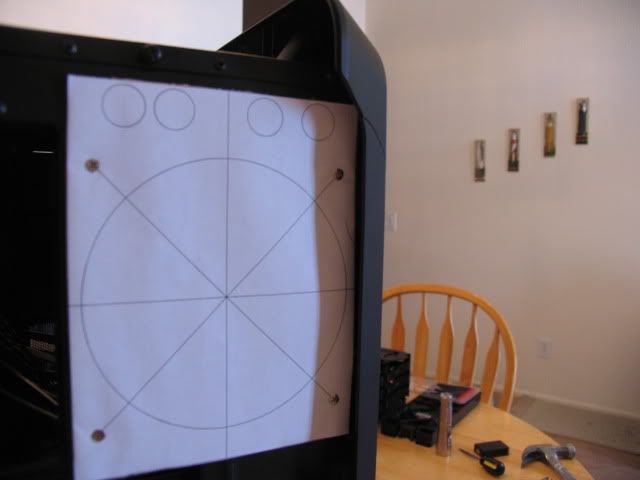
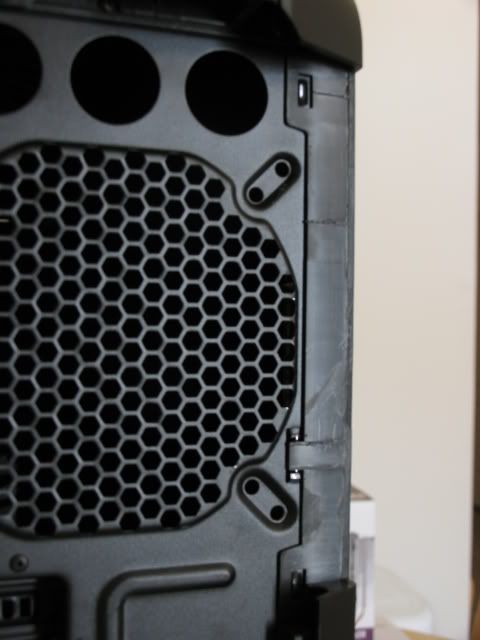
Back of Cosmos II where Airplex 140mm will go.
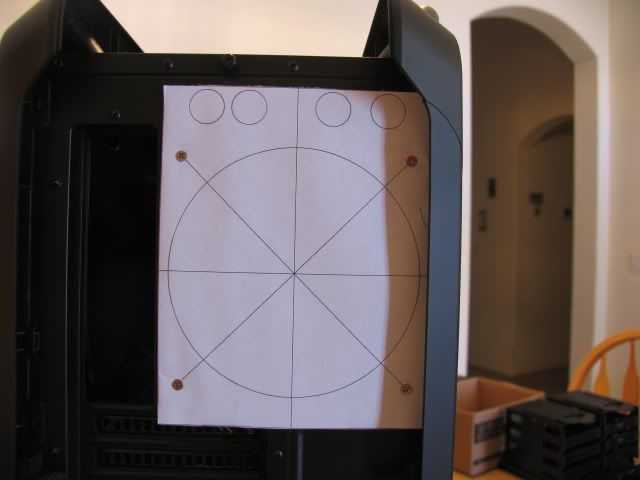
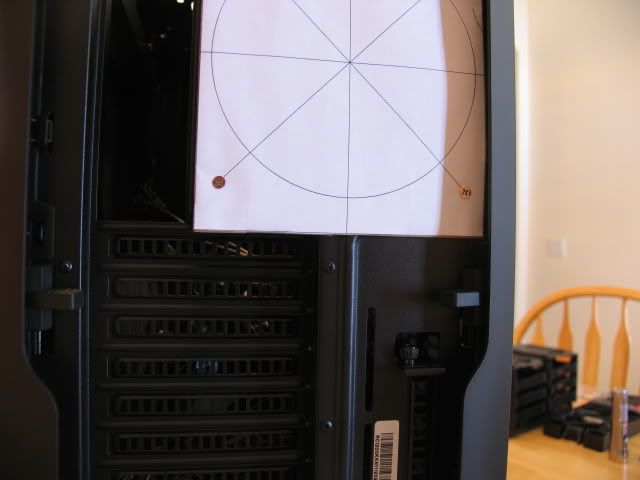
Template of rad
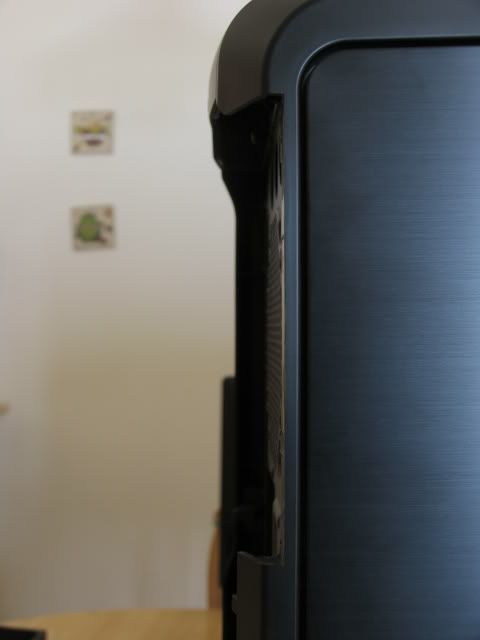
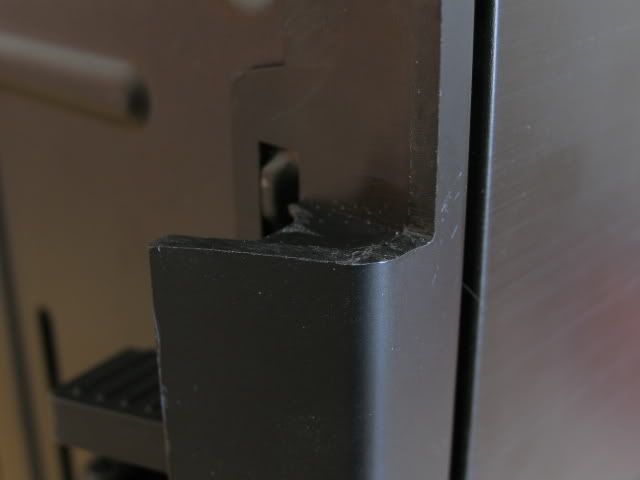
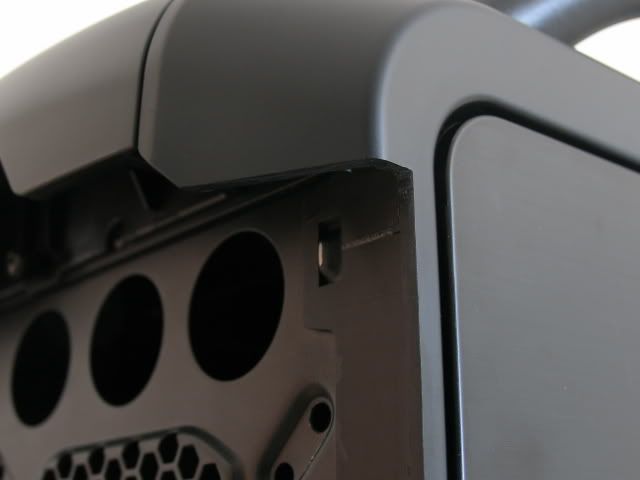
I had to remove some plastic to make room for the 140mm rad
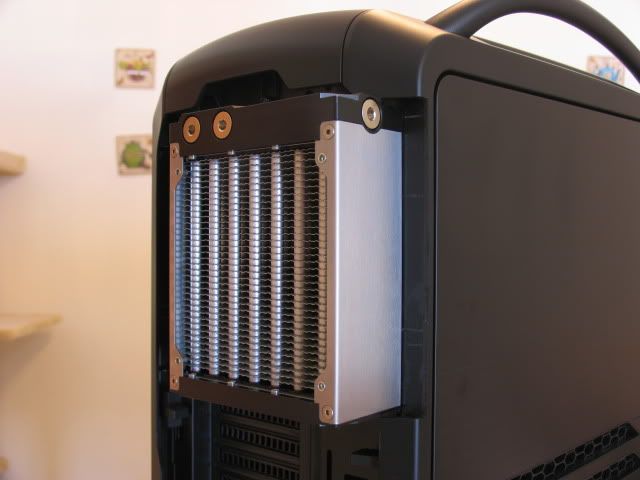
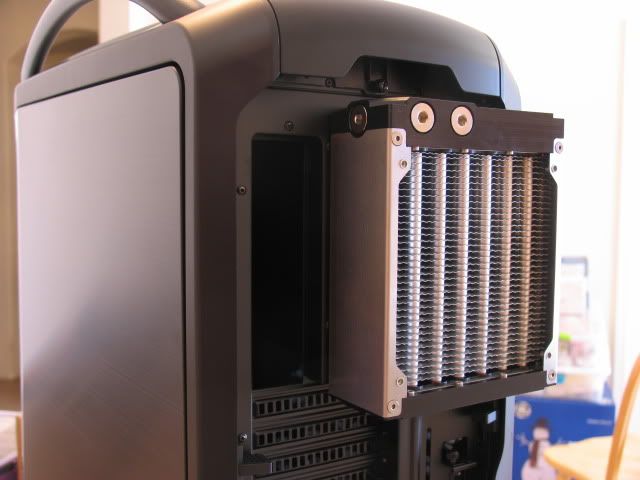
Test Fit.
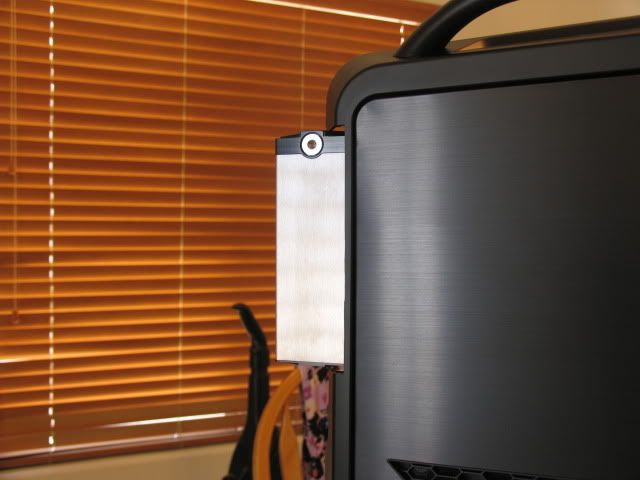
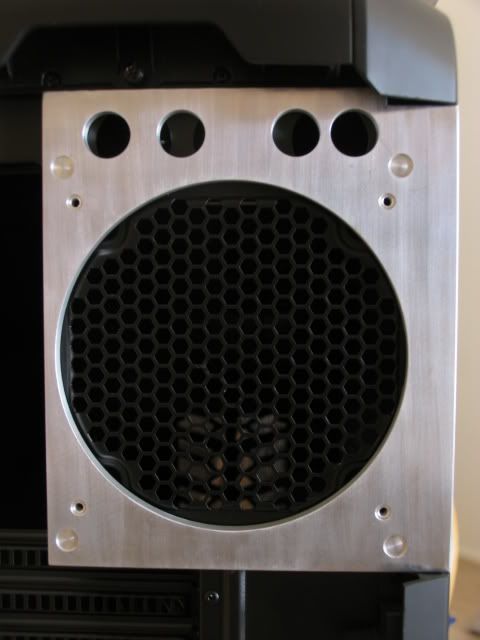
I didn't want the shoddy file job of the plastic removal to show, so I came up with a shroud.
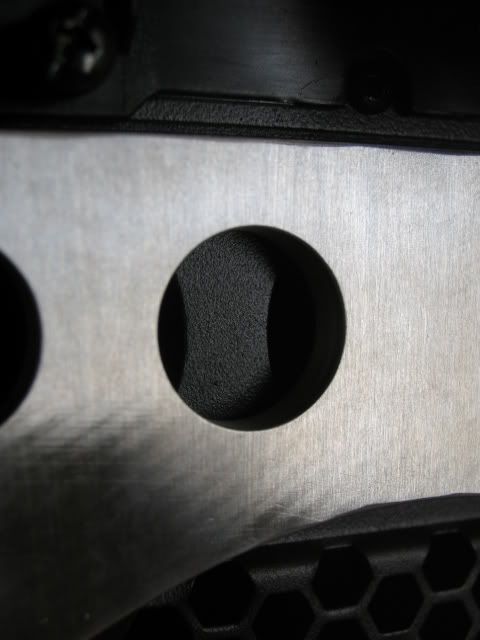
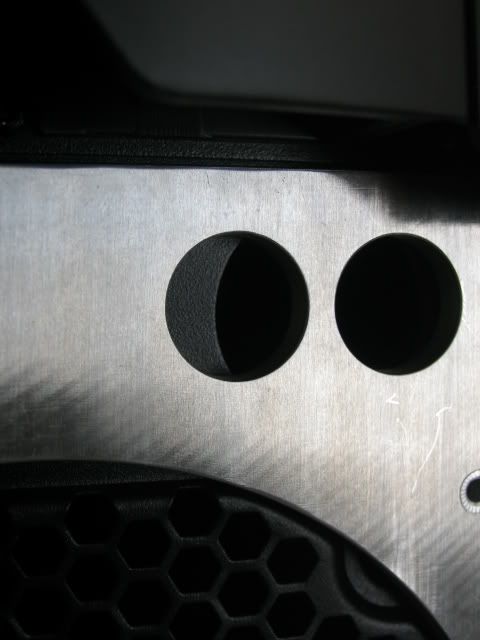

Extenders to reach into the case.
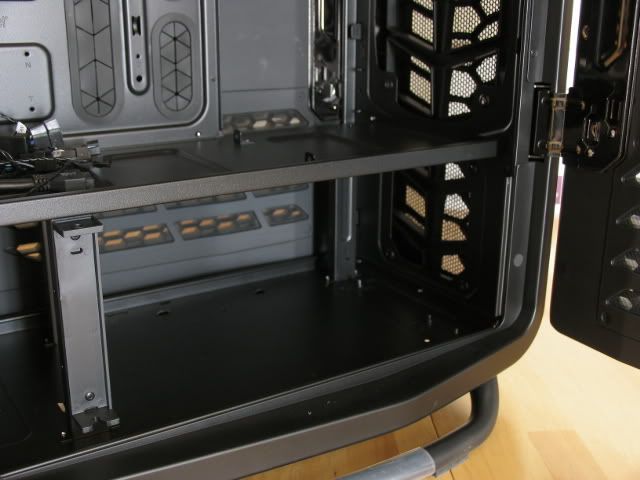
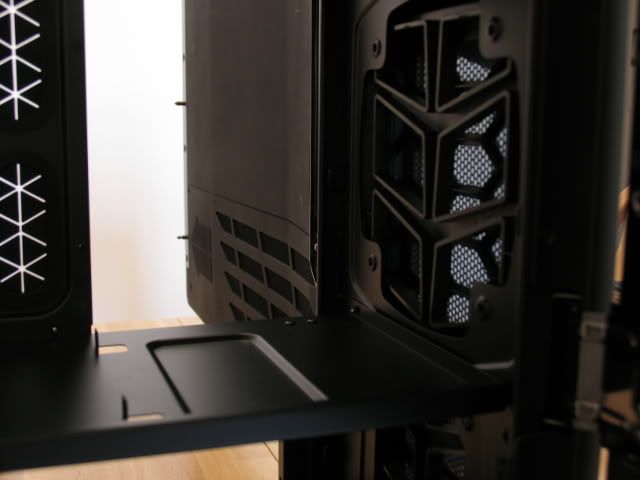
This is where the drive bays were. I could put a rad in there. Hmmmm.....
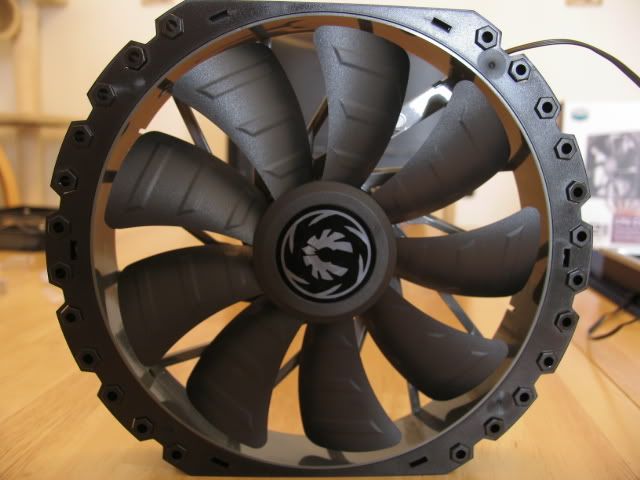
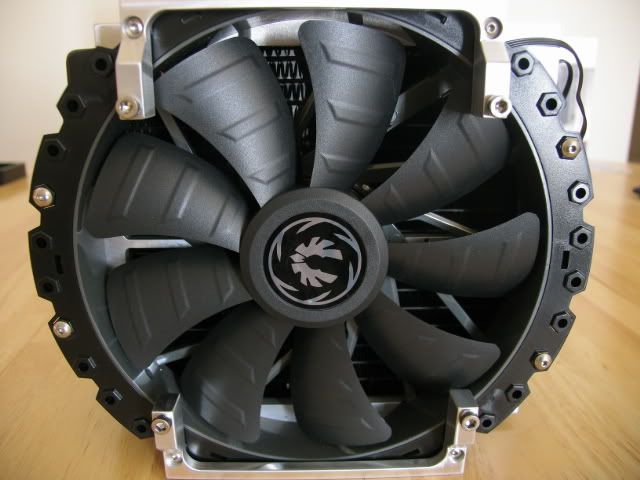
I measured the space and there is just enough room for a 230mm fan. Bitfenix Spectre Pro
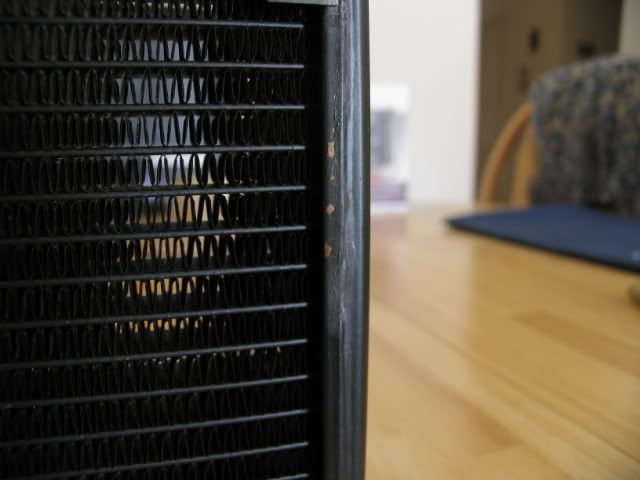
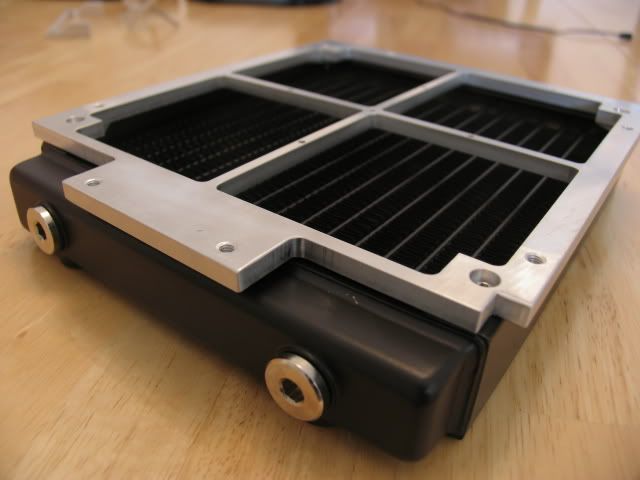
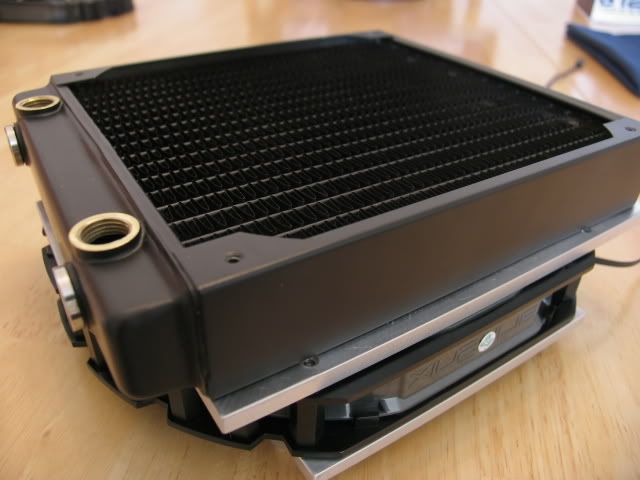
Magic cool 180mm radiator

Shoddy finish Magic cool. Ugh.
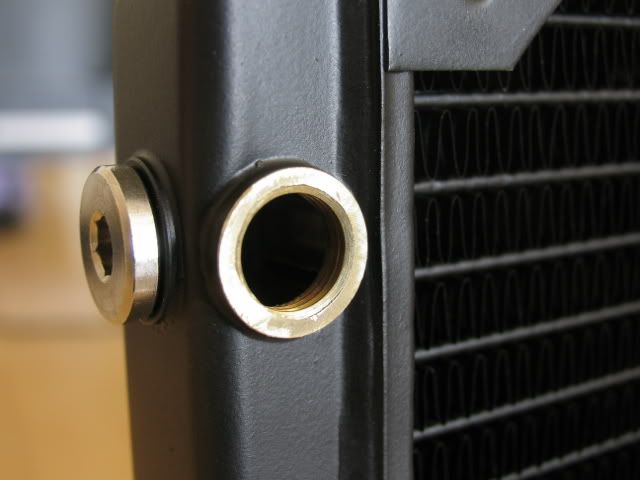
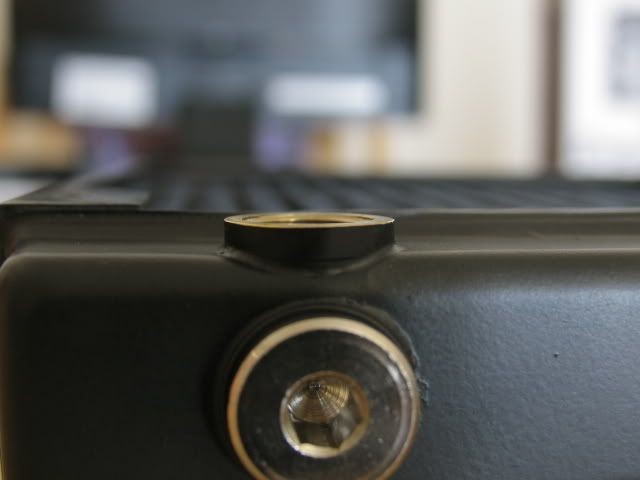
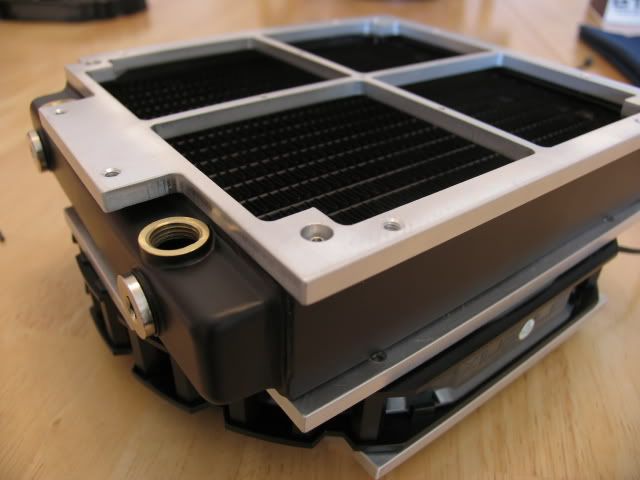
Also, the bosses were not put in straight, so I had to machine them.
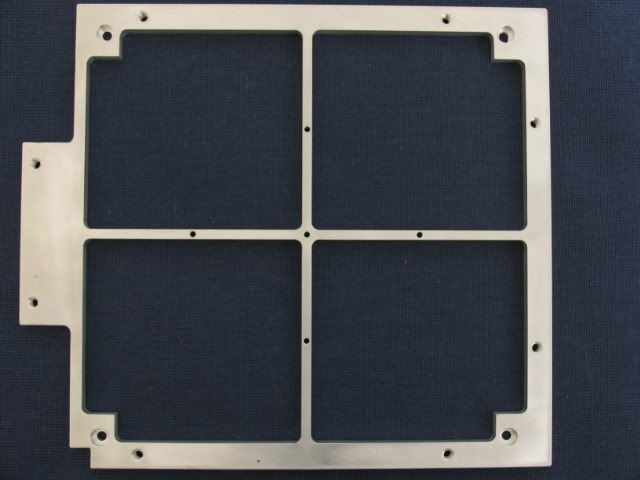
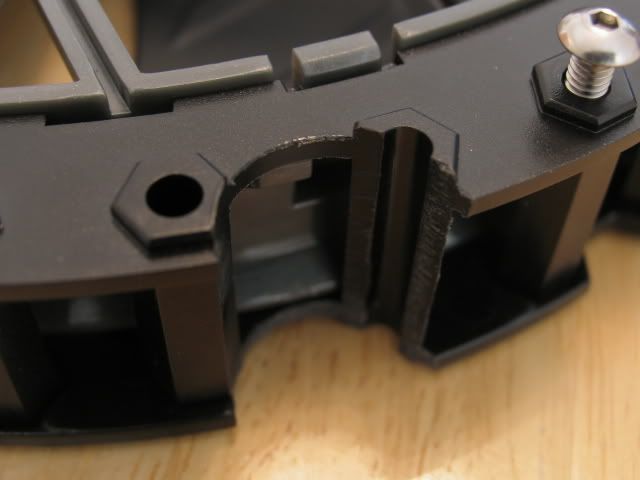
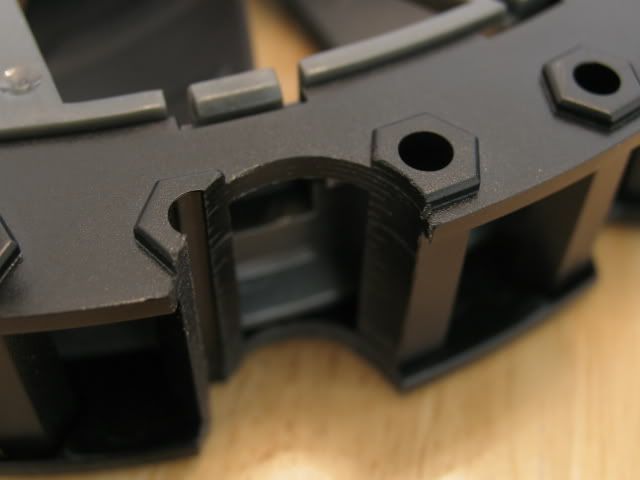
I needed a way to attach the 230mm fan to the 180mm rad, so I machined a shroud (two actually).
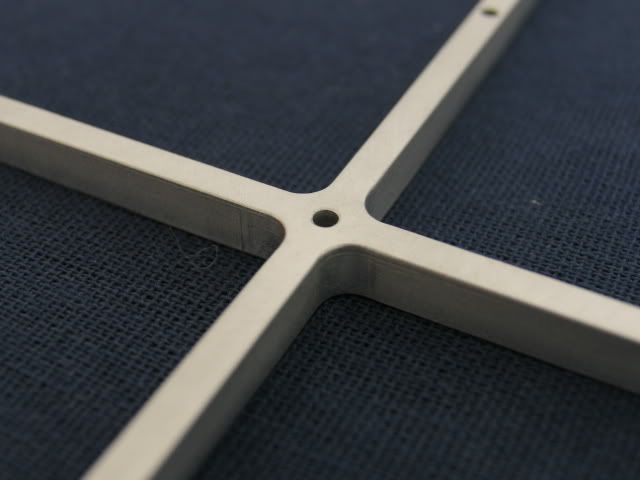
Close ups
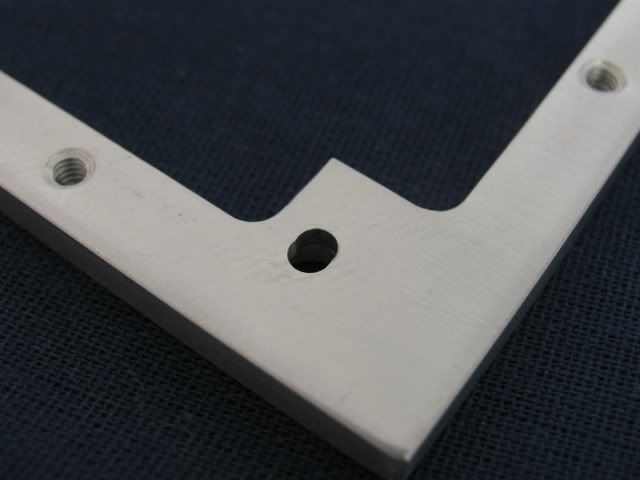
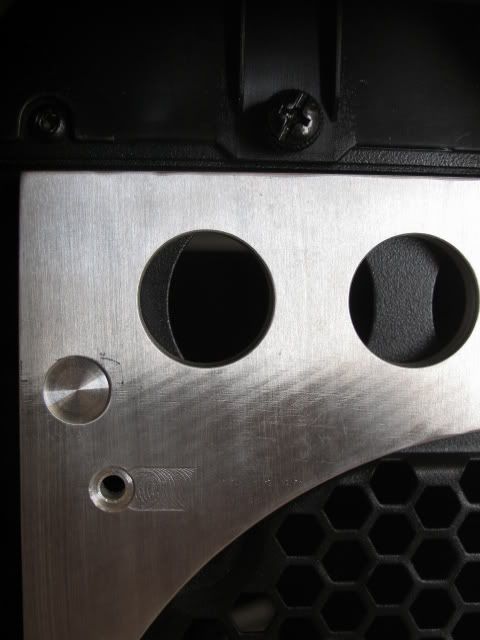
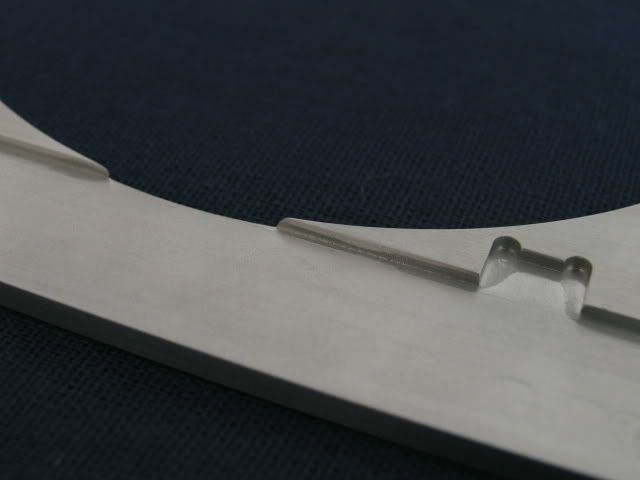
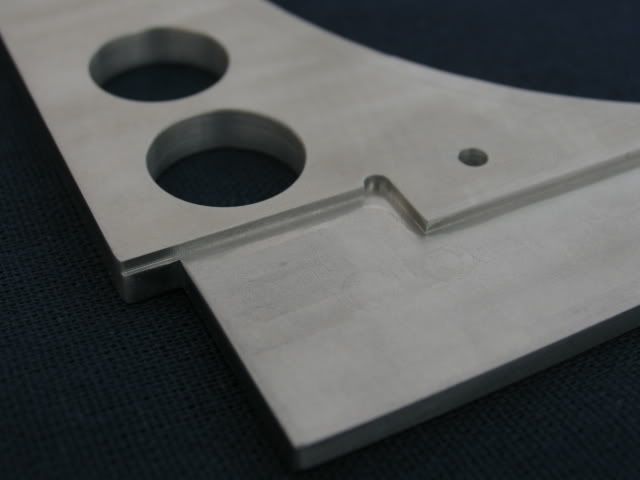
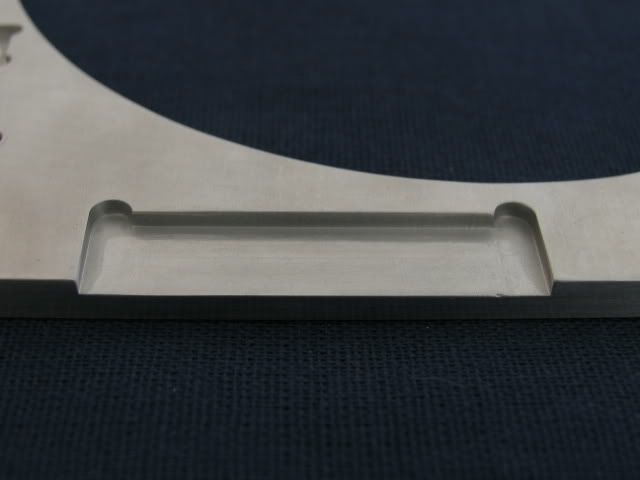
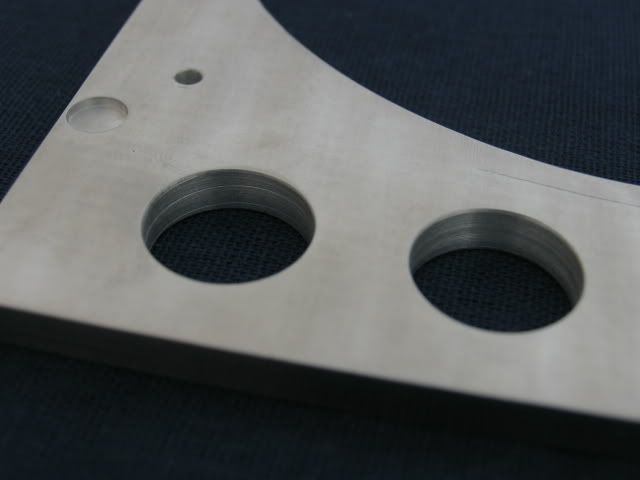
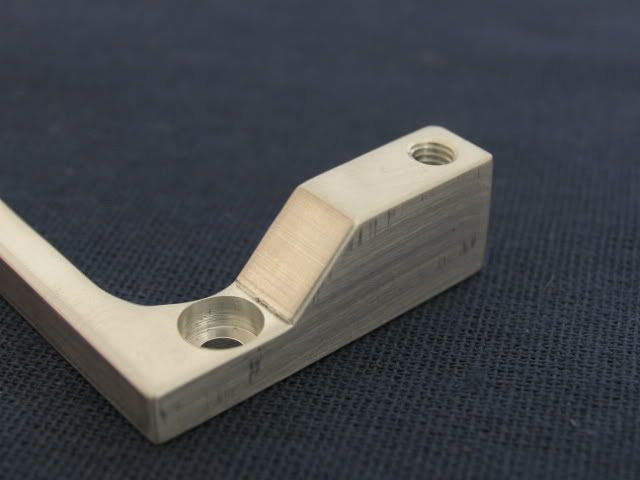
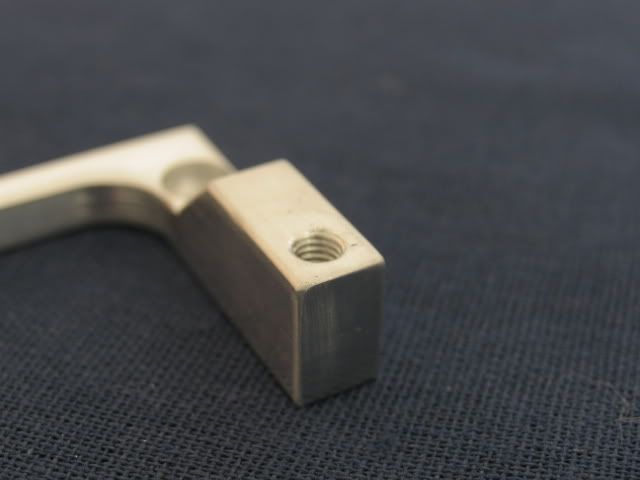
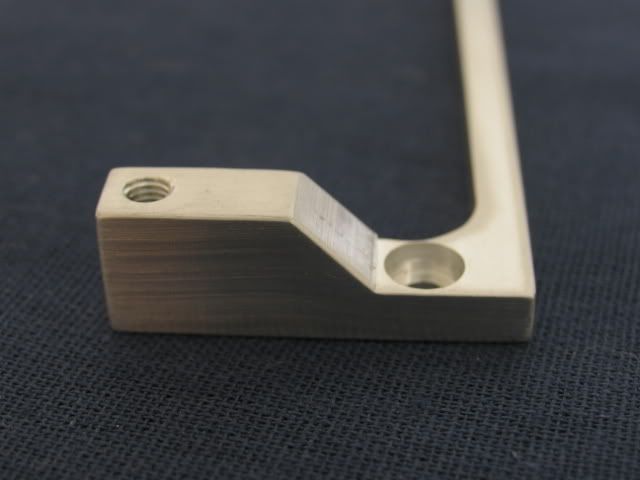
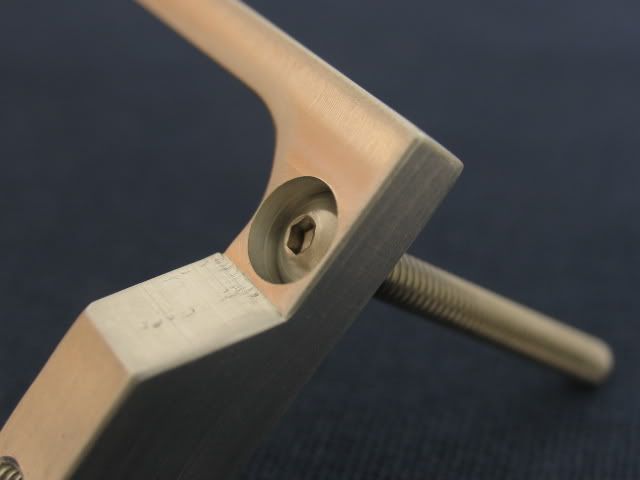
And, I needed a way to affix this to the case, so I made some brackets to attach to the front 140mm intake spot on the case.
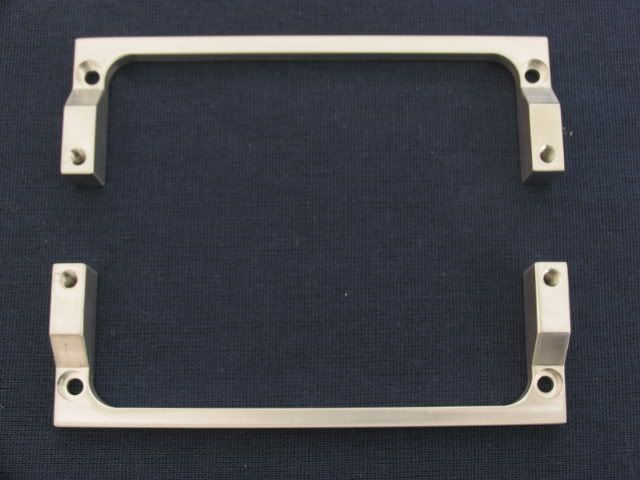
Close ups
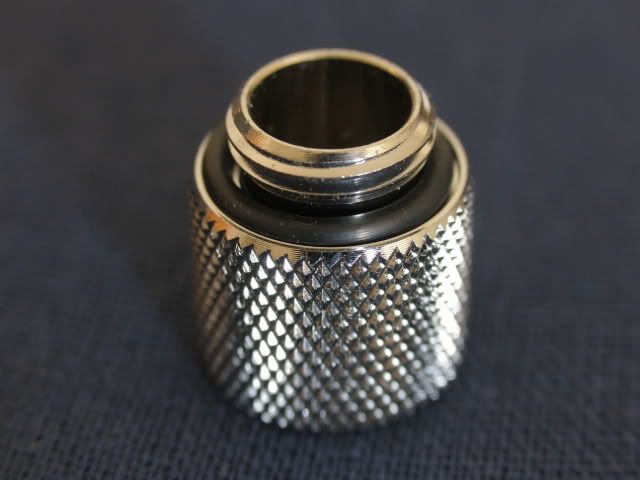
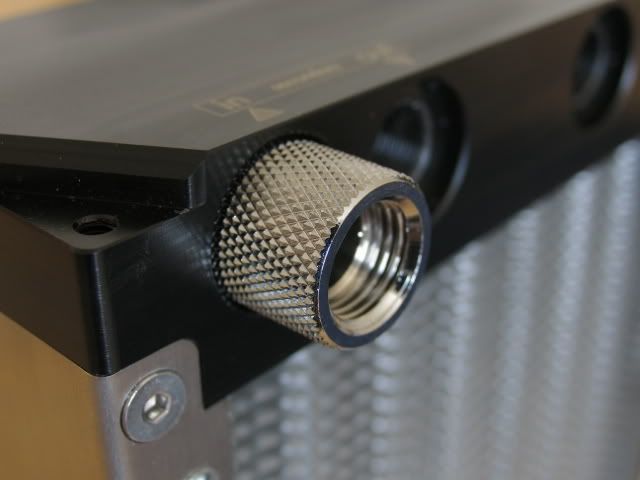
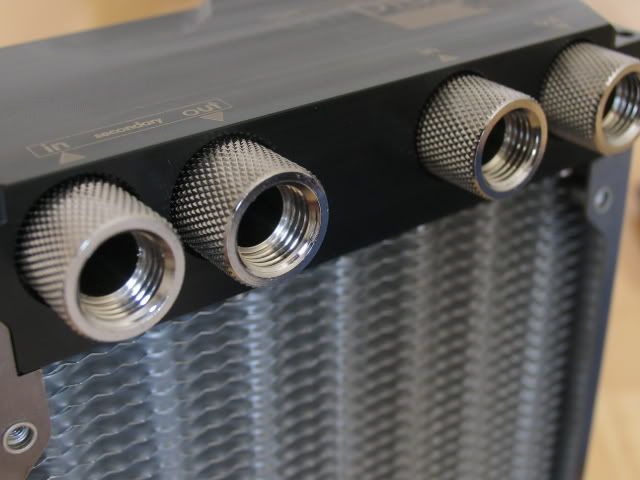
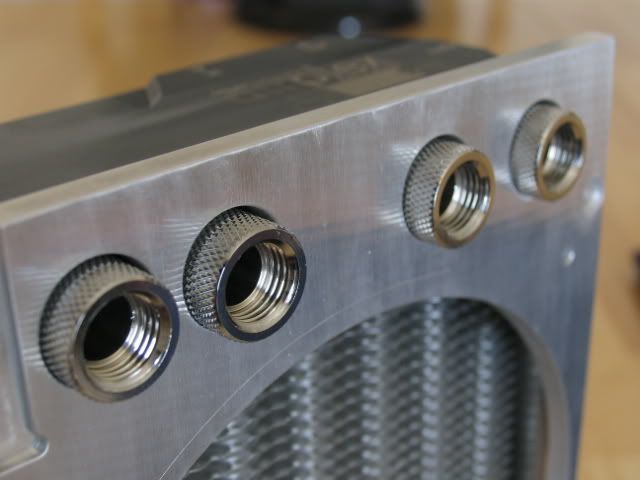
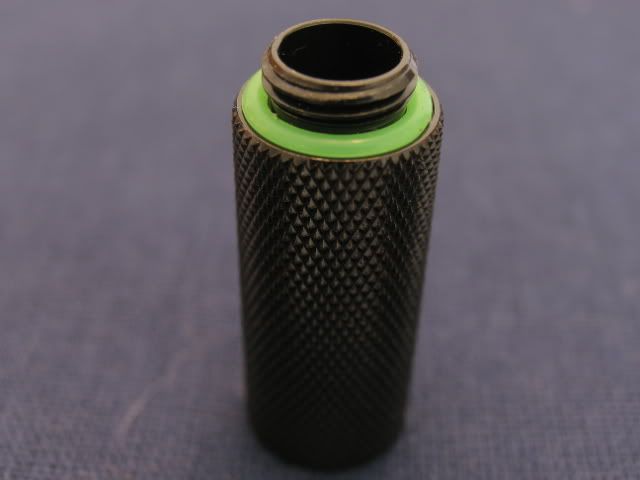
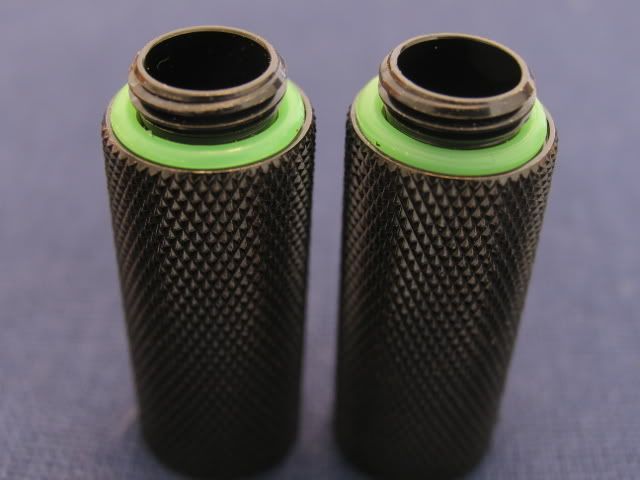
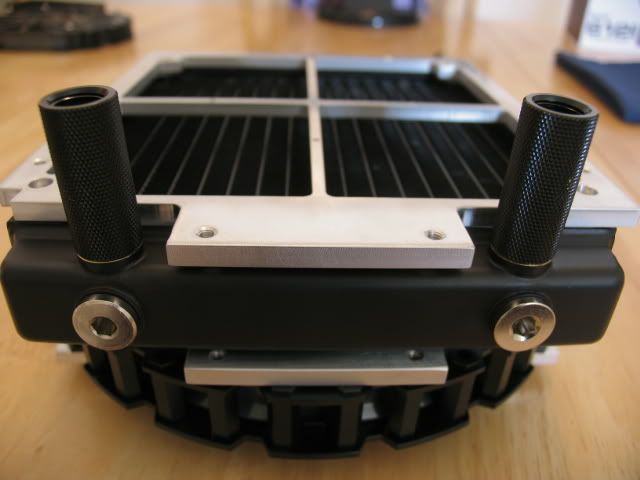
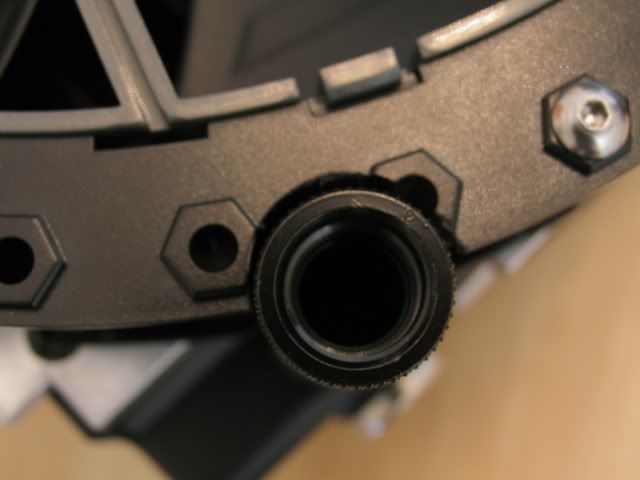
These are the extenders since the fit where the hose barbs will go on the rad will interfere with the closing of the side panels.
Because the fans are a tight fit, I had to make room for the extenders. So I cut a slot on the 230mm fan.
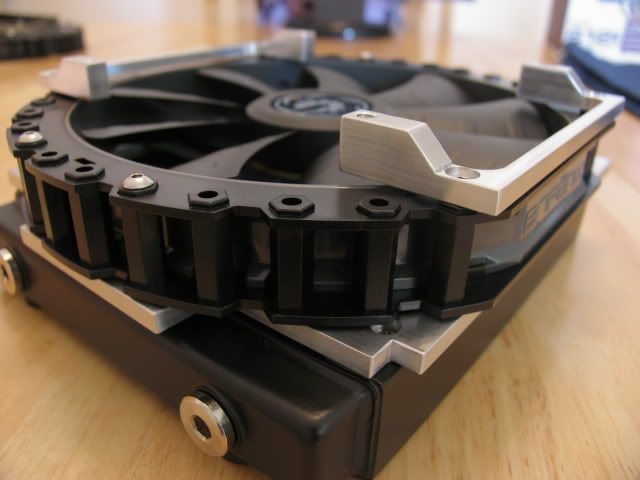
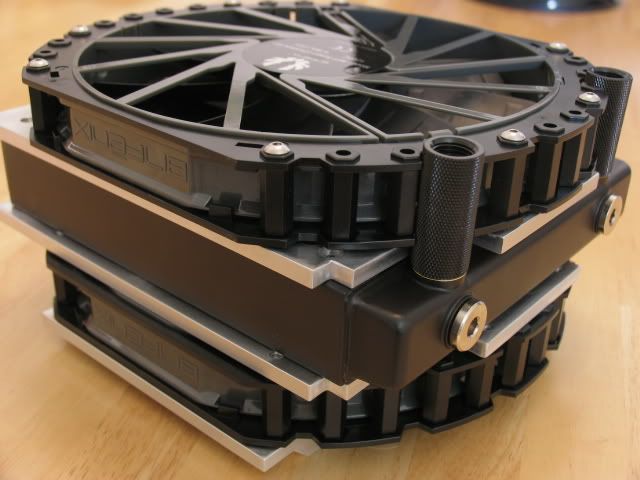
Let's assemble this fan rad sandwich. First the rad and shroud.
Add fan and mounting brackets.
Flip.
Add other shroud.
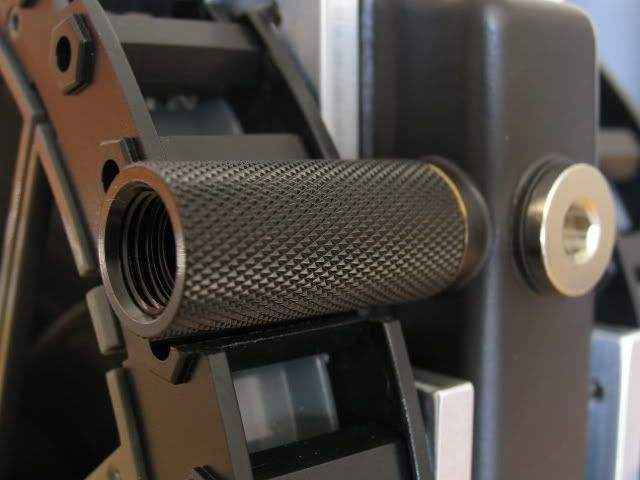
Add extenders
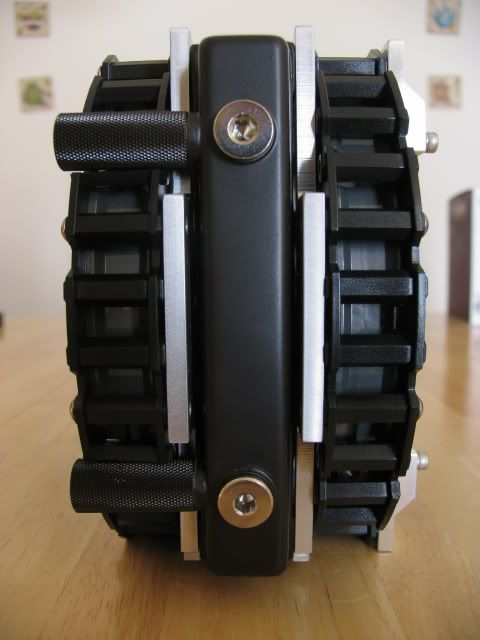
Add second fan and done!
Close fit.

Stack.
Slide her in.
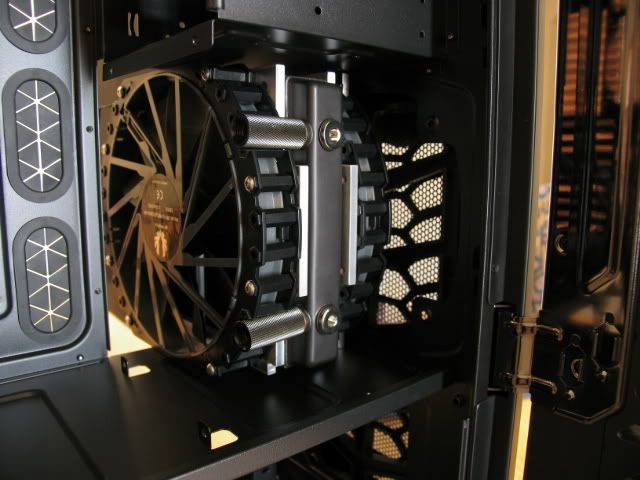
Line up.
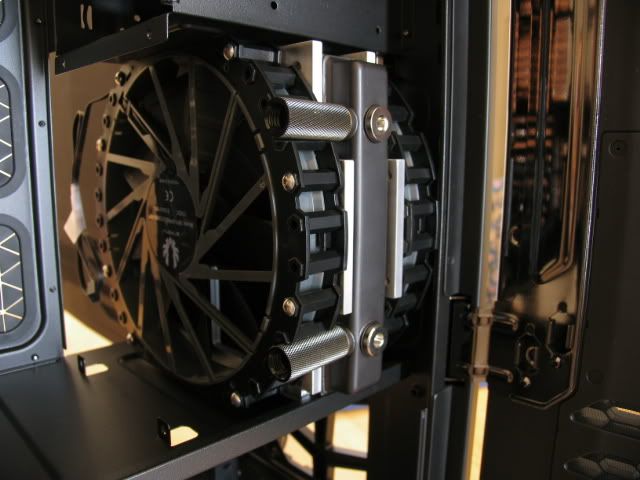
Front case view.

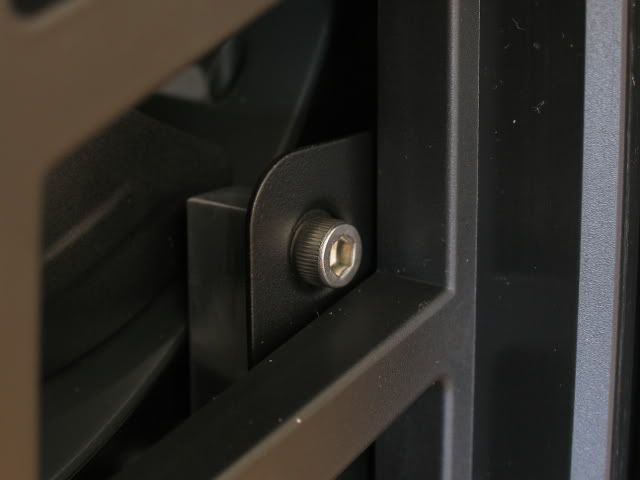
Screw. #10-32 x .5 lg.
Front. Sorry blurry shot.
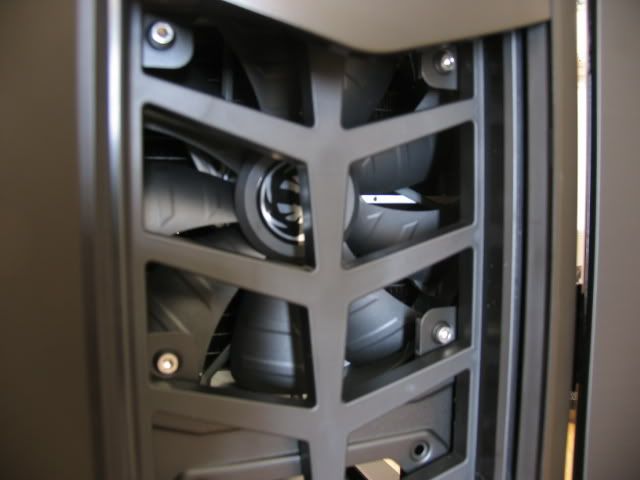
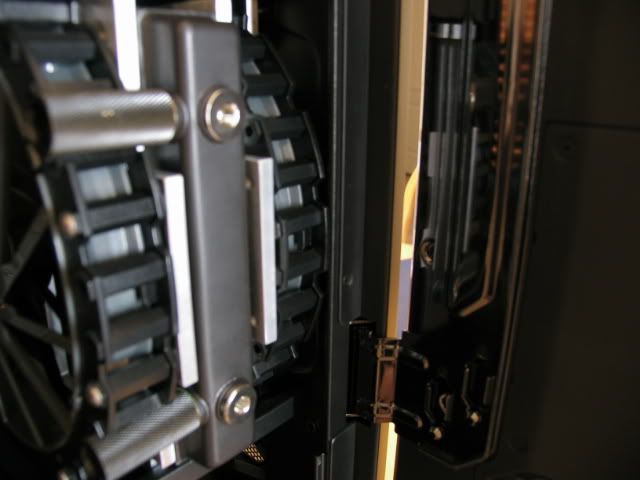
Super close fit.
That's all I have done now. Working on a few other things. Will update when done.
Here are some of the other components going into this build.
Mobo.


CPU.

Memory. 32 Gigs baby!


PSU.


SSD.

GPU. Finally got one. They were OOS for so long. Had it a couple weeks now. Still sealed.

Here are some of the water cooling items. First CPU block.


Mobo blocks.


GPU.


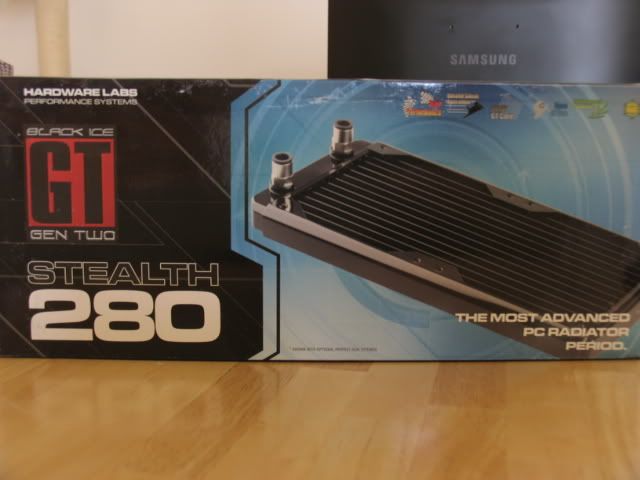
This Black Ice 280mm will go in the top of the case. I could fit a 420mm but it would be pushing it.
All for now. Stay tuned!
Case always comes first. Cooler Master Cosmos II. This thing is heavy (hence the title).
AquaComputer Airplex 140mm Aluminum Radiator. This is going on the rear exhaust.
Back of Cosmos II where Airplex 140mm will go.
Template of rad
I had to remove some plastic to make room for the 140mm rad
Test Fit.
I didn't want the shoddy file job of the plastic removal to show, so I came up with a shroud.
Extenders to reach into the case.
This is where the drive bays were. I could put a rad in there. Hmmmm.....
I measured the space and there is just enough room for a 230mm fan. Bitfenix Spectre Pro
Magic cool 180mm radiator
Shoddy finish Magic cool. Ugh.
Also, the bosses were not put in straight, so I had to machine them.
I needed a way to attach the 230mm fan to the 180mm rad, so I machined a shroud (two actually).
Close ups
And, I needed a way to affix this to the case, so I made some brackets to attach to the front 140mm intake spot on the case.
Close ups
These are the extenders since the fit where the hose barbs will go on the rad will interfere with the closing of the side panels.
Because the fans are a tight fit, I had to make room for the extenders. So I cut a slot on the 230mm fan.
Let's assemble this fan rad sandwich. First the rad and shroud.
Add fan and mounting brackets.
Flip.
Add other shroud.
Add extenders
Add second fan and done!
Close fit.
Stack.
Slide her in.
Line up.
Front case view.
Screw. #10-32 x .5 lg.
Front. Sorry blurry shot.
Super close fit.
That's all I have done now. Working on a few other things. Will update when done.
Here are some of the other components going into this build.
Mobo.
CPU.
Memory. 32 Gigs baby!
PSU.
SSD.
GPU. Finally got one. They were OOS for so long. Had it a couple weeks now. Still sealed.
Here are some of the water cooling items. First CPU block.
Mobo blocks.
GPU.
This Black Ice 280mm will go in the top of the case. I could fit a 420mm but it would be pushing it.
All for now. Stay tuned!
Last edited: