wra18th
[H]F Junkie
- Joined
- Nov 11, 2009
- Messages
- 8,494
Can't wait to see the final paint. I'm painting a Lian Li this summer.
Follow along with the video below to see how to install our site as a web app on your home screen.
Note: This feature may not be available in some browsers.
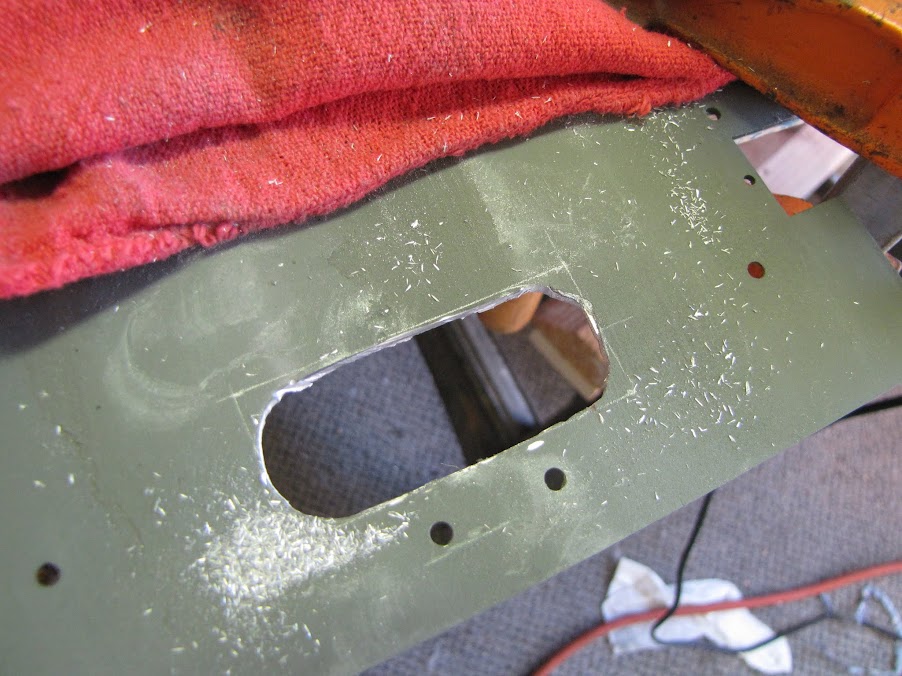
bathed it in cutting oil to make sure I had a good clean cut:


 ):
):
 I accidentally bumped it off the counter after cleaning and testing it, and somehow it landed just right and both the top and bottom popped off, surprisingly enough. The fact that it came off from just a 3 foot drop means it probably wasn't very well adhered anyway... so I'm going to have to reconsider my gluing methods, or try another adhesive. Many sources online said IPS weld-on #3 was the way to go, but I'm second guessing it now. It seemed solid, but I guess I'd rather it come off now than after fully assembled!
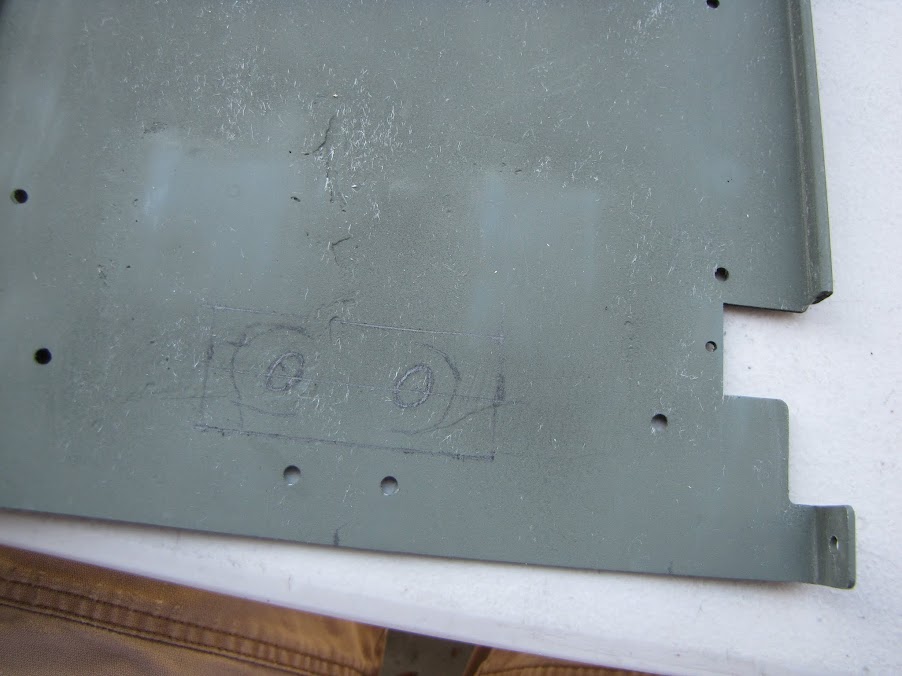
 ). A few presses later:
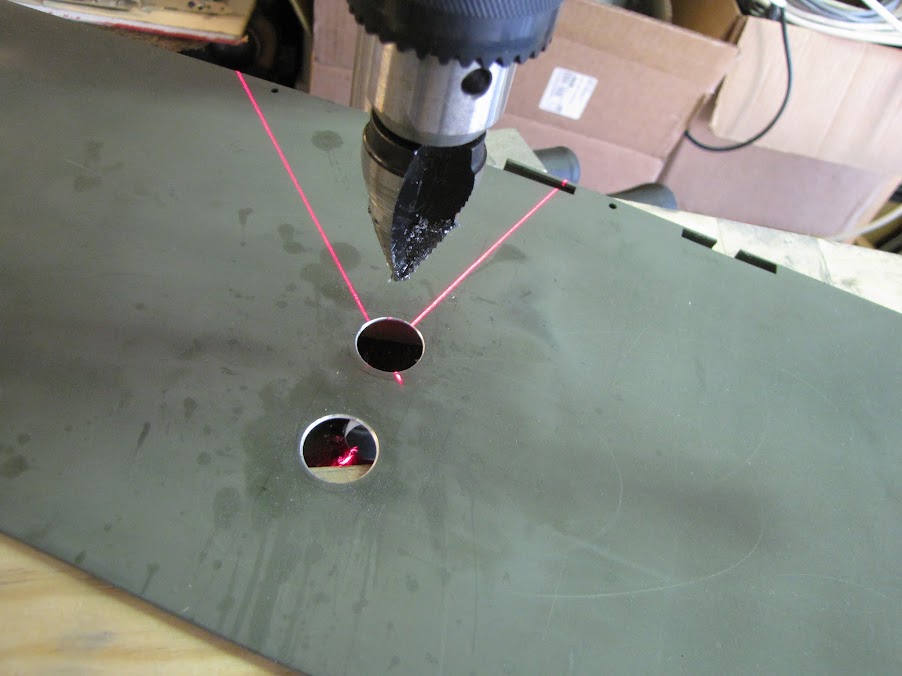
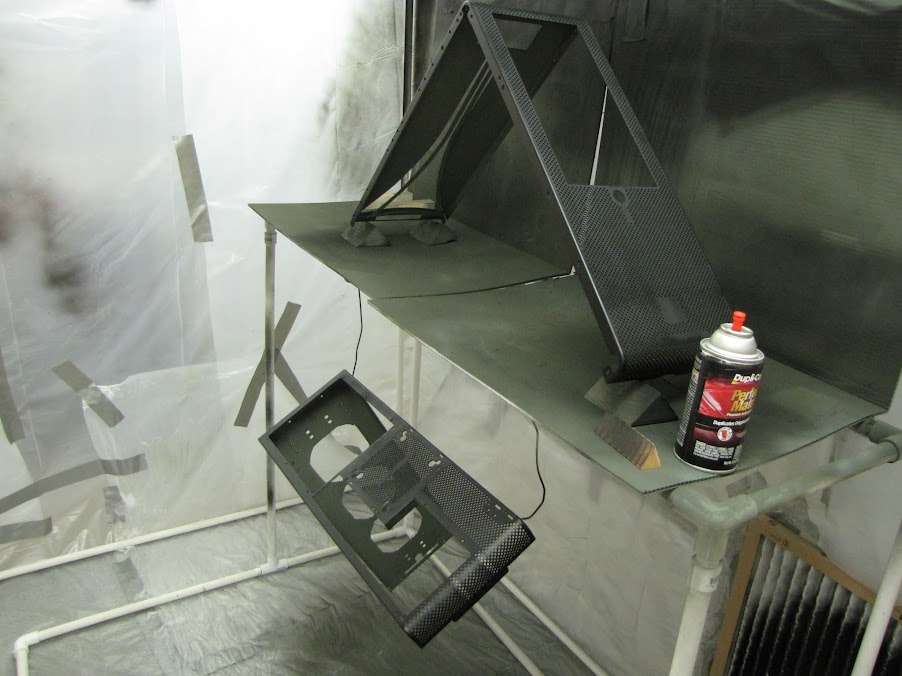
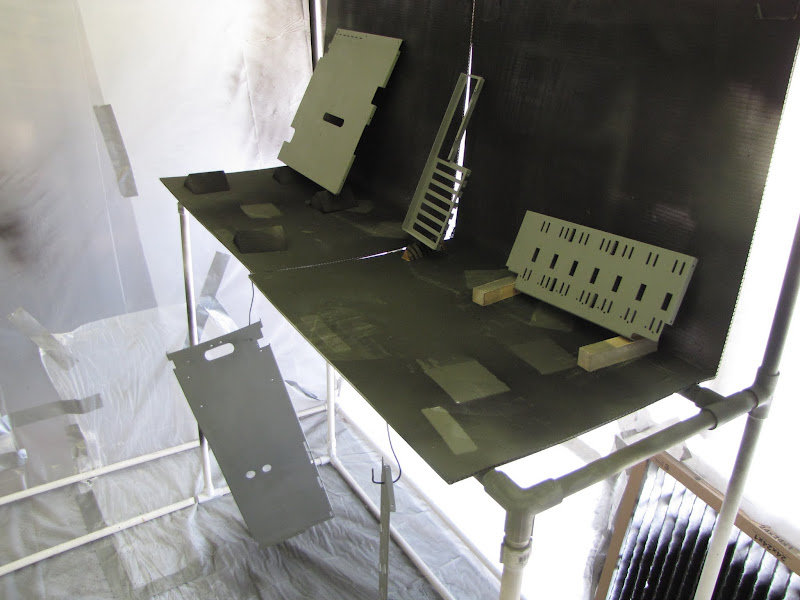
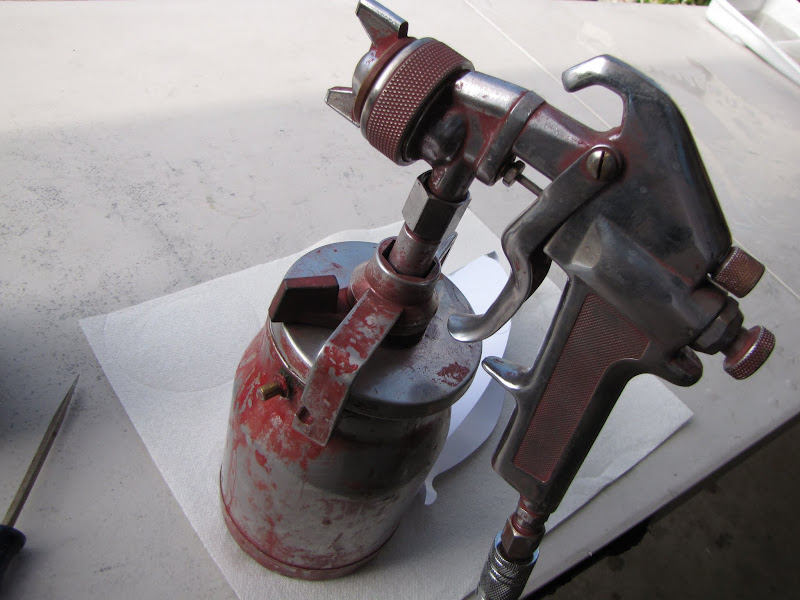
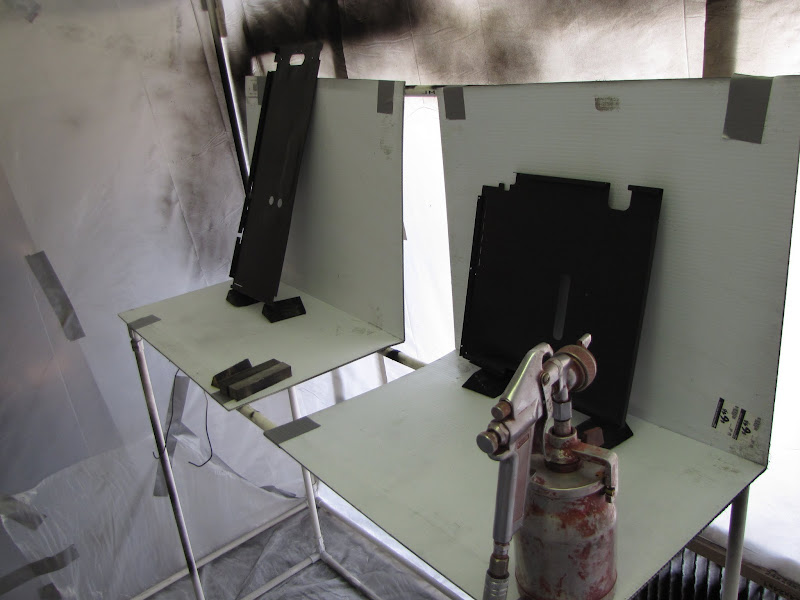
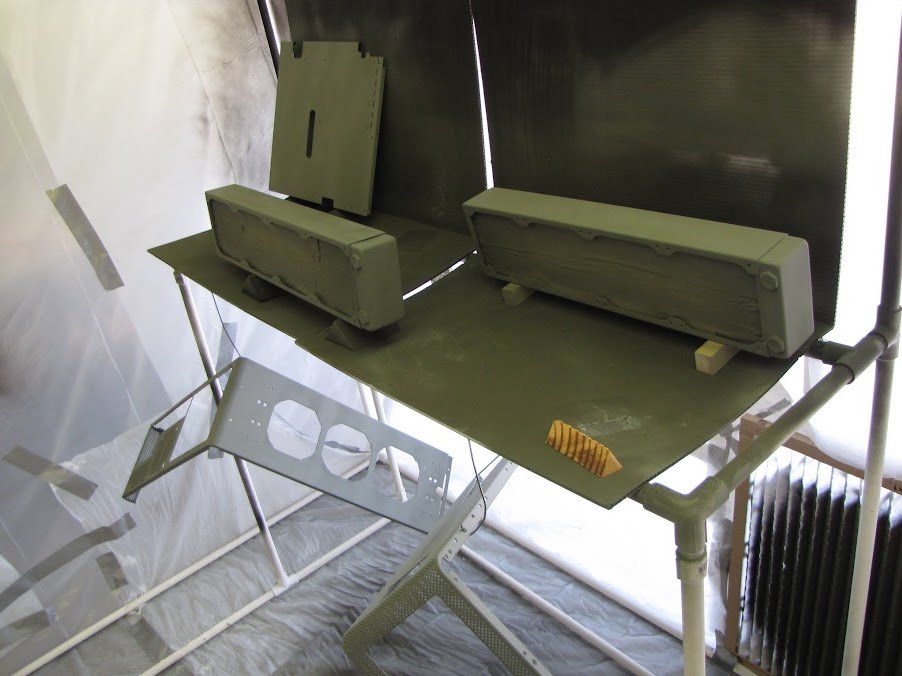
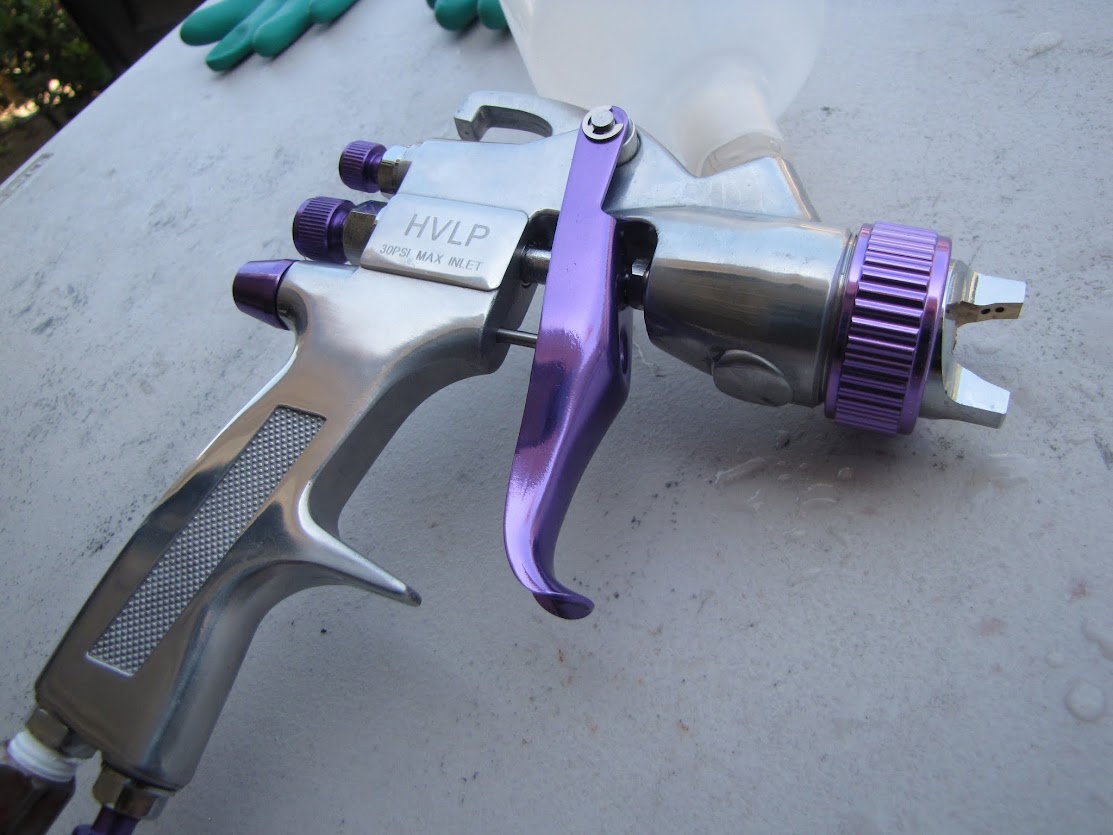
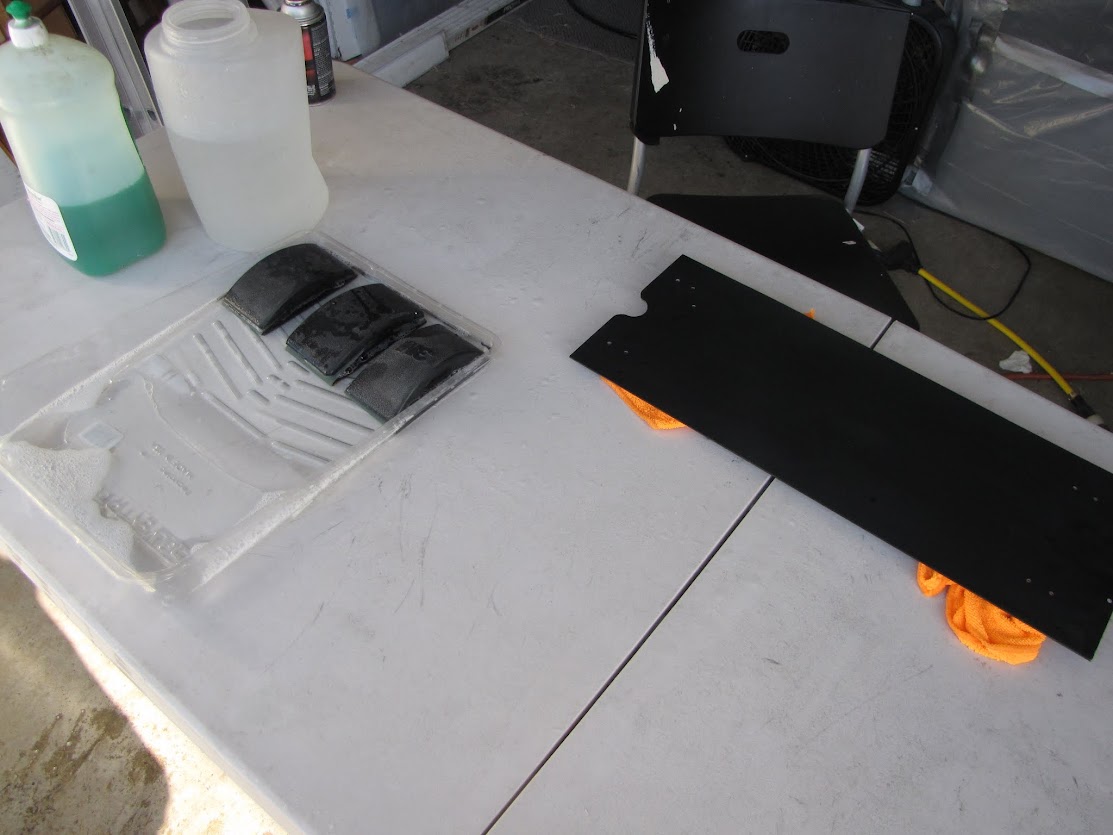
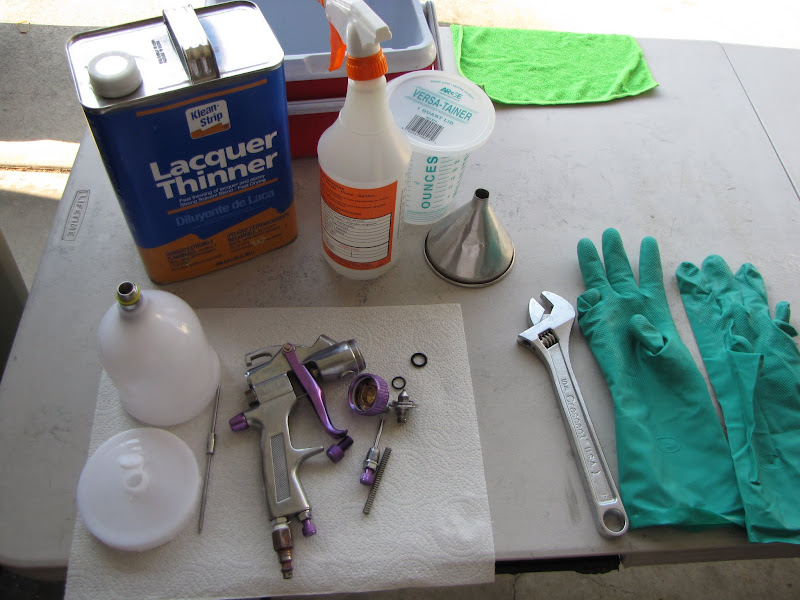
 Fortunately, my overbearing work schedule hasn't completely prevented me from making some progress! So much painting to do... it feels like it never ends! Needless to say, that wasn't sufficient... but at that time, I was a spray gun novice, and didn't know any better. Proper research showed that if you will be setting the gun down for any more than a few hours, it's best to completely tear it down and clean each individual piece with paint thinner, then leave it disassembled to dry. I put this to good practice with my new toy:
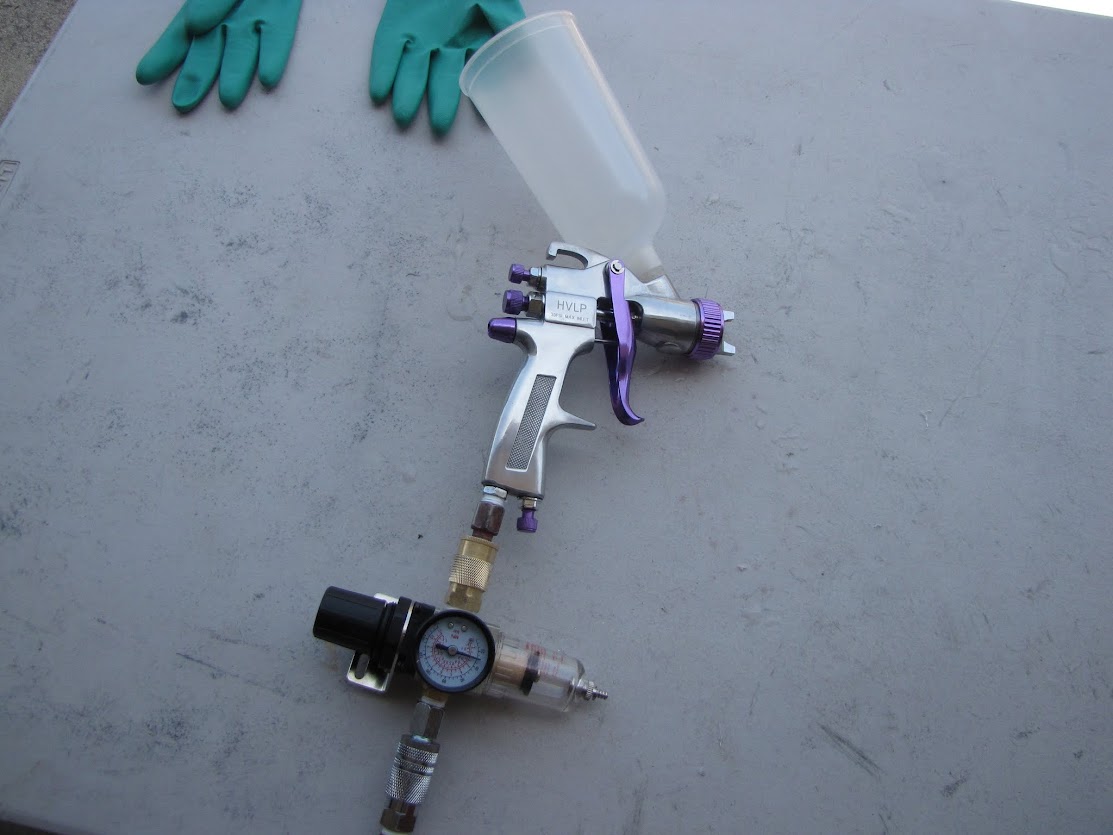
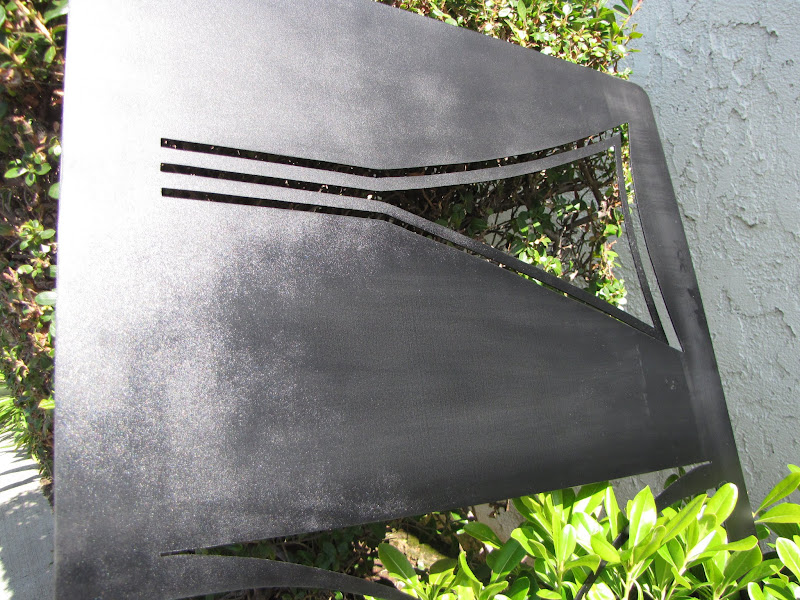
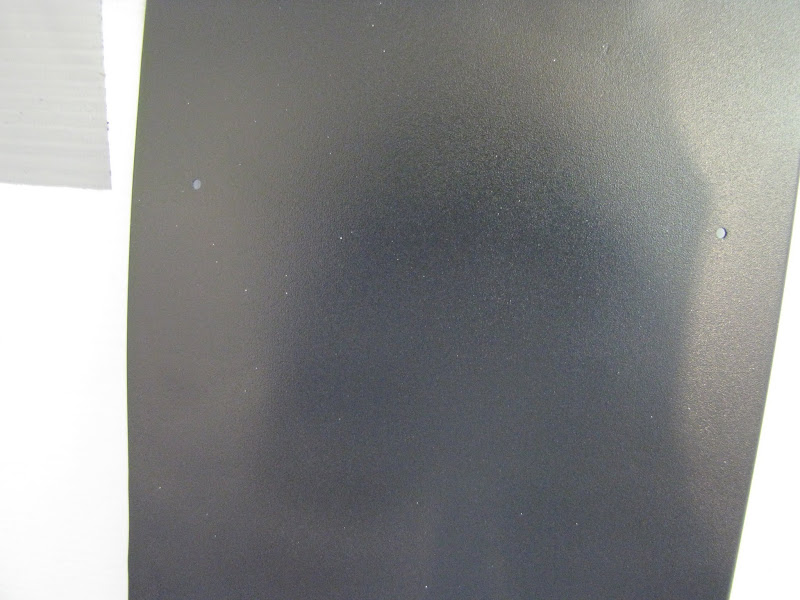
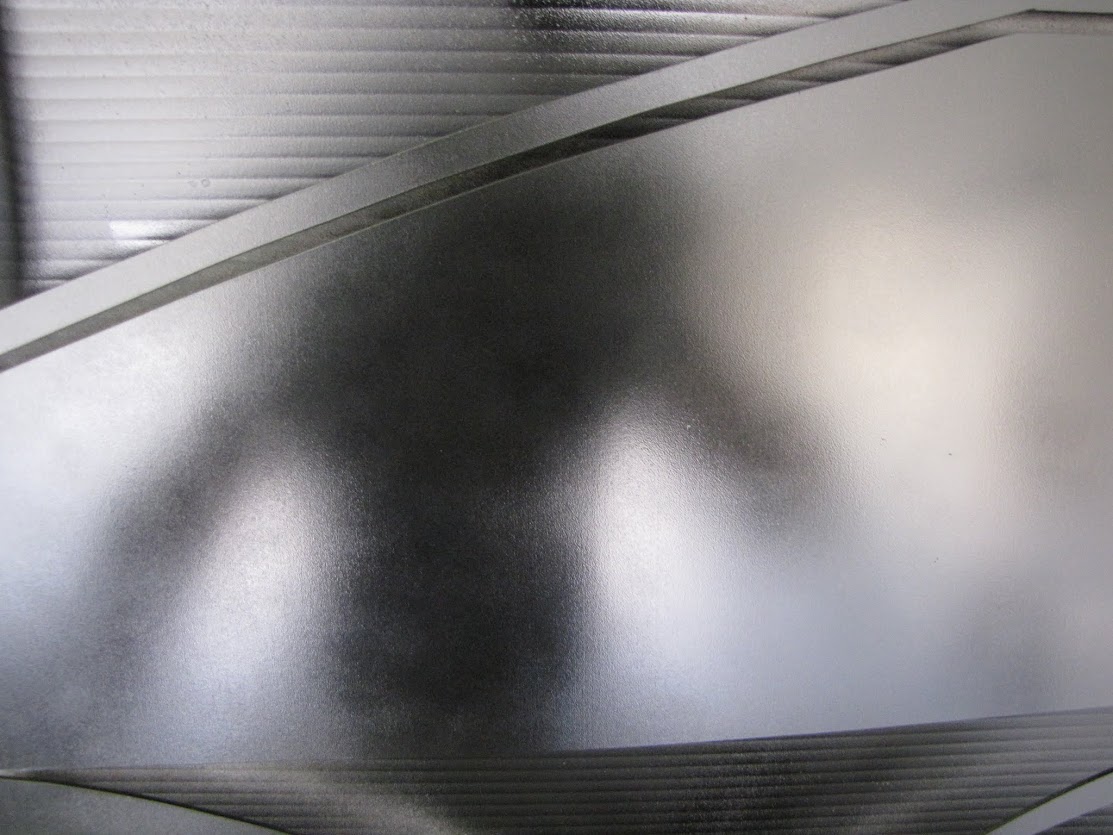
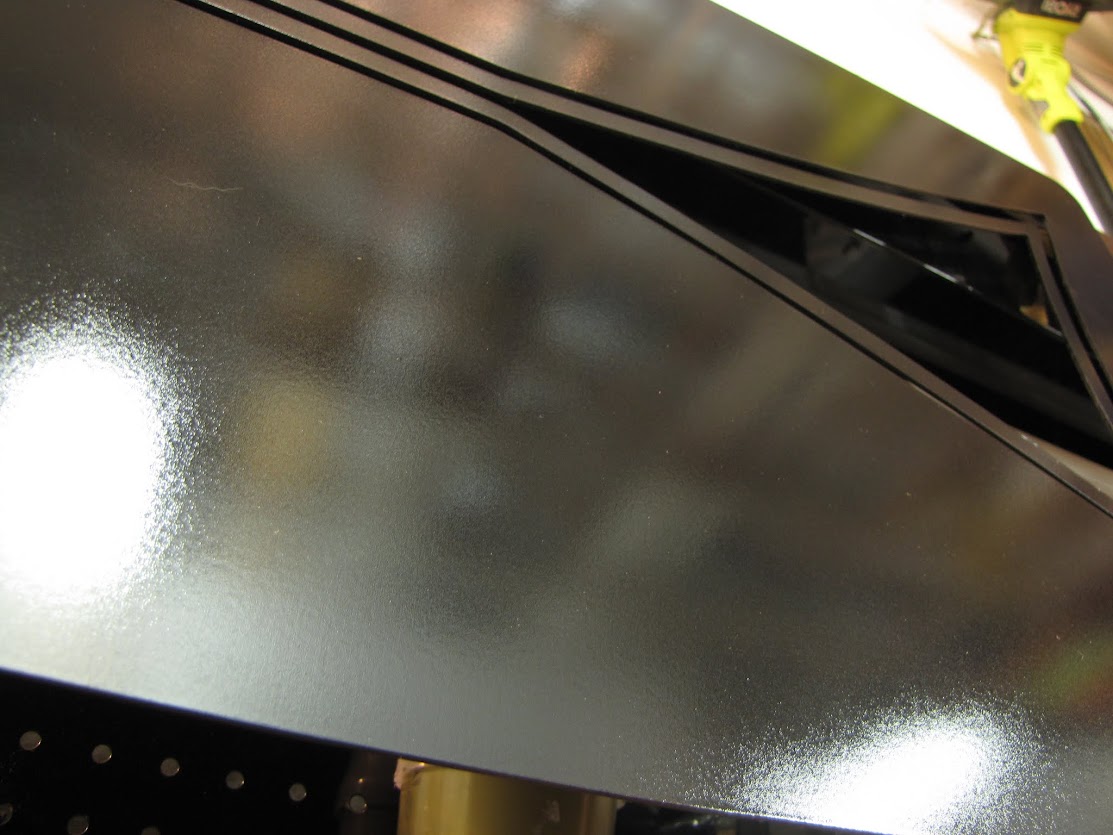
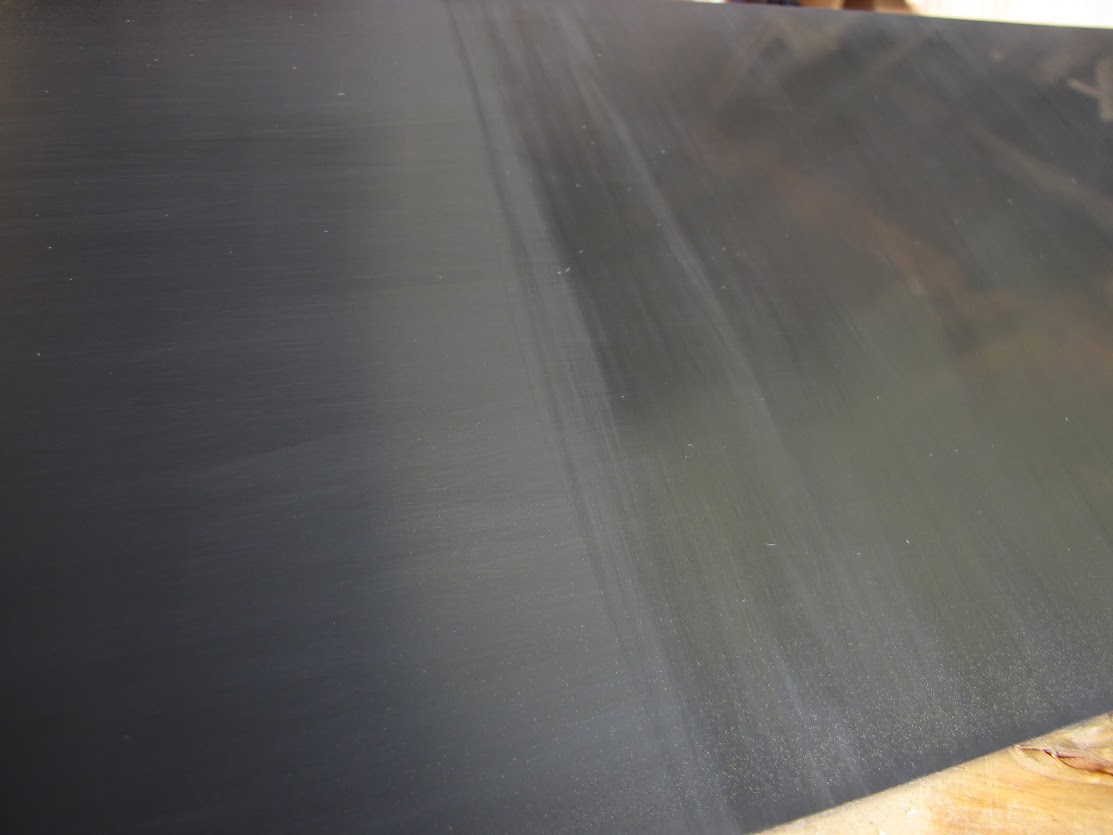
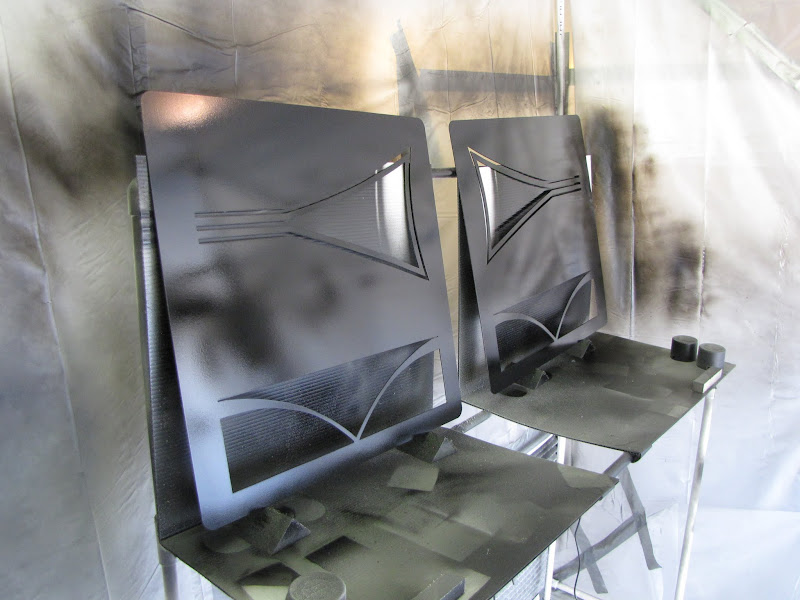
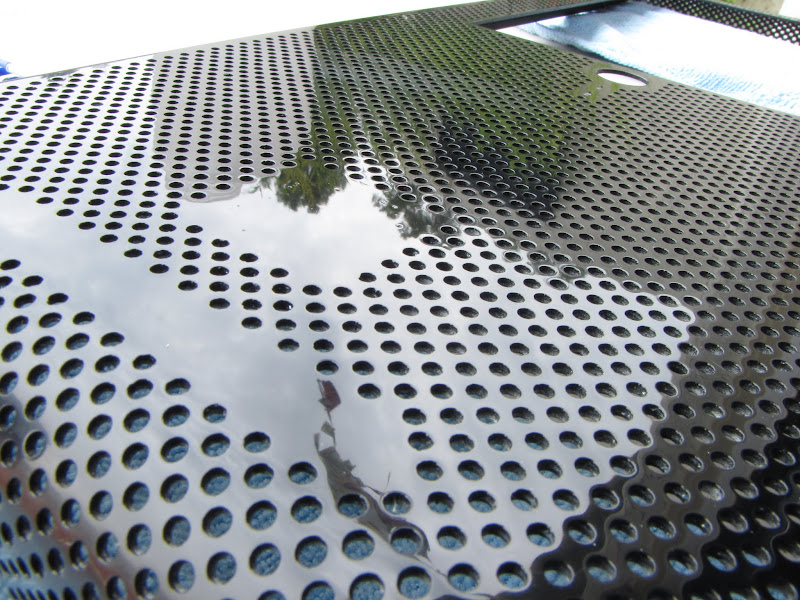
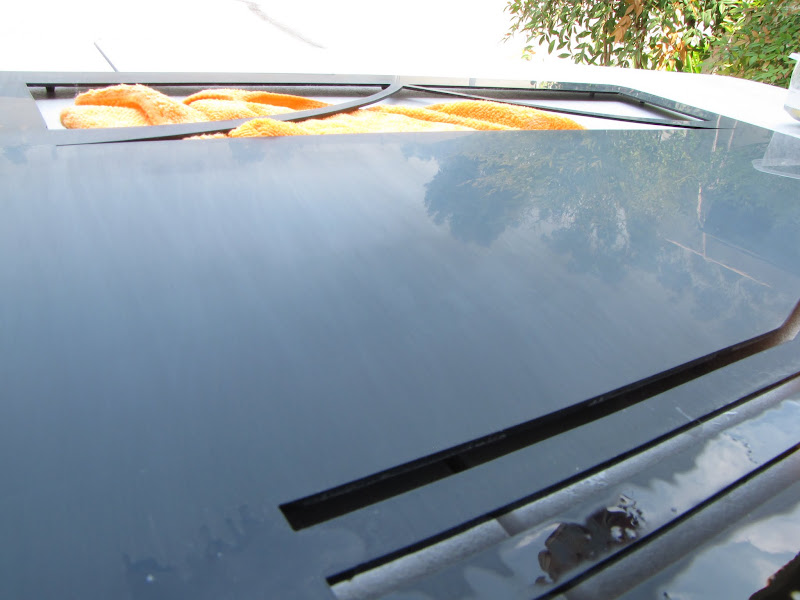
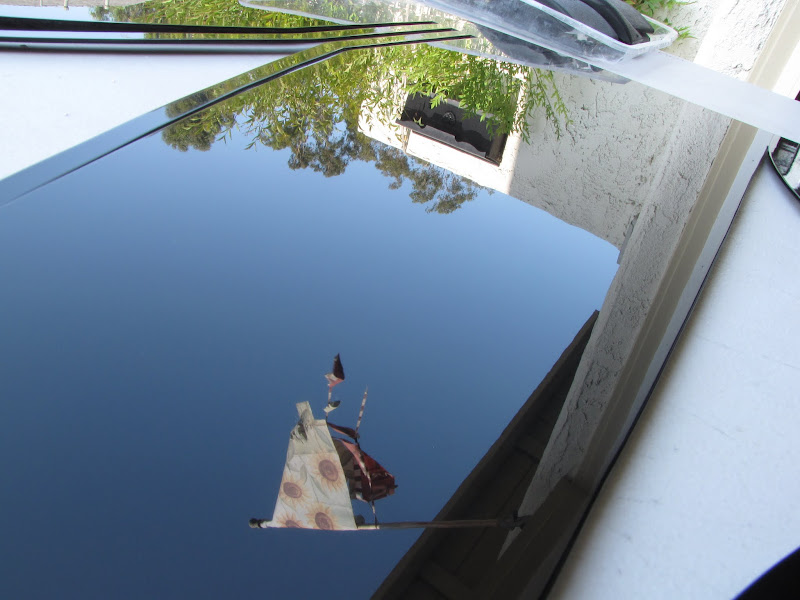
 Anyway, I upped the quantity of paint laid on by slowing down the spray cans as I passed from left to right, and moved the cans in closer to 6-8 inches instead of 8-10 as I was using before. The result was immediately and obviously apparent:
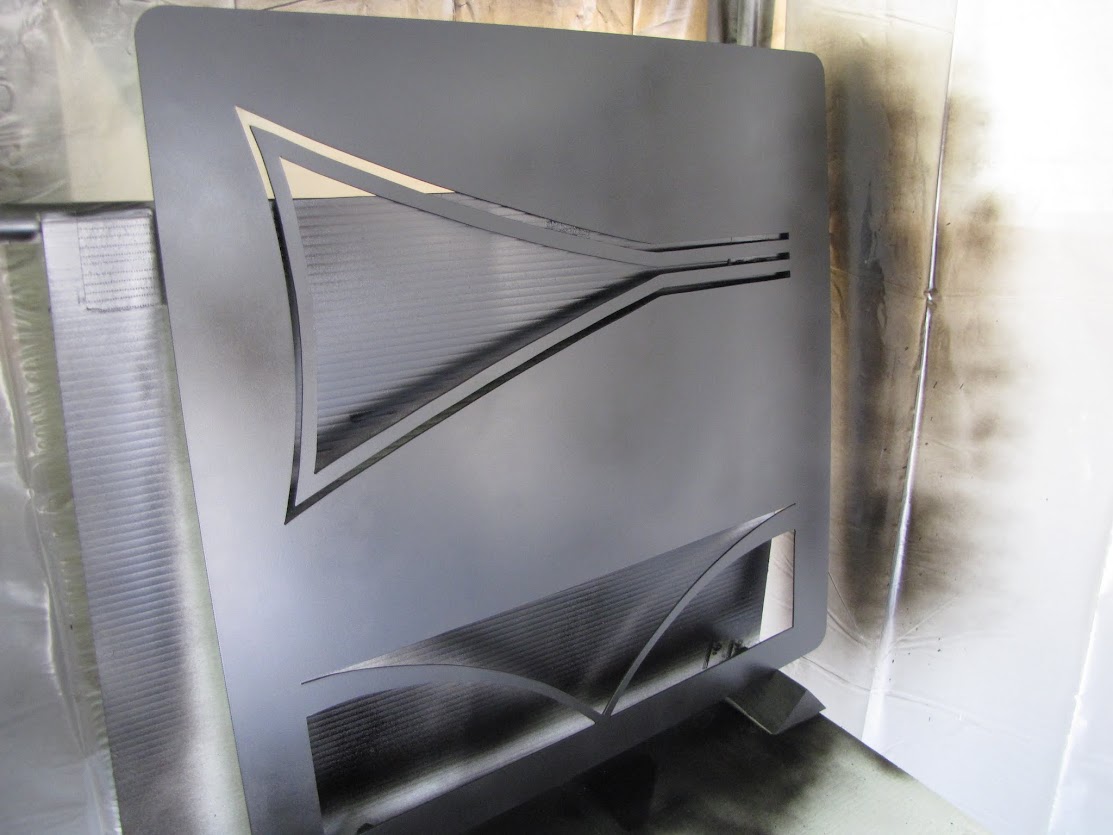
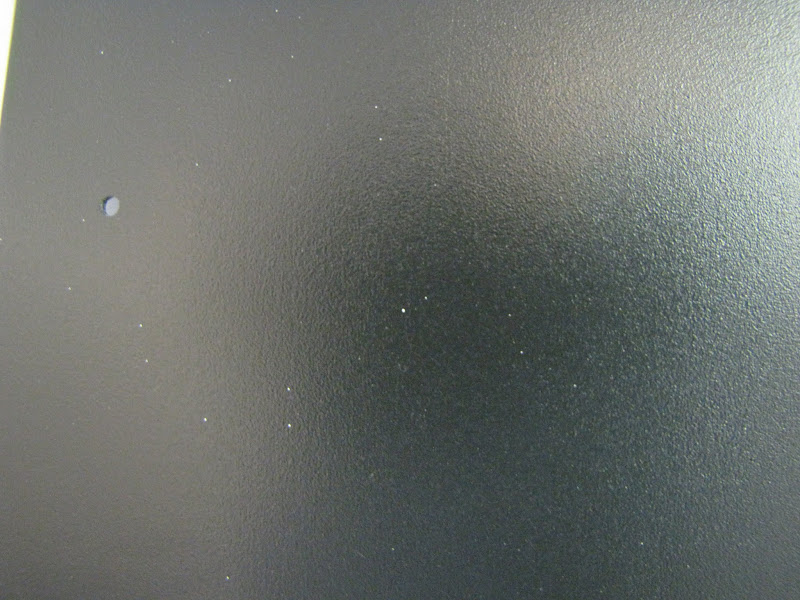
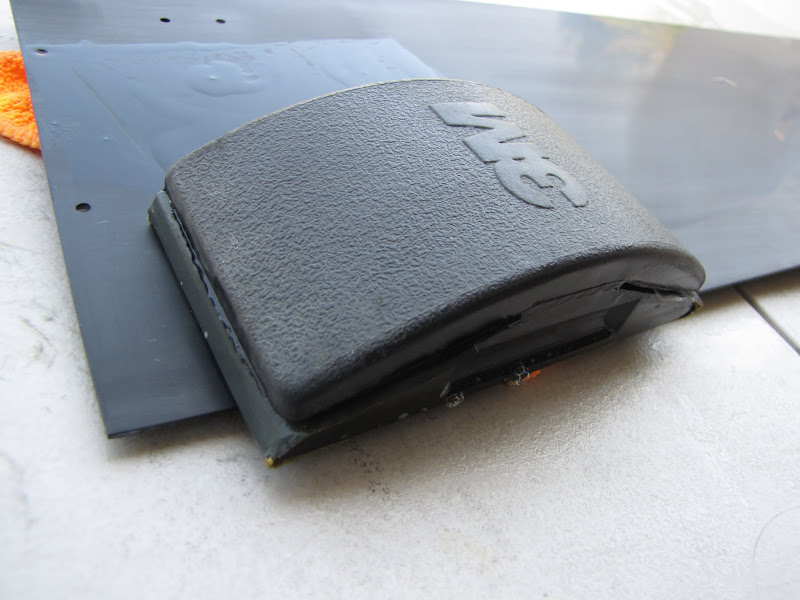
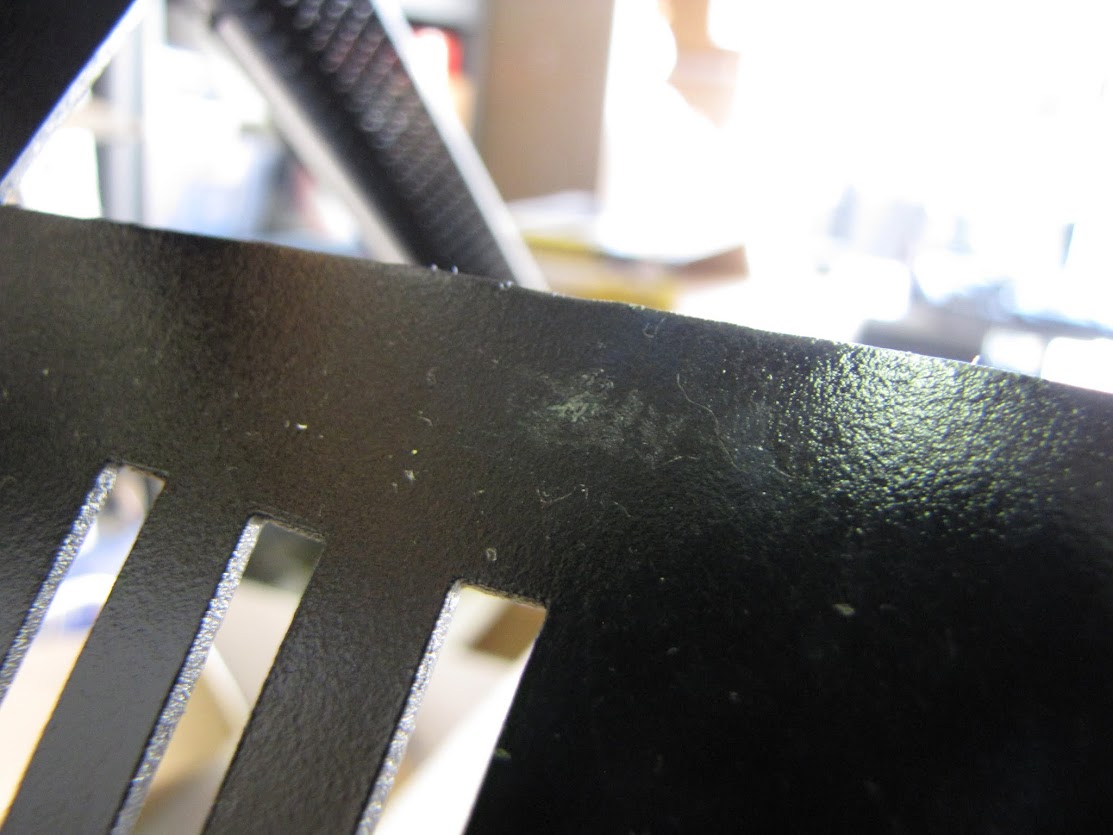 Oh well, no saving it now. I let the piece dry as is for a day, then set to work sanding it back down to prepare for another few coats of color.
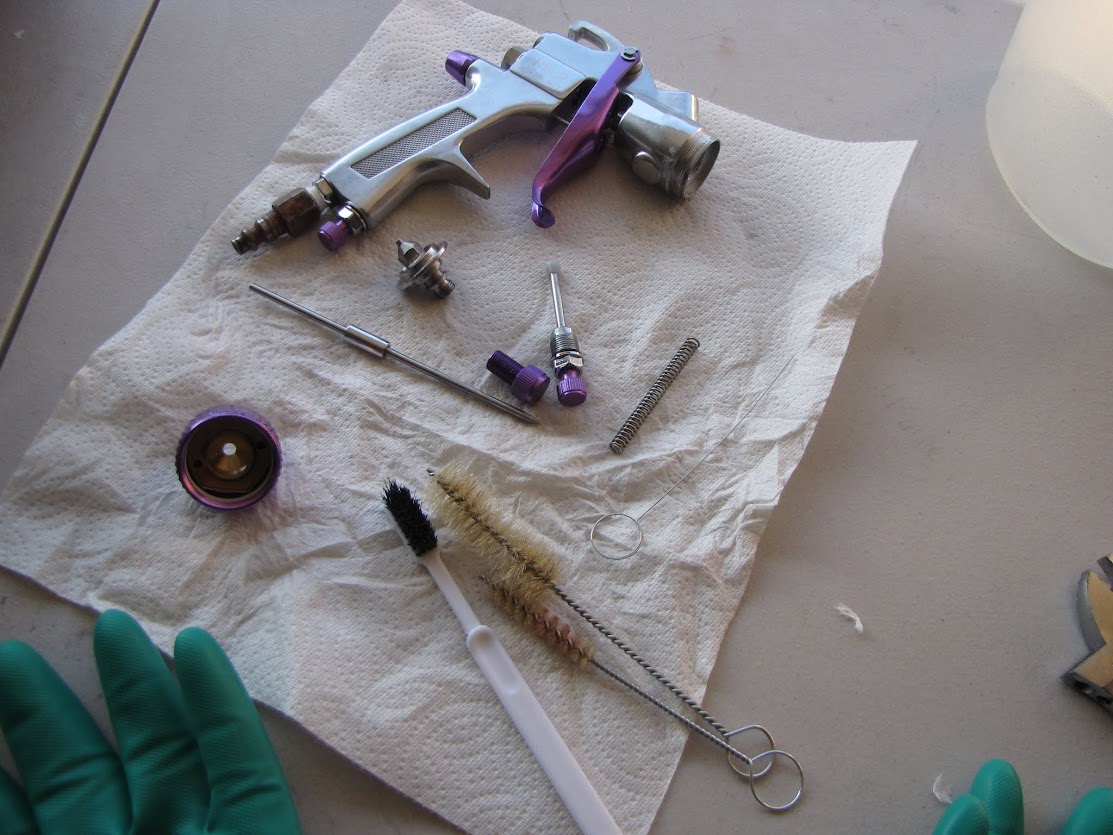
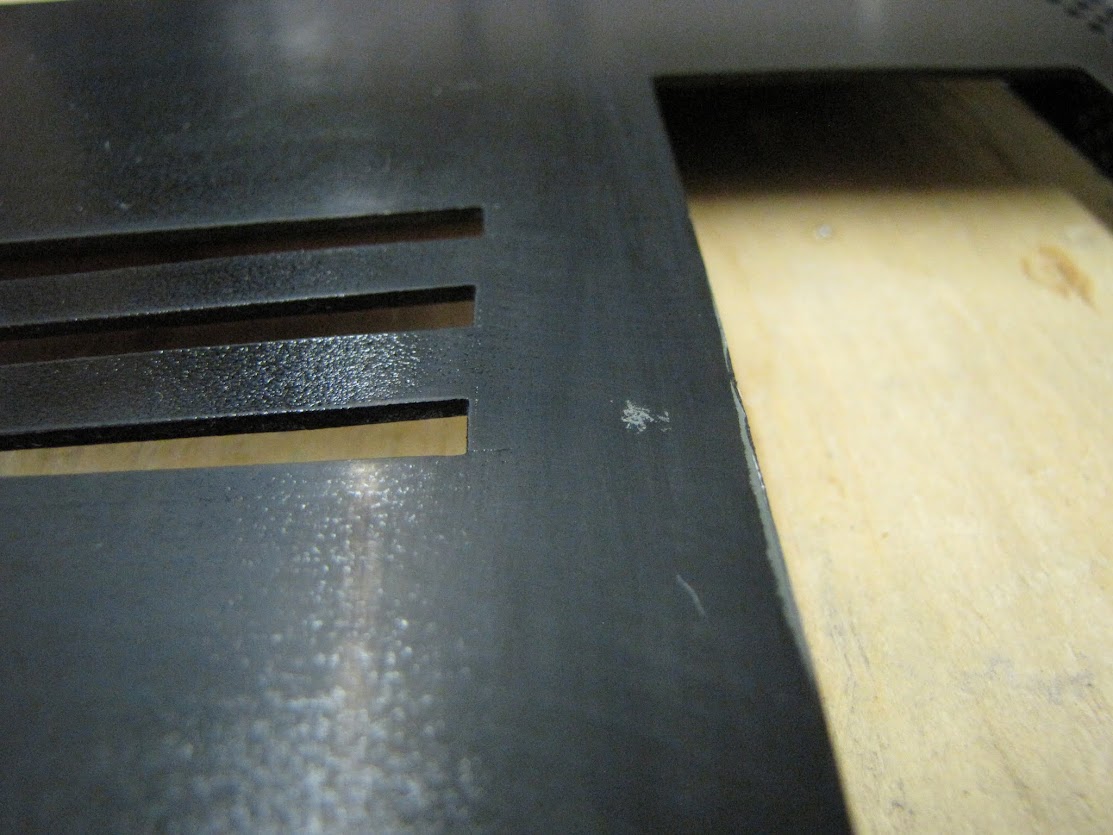
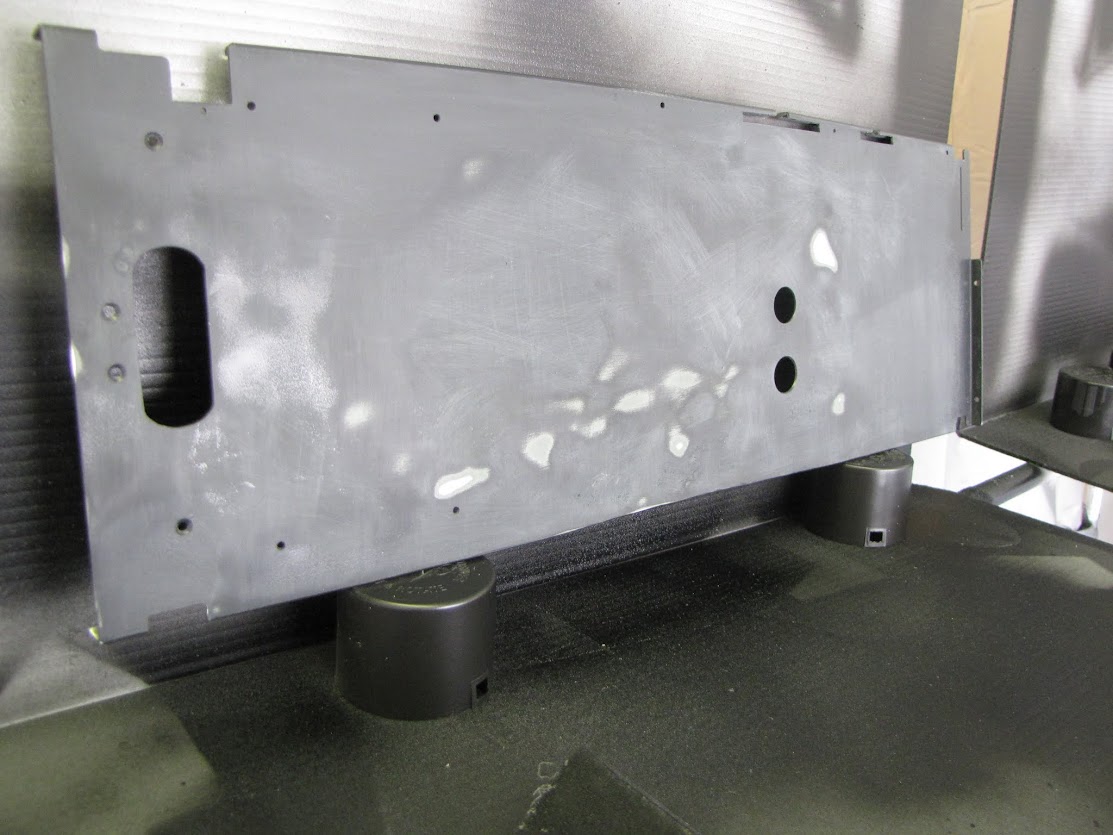
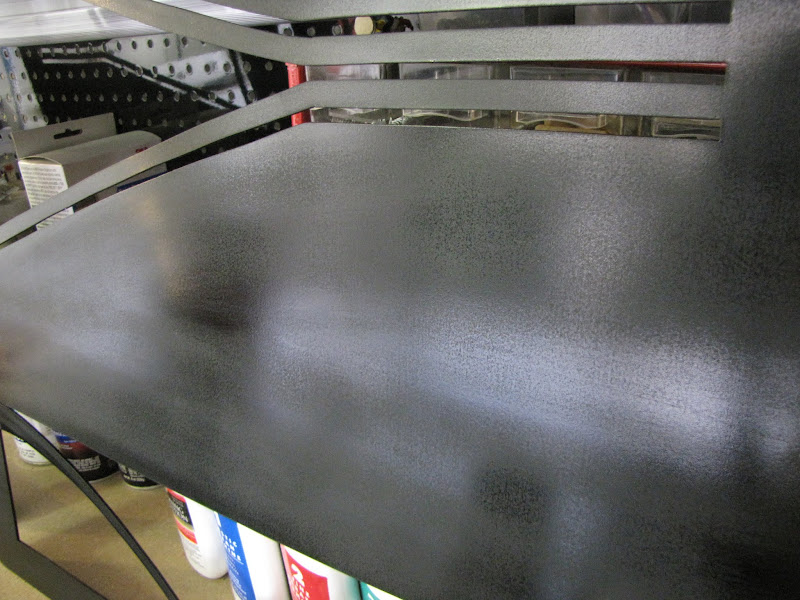
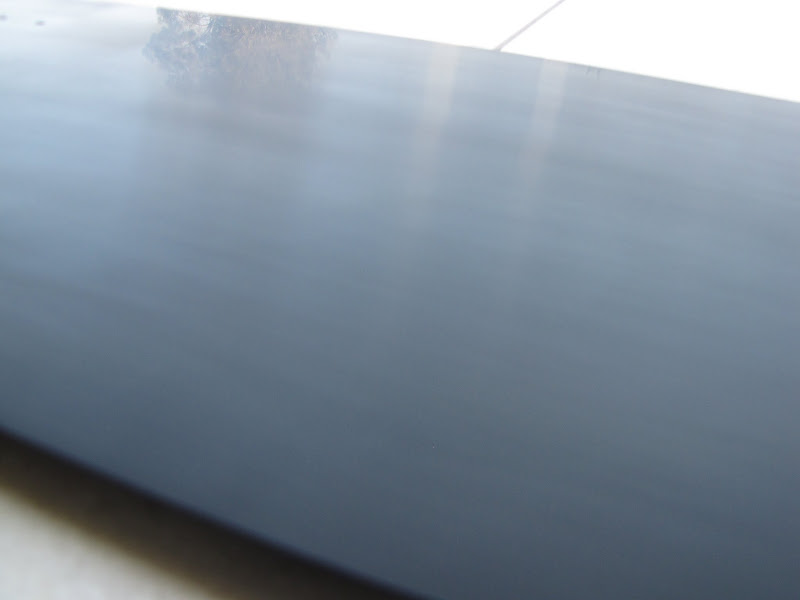
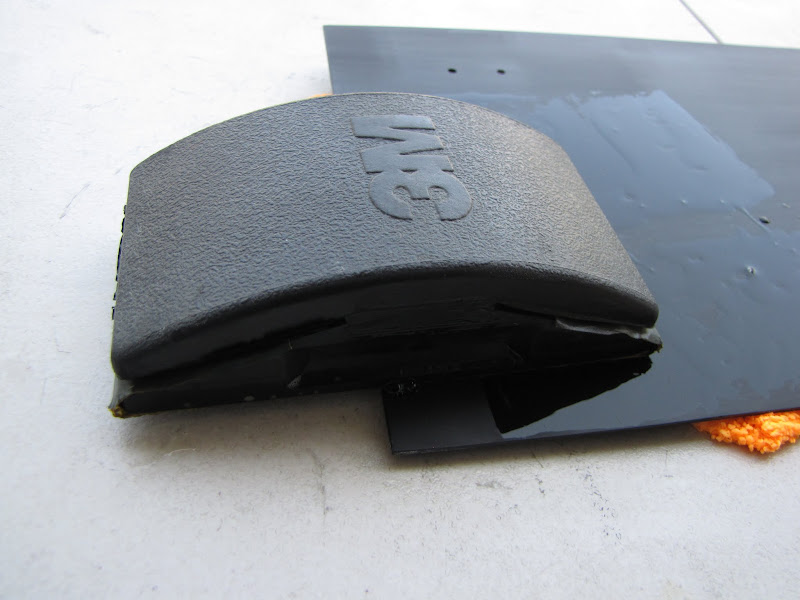
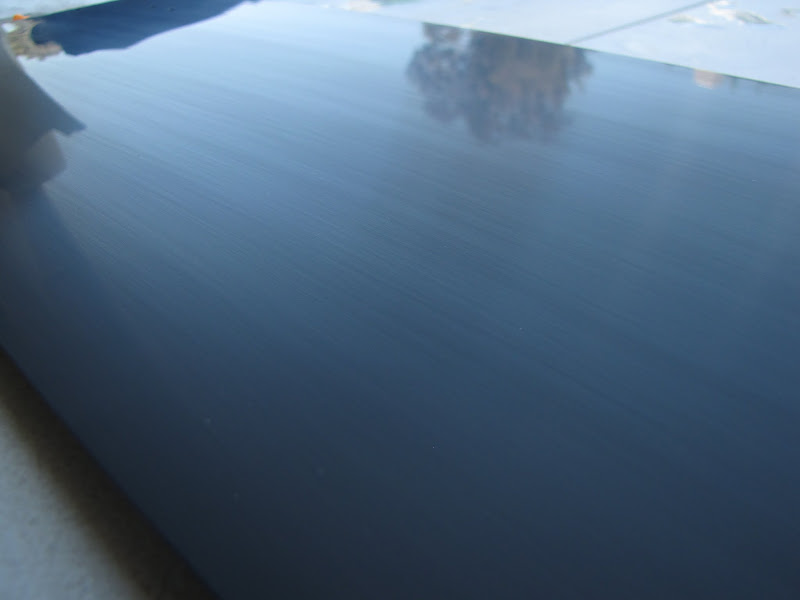
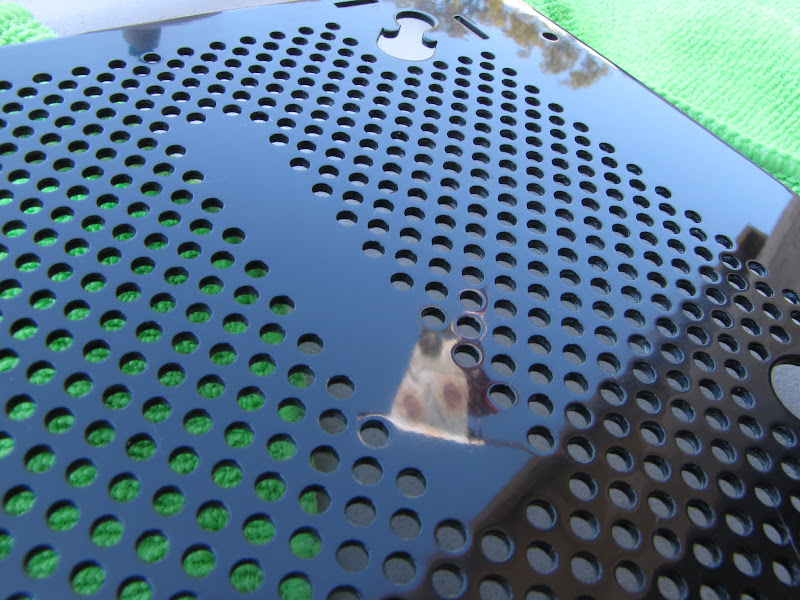
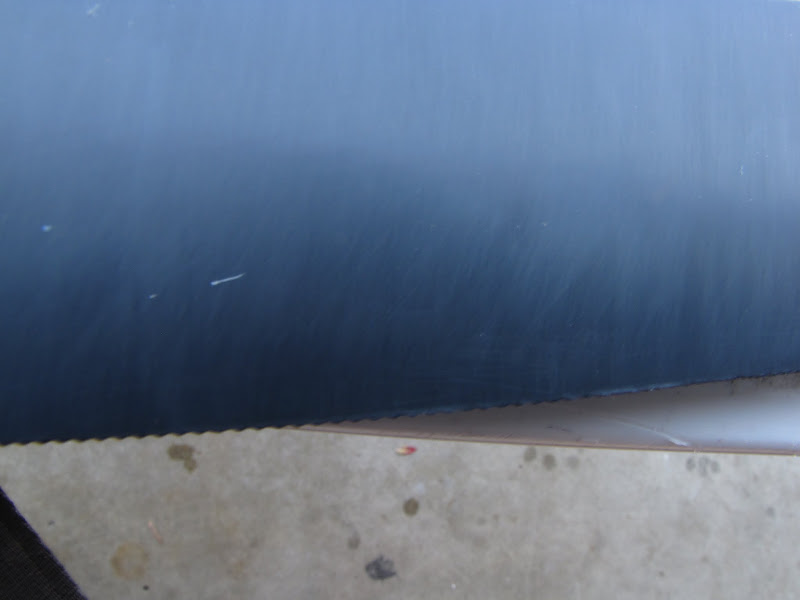
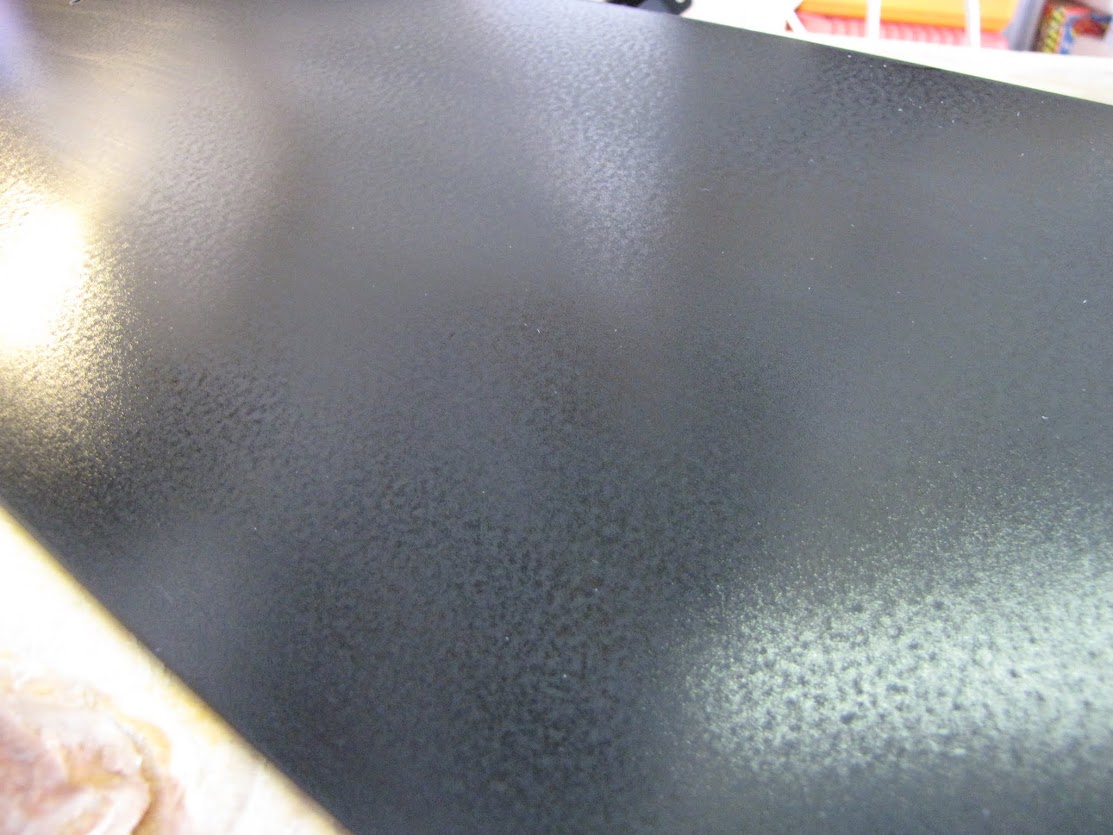 All the shiny spots are pits that need to be sanded down. And this is only one small piece of the case. I have a looooong day ahead of me. The sanding with 2000 was taking too long, so I decided to back down to 1500 to get some more cutting action and save myself a few sheets of sandpaper (not to mention some time and a lot of effort). Here we are with 15 minutes of effort or so at 1500:
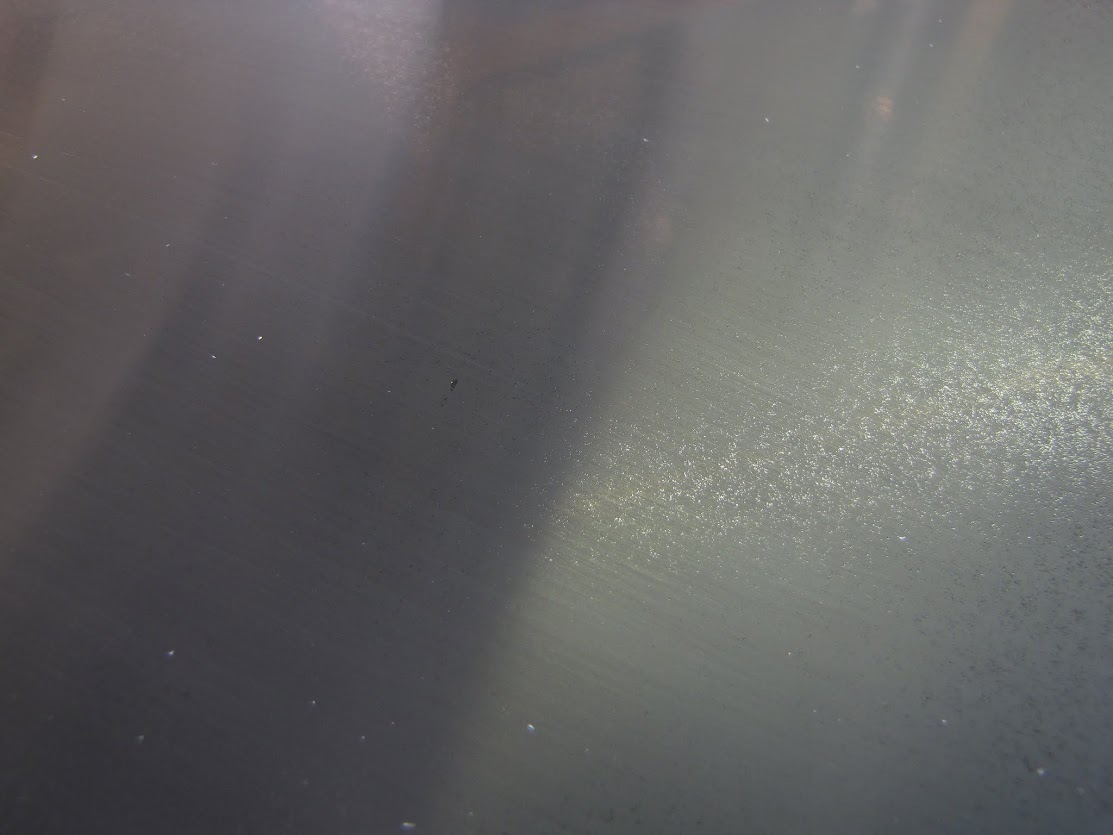
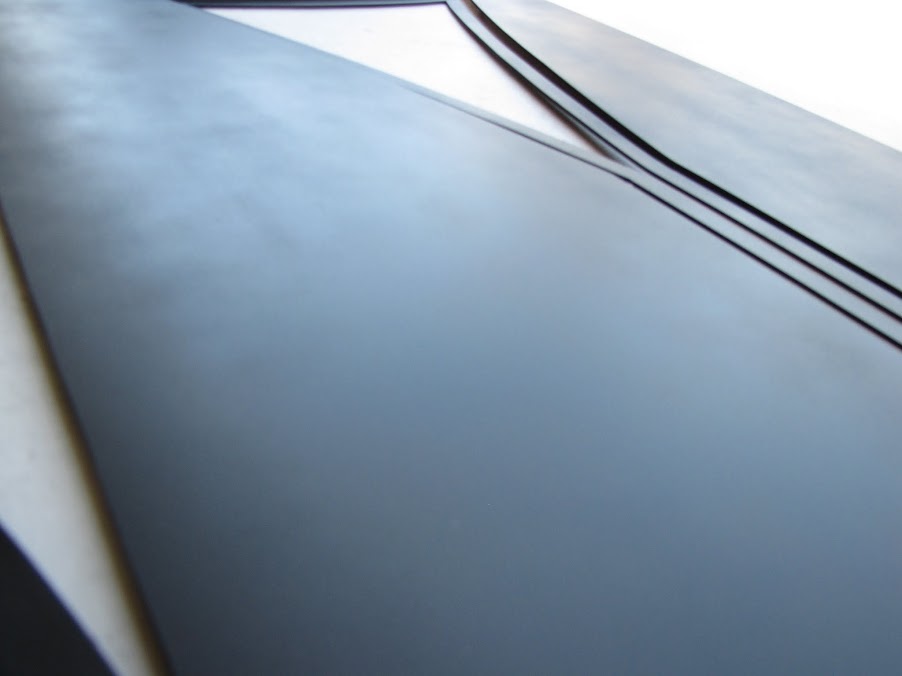
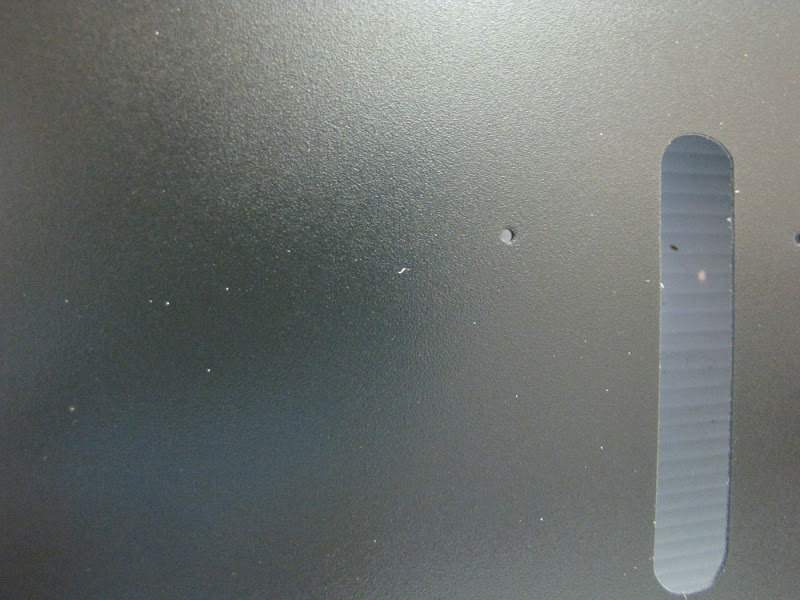
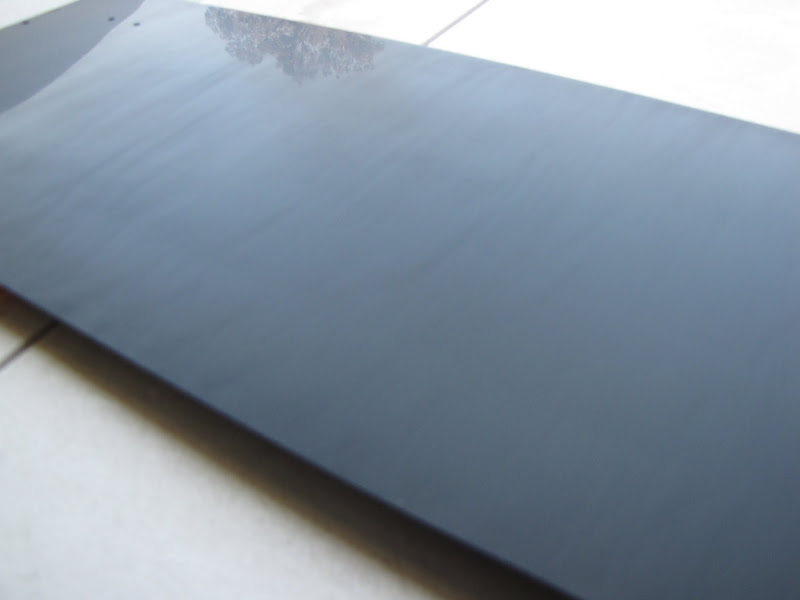
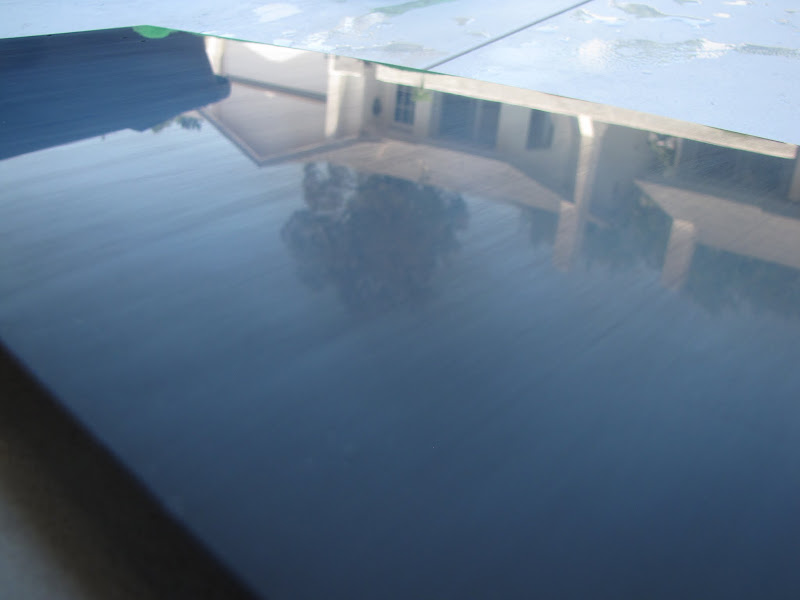
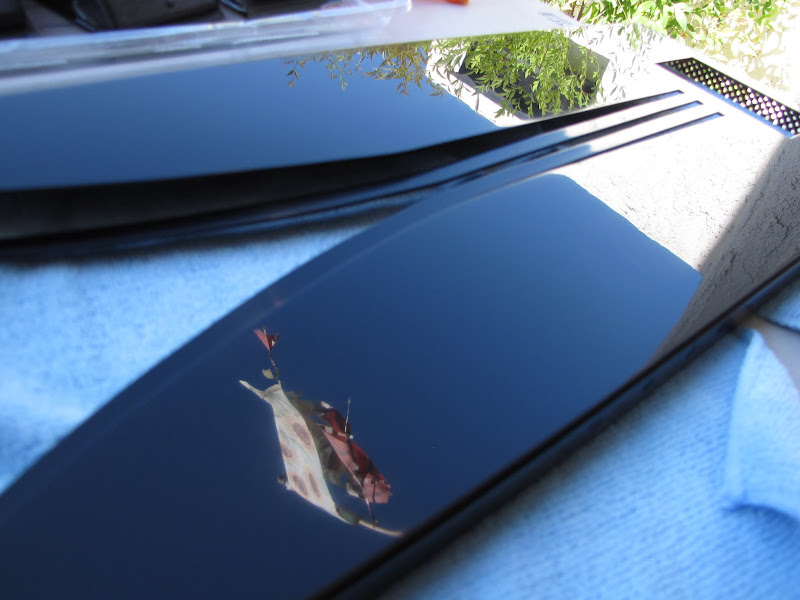
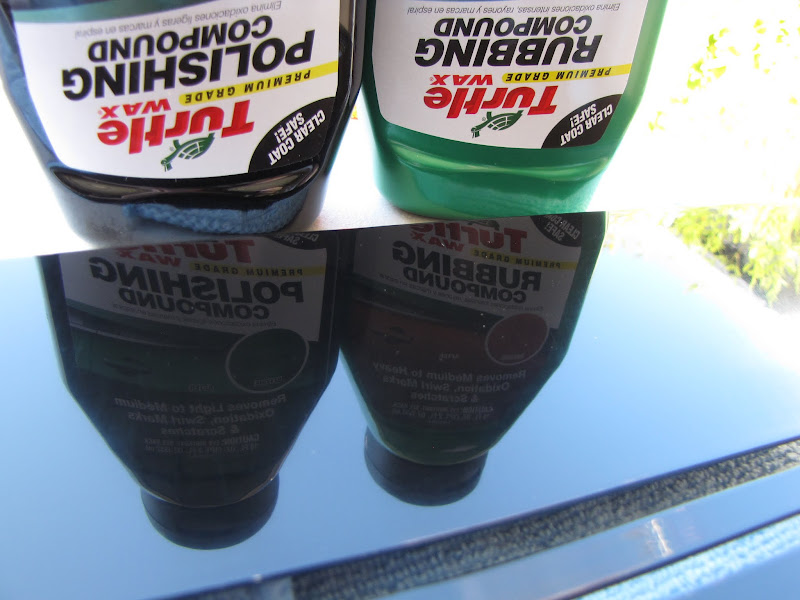
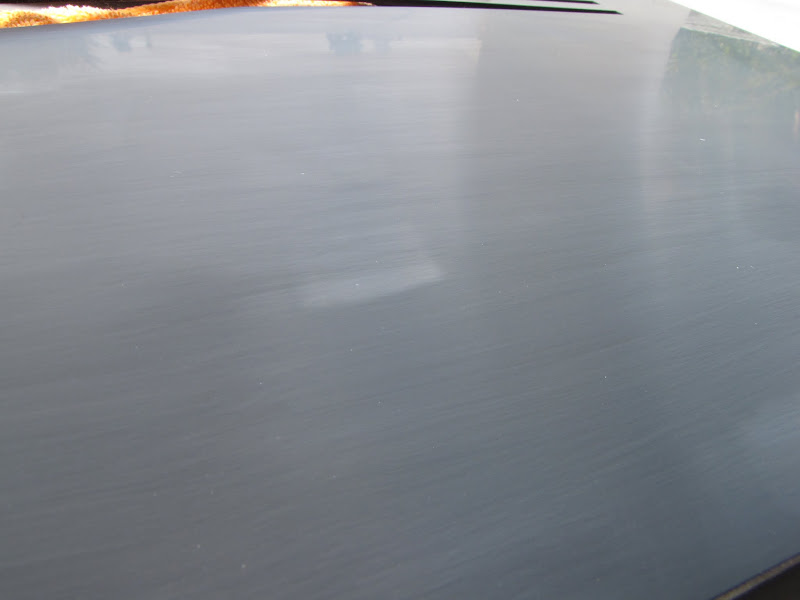
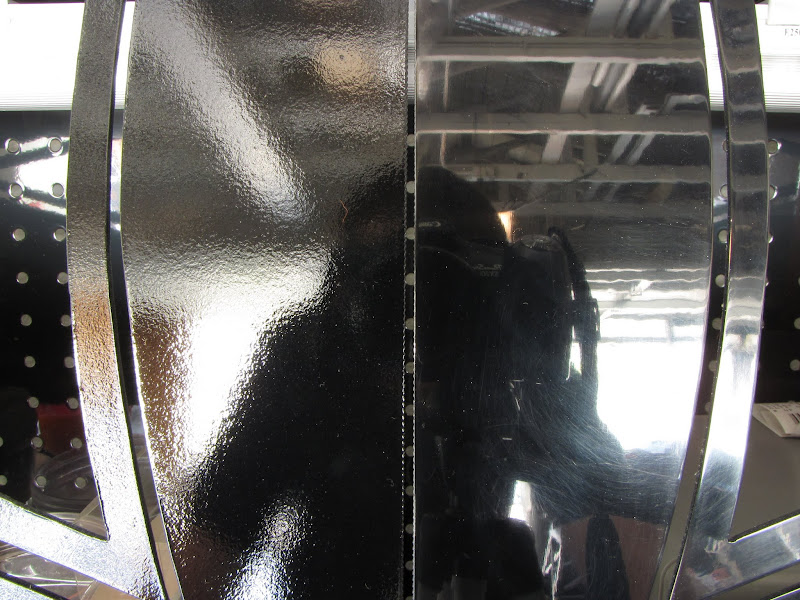
 The left is after a hardy polishing, the right is just from the 2000 grit. We're approaching that mirror finish... but this took a LOT of polishing compound and effort. I'm thinking I need some "buffing compound" first that is a higher grit to remove more of the cuts... and once that is done, I follow it up with the polishing compound. I'll see what I can find at the auto shop.
one mod at a time my friend.
this build inspired me a lot. i saw a v2000b case on cragslist and couldnt pass it up! (paid 40 bucks)
debated on letting you know i had it but i know you will take the mod in a better direction
couple of pages there... i was like whoa.... shakin my head really bad. felt horrible. but then you made the prizm look really good and this mod looks really good again. there was some real doh shit moments hahaha
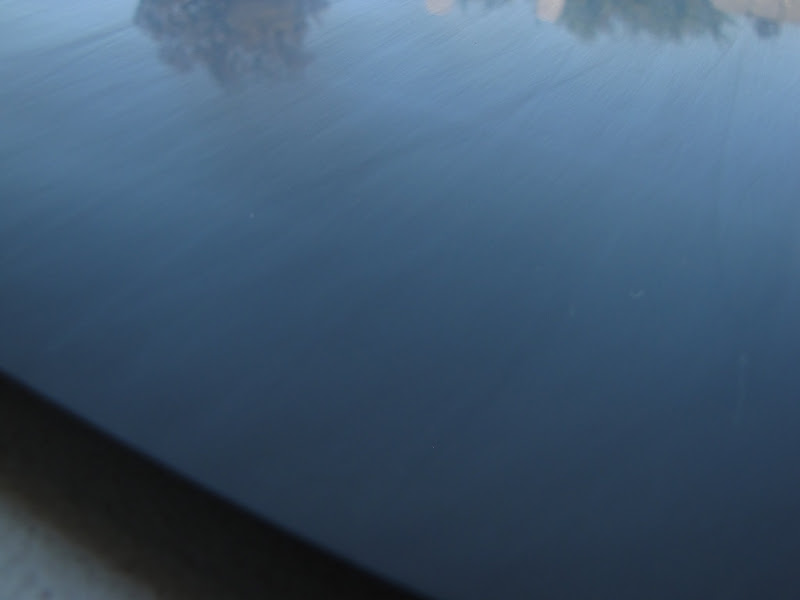
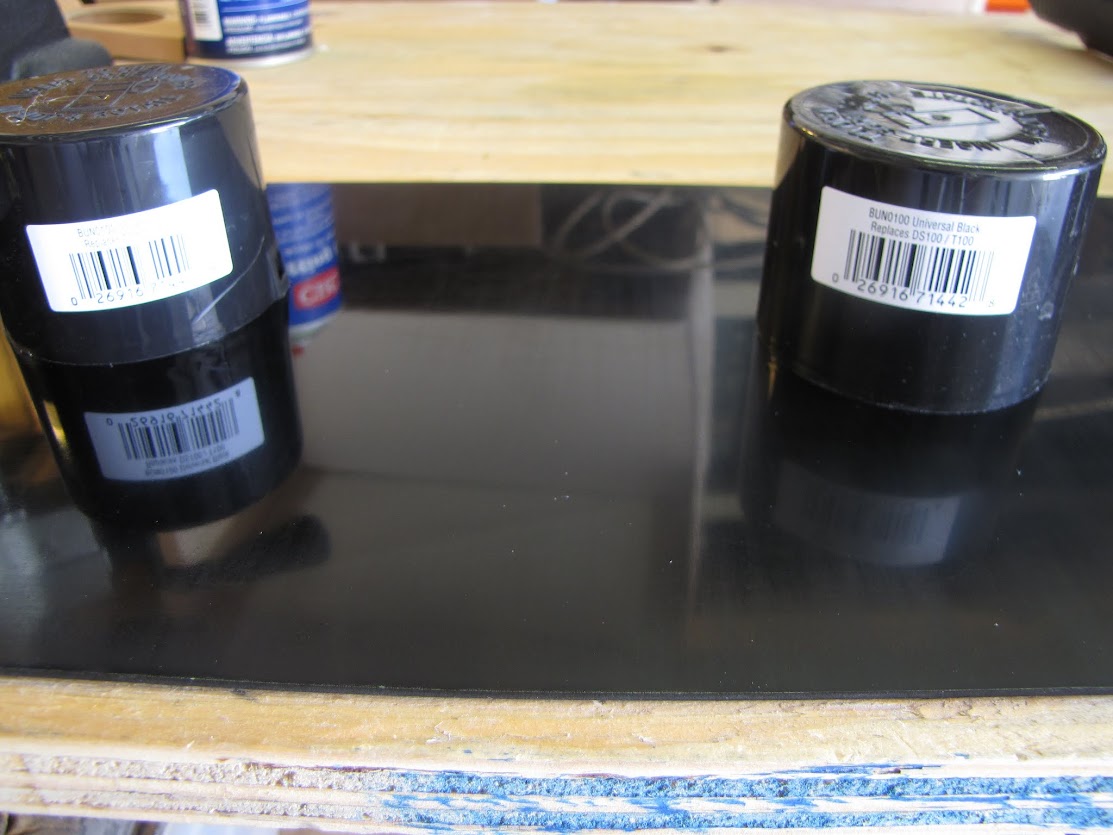
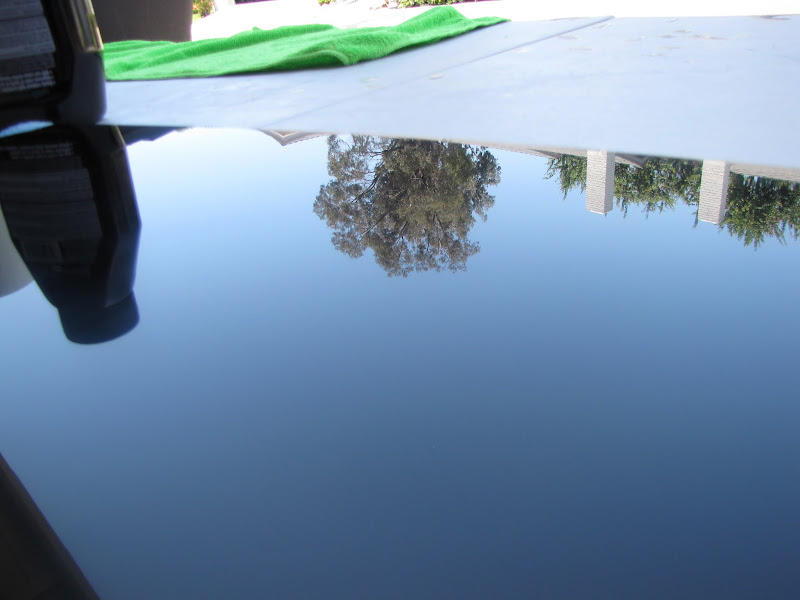
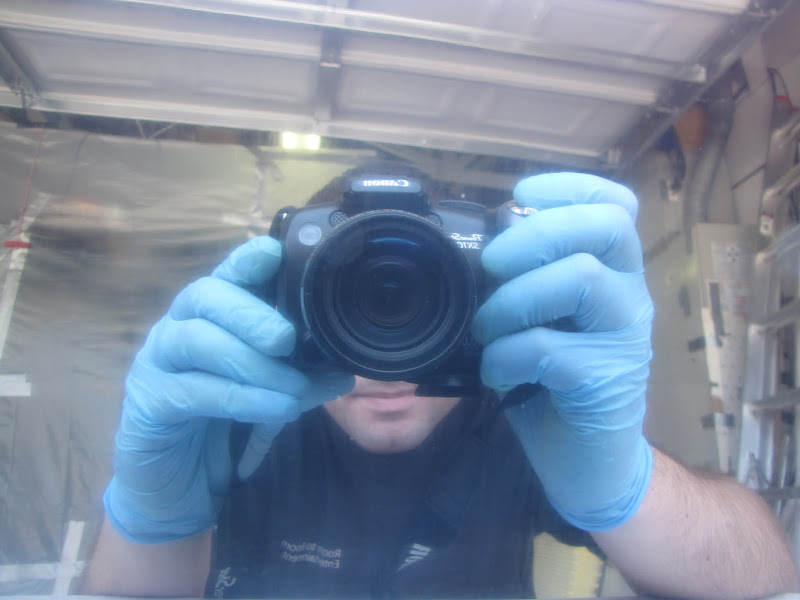
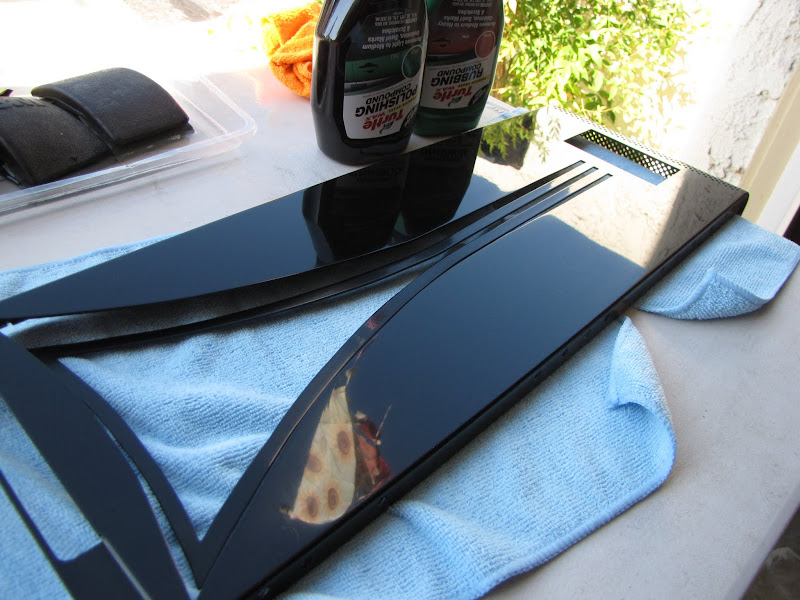
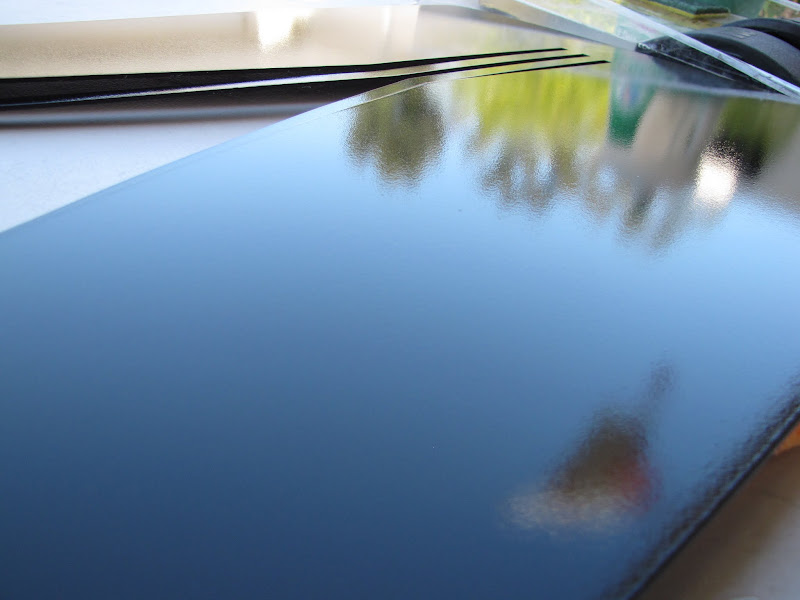
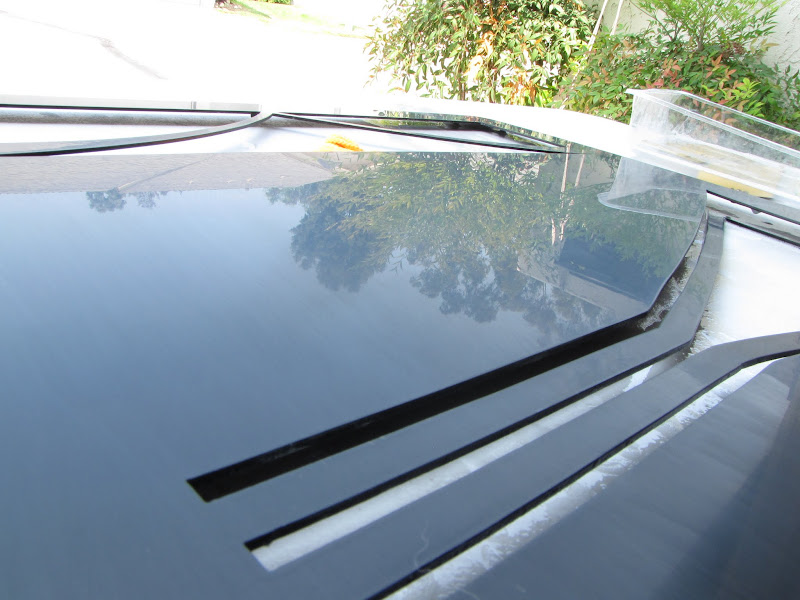
 Now, I moved on to some rubbing compound meant for renewing your finish on your car:
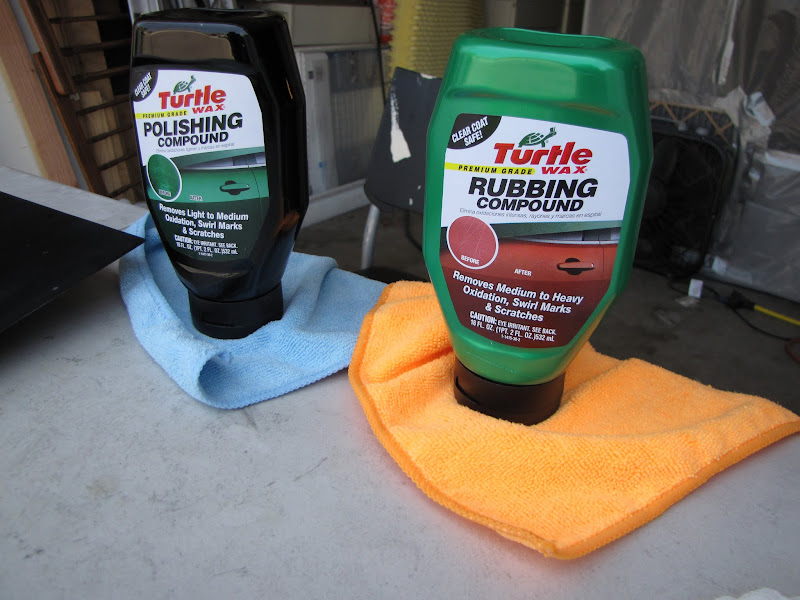
That turned out great! I'm taking notes for when I try doing the same.
this build inspired me a lot. i saw a v2000b case on cragslist and couldnt pass it up! (paid 40 bucks)
debated on letting you know i had it but i know you will take the mod in a better direction
couple of pages there... i was like whoa.... shakin my head really bad. felt horrible. but then you made the prizm look really good and this mod looks really good again. there was some real doh shit moments hahaha
Yep I had my share of fun jacking up an Antec-900 before I chop into this... and the only reason I bought that case was because of this thread.
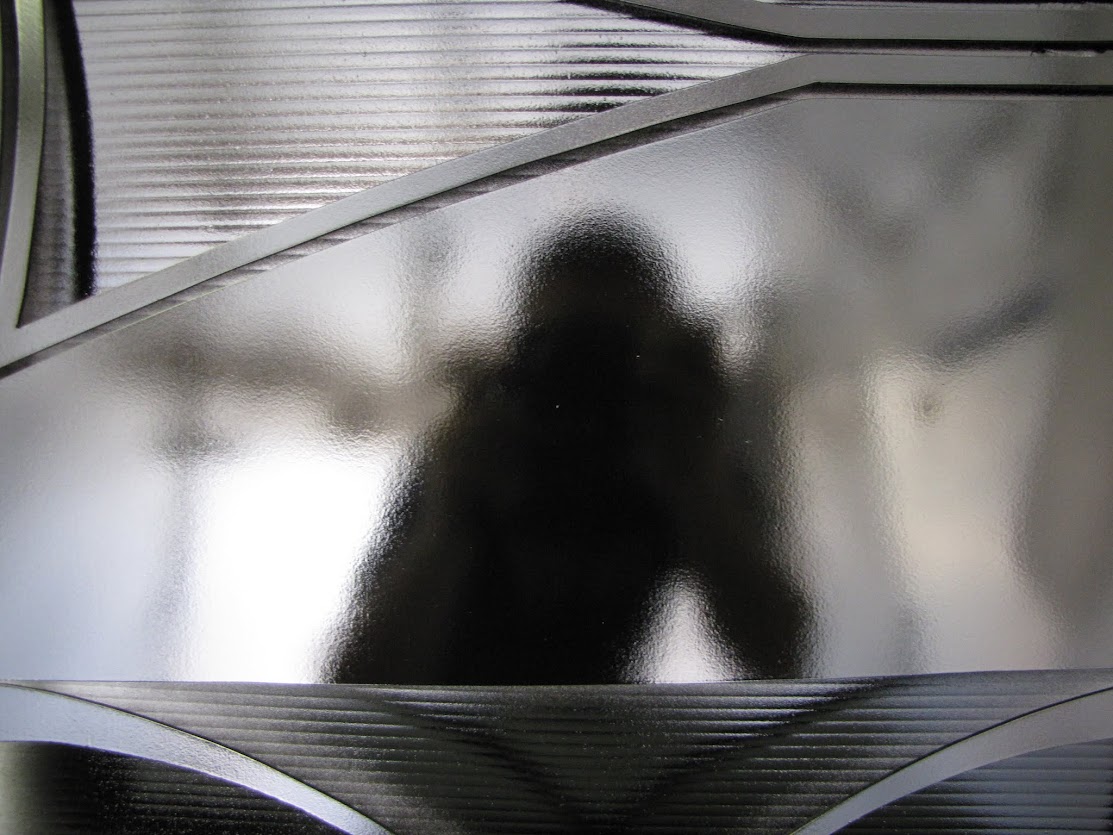
OH MUH GAW THAT REFLECTION! I knew with all the effort you were putting into painting this thing it would turn out amazing... can't wait to see the whole thing glossed and put together
Work has been absolutely insane. But, I finally have a little time to myself... and where else would I spend it, but with updating everyone on my progress! 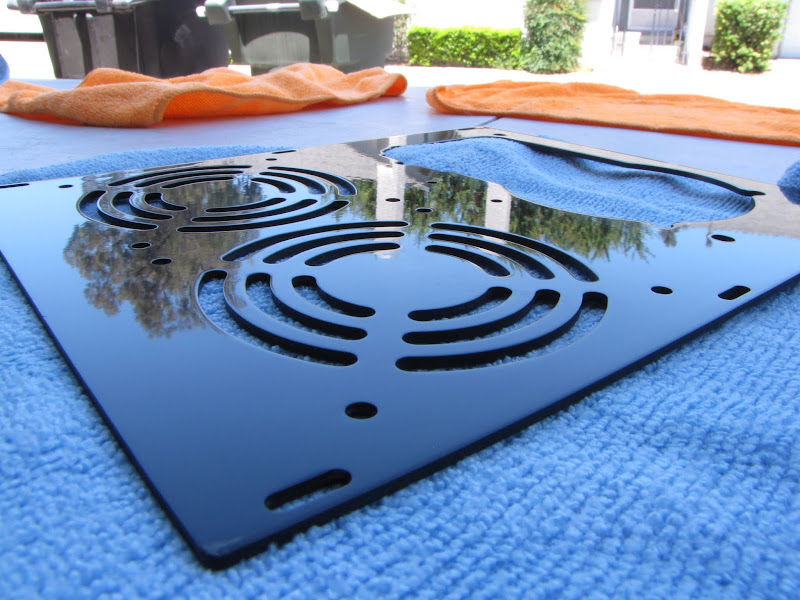


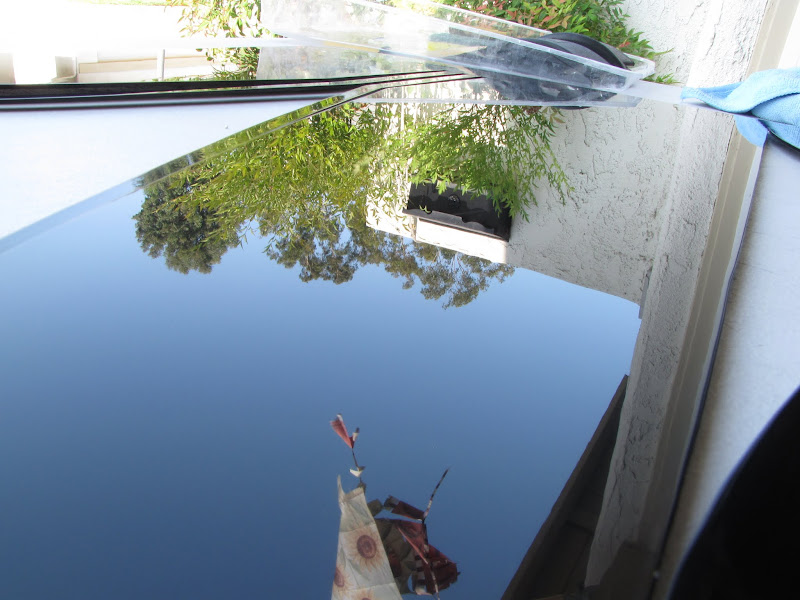

That reflection is sweet.
What hardware is being put in this?
Very nice work!
How many hours to you think you have in the prep and paint so far?
Your patience is amazing. Super job on the paint. Looks fantastic!
I created an account here just to compliment you on the build. I spent about 2 days reading through this log, and am impressed with the amount of care that you are putting into this build. I'm looking forward to seeing the finished project!!


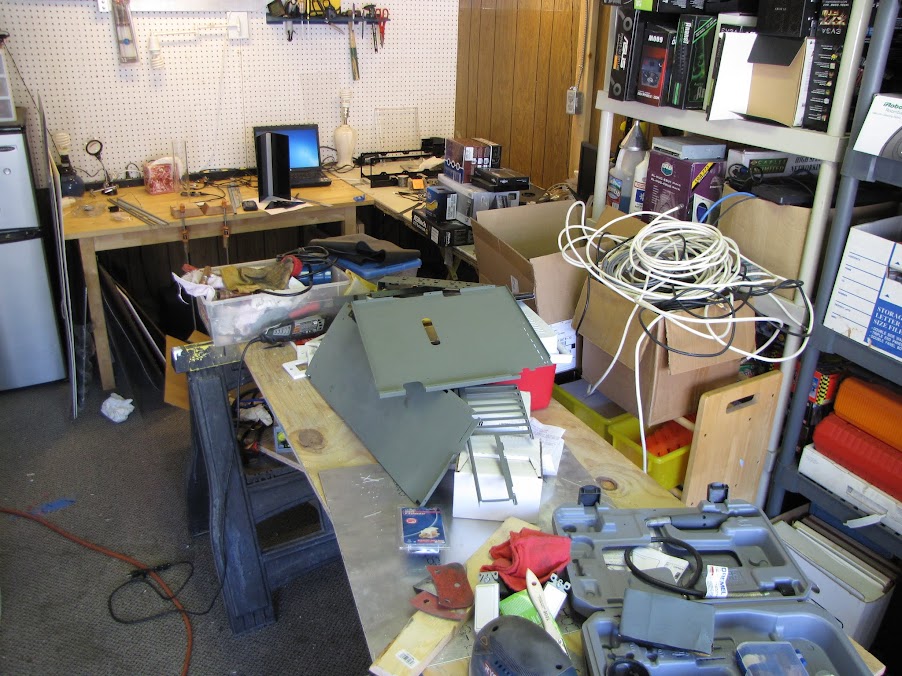
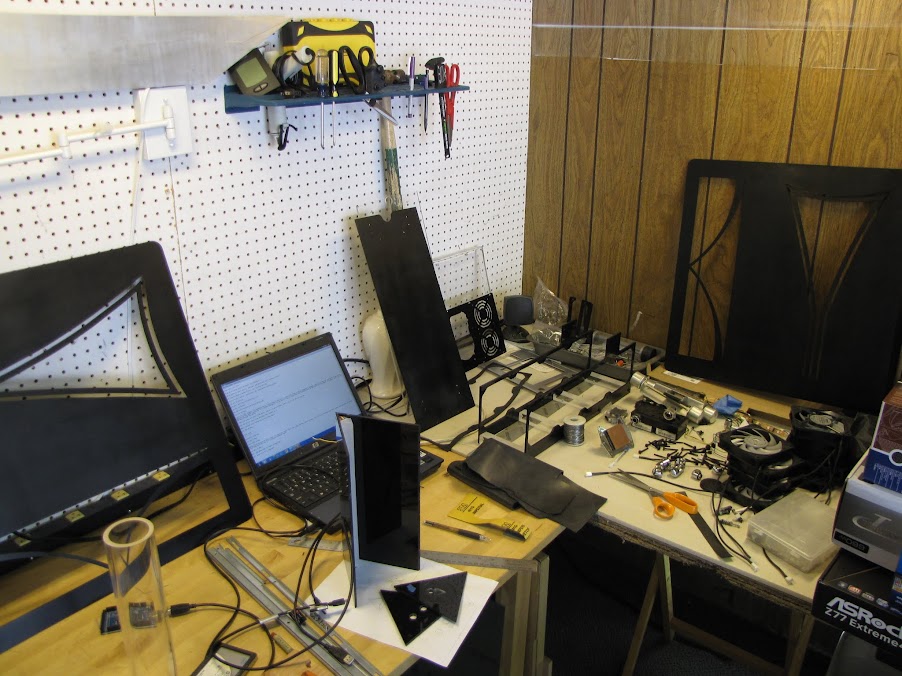
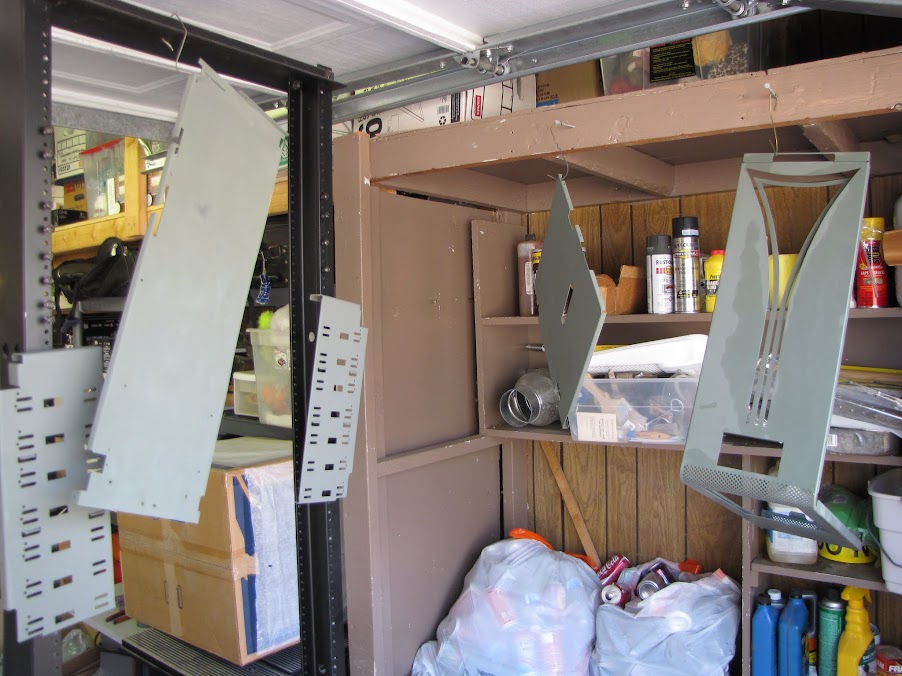
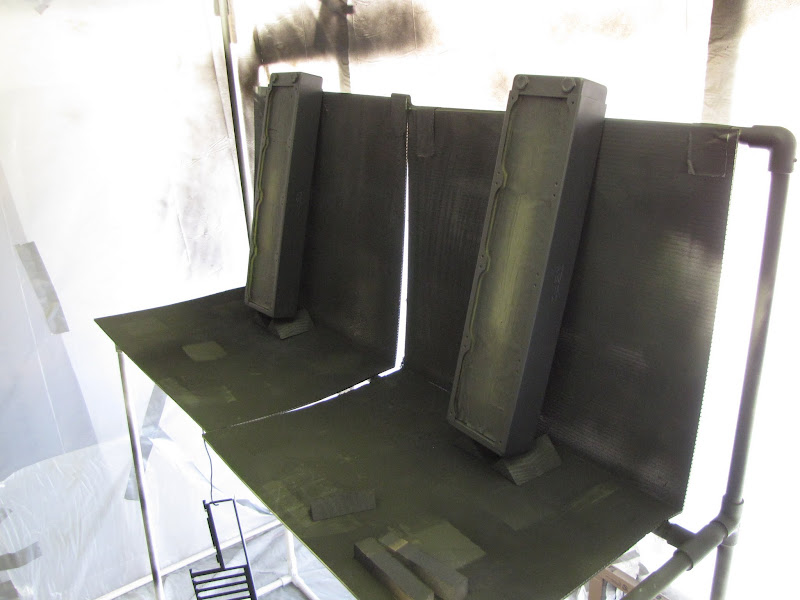
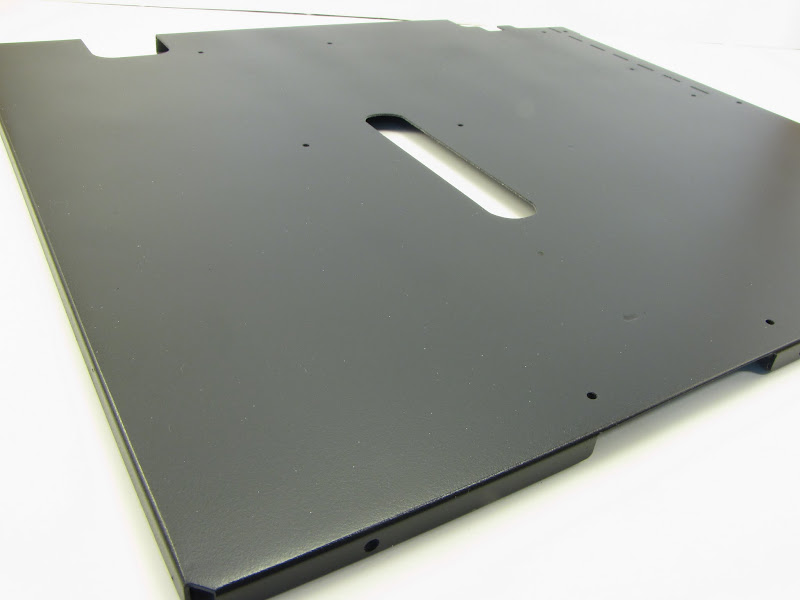
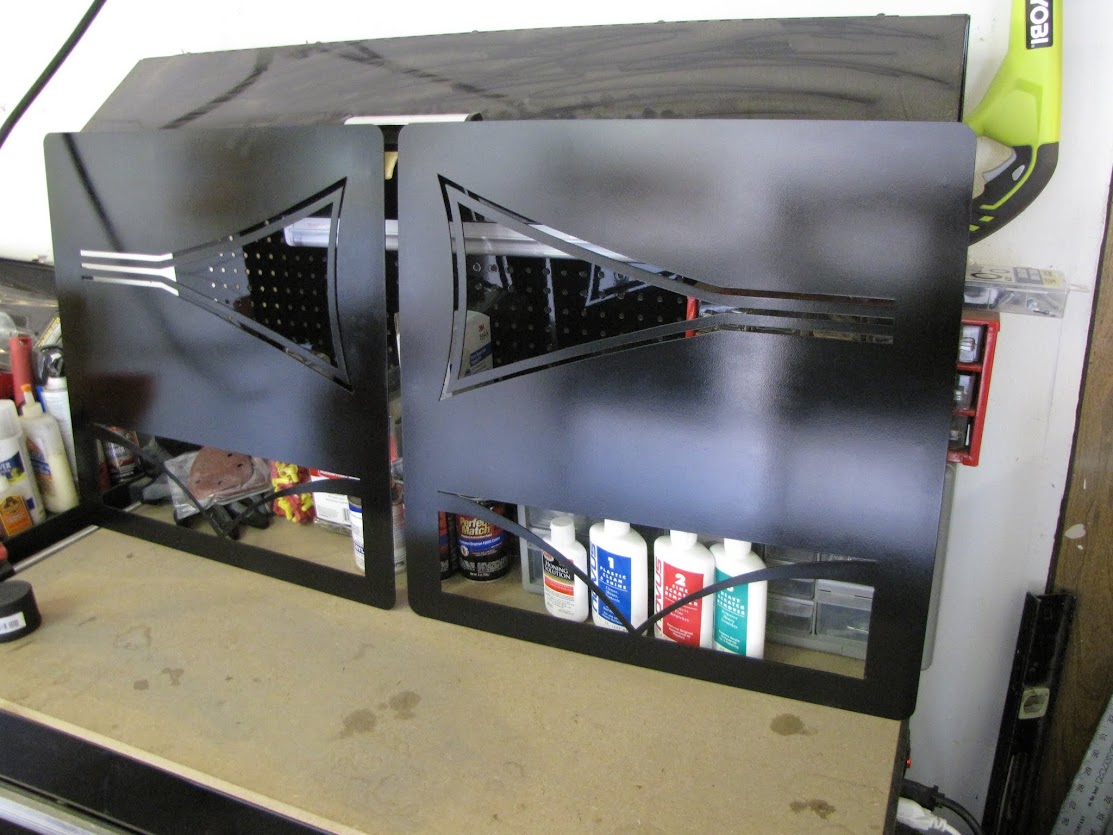
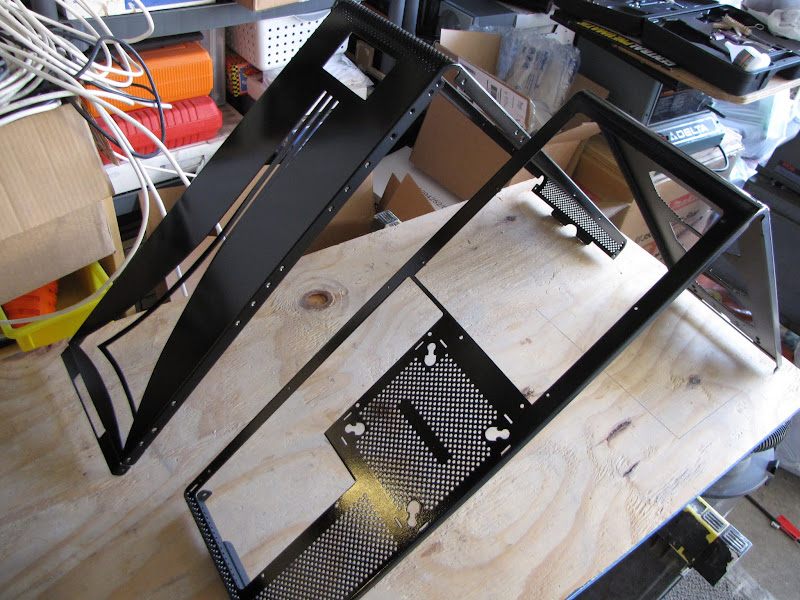
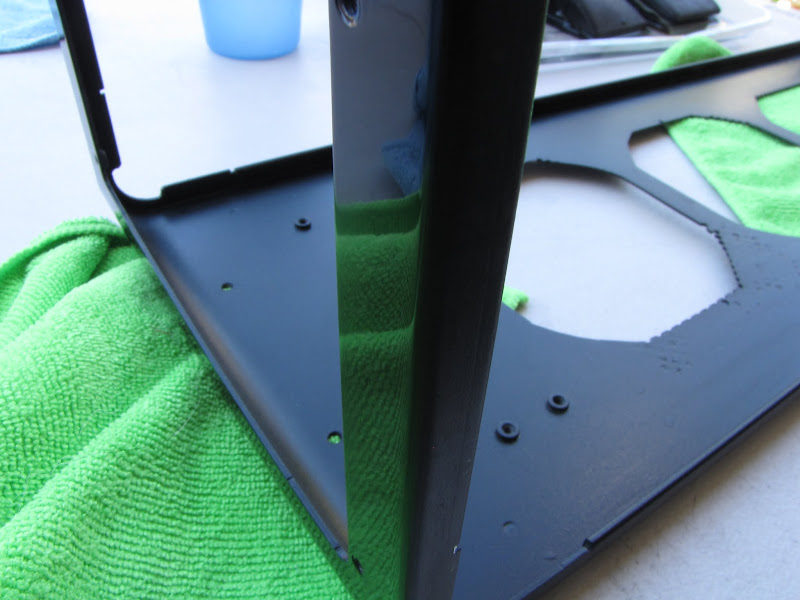
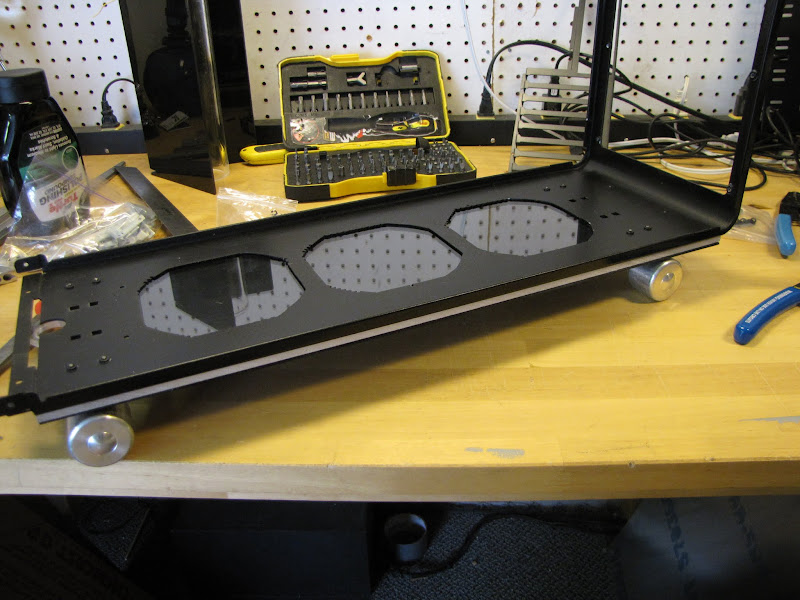
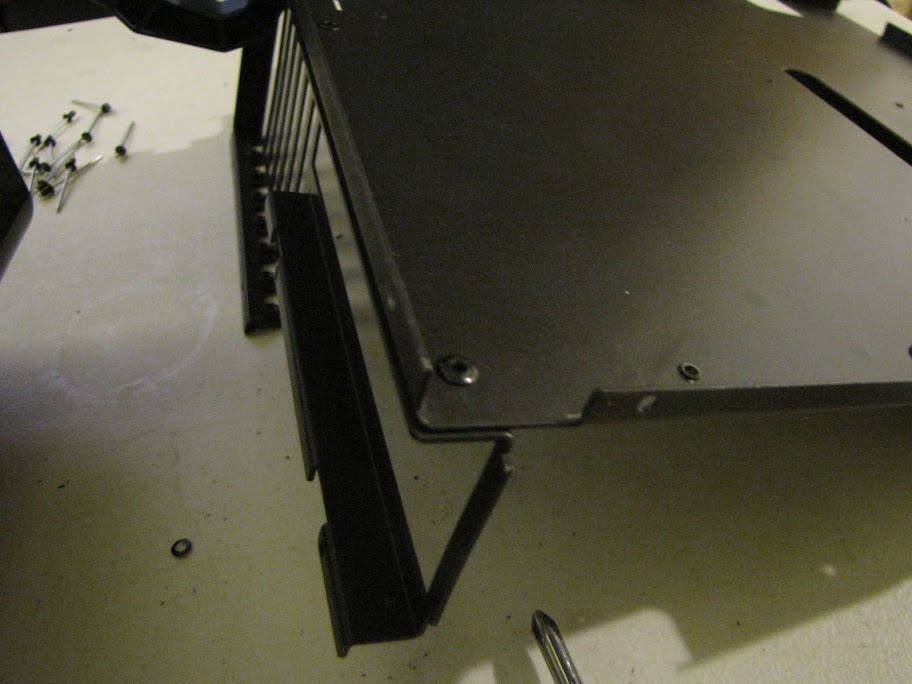
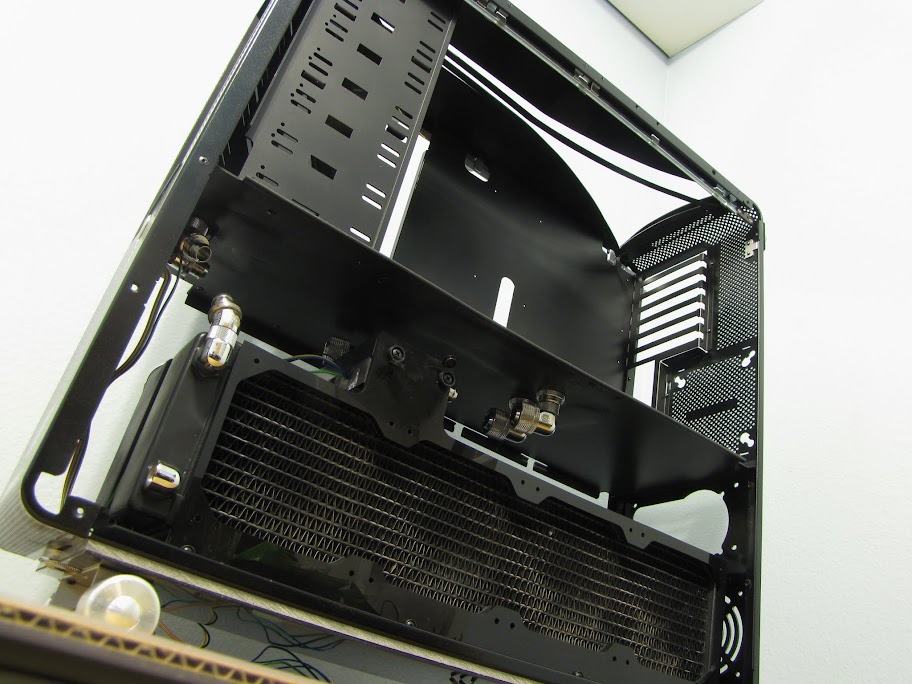
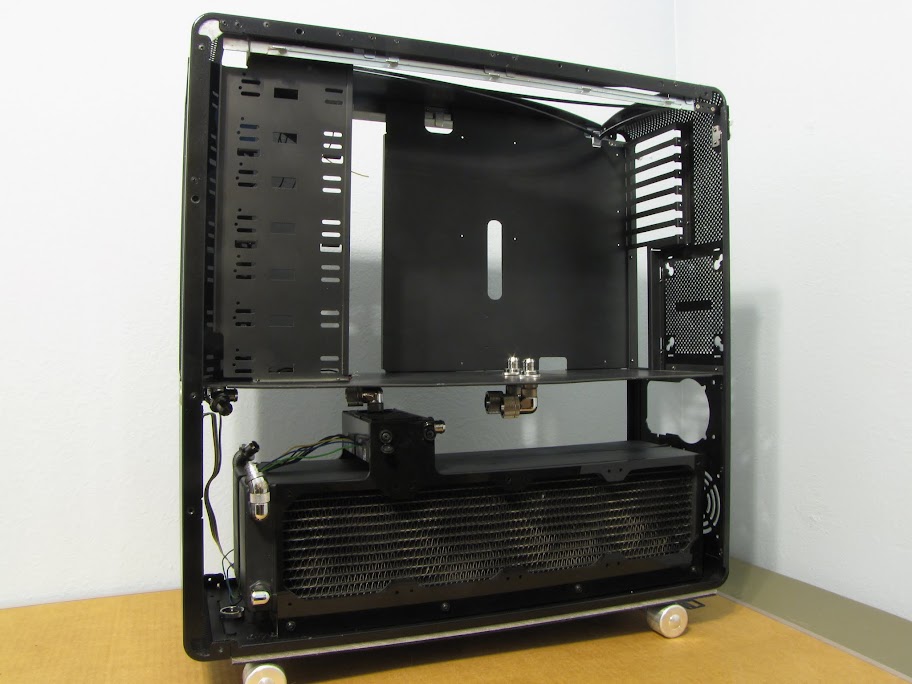
 Sorry in advance for the terrible photo quality. It was 110F outside, so far too hot to work in the garage... thus I had to work inside, where the light is not so good. Fortunately, I took a lot of pictures before I disassembled it... which helped greatly in remembering which pieces went together in what order. Like a giant 3D puzzle.
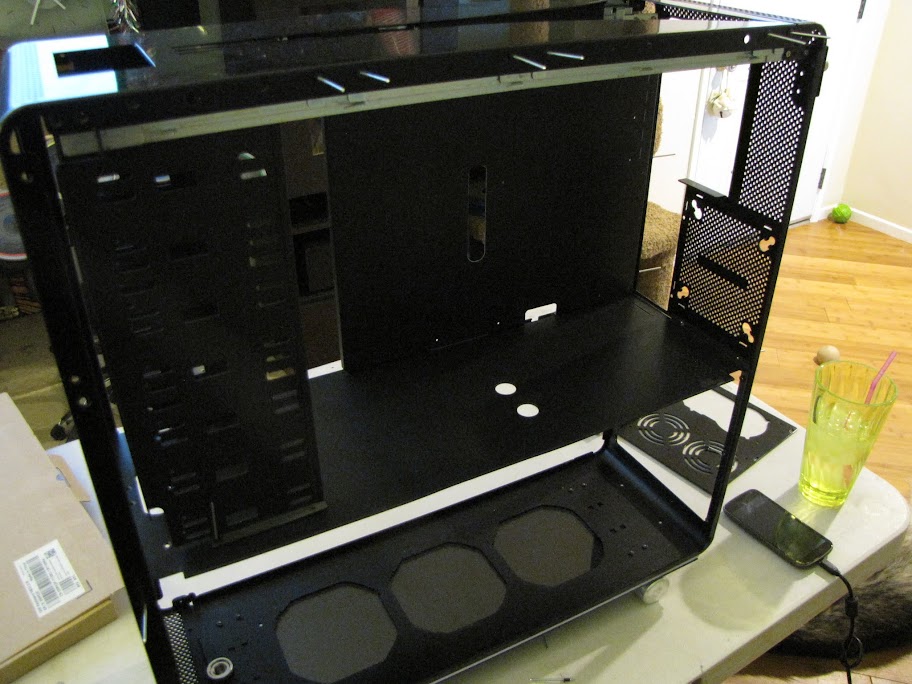
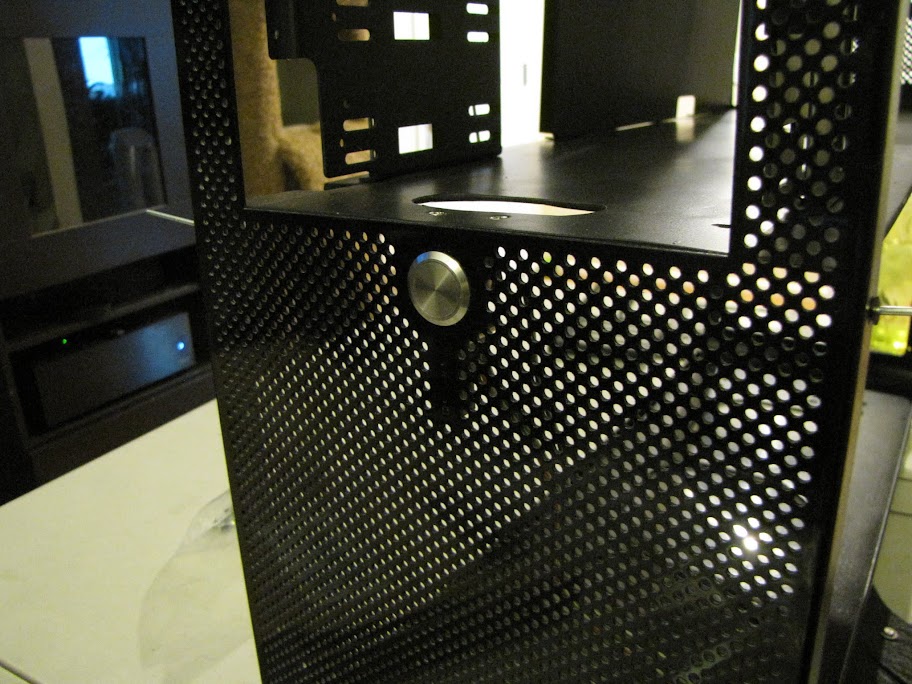
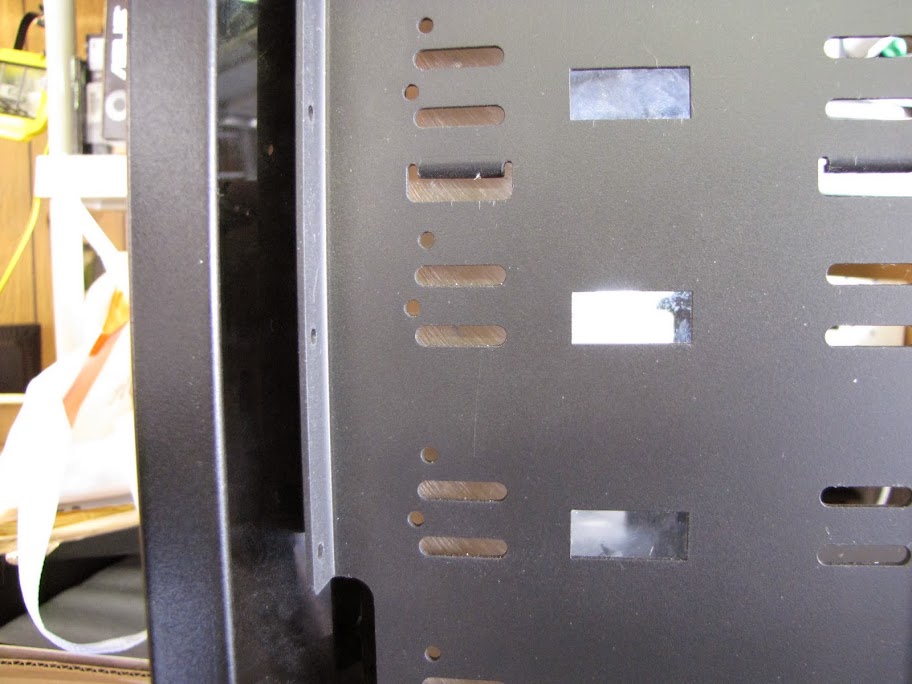
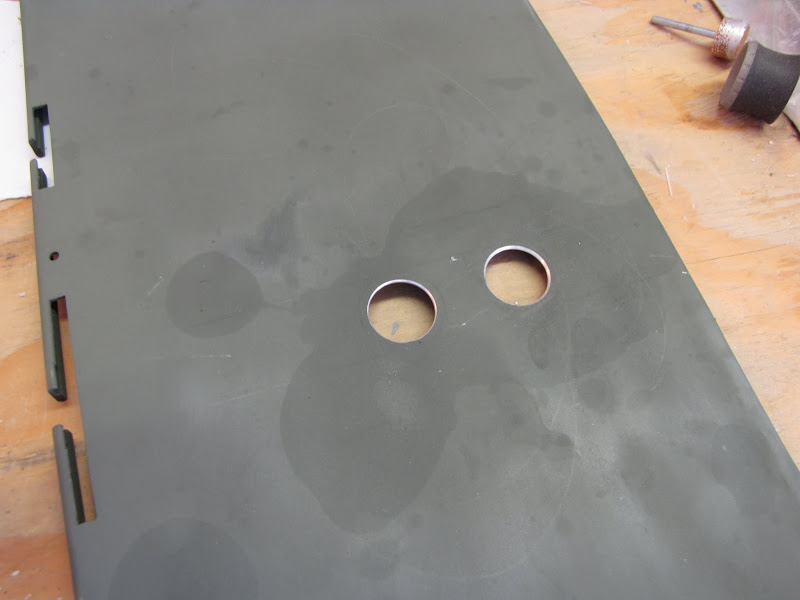
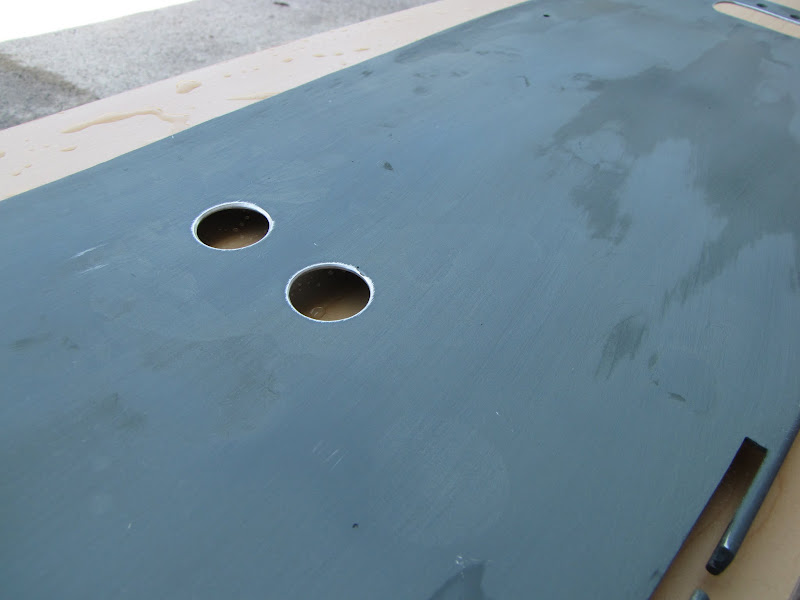
 Fortunately, easy enough to fix with some P400 sandpaper. I just sanded down the inside ring till I was back to bare aluminum, and the plugs fit right in.
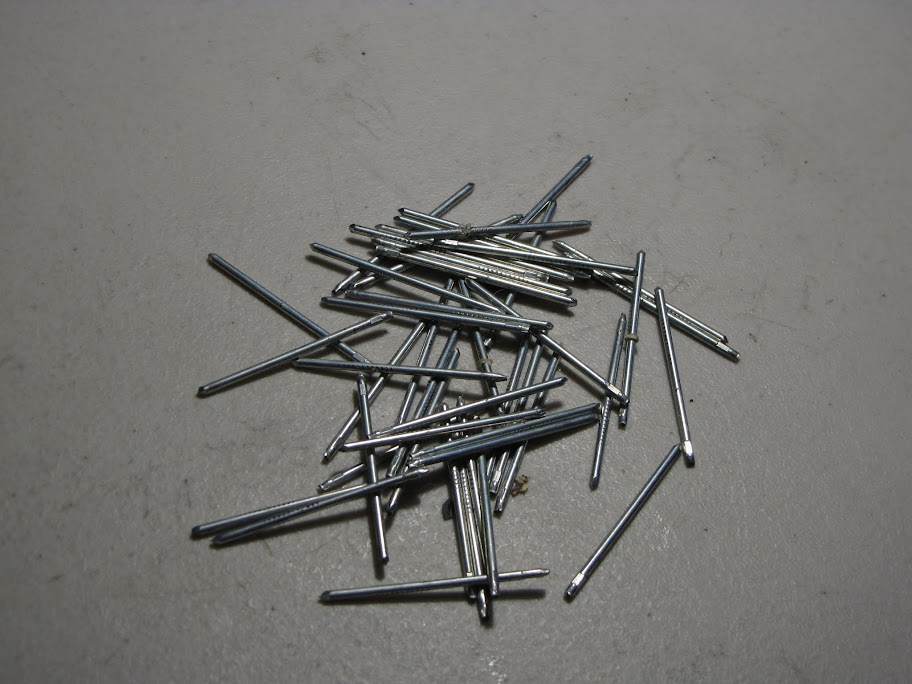
This is coming along amazingly! Great work mate!
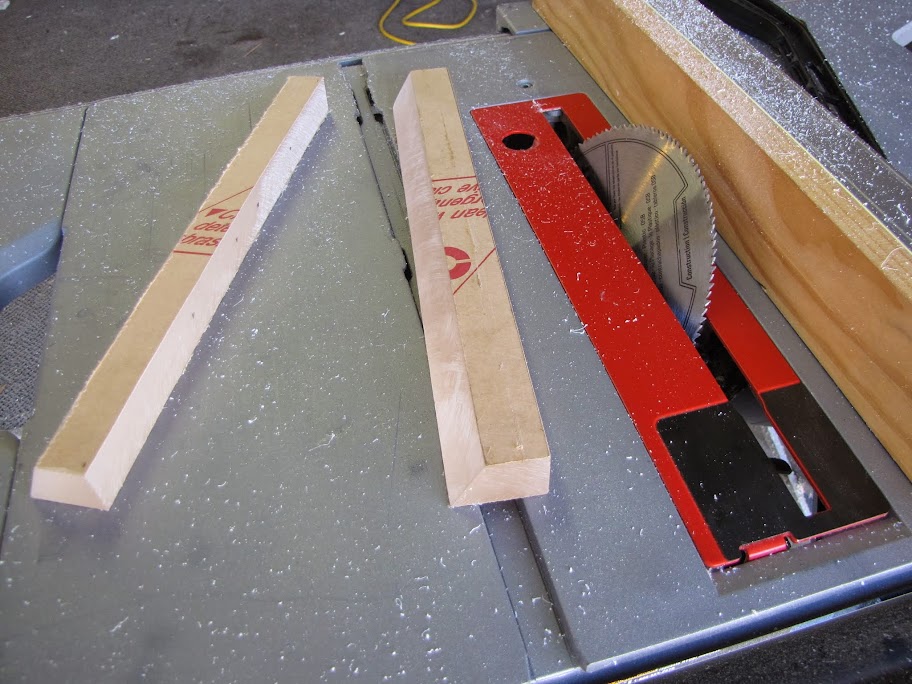
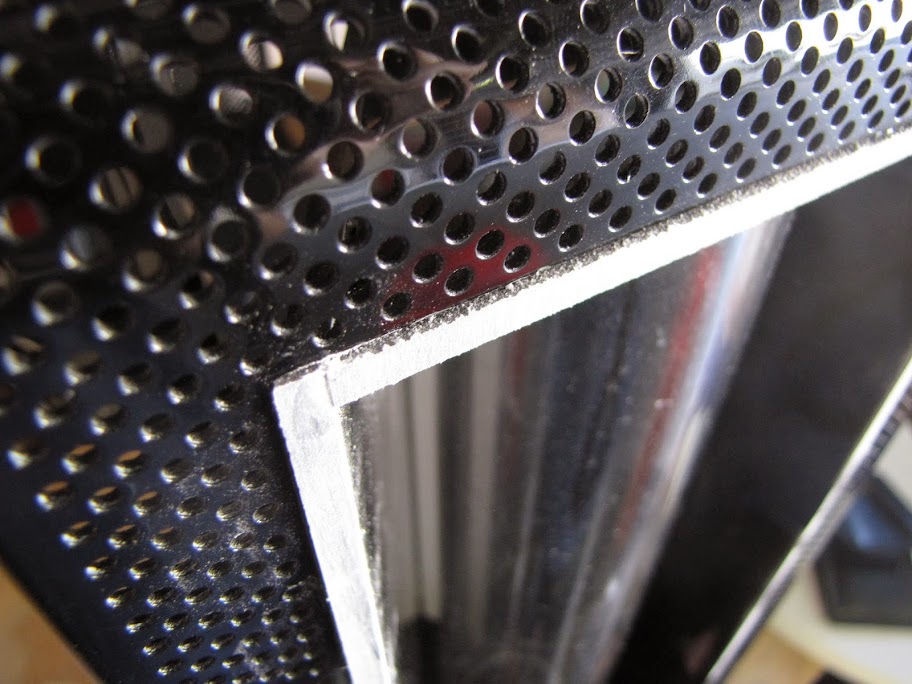
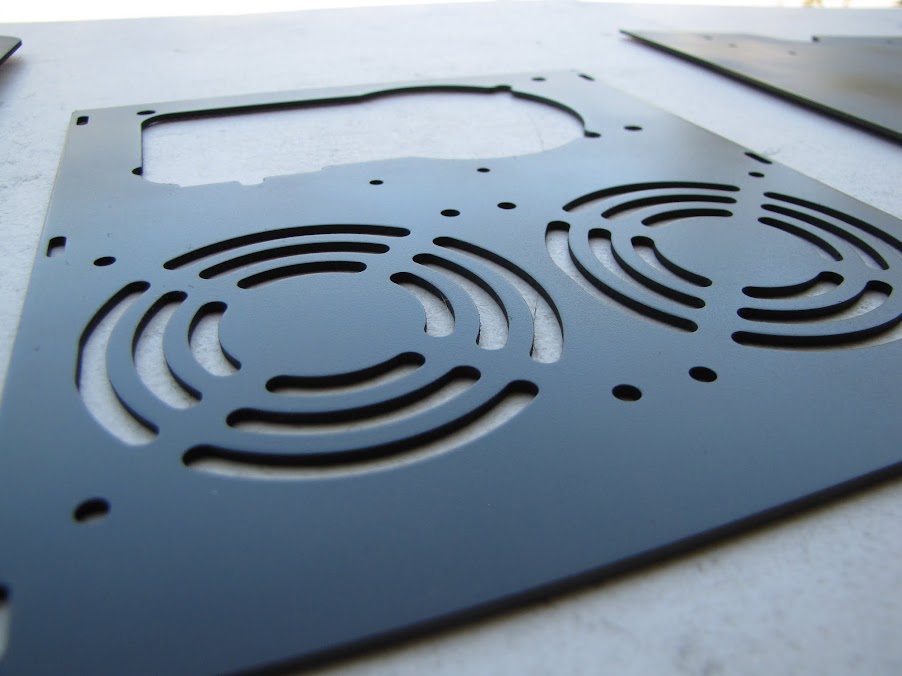
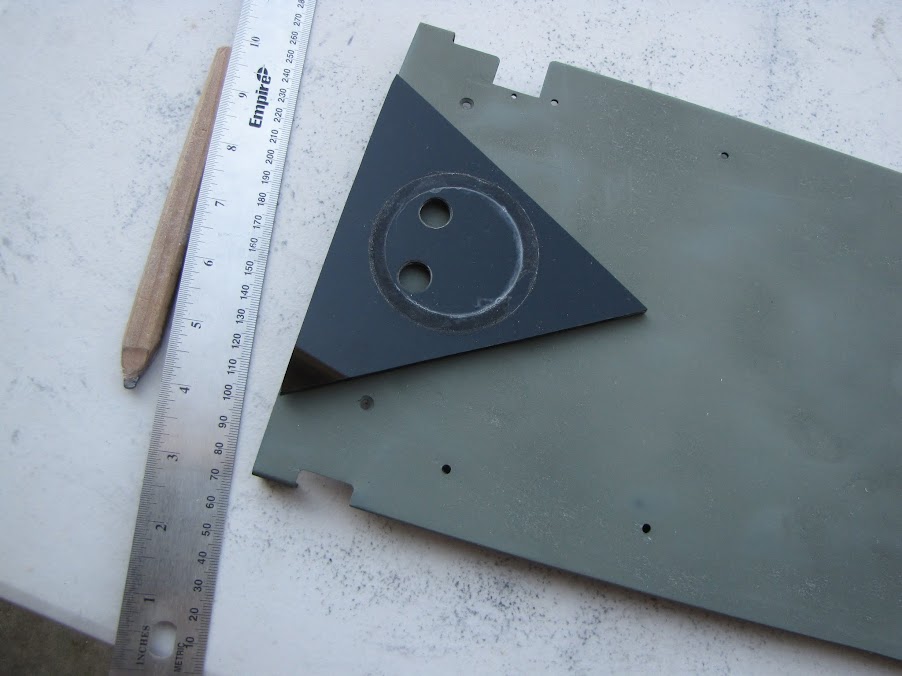
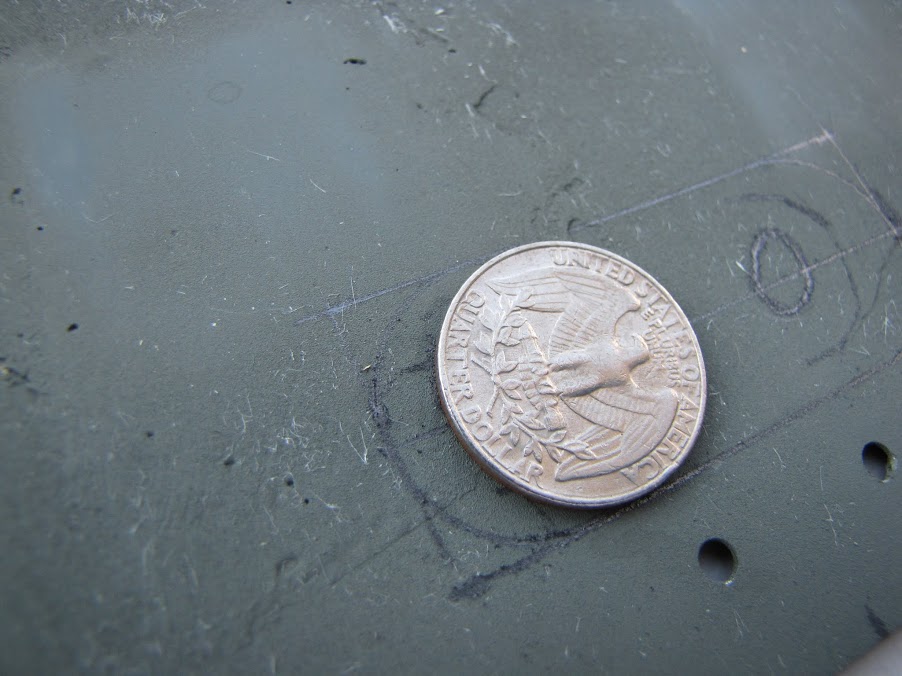
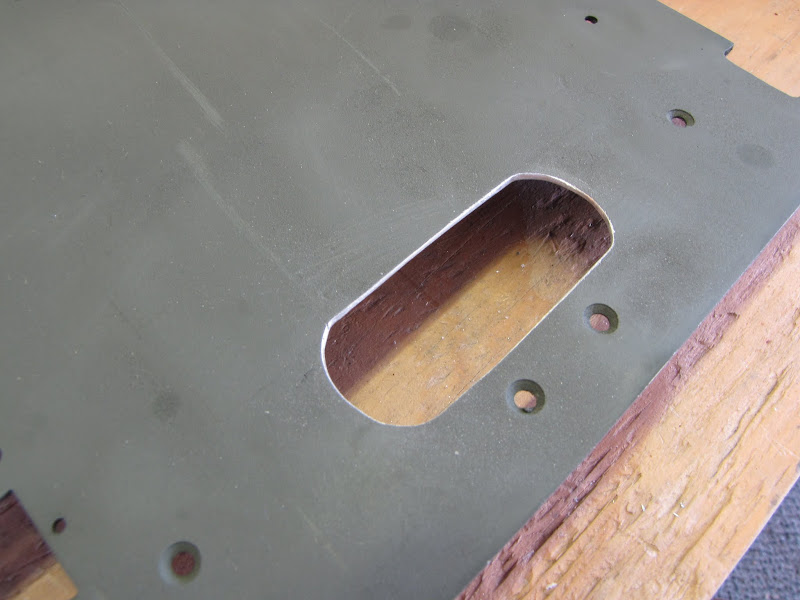
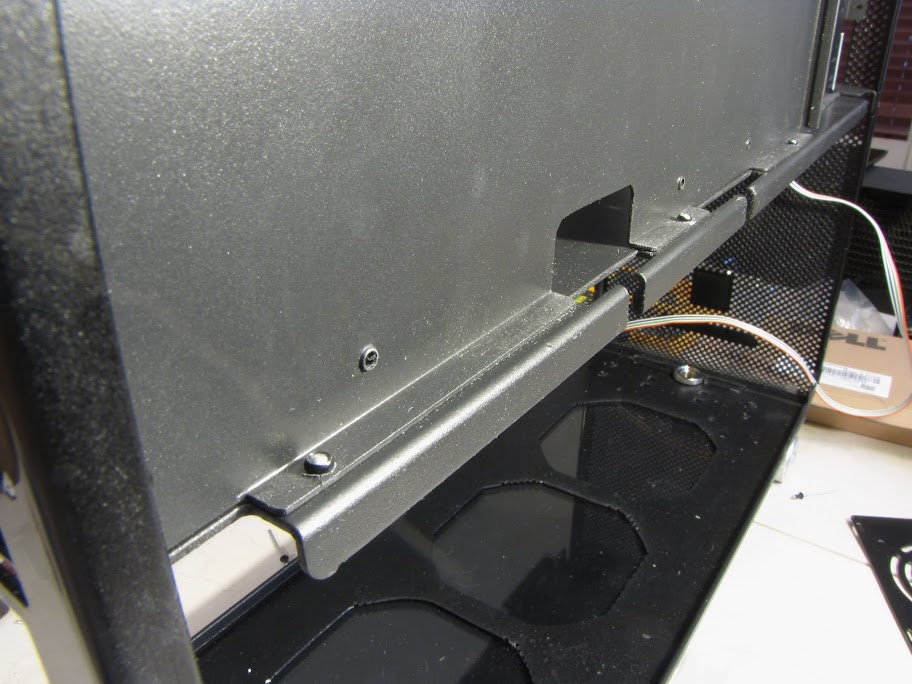
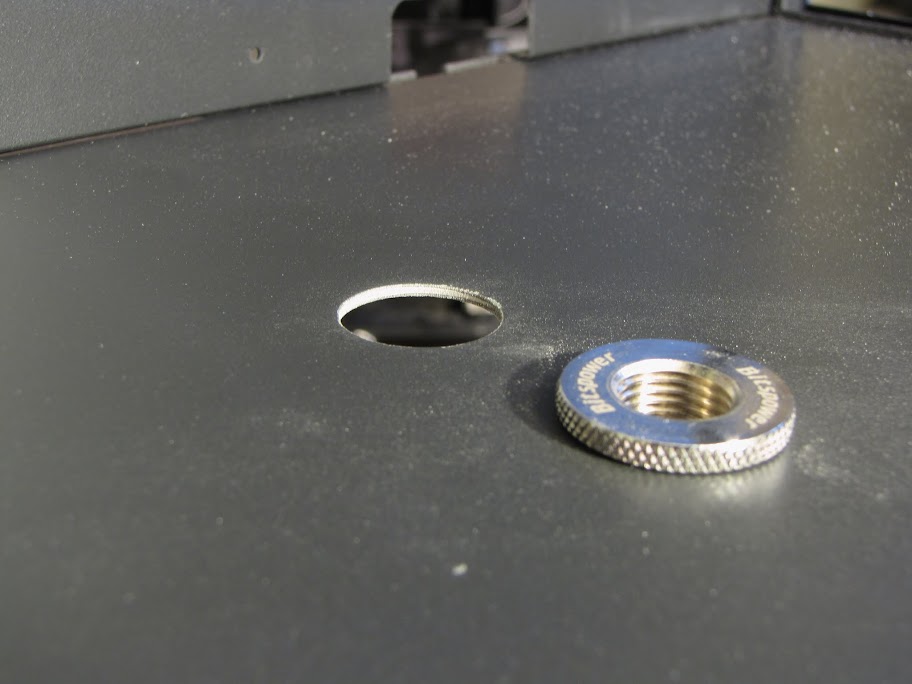
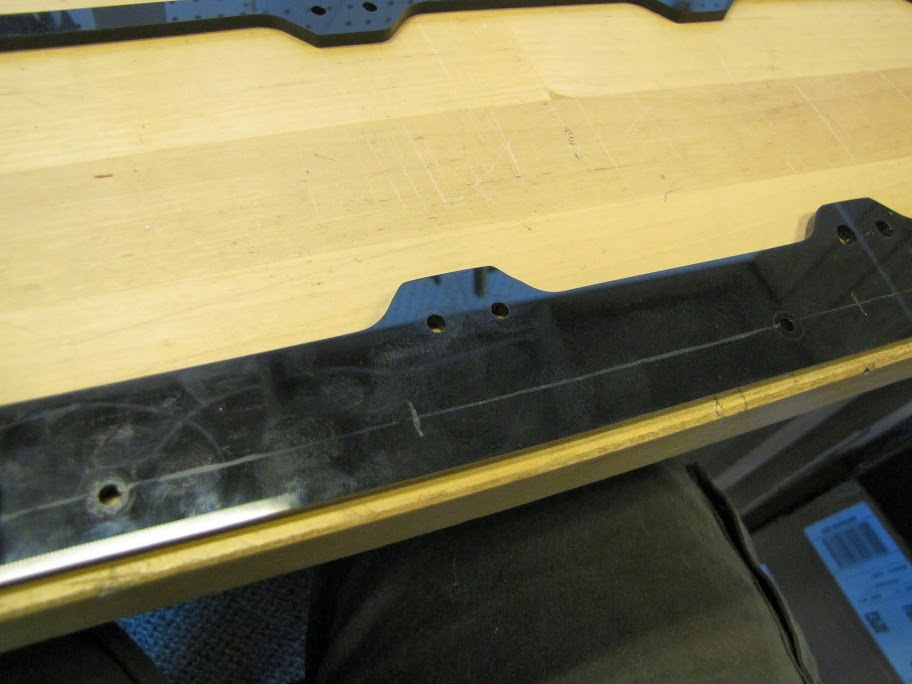
I decided to go ahead and cut a new top/base, since the original one was a bit marred by the glue and probably wouldn't seal well. I also relocated the holes to be more central, since I'm not putting the light bar in the center of the reservoir (for this iteration, anyway... ).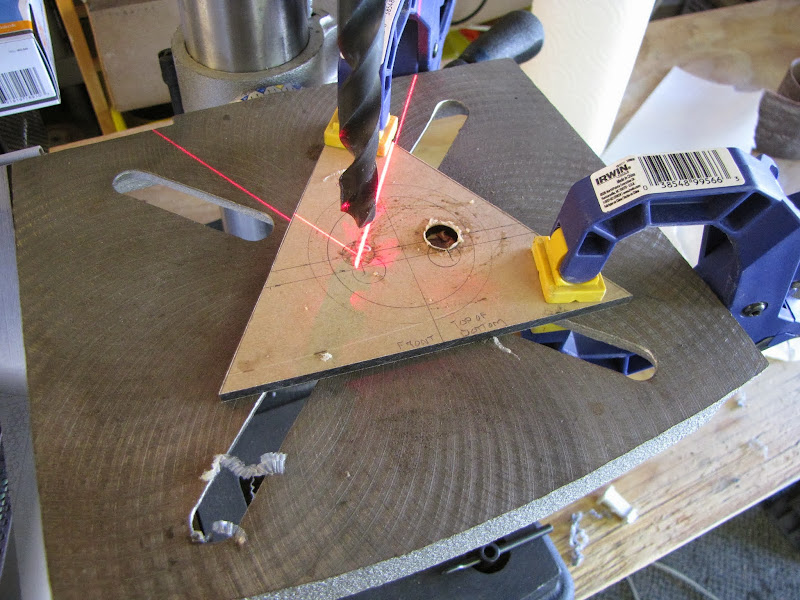
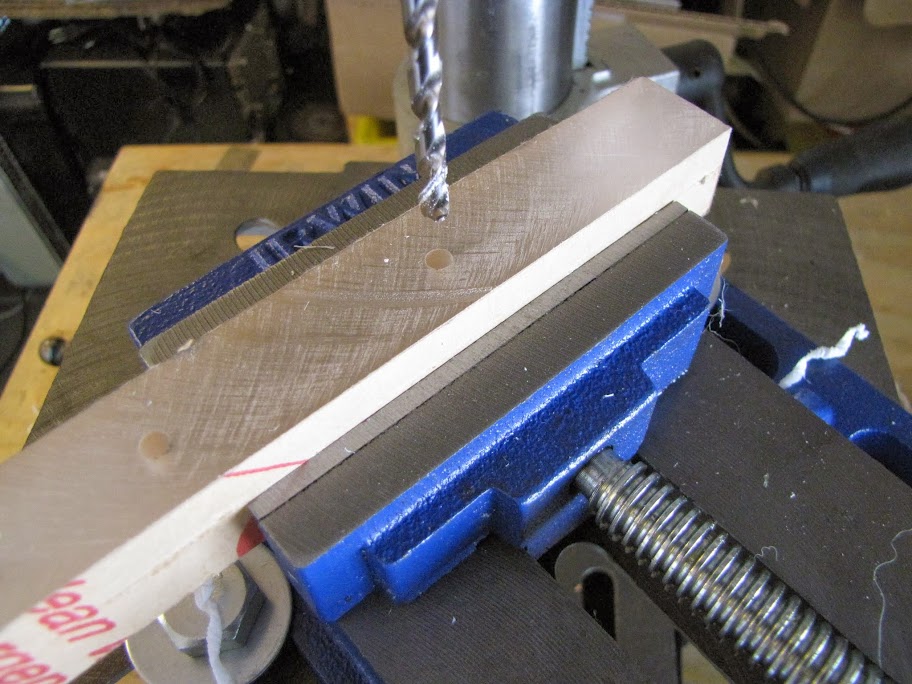
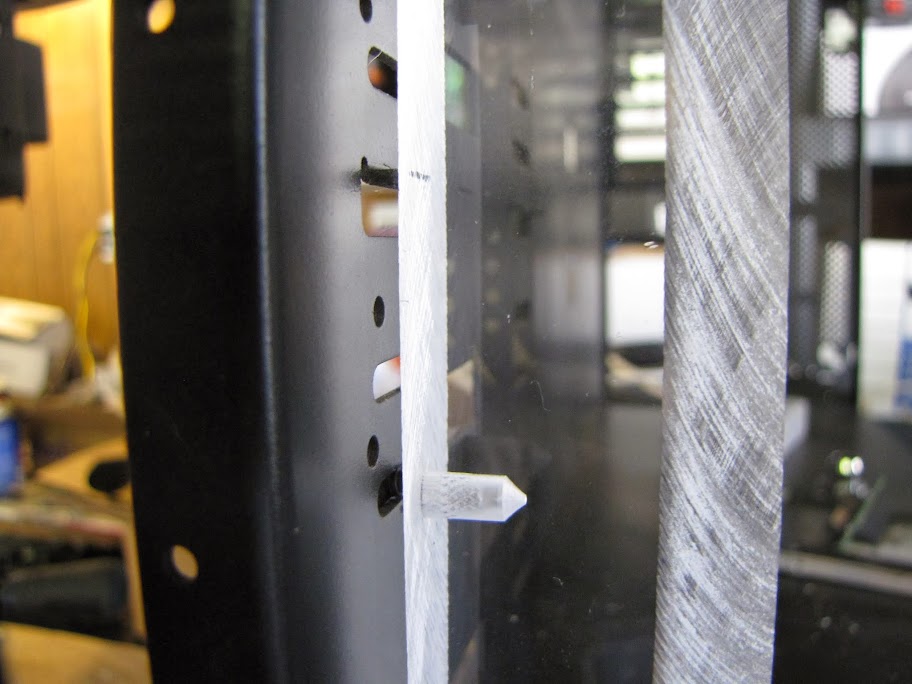
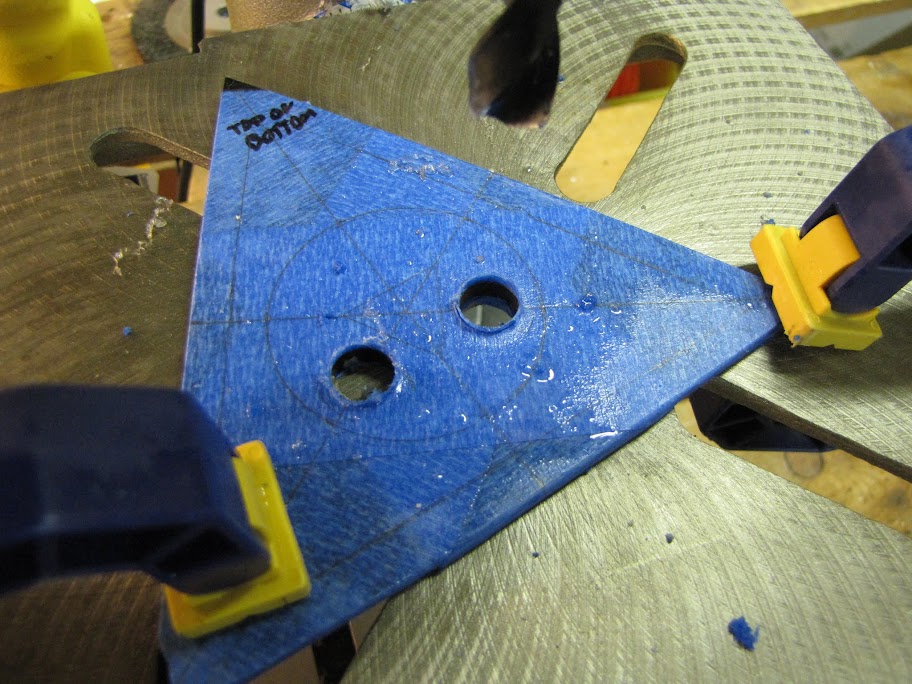
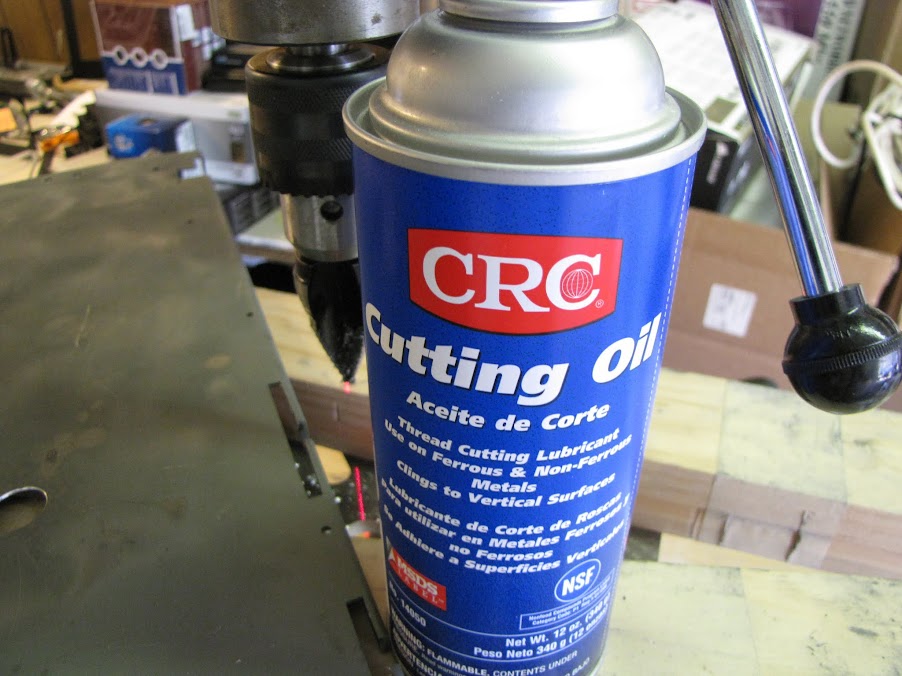
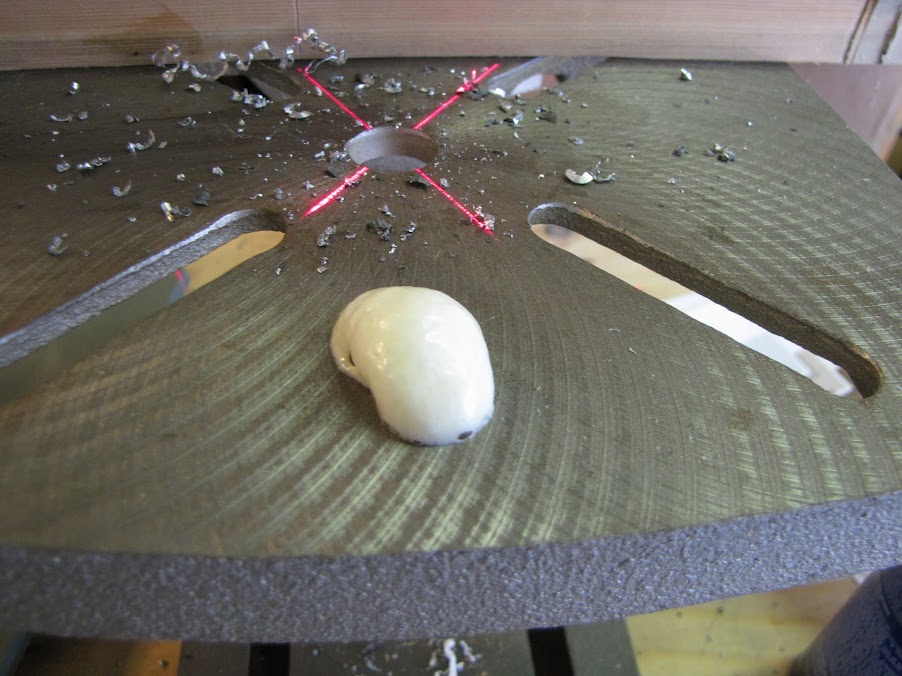
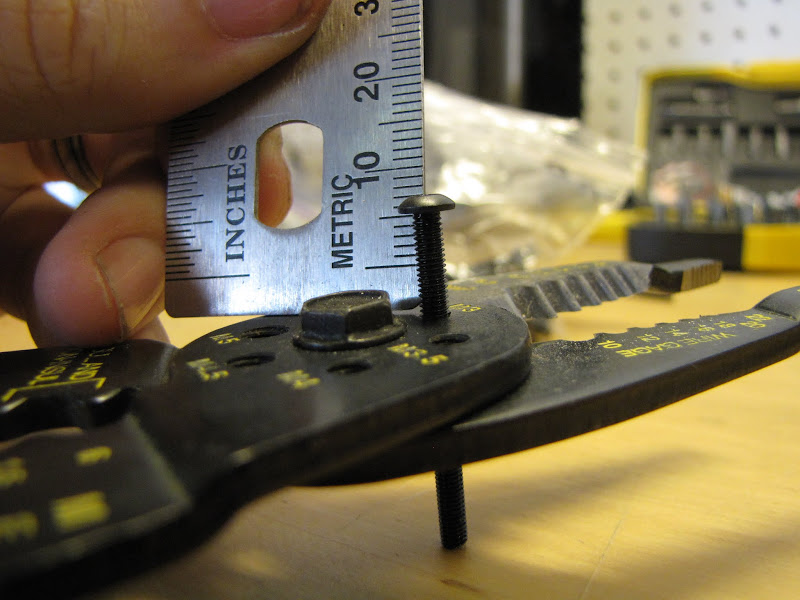
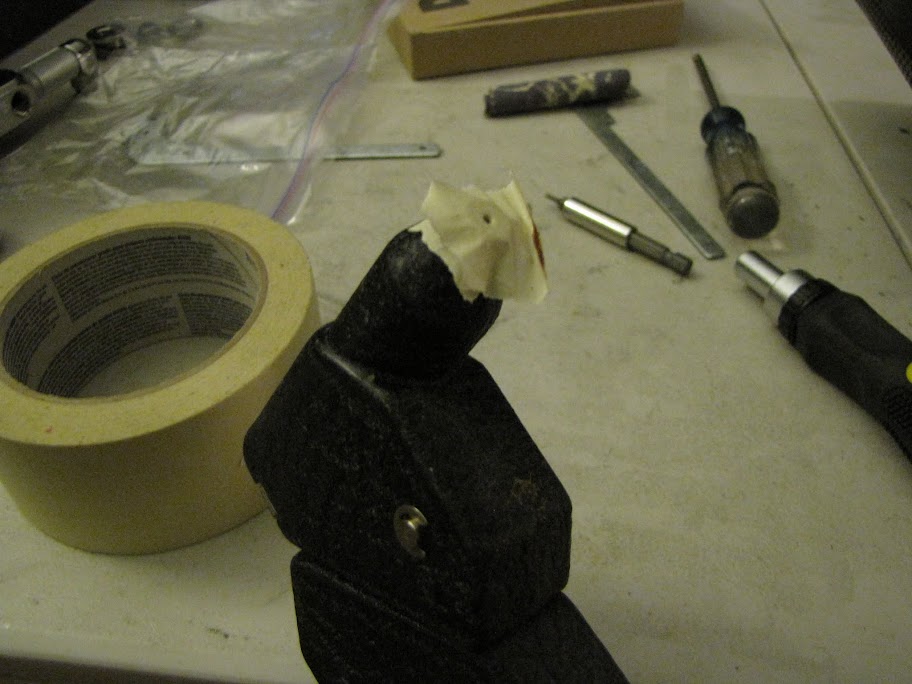
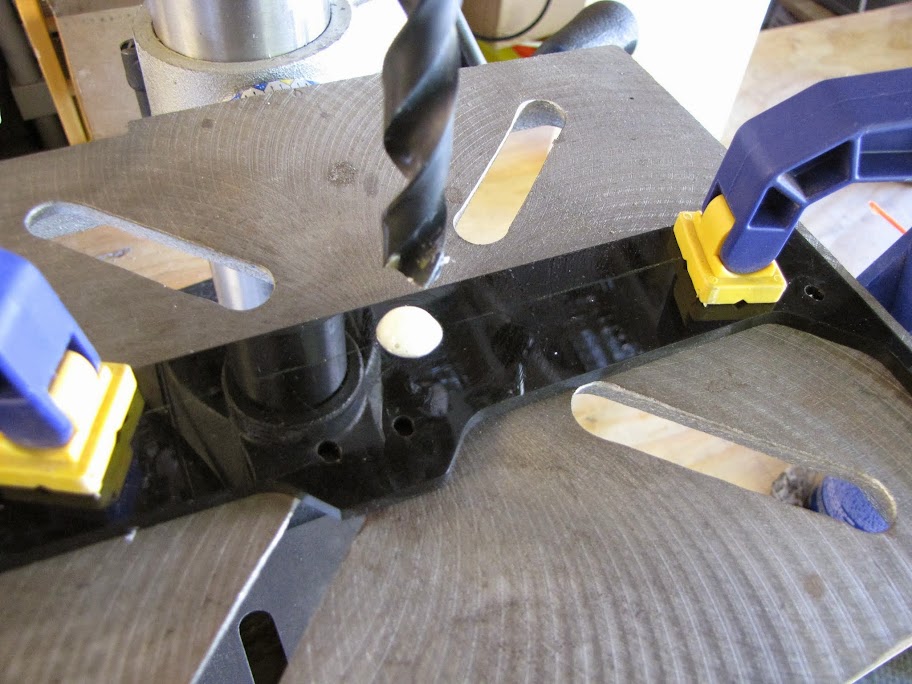
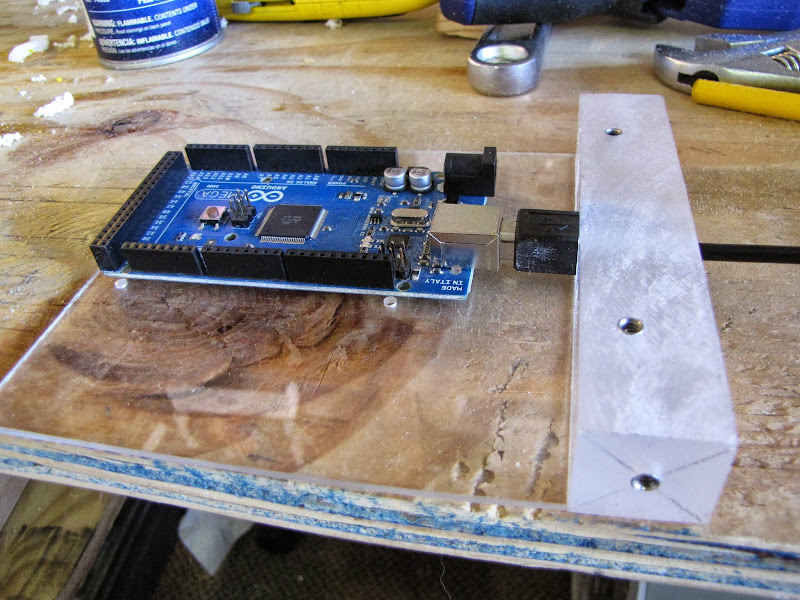
 I did change up my process slightly to ensure a cleaner/sharper cut. I would now set the tap up like below, then shoot a small amount of cutting fluid into the hole/on top of the bit before starting. This just lubricated the blades on the bit a little more, making it cut easier.
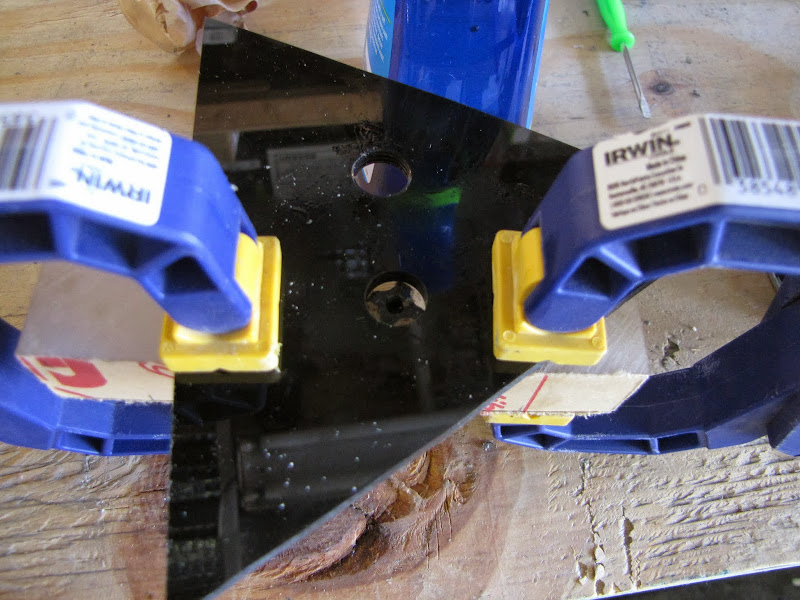

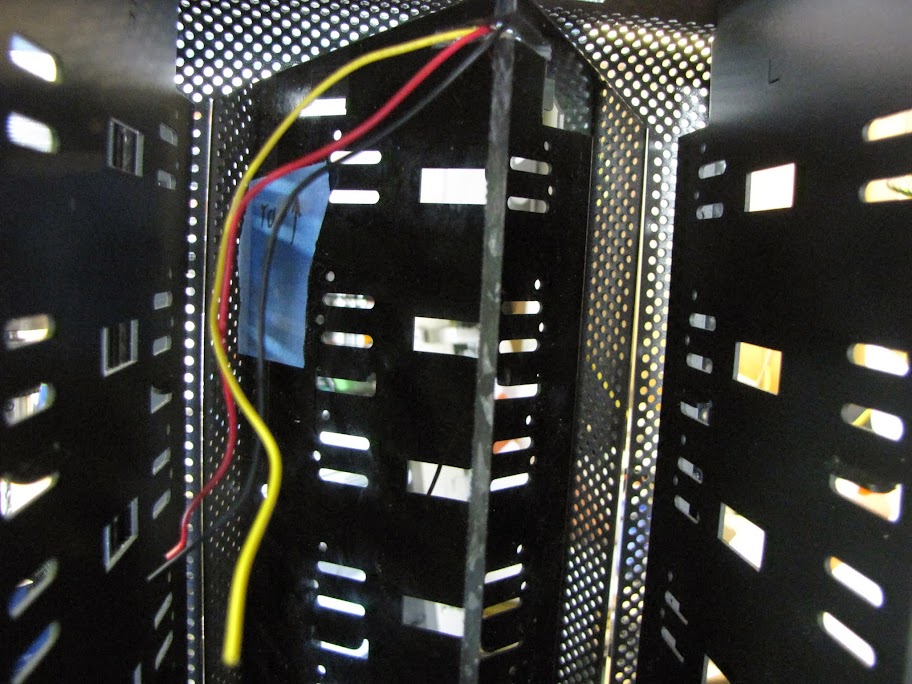
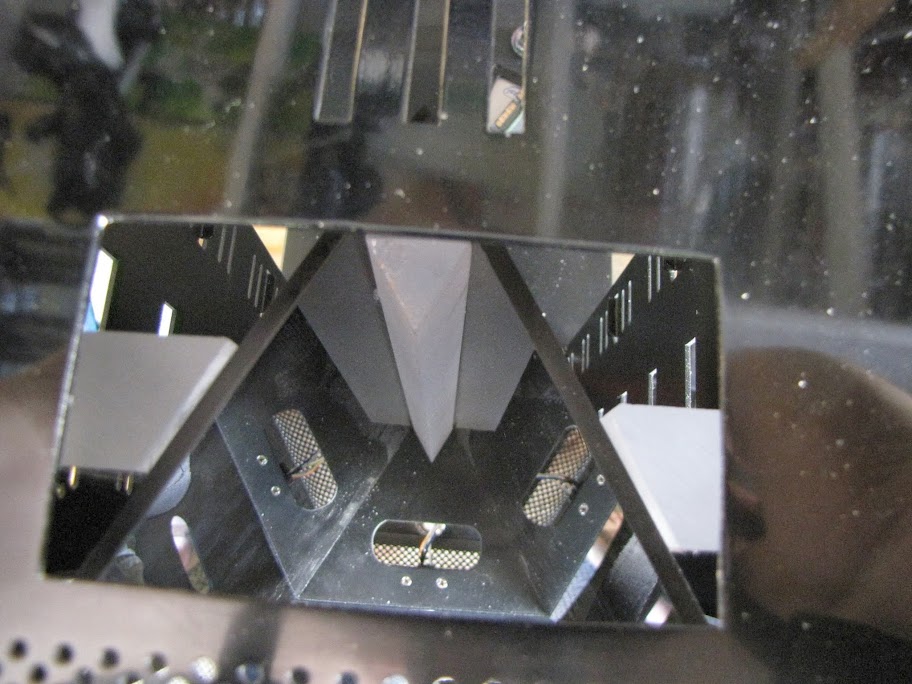
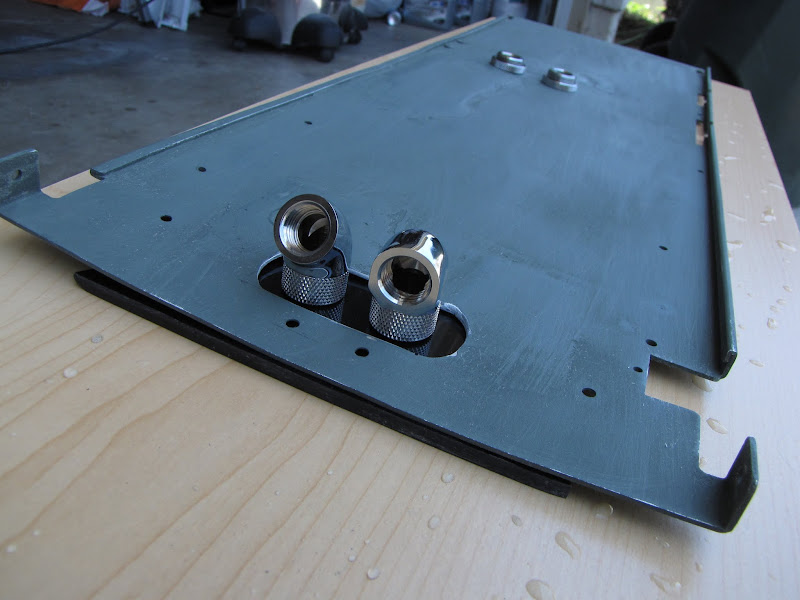
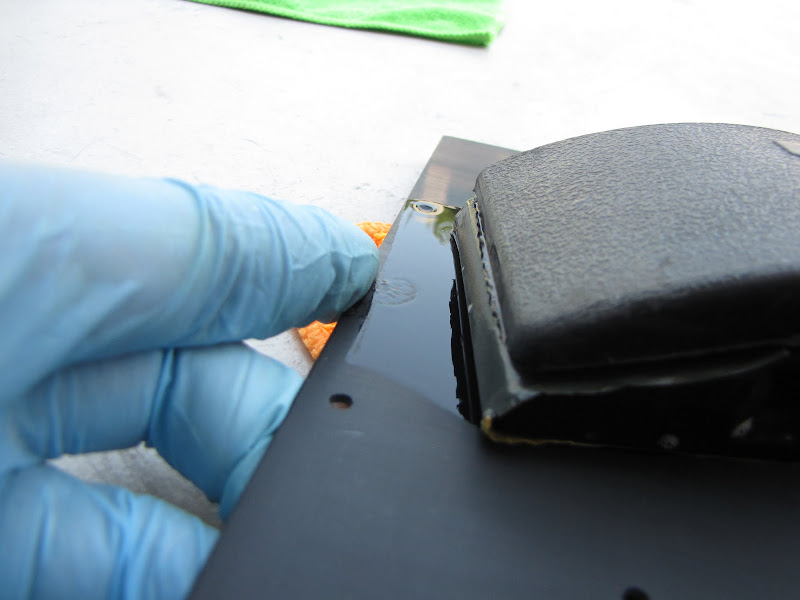
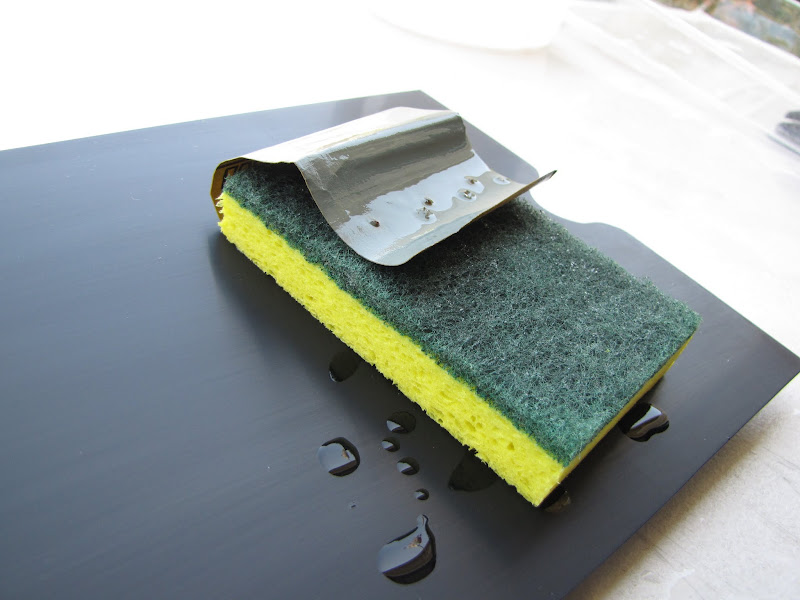
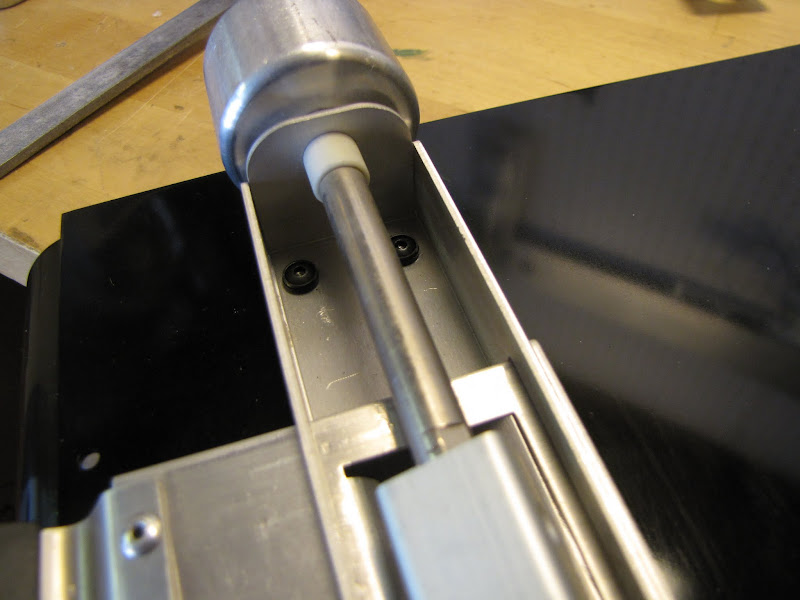
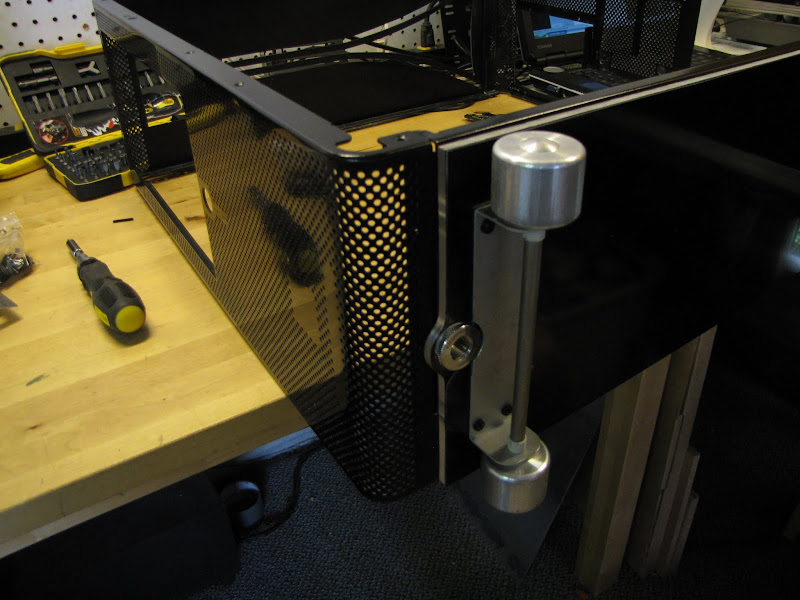
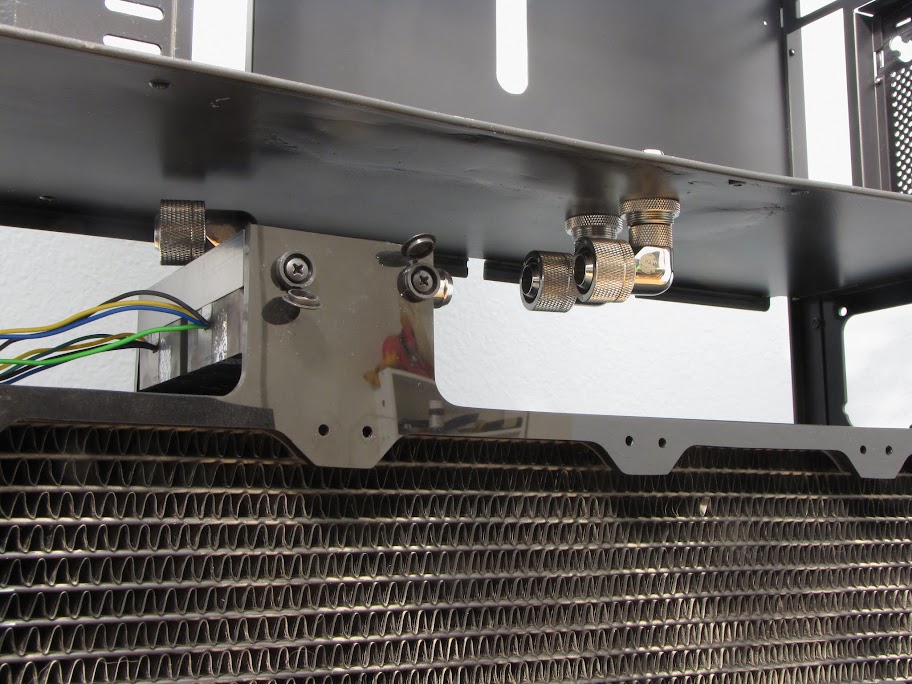
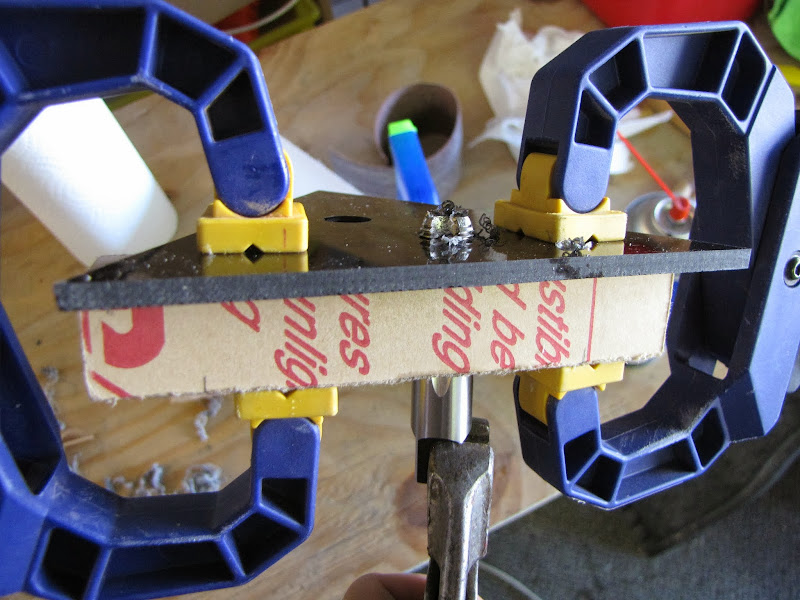
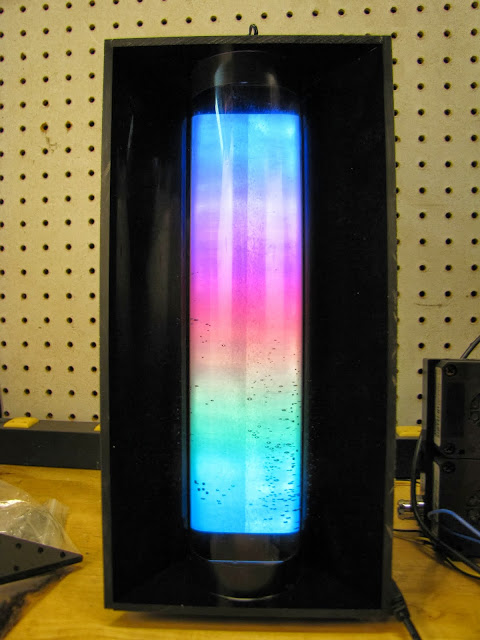
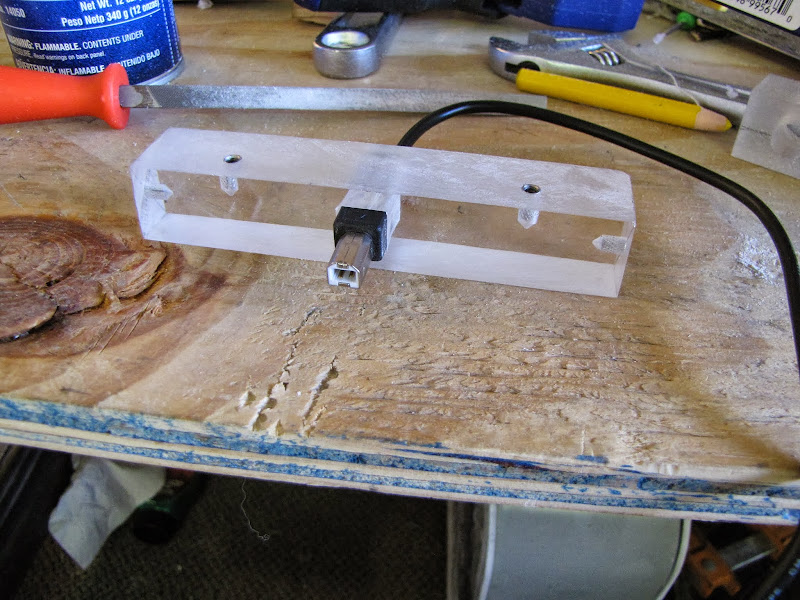
 Just to be sure, I did a quick cheap "pressure test" by sealing a fitting onto one of the openings and blowing into a tube... just to make sure it didn't force any water out. I know there are pressure testing rigs that will do this too... but my method is cheap, and just as effective.
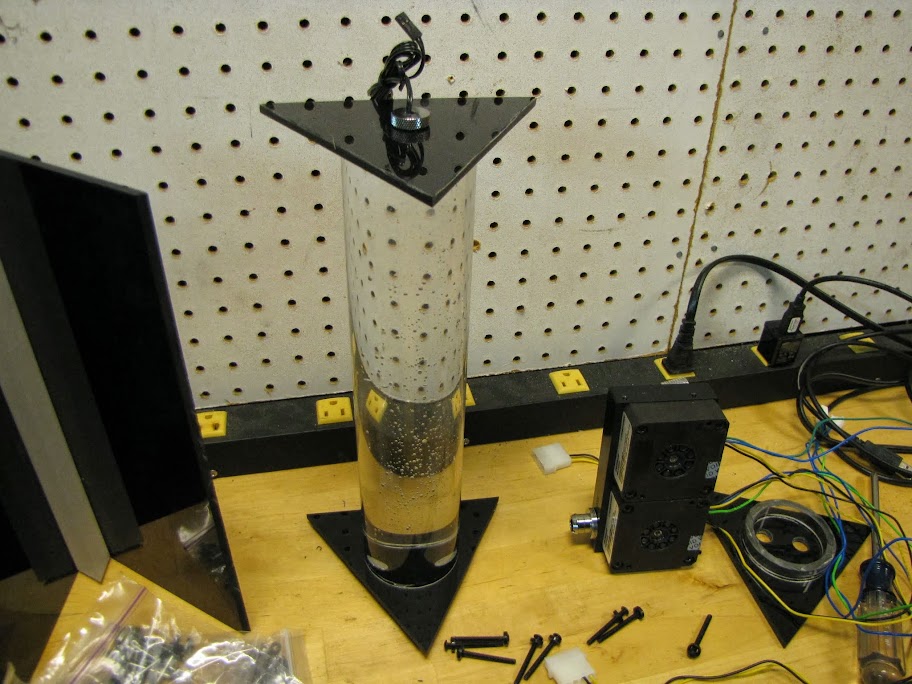
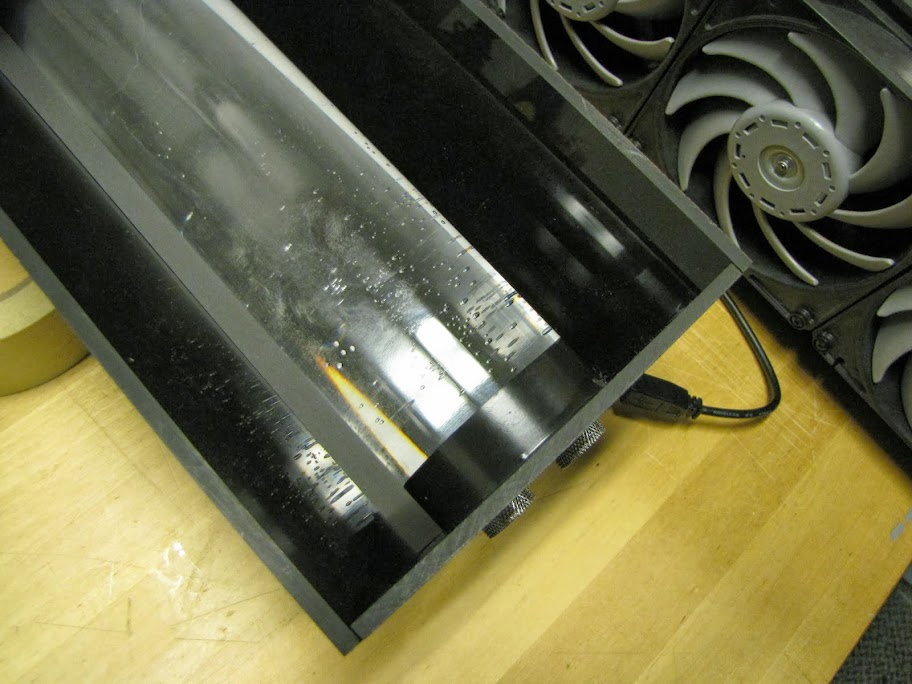
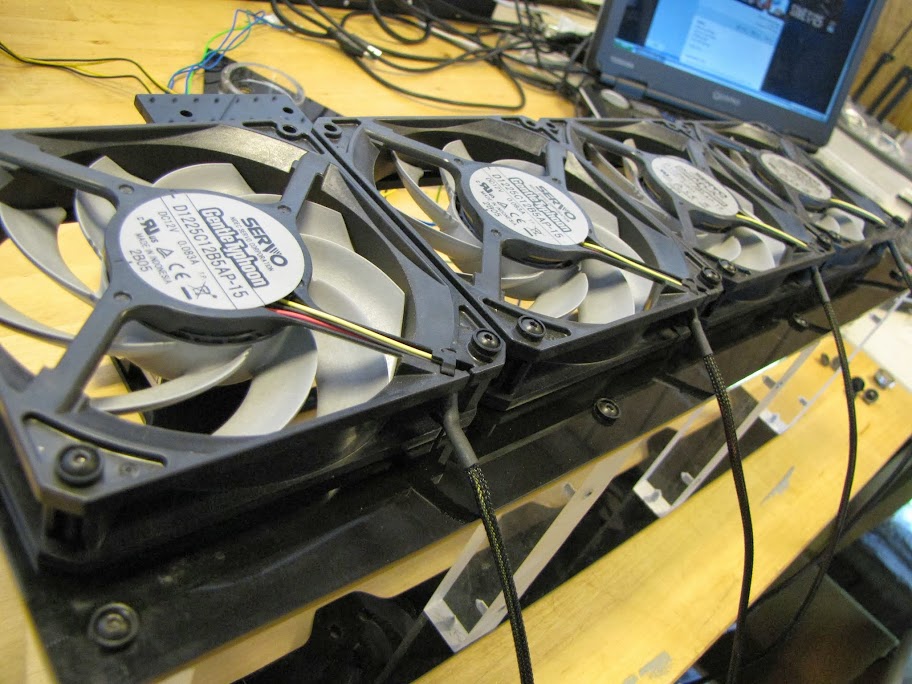

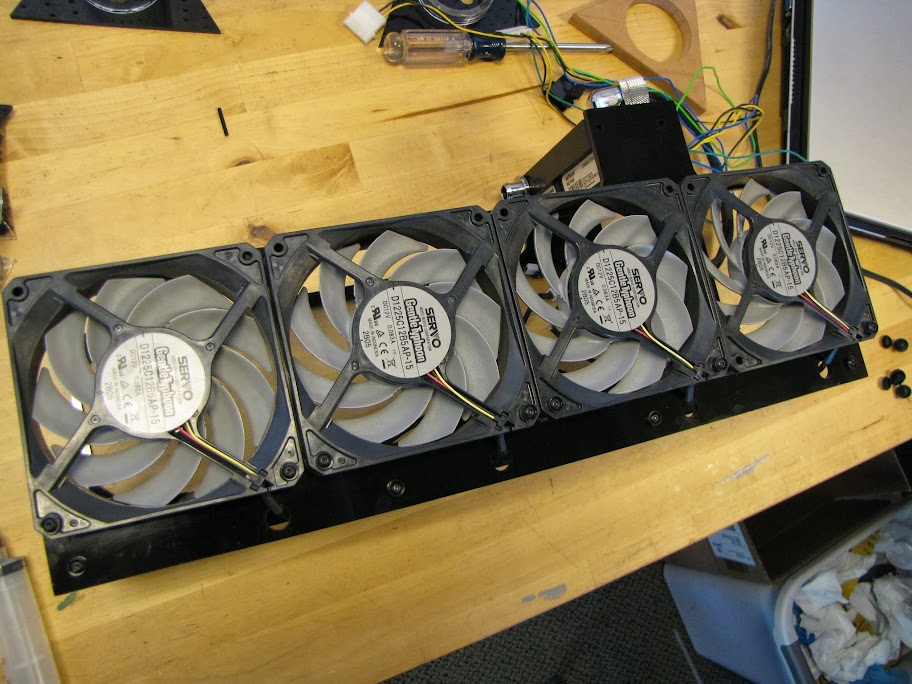
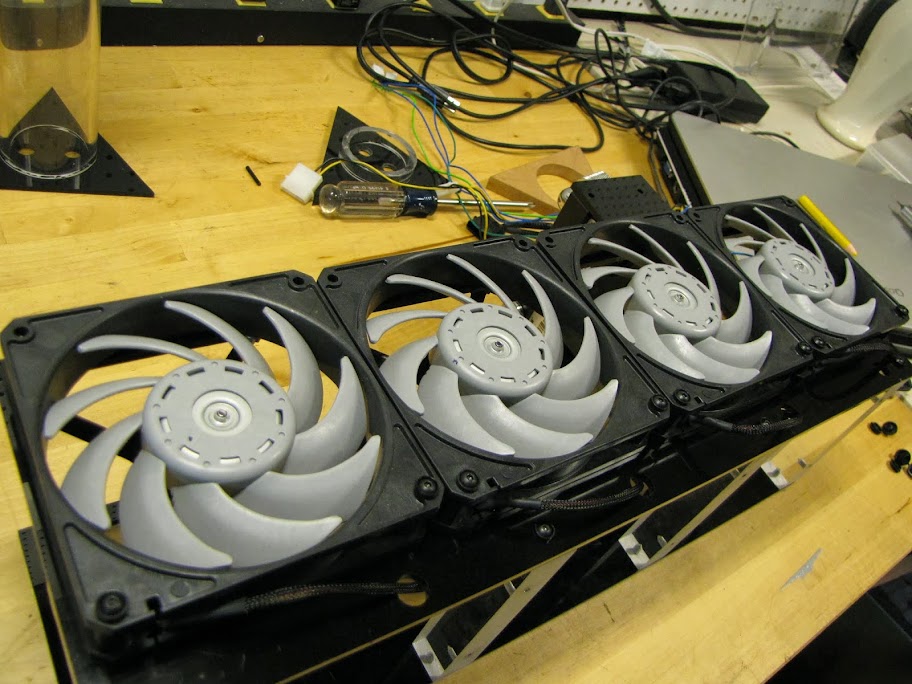
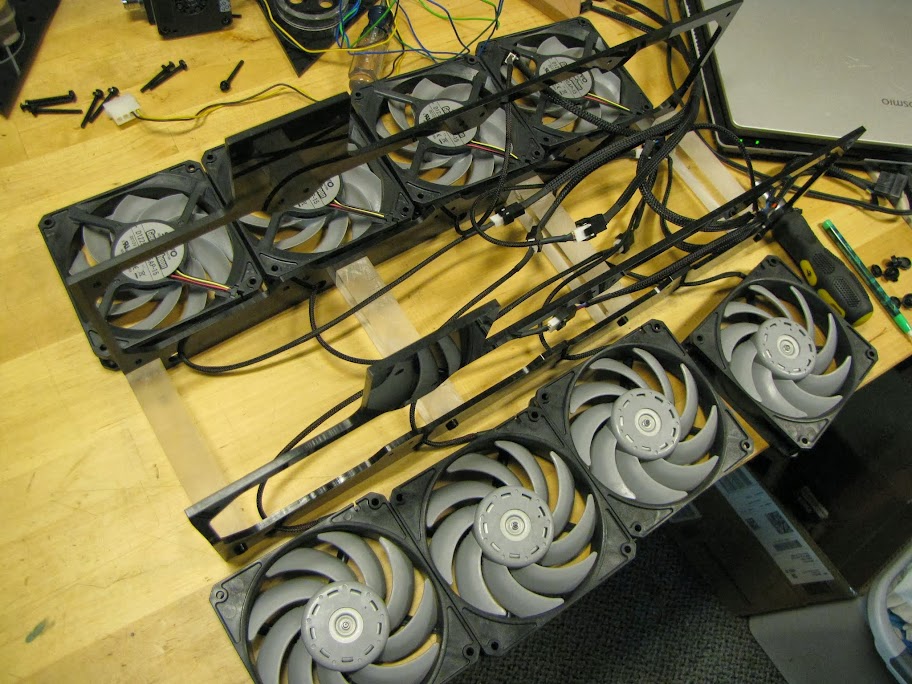
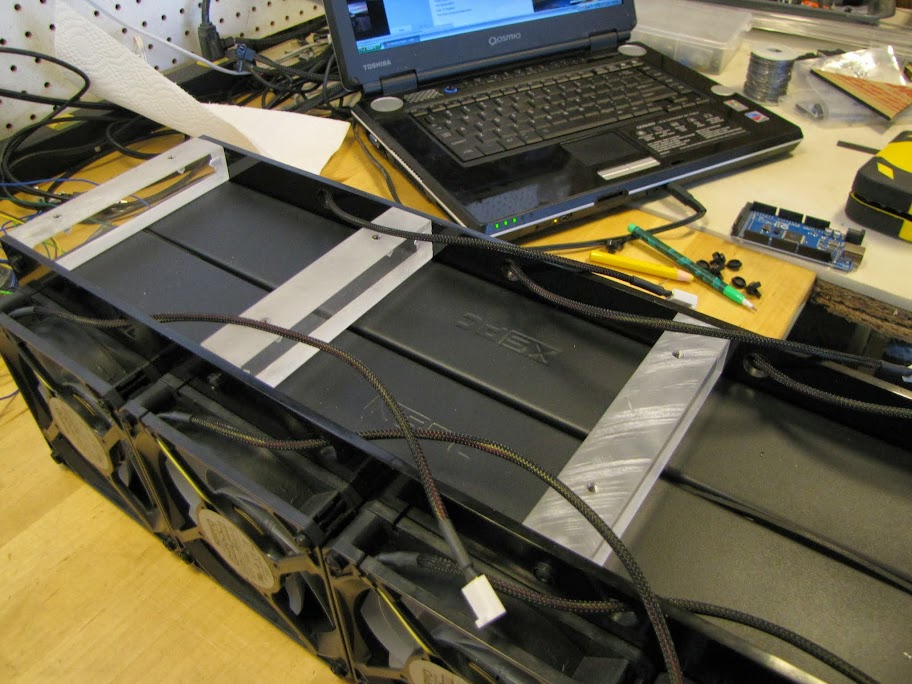
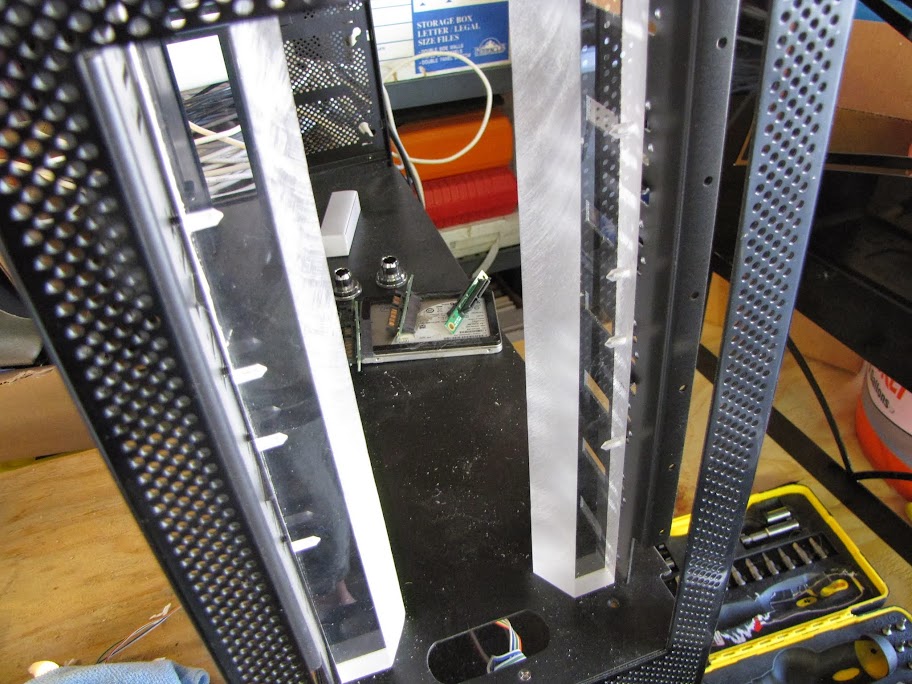
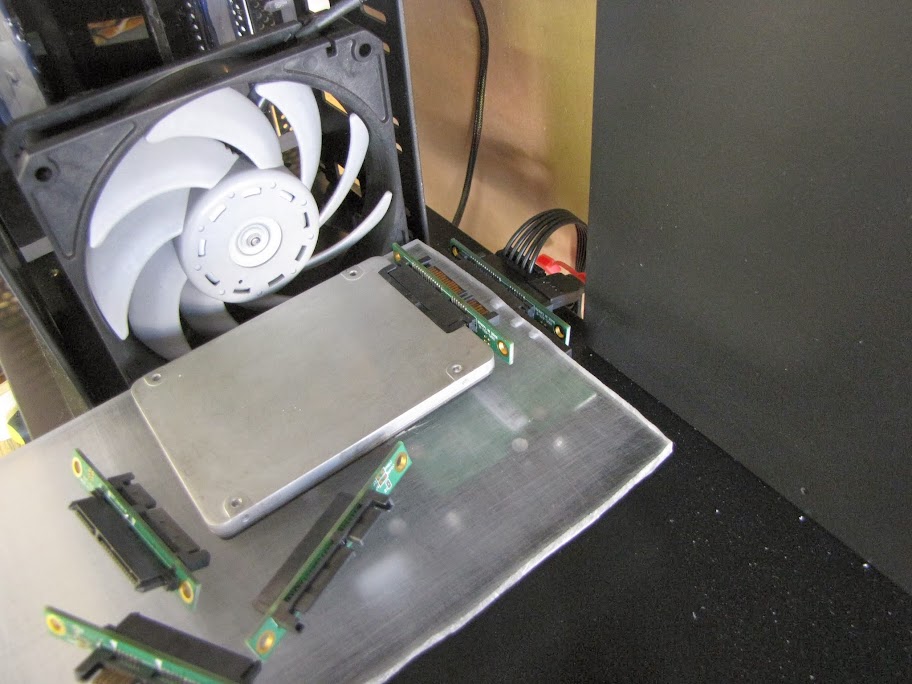
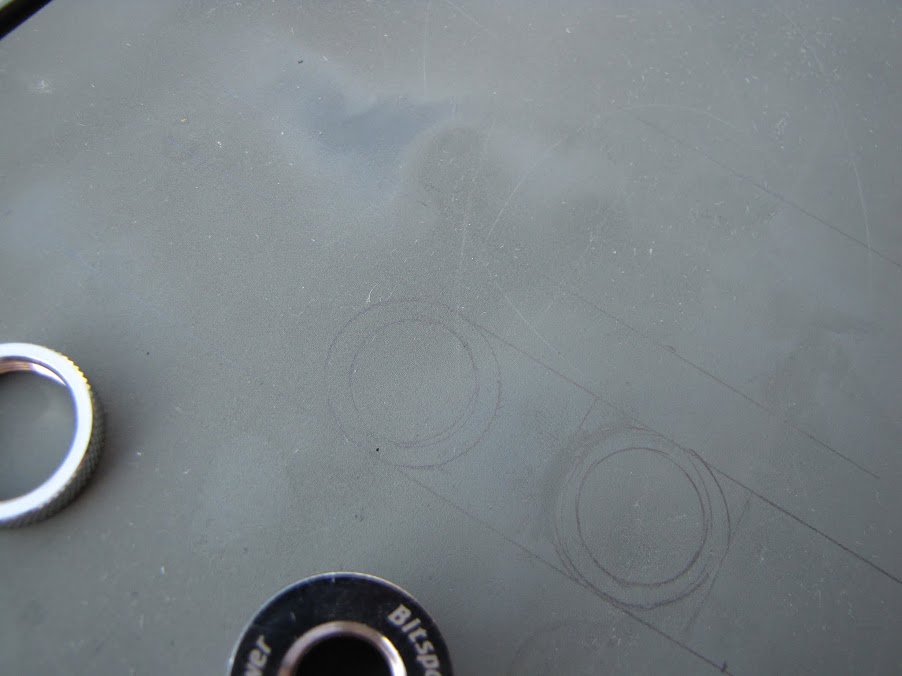
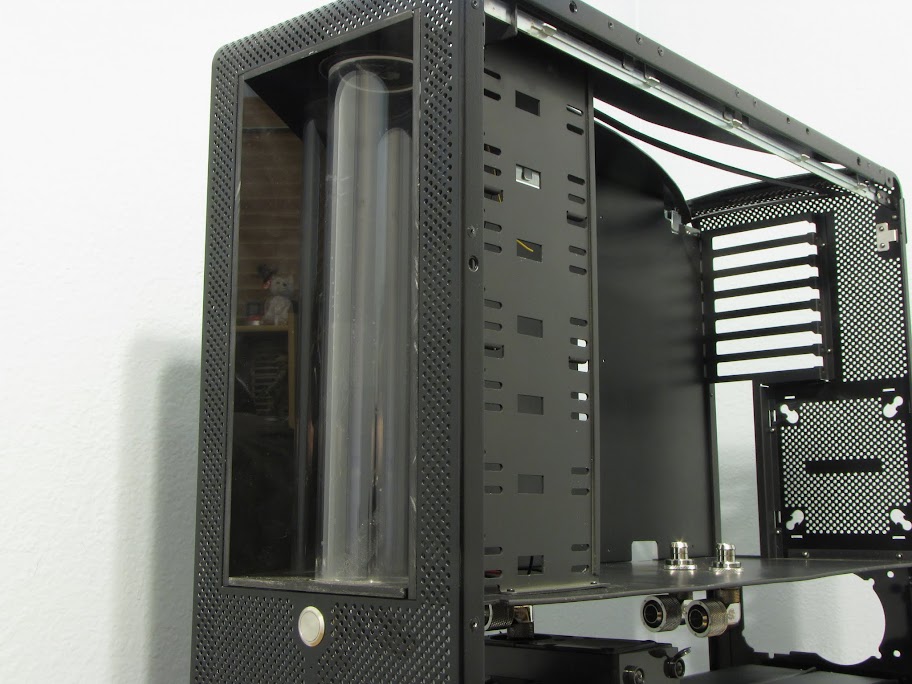
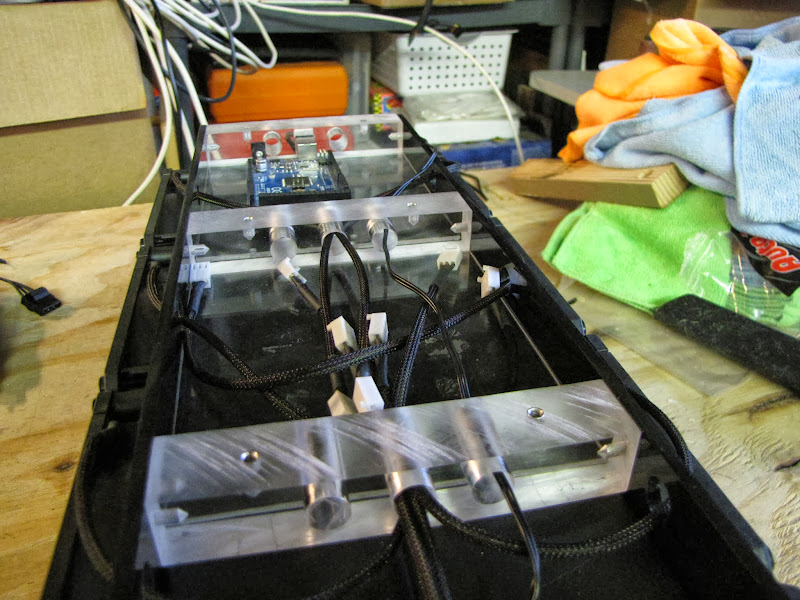
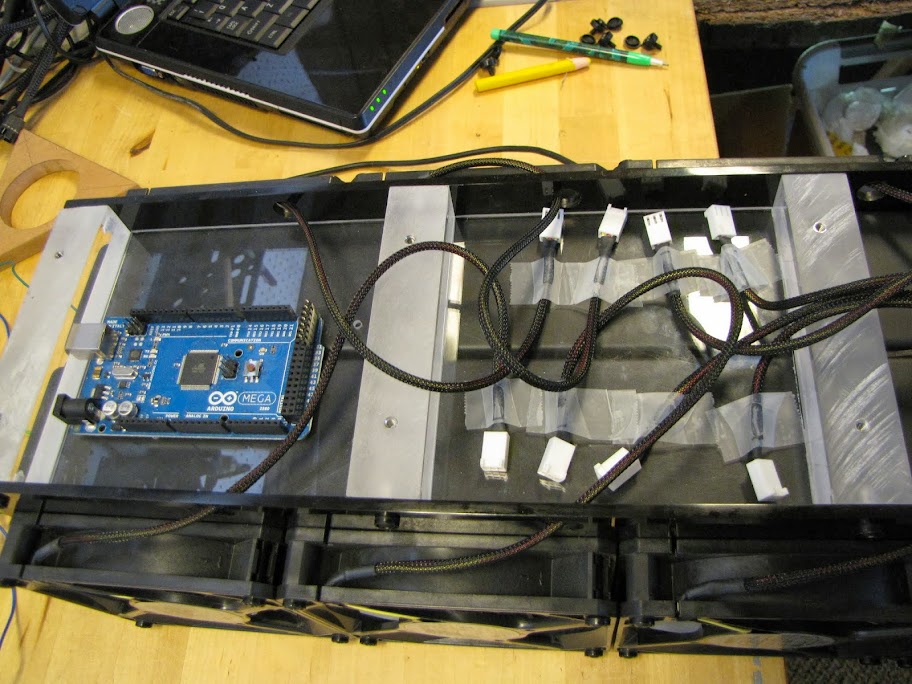 All I have to do is cut some holes through the clear acrylic blocks for the fan cables to pass through, and I can make a simple PCB that will fit in the bottom area to which all the fans will connect. Then, I just have one cable going from this "daughter board" over to the arduino "main board" in the cell next to it!
 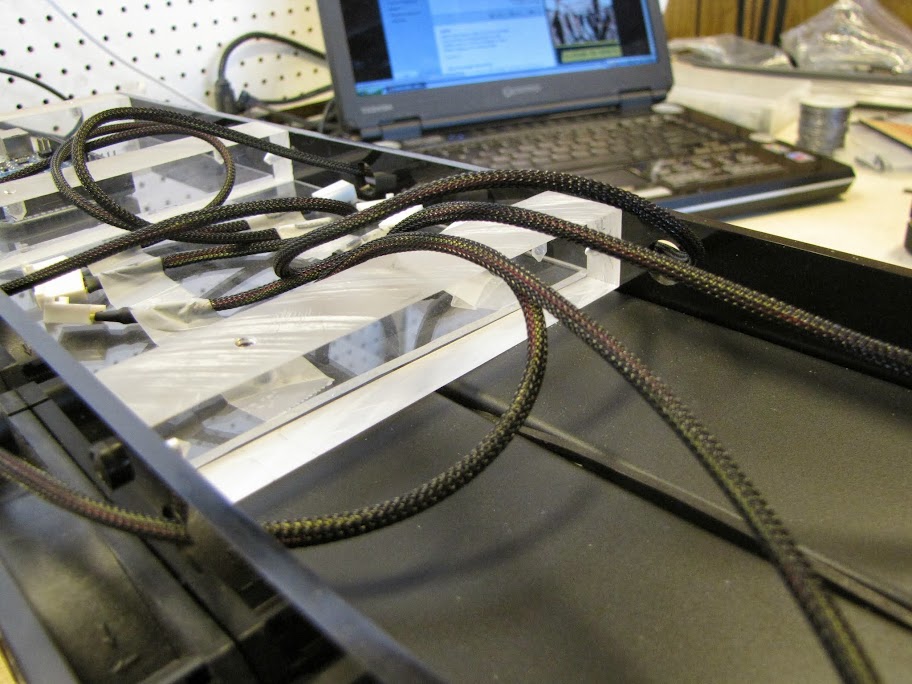 I scooted the bar over, made another hole... same thing. Ugh! One more time, with more oil and a little slower... this time, the bar completely exploded, jammed on the drill press, and chopped up my hand in the process.
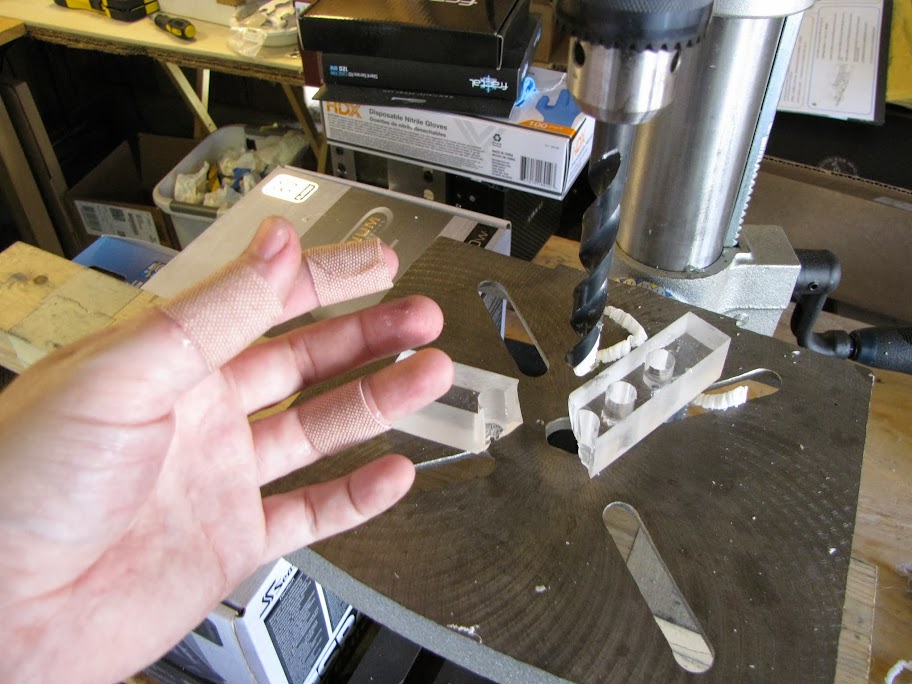 Alas, I had to call it quits there for a while... being down one hand with an already finicky piece of acrylic could only spell disaster from here... so I stopped for the weekend to nurse my wounds and think about how best to make these holes.
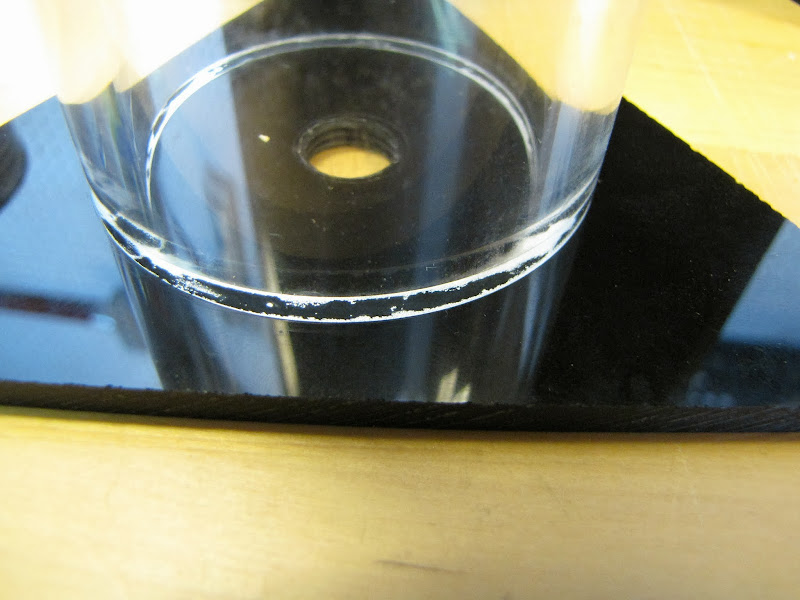
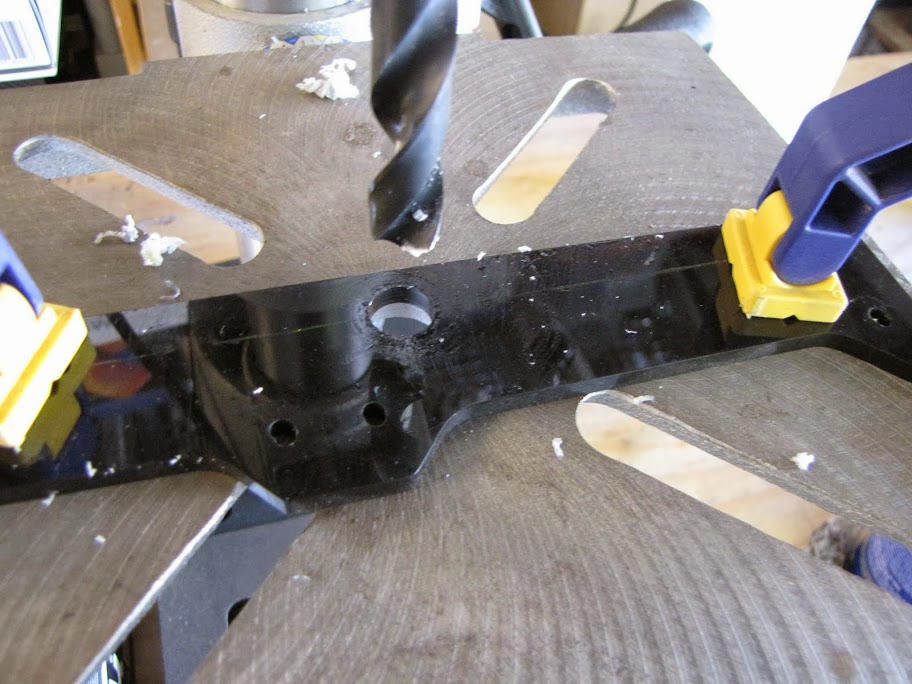
 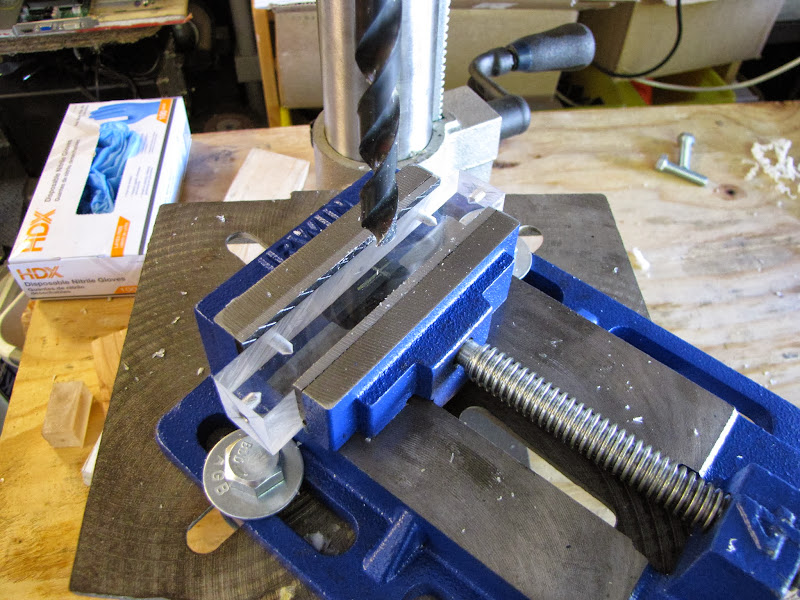 The other real trick to getting clean holes this large without shattering the acrylic was to slow down how quickly I was pressing down on the bit substantially, especially as I was about to breach the other side of the bar. I was going about a millimeter every second or so before... I dialed that back to about a millimeter every 3-4 seconds... more of a 'shaving' action than a 'drilling' action at that rate... but it worked perfectly.
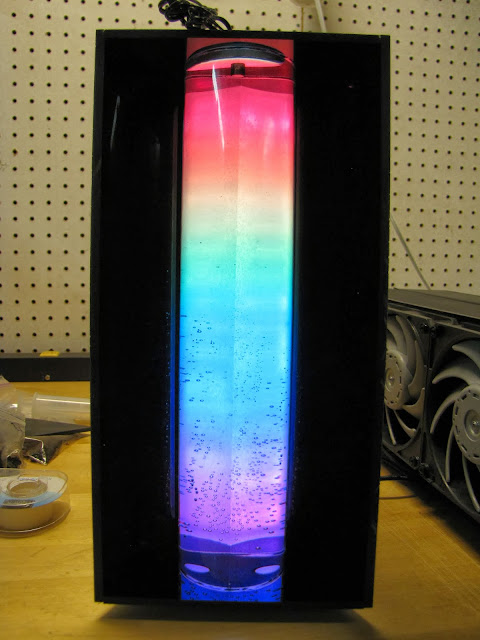
 ... so things have been busy. Fortunately, I'm back in business now, and have make a few bits of progress on the reservoir!