Project Sestren Worklog - World's First Back/Outside Mounted Tri Loop Cube!

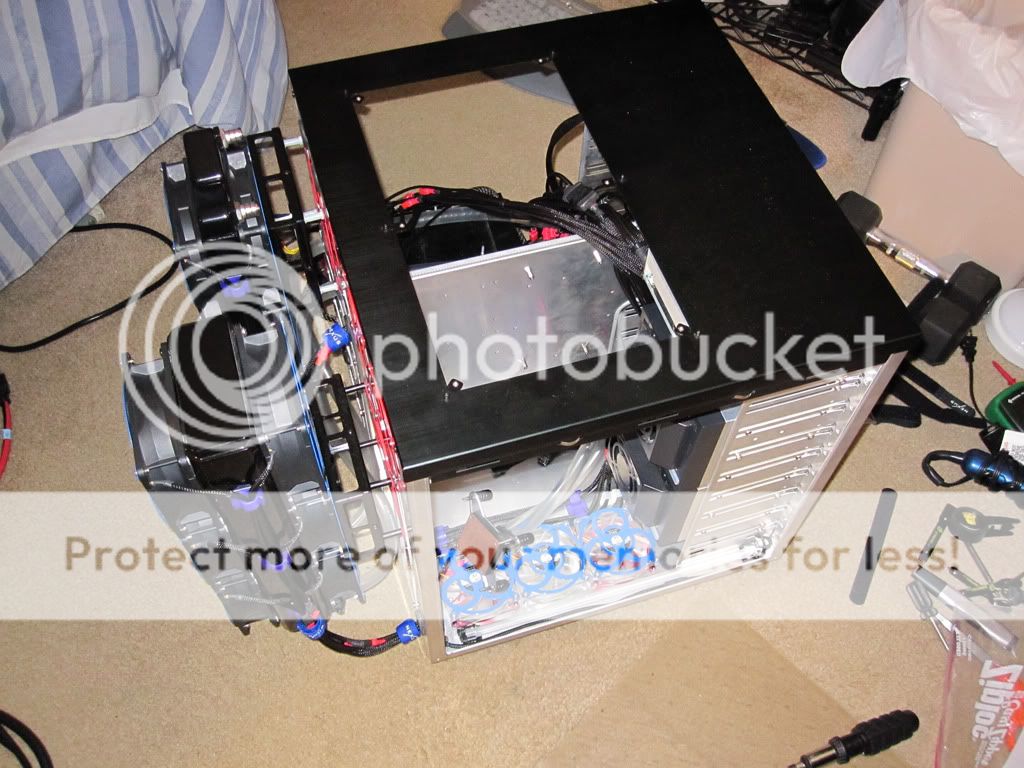
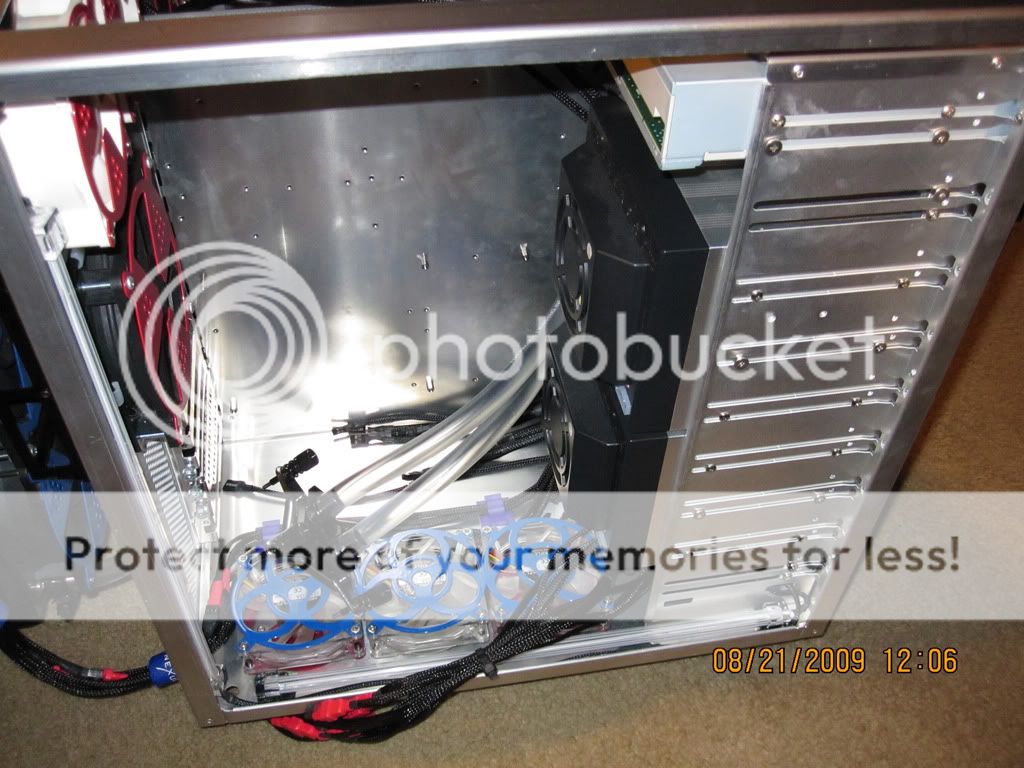
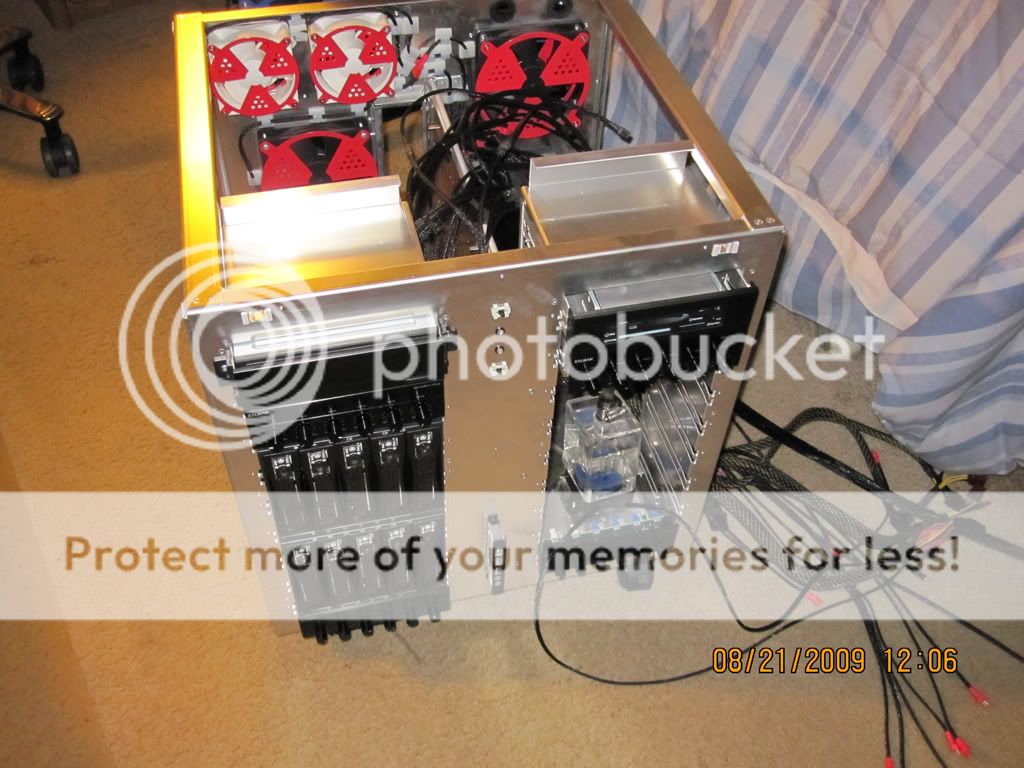
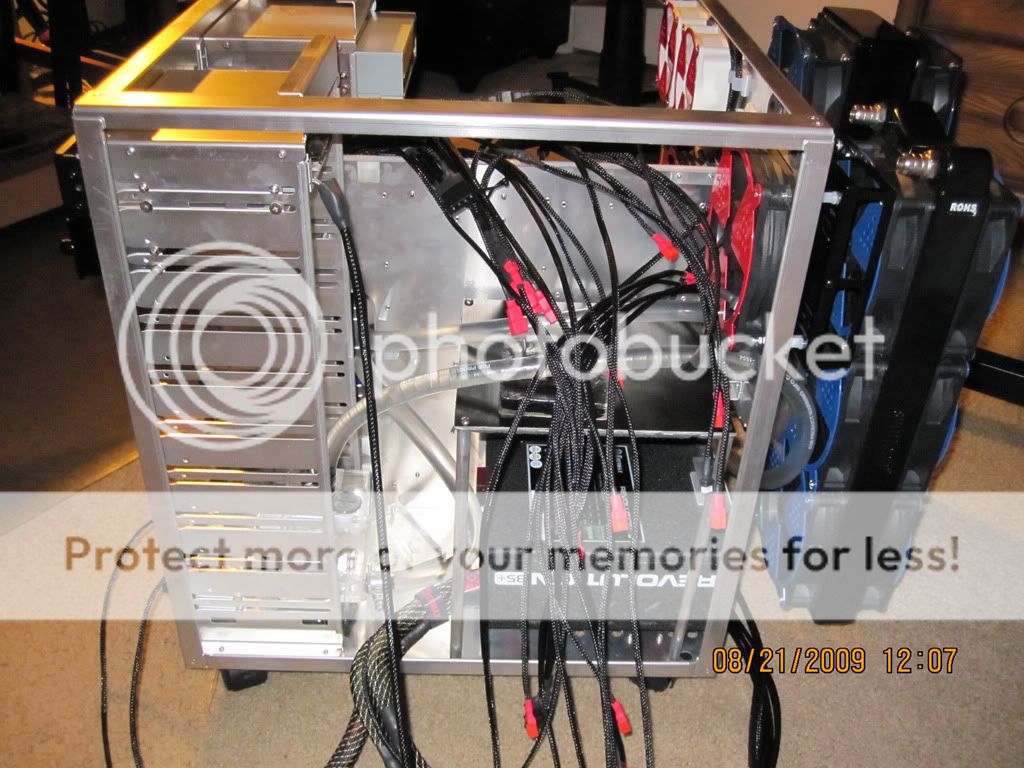
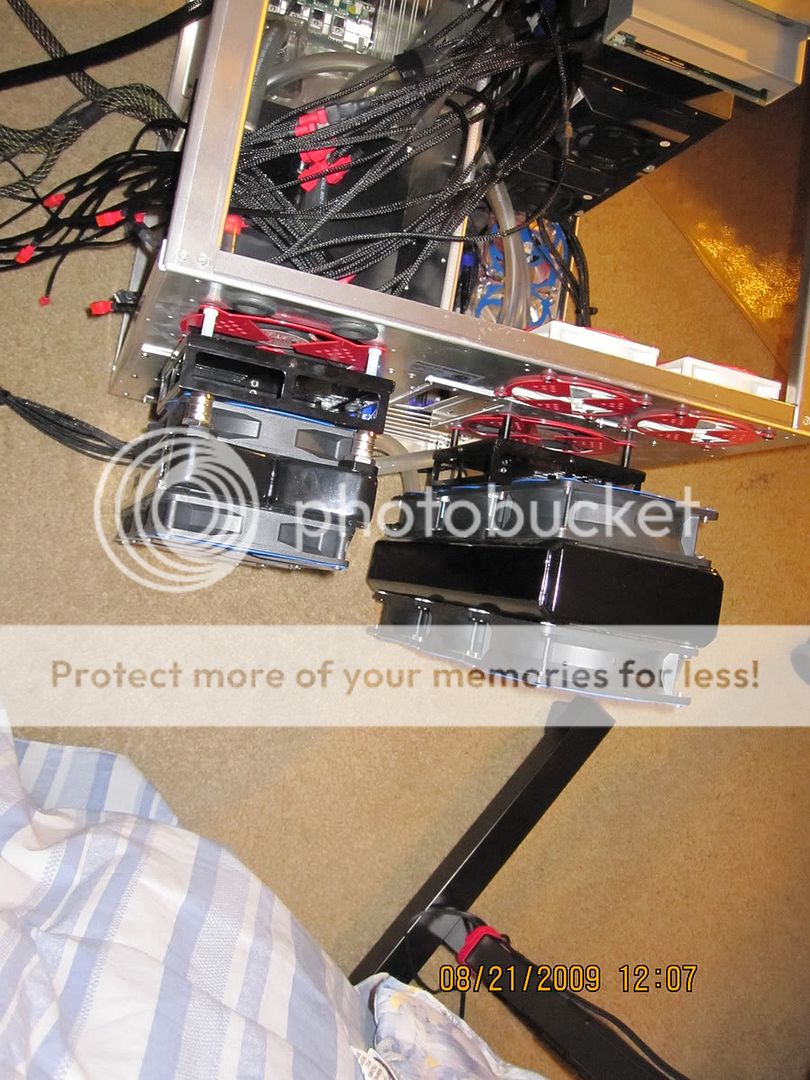
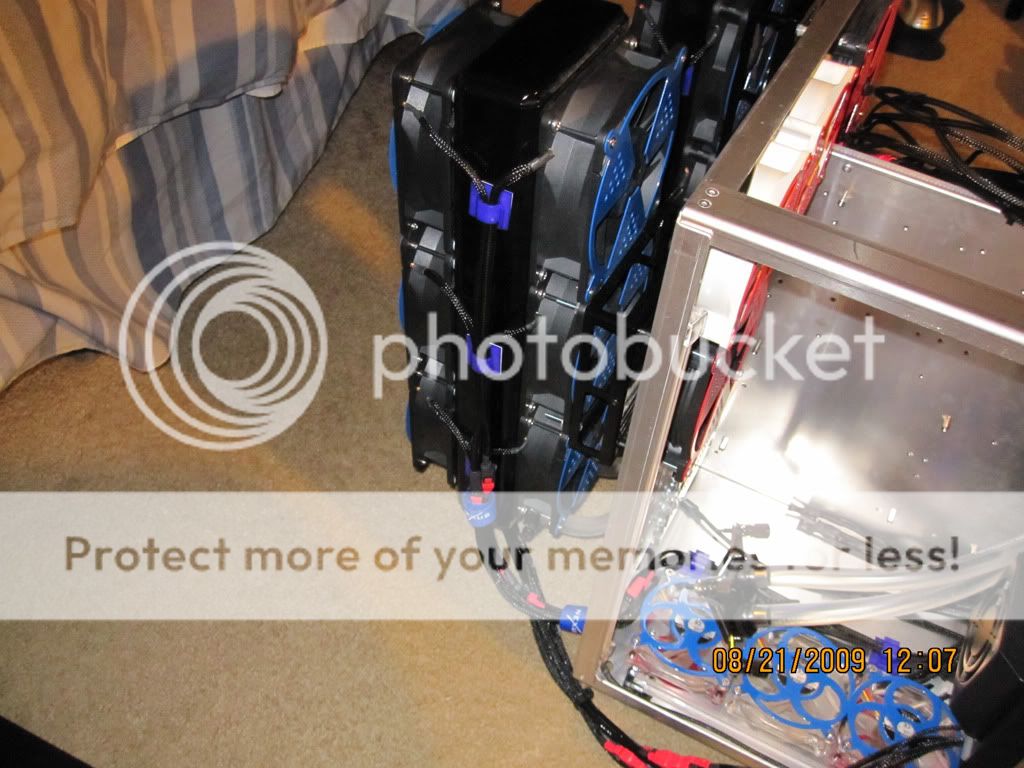
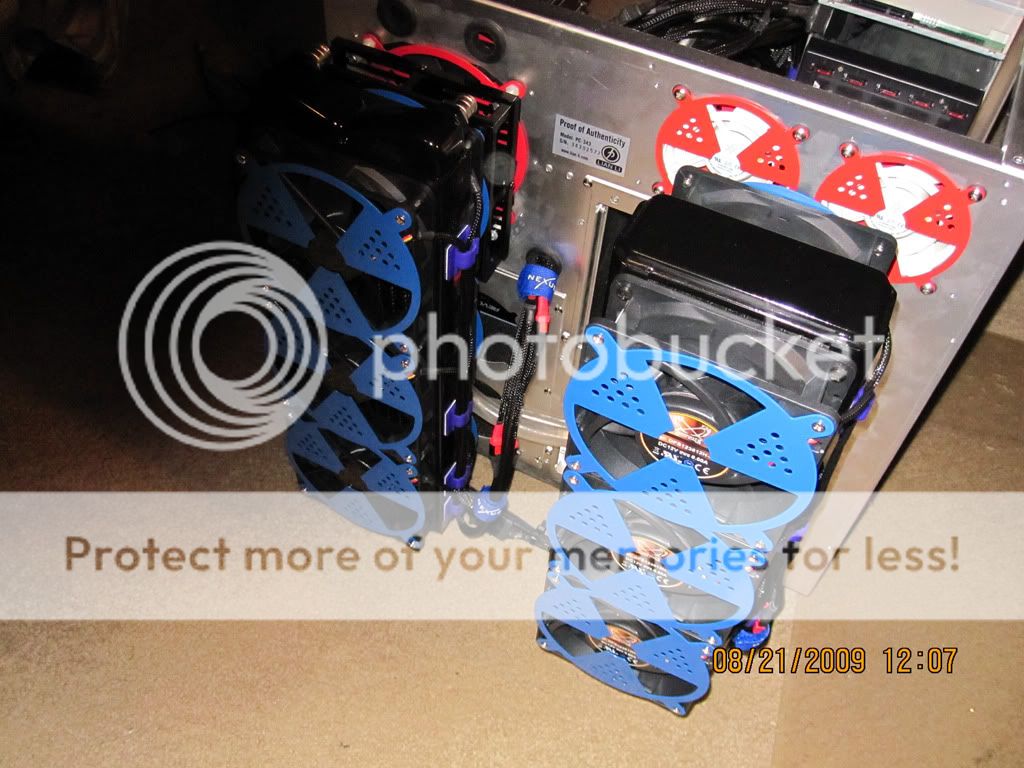
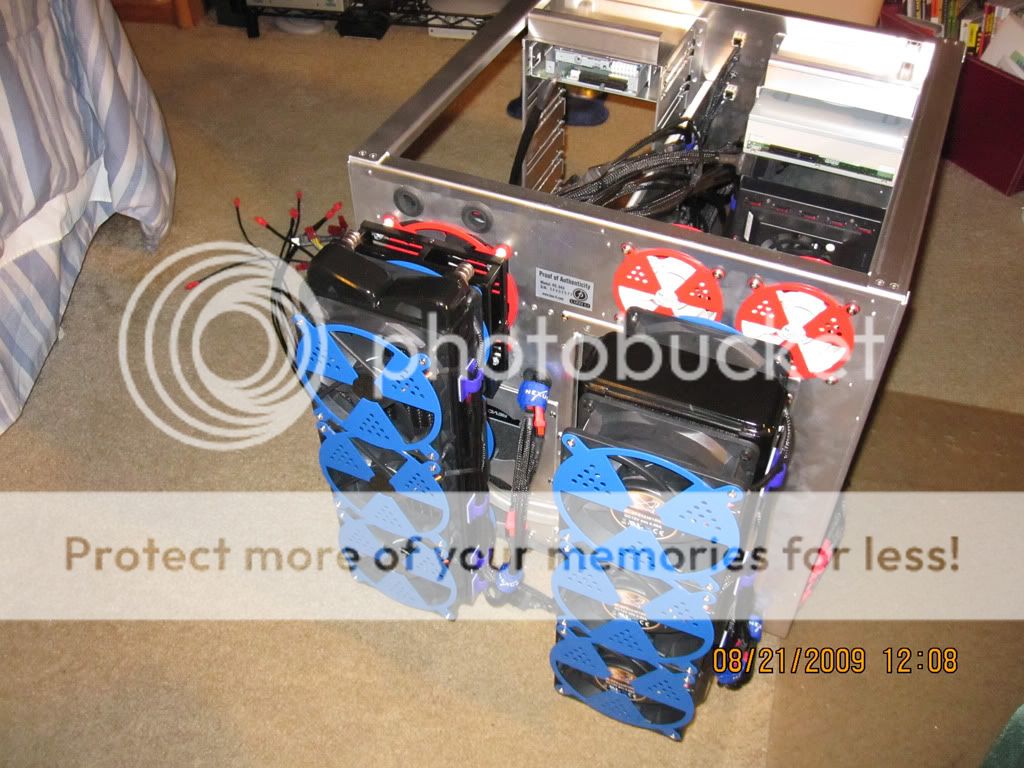
Update: Pics coming soon, unfortunately I don't have time to resize, upload etc at the moment, I am doing whatever is necessary to at least start building the thing.
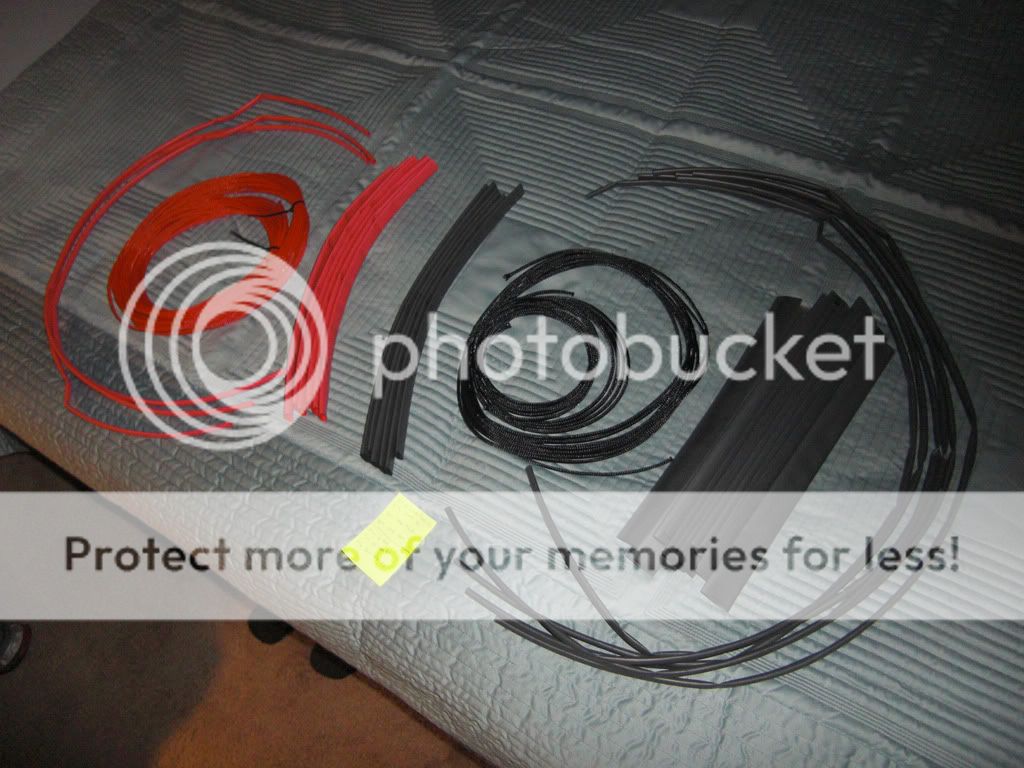
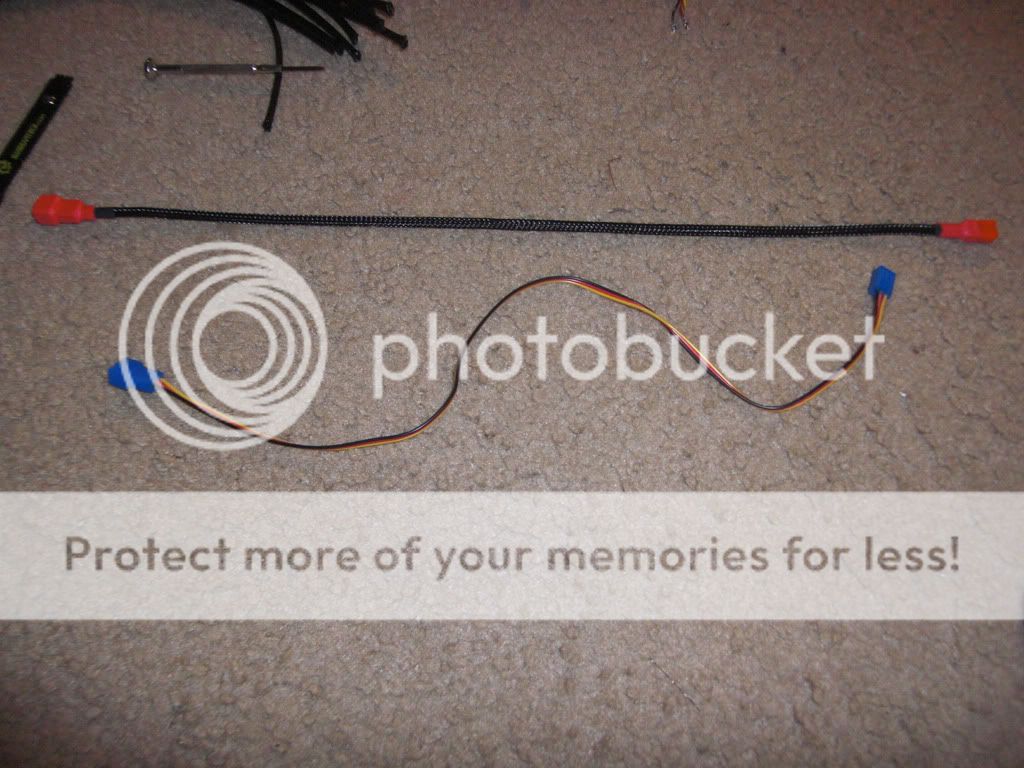
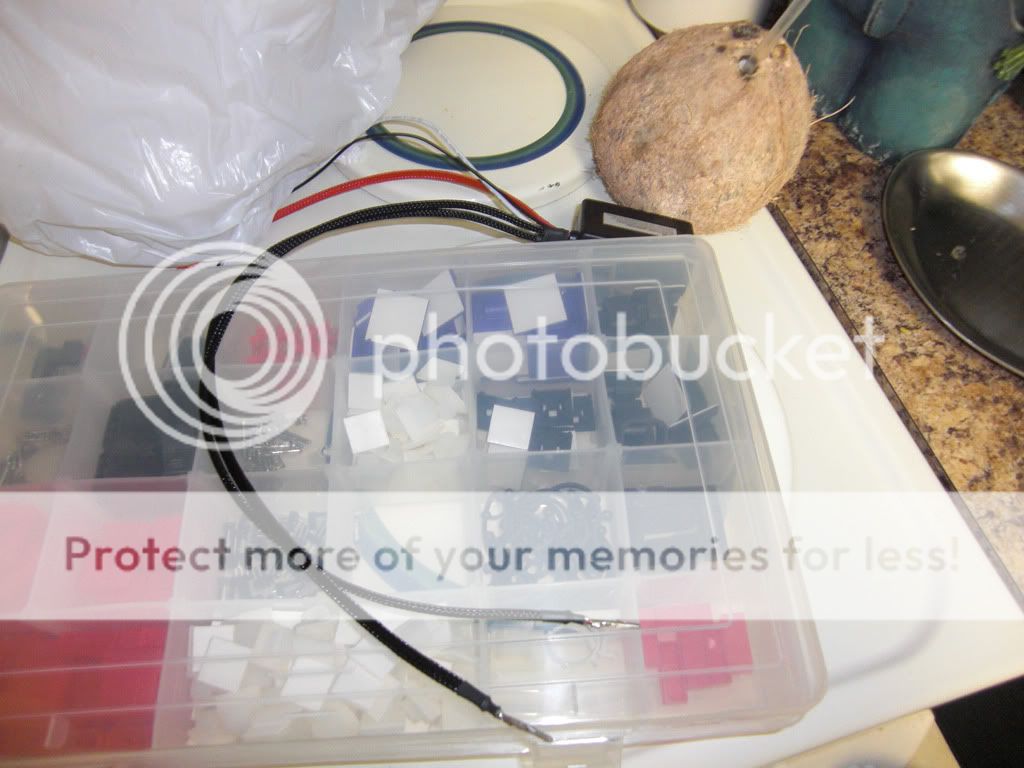
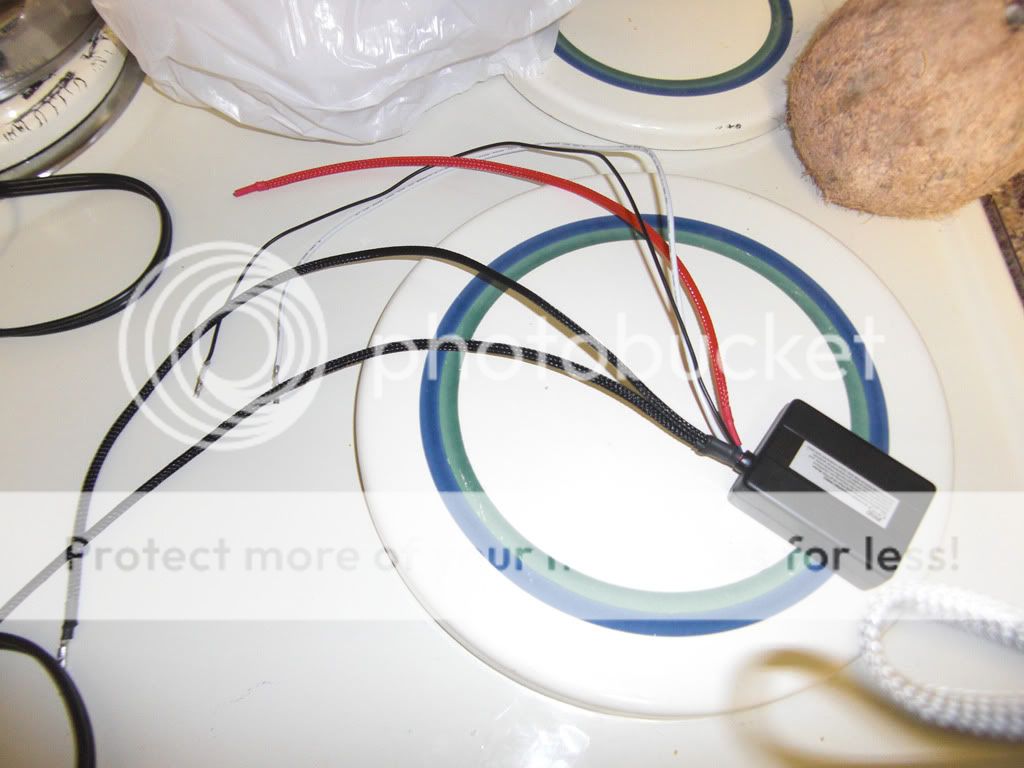
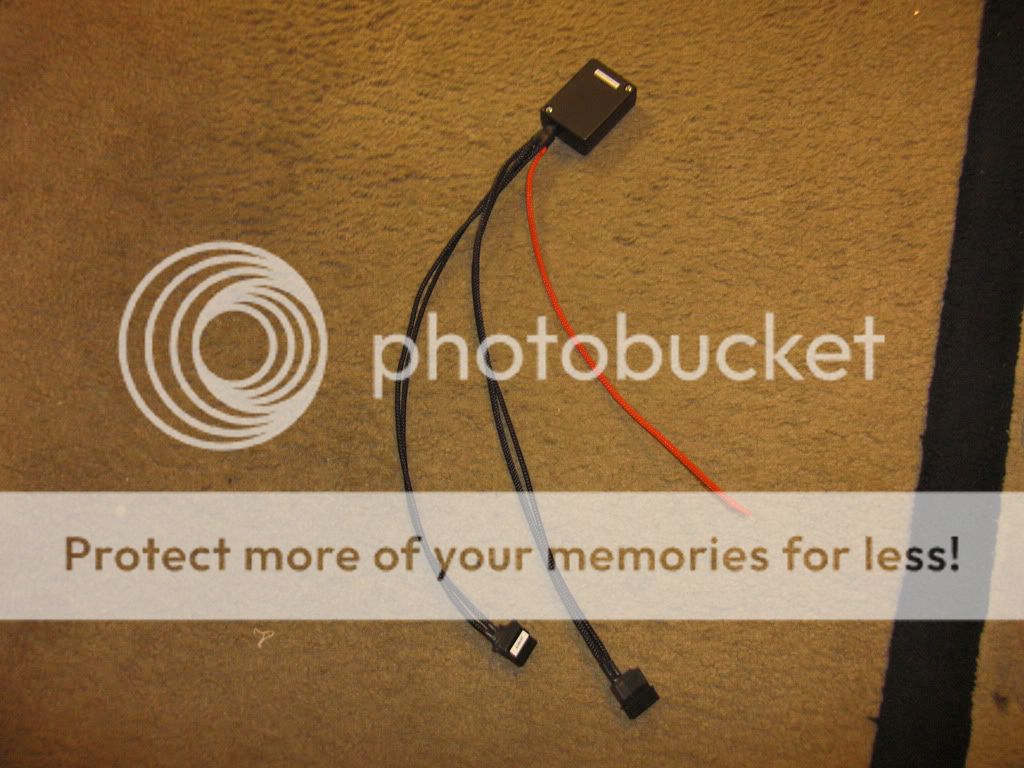
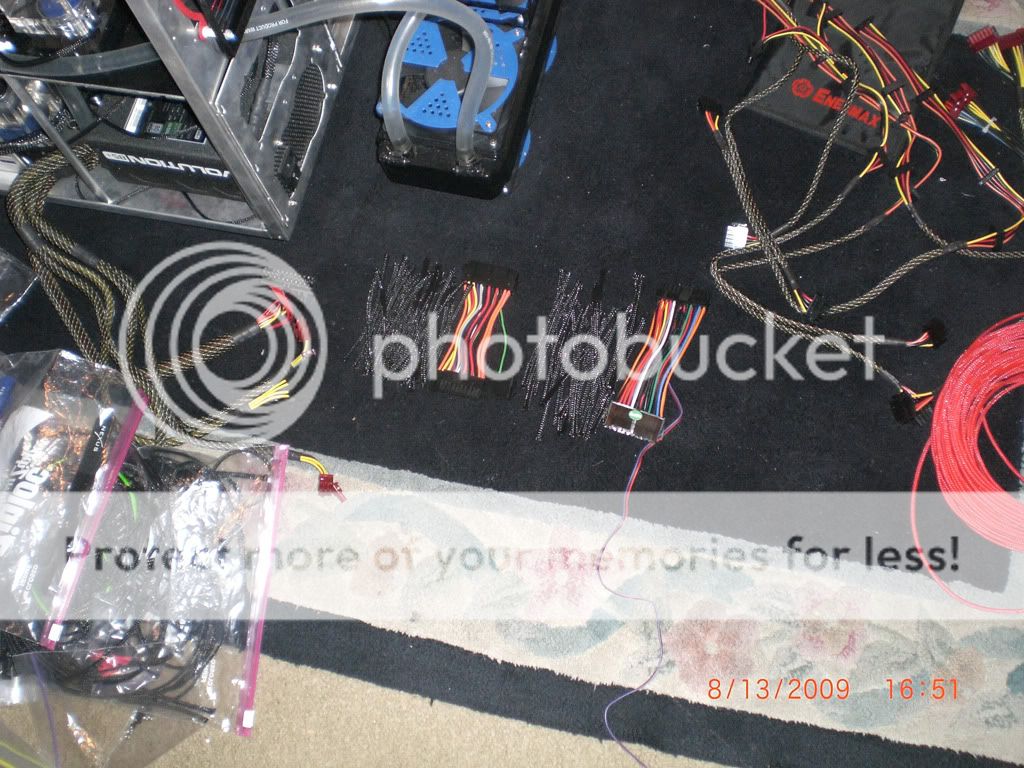
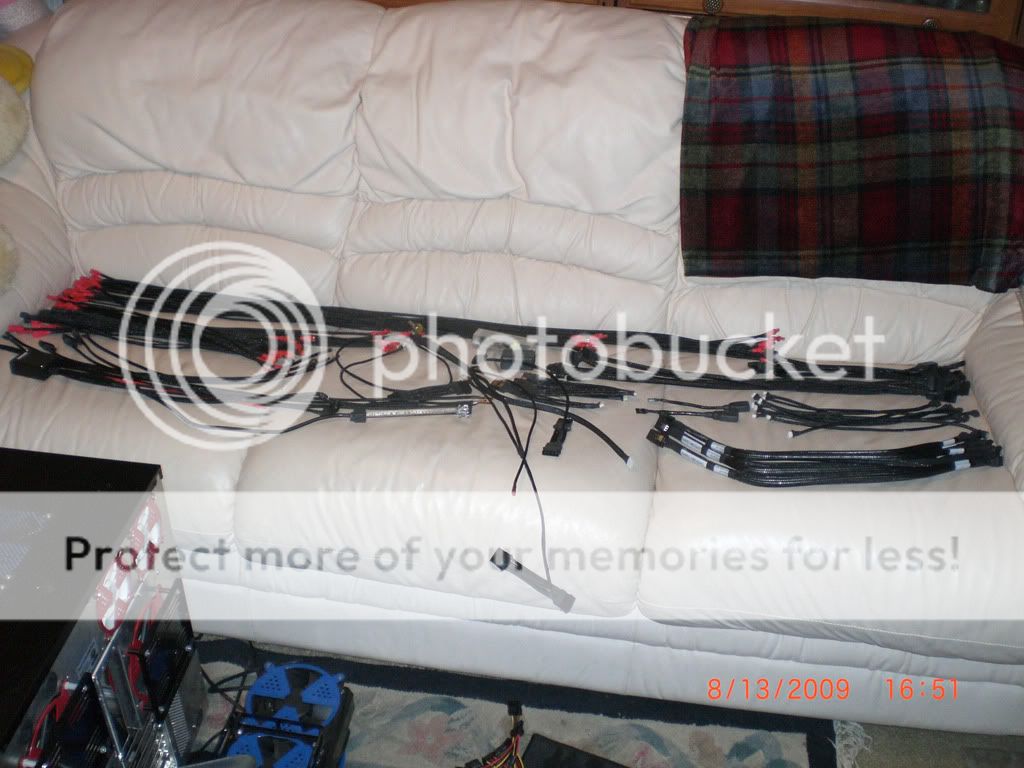
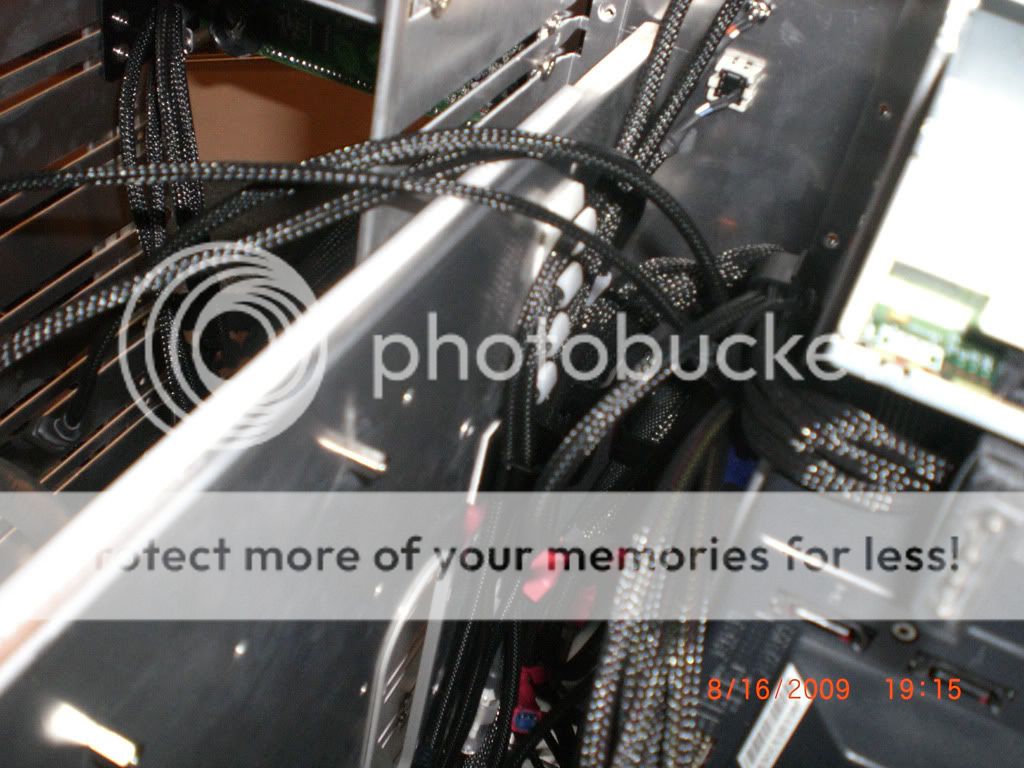
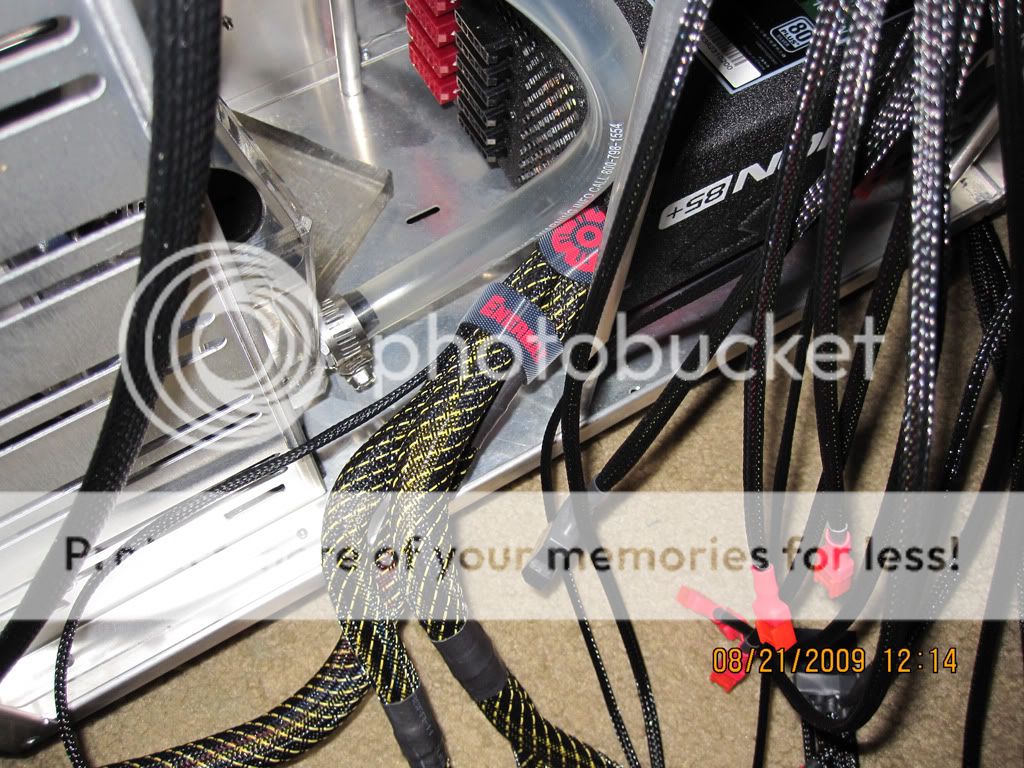
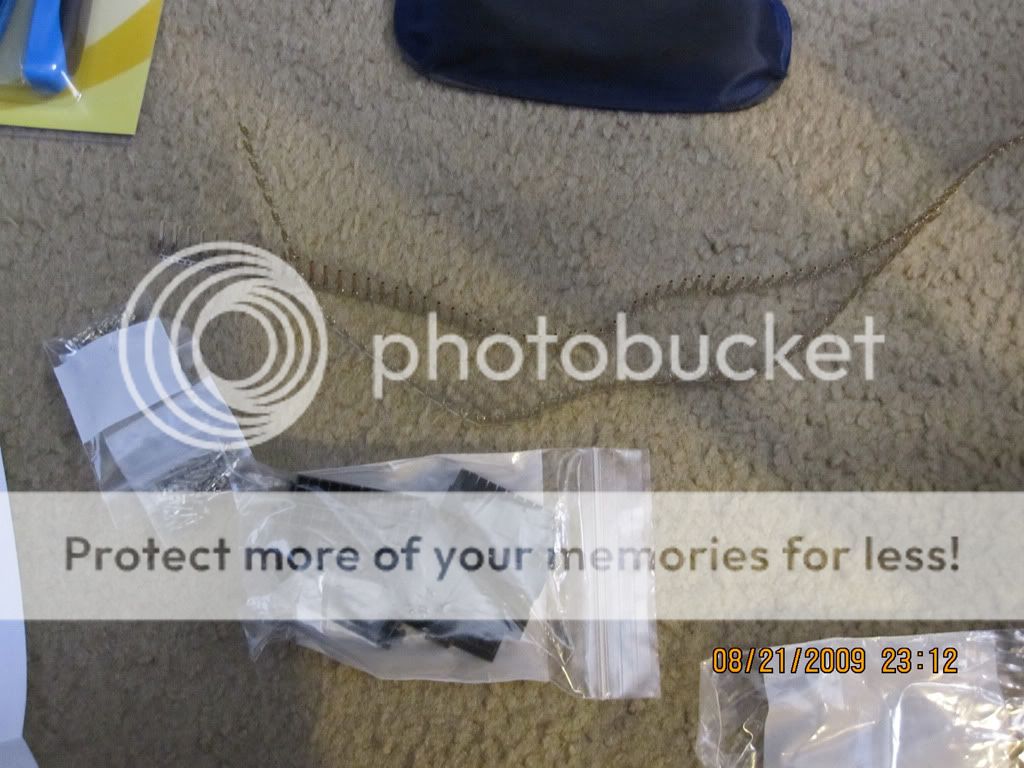
Still to sleeve:
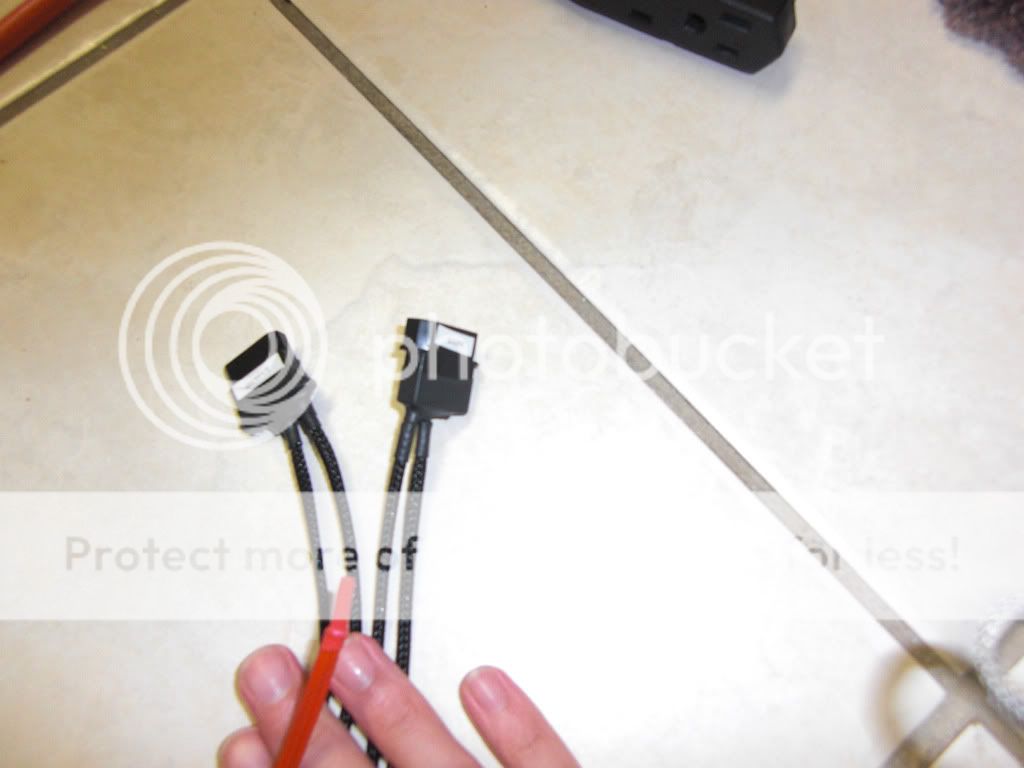
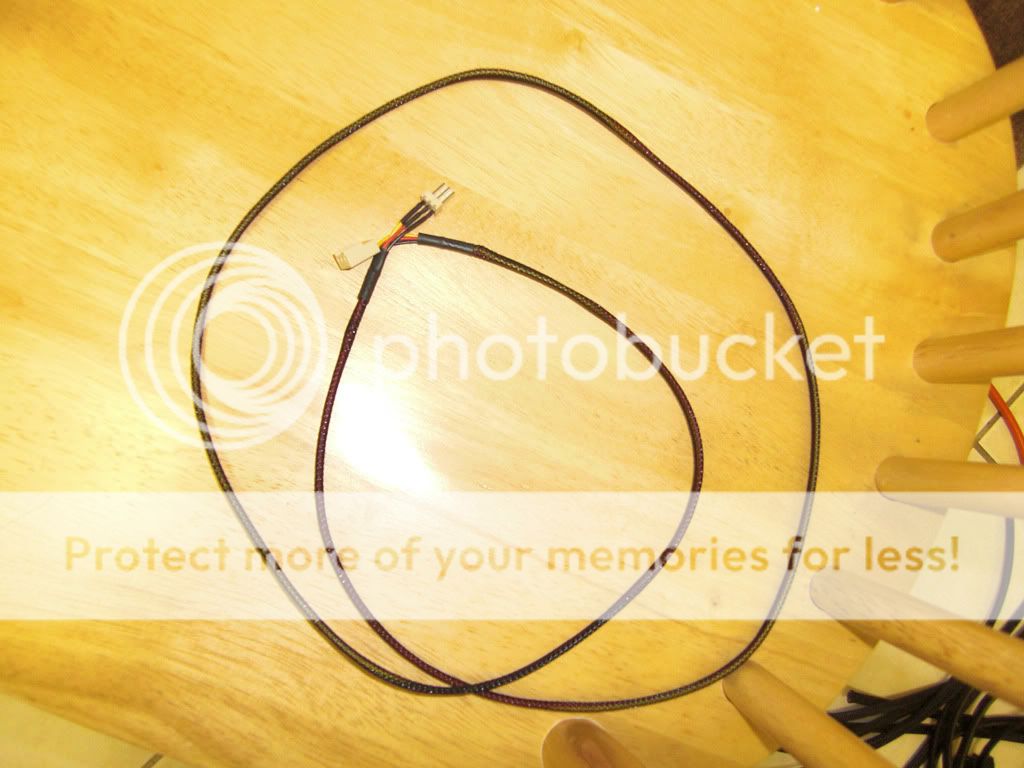
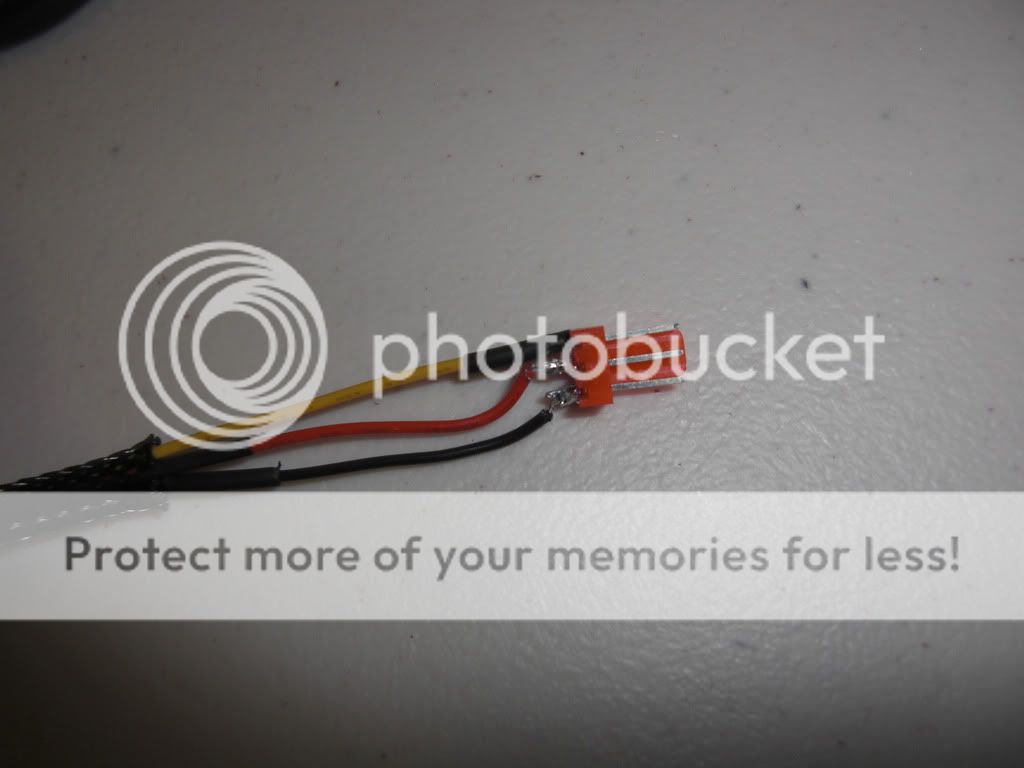
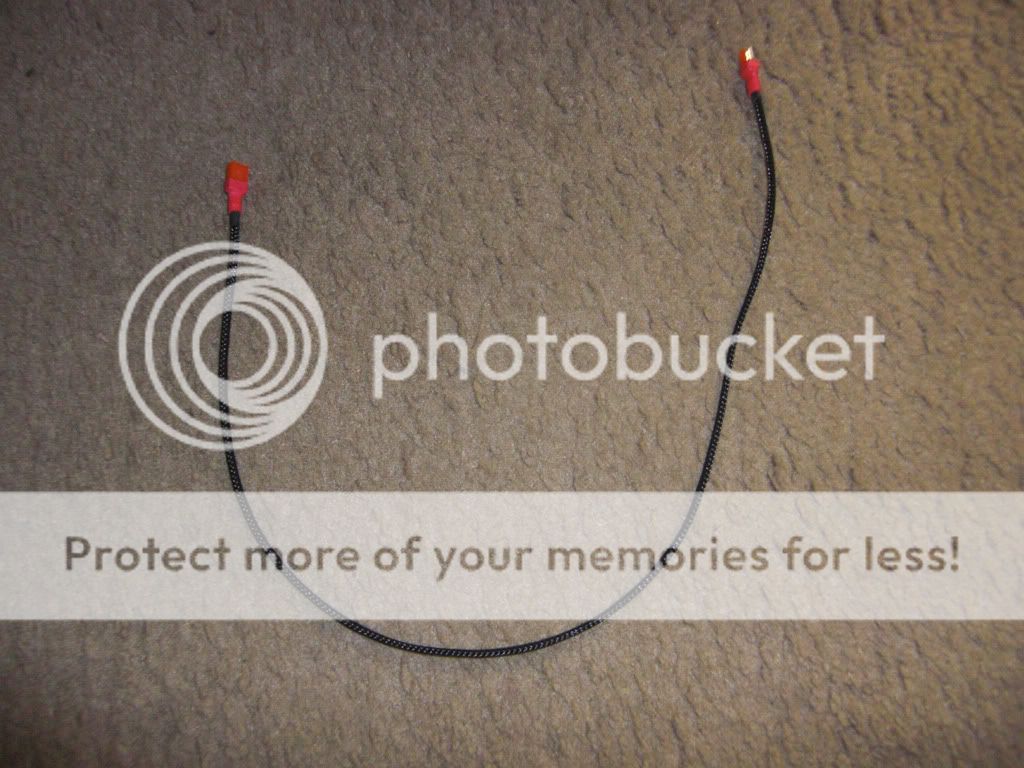
3 Pin fan extensions
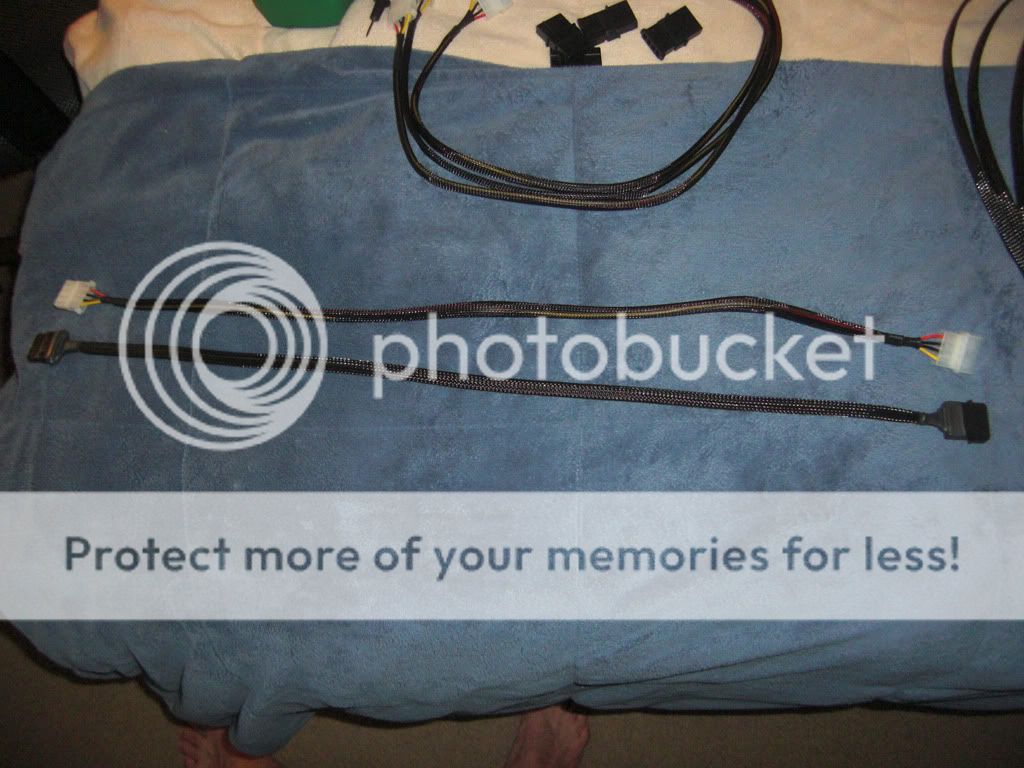
2x 24 Pin PSU extensions
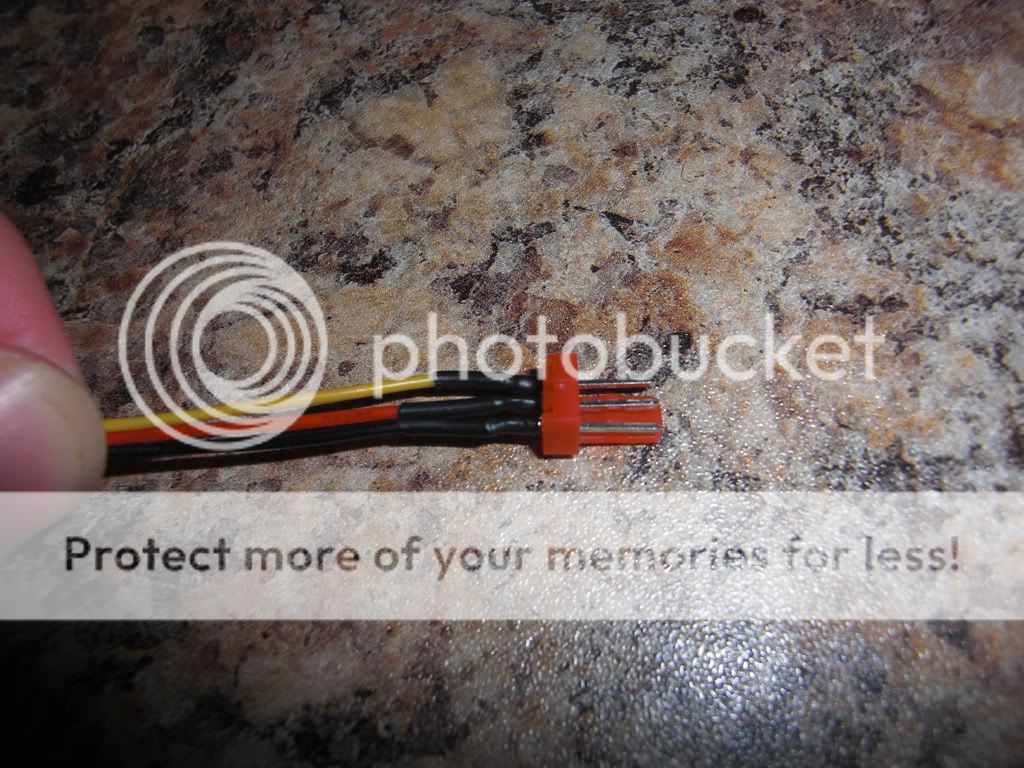
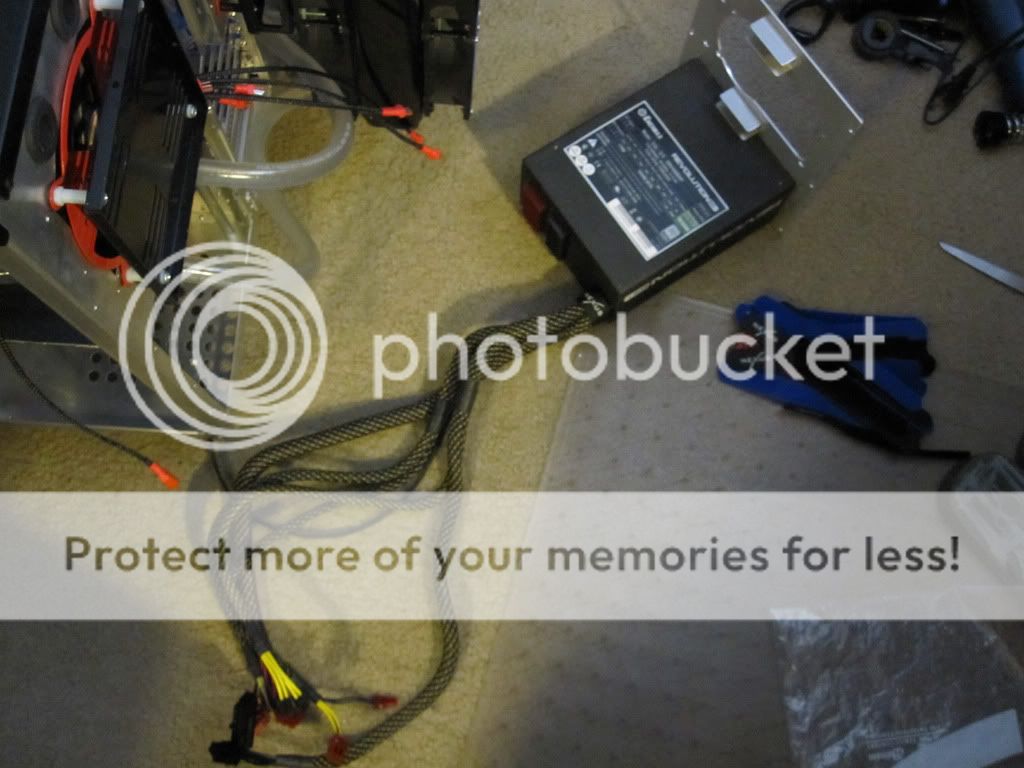
1x PSU

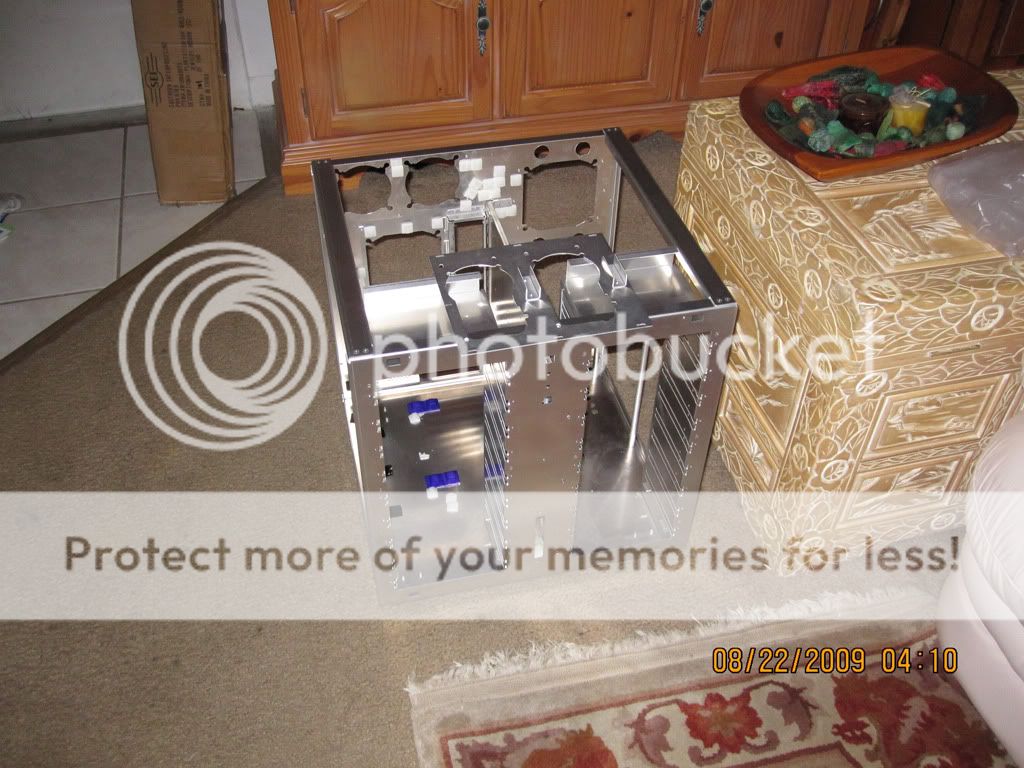
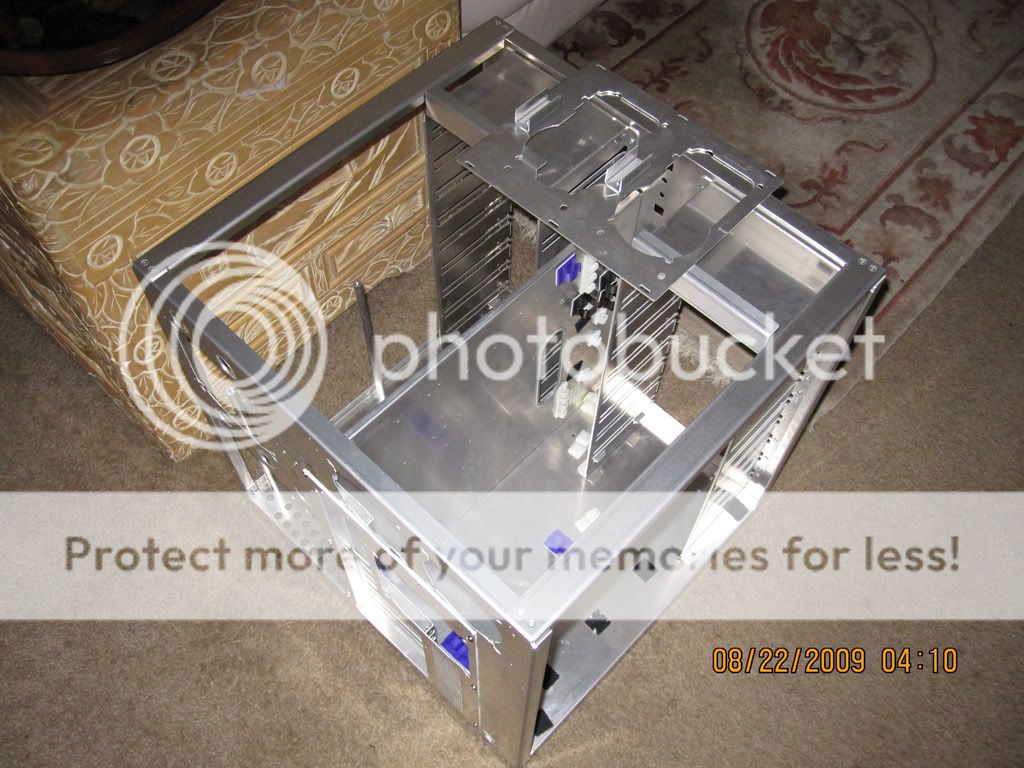
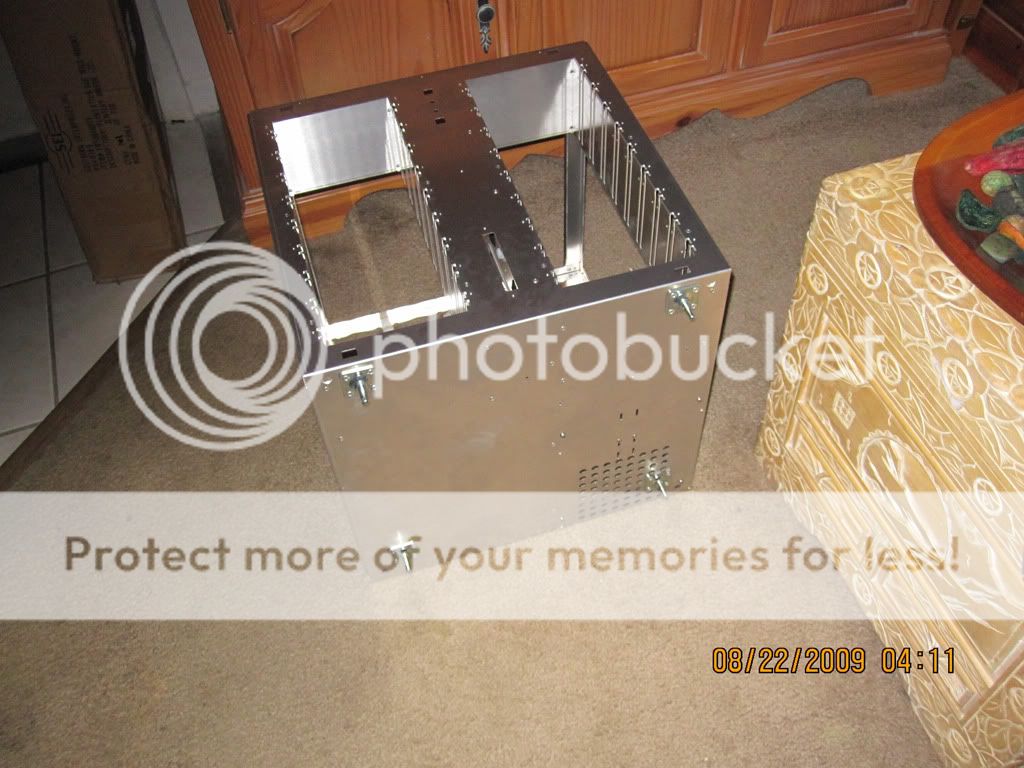
And that's it, I am aiming to build Saturday, and Sunday be on Windows 7, wish me luck, Ill try to get some pictures this weekend.

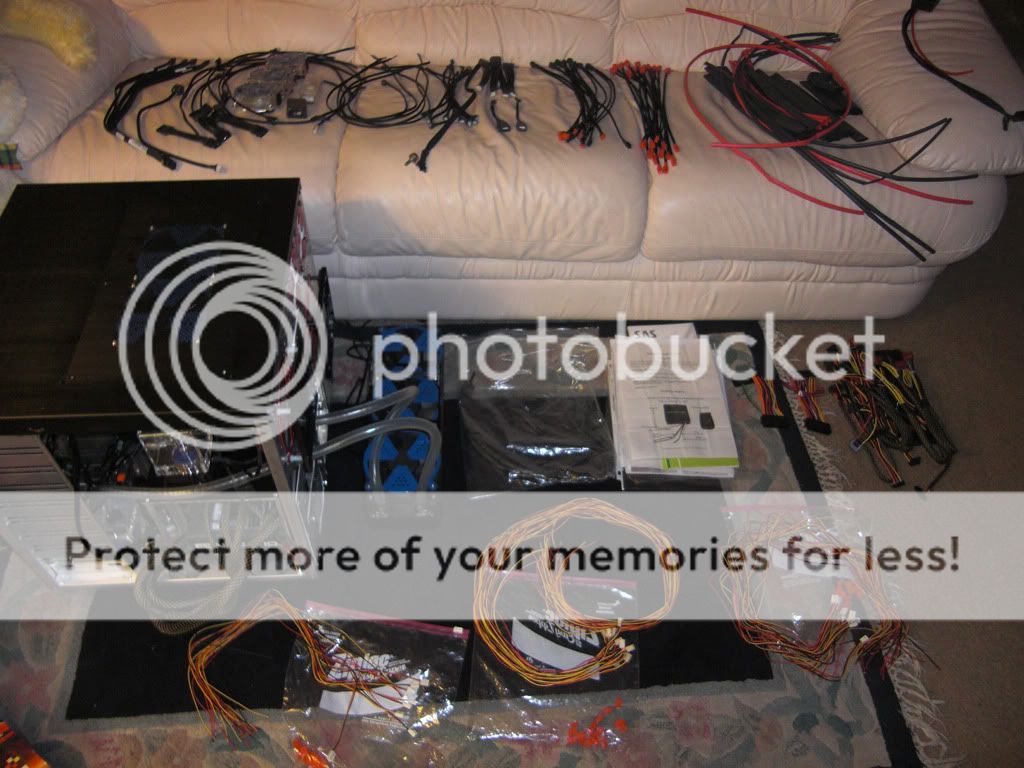
I also had to get another 165 Feet of sleeving, which HOPEFULLY, but I am pretty sure it will be the last Sleeving order I place for a while!
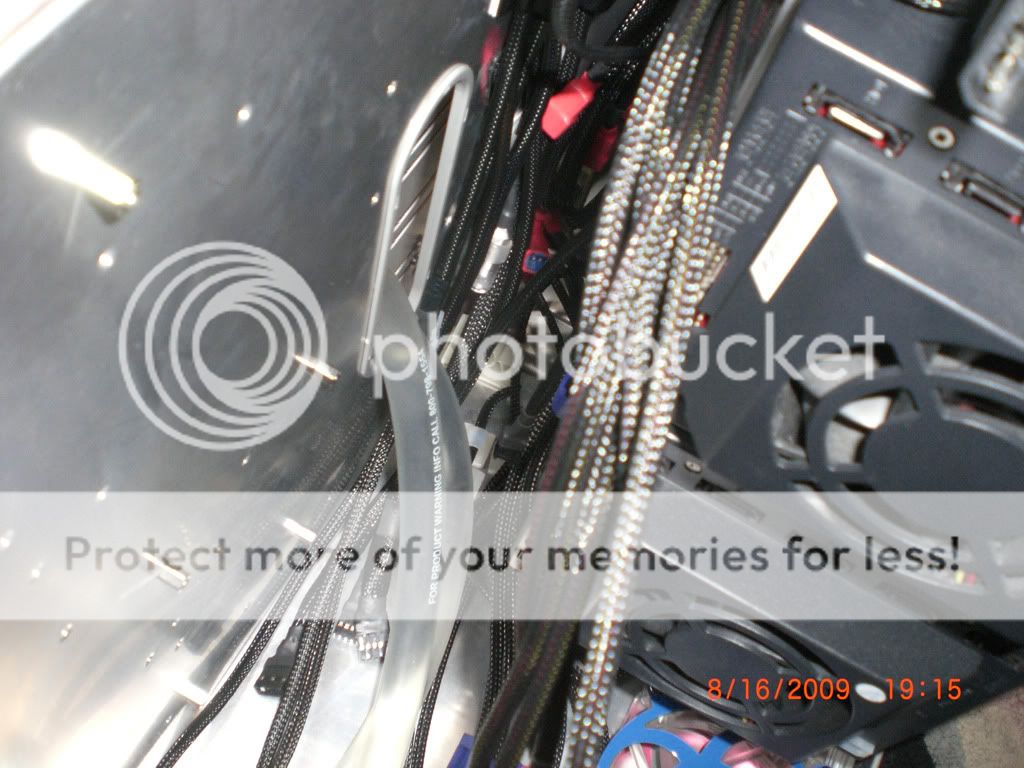
 
Update: Well I felt bad for the poor 2 people that are subscribed to this, so I formatted the pictures anyhow, so you can follow my fun. Although I am pretty weary of sleeving hehe... only thing left to arrive is the 165 ft of sleeving.

CIMG2008.jpg


This was my red sleeving and more heatshrink I needed, note the drawings Nils is famous for, as per request thats me working on my PC-343 cube ;)

CIMG2009.jpg

That's me everyday.... Sleeving....

CIMG2010.jpg

That was that order, that's both packages

CIMG2011.jpg

Here's one type of fan extension, its like always a before and after shot, since theres like 20+, maybe 30? fans in this computer, I have alot of these to do heh

CIMG2012.jpg

This is the CCFL relay, partially sleeved and my coconut, not sleeved

CIMG2013.jpg

Another shot, and coconut again, it was pretty good, but over priced not to much water in there : /

CIMG2014.jpg

More work on it

CIMG2015.jpg

Almost there, and also you can see why I take so long, I sleeve everything individually, then I sleeve as a whole etc, etc, many steps : /

CIMG2016.jpg


CIMG2017.jpg

Heres a close up of it completed, its alot more work, but I believe the results speak for themselves

CIMG2018.jpg

Here's input and output labeled

CIMG2019.jpg

Here's a stock shot of a standard sleeved 3 pin fan cable extension

CIMG2020.jpg

Took a break to reflect on whats sleeved and what needs to be sleeved, theres more sleeved stuff inside the cube, so many wires!!!

CIMG2024.jpg

After killing the previously seen cable, here it is reborn, and also with a red tip, to keep in theme, ( Watch me end up with a Blue motherboard or something, lol)

CIMG2025.jpg

Tada! Here's the New and Improved, I mean its both new and improved, thats pretty amazing

CIMG2026.jpg

Another shot, now 36 more of these to go XD

CIMG2027.jpg

Heres a shot of heatshrink, no one will ever see EVArrr! However To keep my mind at ease, and for quality, I individually heat shrank each contact point, previously they came with 1, I did all 3, which imho is more complete, not needed per say, but this whole build has not needed parts, heh!

CIMG2028.jpg

Taking a break from 3 Pin fans, Those pins love to break and make me start over :(, and did all the Molex extensions cables, here is a before and after

CIMG2029.jpg

And Tada! there's also 5 that look the same but are smaller, for things that don't need to go through the entire case

That's it for now, and onward to 3 pin fans extensions, then finally psu extensions, then PSU itself, and I am done with sleeving for PHASE 1 of this project.

This is a 2 part project, and I hope to get part 1 done by this weekend, not likely but trying.

Be back later!
 
Working on the 3 Pin Fan Extensions as we speak, I am trying to finish Phase 1,

Phase 2, will be all new hardware,

CPU, Motherboard, Ram, and another Enermax Rev85+ 1050w.

I am looking into various options, be sure to check all pages for pictures, and I will try to put a picture of how its looking this weekend.

Brief Progress History:
Originally built for the P5WD2-E Premium, that motherboard passed away, and thus changed to a P5WDH Deluxe, that opened a path into the Core 2 Quads, which a Q9550 will be the temporary processor.

Sleeving was made originally with PET, then changed to MDPC-X, all sleeving was redone that way, as the goal is to get into the MDPC database.

This computer breaks several World Records, and a few firsts, most radiators on a PC-343, first outside mounted, ie using 2 360's with 6 fans, each and a 240 with 4 fans. This computer also is to my knowledge the first PC-343 to use all Bays, no radiators were mounted on them.

I will be overclocking heavily, can't promise a World Records, as its not LN2, but I will push as far as water will go.

Thanks!
 
Last edited:
great work....I dont subscribe to worklogs...i look at all updated logs everyday. Im sure many more like me. keep it up...want to see the finished product.
 
wow dude, i can't wait to see this finished... it'll look amazing...

great work....I dont subscribe to worklogs...i look at all updated logs everyday. Im sure many more like me. keep it up...want to see the finished product.

That's great, you should chime in more, criticize even, there isn't to many comments, so sometimes I am :(, thinking no one sees it or cares, but the views remind me; and thanks for the kinds words. All I can say, its a pleasure making this and I'll do my best to make it as best as I can, and very rewarding to have it as a log.

I love looking at other people's logs, you can find my comments in there sometimes, so hopefully you guys enjoy it mine as I enjoy yours, heh!

Alright back to work for ye! And thanks! I shall now work a couple more hours into the night :).
 
Quick Update:

Nothing to terribly new, I finished all the extensions, and now just need the 2 Power Supply Extensions, and all the Power Supply and its cables to be sleeved, and then I start on the actual build.

CIMG0001.jpg

The reason the extensions take so long, is I want them to 1) quality, 2) they are opposite reversals, ie, if laid flat, there are no kinks, and the top and bottom are reversed so when I arch them, or circle them, they connect into themselves, you be surprised how much harder this makes, all customs extensions are done :). Was quite challenging, but once in a groove I was able to knock alot out, the main problems is when something goes wrong, and I have to redo the entire thing, multiple times

CIMG0002.jpg

Here's what's left the PSU extensions

CIMG0003.jpg

Here's whats sleeved, the other stuff is inside the cube already

CIMG0004.jpg

Here's the psu cables that need sleeving

I am hoping to have enough energy and determination to finish them today - tomorrow, and start the build by latest tomorrow night. And Monday finish building, and Tuesday be on Windows 7.

And that completes Phase 1 of the project.

Phase 2, is new hardware, also I could use some suggestions on Phase 2.

I am thinking of adding accent LED's, and using Metal Polish and making the inside reflective, need ideas! I can't powder coat it myself, so need ideas I can do at home. Also not to keen on painting the insides with normal paint.

Alright Talk to you later.
 
Anyone have any suggestions on opening the male pins of the sleeves, the female ones I opened, albeit it was really difficult, but the male do not want to come out.

Also in case one of the pins break, anyone know where I could pick up replacements? Thanks!

Pics!

CIMG0001-1.jpg


CIMG0002-1.jpg


CIMG0003-1.jpg


CIMG0004-1.jpg


CIMG0005.jpg
 
to get the male pins you need an ATX pin tool (molex preferred) - i see you order from Nils as well :p

holding the cable like this pic: (sorry to use yours)

http://i553.photobucket.com/albums/j...CIMG0001-1.jpg

take the pin tool & hold it the same way you did w/ for the female pins & insert it in the same fashion you did for the female pins - there are small retention clips on either side of the pin that hold it in place (just like the female ones)

here is what the clip looks like (from PPCS)
http://www.performance-pcs.com/cata...ge_scroll&products_id=20864&image_scroll_id=0


here is where to get the female pins:

(packs of 4 pins)
http://www.performance-pcs.com/catalog/index.php?main_page=product_info&cPath=174&products_id=1414

(packs of 24 for a little savings)
http://www.performance-pcs.com/catalog/index.php?main_page=product_info&cPath=174&products_id=1418

& here are the male pins

http://www.performance-pcs.com/catalog/index.php?main_page=product_info&cPath=174&products_id=20864

i personally make all my own cables - they end up far more lush & lay the way you want them to. good luck w/ the rest of the sleeving :)
 
Good to know, and cool build yourself Prada :), the picture isn't showing up, can you repost. And thanks!
to get the male pins you need an ATX pin tool (molex preferred) - i see you order from Nils as well :p

holding the cable like this pic: (sorry to use yours)

http://i553.photobucket.com/albums/j...CIMG0001-1.jpg

take the pin tool & hold it the same way you did w/ for the female pins & insert it in the same fashion you did for the female pins - there are small retention clips on either side of the pin that hold it in place (just like the female ones)

here is what the clip looks like (from PPCS)
http://www.performance-pcs.com/cata...ge_scroll&products_id=20864&image_scroll_id=0


here is where to get the female pins:

(packs of 4 pins)
http://www.performance-pcs.com/catalog/index.php?main_page=product_info&cPath=174&products_id=1414

(packs of 24 for a little savings)
http://www.performance-pcs.com/catalog/index.php?main_page=product_info&cPath=174&products_id=1418

& here are the male pins

http://www.performance-pcs.com/catalog/index.php?main_page=product_info&cPath=174&products_id=20864

i personally make all my own cables - they end up far more lush & lay the way you want them to. good luck w/ the rest of the sleeving :)
 
i was using your pic of the 24pin, but it apparently did not appear :confused:

here is one of mine

100_5707.jpg


holding the cable/connector in the above orientation, insert the pin tool the same way you did w/ the female pins. while pushing the cable toward the connector push the tool it the pin end in till it goes into the groves of the connector (review the pic from PPCS to see how the pin looks & what you need to get the tool past on the pin) & pull the pin out (same as the female pins)

hope this helps :)

It does, and I was able to remove one, unfortunately my tool broke on the other, back to the drawing board :(
 
pssst... are you using the macro function of your camera?

Sometimes, and mostly no.... I thought these digital cameras would be smart on their own :D. I need to apparently. Although in the past it used to come out better, even without macros!

Photography = fail.
 
Wow, the cube is pretty small actually, I guess having 30+ fans wasn't the brighest idea haha, its working, man its alot of work, I can't route as well as I would like, because theres only so much physical space, but overall its coming out good, Ill post soon.
 
Quick Update:

Thanks for Enermax for helping me out with some cabling!

Nothing terribly exciting, and keep in mind this is a test cabling run, I am going to remove everything and tidy, but man theres alot of wires haha.

Also I got a new camera, so next update will feature pictures from it :), and Ill attempt to take better pictures haha.

CIMG0006.jpg

This is the Veris FVD, cable it runs on 24 pins to the mobo, so I can remotely boot the computer, its just acts like a relay

CIMG0007.jpg

Dual power supply cable, this and veris are all that needs to be sleeved

CIMG0008.jpg

Another full shot, funny story while a bit angry, I melted this cable, heh! Couldn't get the pins out and thus yea...... bad idea, but it works heh!

CIMG0009.jpg

Top Radiator, with fan wires attached to the side

CIMG0010.jpg

Back Fans wired and routed

CIMG0011.jpg

Better shot at the routing

CIMG0012.jpg

Back side and adding fan extensions

CIMG0013.jpg

Everything is routed through the middle

CIMG0014.jpg

To many cables, though in a practical sense you can't see them

CIMG0015.jpg

Side where Motherboard stays, this is basically what will be visible, and with window you can't see any of the cabling period

CIMG0016.jpg

See what I mean ;p, everything is routed so I can pull and tug it a little, so I have some leway

CIMG0017.jpg

This part needs to be redone, so its more feasible, working on that as we speak, or read, you know what I mean ;)

CIMG0018.jpg

Back of cube

CIMG0019.jpg

Welcome to my nightmare ;)
 
Quick Update:

Thanks for Enermax for helping me out with some cabling!

Nothing terribly exciting, and keep in mind this is a test cabling run, I am going to remove everything and tidy, but man theres alot of wires haha.

Also I got a new camera, so next update will feature pictures from it :), and Ill attempt to take better pictures haha.

This build is awesome. Whats funny is my girlfriend just saw how many fans you had and about died. She thought I had to many (10), compared to your 24ish mine look like nothing :D
 
This build is awesome. Whats funny is my girlfriend just saw how many fans you had and about died. She thought I had to many (10), compared to your 24ish mine look like nothing :D

Hehe thanks, and yea,

19 120mm fans,
5 80mm fans
1 140 mm fan (PSU)
2 internal 80mm fan (Athena Power Bays)
(1 more eventual 140mm fan, from PSU #2)
(1 40mm from Areca Card) I may water cool it though... eventually

Graphics Cards etc will be water cooled, so thats 29 total technically, there was 1 more somewhere that I forget haha.
 
Alright guys I am in deep need of assistance,

Its well known that the Lian Li cube has one weakness the bay screws. I can't for the life of me, tighten some of the side screws, I will post a picture later. If your a Lian Li PC 343B owner you know what I am talking about.

I could remedy this by removing the motherboard tray, does anyone know a good method to change rivets into screws, because then I could screw down the motherboard tray, remove it, tighten, and place it back.

Why they didn't do this to begin with? Why rivets :(.
 
Alrighty guys, good news is, everything will fit, as I had preplanned,

... Bad news is...

I started over, I took the entire cube apart, and damn getting those wheels off were hard. Good thing I been working out, because it took many many pulls, with all my strength to get them out.

I will be powder coating it, this is all because the motherboard tray isn't removable and after fijiting with it, for 3 hours, I said to myself, we need to mod this. It just doesn't make sense.

Anyhow Now I am organizing everything, making a list of what needs to be powder coated, and will be back with pics, and a red cube, haha.
 
Update: Preparing for the rebuild: Meanwhile I am reorganizing again, and will start sleeving the psu extensions, so I won't be idle. I still want to wrap up Phase 1, by latest Next Sunday. Wish me luck.

Also hopefully the pictures are better :).

IMG_0011.jpg

Preparing the PSU

IMG_0012.jpg

Finally both Radiators are mounted! (that didn't last long)

IMG_0013.jpg

Organize wiring, had all the wiring passed, and despite space, came out pretty good, but I wasn't satisfied, and that motherboard tray was really ticking me off

IMG_0014.jpg

Shot of the inside

IMG_0015.jpg

Took off the roof to work better (why didn't I think of this before beats me, Live and Learn!)

IMG_0016.jpg

The Idea here is good, but execution is so so, this is the area I wan't to improve the most, now that the case is naked, I have better access and ideas

IMG_0017.jpg

Top view of the dual 360's on the back, its a long case, no lan parties for this guy : /

IMG_0018.jpg

Neatly wired back, this part will basically remain the same, I like how it came out

IMG_0019.jpg

Quick Picture of the back, my table is blocking the light

IMG_0020.jpg

Better picture of the above

IMG_0021.jpg

Making the Power Supply Cables pretty, up to this part, I had not decided to powerder coat it yet...

IMG_0022.jpg

Quick picture of the front as I am looking where can I drill the rivets, I am uber annoyed at this point ;)

IMG_0023.jpg

Yea this isn't going to work, on the right side, wheres theres all the wire organizers, theres horrid but useable space to tighten the screws, but on the left side, its hopeless, at this point I knew I had to do something, and at least I proved my proof of concept, unfortunately now I have to tear everything apart and start over.

IMG_0024.jpg

Meanwhile my army of PSU pins have arrived, just in case I get angry ;)

IMG_0025.jpg

My naked cube!

IMG_0026.jpg

All that is left to remove is the plastic wire organizers, I am pretty tired at this point

IMG_0027.jpg

Top view of the bare aluminum

IMG_0028.jpg

It was a huge pain to remove those wheels, I gave it all I got, and at least it was enough, but doesn't change the fact that it was uber hard.

And thats it, hopefully monday or tuesday Ill get it coated, and continue the madness, be back soon!
 
wow, what a pain in the ass dude. good luck with the powder coating and everything else...
 
wow, what a pain in the ass dude. good luck with the powder coating and everything else...

Thanks, still organizing, however the cube does now have a removable Motherboard tray :D.

I wonder if I still have warranty on this case... :confused: :eek: ;) :rolleyes:
 
To Powder List:
1. Lian Li PC-343B Chassis
1.1. Color: Red
1.2. Lian Li Thumb Screws: 4x Black
2. Lian Li Motherboard Tray
2.1. Color: Red
2.2. 8-32 Bolt Screws: 16x Black
3. Power Supply Tray
3.1. Color: Black
4. Dual Power Supply Tray
4.1. Color: Black
5. Motherboard I/O Panel
5.1. Color: Black
6. Power Supply Track
6.1. Color: Black
6.1.1. Screws: 2x Black
7. Aluminum Rods
7.1. Color: Black
7.1.1. Screws: 8x Black
8. Bay Devices
8.1. Optical Media
8.2. Zalman Fan Controller #1
8.3. Athena Power 5 HDD Bay #1
8.4. Athena Power 5 HDD Bay #2
8.5. Zalman Fan Controller #2
8.6. Floppy/Solid State Media Reader
8.7. Zalman Fan Controller #3
8.8. Lian Li LCD Fan Controller
8.9. Veris VFD
9.0. Kama Bay: 120mm Fan
10. Zalman Fan Controller #4
9. Water Cooling
360 Radiator Fat
360 Radiator Slim
240 Radiator
Top Mod 355
Fans
Motherboard IO
Pump Platform

Was better organized before, but ran out of time, its in the shop waiting to be painted ;), most likely by this weekend it will be red and black
 
][V][AGIC;1034545615 said:
Ide, lose the fan grills. They look like they'd kill your airflow.

From what I tested, they haven't had (Fan Grills) a noticeable negative impact, when I test ran it, temperatures were very low, but It is something I will be looking at constantly ;).
 
Can you post a close up of the red connectors that are on the PSU wires. Where did you get the 24 block for the main power connector?
 
Can you post a close up of the red connectors that are on the PSU wires. Where did you get the 24 block for the main power connector?

Sure, though the computer is disassembled, I can take pictures of the psu if you like.

Theres a slight delay, and it has to be powder coated next week or so :(. But its going!

The red connector actually came with the Power Supply, and its made of a real nice material. Trust me, I wanted a few, unfortunately its OEM to Enermax and its all in their factories, so you can't just order it. I tried haha... :) You could always buy Enermax PSU, and mention you saw them here ;), that way I can bug them to try out stuff, or possibly if they would sell those connectors etc.
 
waiting on the shop for a few things, and to finalize price, its pretty expensive to powdercoat one item. I also have to completely dismantle the cube, even the sides and floor, so unfortunately it will take a bit longer than I anticipated, I'd imagine around this weekend or early next week I can update again, wish me luck!
 
In the end the finished product is always worth the pain....but it still hurts when your in the middle of it :)
 
^ Tell me about it!

Anyhow a slight delay on the painting, It will be resolved mid next week, and I expect by around Friday for it to be painted, I'll keep you posted :)
 
Updated First page to be a little more professional, will do more tweaks as we go along :).

Posts with pictures compilation:
http://www.hardforum.com/showpost.php?p=1033999857&postcount=4

http://www.hardforum.com/showpost.php?p=1034067954&postcount=11

http://www.hardforum.com/showpost.php?p=1034078431&postcount=13

http://www.hardforum.com/showpost.php?p=1034249411&postcount=23

http://www.hardforum.com/showpost.php?p=1034336909&postcount=27

http://www.hardforum.com/showpost.php?p=1034343807&postcount=32

http://www.hardforum.com/showpost.php?p=1034357546&postcount=33

http://www.hardforum.com/showpost.php?p=1034405442&postcount=37

http://www.hardforum.com/showpost.php?p=1034445982&postcount=42

http://www.hardforum.com/showpost.php?p=1034488405&postcount=48

http://www.hardforum.com/showpost.php?p=1034490999&postcount=49

http://www.hardforum.com/showpost.php?p=1034512021&postcount=57

http://www.hardforum.com/showpost.php?p=1034519595&postcount=63

As per sponsor request, I am expanding my build logs to various forums.
And this is my expansion greeting ;)

Greetings, My name is Phillip aka. PC1X1, and for the past few months I been working on my build log. While I originally planned to expand my build log to various forums across the net, I first thought on focusing my attention to a single forum to simply get the hang of this. This is my first build log, and hence its been a learning experience. I am now confident and per request am now amping up to spread the cube across the intertubes. Anyhow the build log is still ongoing, and is being rebuilt, so expect alot of new posts. I will be posting in several forums, so feel free to pick and choose your favorite. I will be checking each one, and will reply to any questions on that forum. If your nice enough to help, or provide insight or criticism, I will add you to the Thanks List. Anyhow right now I am working on *Improving the build any way possible, and also will be working harder to get the pictures to be better. I have a new camera, and am now practicing the angles, lighting etc, to provide the best clarity possible. I been a member of a few forums, and lurked in many in the past as well. I apologize for the genericness of this message, as its part of the standardizing of the build log, but rest assured, each forum, I will research, and look for information on making my cube better. Overall I hope you guys welcome Sestren into your community, and I will do my best to make it as good as possible. Thank you very much, and I hope to be a productive member of your community. Thanks!!

*keep in mind, these posts are retroactive, and image quality and build quality are improving :). Its a learning experience! Thanks again.

Also I have read the rules and terms of each forum, however since I am posting in multiple places, I may make a mistake, as each forum has its own individual set of rules, ie picture size, etc. Please let me know kindly and I will fix it, though odds are everything is fine, I hope hehe :).

This build log as been optimized for a 1024x768 resolution and is Netbook and Phone friendly.

- PC1X1

first post:

That's it for now, please keep in mind that all posts prior to this one are retroactive, and merely posted so you guys have an idea whats going on. Going forward individual attention to the forum will be taken, and things will make more sense, also if I quote you on anything, I will put a forum tag where you are from, ie like my Thanks section, thanks and feel free to provide feedback. My Greetings post is in post 1-2. Thanks again, its with feedback, and the power of the community that urges me on, its alot of work heh!


After reading each forums, Rules and Regulations, here are the possible conflicts with formatting, this is a standardization attempt, so if you notice anything not complying to the rules, please let me know.

Rules and Compliance:
My build log is formatted at to be readable at a 1024x768 or higher. In an attempt to deliver the best pictures possible, everything is as high resolution as possible, and formatted for web use. Below are notes on what forums guidelines may contradict in the way this build log is formatted, and I will change and comply to each forums rules, or ask for an exception whenever possible. If you see any rules I may have skipped and that this build log may be violating, please let me know, and I will be glad to change it to a compliant format. Thanks!

Limitation Notes:
HardForum.com: None
Overclock.net: None
Bit-Tech.net: Name/Date Title (under 70 Chars), 640x480 Res Limit, Mod PM'ed for clarification.
Gideontech.com: None
Modders-inc.com: None
Extremeoverclocking.com: None
3dgameman.com: None
Themodbrothers.com: 800x600 Res Limit, Mod PM'ed for clarification.
Tech-forums.net: None
XtremeSystems.org: None
 
Last edited:
Post #76 Updated, Web Infection complete, now just to make sure I follow the rules on all forums ;), and we are set.

Since this was my first worklog, I'll update here first, so you guys get that treat 8P. hehe... Or the first sloopy post, while everyone gets the refined edition lol!
 
Woooooooooo!!!!!!!! I surpassed the Rules in views hahahaha!

Ok man formating is alot of work, ok Ill be back now with actual updates this week :). Enjoy your labor day weekend everyone!
 
Back
Top