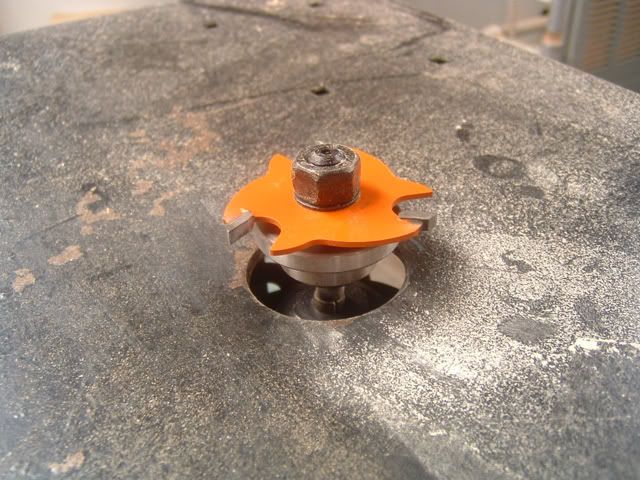
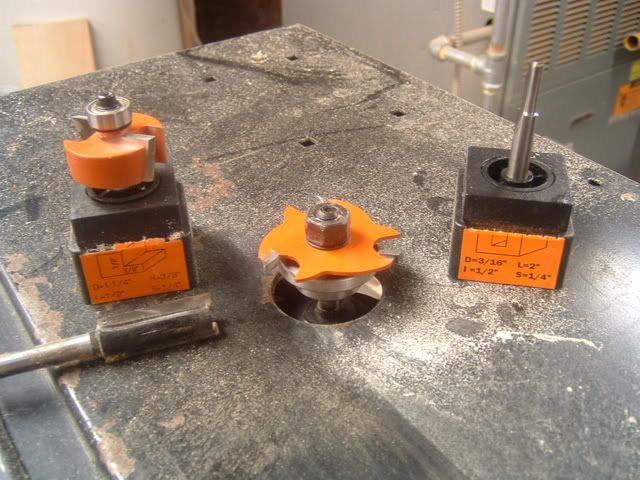
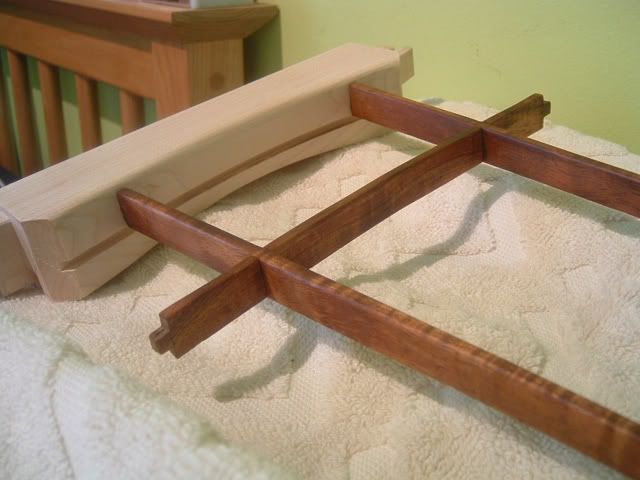
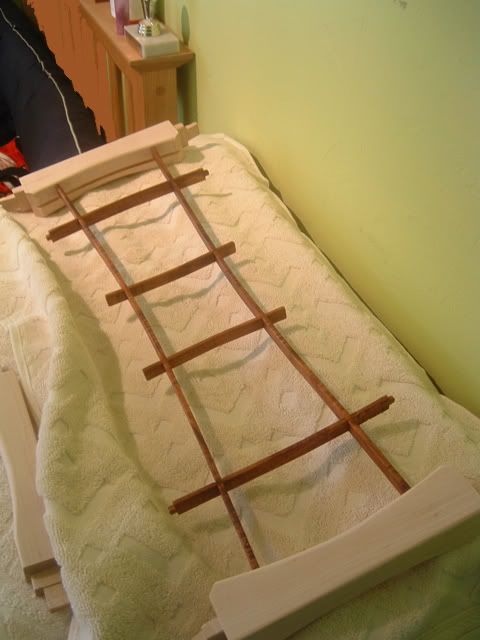
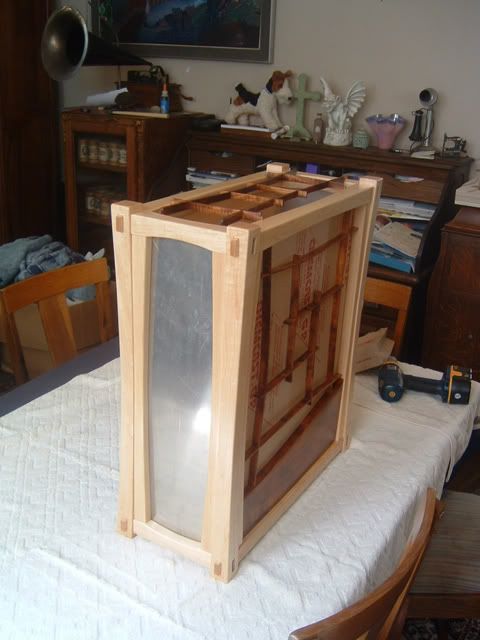
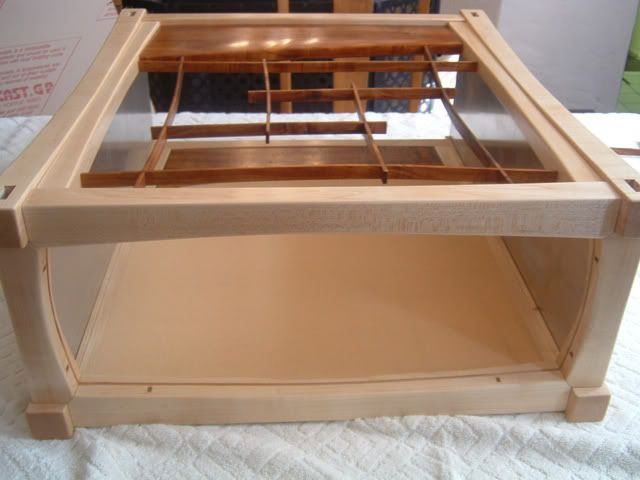
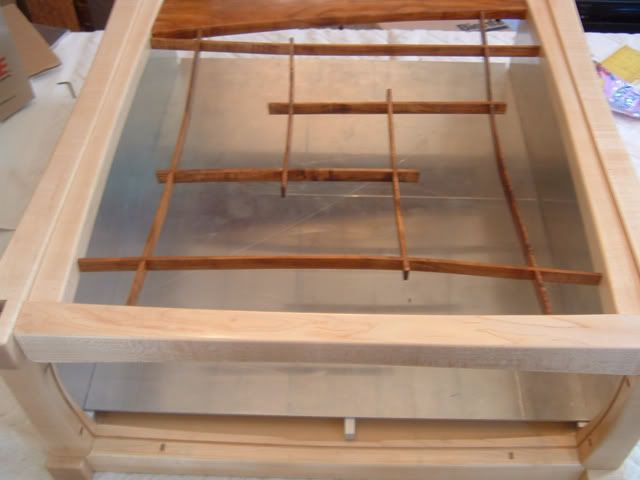
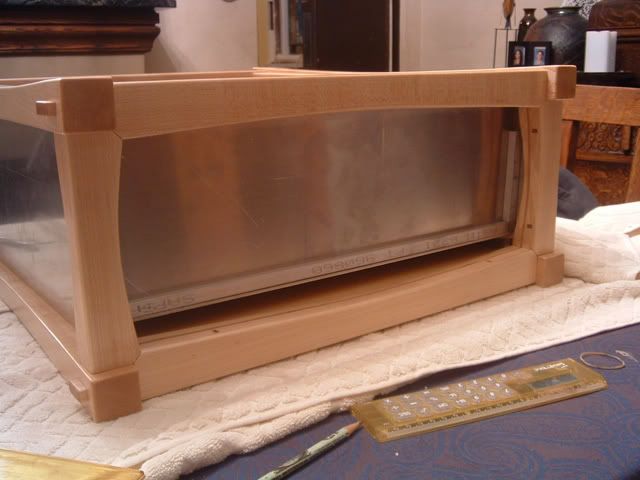
ohh man...i have seen your other case before. i was inspired after seeing it. i planned out my wooden case (no where near as good as yours) but i ever had the time...or energy to finish it. from the picture before the microwave you didn;t look that old. but the skills you have makes me think twice about your age