Road RagE II

PS-RagE

Supreme [H]ardness
Joined
Aug 11, 2000
Messages
4,298
Its been over 5 years since the original Road RagE project. Although that thread is gone, the project itself can be seen on my website.

Anyhow, due to my trailer, it is time for a new truck and therefore a new project!

While I haven't decided if there is reason for an actual PC this time, there certainly is going to be a pile of mods required.

So, without further adieu, here is this year's project

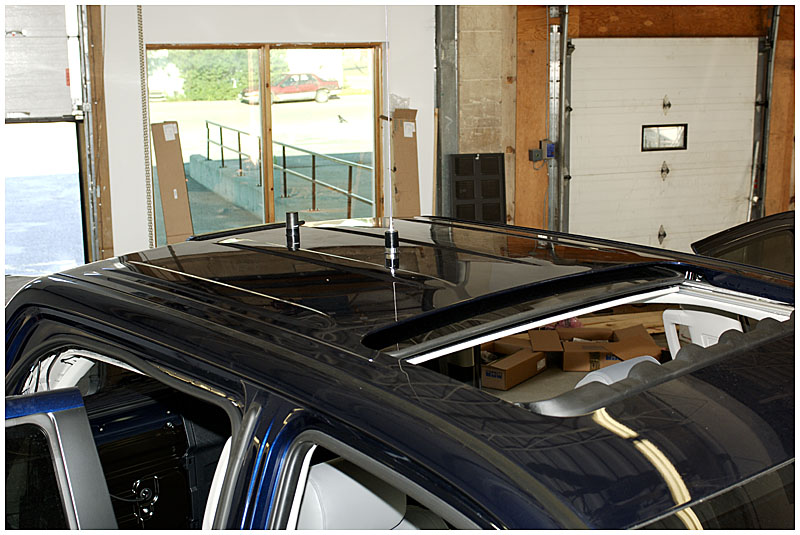
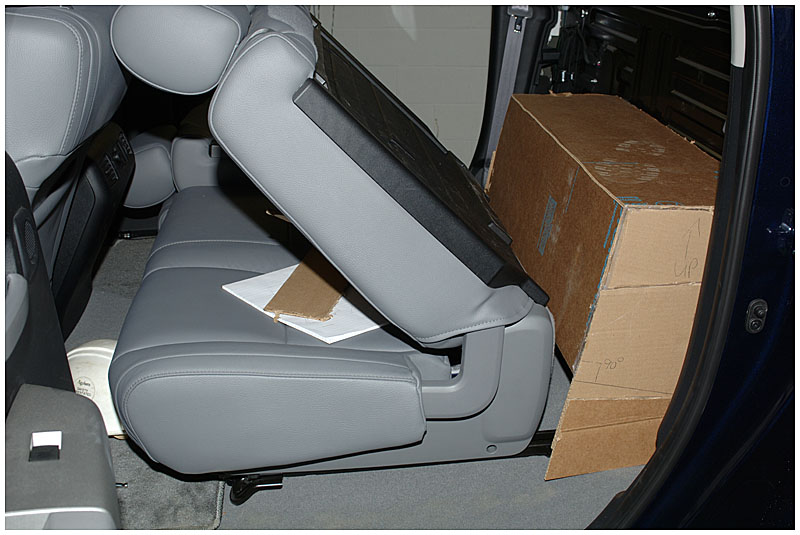
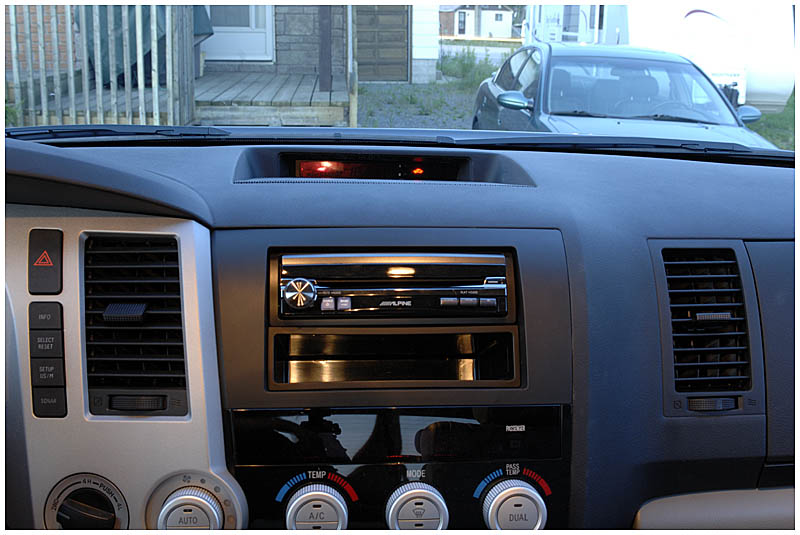
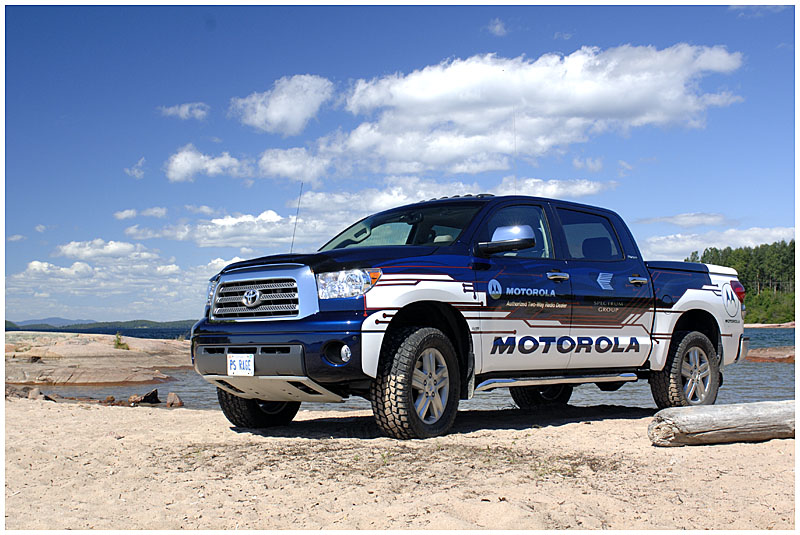
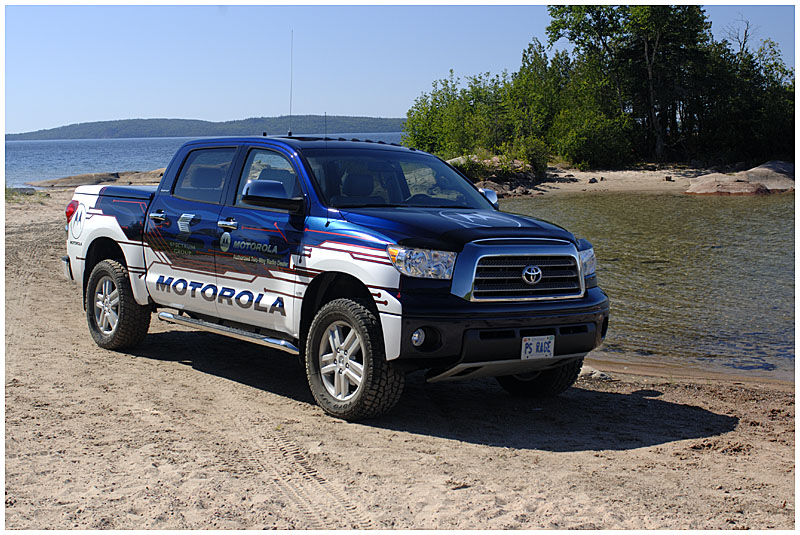
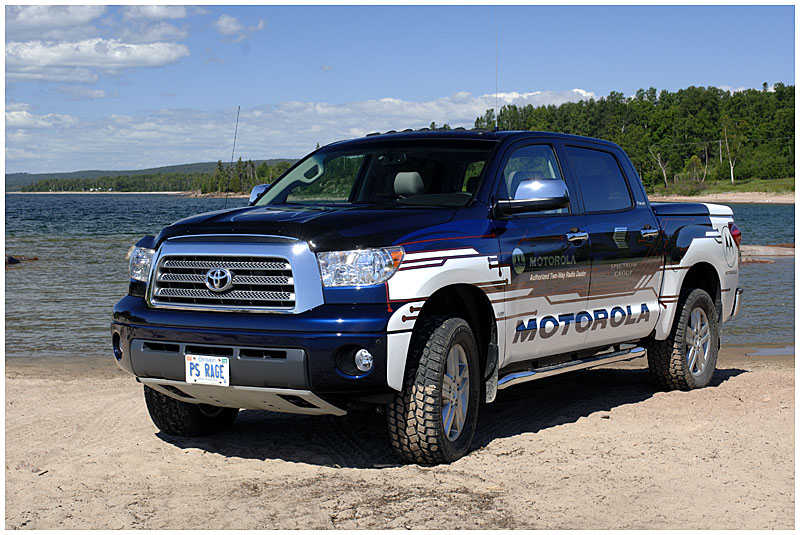
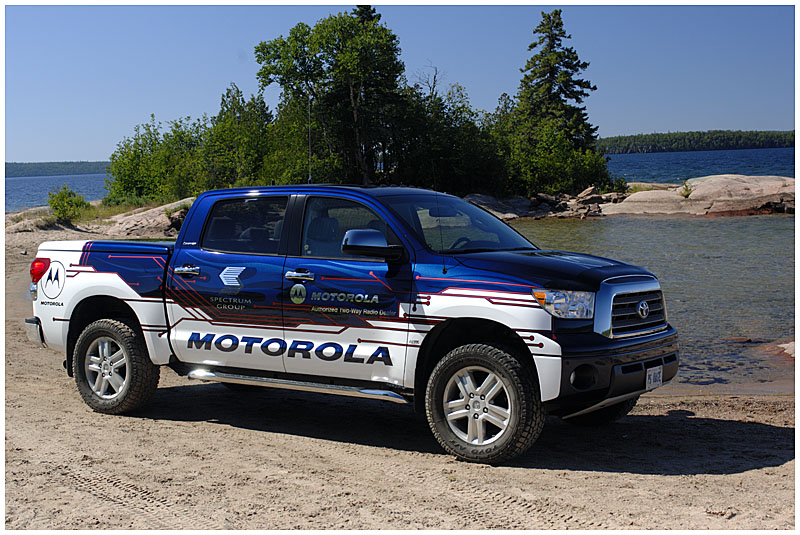
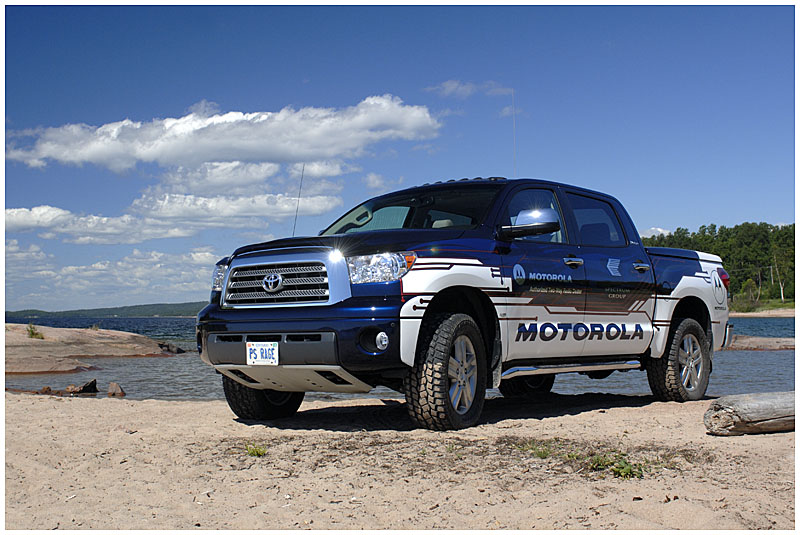
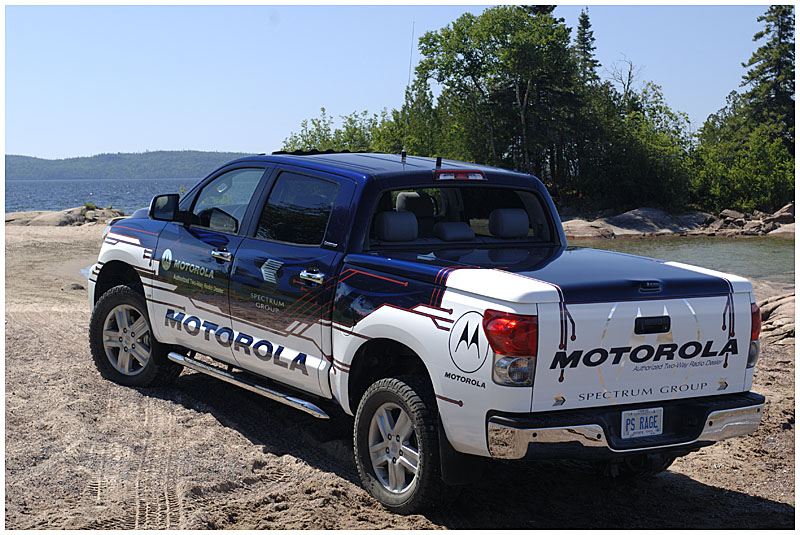
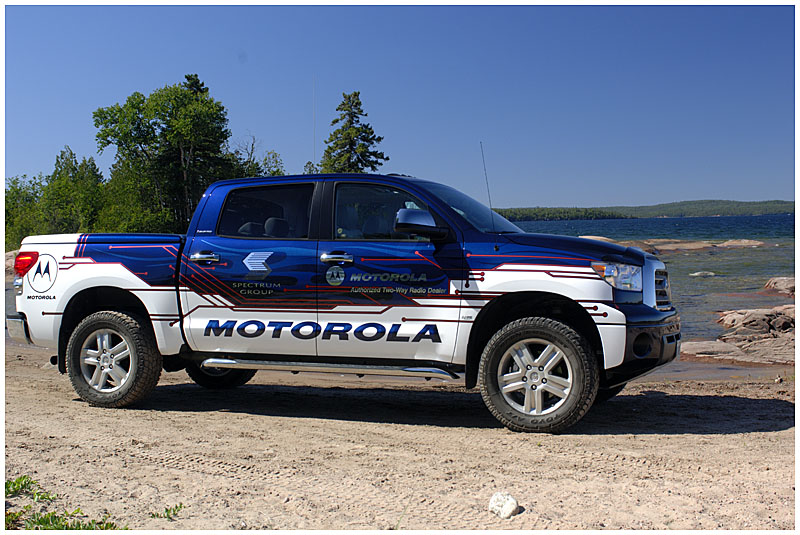
To start it off, I need some "raw material". This time it is a 2007 Toyota Tundra Crewmax Limited:
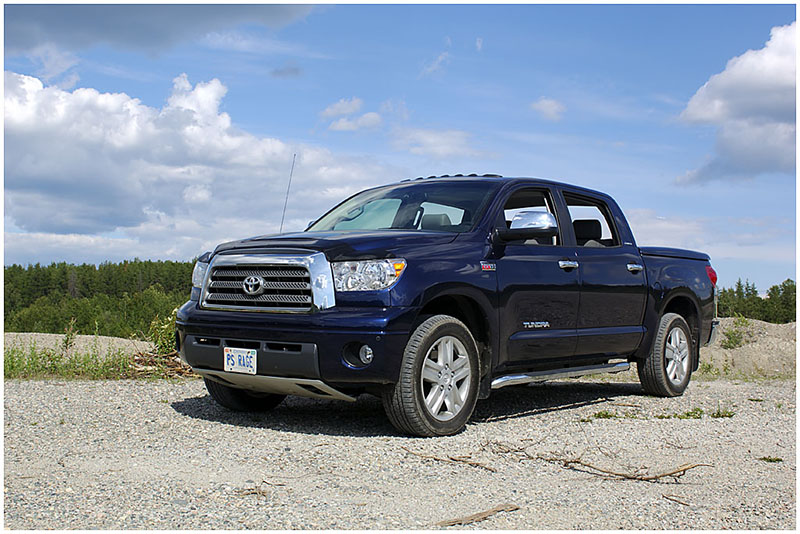
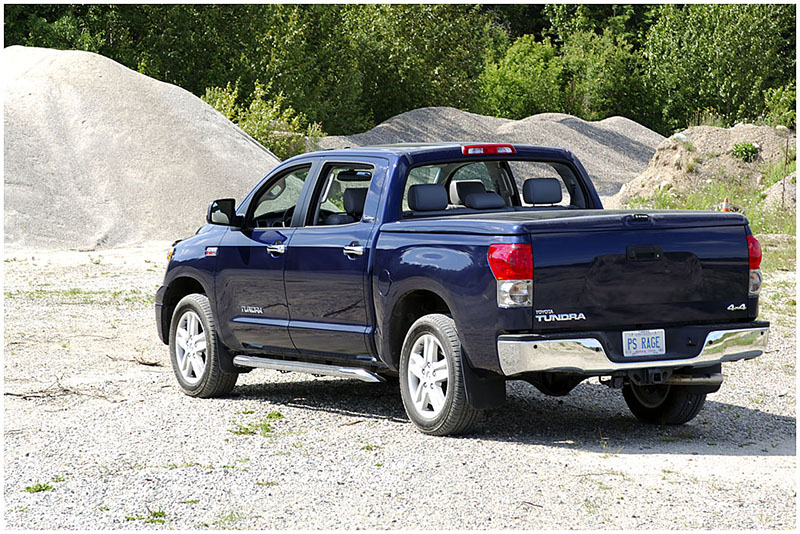
tundra1sm.jpg


tundra2sm.jpg


tundra3sm.jpg


5.7l, 381hp of processing power ;)

.


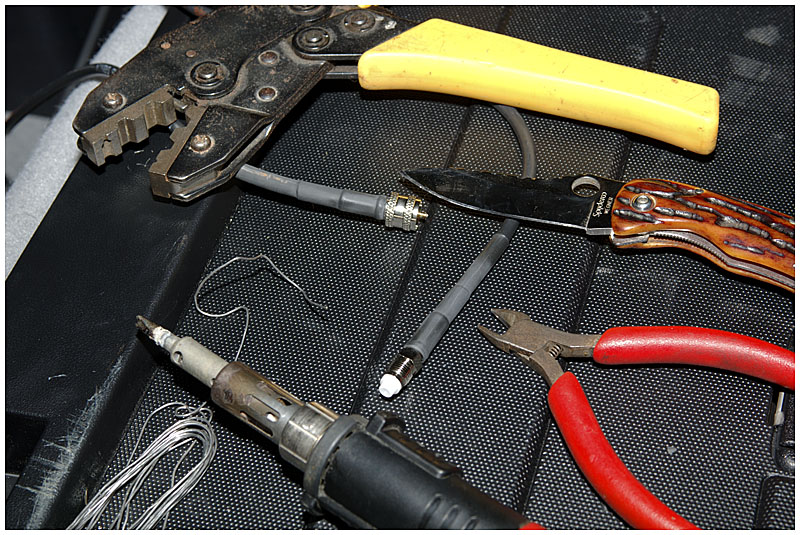
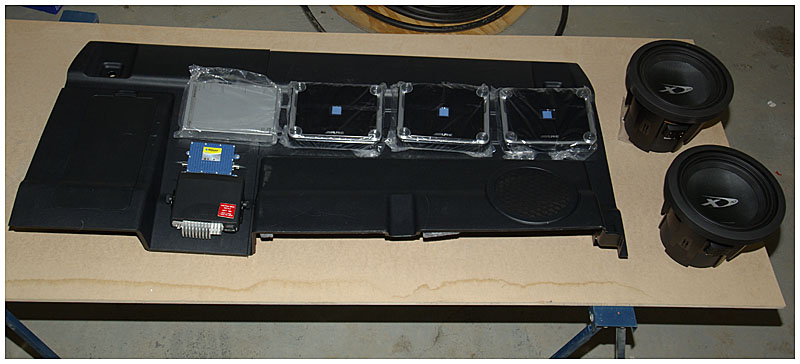
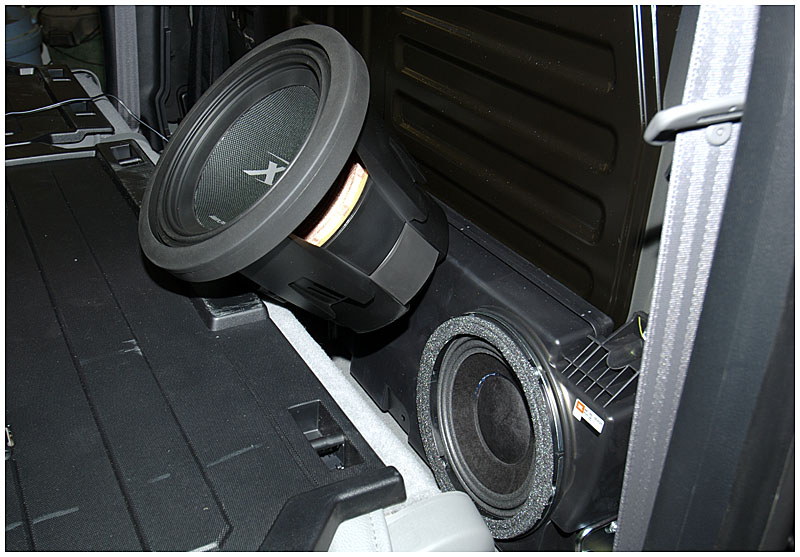
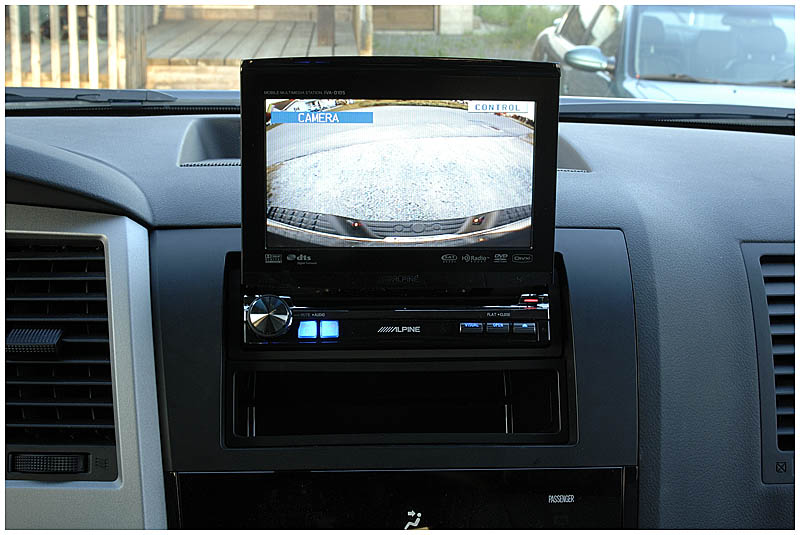
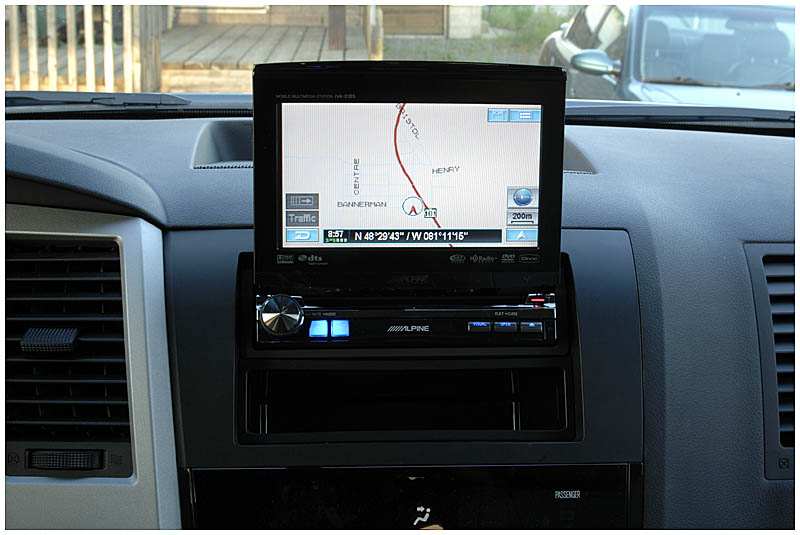
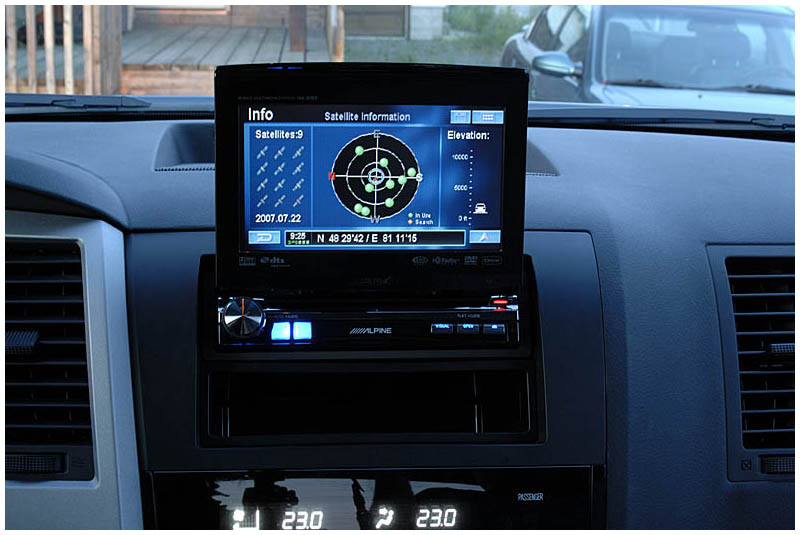
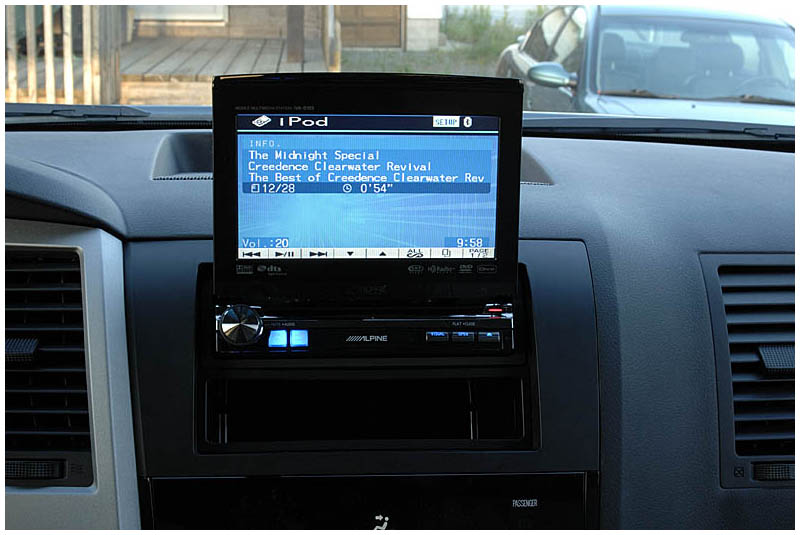
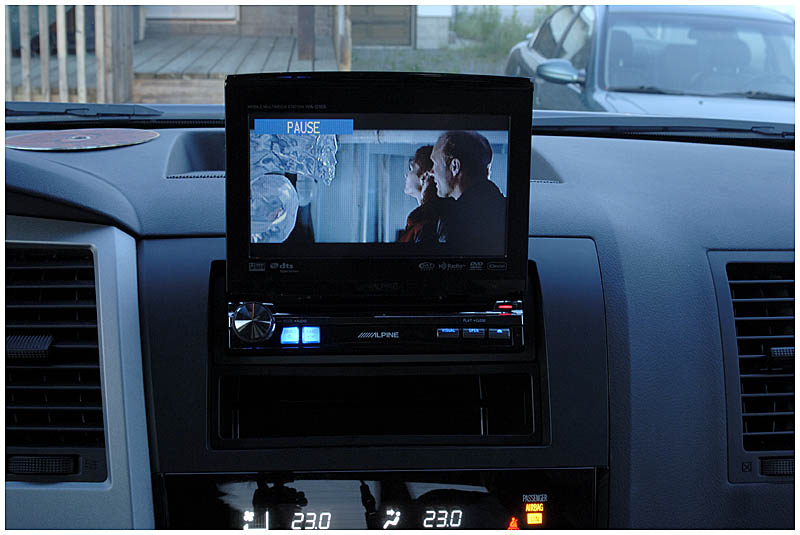
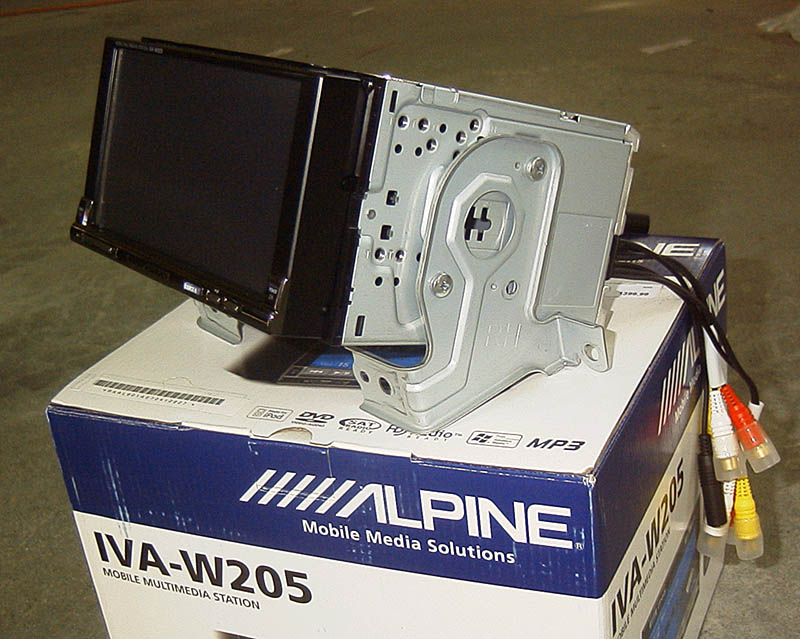
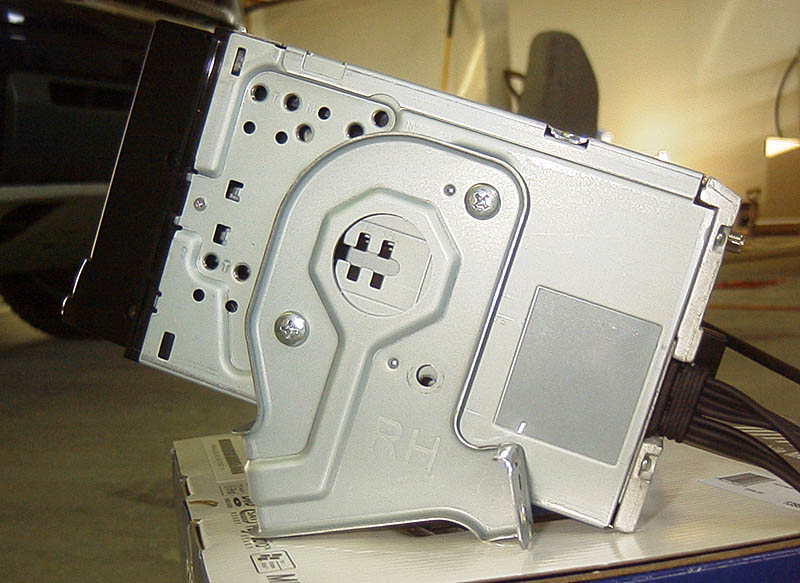
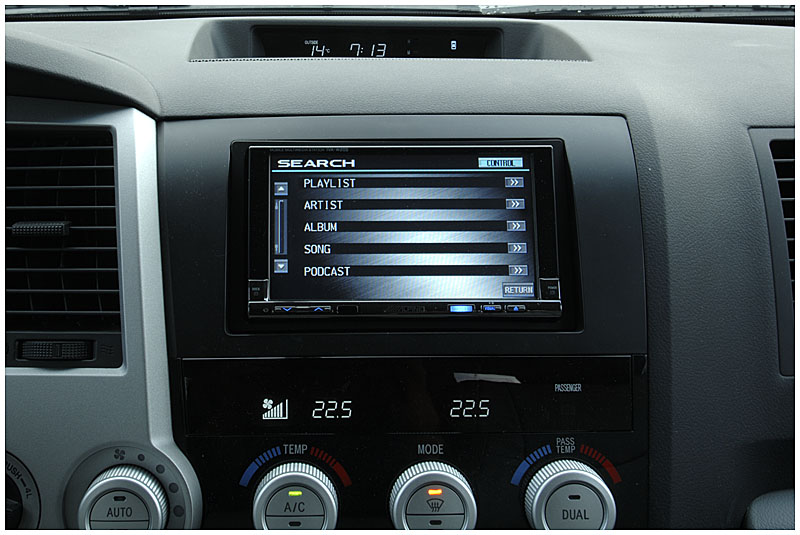
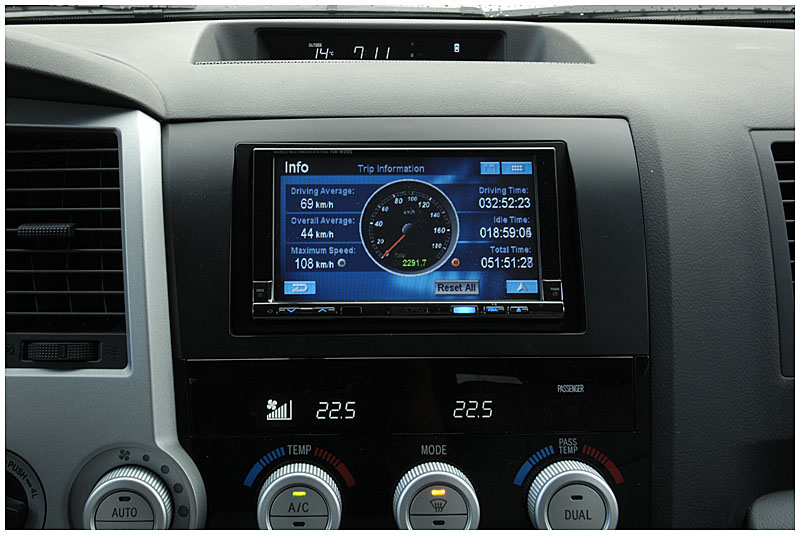
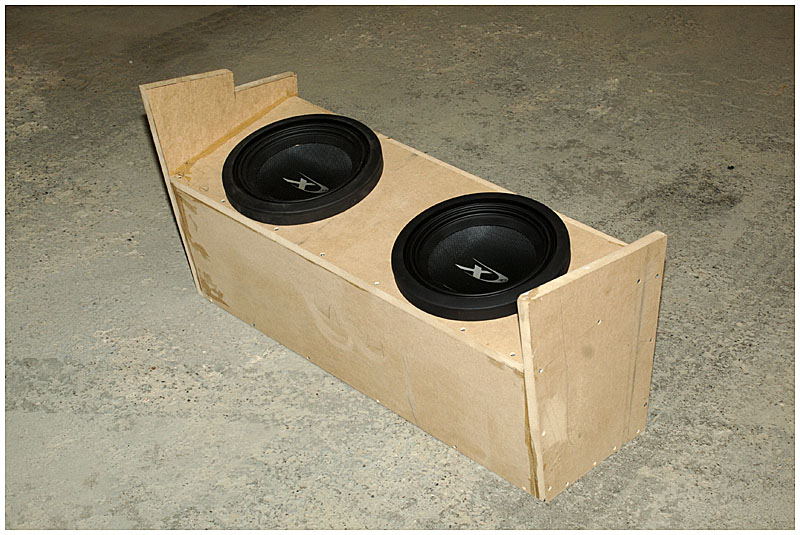
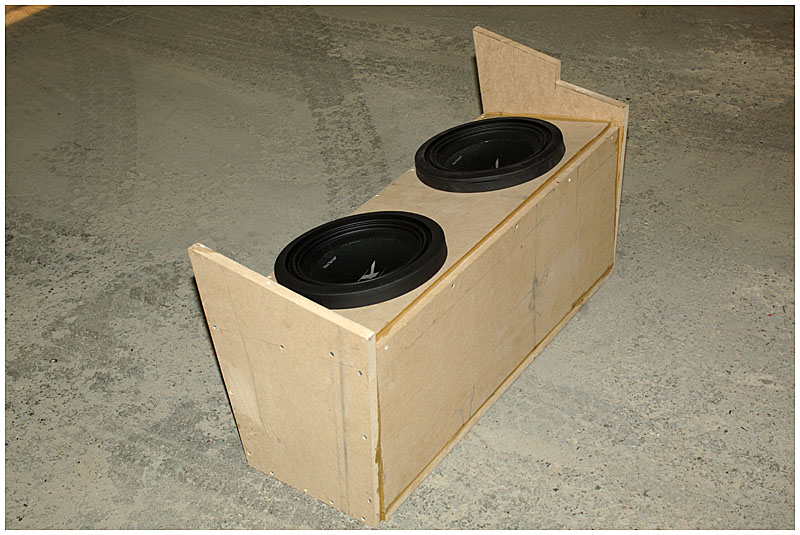
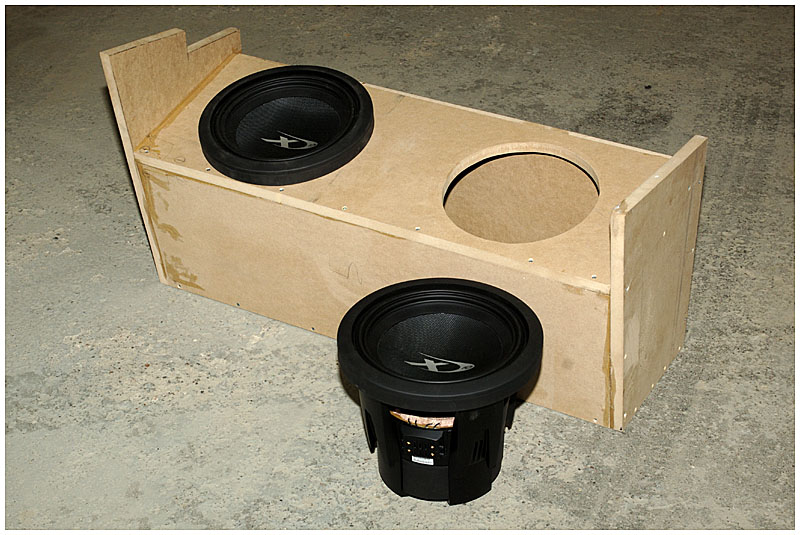
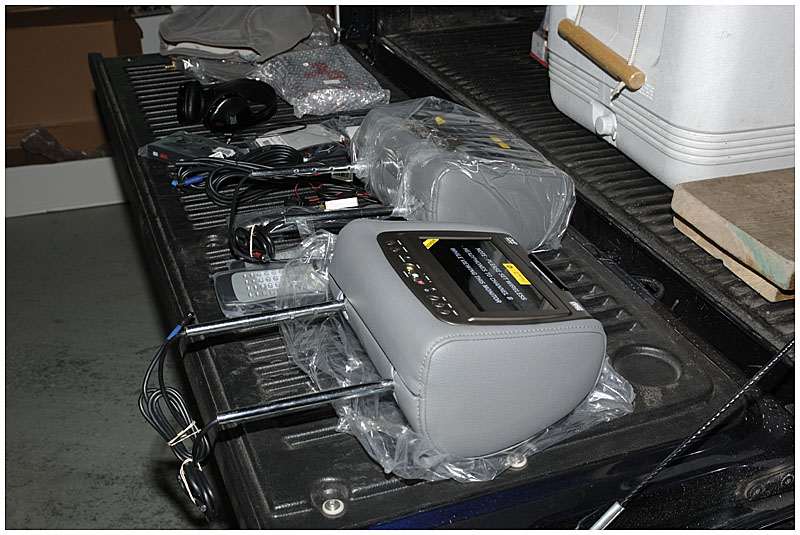
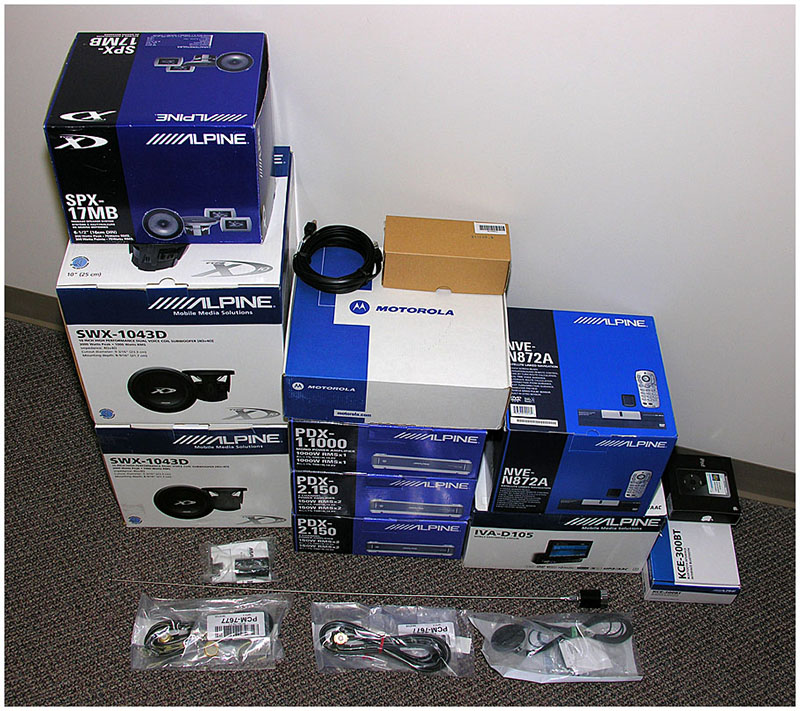
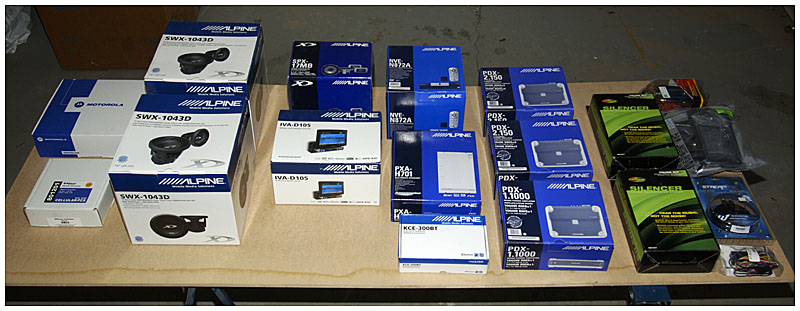
Got a pile of stuff to install this time:

alpinestack.jpg


alpinestack1.jpg


alpinestack3.jpg


.
 
As you may recall, I run a Motorola radio shop so the first "mod" required is to get a radio installed.

So, what is the first thing you do to a $60,000 truck? Why you drill a 3/4" hole in the roof of course!

rrtun1.jpg


Actually, I drilled two of these. That hole allows me to install a standard NMO mount:

rrtun2.jpg


And thus two permanently mounted antennas. One a wideband VHF, the other a dualband 900/1800:

rrtun3.jpg


The coaxial runs are pulled straight back so as not to interfere with the moonroof's travel.

Both runs are tied behind this panel:

rrtun4.jpg


And both cables terminated with RF connecters - a mini UHF for the Motorola CDM1550LS and an FME for the Wilson dualband wireless amplifier:

rrtun5.jpg


The control head for the Motorola is mounted in the console:

rrtun6.jpg


And the pickup antenna for the wireless cellular amp is hidden inside the center console:

rrtun7.jpg


.
 
This could get interesting.

Personaly I would go with a pc again. Get a mini-itx board with a core 2 duo on it. Personaly I would have gone with one of those flip out screens that works with pcs better but you still have other options.
 
PS RAGE - Looks like you got a bunch of goodies :) Needs a car PC to go with it for sure!

oneil - Thats a TUNDRA not a TITAN
 
Another simple mod. Installed a Tekonsha Prodigy brake controller.

rrtun9.jpg


.

Anyway, back to "real" mods. TIme to start installing all this stuff. I pulled off the back wall to reveal the factory sub:

rrtun10.jpg


The back wall is laid flat to make sure everything is going to fit back there. No crossovers yet but it looks OK.

rrtun12.jpg


Here is one the 10" Type X subs that will replace that little OEM unit:

rrtun11.jpg


My original idea was to make a wedge-shaped box behind the rear seat but there is no way these subs are going to fit sideways. So the new plan is to have the subs down-firing.

With this decision made, I created a cardboard mock-up to find the correct fit:

rrtun13.jpg


rrtun14.jpg


Satisfied with the cardboard dummy's fit, the parts are cut from 3/4" MDF:

rrtun15.jpg


rrtun16.jpg


Tomorrow I will screw and glue it together and maybe start on the fiber glass

.
 
I loved the first one and I can't wait to see this one finished.. It doesn't seem like it has been five years already, though.
 
If the subs are going to fire diagonally towards the windshield I'd put some dynamat underneath the headliner so it doesn't rattle. :)
 
The subs are firing straight down. I'll be putting deadener on the rear wall and the front doors.
 
Even though I still don't have my front components yet (Alpine SPX-17PRO) I was going to just hook everything up and use the JBL speakers for now.

sch1.jpg


However, I discovered that the existing components are actually bi-amped and since I don't happen to have crossovers sitting around to use, I've decided to put the amplifier/speakers part of this project on hold and just work on the electronics.

The first device I decided to install is the Alpine NVE-N872 navigation system. Since it is DVD based, it has to be mounted flat. With such a large truck, you wouldn't think finding a flat surface to install it would be difficult - wrong! The bench seat in the back folds almost flat to the floor squashing anything under it and there are ventilation ducts under the front seats. Finally, I just decided if I was careful, I could mount it under the driver's seat.

So, out comes the seat. You gotta love new trucks. The seat bolts release so easily! Three plugs later and here we are:

rrtun17.jpg


The brackets are turned outwards and mounted to the "humps" the seat is bolted to. The power cabling runs to the trough in the door sills and the display and signal cables are run to the hump and through the center console.

rrtun18.jpg


While I had the seat out, I also ran the majority of cabling that will be required for the electronics in the back (optical, AI-Net, etc).

Nav unit installed:

rrtun19.jpg


.
 
I hate magnetic antennas and, of course, that is exactly what the Alpine nav unit came with. So, I ordered a Motorola PMAN4000 permanent mount active GPS antenna.

rrtun20.jpg


My original intention was to mount it dead center at the front of the cab. However, the motor for the moonroof is there. It hangs down too low to mount with the other antennas (would be in the path of the glass) so I decided to mount it way off center. This antenna requires a 1" hole :eek:

rrtun21.jpg


rrtun22.jpg


Not being entirely trusting of adhesive pads, I also put RTV on the inside of this hole (the other antennas all have rubber gaskets).

The coaxial cable is run inside of the driver's side A-pillar.
 
While the headliner is pulled down, I decided to install the microphone for the Alpine KCE-300BT BlueTooth module. I removed the OEM microphone and put it in the same location:

rrtun24.jpg


The mic cable was also run down the A-pillar and into the center console. The BlueTooth module itself was installed inside the storage box:

rrtun25.jpg


Finally in the headliner, is the question of that OEM backup camera. Not sure what I was expecting, but I didn't see anything that looked like it would be connected to a camera. A quick drive over to the dealership proved that it was indeed this little connecter towards the front:

rrtun26.jpg


...but again, this is not what you would expect video on. There was four wires taped together as per the schematic:

sch2.jpg


To be safe, I pulled the tailgate apart and checked for continuity on the wires:

rrtun27.jpg


Sure enough, these are the right wires. So I spliced a sheilded cable to the video feed (red V+, grey V-) and a red/black cable for the camera power (black B+, white GND):

rrtun28.jpg


Again, these were fished down the A-pillar and over to the center console.

.
 
The nav unit can be controlled by voice. I installed the speak button on a lower control panel next to the VSC switch:

rrtun29.jpg


The microphone for the nav unit is installed next to the radio control head (center console in front of cig lighter plugs) :

rrtun30.jpg


.
 
Finally, I can install the head unit. I'm using an Alpine IVA-D105 multi-media unit.

Since I cannot install my own amplifiers, I have to use the JBL for now. I bought a Axxess TYTO-01 level shifter/harness to connect the two together. You can see it here along with the zillion wires from the head:

rrtun31.jpg


The navigation unit needs a connection to the speed sensor. Again looking in the schematics, I find it conveniently is located in one of the harnesses that was connected to the JBL:

sch3.jpg


It is pin 4 of connecter K9. Looks like this:

k9.jpg


rrtun32.jpg


Also required from the JBL harness is the connections for the steering wheel controls. The schematic shows it to be pins 6,7 and 8 on connecter K3 (brown, light green and grey):

sch4.jpg


k3.jpg


The steering wheel interface unit says to install a 560 ohm resistor between pins 7 and 8:

rrtun33.jpg


Don't think I mentioned it earlier but all spliced connections are protected with heat shrink:

rrtun34.jpg


.
 
I need both B+ and switched B+ for all the electronics. I fed a temporary run of #10 from the battery, through the firewall to the driver's side kick panel (temporary because I will be bringing a heavy line to the amplifiers later). Switched B+ is a bit more of a trick though. I discovered the cigarette lighter is a true ignition switch turning immediately on and off with the key. I don't smoke anymore and the plug is covered by the radio head so I cut the switched line from it and fed it over to the coil of a 30A relay:

rrtun35.jpg


rrtun36.jpg


.
 
Here is the head in the closed position:

rrtun37.jpg


The backup camera:

rrtun38.jpg


Navigation:

rrtun39.jpg

rrtun40.jpg


iPod interface:

rrtun41.jpg


DVD playback:

rrtun42.jpg


So there is the progress to date. I figure that is about a third of the work completed.

.
 
looking great so far!
but, isnt this in the wrong section of the forums? I thought there was a stereo section...


Edit: I gues its gone. there used to be a cars section of hardforum. guess they made some changes in my absence.
 
S[H]ady;1031302774 said:
looking great so far!
but, isnt this in the wrong section of the forums? I thought there was a stereo section...


Edit: I gues its gone. there used to be a cars section of hardforum. guess they made some changes in my absence.


[H]ard|Forum > Real Life Stuff > General Mayhem > Cars/Motor Vehicles


You are correct, but it requires membership to GenMay.
 
Backup cameras are awesome for doing a solo trailer hitch.
 
S[H]ady;1031302774 said:
looking great so far!
but, isnt this in the wrong section of the forums? I thought there was a stereo section...


Edit: I gues its gone. there used to be a cars section of hardforum. guess they made some changes in my absence.


[H]ard|Forum > Real Life Stuff > General Mayhem > Cars/Motor Vehicles


You are correct, but it requires membership to GenMay.


The original thread was here so I figured I'd put this one here as well so everyone could see the "sequel".
.
 
mad props man, ++ respect for drilling NMO's... the sign of a real man :cool:

speaking of which, i need to add another NMO for a 900mhz antenna to go along with the VHF/UHF/2.4ghz antennas... its gonna look like a porcupine! :eek:! lol

too bad you have a motorola radio in there ;)

the CDM's arnt bad... but the orions (or now M7100s) are sexier

DSC08968.jpg
 
Luckily I also have this thread posted over on the TundraSolutions forum.

Here is the missing posts:

Just got back from holidays - thus the lack of update posts - and got some pics of the latest mods that were completed before I left. Had a Toytec 3" lift put on, installed some Toyo Open Country A/T 305/55/20, debadged and the lettering done:

rrtunstk6.jpg


rrtunstk2.jpg


rrtunstk5.jpg


rrtunstk3.jpg


rrtunstk4.jpg


rrtunstk7.jpg


rrtunstk8.jpg


rrtunstk1.jpg


The guy did an awesome job - took him 18 hours! The logos and lettering of Motorola are actually cut-outs so the blue showing through is the paint.
.
 
Well, I decided I didn't like the Alpine D105 unit. It was too heavy and "squishing" the little tray under it. Also, it was difficult to control the touch screen high like it was - especially while driving. I'm sure in a single DIN application it would be awesome but in a double DIN like this one it just wasn't right.

Anyhow, today I exchanged it for a W205 double DIN unit.

I had a minor panic attack at first as I was installing it as the sleeve wouldn't fit in the dash kit. Then it occured to me to check how the original unit was installed. Sure enough, it had some nice little brackets that bolted right on to the Alpine. Pardon the pics today, the D2 is at home so I had to use my old Ricoh:

rrtun43.jpg


rrtun44.jpg


So now it fits like a glove and looks factory. Gotta say I am very pleased:

rrtun46.jpg


rrtun45.jpg


.
 
I've been playing catch-up at work since I got back from holidays so when the day reaches its end (i.e. thats enough) all I can think is to GTFO. So no real advancements yet.

Here are some better pics of the head:

rrtun47.jpg


rrtun48.jpg


rrtun49.jpg


I sat the subs into the enclosure for a couple pics. Remember, this is the bottom:

rrtun50.jpg


rrtun51.jpg


rrtun52.jpg


While the box is complete this is no where near what it will look like in the end. There is much fiber glass in my future.

.
 
Another member in the TS forums (Shadyskins) was showing the Invision LCD/DVD heads he had installed in his truck and I thought they looked pretty damn good so I gave them a call to find out how to order. Turns out you normally can only get them from the dealer but my local one had never heard of them. So, I gave North Bay Toyota a call and had the fellow there order me a pair.

They came in today and I took a couple of hours and put them in. Pretty simple install:

Here is the kit spread out on the tailgate:

rrtun55.jpg


The headrest pops right out, and the seat is opened with a little flap on the bottom:

rrtun57.jpg


rrtun56.jpg


Invision provides you with a handy fish wire and a little gripper for the cable end - nice touch:

rrtun58.jpg


So with the cables dangling out the bottom, I simply fed them through the existing holes in the carpet and up into the center console:

rrtun59.jpg


They connect to an interface box that brings power to both displays and allows the video from one to be played on the other:

rrtun60.jpg


And thats it! Here they are:

rrtun61.jpg


.
 
I noticed you are using almost all alpine pdx stuff. I have not heard it but I'm sure it sounds great. What are you planning on using for your front stage for mids and highs? After doing car shopping myself over last couple weeks I actually almost was ready to buy a new vw but on a whim I checked out the tundra due to my brother getting one. I really like it and im planning on picking up one asap. The one thing I hated more than anything was the stereo so I most likely will be doing a similar setup in mine. Maybe not as much alpine gear but who knows. Looks really awesome anyhow ;)
 
I didn't even bother "test driving" the stereo, I knew Iwas going to replace it before I bought the truck.

I'm going three-way for the fronts. Bi-amped Alpine SPX-17PRO and SPX-17MB. Still waiting on the PROs. Been on order since late March. Supposed to be in soon.
 
hot. Sorry, I think Im gonna duplicate your system. Scary thing is, I went and ordered a tundra this morning, Silver on black leather Crew 4x4, package d. Im gonna rip out the jbl crap and order the same stuff basically. Gonna add in any rear fill?
 
Back
Top