There are always police cars in my bay. That one is new and waiting on a complete install (radio, lights etc)
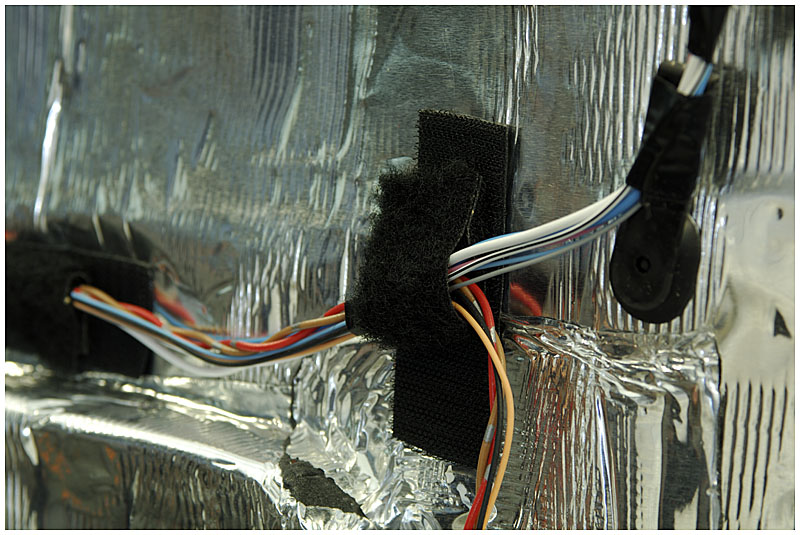
Very cool, must be were you get some of your great experience from, your wire management is best on [h]!!!!
Follow along with the video below to see how to install our site as a web app on your home screen.
Note: This feature may not be available in some browsers.
There are always police cars in my bay. That one is new and waiting on a complete install (radio, lights etc)
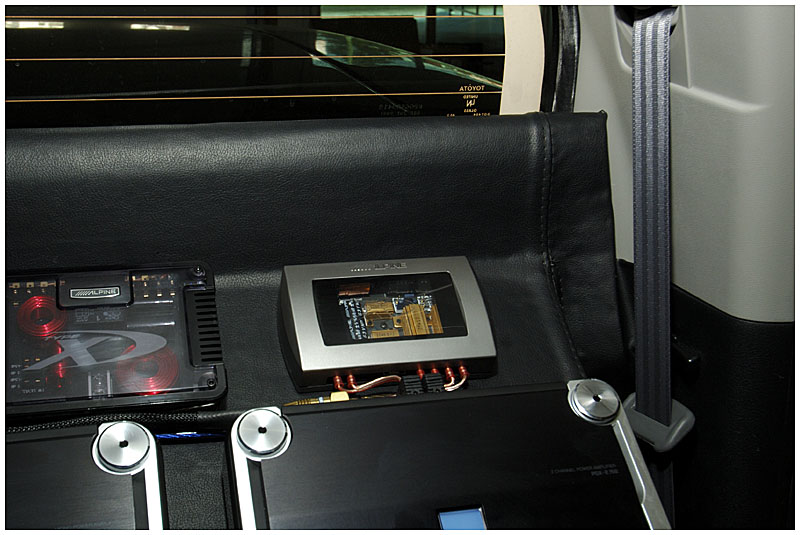
Its going to be behind the seat - not out in the open. Besides, when I "show and tell" my projects, the wiring is part of "the show"


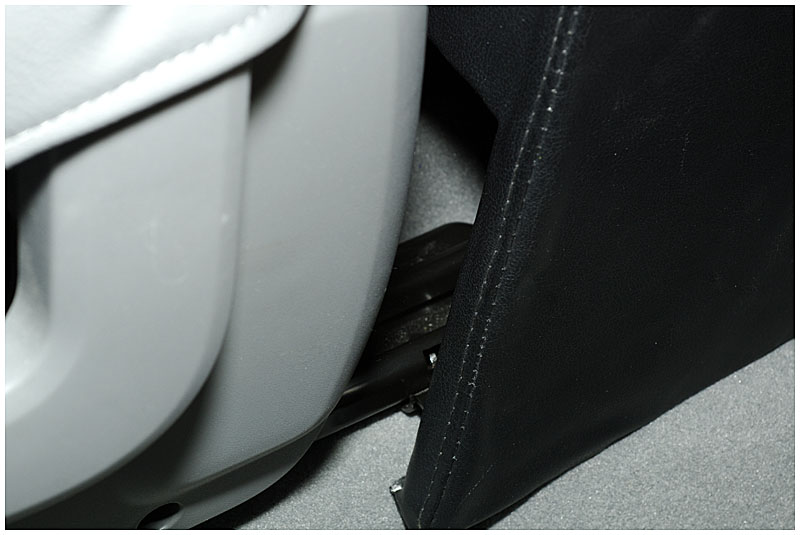
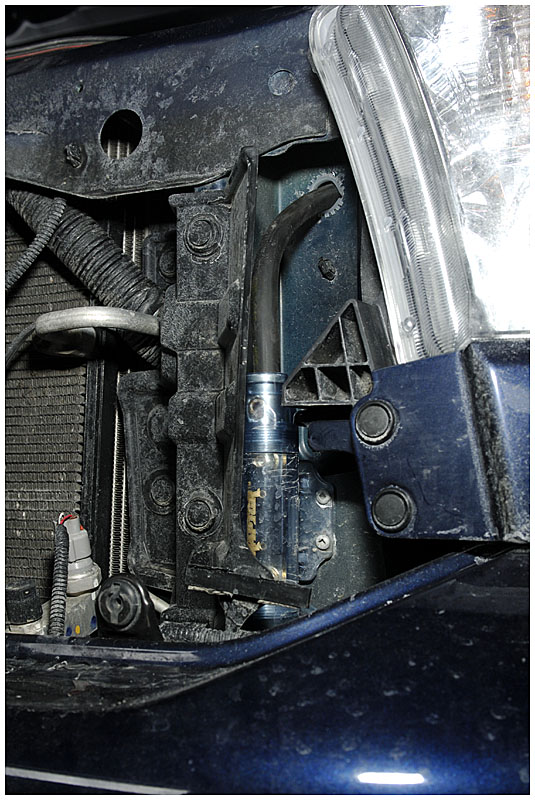
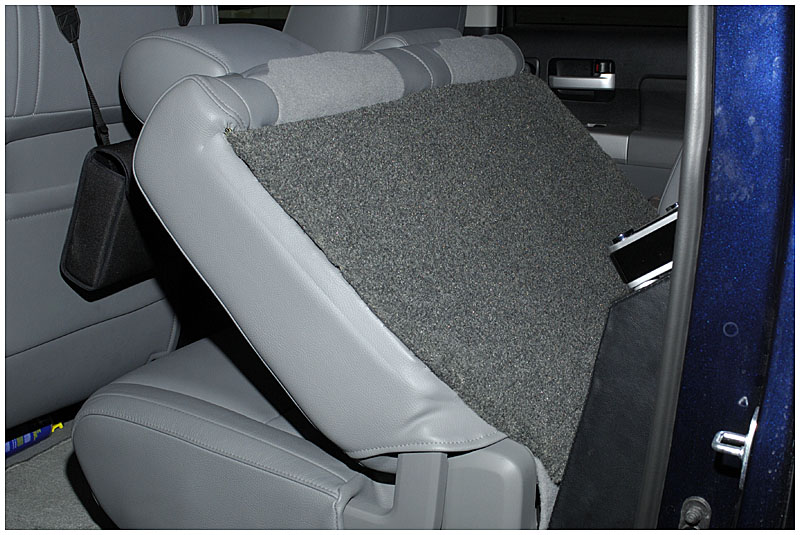
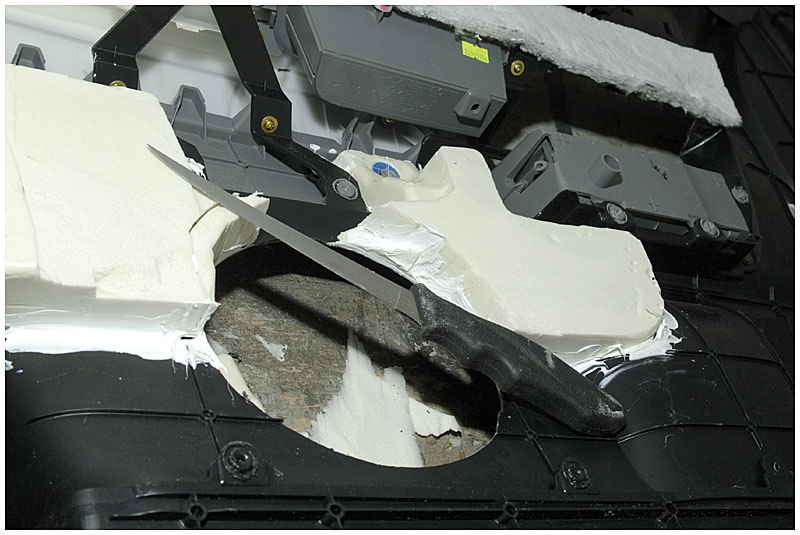
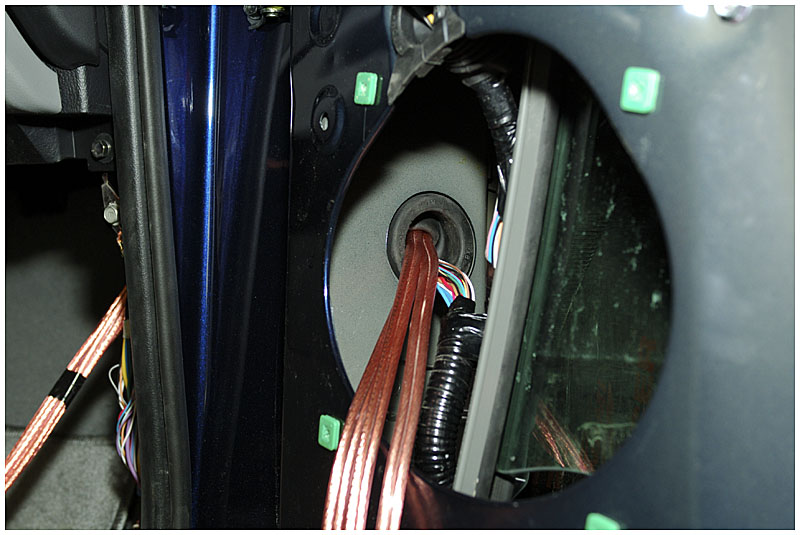
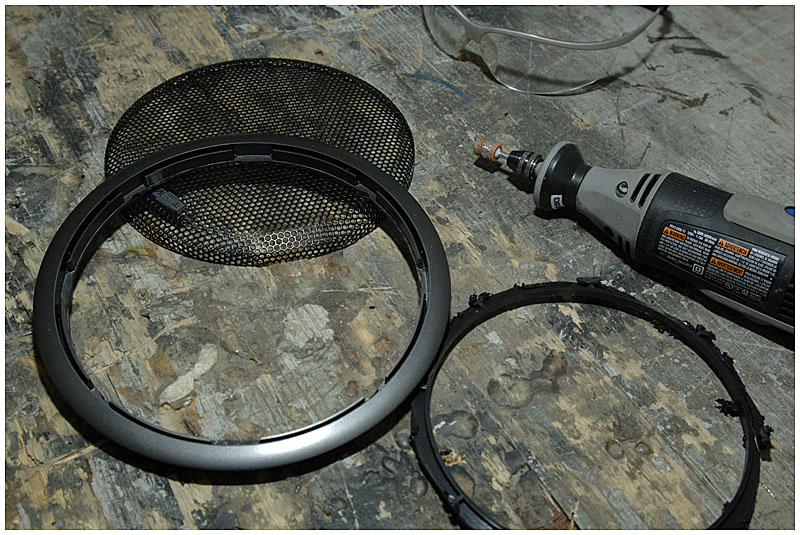
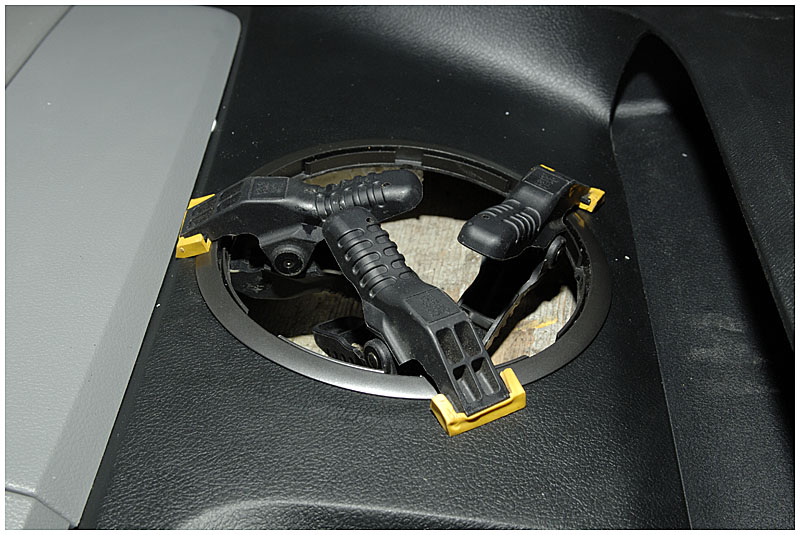
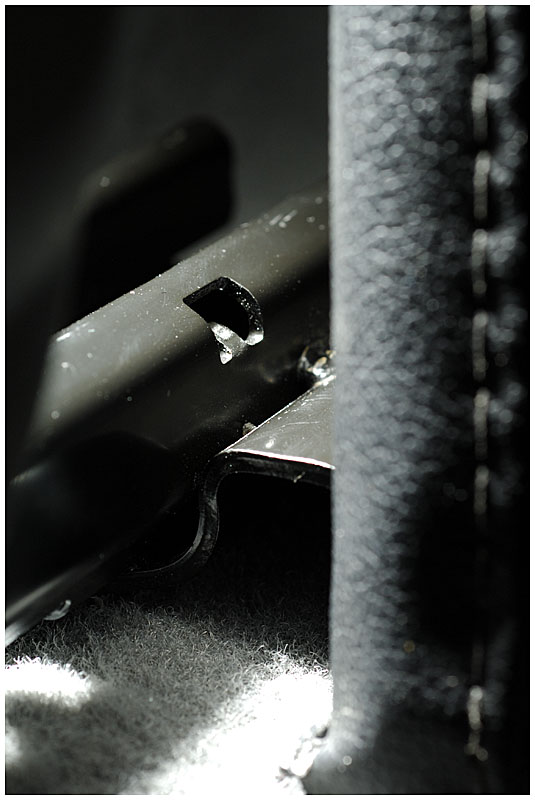 You can see how the rail is holding it an inch to the right. Since this was formed to the back wall, an inch throws the entire fit off by a lot.
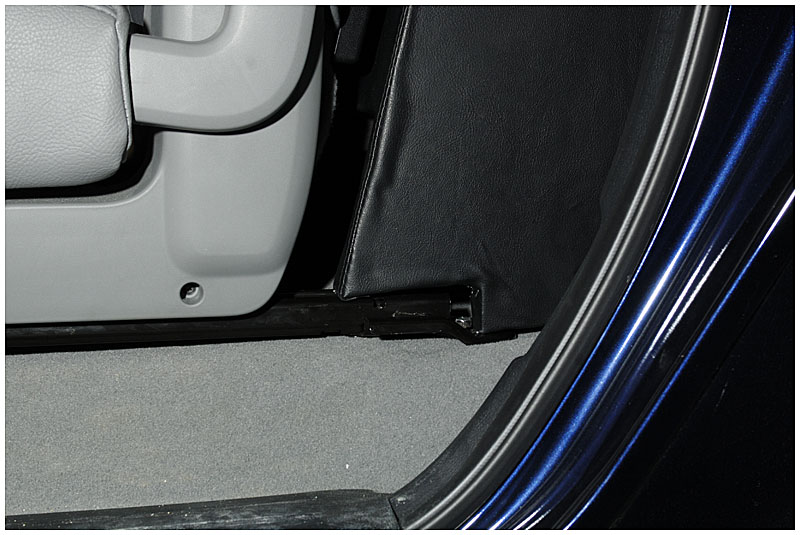
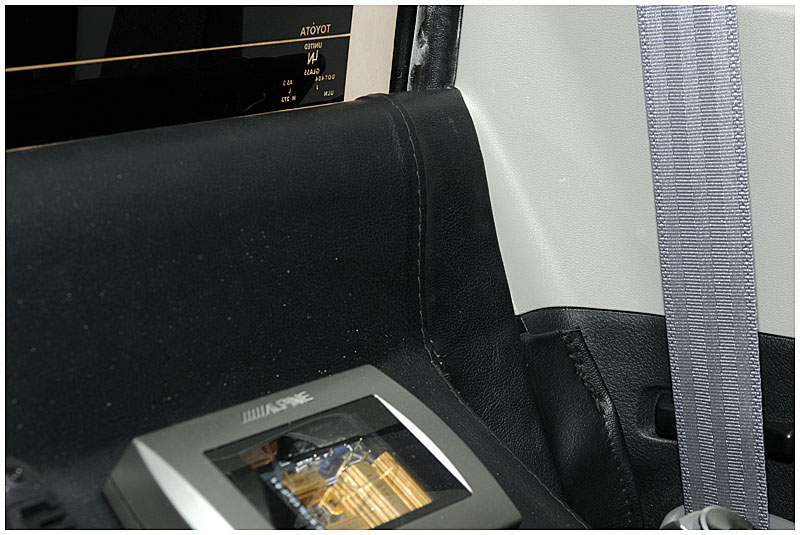

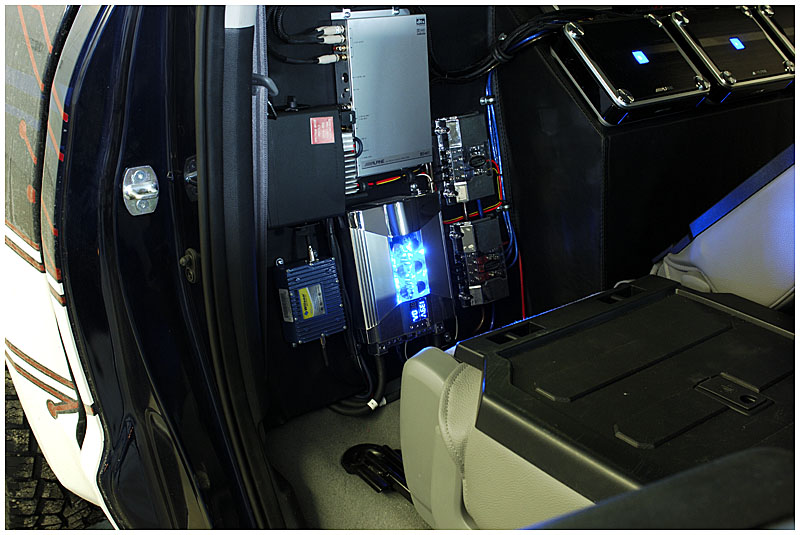
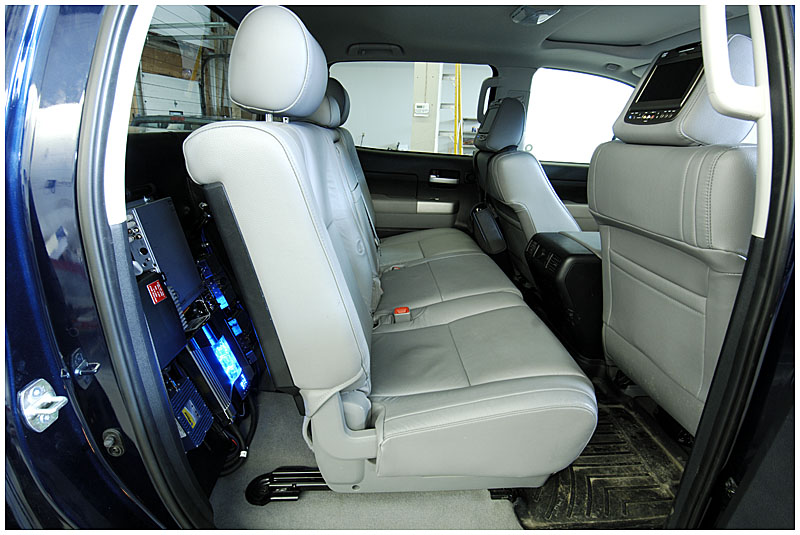
if you flipped the layout of yout amps and crossovers, you would gain about 2 inches of seat recline/legroom
or
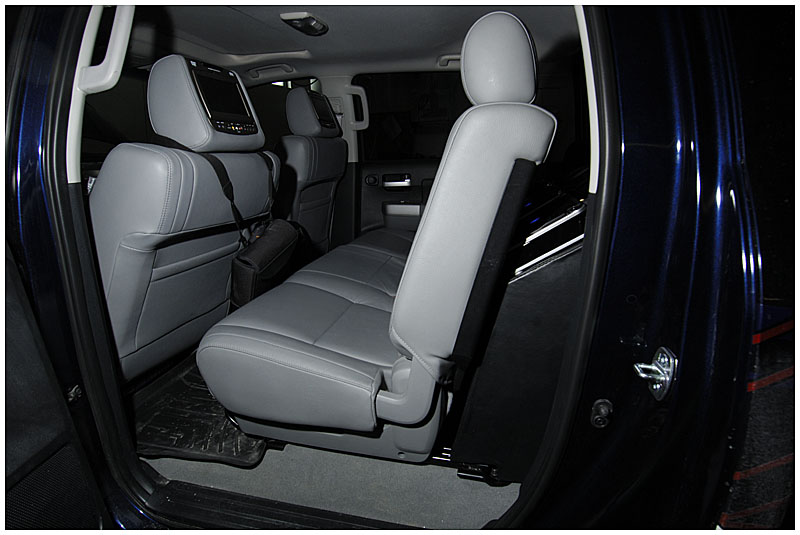
you could ditch the plastic seatbacking and recover it with fabric, this would gain you even more room depending on how deep the seats are, it will allow the amps to tuck into the seats, and get rid of a possible rattle point, and keep you from haveing to rework your amp and crossover layout, (as well as not haveing to look at holes from the old mounting locations)


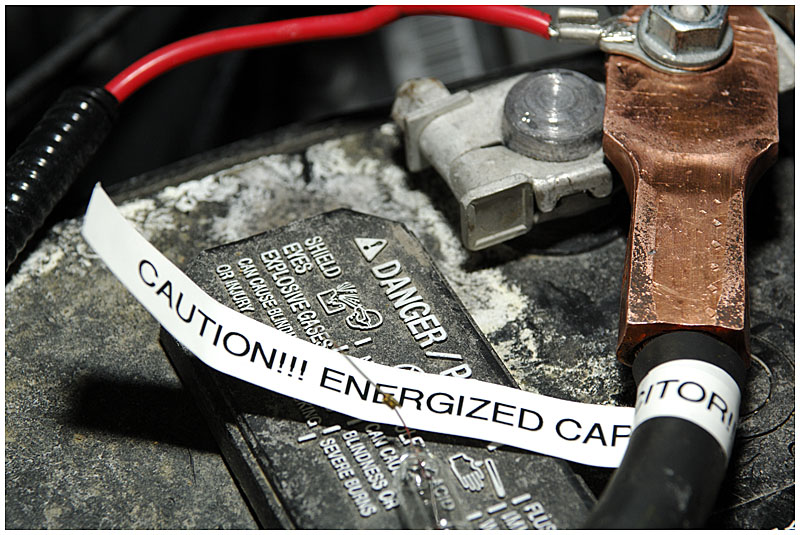
Btw, caps do nothing =p
acctually.. they do.. while they dont help sound quality, in a high draw system like that it takes the stress off the chargeing system and keeps the system from frying the battery, chargeing system, ignition system, and possibily the ECU. ( ever seen a battey pop in a high end system??? caps help prevent that)
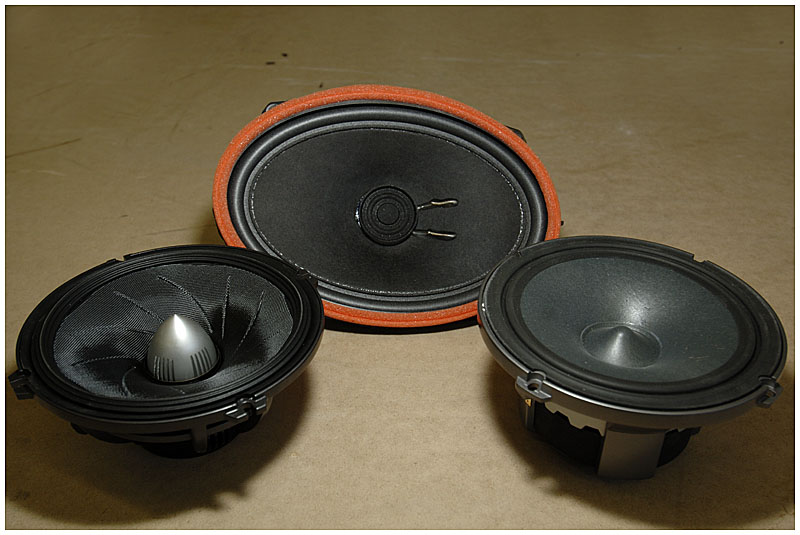
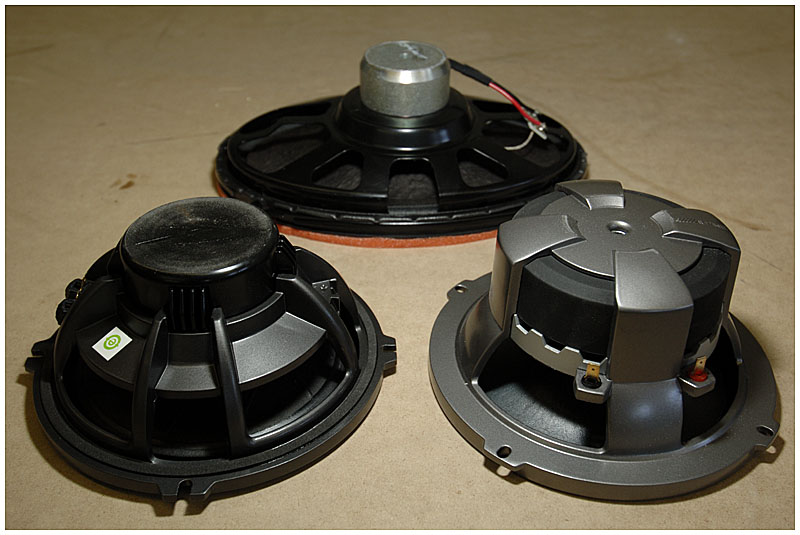
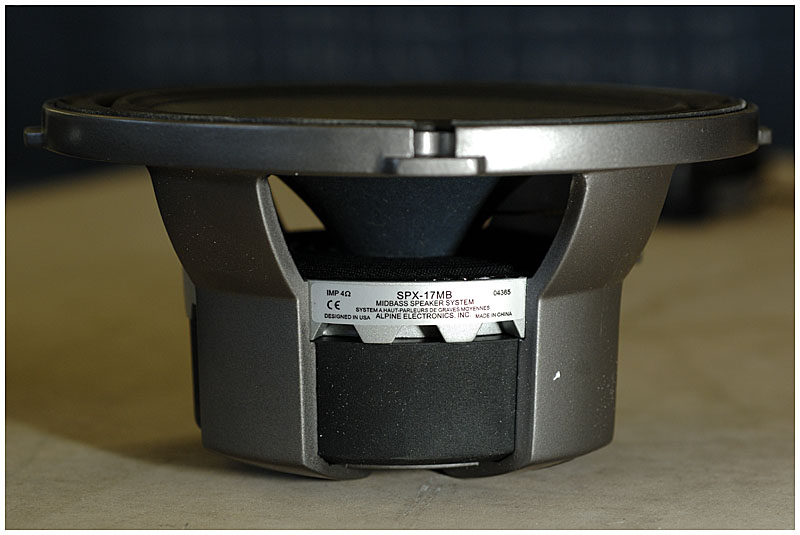
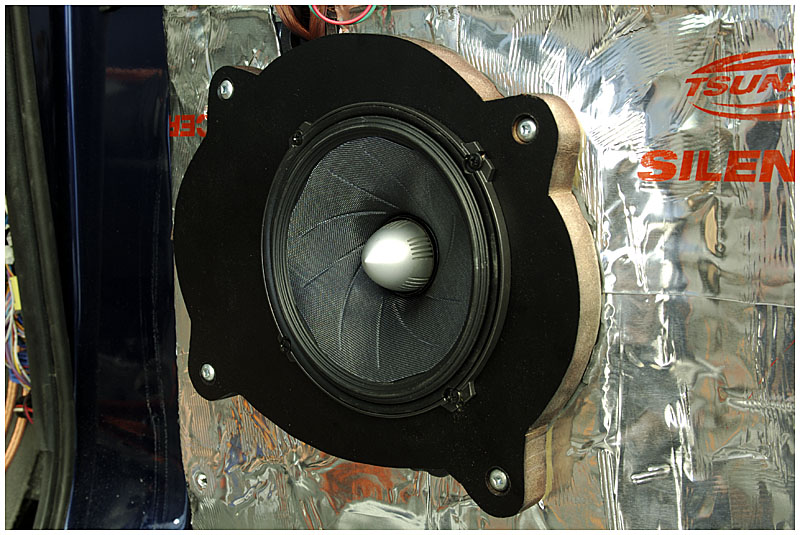
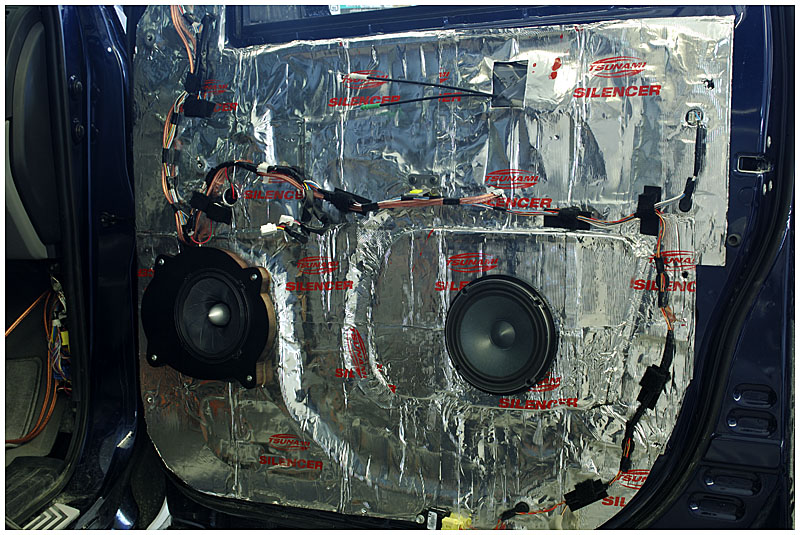
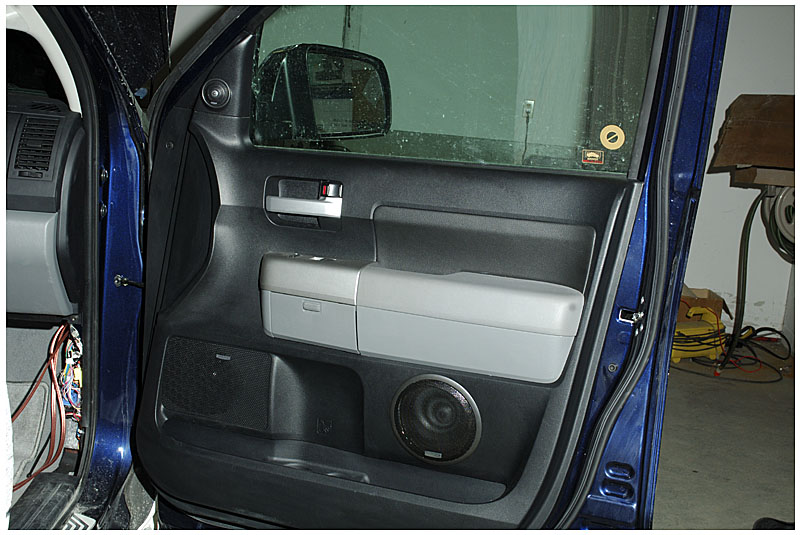
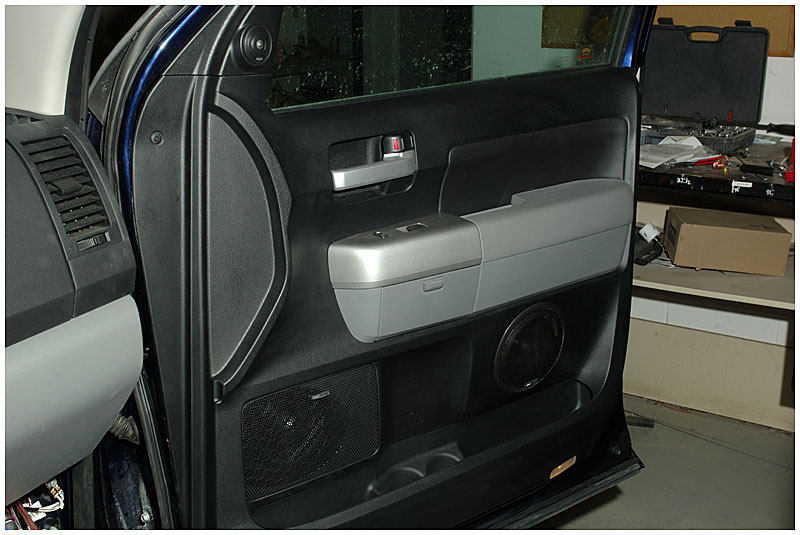
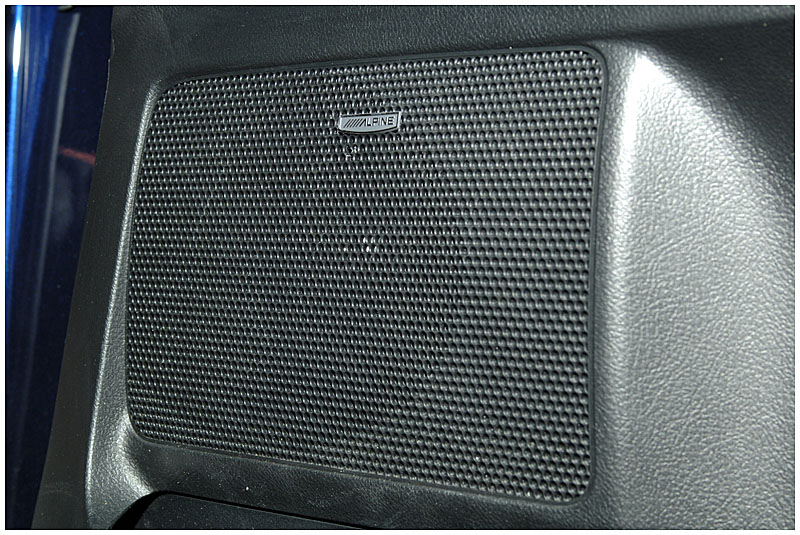
PS-Rage I was hoping to see you do kick panels. I'm not to fond of the midbass mount, maybe just the grill. The type-x are great, i ran a pair of the 2 way components in the past and they were nice. I really wish you did kick panels, kicks for the midrange and even tweeters maybe down there, midbass in the stock 6x9 location would have looked so much cleaner, probably tuned out better.
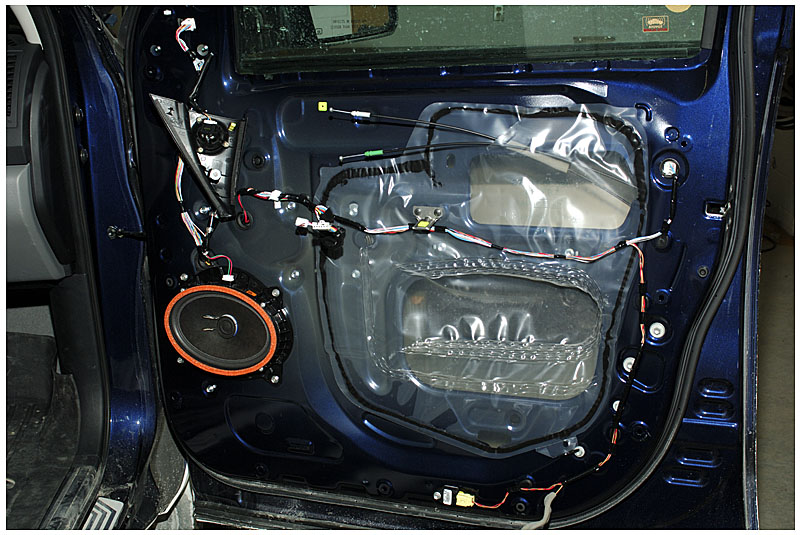
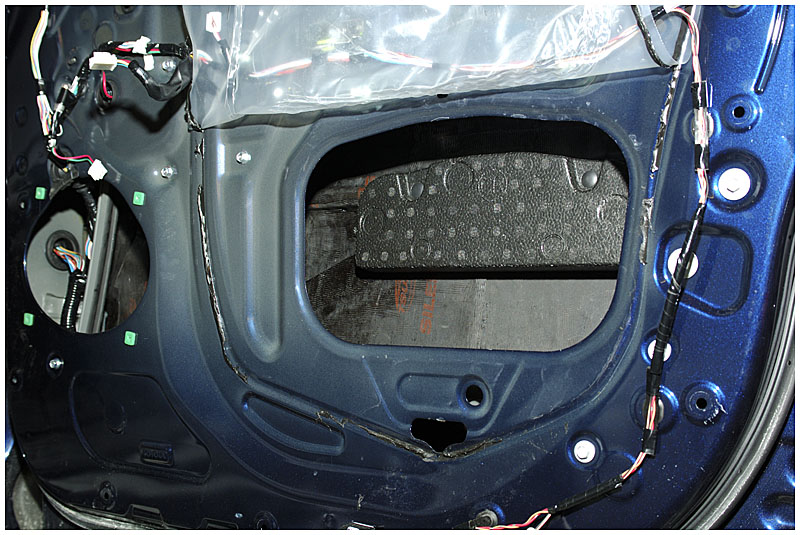
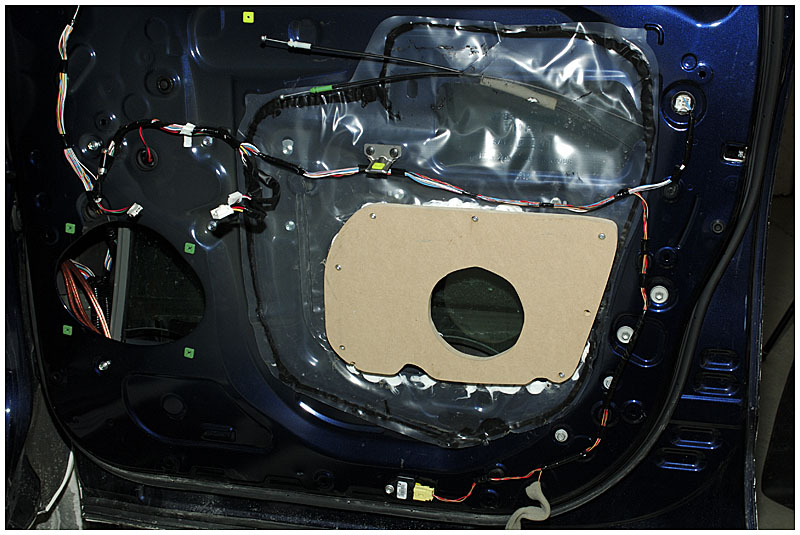
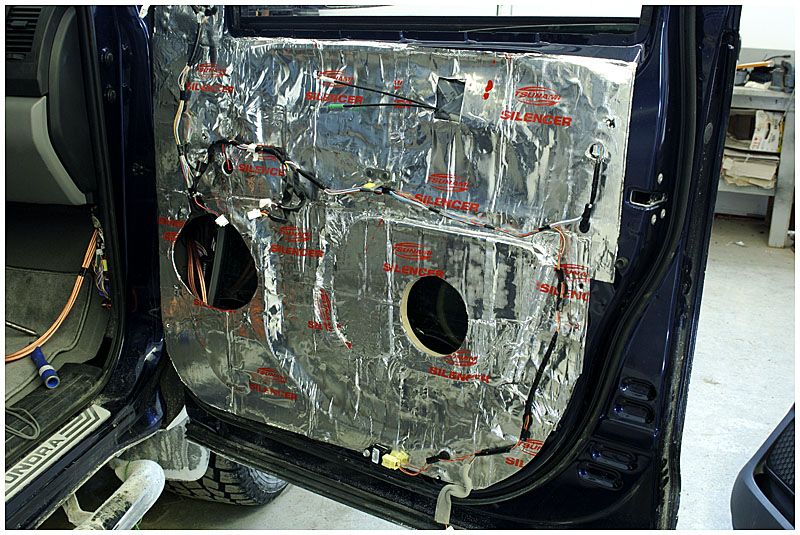
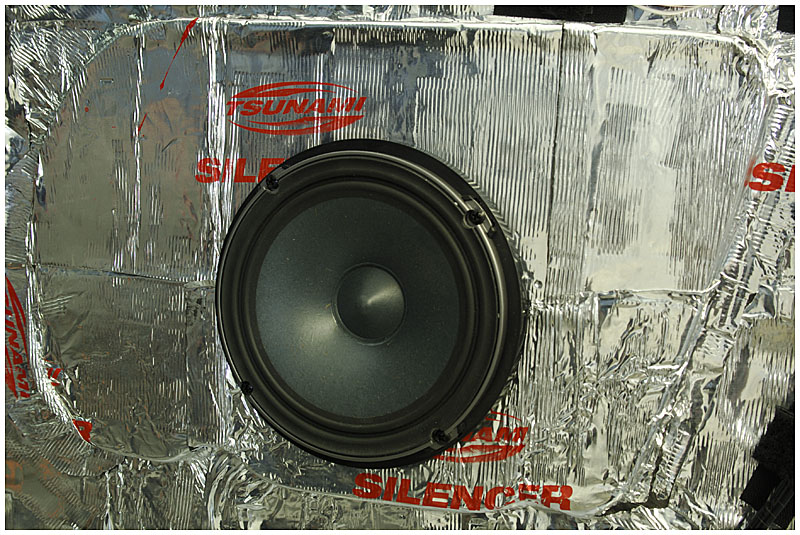
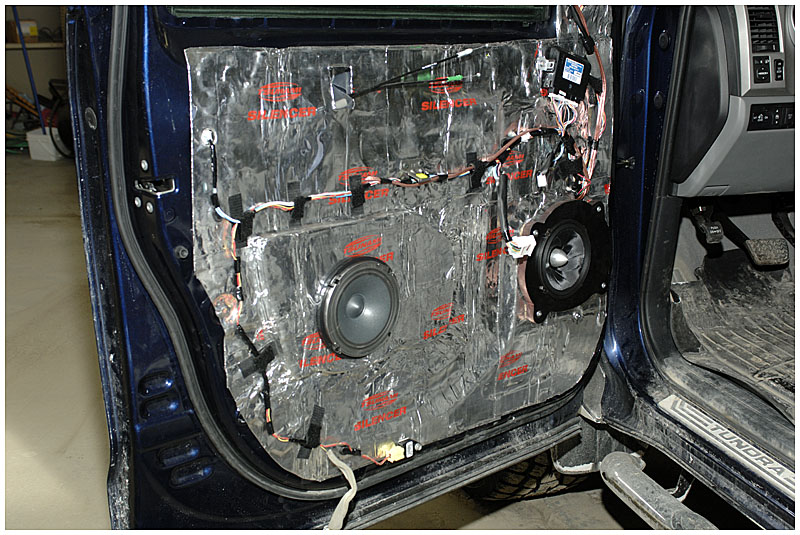
I am waiting to see this done. Nice job on the door deadening, any reason for using Tsunami sound deadening? (i assume your a reseller/dealer). I used Second Skin (i think, cant remember) or some similar butyl based, always wanted to dry the liquid deadener, heard it was cake for doing floors and larger surfaces.
I used the Tsunami 'cause it was the brand my supplier could get the most of the quickestBtw, caps do nothing =p
[H]utch;1032270921 said:Any reason you chose all Alpine stuff, such as the W205 over say the Clarion MAX685BT?
Also, what backup camera are you using, OEM?

Oops - sorry! Work has installed a 'Net Nanny and I've lost access to [H] (and pretty much everywhere else) during the day.
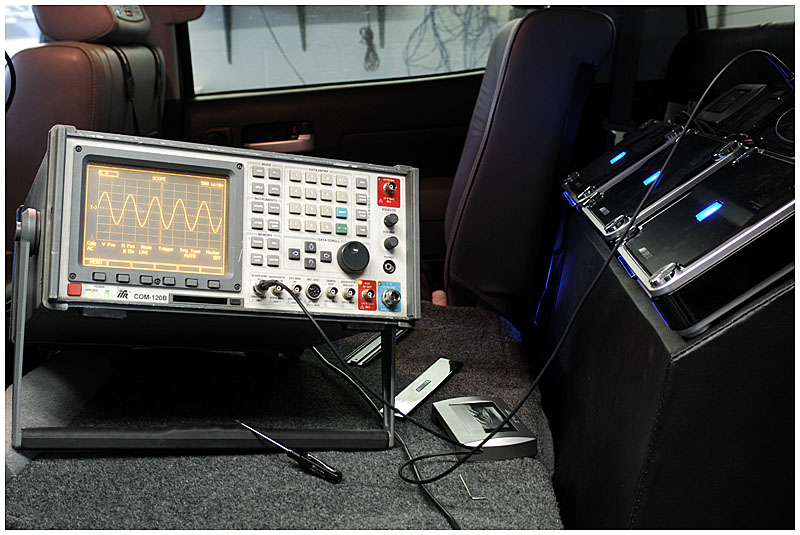
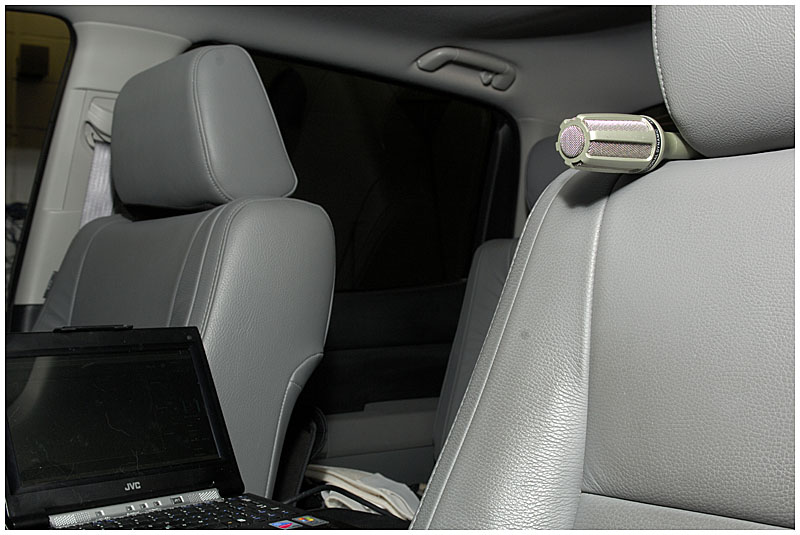
A vocal mic should be pretty flat across 300-3000Hz, but outside of that who knows. The nicer ones sometimes have specs available if you want to make corrections from the graph. also, the mic amplifier you use could make a big difference, especially for a mic that needs phantom power (check the details on your mic). Lastly, I think the analog to digital conversion in a laptop is likely the biggest limitation.I don't know if the mic didn't have a full enough range or a flat response but I didn't believe the results and have just set it "by ear" for now. It sounds really good but I'm sure there is more in there and am currently looking for a professional with the proper tools to squeak the last bit out of it.
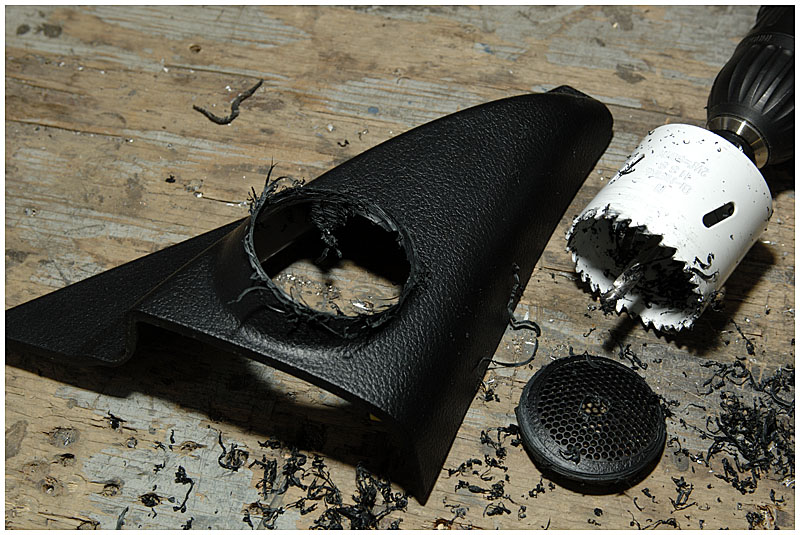
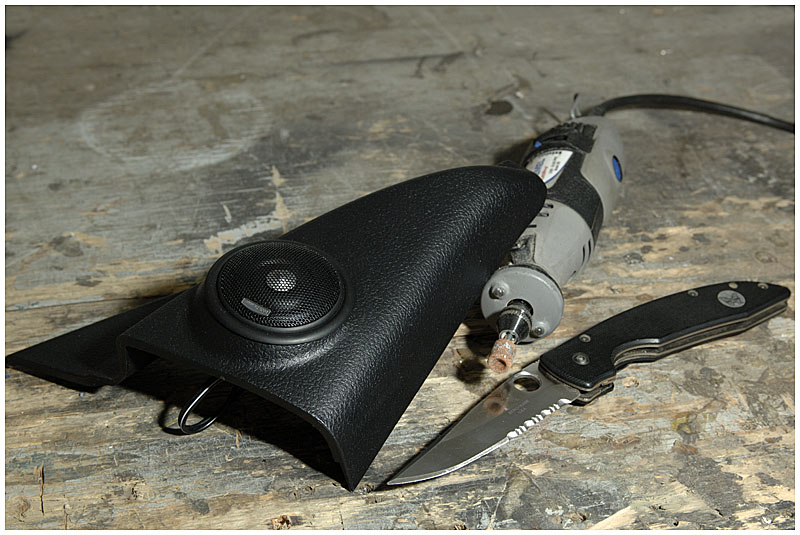
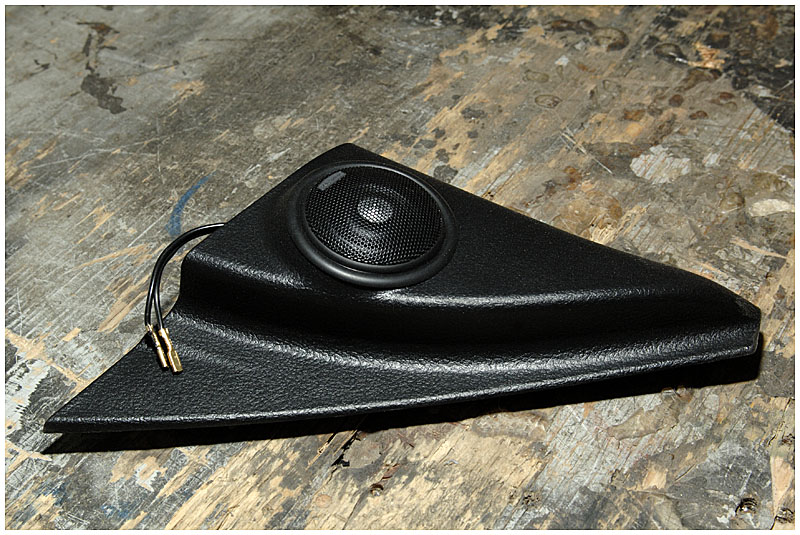
Wow, that sail did come out nice
A vocal mic should be pretty flat across 300-3000Hz, but outside of that who knows. The nicer ones sometimes have specs available if you want to make corrections from the graph. also, the mic amplifier you use could make a big difference, especially for a mic that needs phantom power (check the details on your mic). Lastly, I think the analog to digital conversion in a laptop is likely the biggest limitation.
If you scrounge around for a desktop PC with an overpriced sound card (even an SB audigy) and compensate for published frequency response of your mic, and use a good mic amp if it needs one, you can probably get 30-17000Hz dialed in +/- half a db of flat. Also, check your numbers with the doors closed and windows up vs. a window open - makes a huge diff in the highs, since glass is so reflective. At high SPL it can totally change the loading of bass enclosures too, driving an enclosed cabin vs. an open one - due to the lack of parallel surfaces in a cabin, this tends to frequency-shift the harmonics of a ported enclosure, rather than contribute to standing waves.