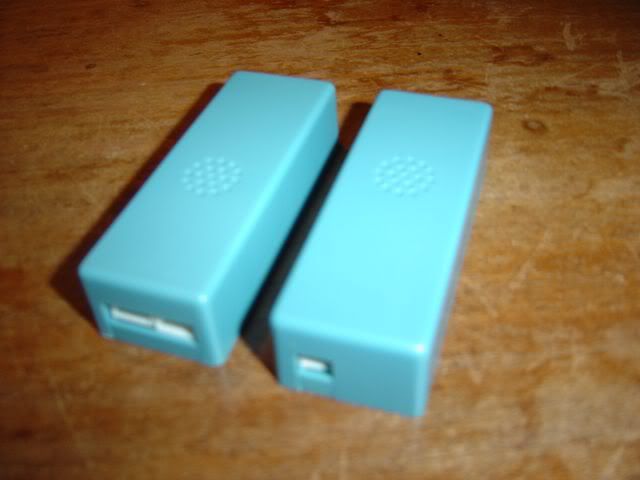
This is a relatively cheap case mod for my girlfriend, and also a bit of a demo machine to show off some of the products I sell for when we go to LANs.
This mod will be for a watercooled Cooler Master Centurion 534. Water cooling stuff is pretty much what I have lying around, has been superseded, or I've picked up cheap secondhand. As for hardware, it's nothing fancy, a 775 system, with her existing FX5200 and hdds. I haven't decided on the CPU yet. As for exactly what is happening to the case, you'll just have to wait and see...
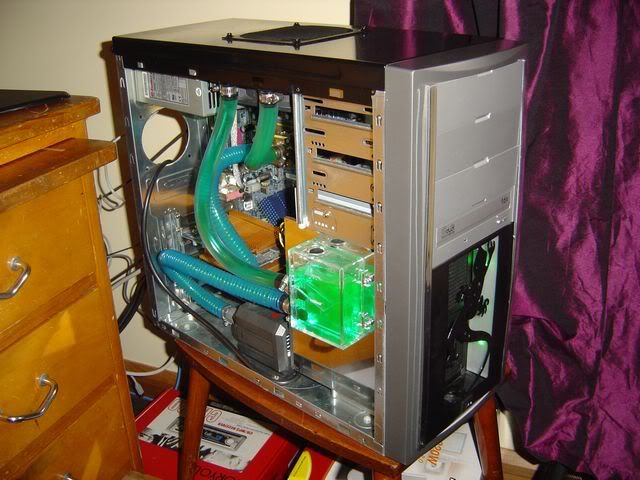
Unfortunately she had the camera when everything arrived, so there are no pix before I started breaking the case down. You can take a look at it here however.
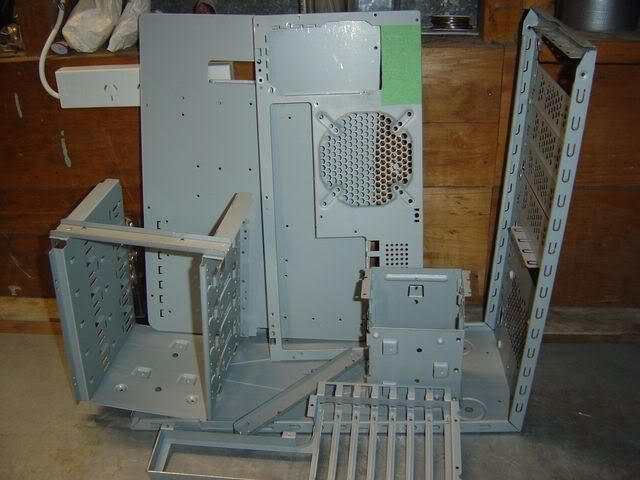
Case broken down to work on.
I hadn't planned to take the case apart quite this much, but the it is the worst design ever! To get the top panel off, I had to remove about 10 rivets in the top, then take out the PCI/IO panel, and remove the motherboard plate. Only then could I get the top off! I must have drilled out at least 25 rivets - and I'm only going to have to put them all back in later! Some I hope to replace with machine screws though, like the ones holding the drive bays in.
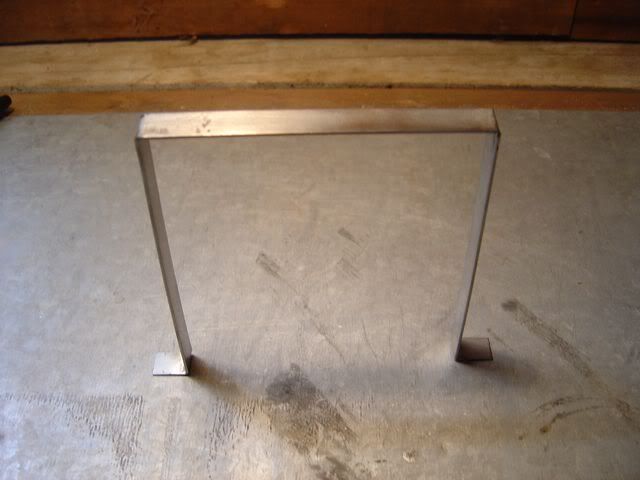
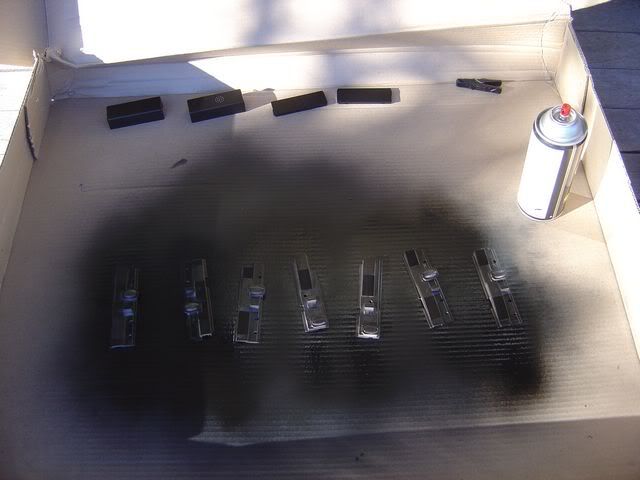
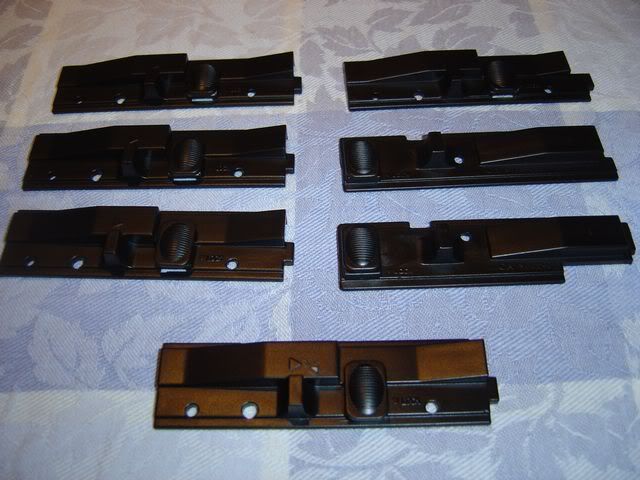
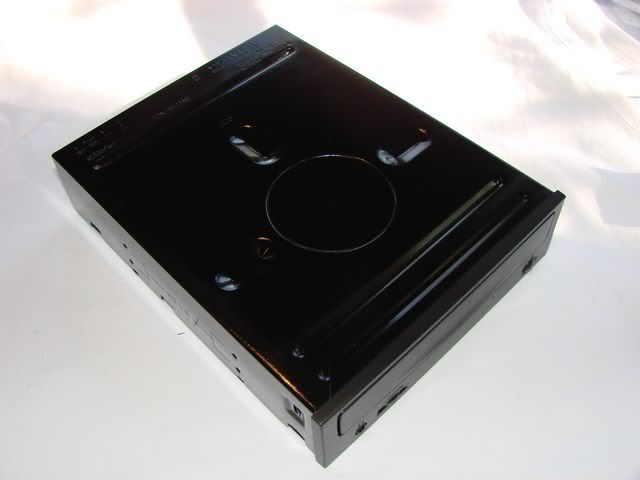
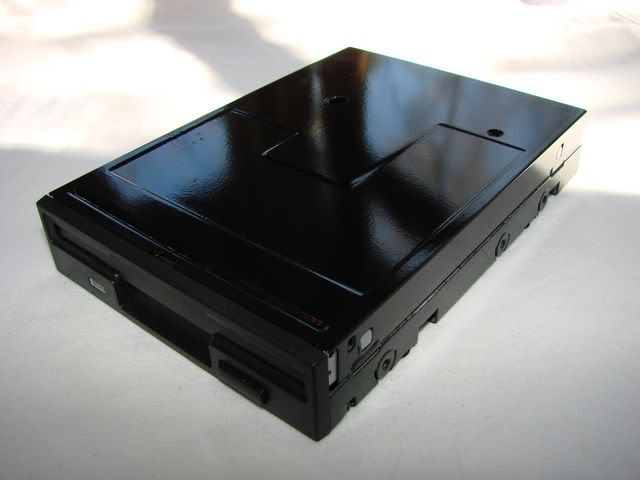
It took me a while to work out how to get the damned drive latching system off too, you have to pry out one end over a stopper, slide it back, and off. Then you're left with a small stainless piece which rotates up and off.
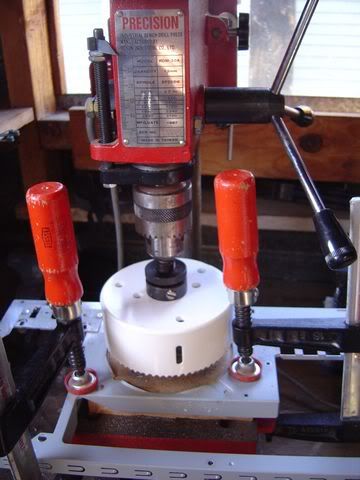
Cutting away the 120mm fangrill on the back panel. Cooler Master in their infinate wisdom, made it slightly larger than my 4.5" holesaw, and convex, so as you can see around the edges of the hole there are raised pieces, and a few extra holes. We can't have that, so break out a hammer and anvil like part on the back of my vise.
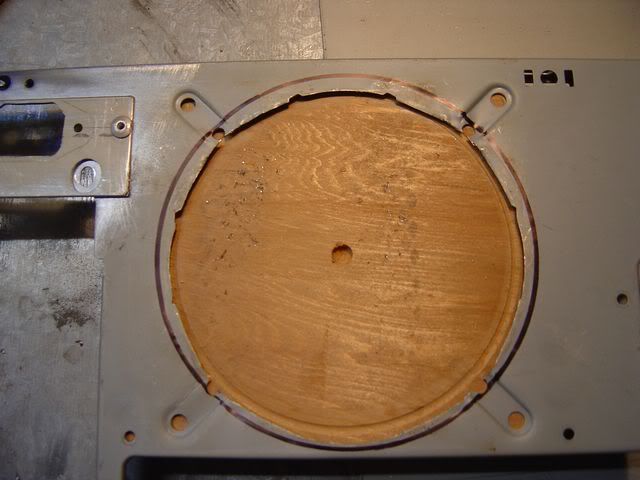
That leaves us with somewhat of a jagged hole, so out comes a CD - just the right size.
Then to work with the jigsaw to clean things up.
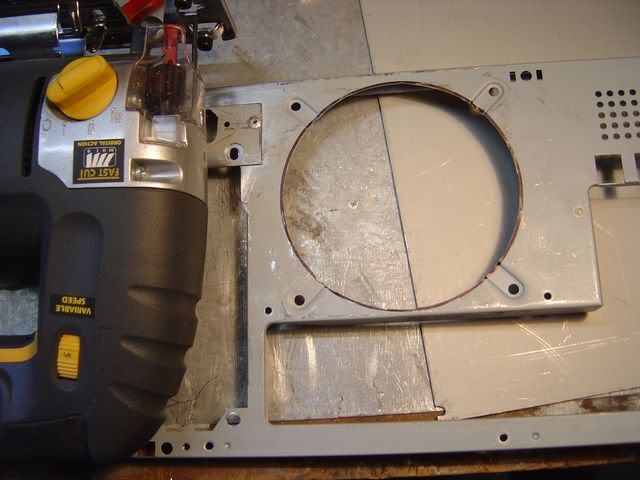
Yay! Much better
To explain that plate to the right of the PSU hole - I kinda messed up there a little. Somehow when I measured for the holes, I didn't quite allow enough for the PSU to go in there, and there was about 2mm overlap between the PSU and what will go in the holes. So I spent bloody ages making that nice little plate to cover up the old holes, and put the new ones in. It works, and hopefully it won't be quite so fugly once it's all the same colour.
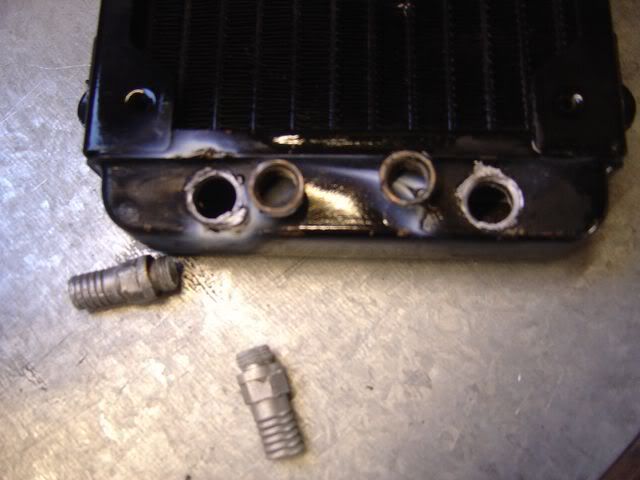
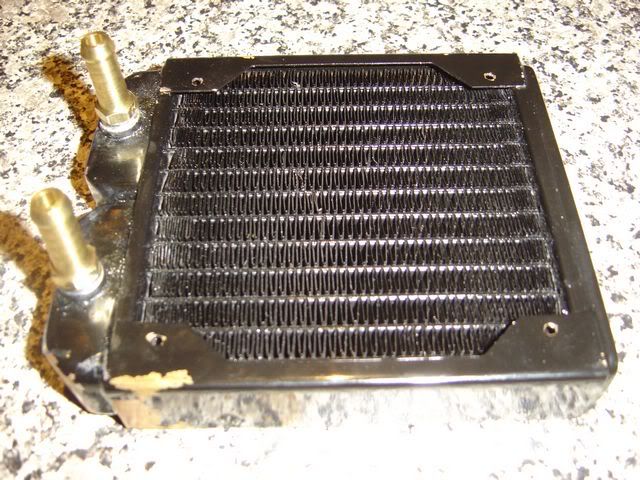
I'm using a Black Ice Pro that I picked up cheap for this system, but of course, it's got integral 1/2" barbs and everything else is 3/8", so to rectify that, I desoldered the fittings from this knackered Glacial rad (someone slipped and drilled holes through it on the other side).
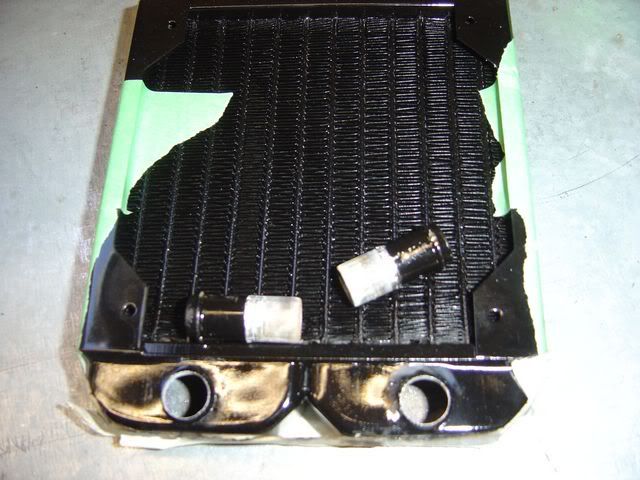
Desolder the barbs from the BIP...

A little soldering and here we have a BIP with 3/8" fittings. I'm going to pick up some new barbs this week to replace those as they're pretty worn. Having the threaded inserts is nice though, as I can change the barbs later on (though they would be a little restrictive using 1/2").
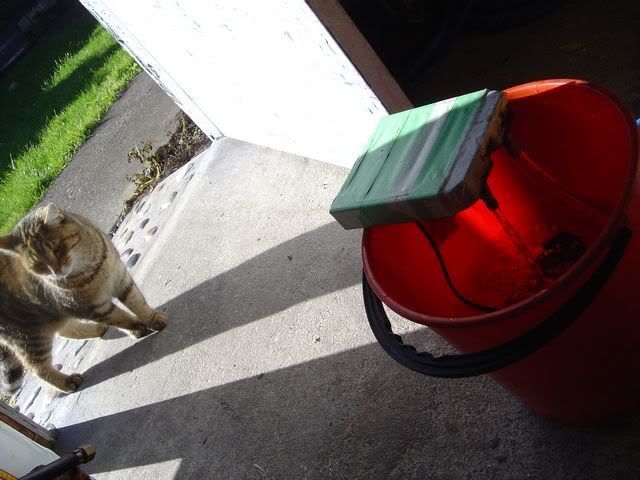
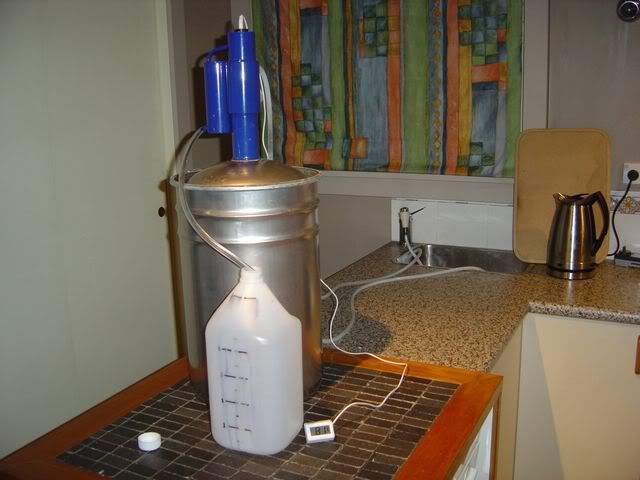
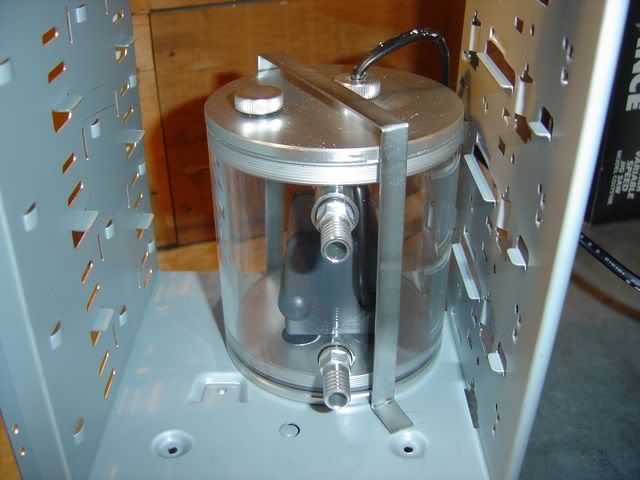
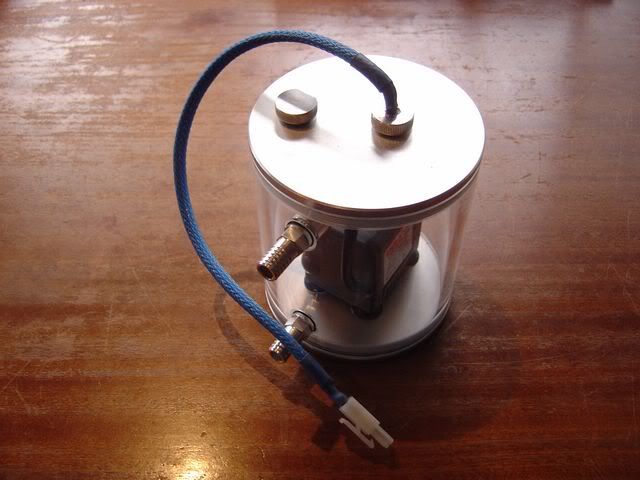
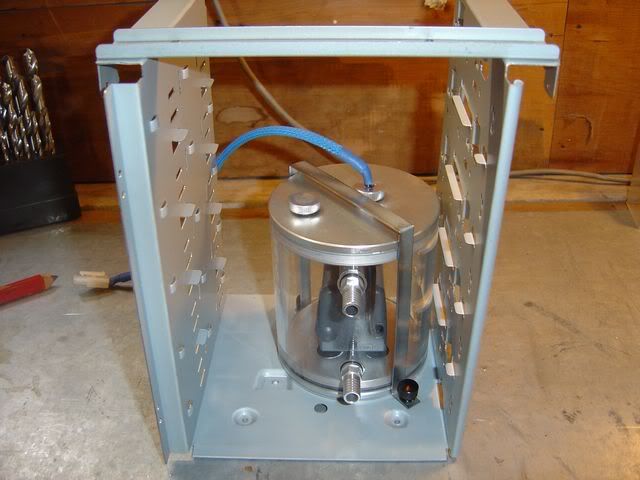
The obligatory cat shot. She was hanging around quite a lot, but usually while I wasn't photographing things. This shot shows the rad being tested for leaks. It actually failed on one of the barbs that test, but a quick resolder, and all was good. Stick your finger over the open barb and let the pump bust it's guts trying to find somewhere to push the water out. I tested it with an old Sicce Mouse submersable I had lying around from a ghetto cooling system I ran ages ago.
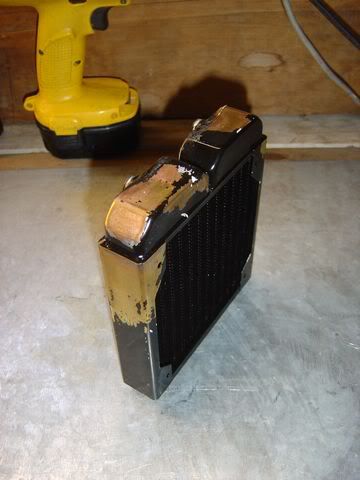
I'm not very impressed with the paint on the BIM, a little heat, some tape, and this is what happened. I guess I'm going to have to repaint this now too - something I was hoping to avoid.
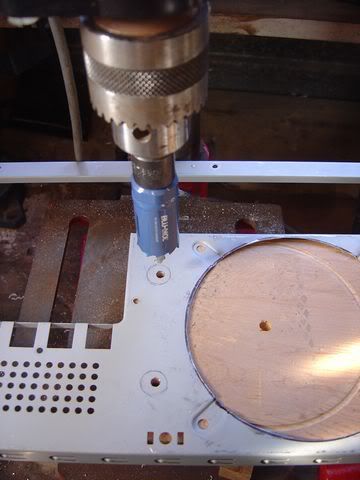
The next step was to drill the holes for the barbs as the rad will be mounted on the outside of the case facing in. Pilot holes are drilled....
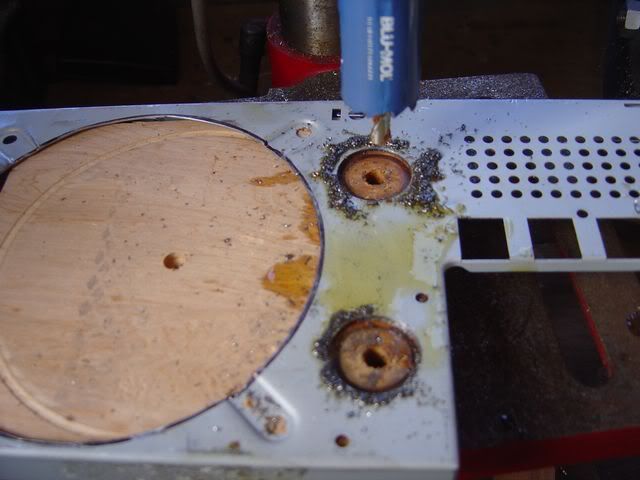
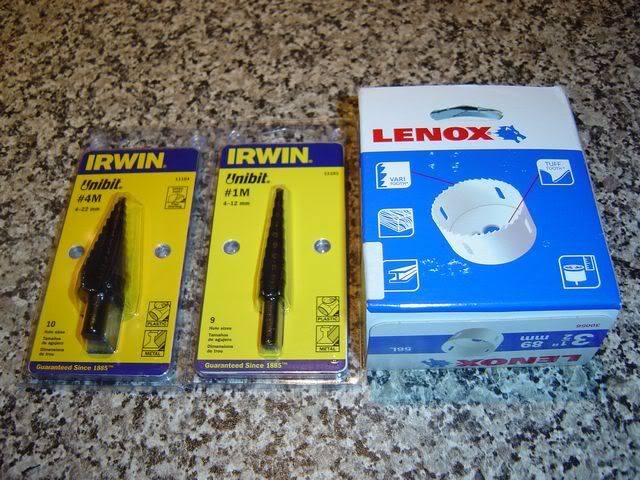
Then the holes themselves. Cutting oil makes things a lot easier on the holesaw, esp when it's steel you're cutting.
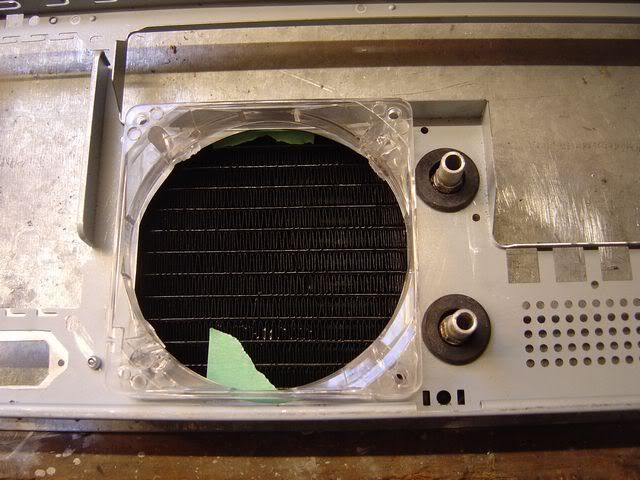
Add a couple of rubber grommets and test fit")
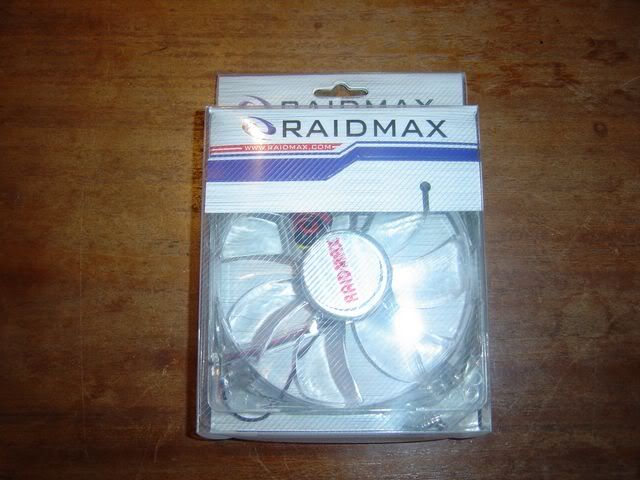
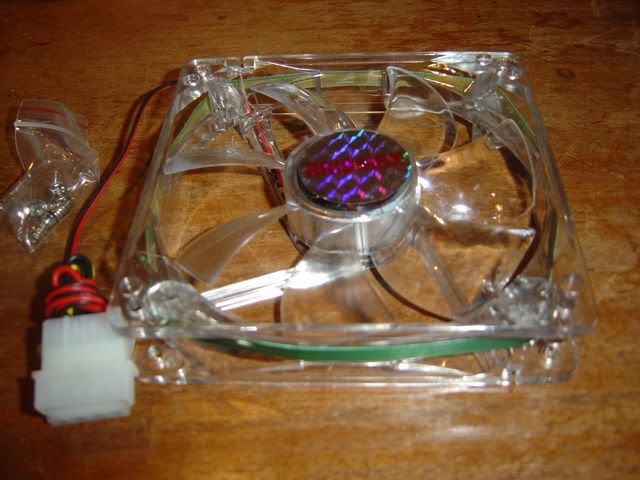
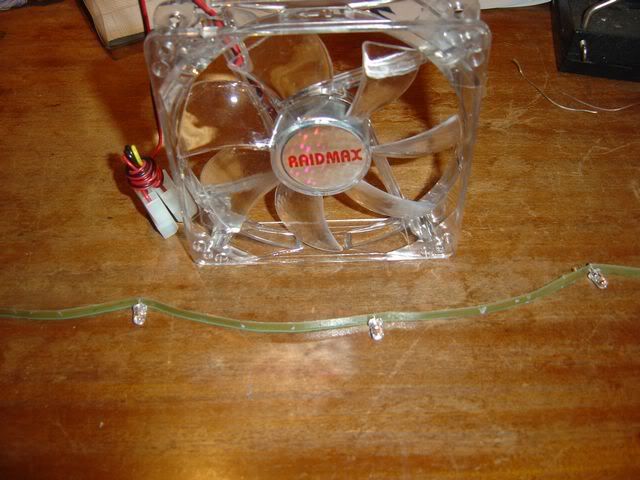
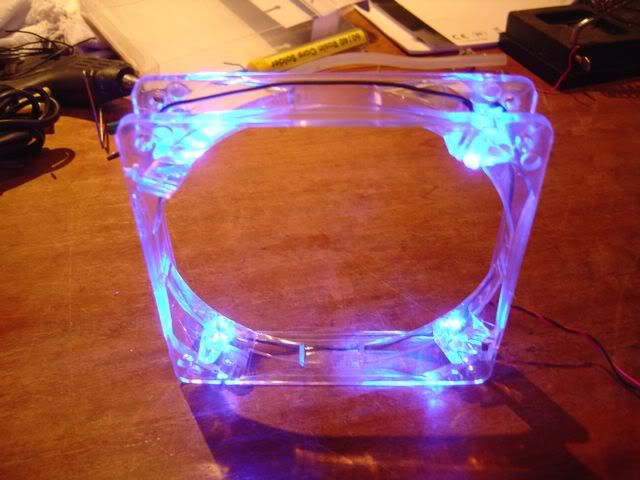
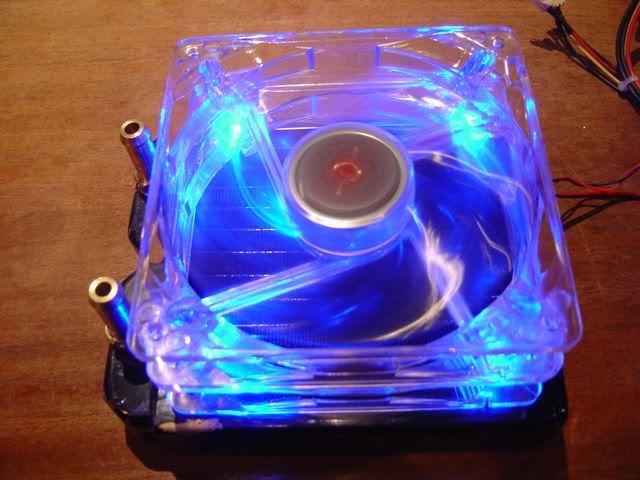
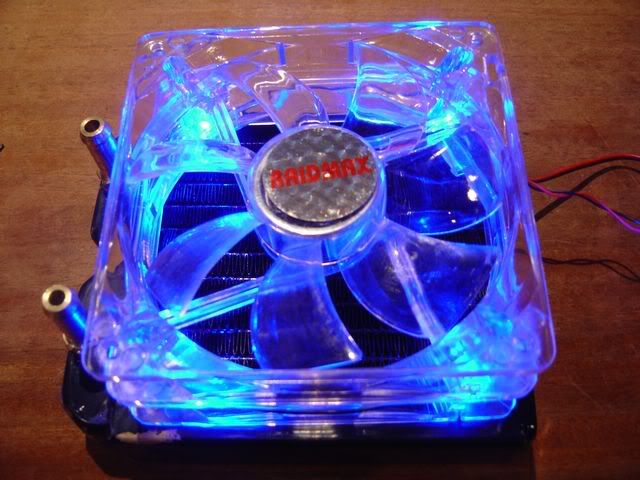
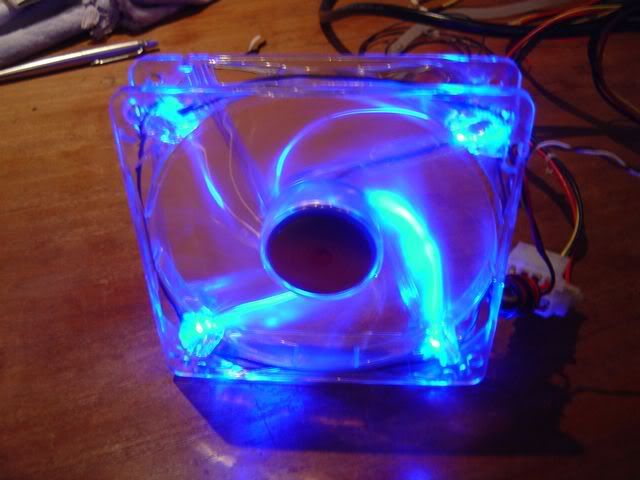
The clear 120mm fan frame will be used as a cheap shroud, and to supply the lighting in that area. The 120mm blue LED fans I bought from one of my suppliers has a really nasty looking green band around it, supplying power to the LEDs in the corners. I can't stand the sight of them. One I'll be reselling, but the other I'll strip the lights off and use as a clear fan, with the LEDs in the frame behind it doing the lighting. You'll see what I'm talking about sometime when I get that far down the track.
That's it for the back panel now, so we move onto the side panel...
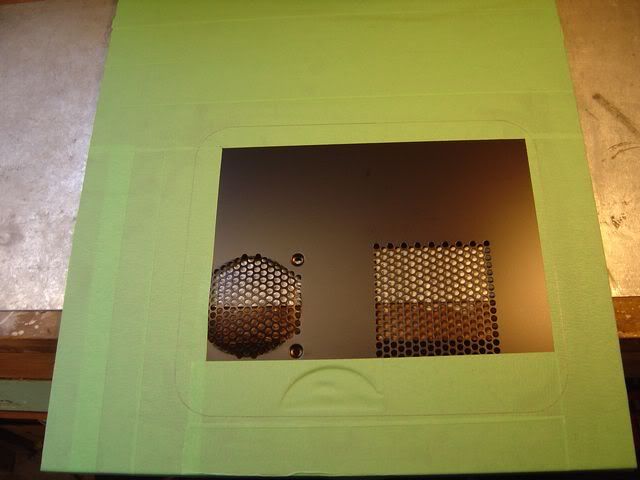
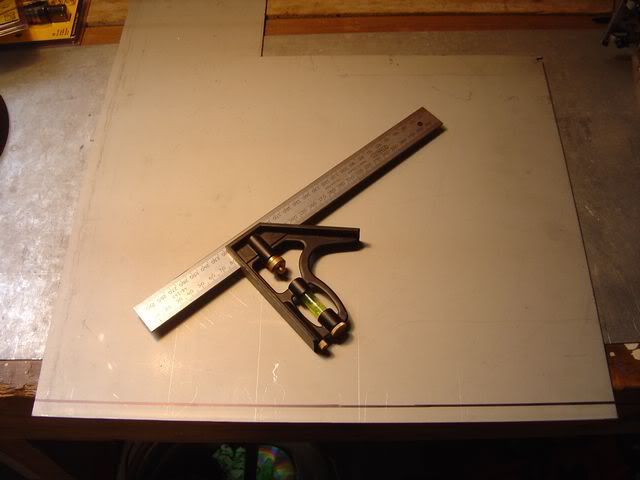
Side panel with the window marked out. A lot of cases these days seem to come with these obnoxious vents in the side. The 80mm vent is fine and doesn't bother me - you can put a filter on that easy enough, but the rectangular section is just annoying. It's just a good place for dust to get sucked through when you're aircooling.
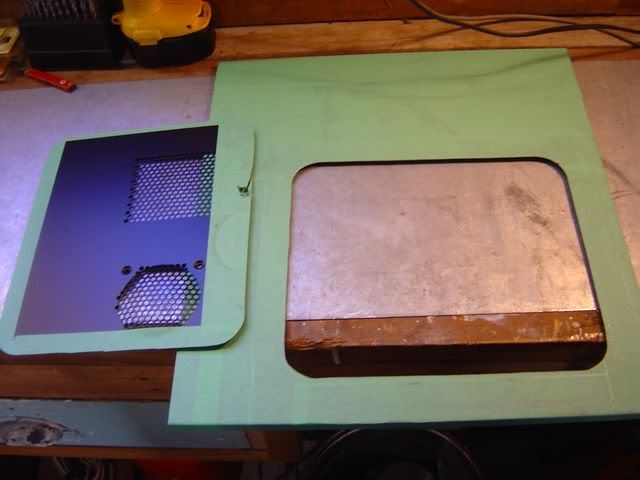
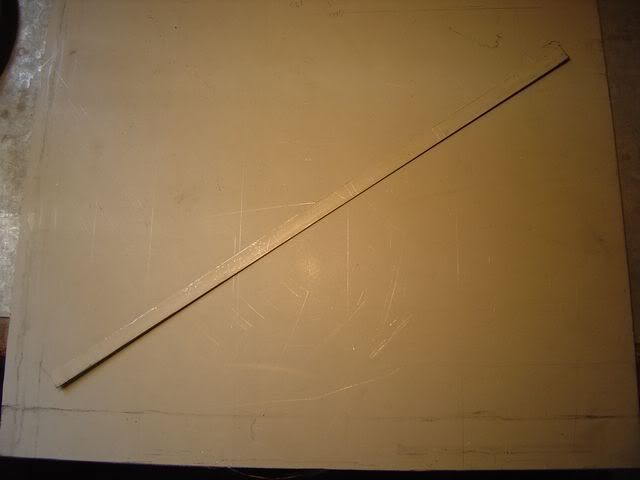
Window cut out with my trusty jigsaw.
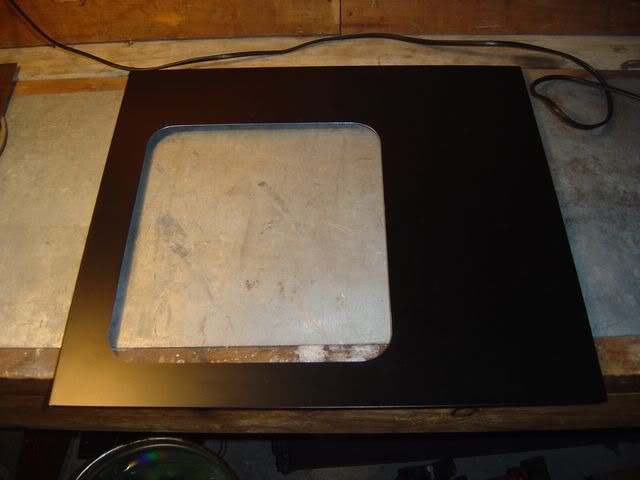
The cut has been filed and sanded smooth. It's not 100%, but probably about the best you are going to get without setting up gates, or laser cutting it.
The reason for it being positioned as it is will become clear later on hopefully (as will the name).
That's it for now, I've got plenty more to do, but the work on the case itself has finished for now. I'm going to try and get it in to the powdercoaters in the next few days. Plenty more to do on other things though. I may have to spend some time with the gf though, as I've pretty much ignored her all weekend
This mod will be for a watercooled Cooler Master Centurion 534. Water cooling stuff is pretty much what I have lying around, has been superseded, or I've picked up cheap secondhand. As for hardware, it's nothing fancy, a 775 system, with her existing FX5200 and hdds. I haven't decided on the CPU yet. As for exactly what is happening to the case, you'll just have to wait and see...
Unfortunately she had the camera when everything arrived, so there are no pix before I started breaking the case down. You can take a look at it here however.
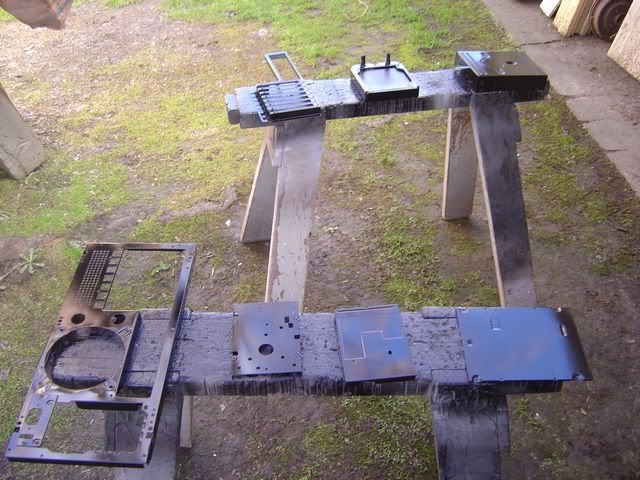
Case broken down to work on.
I hadn't planned to take the case apart quite this much, but the it is the worst design ever! To get the top panel off, I had to remove about 10 rivets in the top, then take out the PCI/IO panel, and remove the motherboard plate. Only then could I get the top off! I must have drilled out at least 25 rivets - and I'm only going to have to put them all back in later! Some I hope to replace with machine screws though, like the ones holding the drive bays in.
It took me a while to work out how to get the damned drive latching system off too, you have to pry out one end over a stopper, slide it back, and off. Then you're left with a small stainless piece which rotates up and off.
Cutting away the 120mm fangrill on the back panel. Cooler Master in their infinate wisdom, made it slightly larger than my 4.5" holesaw, and convex, so as you can see around the edges of the hole there are raised pieces, and a few extra holes. We can't have that, so break out a hammer and anvil like part on the back of my vise.
That leaves us with somewhat of a jagged hole, so out comes a CD - just the right size.
Then to work with the jigsaw to clean things up.
Yay! Much better
To explain that plate to the right of the PSU hole - I kinda messed up there a little. Somehow when I measured for the holes, I didn't quite allow enough for the PSU to go in there, and there was about 2mm overlap between the PSU and what will go in the holes. So I spent bloody ages making that nice little plate to cover up the old holes, and put the new ones in. It works, and hopefully it won't be quite so fugly once it's all the same colour.
I'm using a Black Ice Pro that I picked up cheap for this system, but of course, it's got integral 1/2" barbs and everything else is 3/8", so to rectify that, I desoldered the fittings from this knackered Glacial rad (someone slipped and drilled holes through it on the other side).
Desolder the barbs from the BIP...
A little soldering and here we have a BIP with 3/8" fittings. I'm going to pick up some new barbs this week to replace those as they're pretty worn. Having the threaded inserts is nice though, as I can change the barbs later on (though they would be a little restrictive using 1/2").
The obligatory cat shot. She was hanging around quite a lot, but usually while I wasn't photographing things. This shot shows the rad being tested for leaks. It actually failed on one of the barbs that test, but a quick resolder, and all was good. Stick your finger over the open barb and let the pump bust it's guts trying to find somewhere to push the water out. I tested it with an old Sicce Mouse submersable I had lying around from a ghetto cooling system I ran ages ago.
I'm not very impressed with the paint on the BIM, a little heat, some tape, and this is what happened. I guess I'm going to have to repaint this now too - something I was hoping to avoid.
The next step was to drill the holes for the barbs as the rad will be mounted on the outside of the case facing in. Pilot holes are drilled....
Then the holes themselves. Cutting oil makes things a lot easier on the holesaw, esp when it's steel you're cutting.
Add a couple of rubber grommets and test fit
The clear 120mm fan frame will be used as a cheap shroud, and to supply the lighting in that area. The 120mm blue LED fans I bought from one of my suppliers has a really nasty looking green band around it, supplying power to the LEDs in the corners. I can't stand the sight of them. One I'll be reselling, but the other I'll strip the lights off and use as a clear fan, with the LEDs in the frame behind it doing the lighting. You'll see what I'm talking about sometime when I get that far down the track.
That's it for the back panel now, so we move onto the side panel...
Side panel with the window marked out. A lot of cases these days seem to come with these obnoxious vents in the side. The 80mm vent is fine and doesn't bother me - you can put a filter on that easy enough, but the rectangular section is just annoying. It's just a good place for dust to get sucked through when you're aircooling.
Window cut out with my trusty jigsaw.
The cut has been filed and sanded smooth. It's not 100%, but probably about the best you are going to get without setting up gates, or laser cutting it.
The reason for it being positioned as it is will become clear later on hopefully (as will the name).
That's it for now, I've got plenty more to do, but the work on the case itself has finished for now. I'm going to try and get it in to the powdercoaters in the next few days. Plenty more to do on other things though. I may have to spend some time with the gf though, as I've pretty much ignored her all weekend