filthysanchez
2[H]4U
- Joined
- Jul 19, 2006
- Messages
- 2,669
any idea when we can see some more updates?
Follow along with the video below to see how to install our site as a web app on your home screen.
Note: This feature may not be available in some browsers.

also good for making meth, i see where your goingLegion© said:Not wine, ethanol, the base for all spirits and liqueurs.
It makes for very cheap bourbon. That batch that I distilled last night will make about 12 litres at 40% and probably cost about $40. Another $5-10 a litre to flavour and it's good to go.
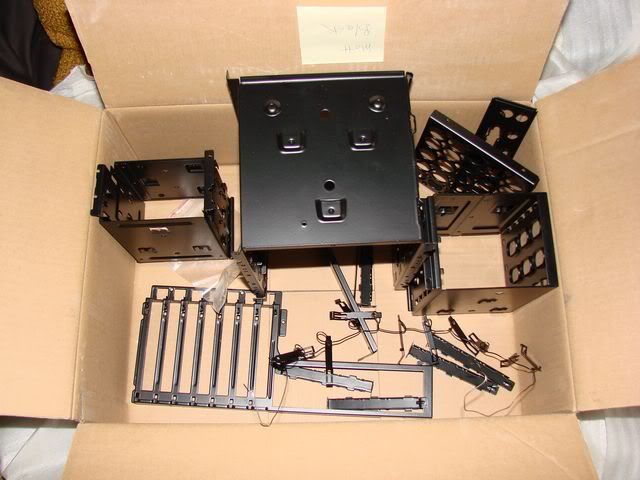
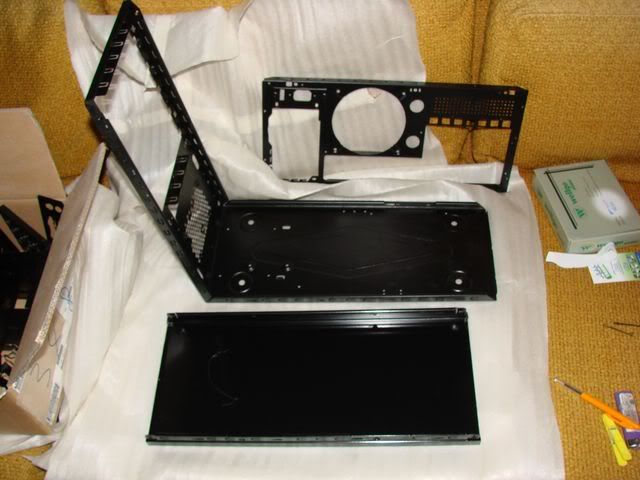
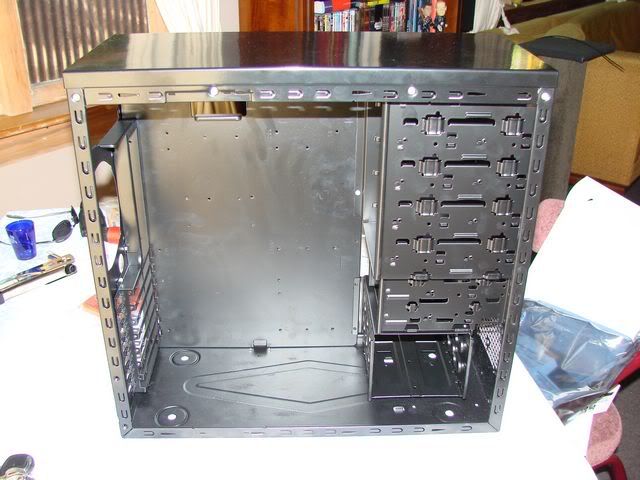
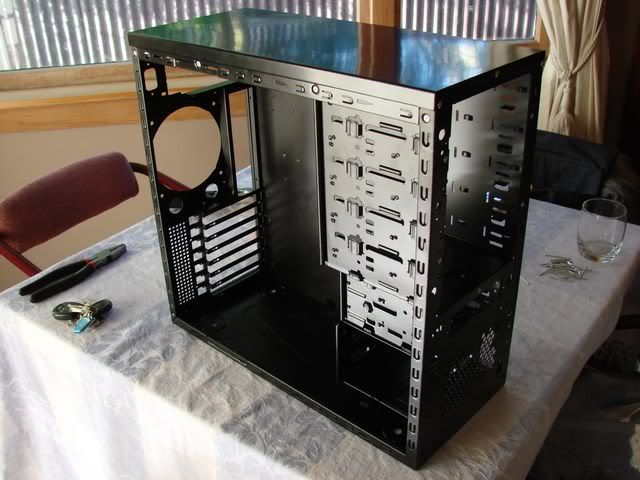

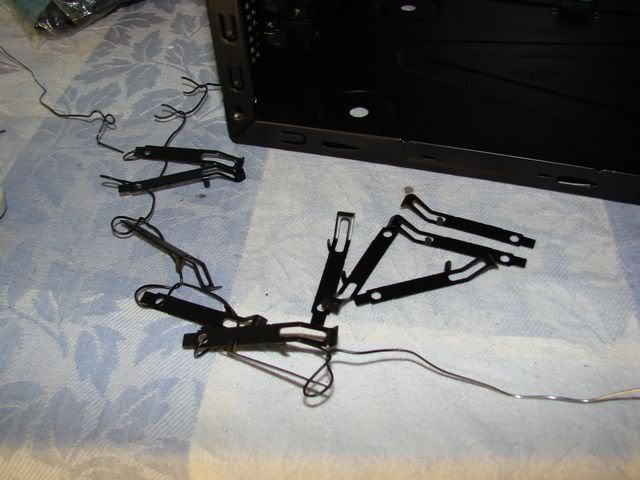
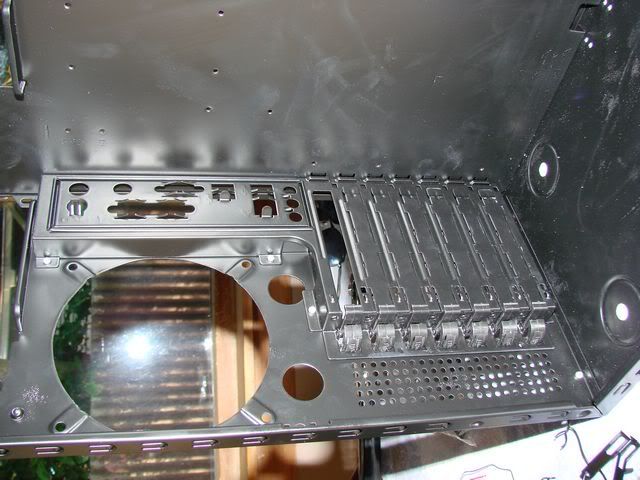
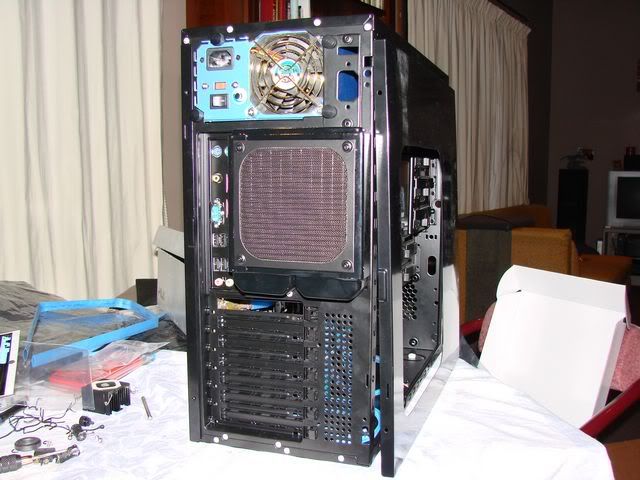
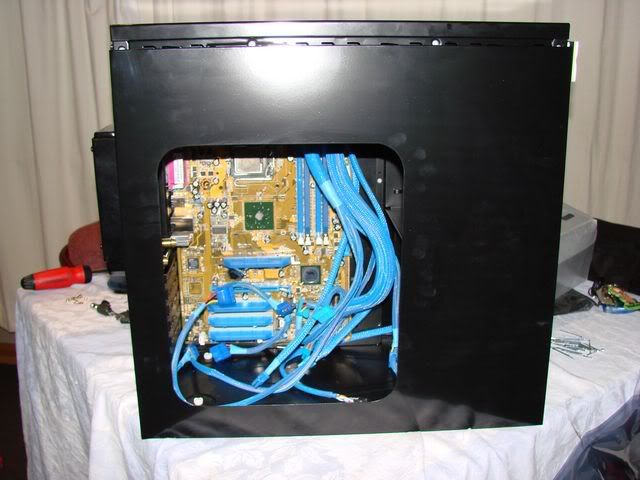
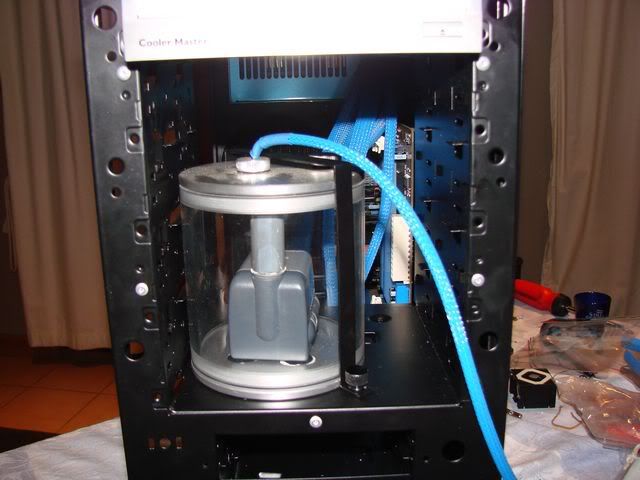
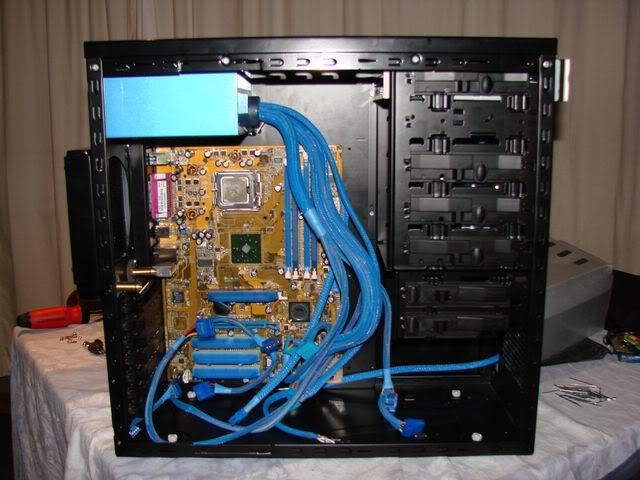
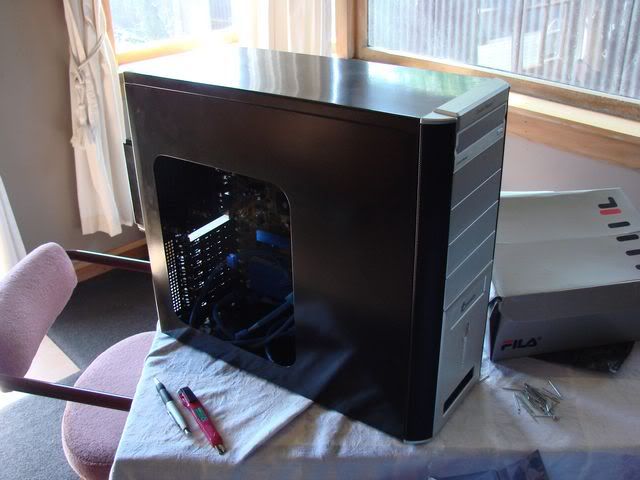
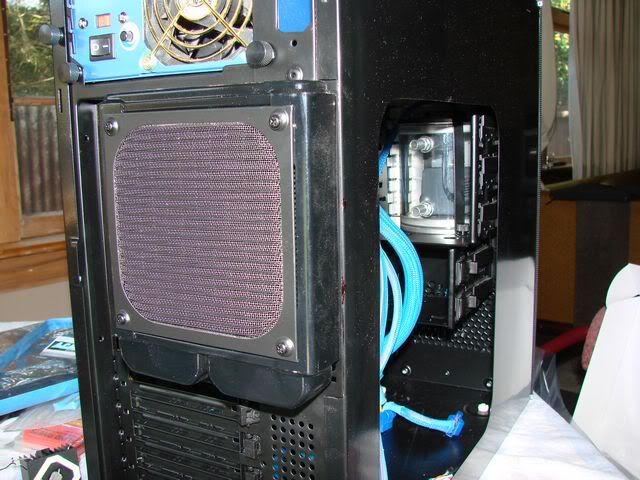
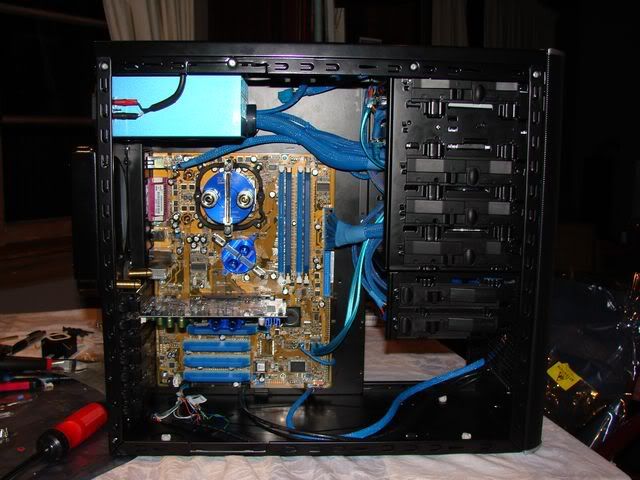
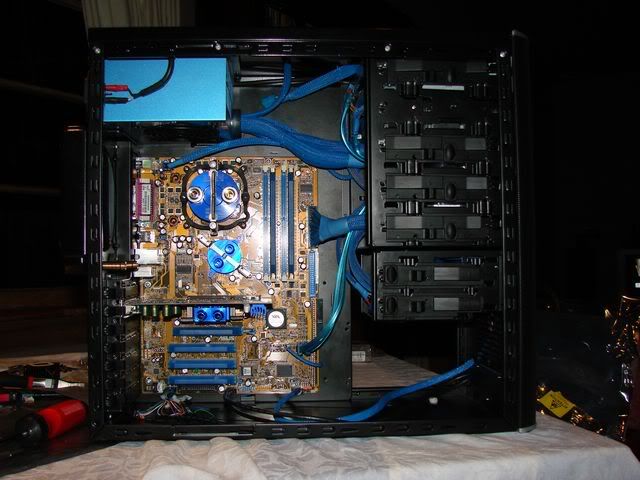
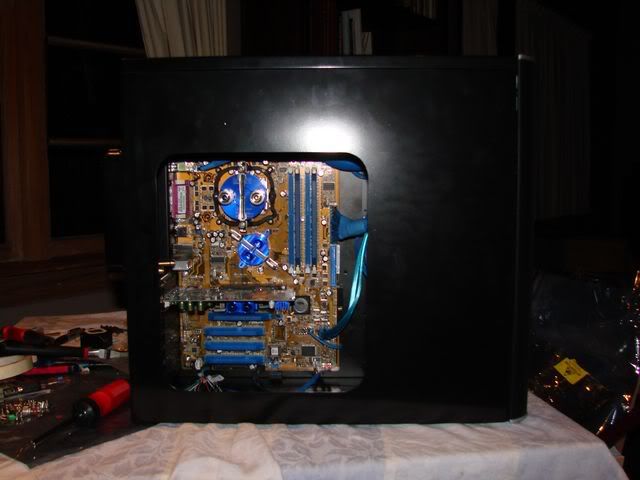
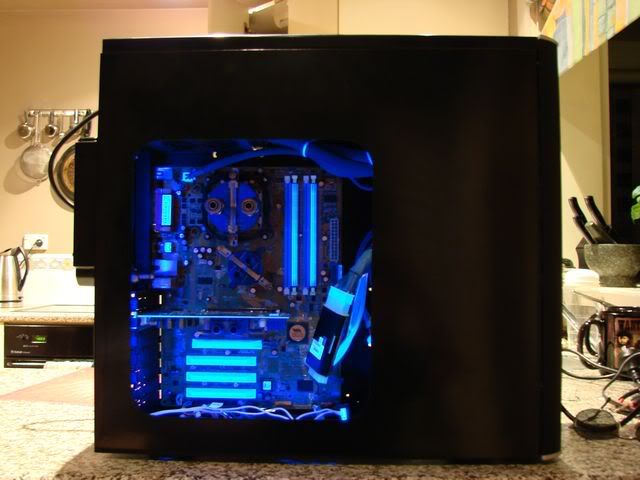
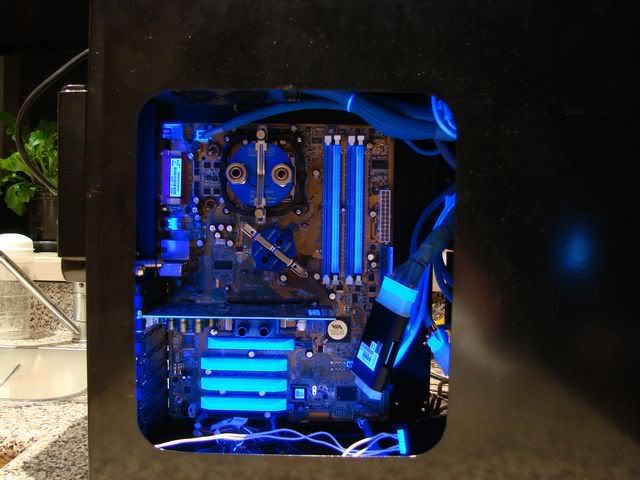
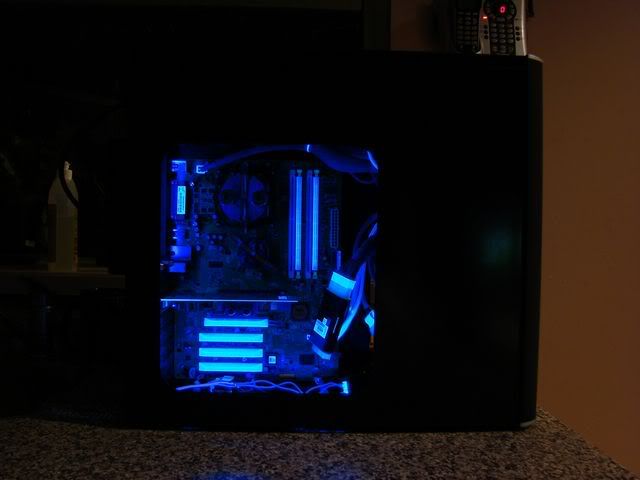

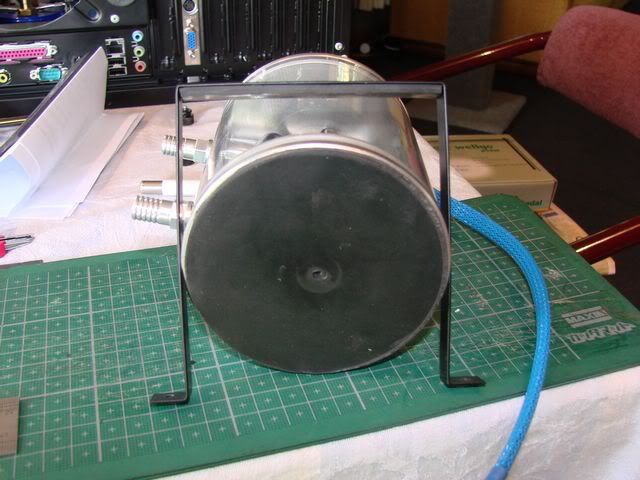
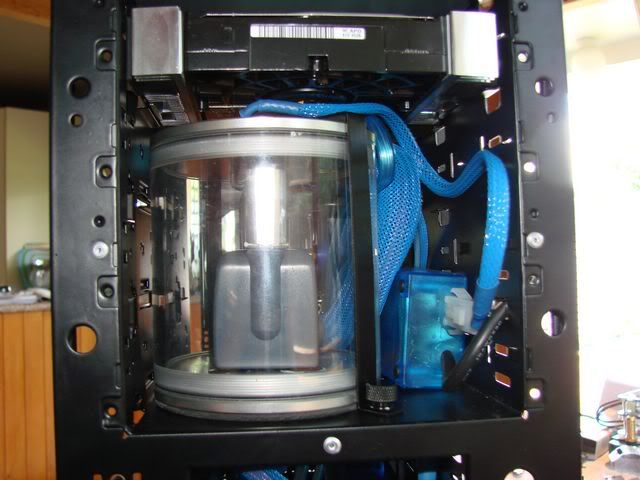

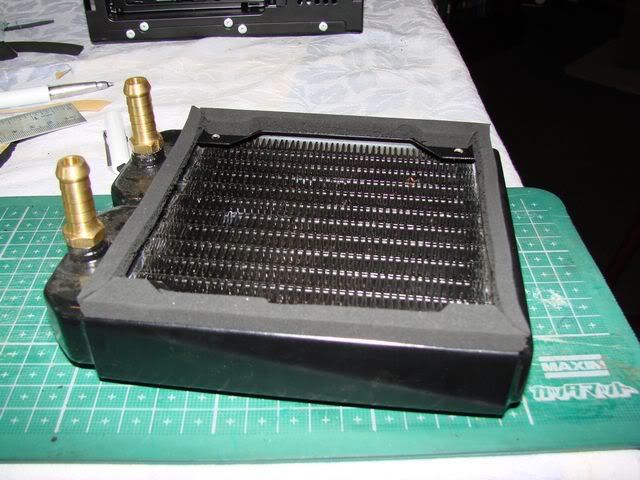
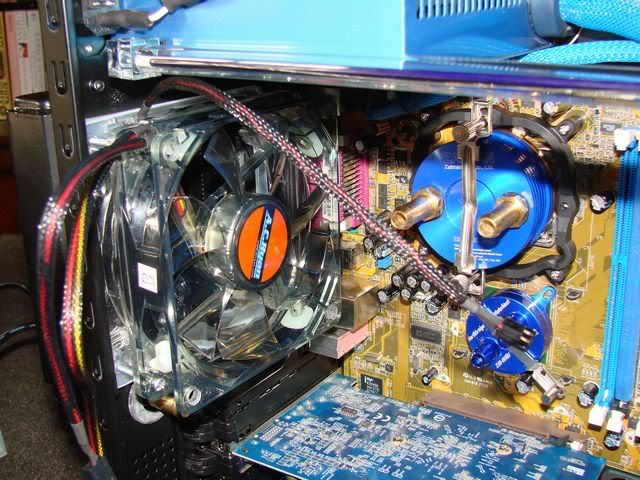
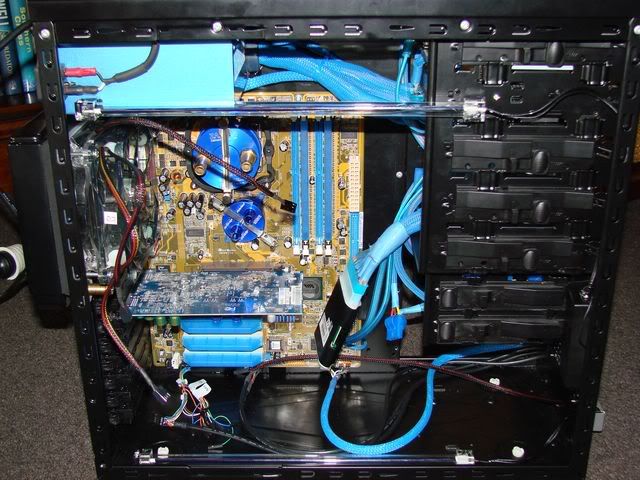
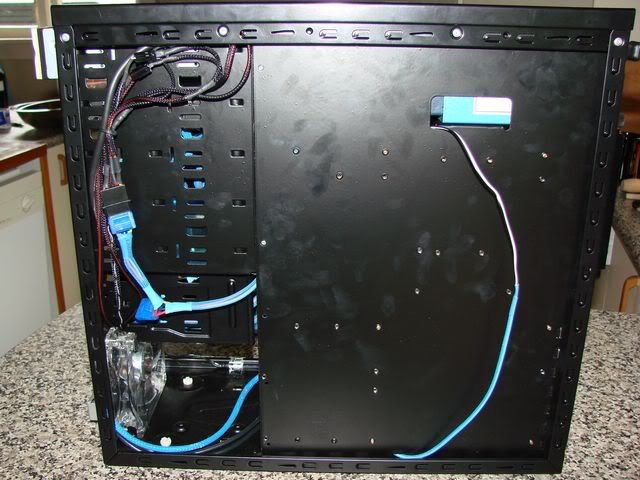
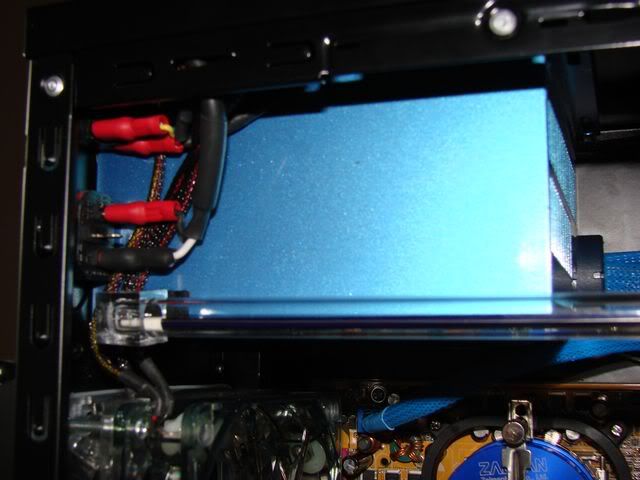


This is all but done now. I just have one or two things left to do - Put the acrylic window in, the RPM cable for the rad fan, signwriting for a bit of free advertising for my company at LANs (NZ customers only for all those of you reading this elsewhere), polish it all up and take final pix.
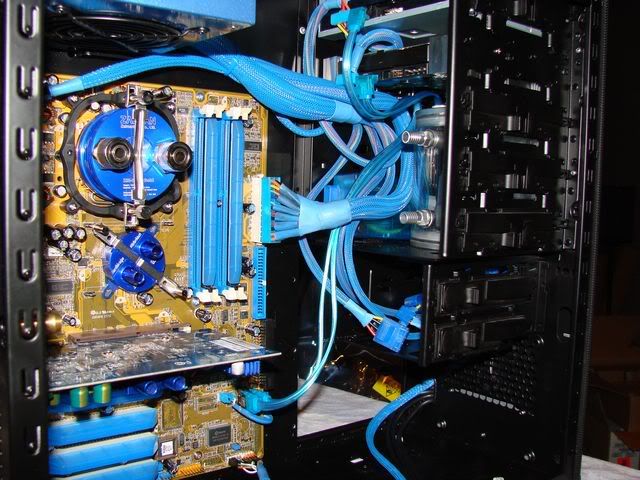
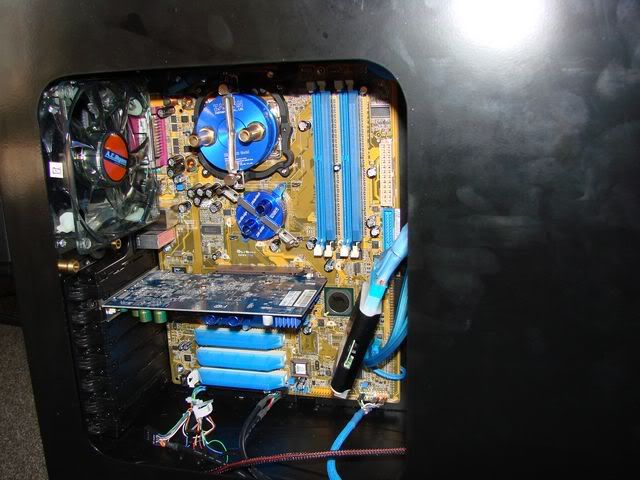
what temps do you get with one 120mm rad cooling nb,cpu and gpu?