I built this last year, but just got around to making a thread now.
Started off with some 3/4" MDF.
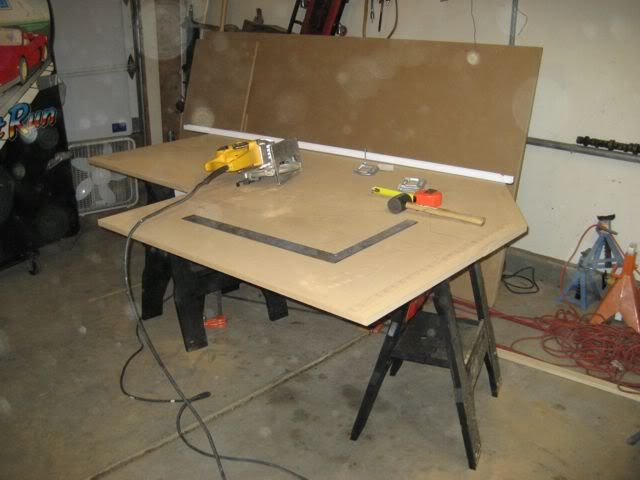
Cut out the sides and made ledger boards to screw to. I didn't want any visible screws.
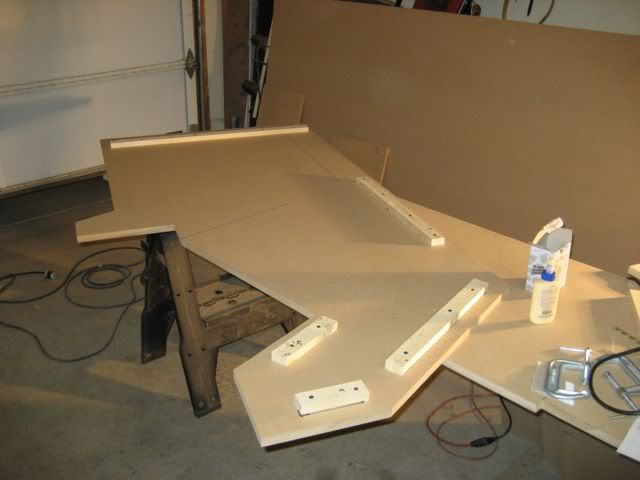
Main cabinet coming together.

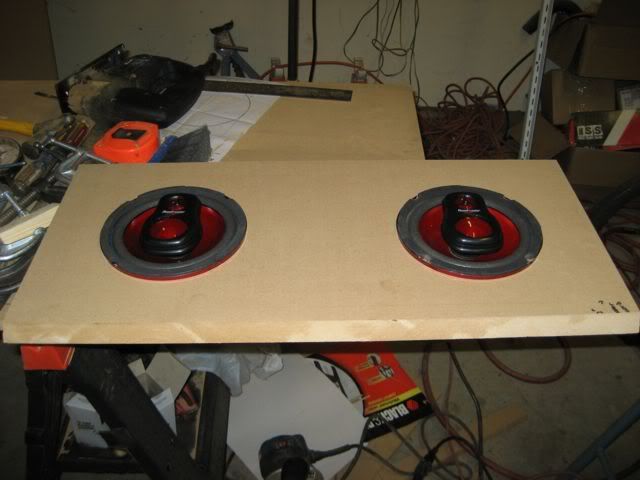
Sound provided by a pair of $20 automotive speakers from Checker.
Wheels are required since it weighs in the ballpark of 300 lbs.
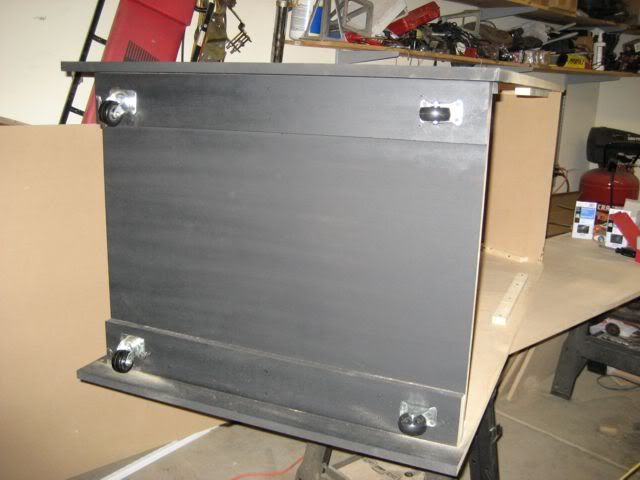
The main chassis completed.
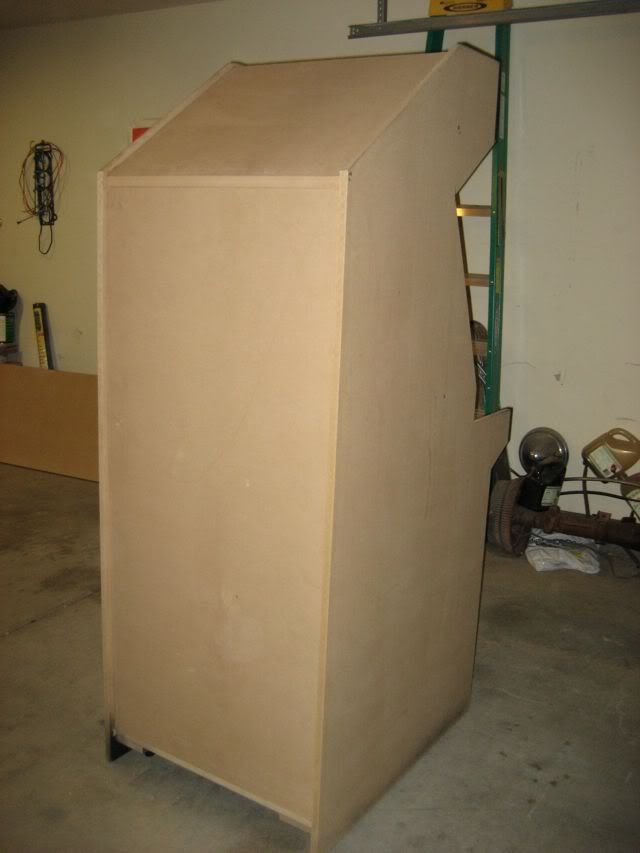
The back and top completed. (I put vent holes in with the router later.)
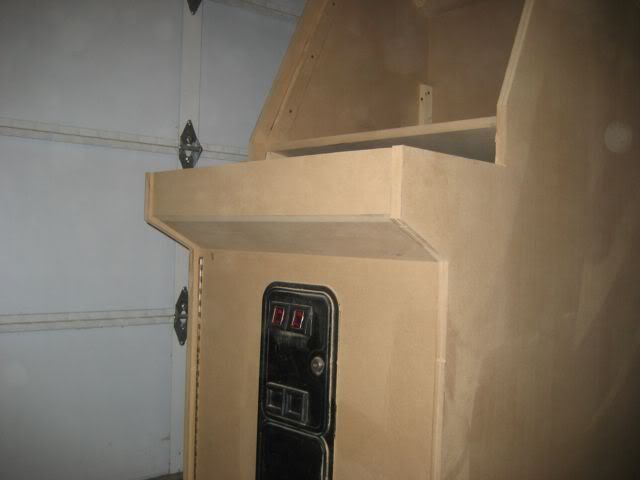
The front door and coinbox in.
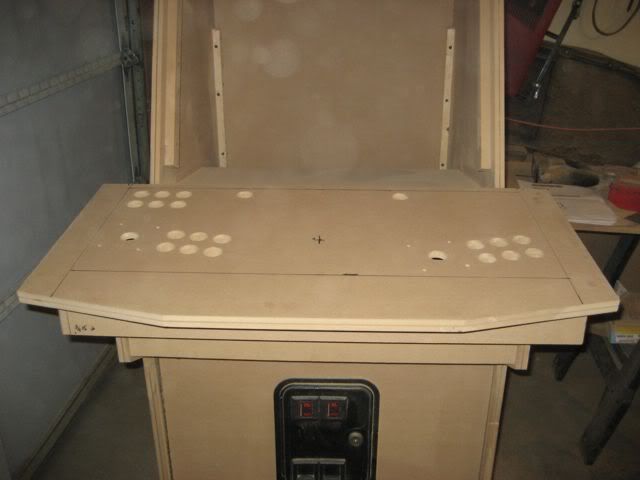
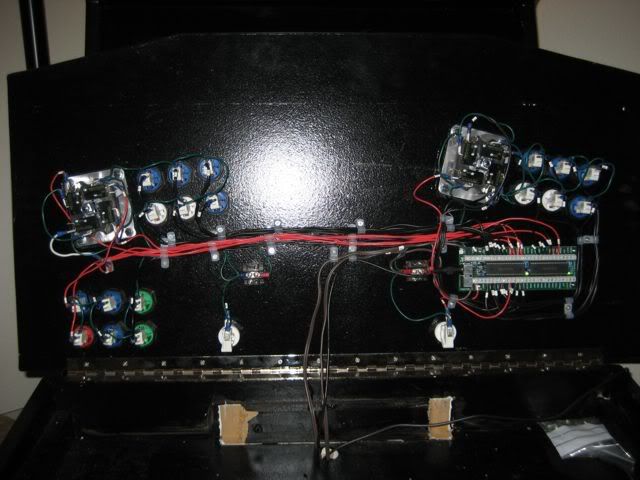
My control panel laid out and all the holes routed out.
I skipped the painting pictures. Here's the first incarnation all together with a 19" LCD.
After playing the old school games on the LCD (rotating it for correct aspect), it didn't feel right. Pac-Man, Space Invaders and the like were too... clear. So in goes the 27" Magnavox flat tube television. I took it out of the casing and machined/welded custom aluminum brackets to hold the tube up.
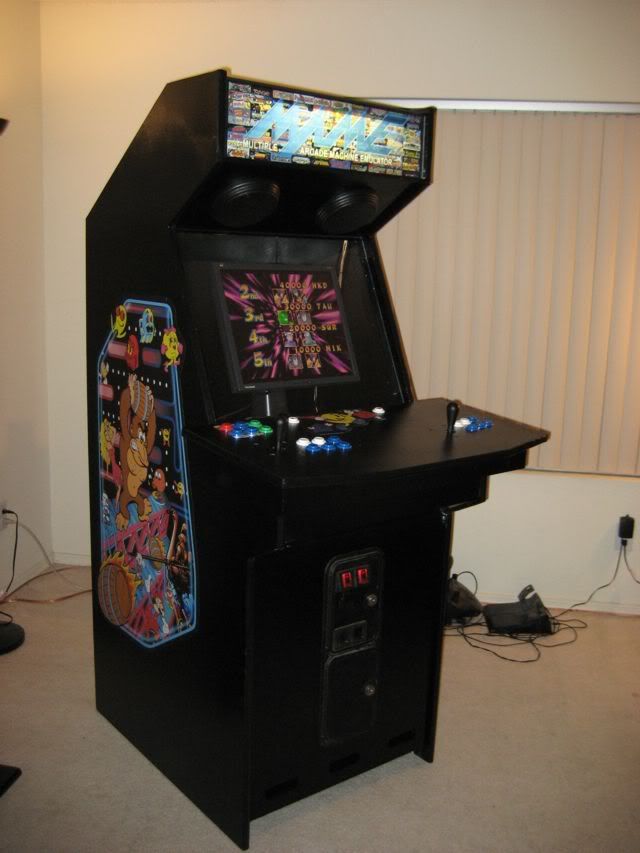
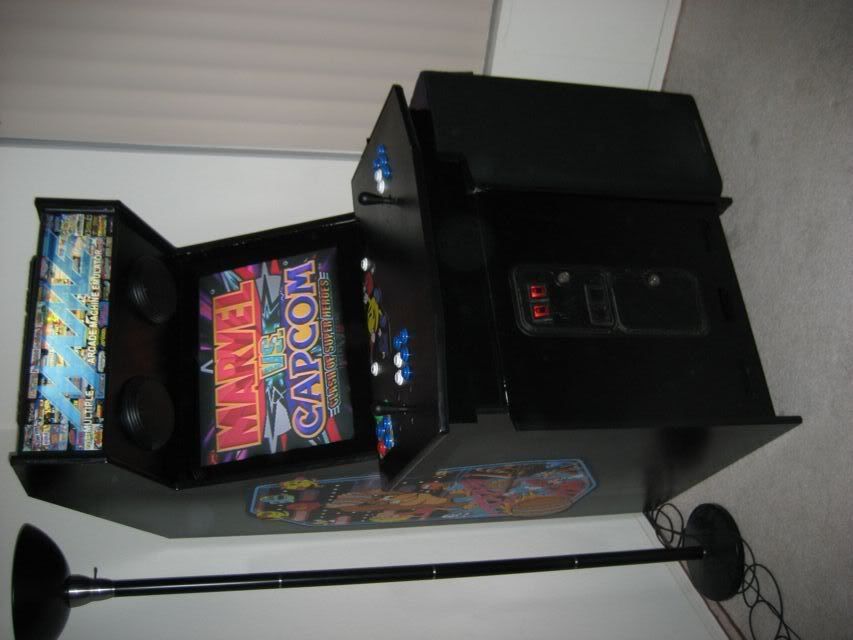
Together with the new display.
Eventually I swapped out the joysticks with some magnetically centering, 4/8 way selectable sticks because playing Tetris and Pac-Man on an 8 way spring loaded stick didn't work out too well. I needed to machine adapter plates out of aluminum to convert the new sticks to my bolt pattern.
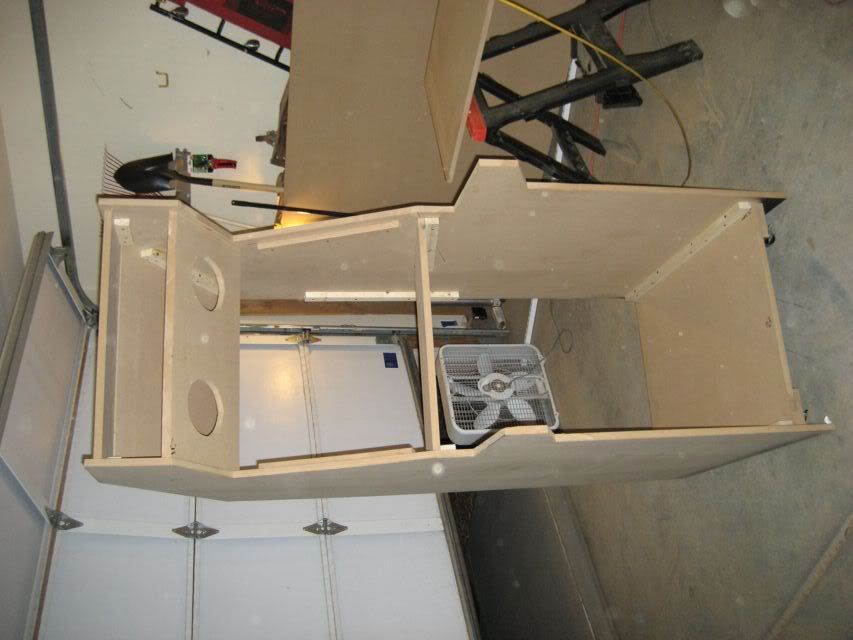
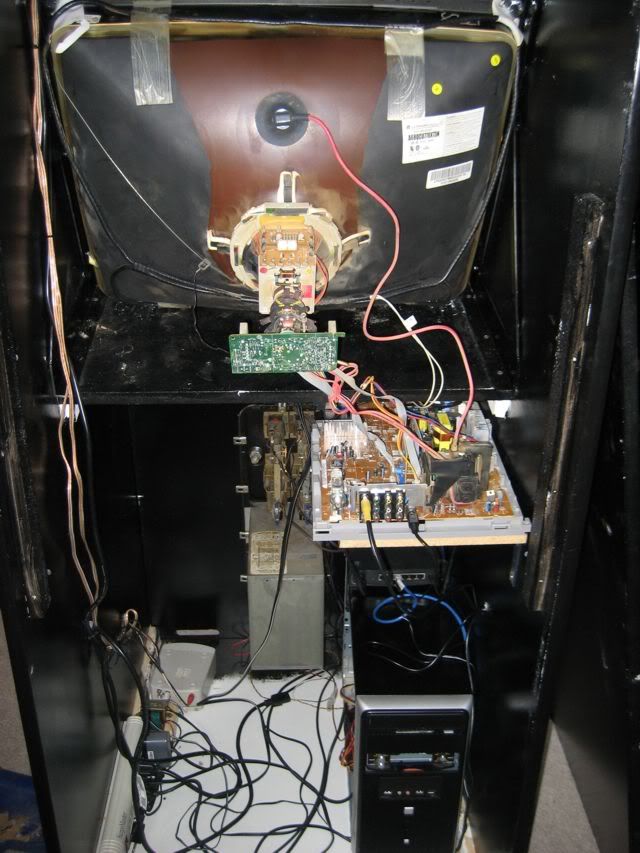
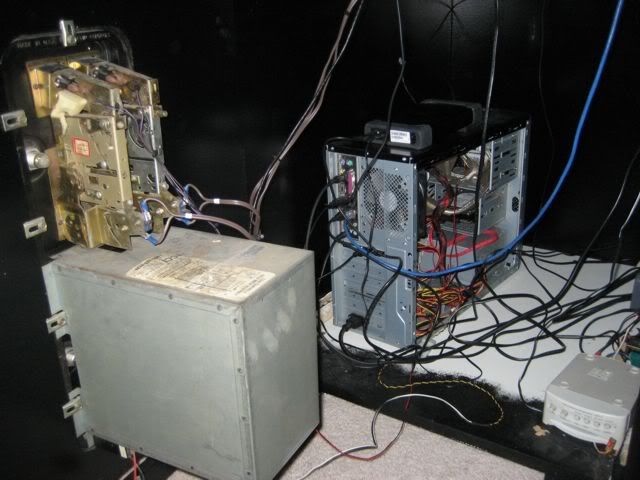
A shot of the inside. The coin slots are fully functional. I also have an SVHS and optical audio cable coming out of the cabinet into my TV and use it to watch Hulu and AVIs. I never got around to cleaning up the cables. The coin lights are run off the PC power supply through fan speed control pots in order to adjust brightness. Bulbs are turn signal bulbs from Checker.
It took me about three weeks of evenings after work to build. Total cost without the computer (spare parts) was around $1100.
Street Fighter 4 will be installed soon in time for when my out of town friends come over for Labor Day.
Apparently the photos I rotated, unrotated. Turn your head.
Started off with some 3/4" MDF.
Cut out the sides and made ledger boards to screw to. I didn't want any visible screws.
Main cabinet coming together.
Sound provided by a pair of $20 automotive speakers from Checker.
Wheels are required since it weighs in the ballpark of 300 lbs.
The main chassis completed.
The back and top completed. (I put vent holes in with the router later.)
The front door and coinbox in.
My control panel laid out and all the holes routed out.
I skipped the painting pictures. Here's the first incarnation all together with a 19" LCD.
After playing the old school games on the LCD (rotating it for correct aspect), it didn't feel right. Pac-Man, Space Invaders and the like were too... clear. So in goes the 27" Magnavox flat tube television. I took it out of the casing and machined/welded custom aluminum brackets to hold the tube up.
Together with the new display.
Eventually I swapped out the joysticks with some magnetically centering, 4/8 way selectable sticks because playing Tetris and Pac-Man on an 8 way spring loaded stick didn't work out too well. I needed to machine adapter plates out of aluminum to convert the new sticks to my bolt pattern.
A shot of the inside. The coin slots are fully functional. I also have an SVHS and optical audio cable coming out of the cabinet into my TV and use it to watch Hulu and AVIs. I never got around to cleaning up the cables. The coin lights are run off the PC power supply through fan speed control pots in order to adjust brightness. Bulbs are turn signal bulbs from Checker.
It took me about three weeks of evenings after work to build. Total cost without the computer (spare parts) was around $1100.
Street Fighter 4 will be installed soon in time for when my out of town friends come over for Labor Day.
Apparently the photos I rotated, unrotated. Turn your head.
Last edited: