SYNTHESIS
I started this project over a year ago, It was going to goto xlan 2005, but it was only half finished. Now that i have more money and time on my hands i can get back to where i left off.
I've decided to start the mod all over again, due to the fact ive completely destroyed my Silverstone TJ06.
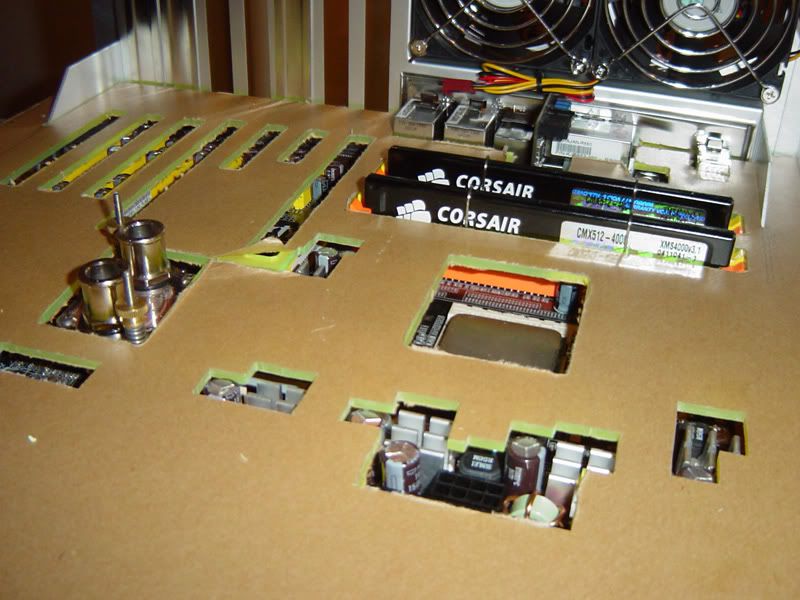
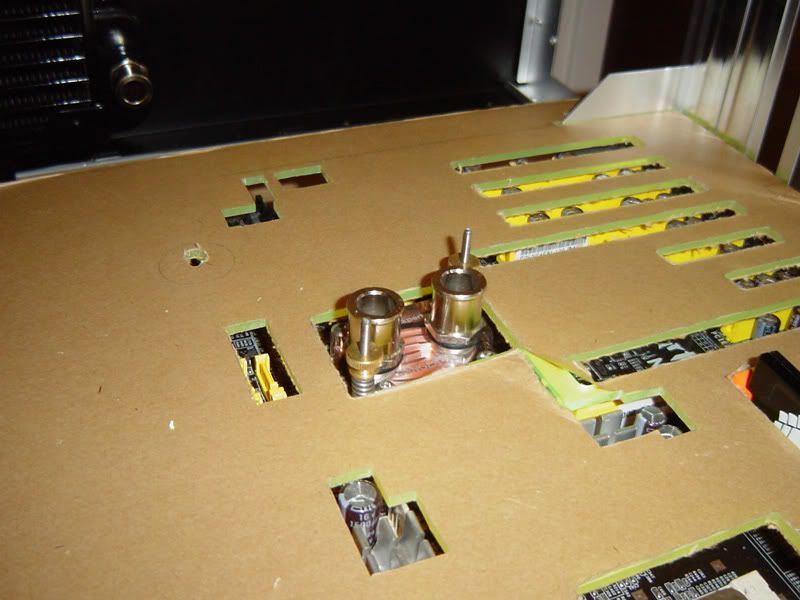
Before:

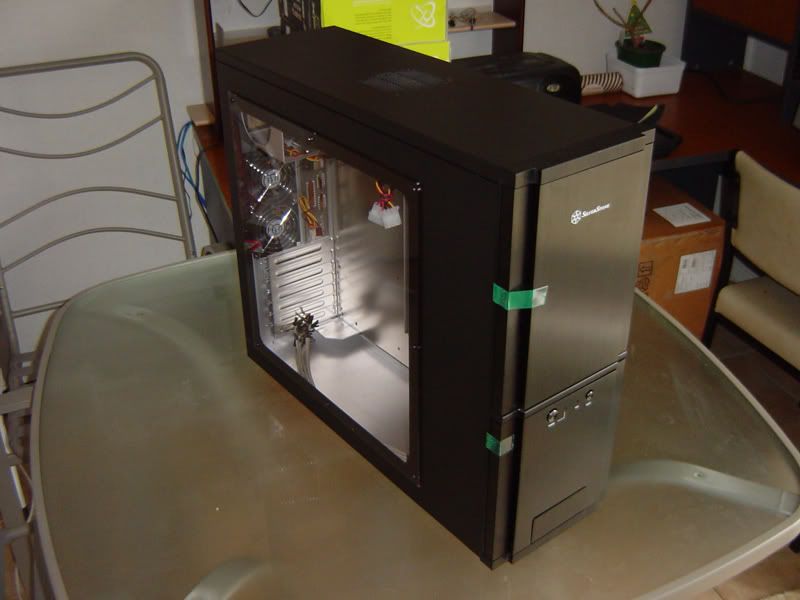
Now:
Some major changes happening since the old version:
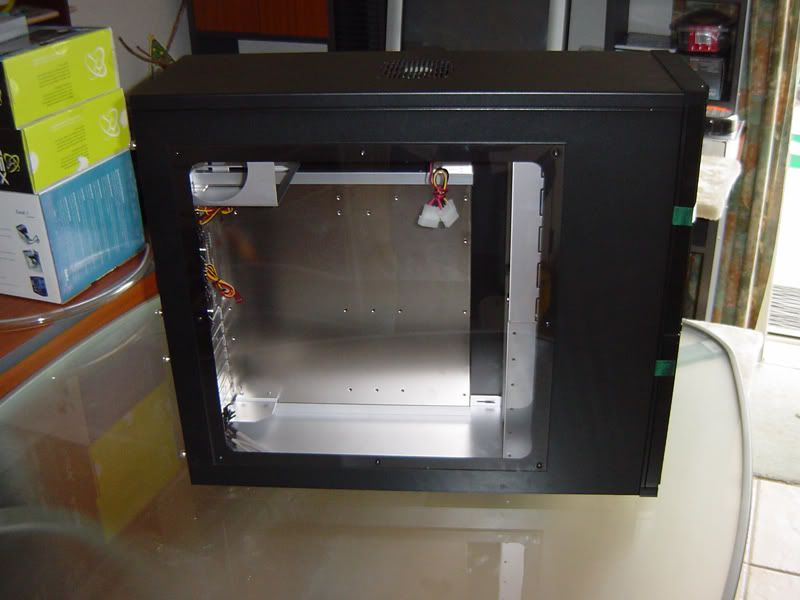
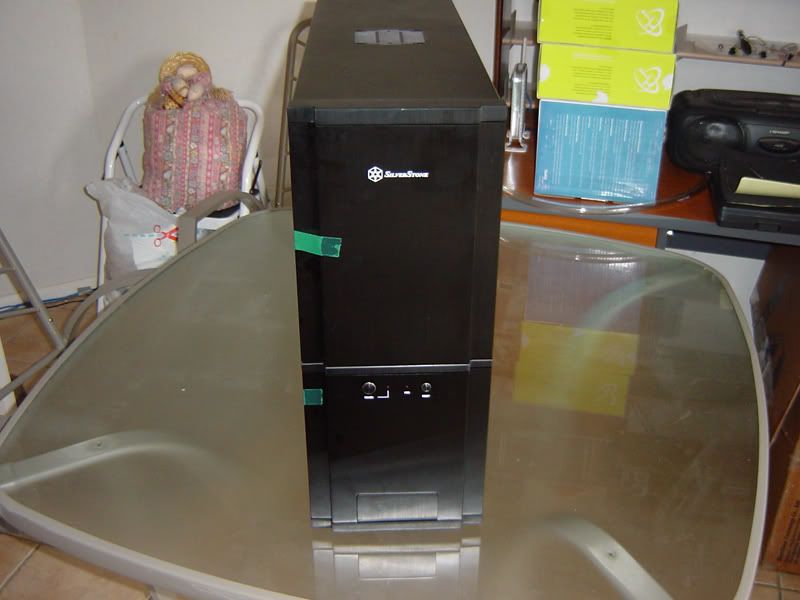
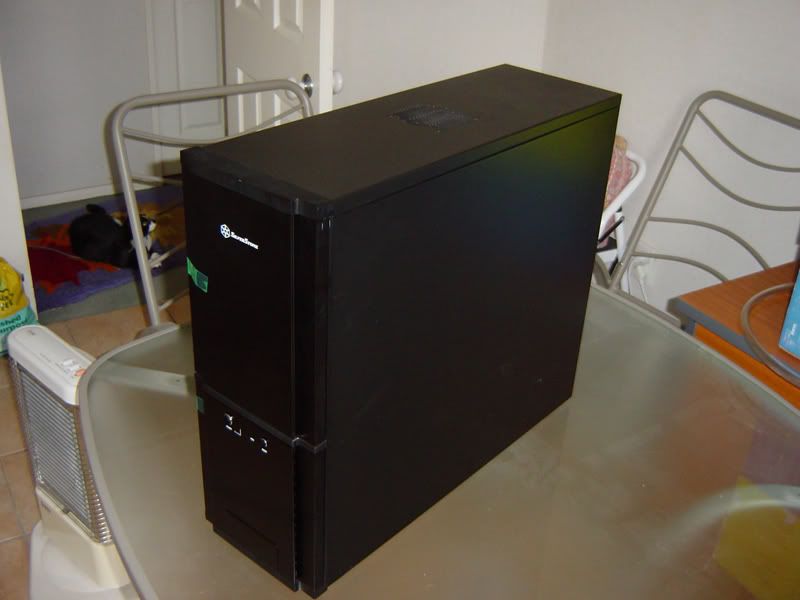
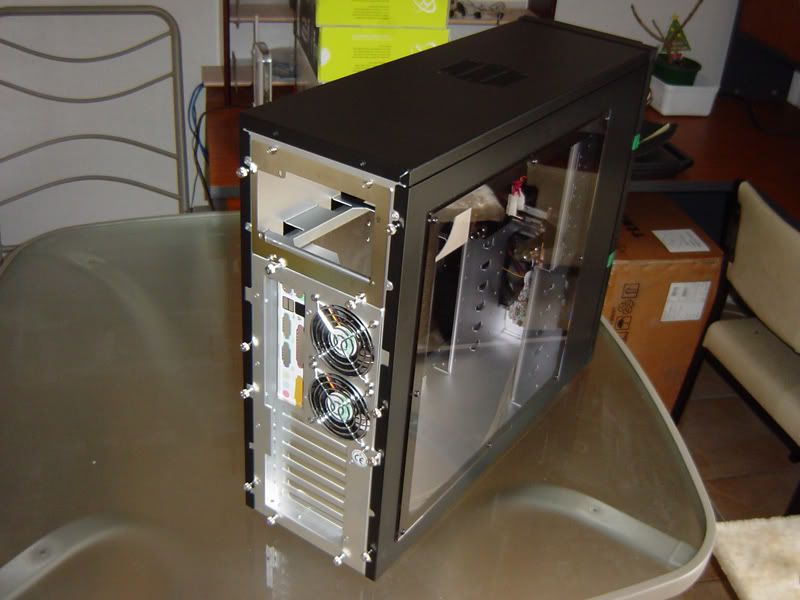
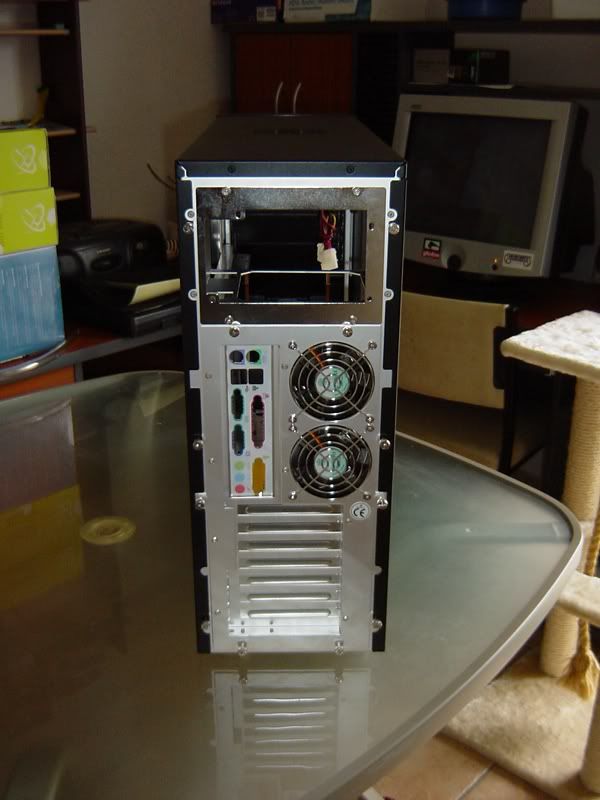
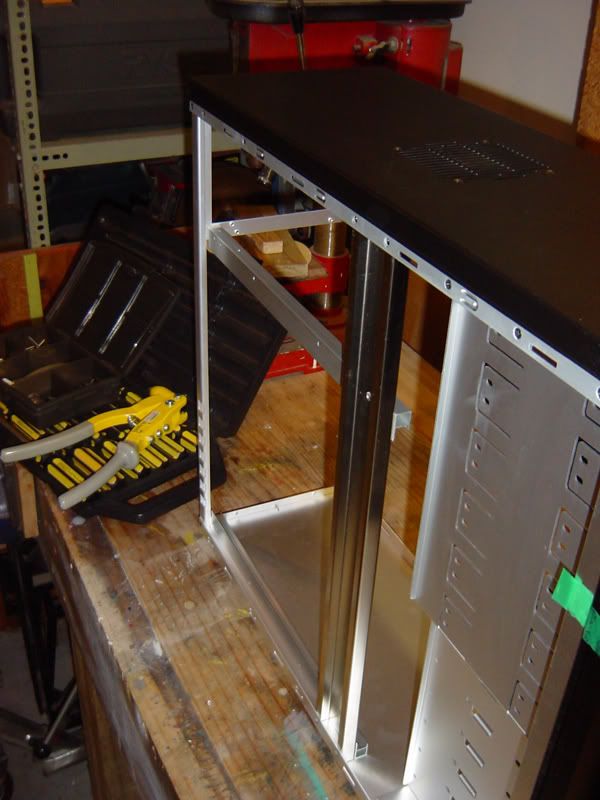
- New Silverstone TJ06 case
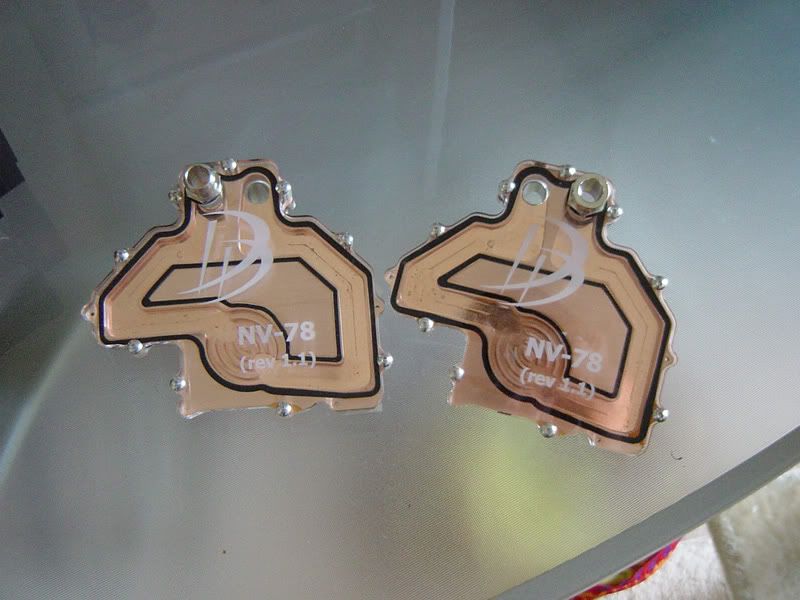
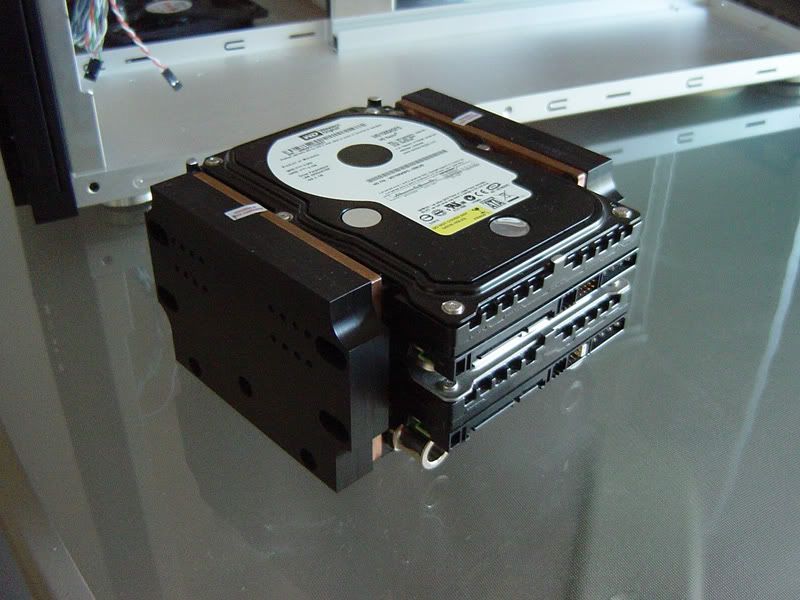
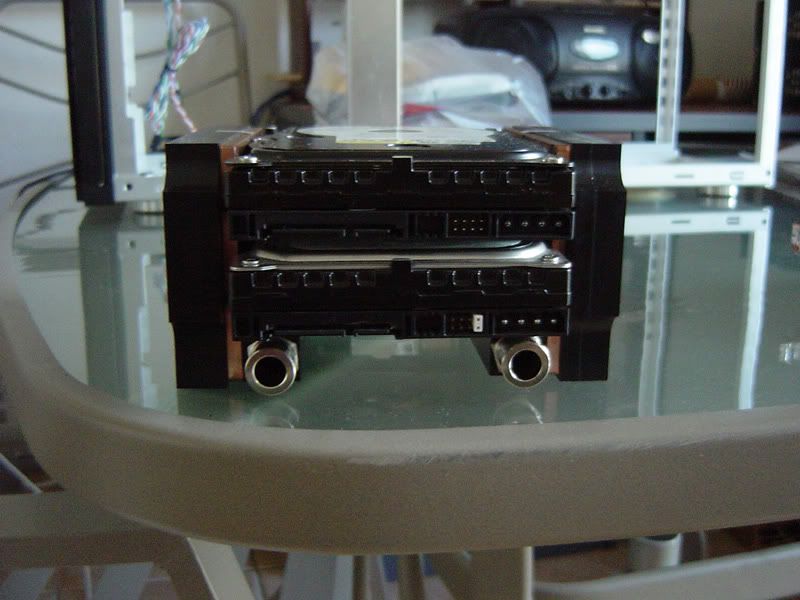
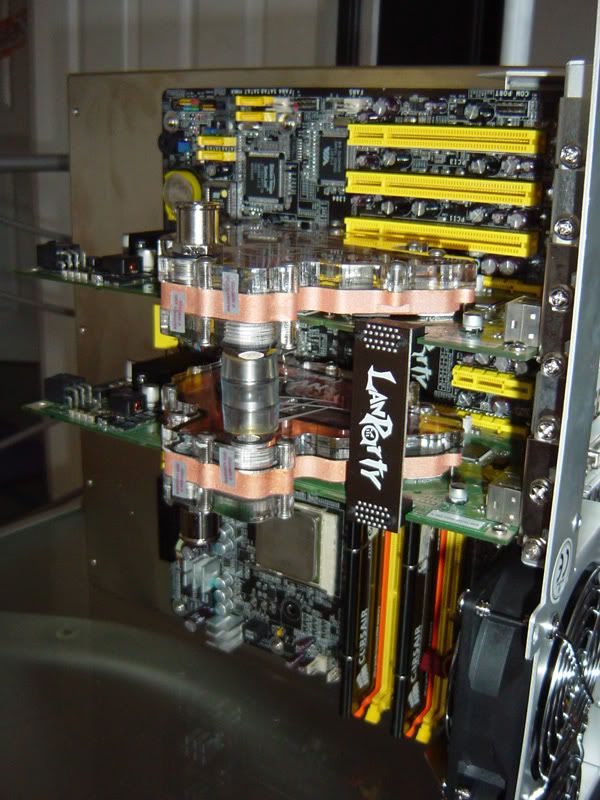
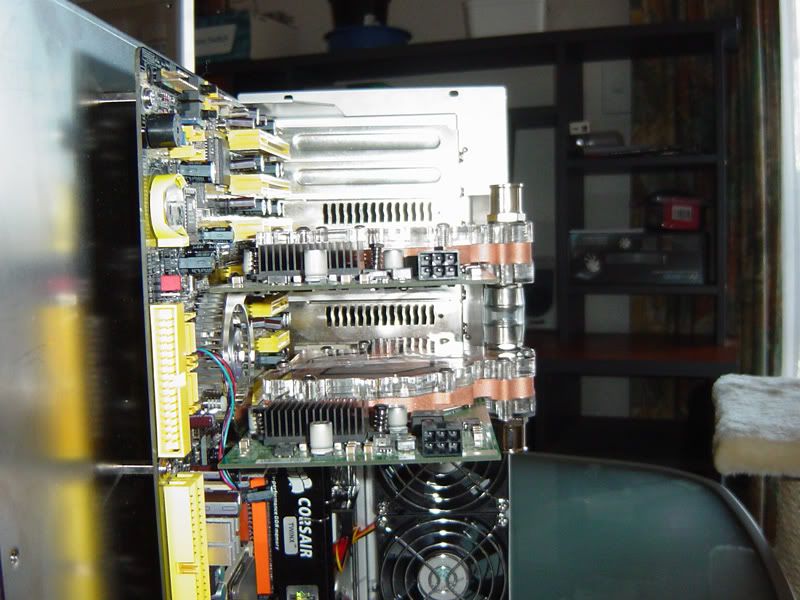
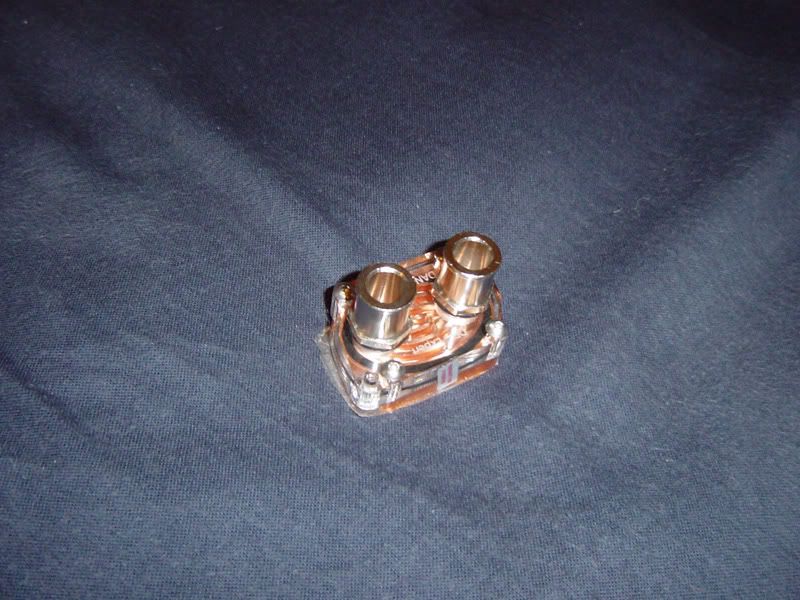
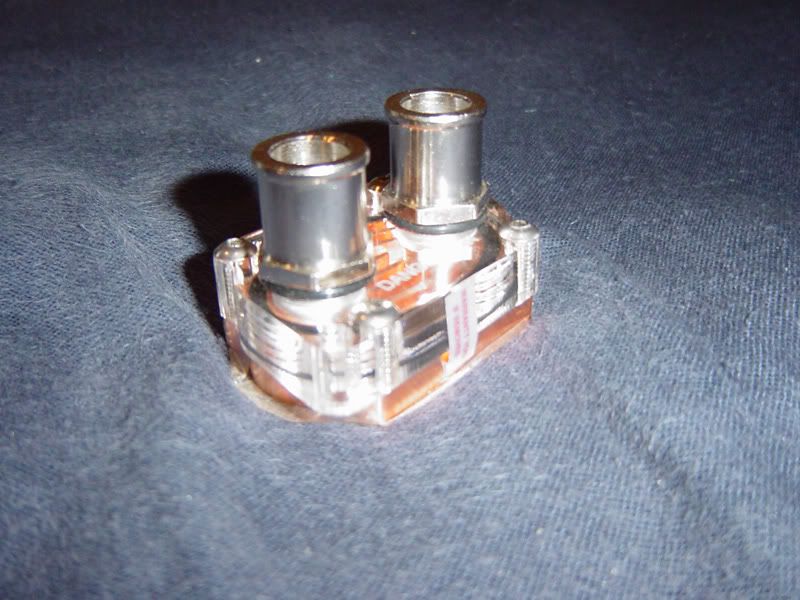
- Danger Den watercooled graphics card, motherboard, and hard drive blocks (supplied by PLAYTECH)
- New Motherboard
- New power supply
THANKS/SPONSORS:


HARDWARE:
Silverstone TJ03 Case
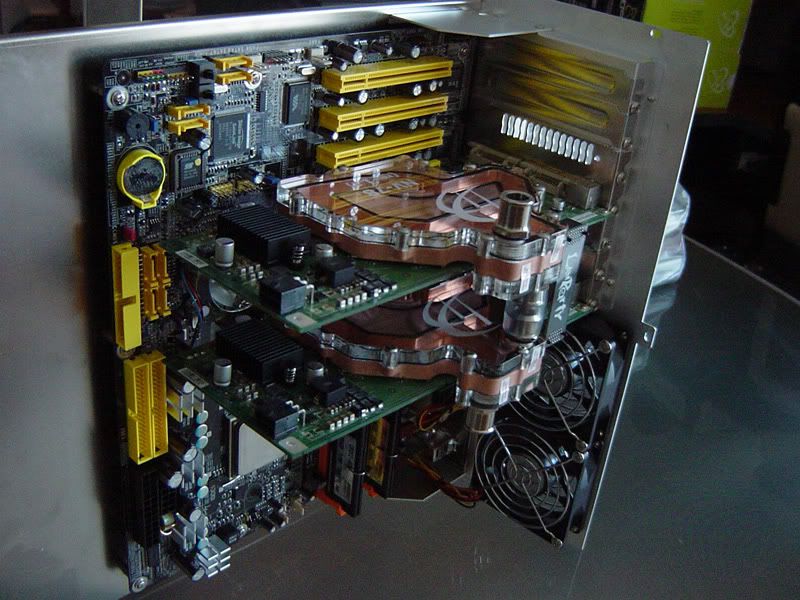
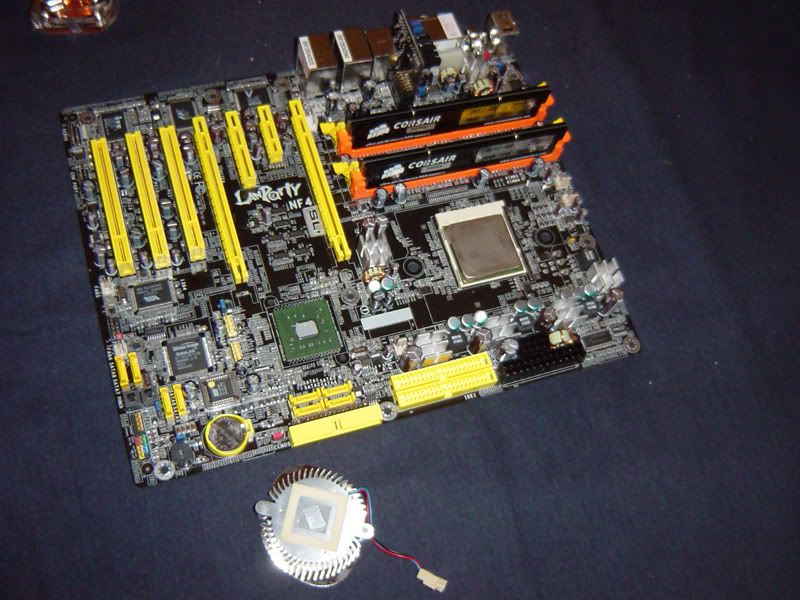
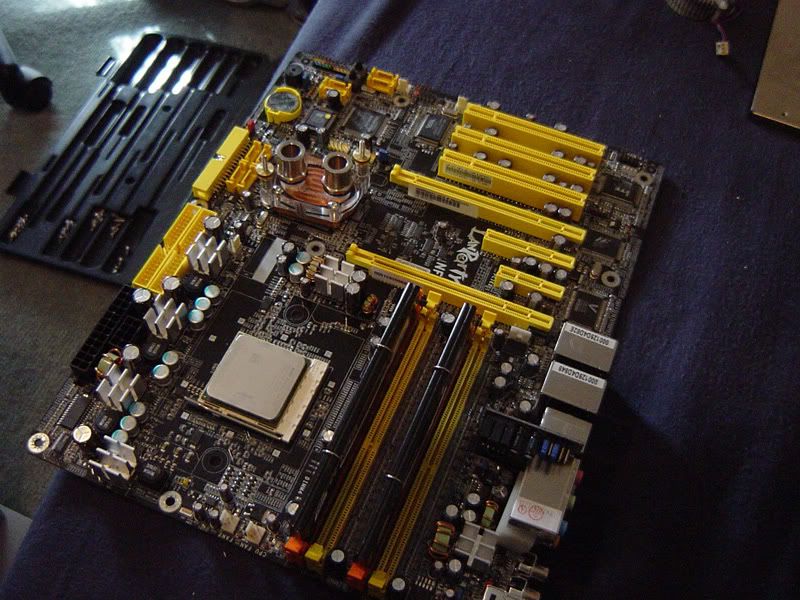
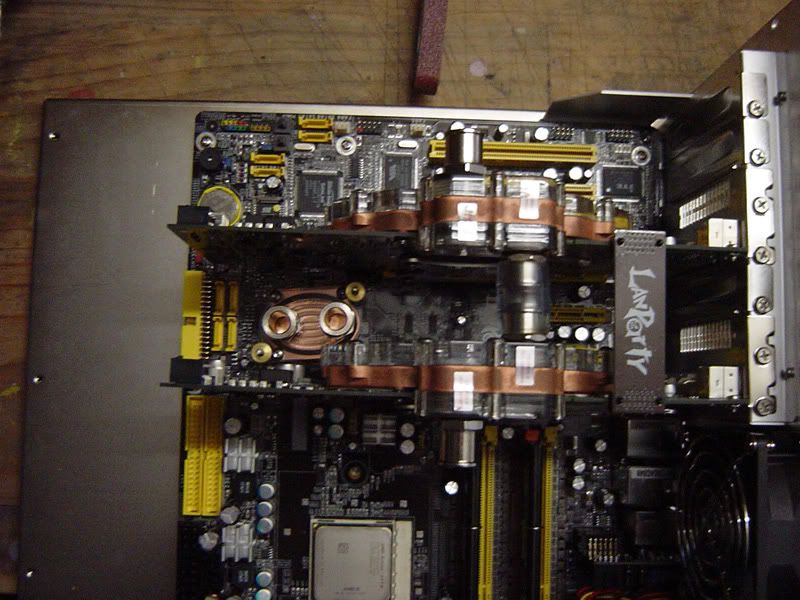
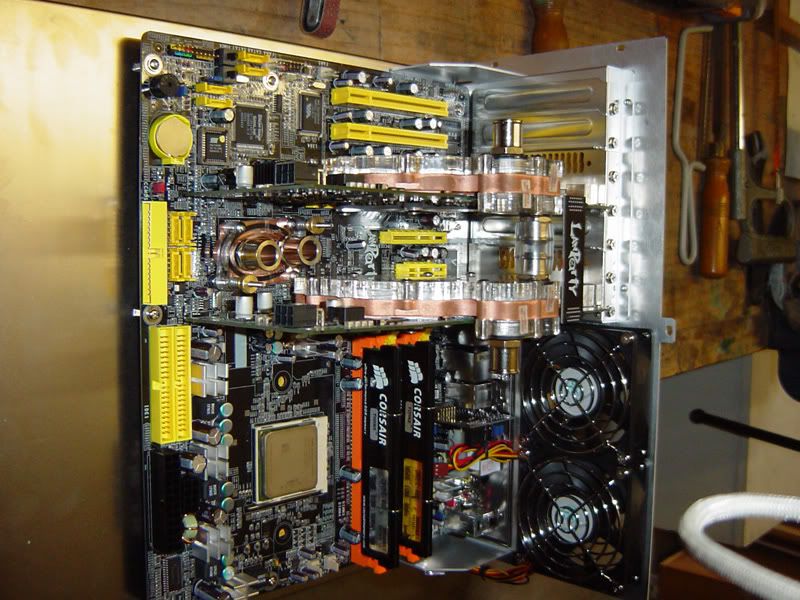
DFI Lanparty SLI-DR Expert Motherboard
AMD Athlon 64 FX60, 2.6GHz Dual Core CPU
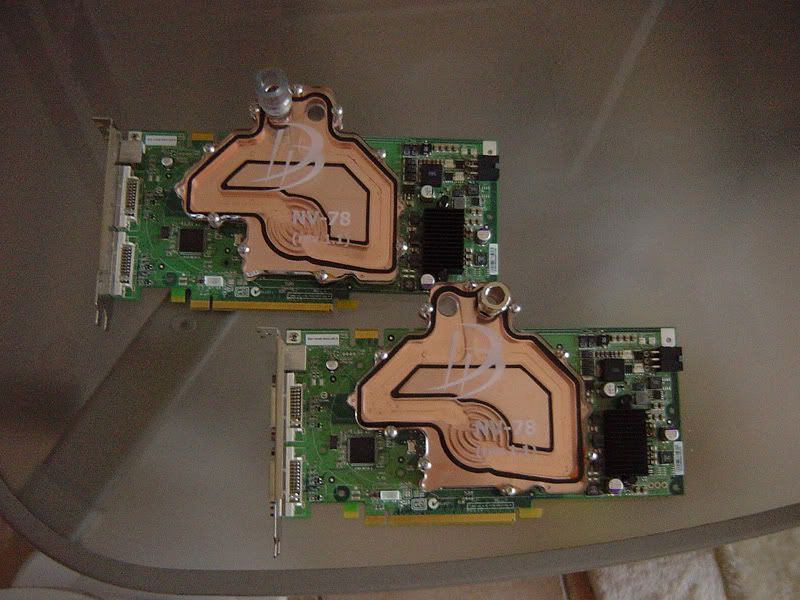
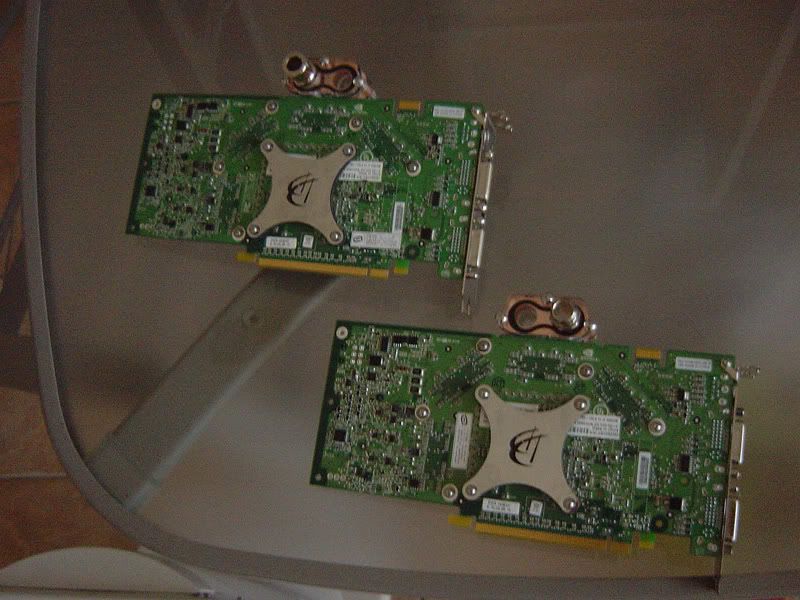
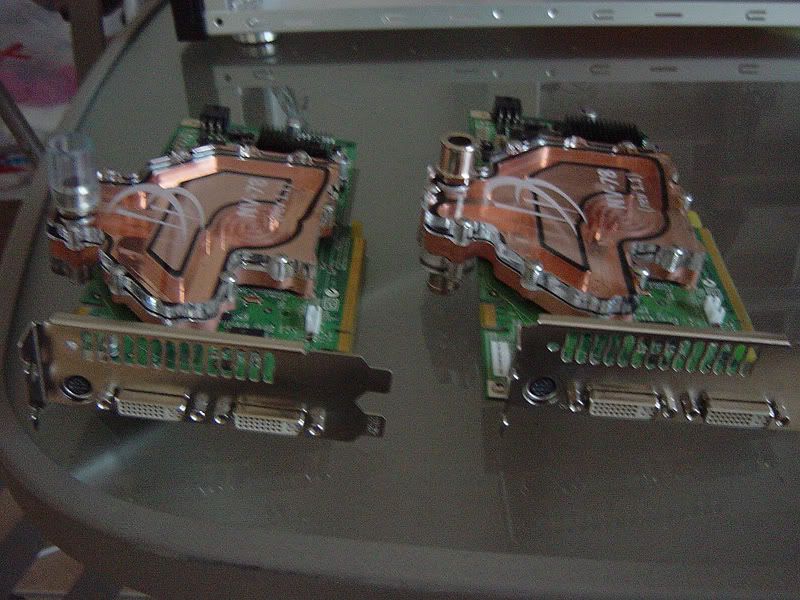
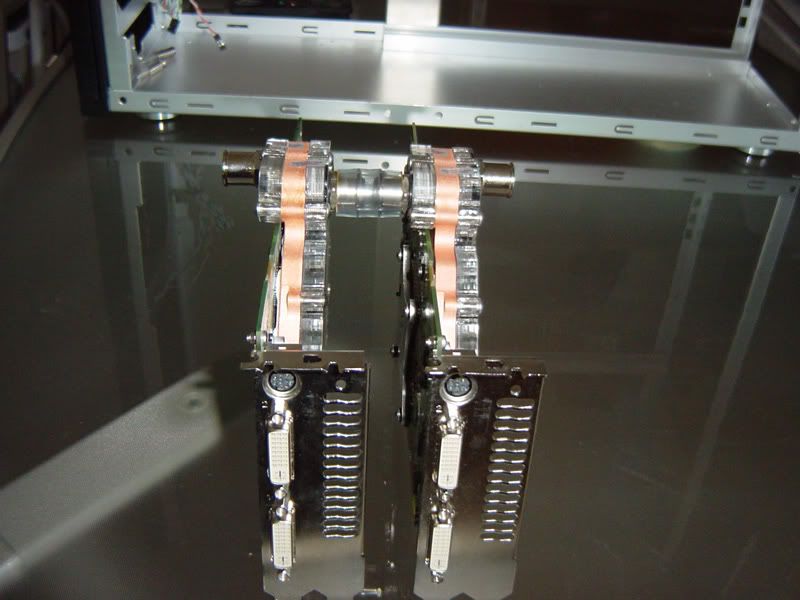
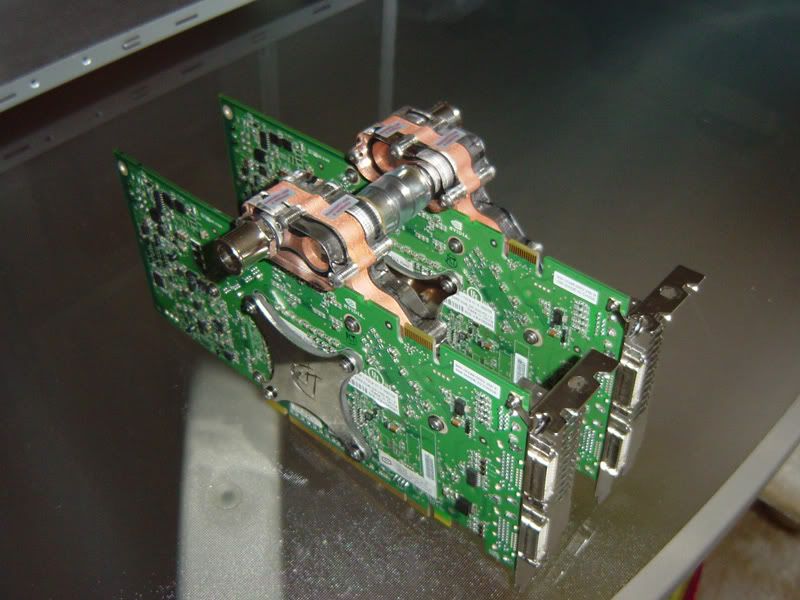
2 x XFX nVidia GeForce 7800GTX 512MB GFX Cards
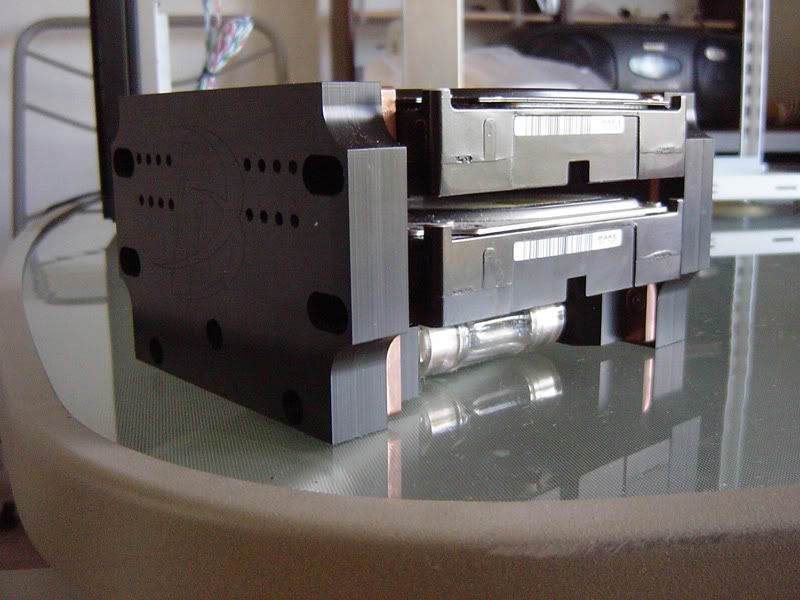
2 x Western Digital Raptor X 150GB Hard Drives
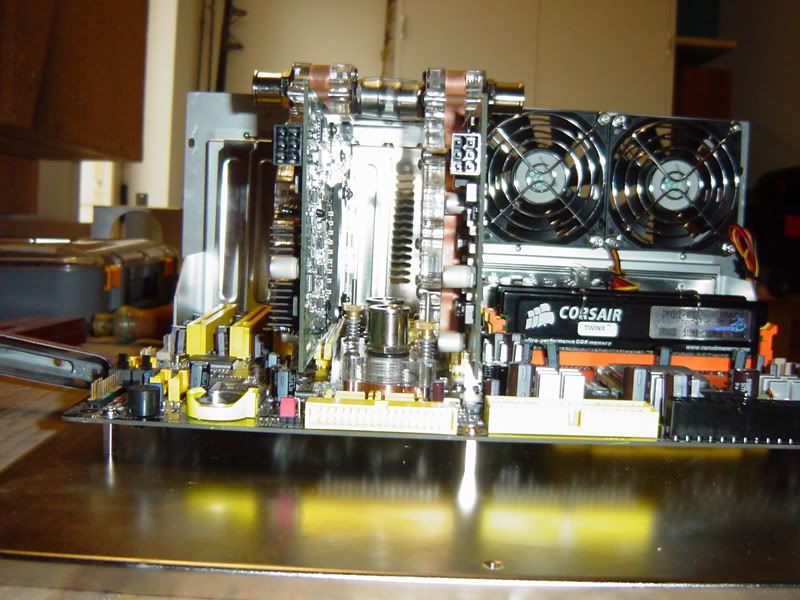
OCZ PC3200 EL DDR 2x512MB Gold GX XTC Edition RAM
OCZ 600w Powerstream Adjustable Power supply
WATERCOOLING:
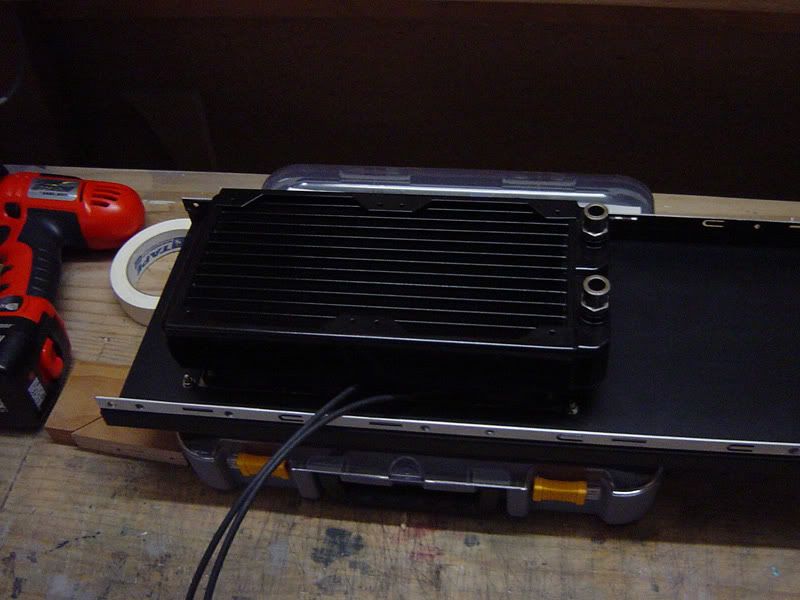
Danger Den Black Ice X-Flow Xtreme II Radiator
2 x SwiftTech MCP655 12vDC pump
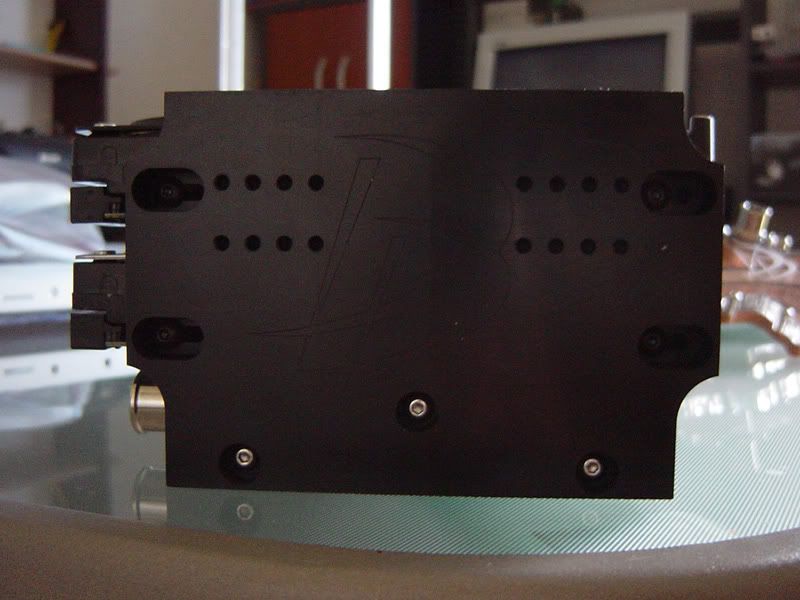
Danger Den Aqua-Drive Hard Drive Cooler
Danger Den NV-78 FC Dual GPU Set up
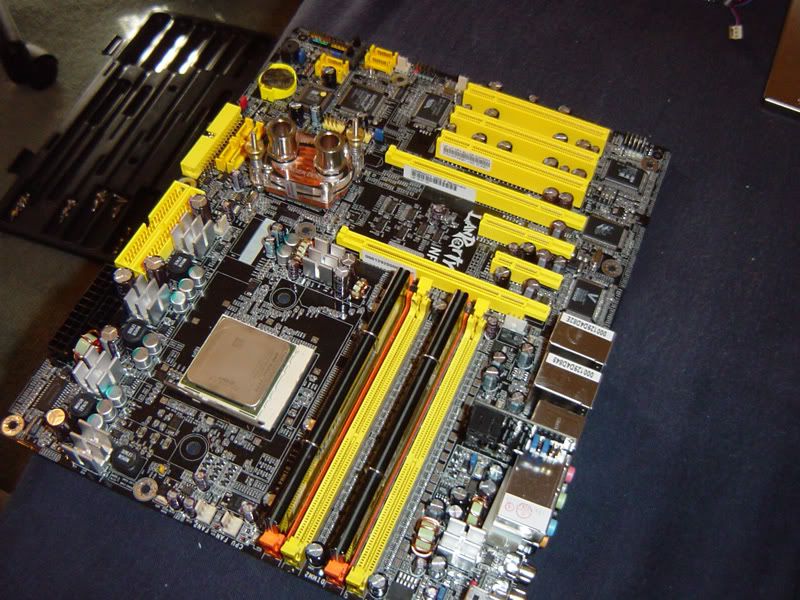
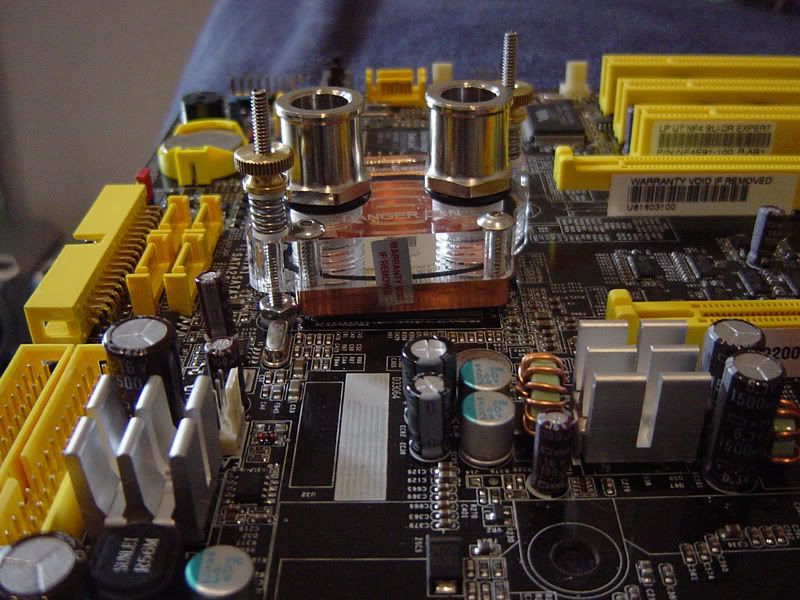
Danger Den DFI chipset Block
Coolit Freezone CPU Cooler
I started this project over a year ago, It was going to goto xlan 2005, but it was only half finished. Now that i have more money and time on my hands i can get back to where i left off.
I've decided to start the mod all over again, due to the fact ive completely destroyed my Silverstone TJ06.
Before:
Now:
Some major changes happening since the old version:
- New Silverstone TJ06 case
- Danger Den watercooled graphics card, motherboard, and hard drive blocks (supplied by PLAYTECH)
- New Motherboard
- New power supply
THANKS/SPONSORS:
HARDWARE:
Silverstone TJ03 Case
DFI Lanparty SLI-DR Expert Motherboard
AMD Athlon 64 FX60, 2.6GHz Dual Core CPU
2 x XFX nVidia GeForce 7800GTX 512MB GFX Cards
2 x Western Digital Raptor X 150GB Hard Drives
OCZ PC3200 EL DDR 2x512MB Gold GX XTC Edition RAM
OCZ 600w Powerstream Adjustable Power supply
WATERCOOLING:
Danger Den Black Ice X-Flow Xtreme II Radiator
2 x SwiftTech MCP655 12vDC pump
Danger Den Aqua-Drive Hard Drive Cooler
Danger Den NV-78 FC Dual GPU Set up
Danger Den DFI chipset Block
Coolit Freezone CPU Cooler