Hi members,
My name is Richard aka Kier. I've did some nice things in the past with cases
And I wanna share my ideas and skils with you guys. Some previous builds can be seen
on my site madebykier
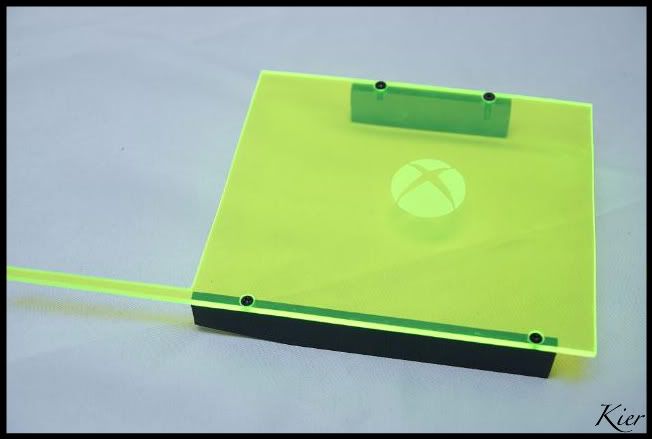
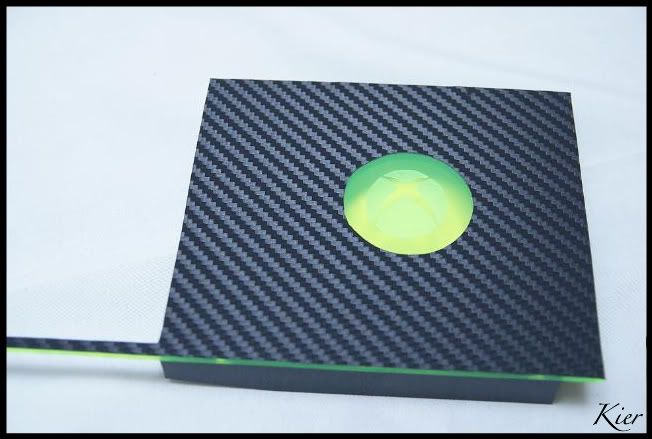
My first build overhere is not gonna be an pc but an watercooled xbox
Hope you like it!!!
Sponsored by:


Presenting:

Hi fellow modders.
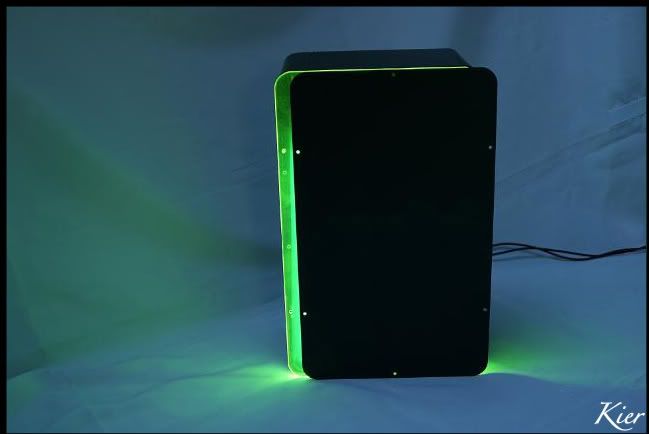
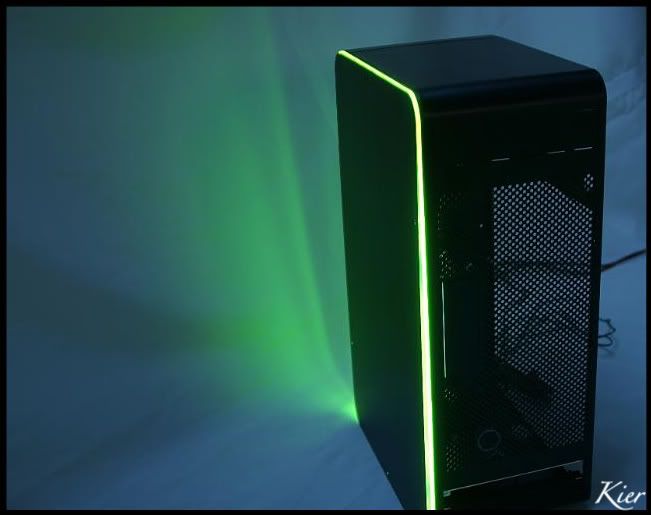
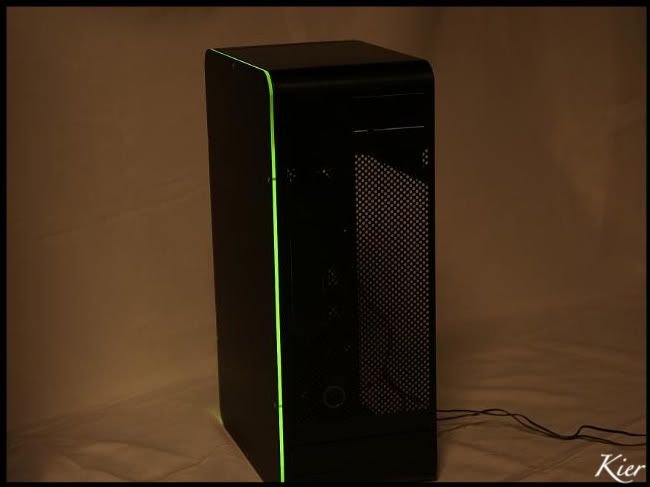
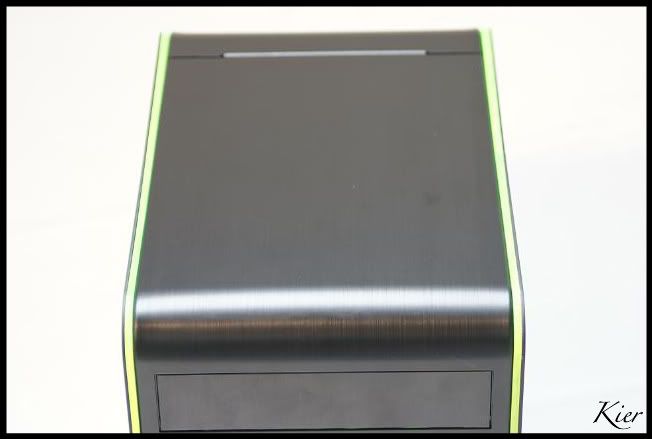
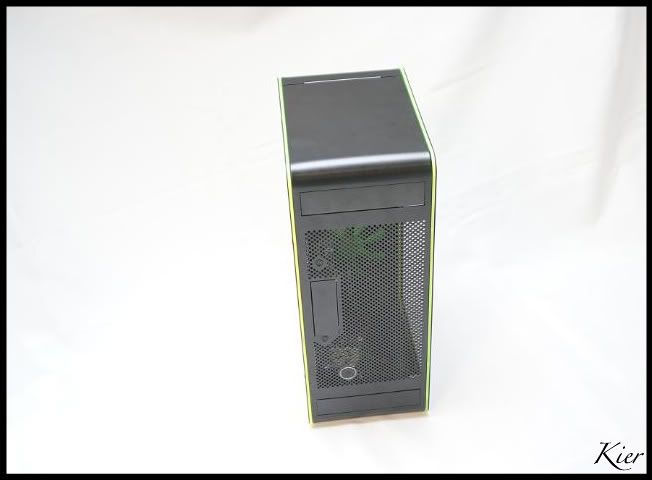
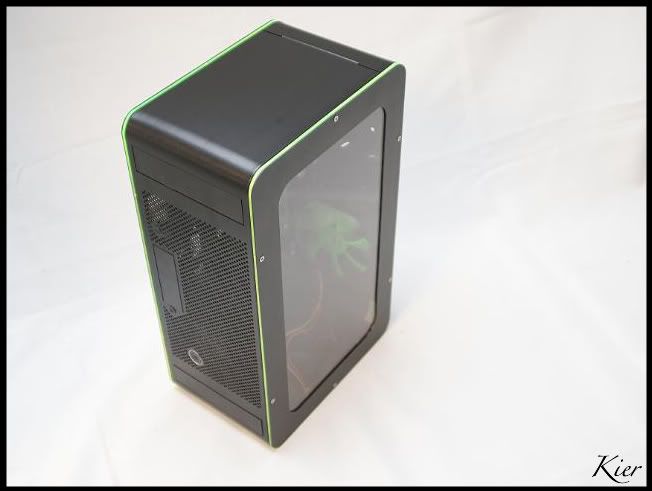
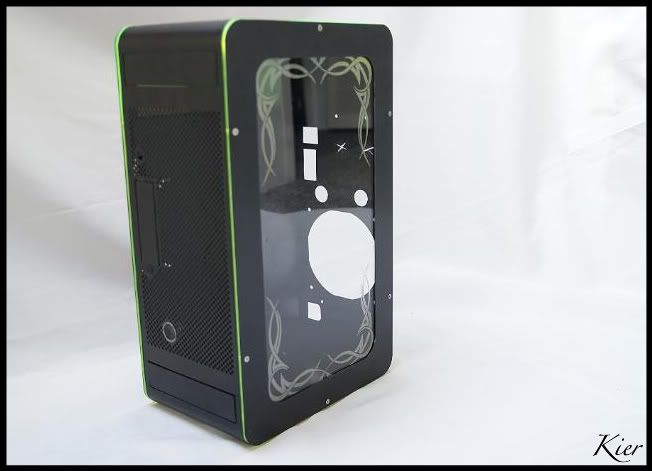
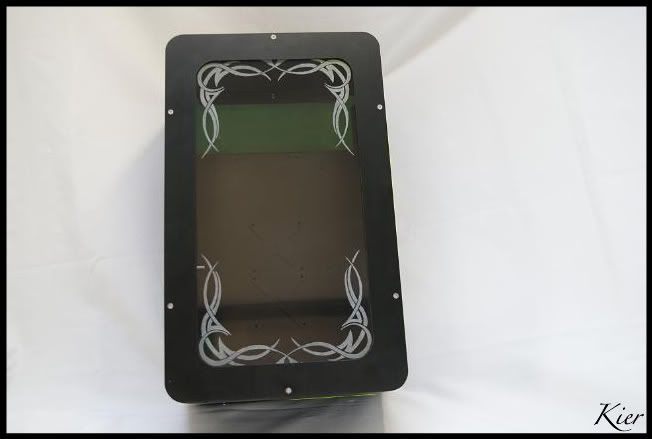
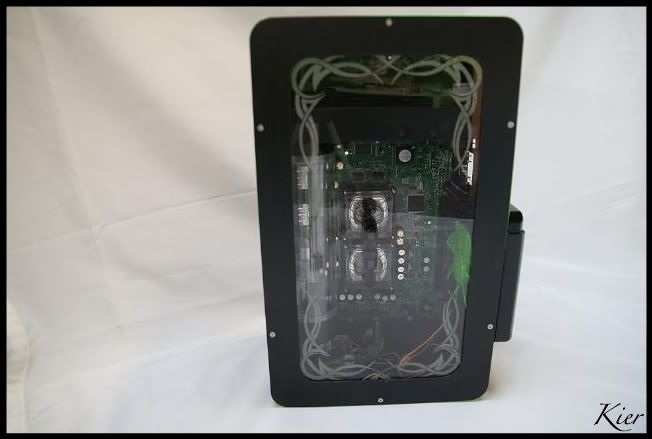
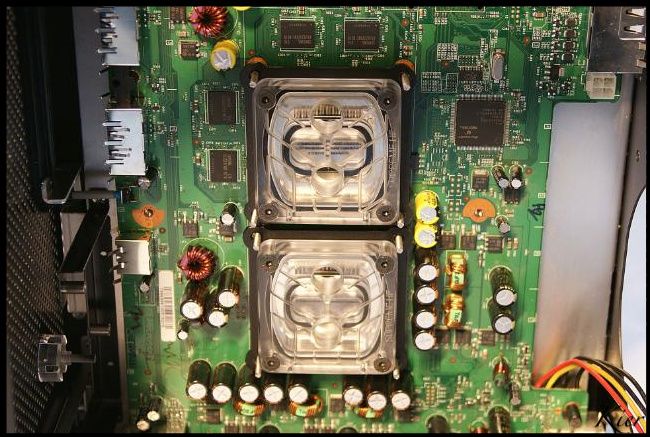
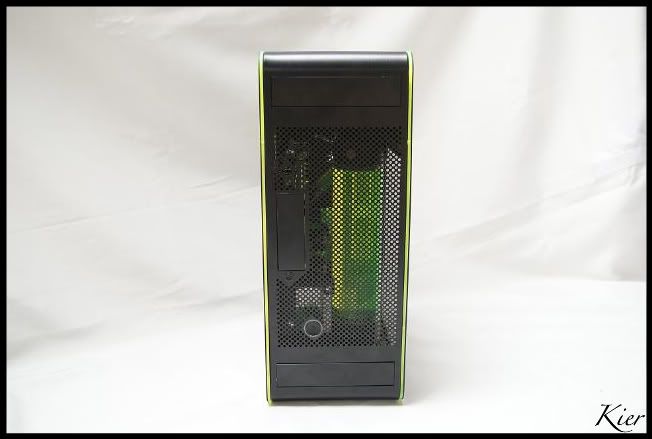
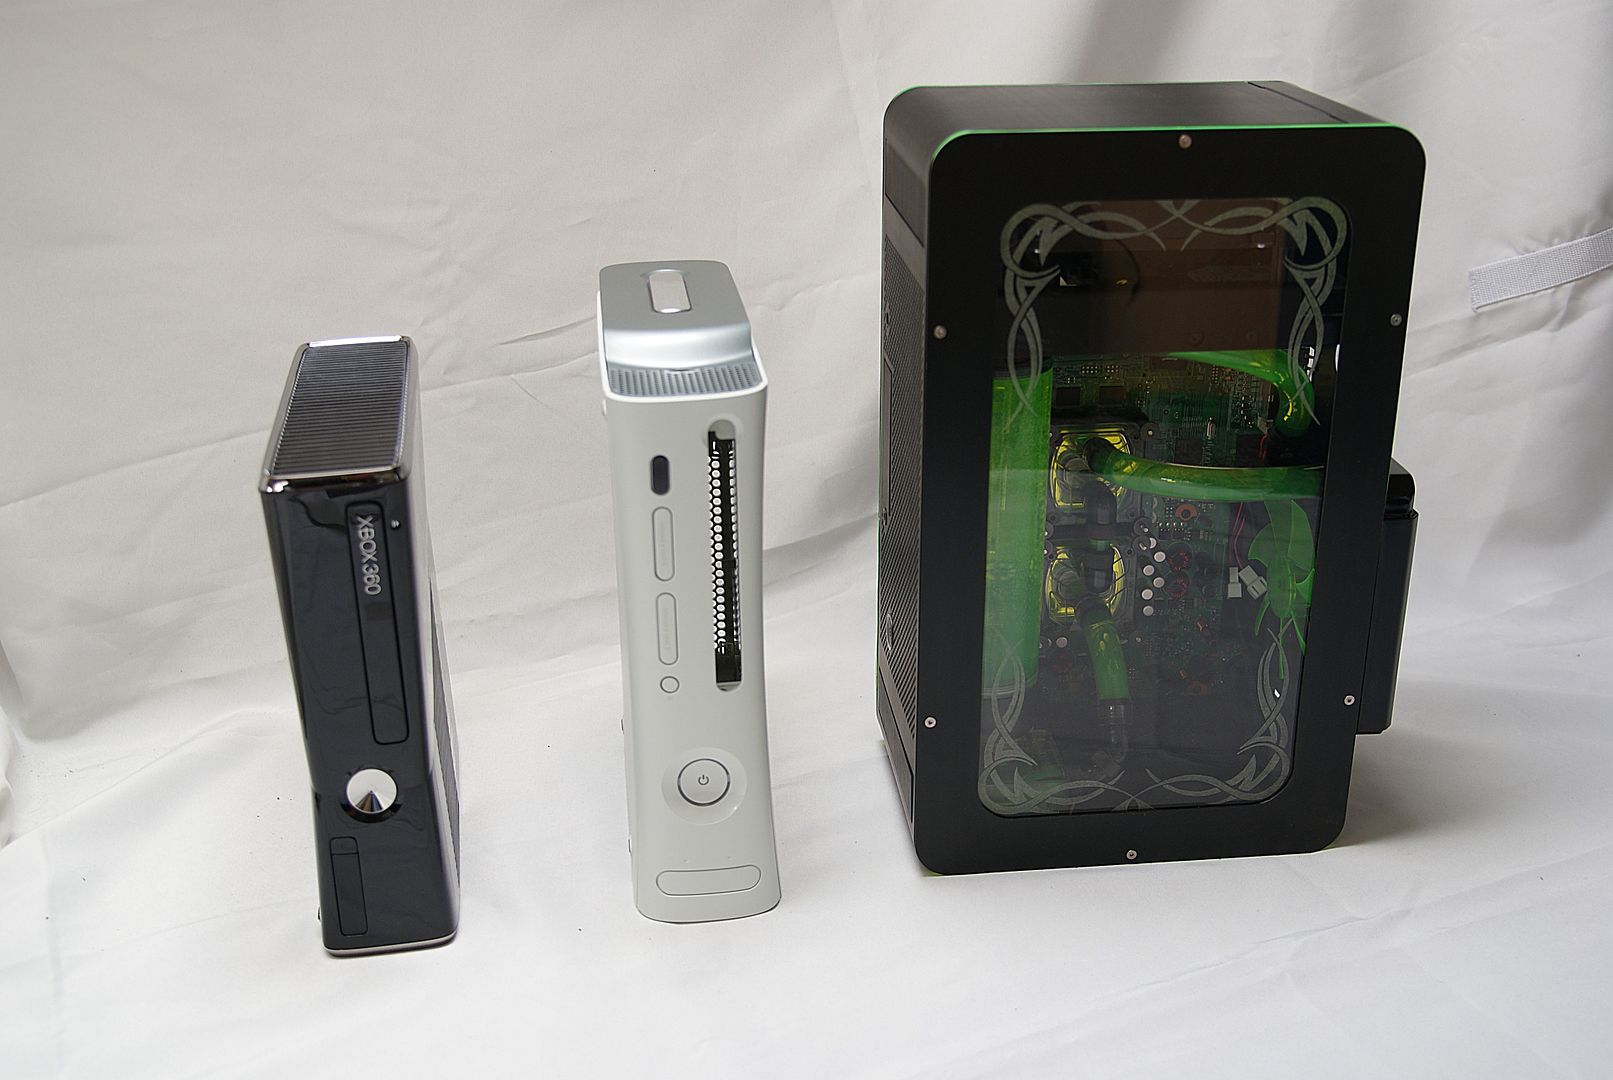
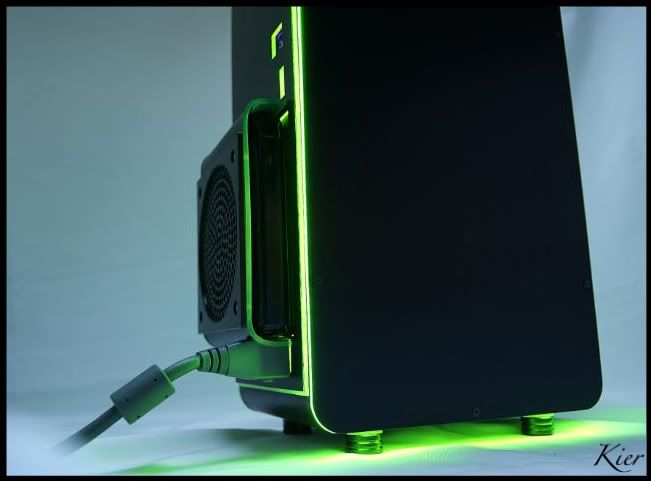
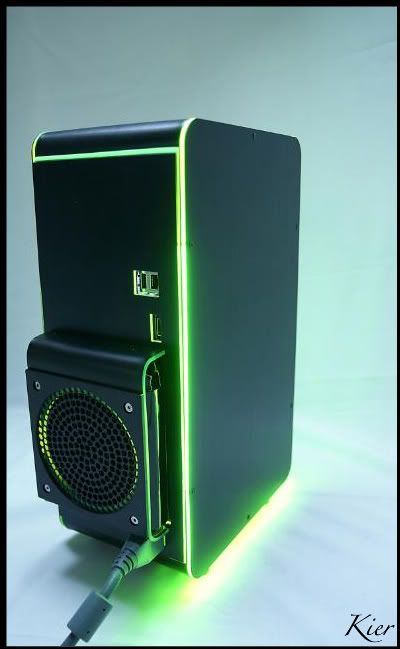
I was looking a long time for this Lian Li case, the PC-XB01
I knew he was EOL, but there is always someone who has this one.
So the search continued.
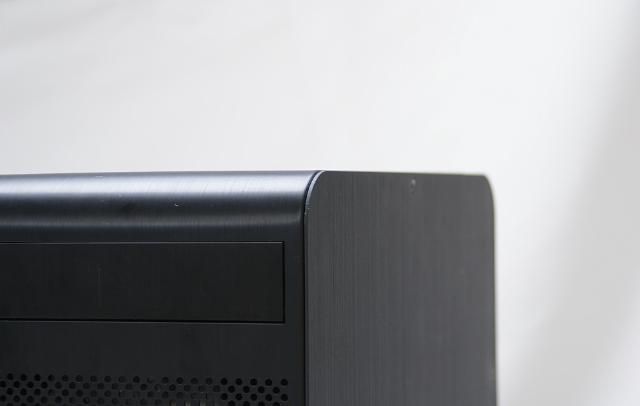
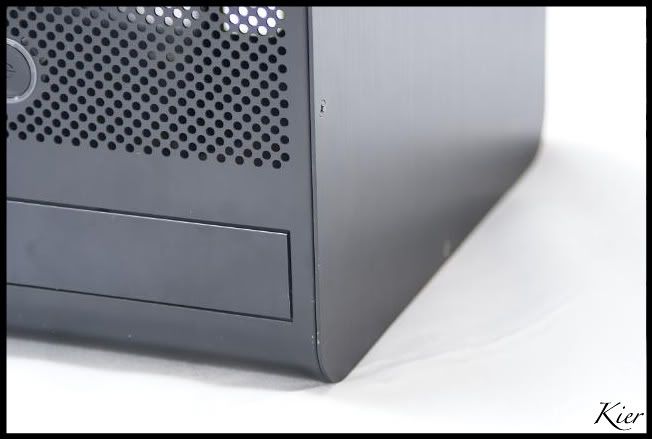
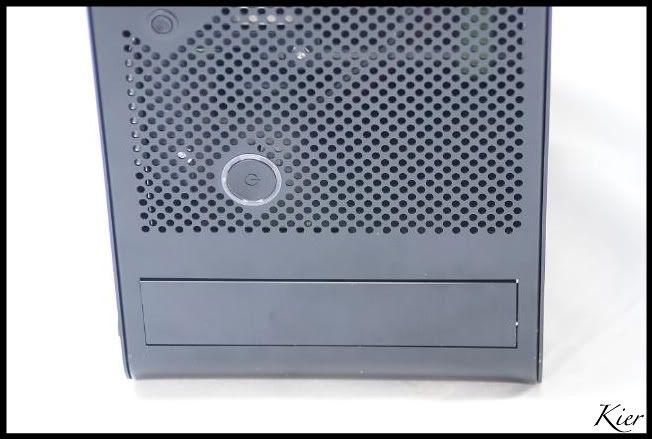
Did this case is really a beauty and offers quite a few opportunities because
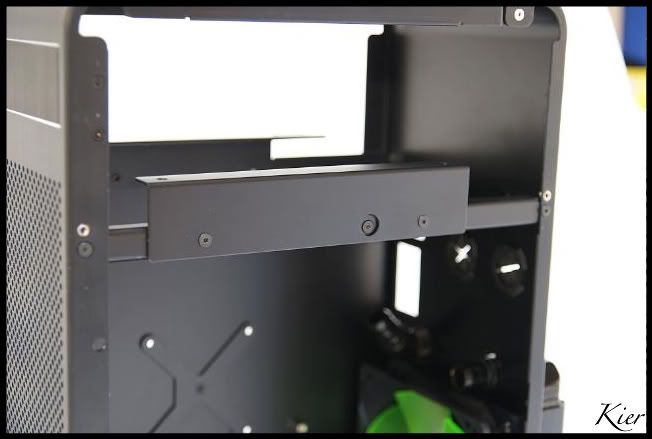
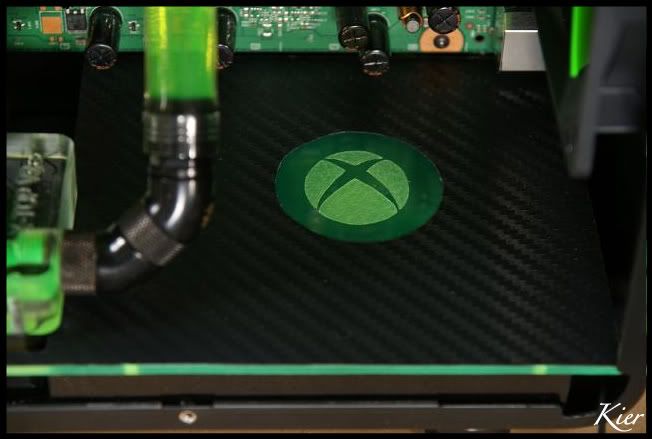
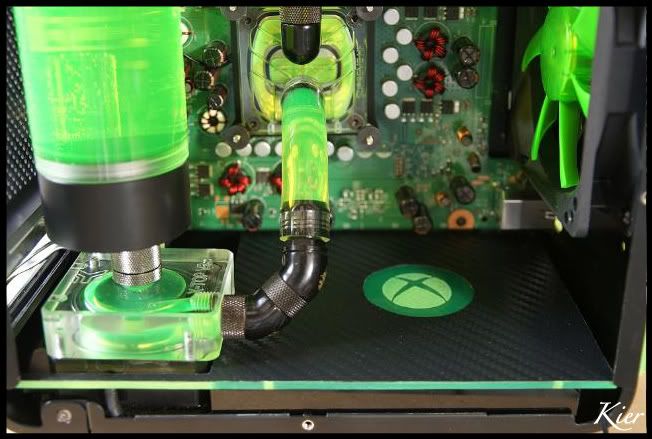
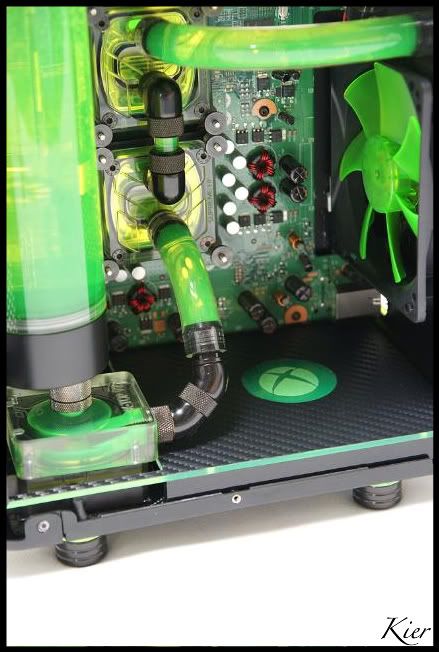
Xbox is not really big and little more content, while the Lian Li is quite large.
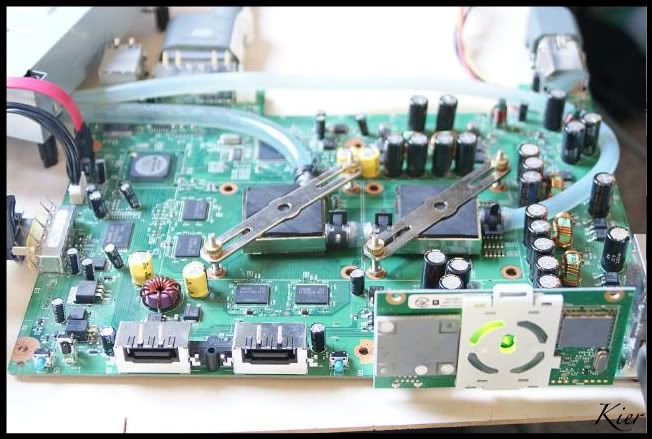
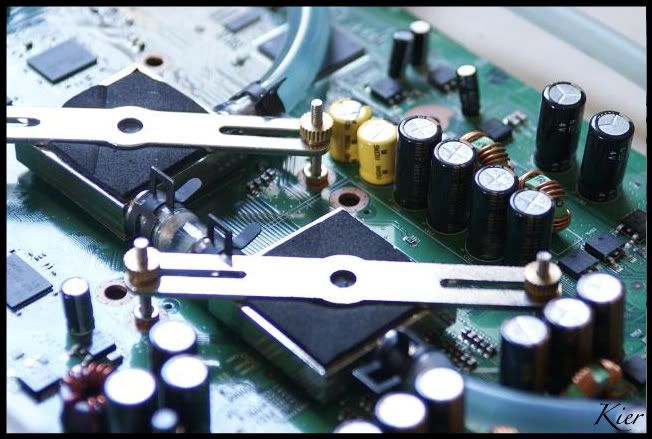
It therefore offers opportunities for an expanded water cooling setup to installon the CPU and the GPU Proccesor.
After some research, I accidentally found a lovely Lili with a good friend:
Gnoom172.
Gnoom I owe you one
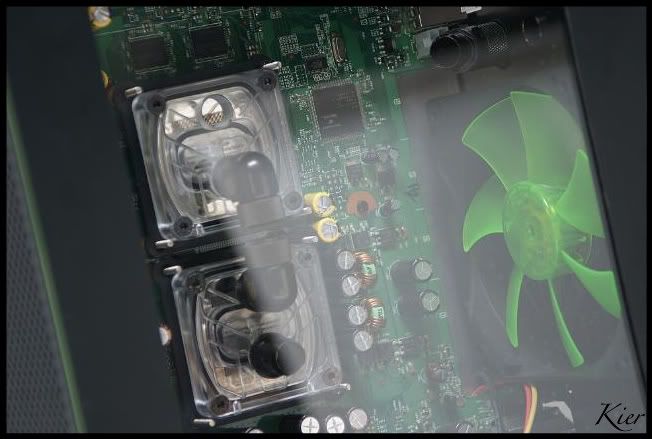
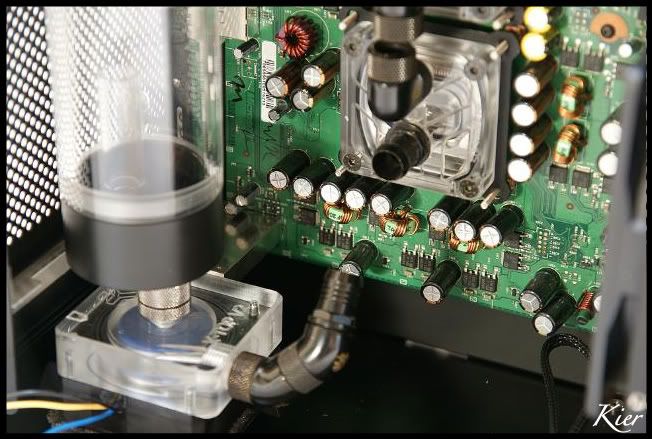
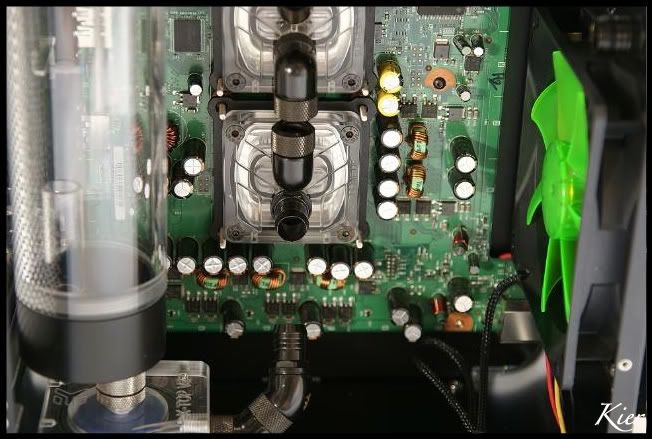
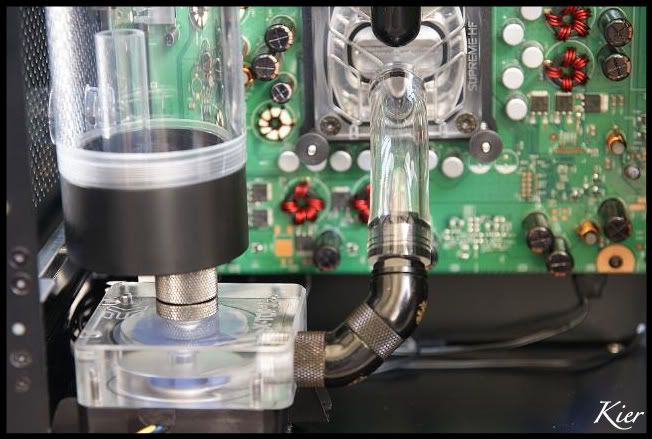
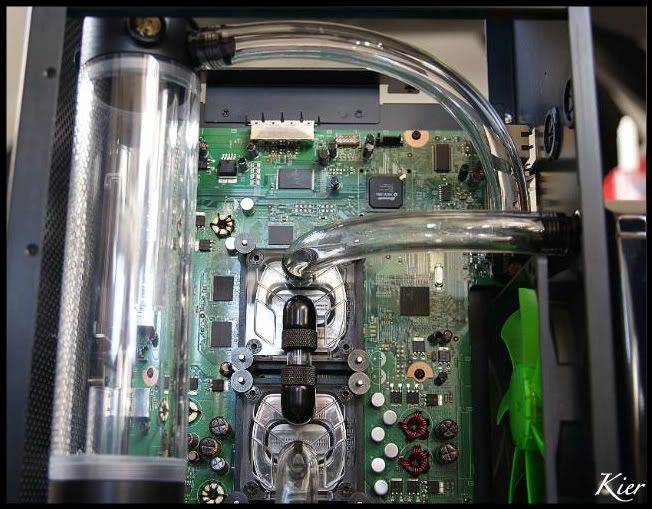
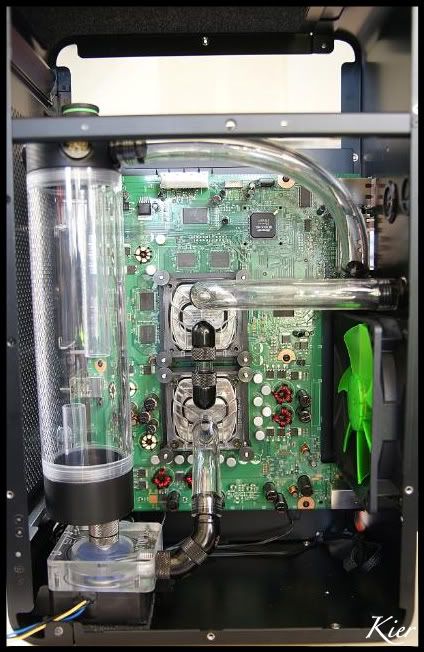
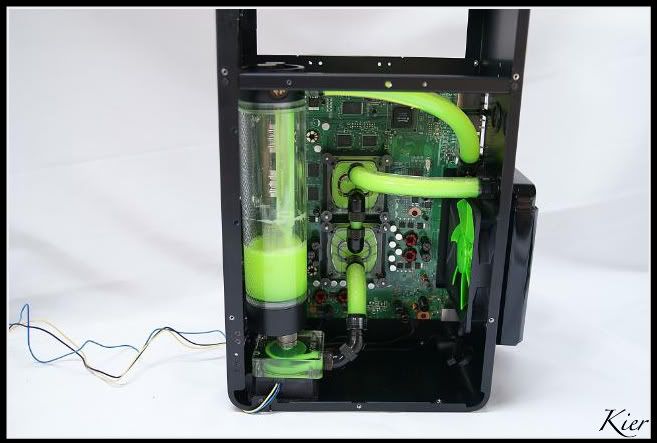
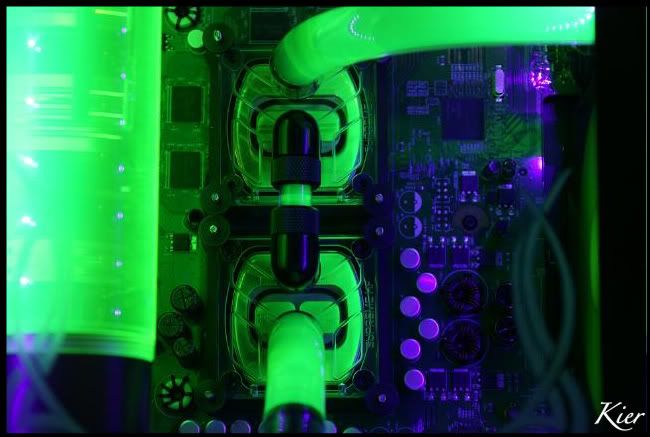
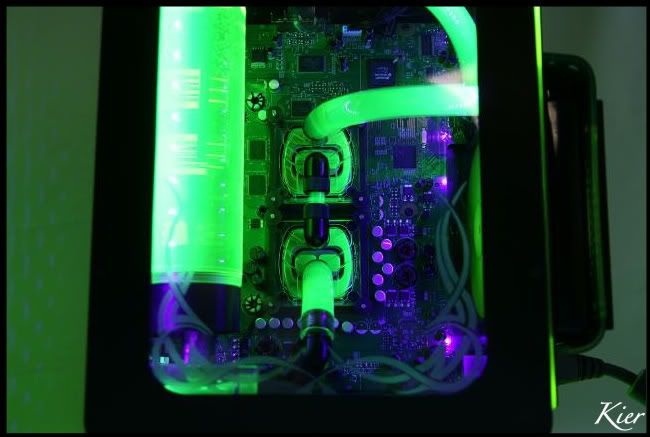
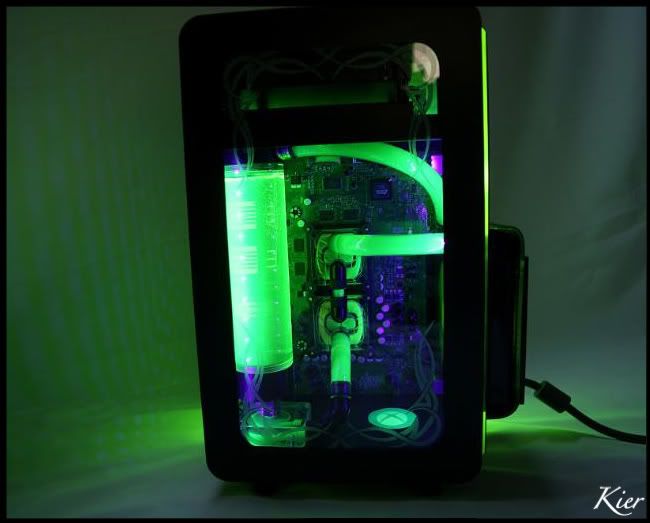
Also He had a nice Watercooling set for the Xbox. Which is very sweet, but too little for me.
I was then also noted by wwwicked a nice set from the famous Highflow shop")
It was the XBOX PRO Dual 40 Watercooling Kit
Also very nice. But for a large case like i have now its actually too small
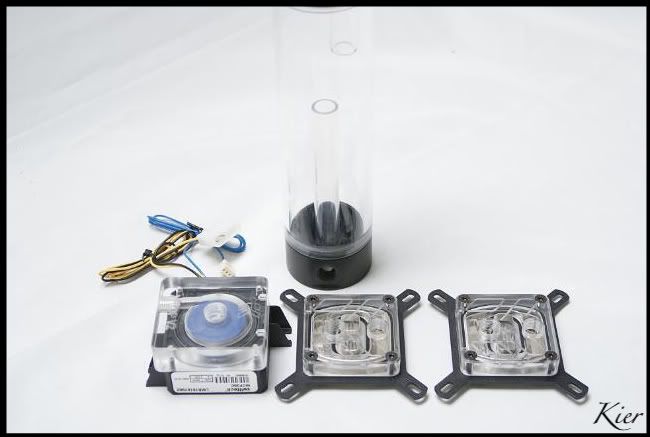
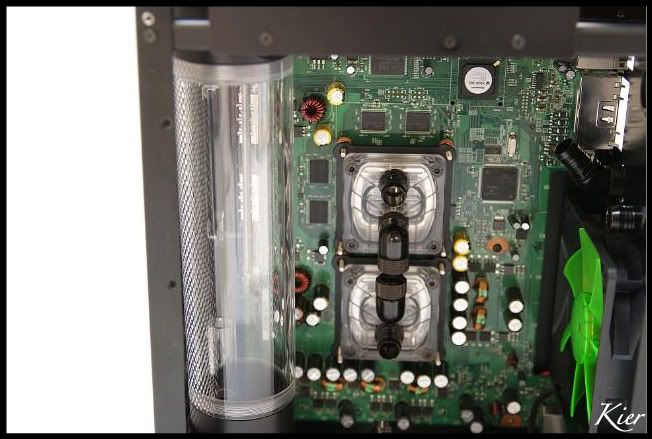
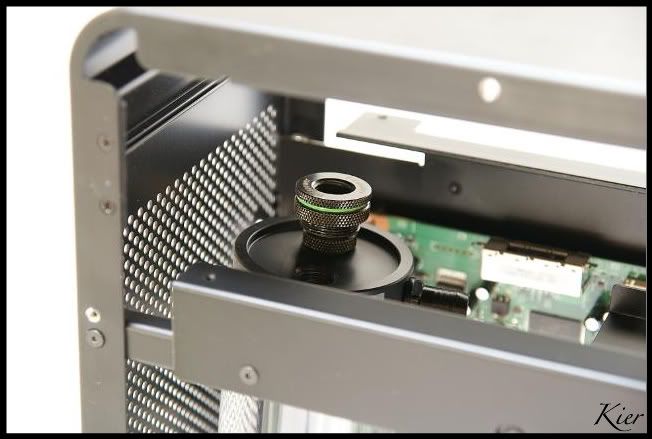
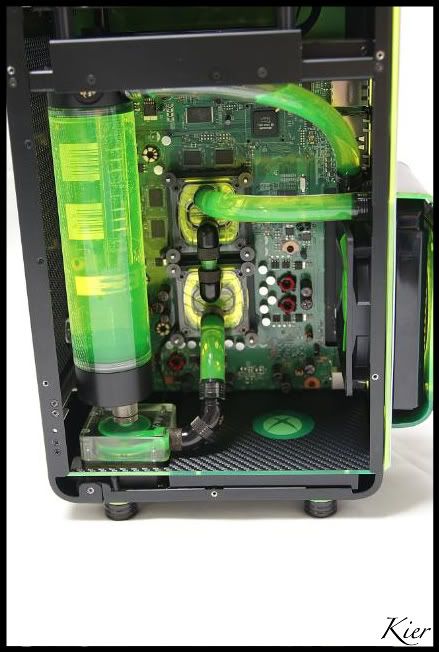
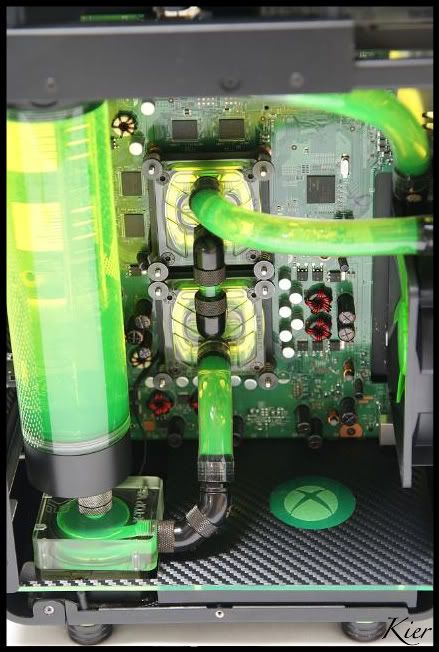
So after some fitting and measuring, I found out that it is quite possible for the following parts:
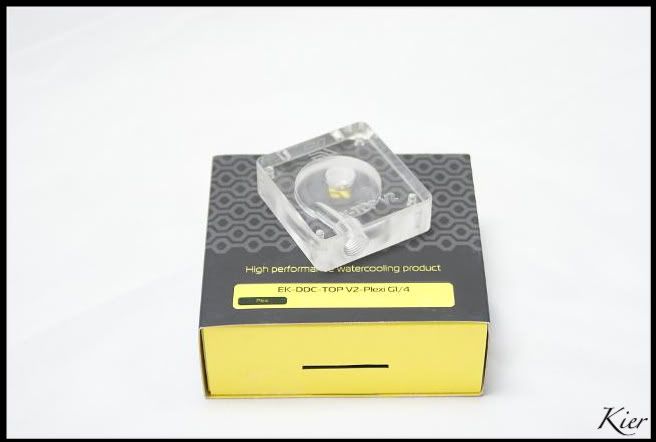
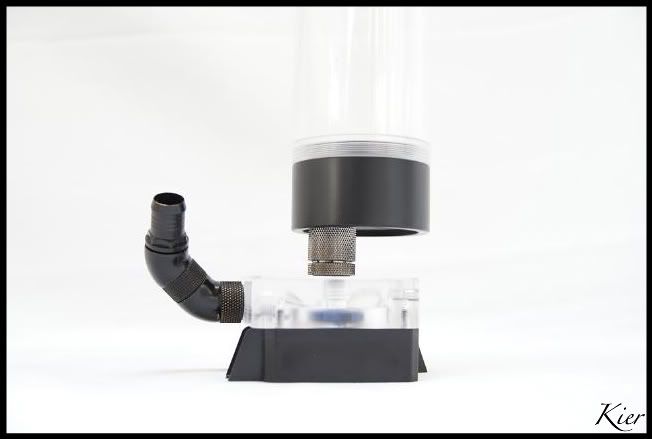
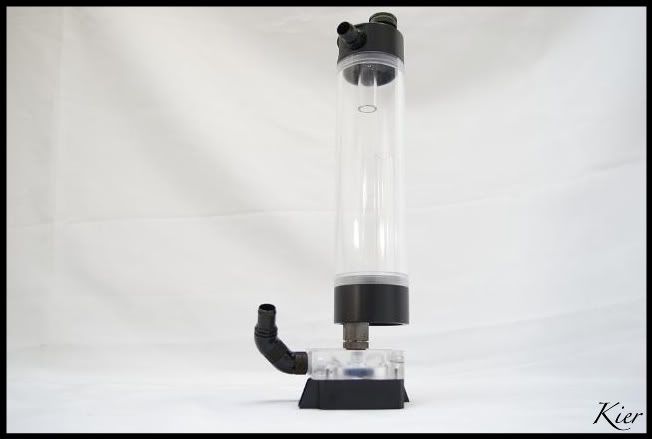
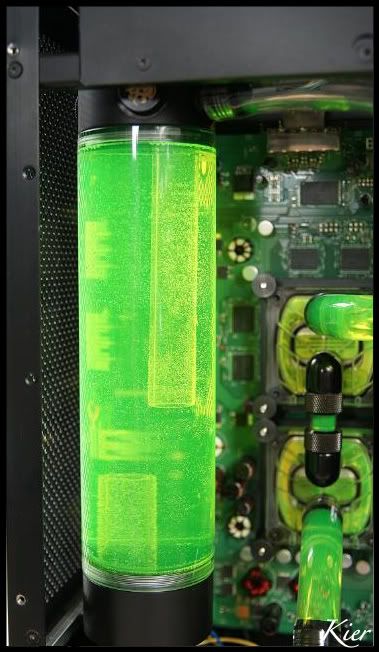
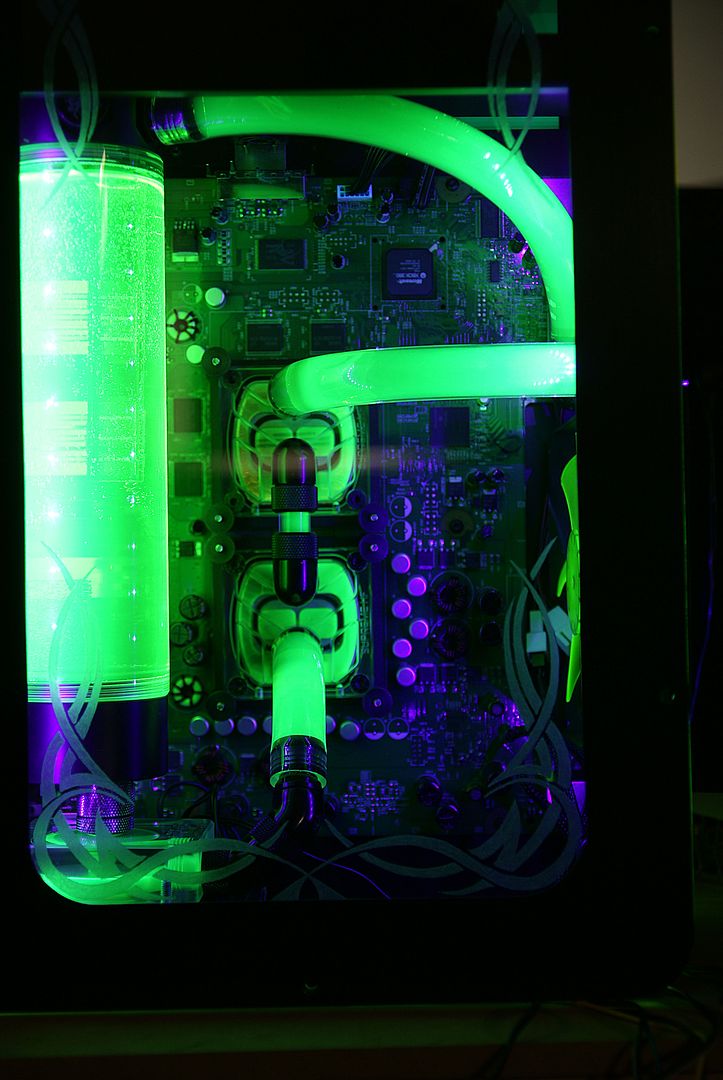
EK-Multioption RES X2 - 250 Advanced
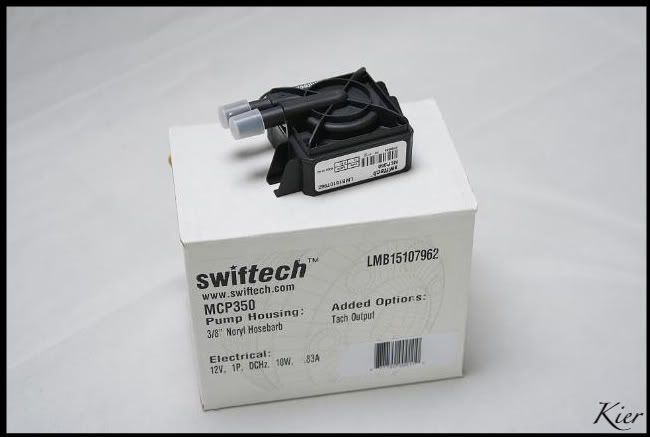
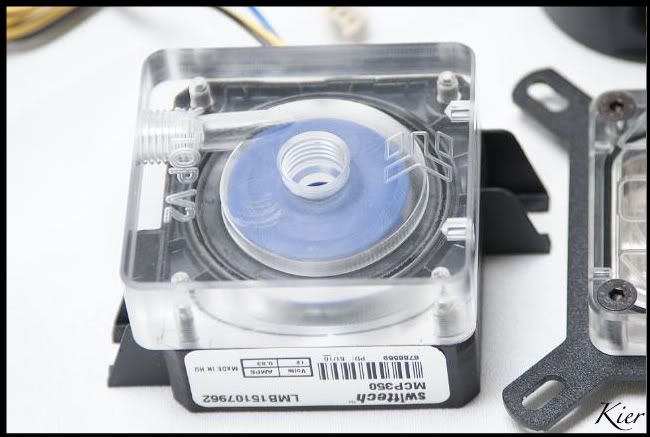
Laing DDC-1 MCP350 12V
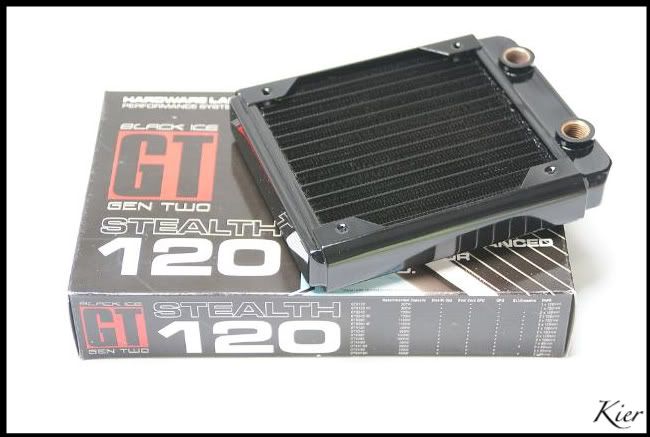
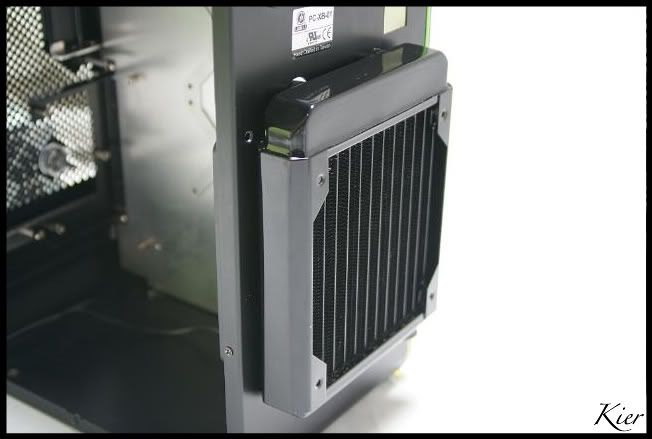
Black Ice GT Stealth 120 Black
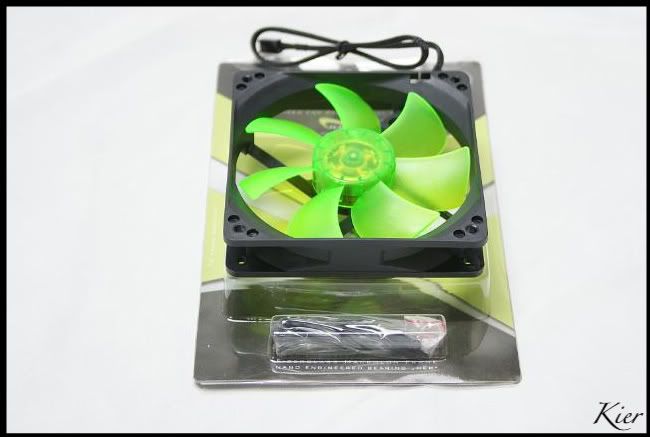
Nanoxia DX Series 120MM DX12
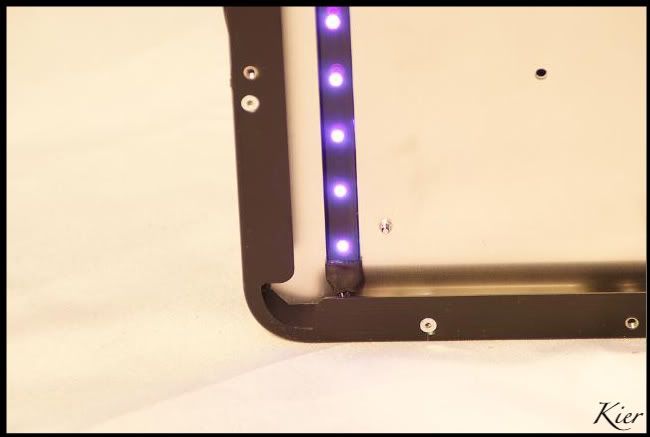
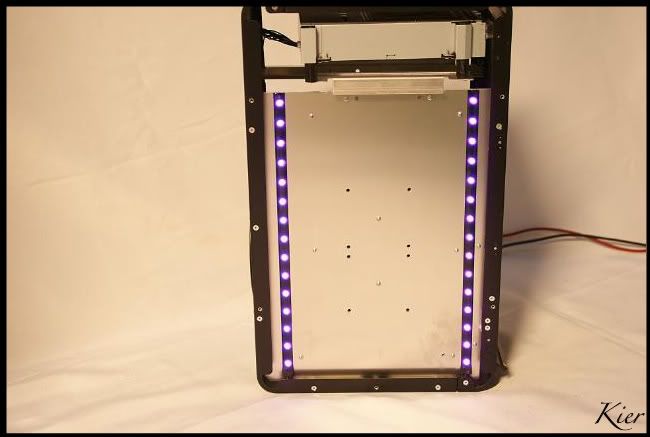
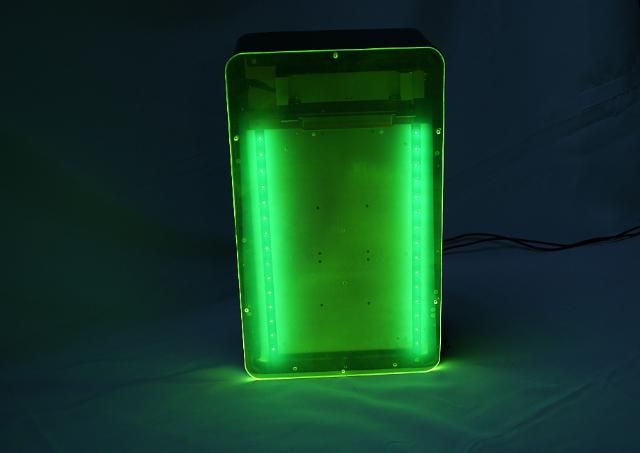
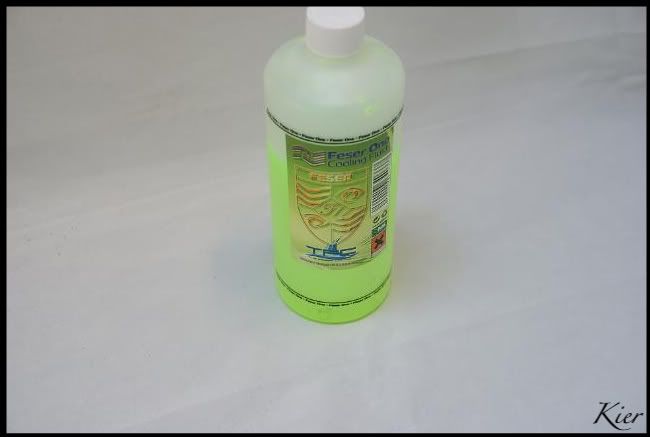
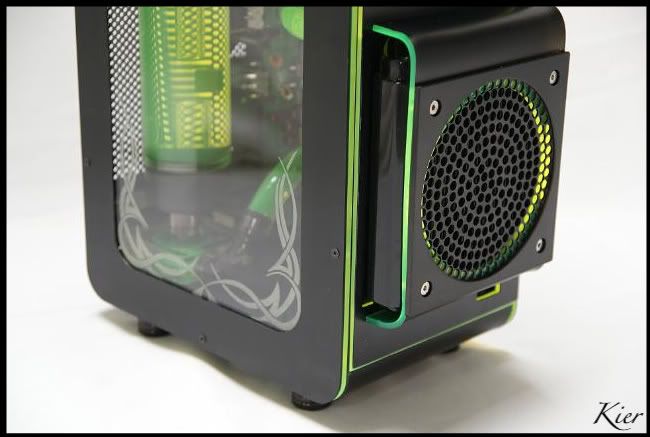
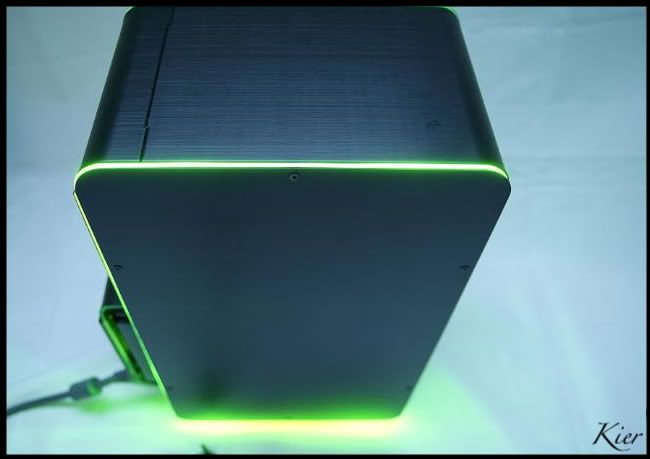
Hmm, I think the color combo is gonna be again black / green uv......I like it
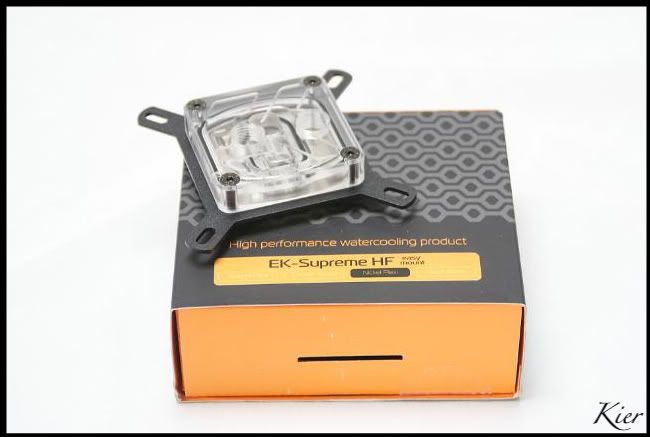
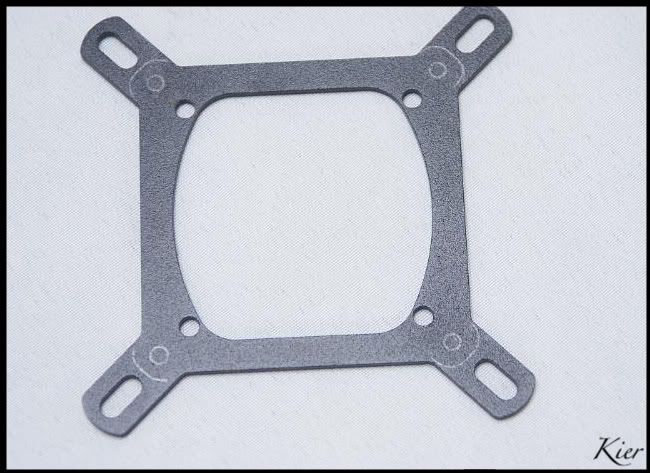
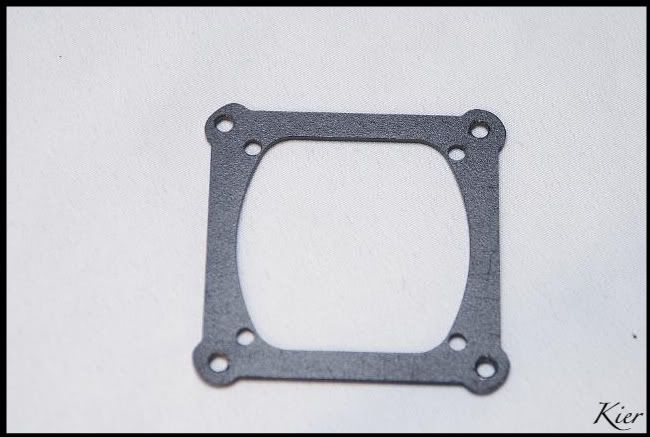
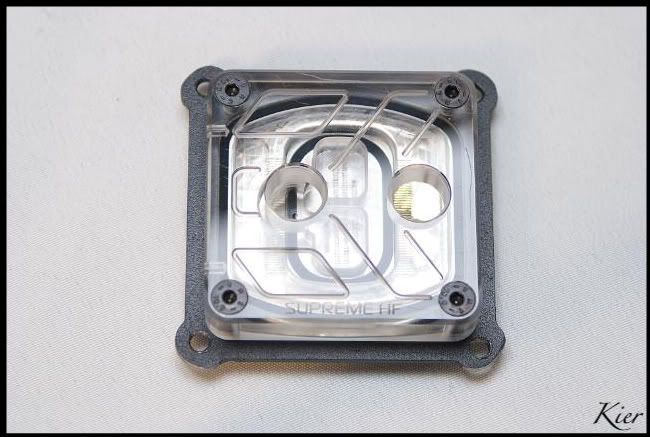
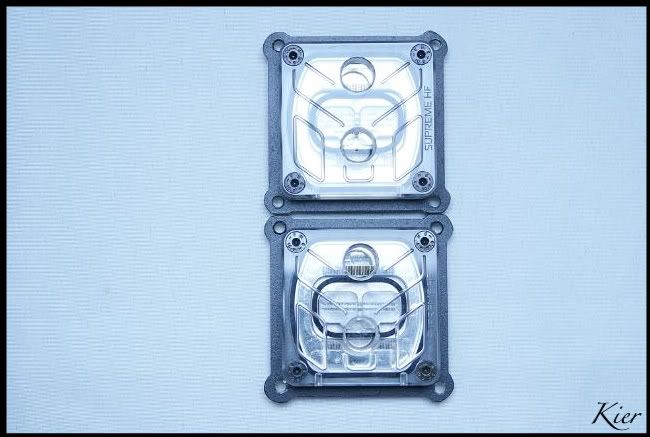
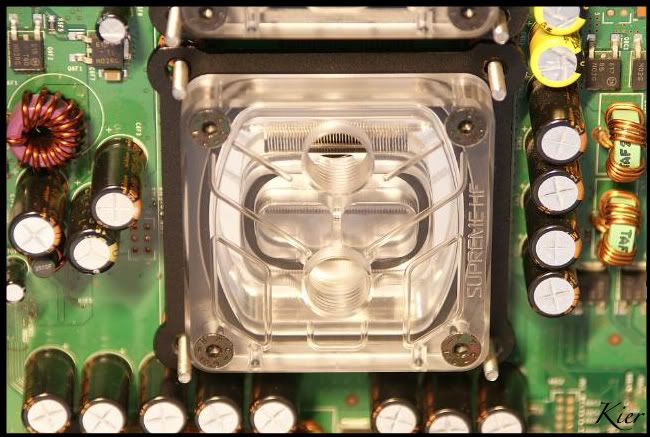
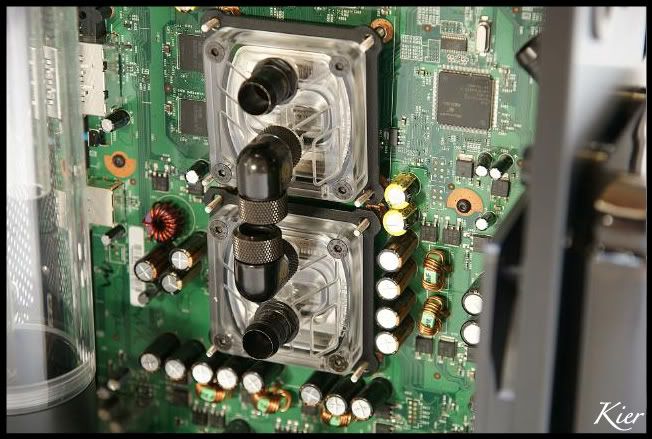
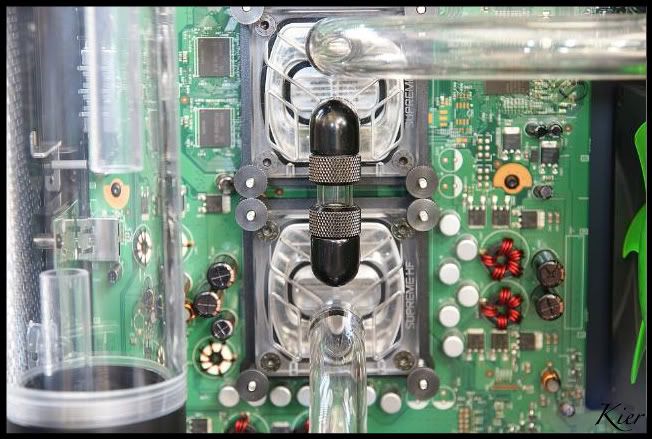
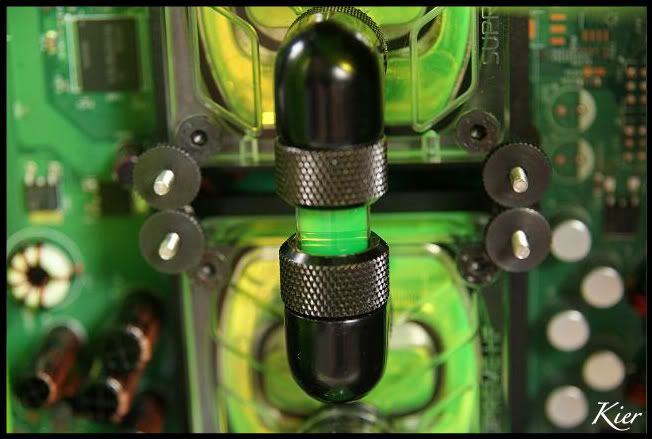
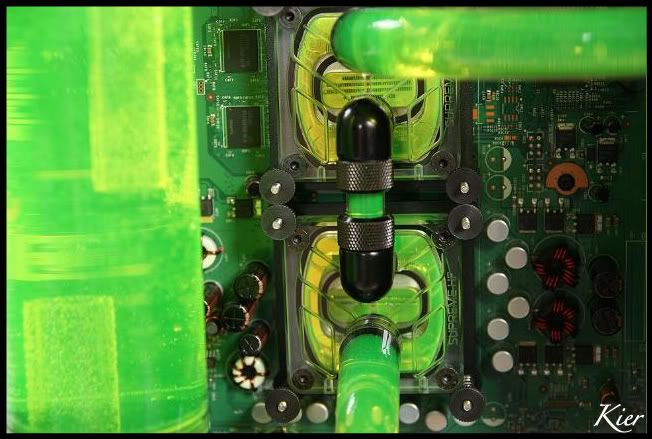
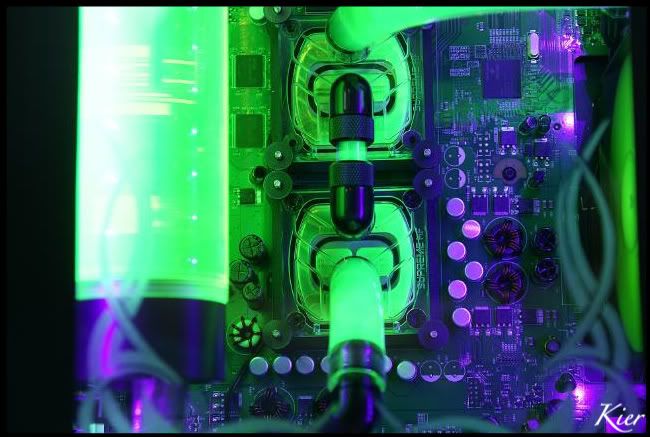
And 2 x a EK-Supreme HF Nickel CPU Block
The Supreme's will fit nicely. I just need to mod the brackets, but this will definitely be nice
With this beautiful List I went to Freddy, and Highflow is again prepared sponsor this build
Freddy / Highflow thnx again very much
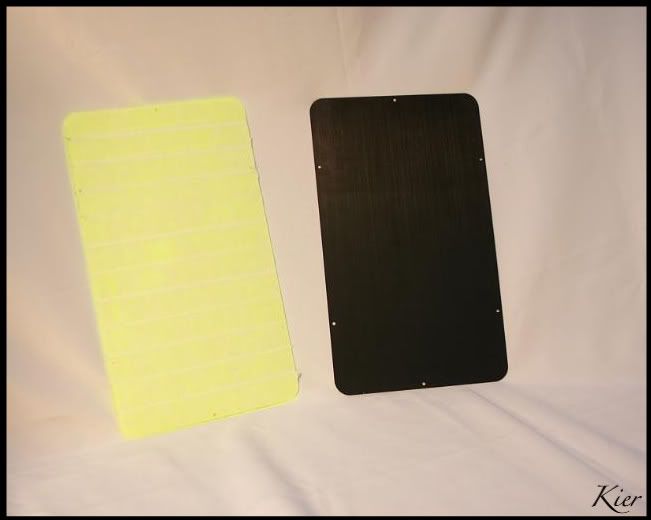
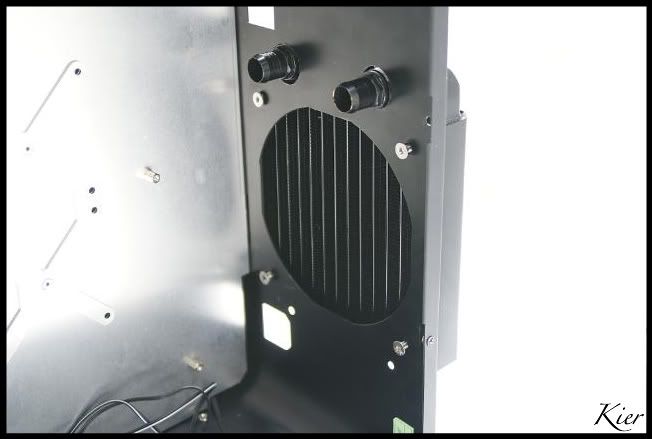
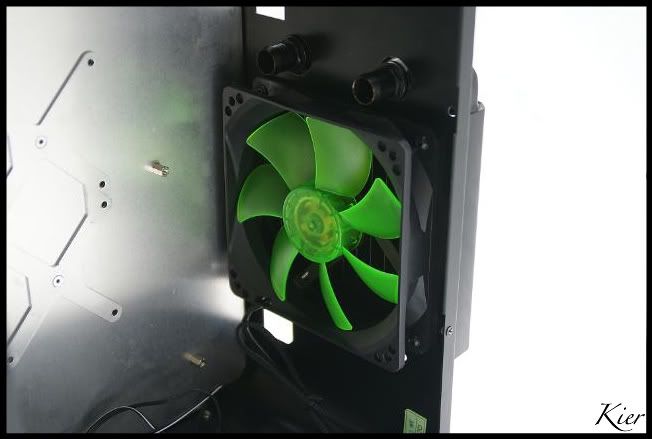
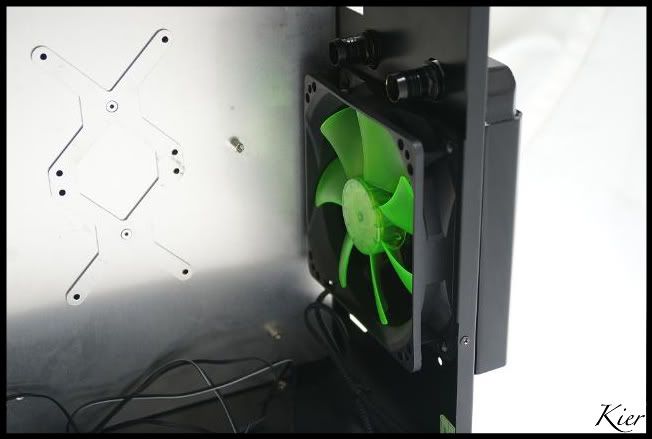
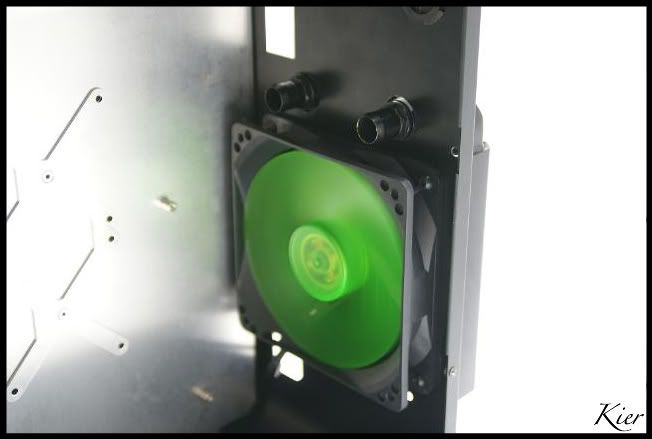
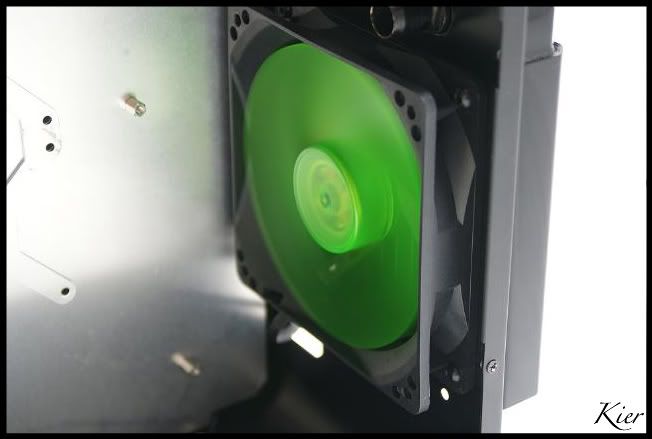
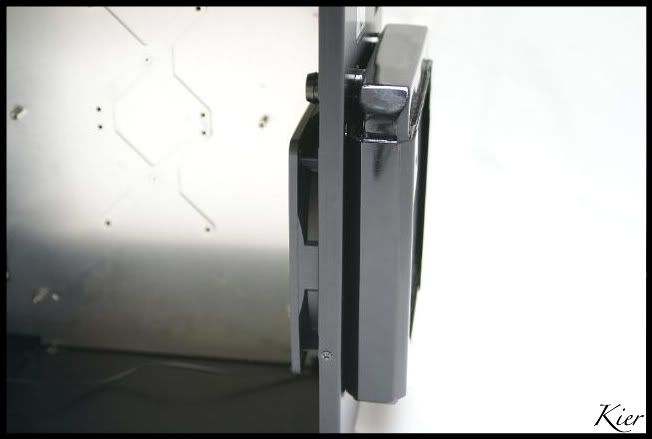
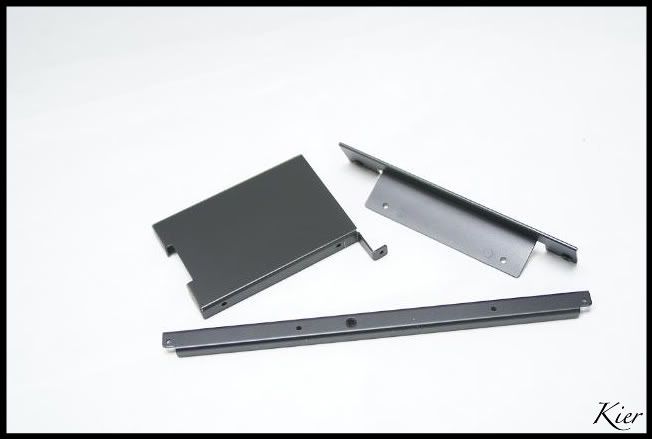
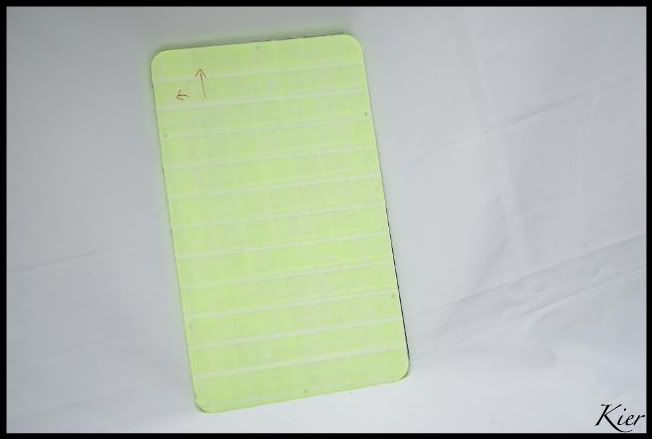
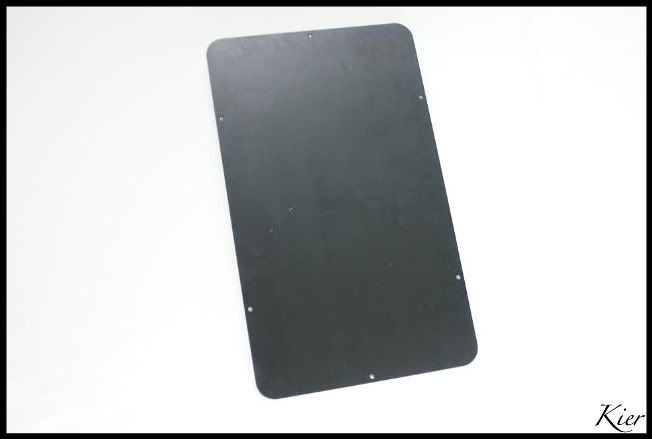
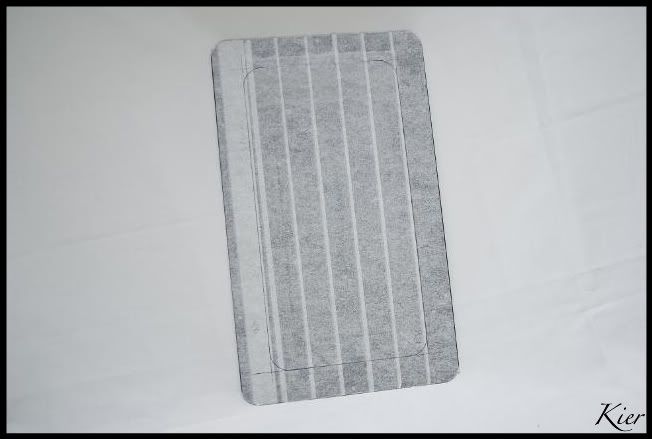
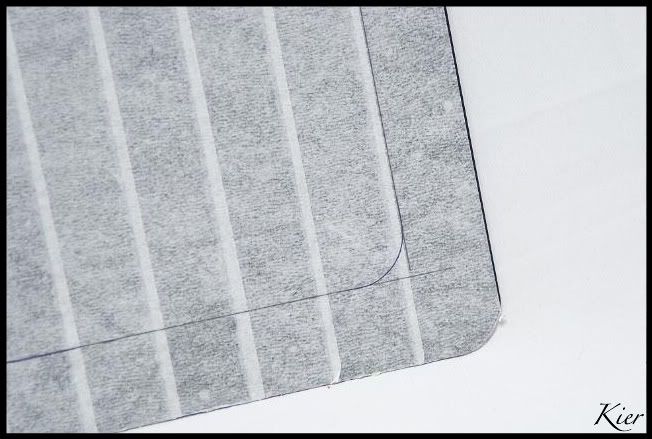
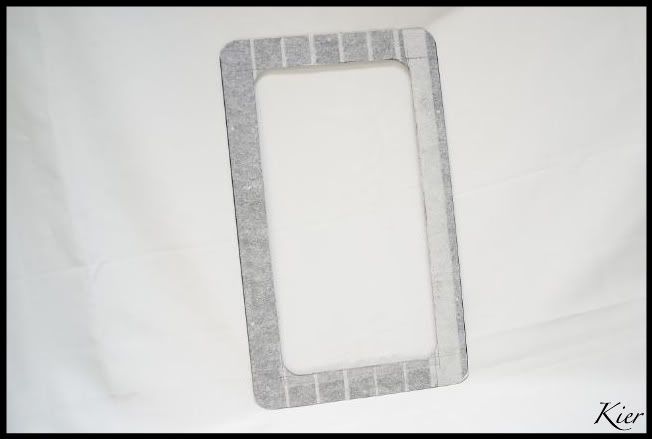
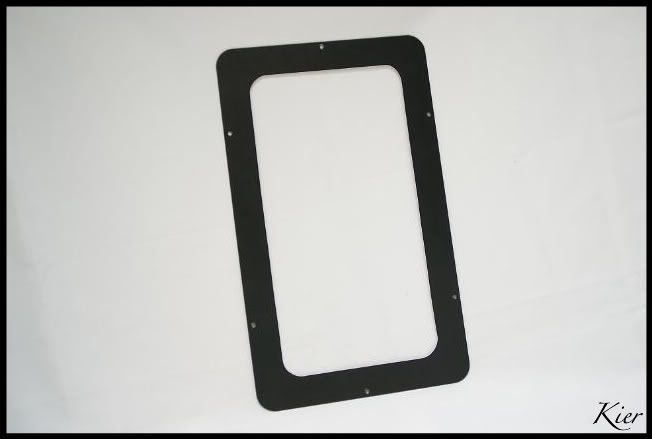
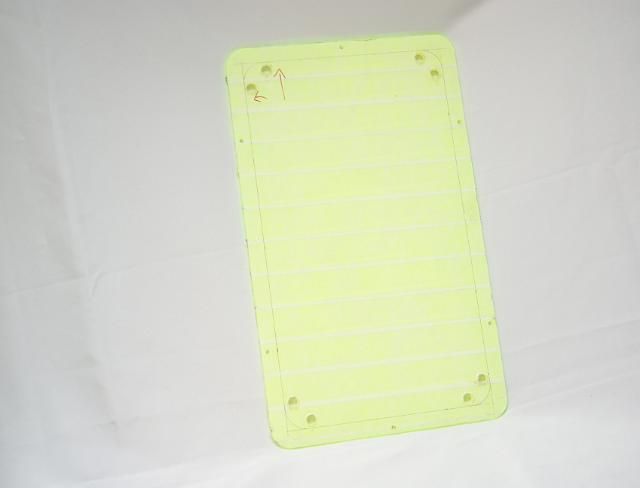
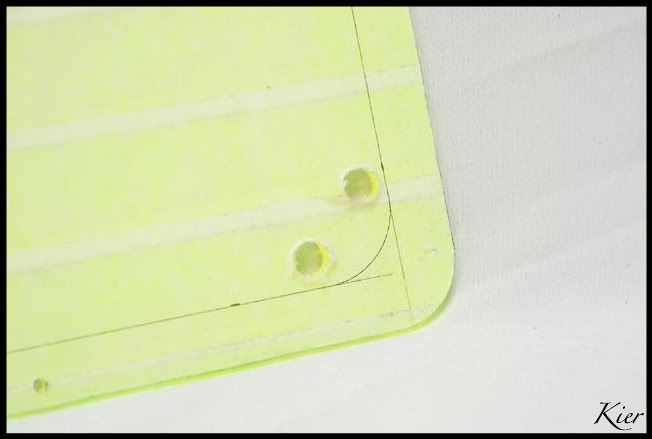
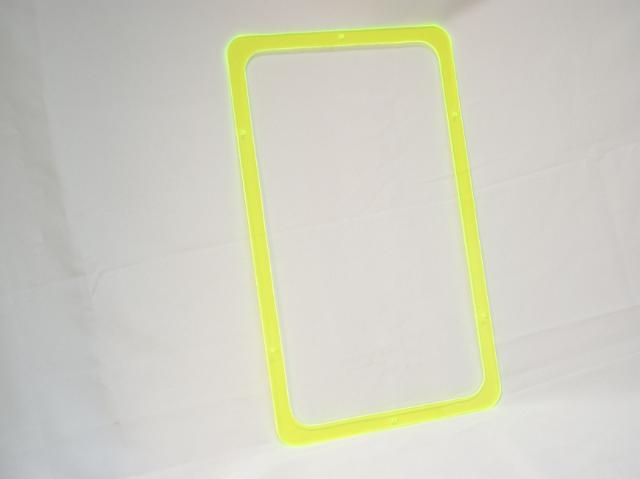
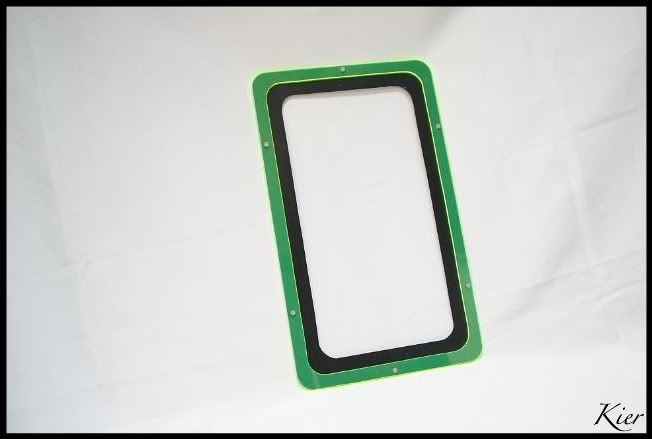
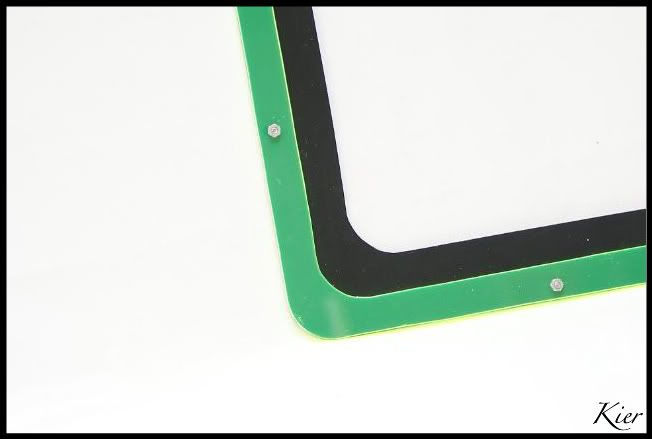
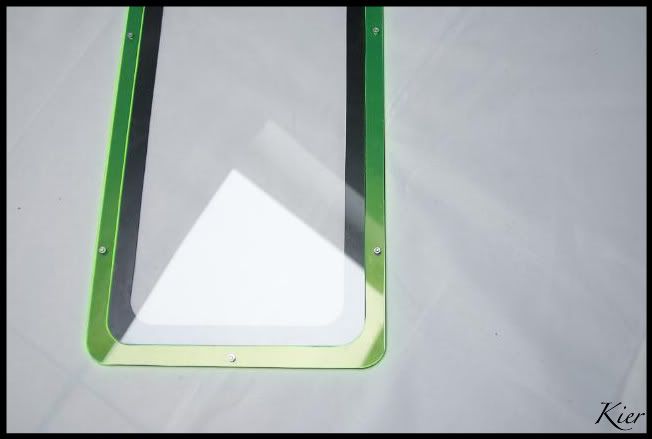
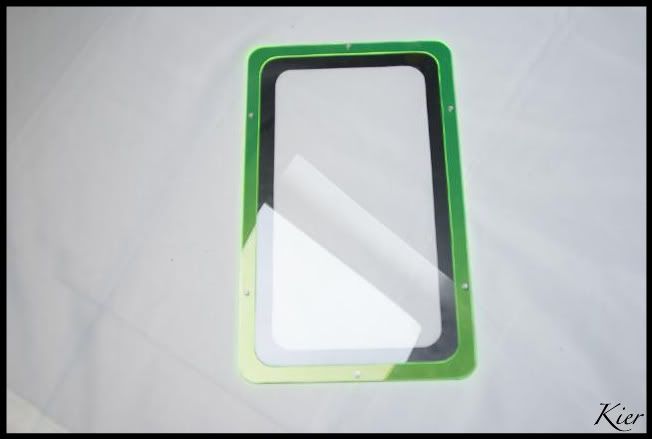
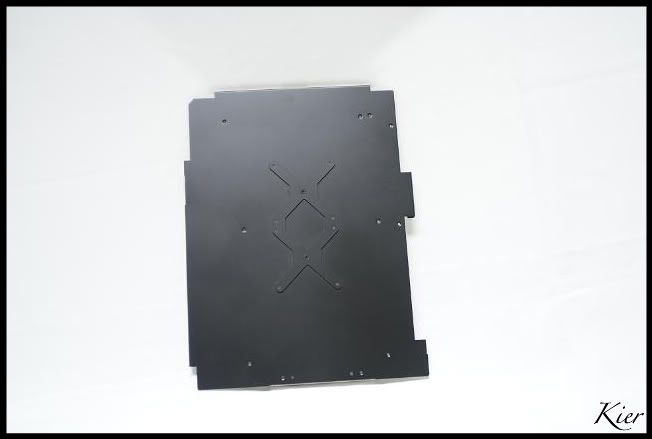
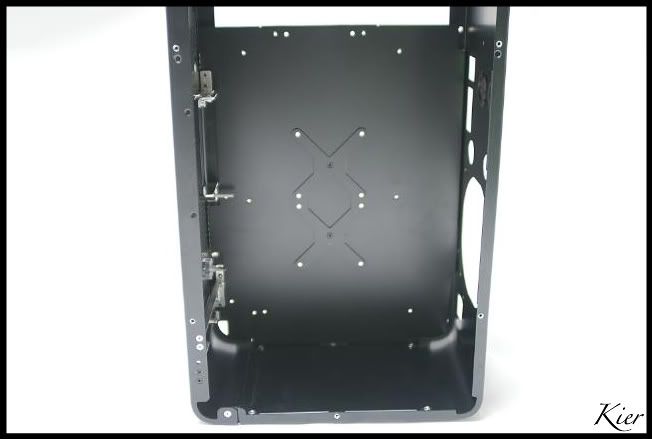
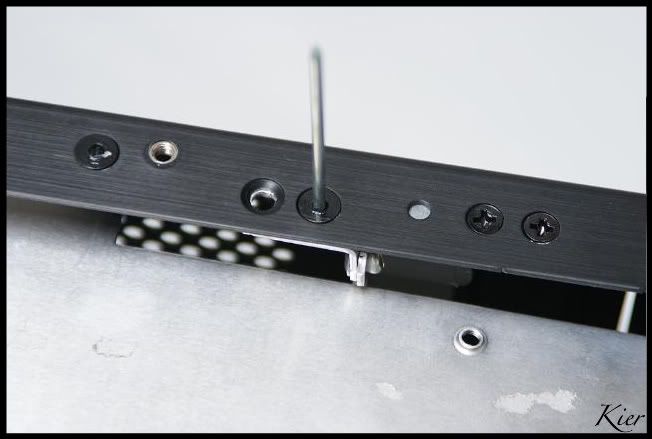
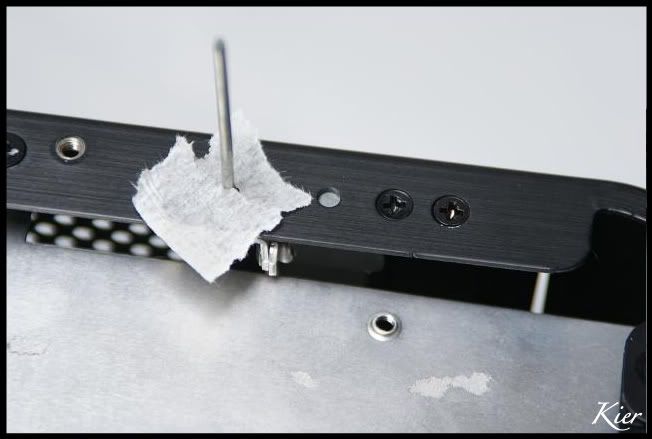
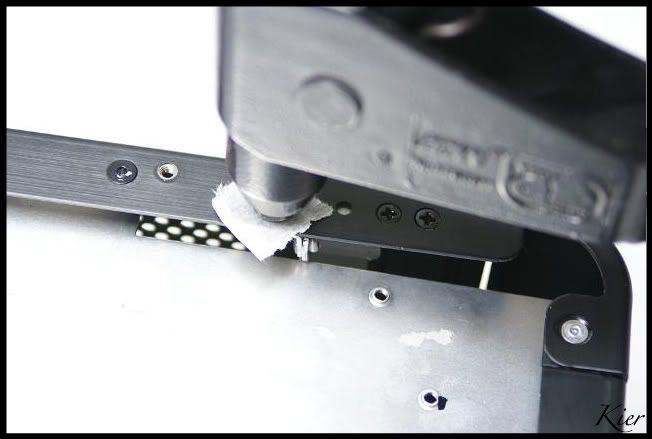
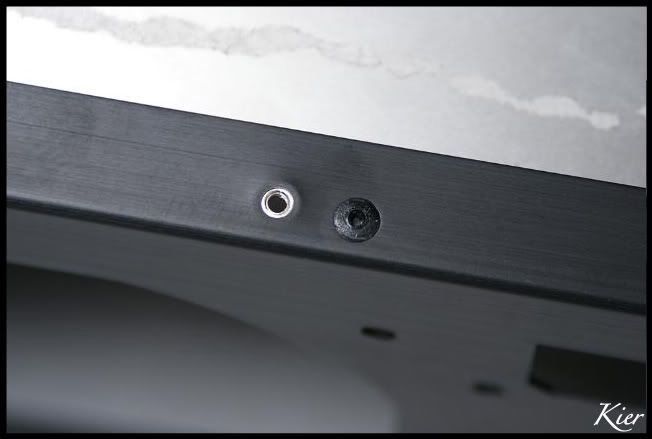
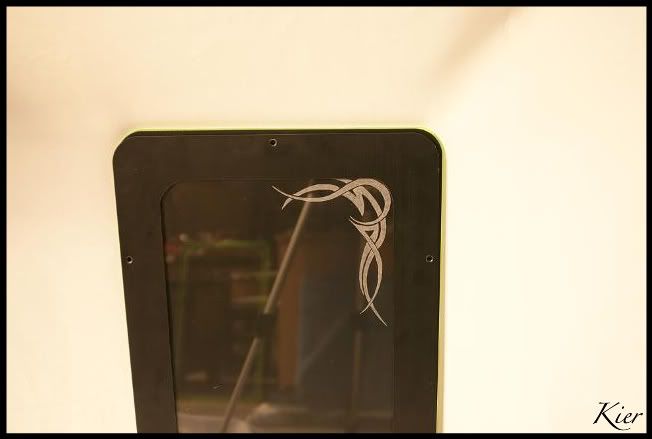
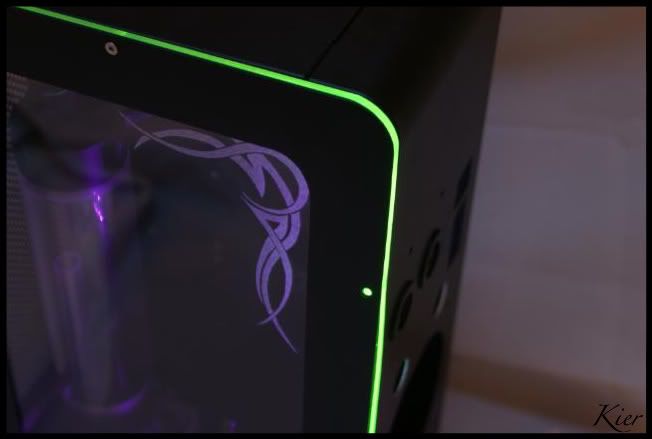
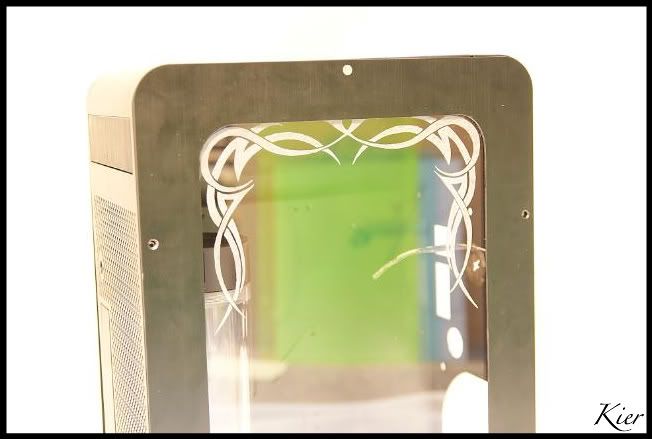
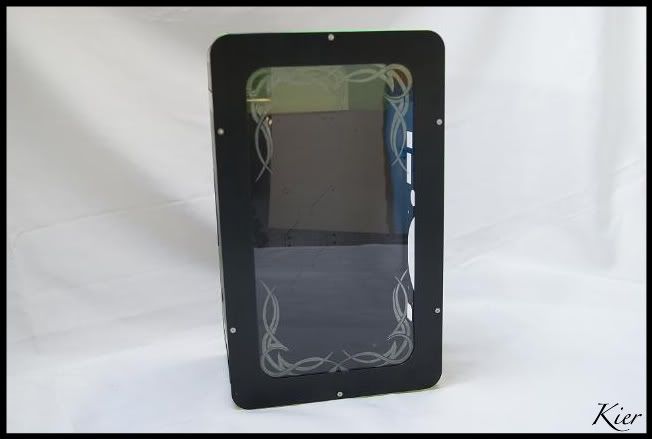
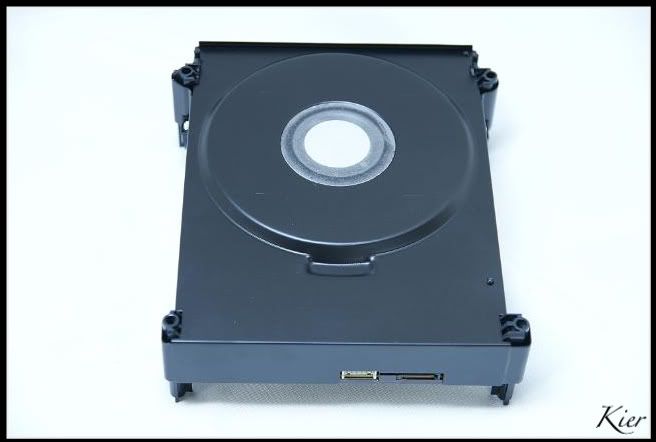
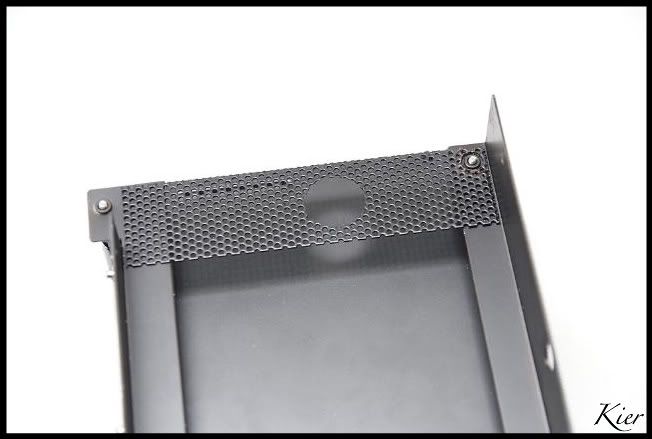
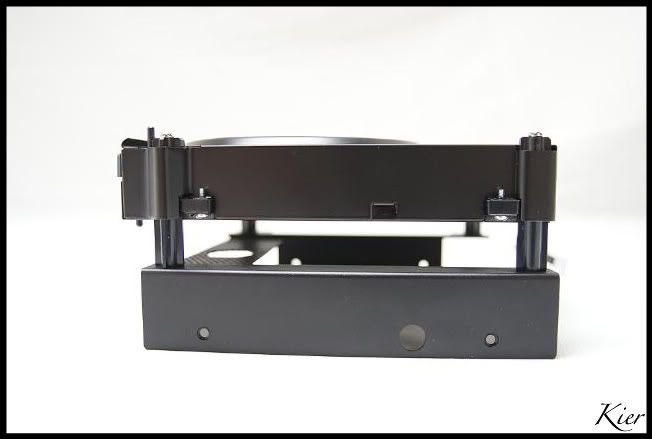
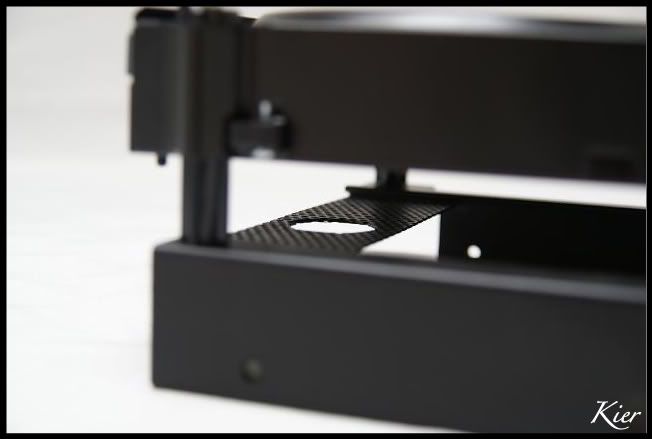
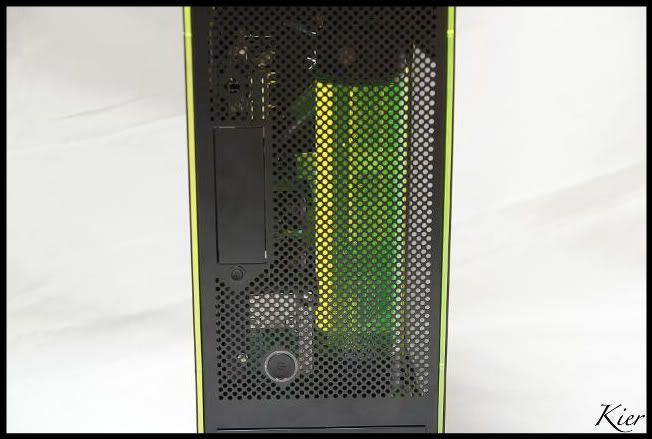
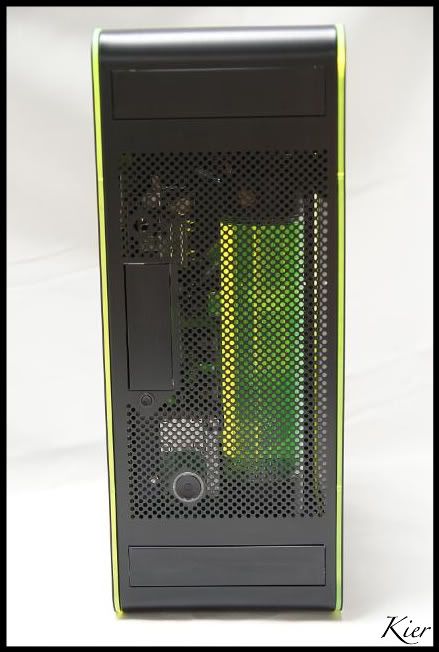
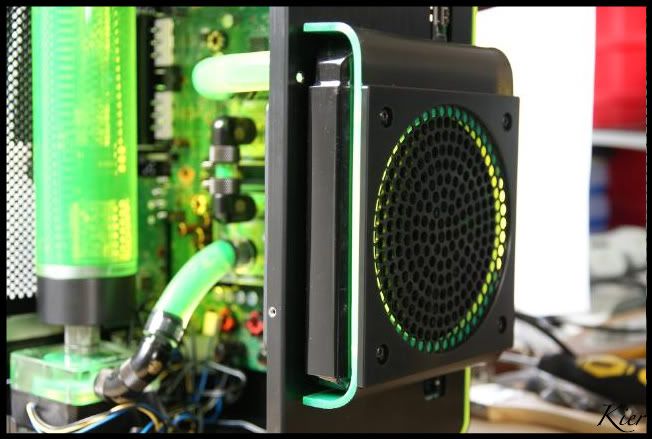
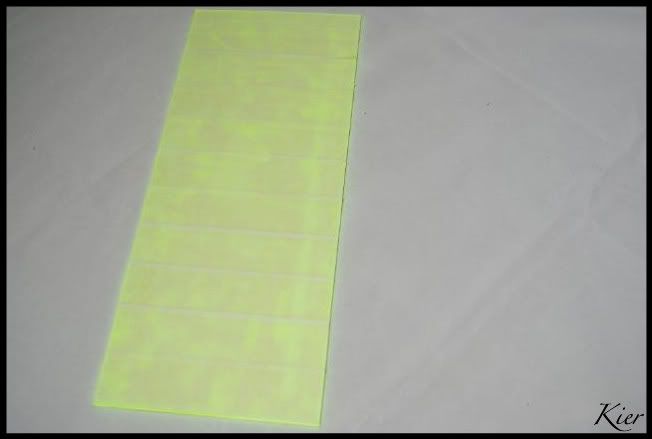
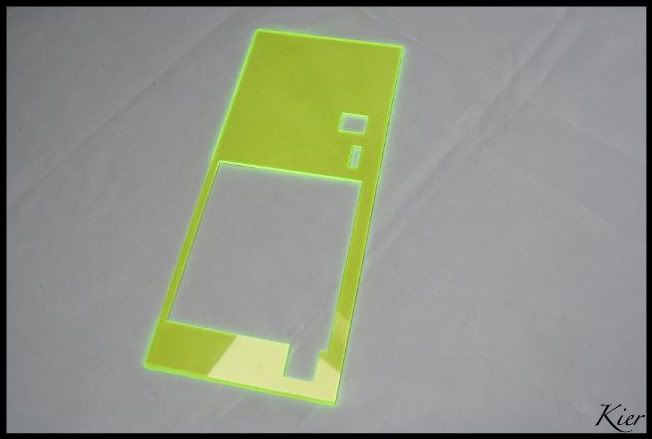
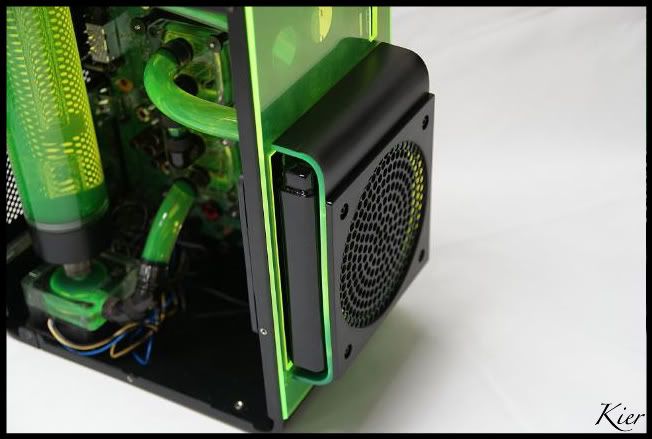
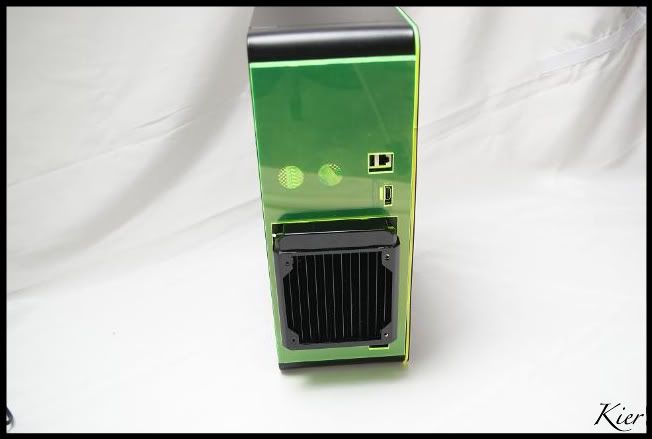
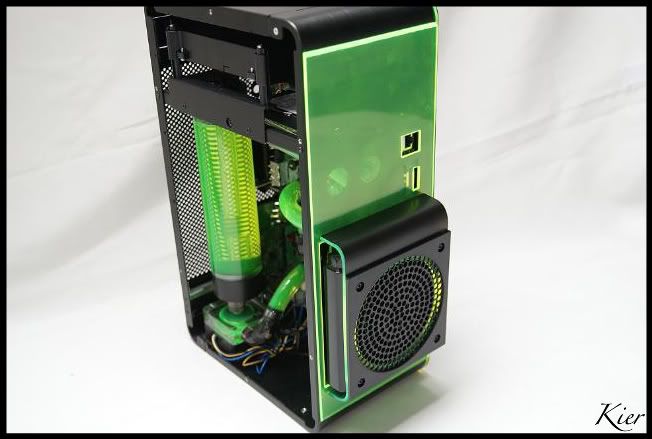
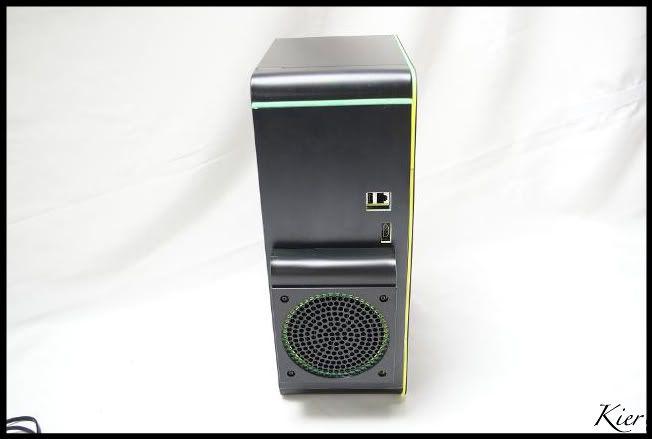
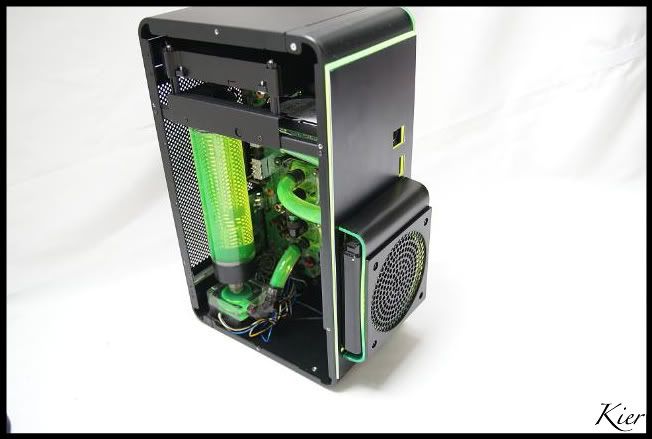
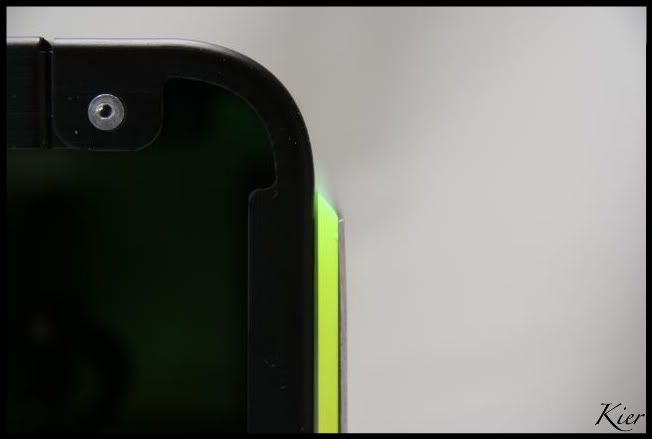
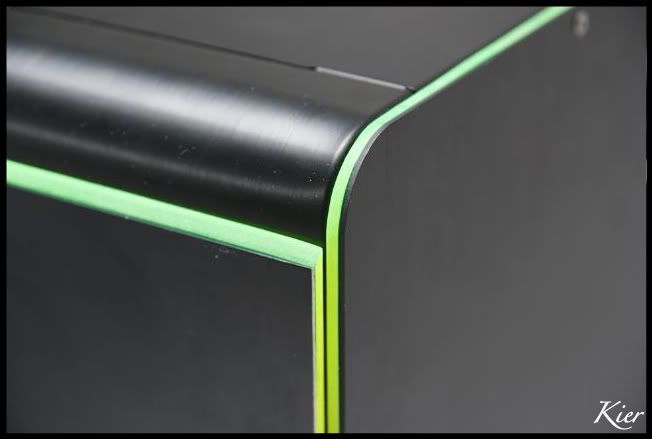
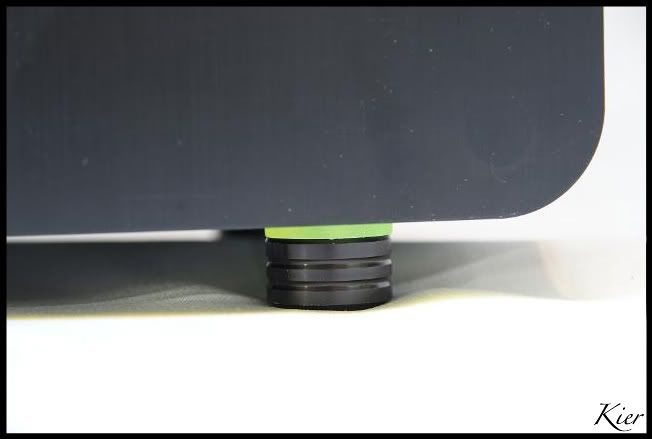
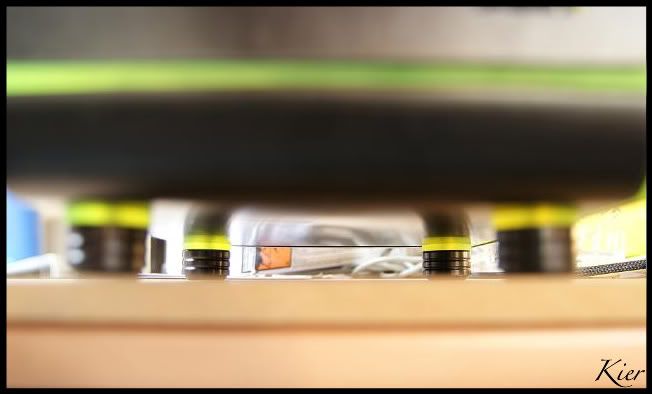
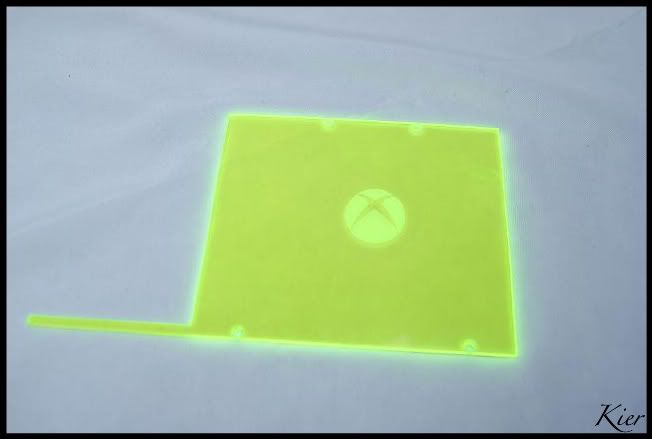
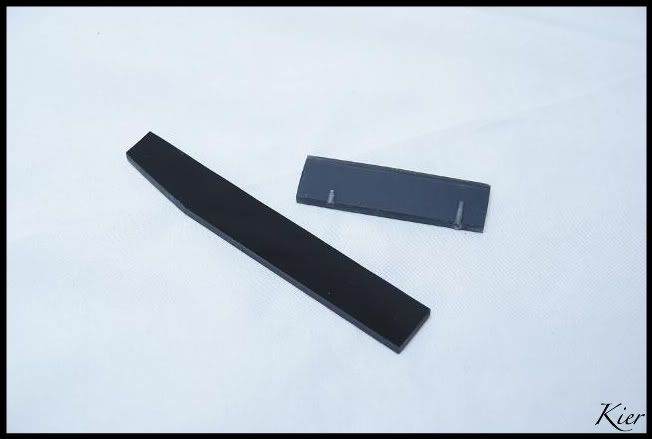
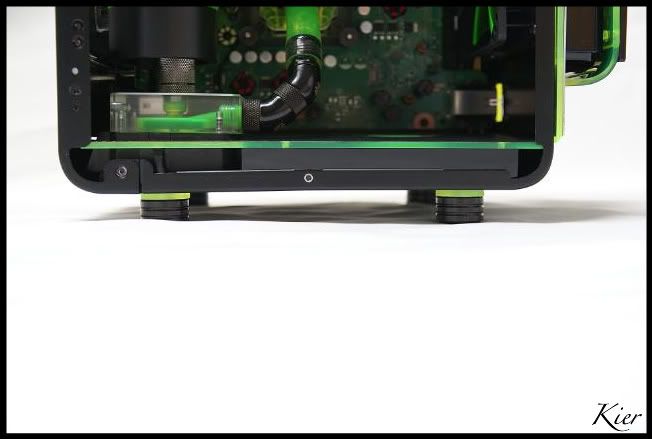
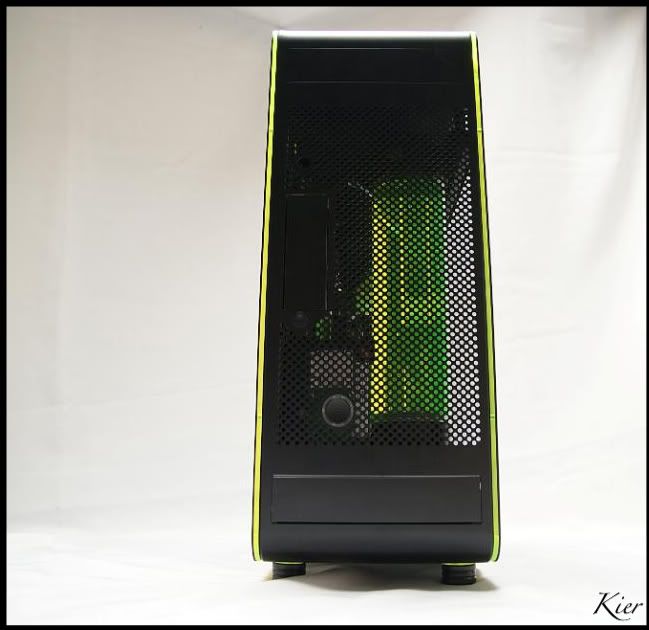
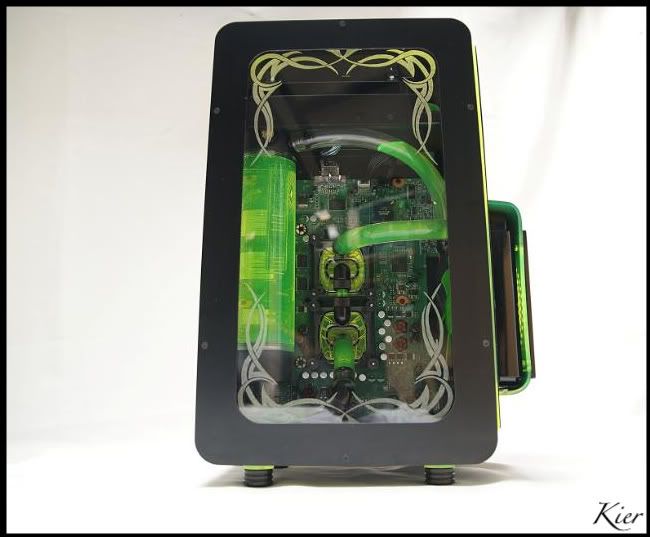
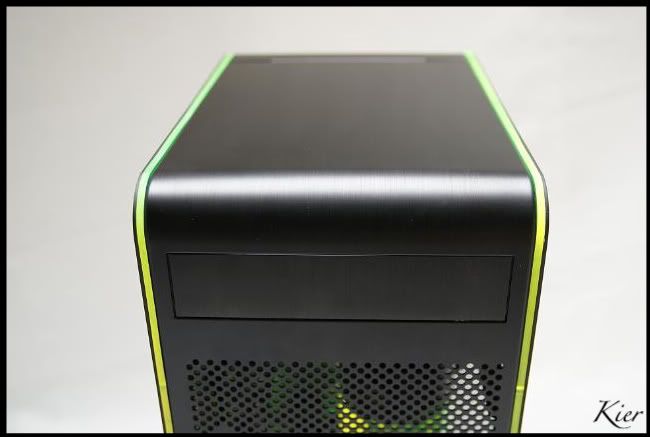
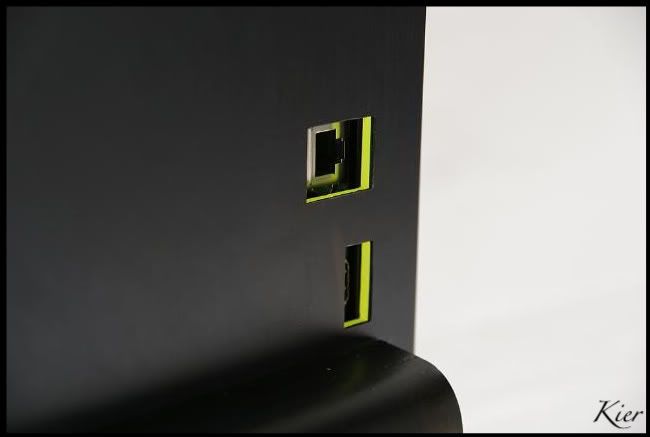
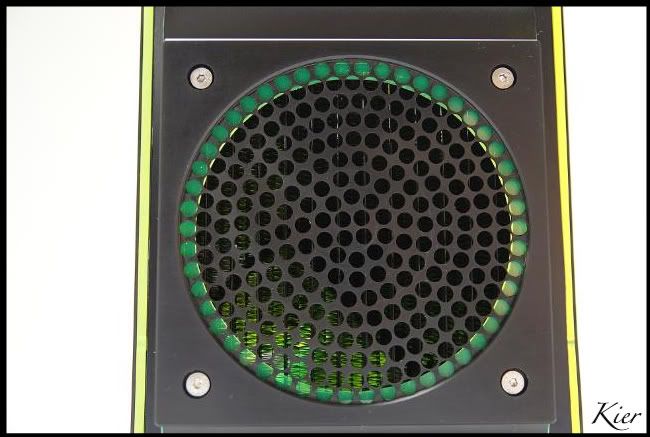
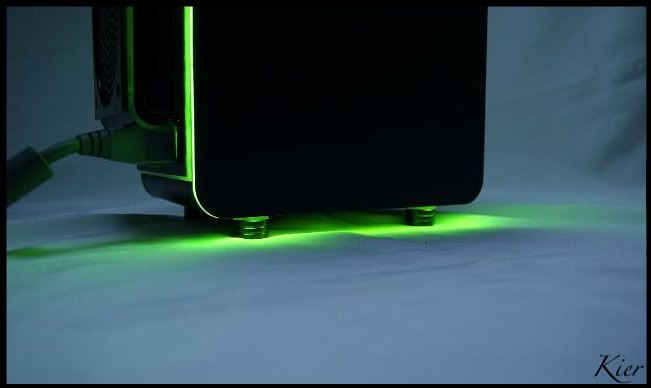
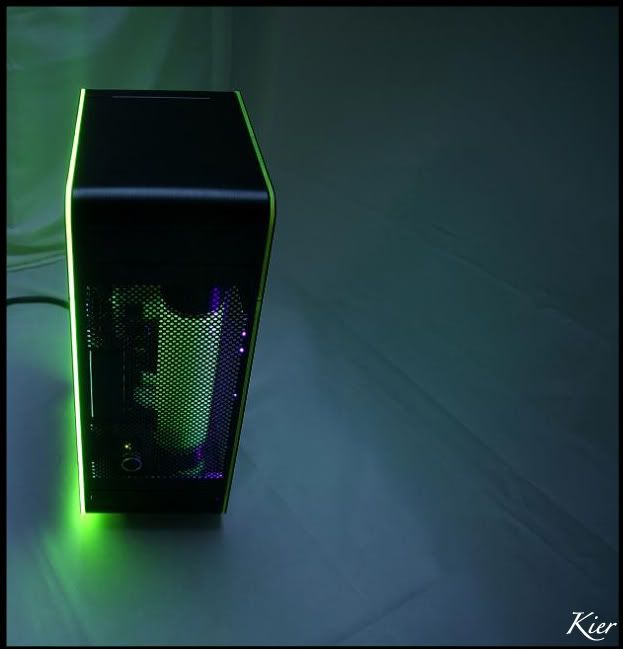
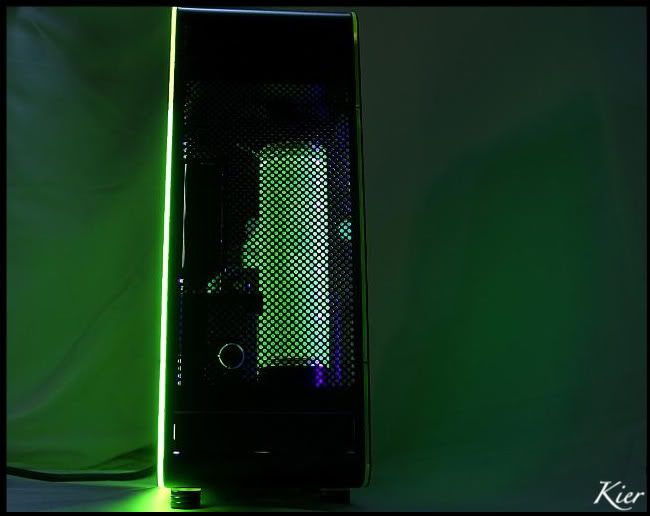
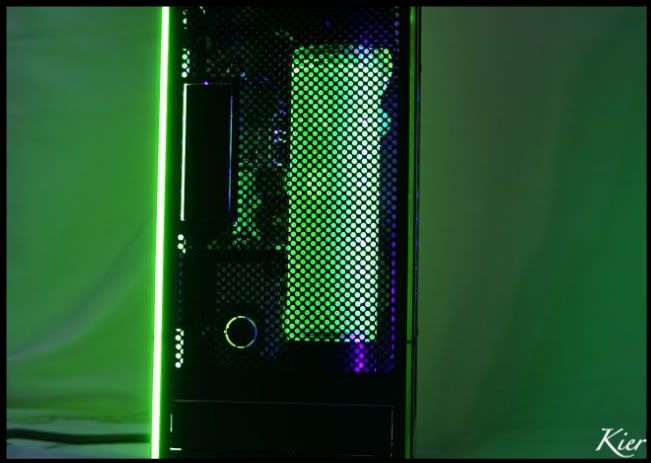
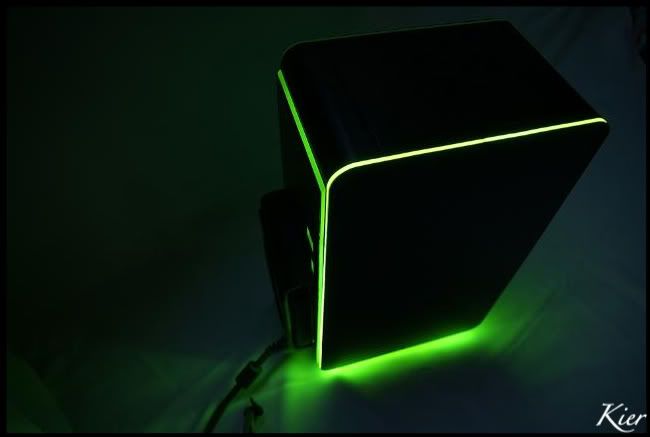
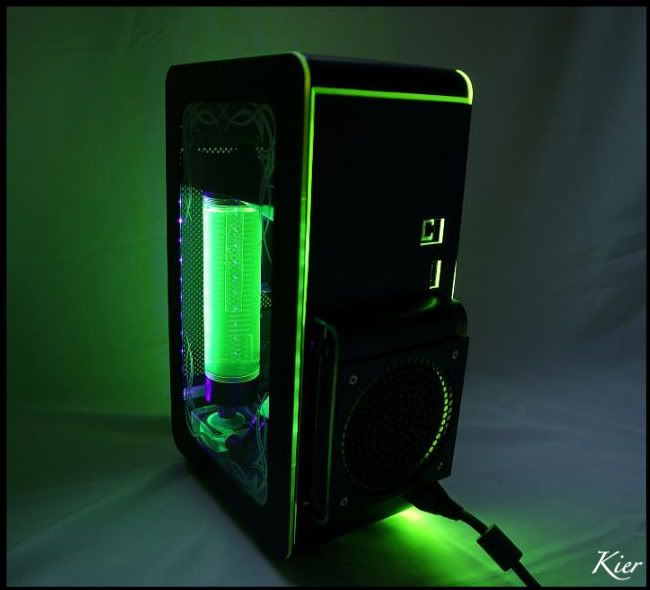
To start with I have some photos taken from the beautiful Lili

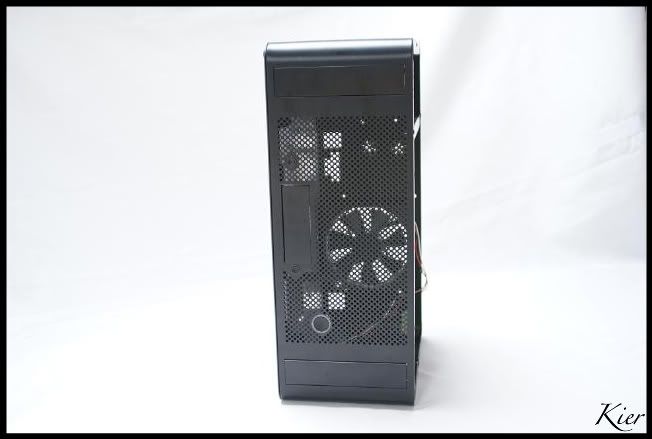
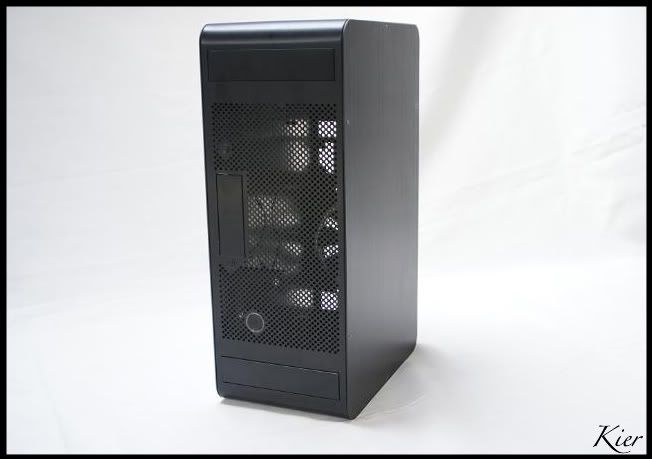

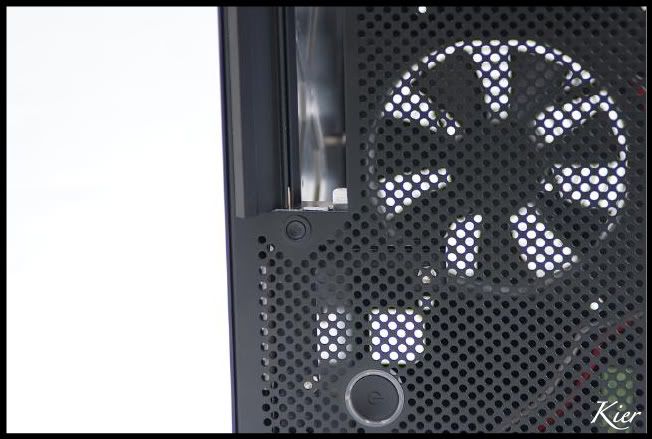
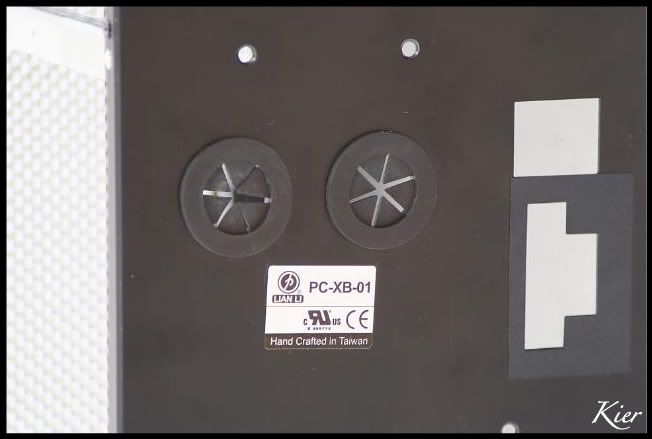
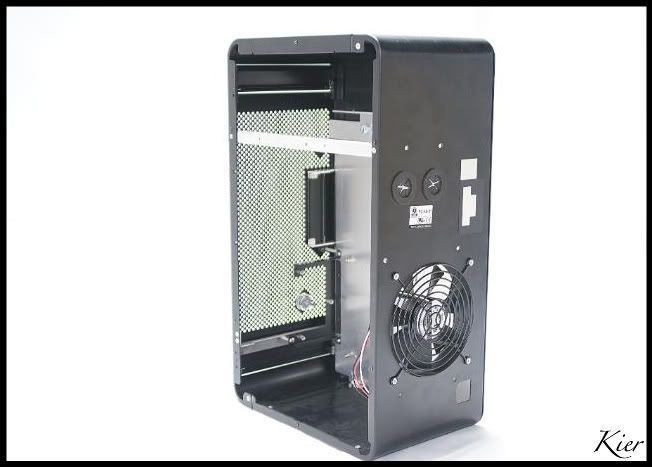
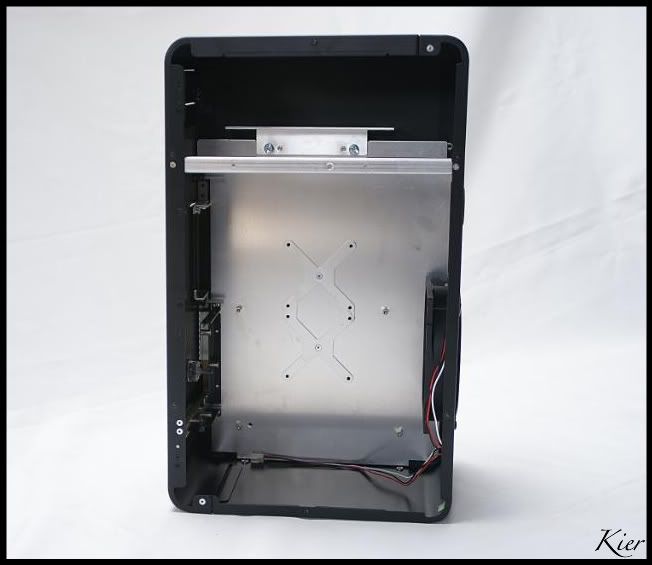
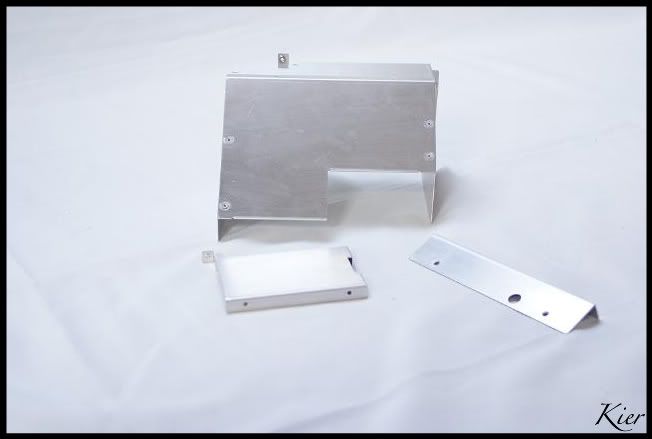
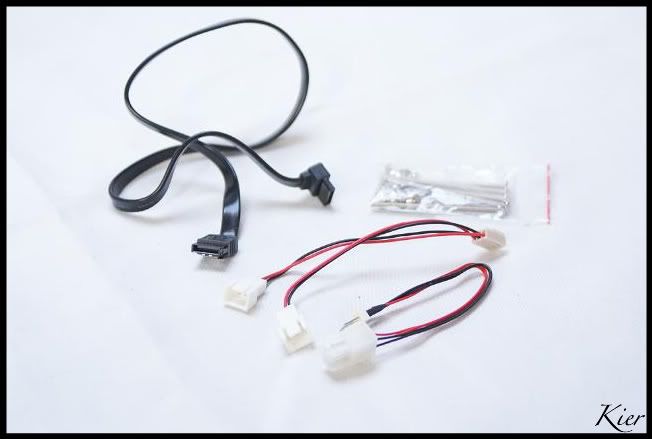
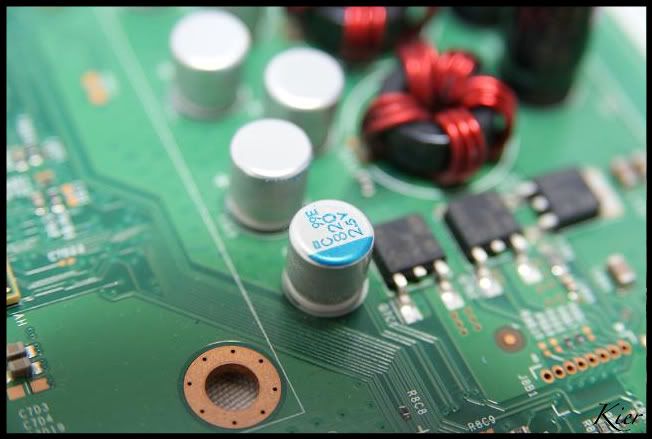
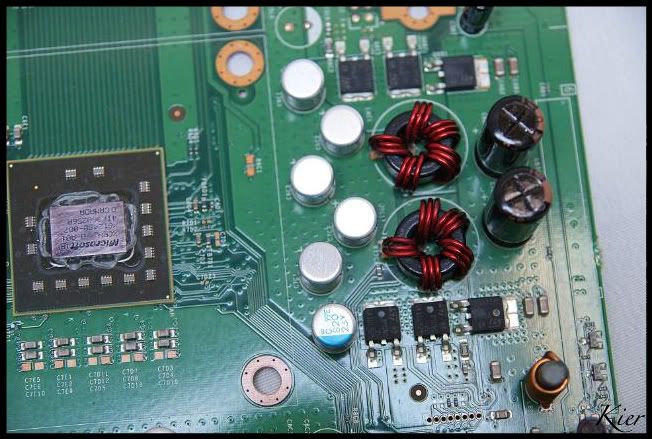
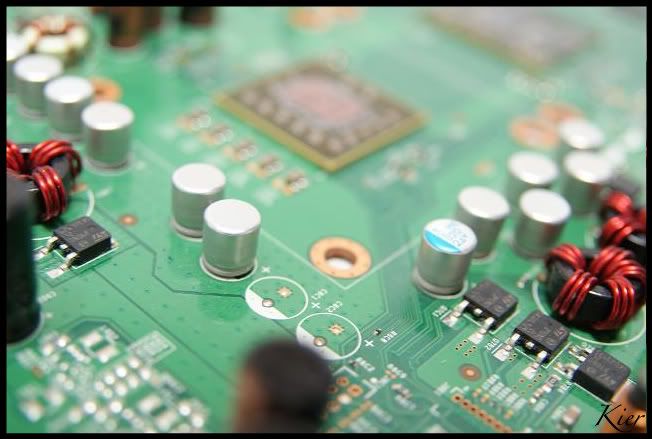
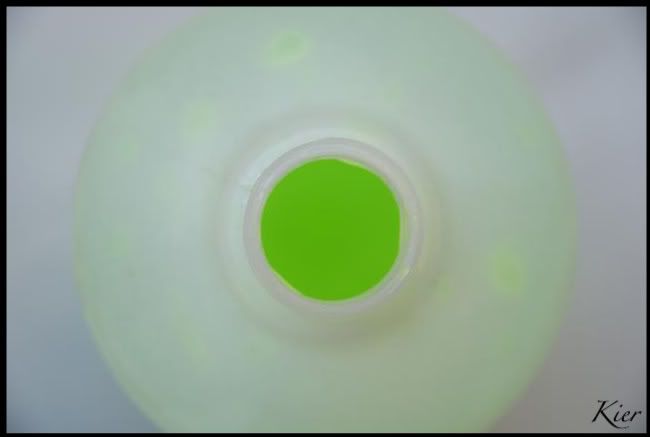
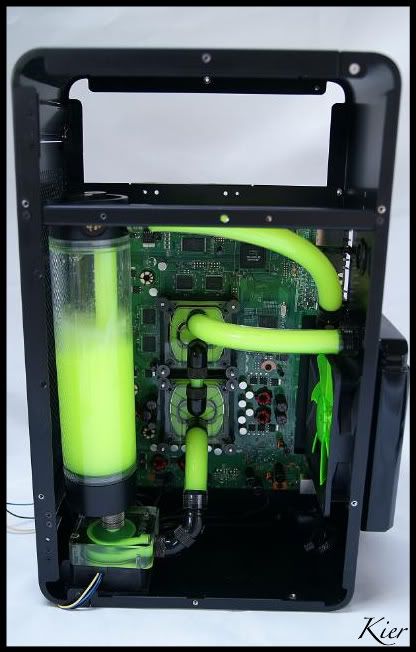
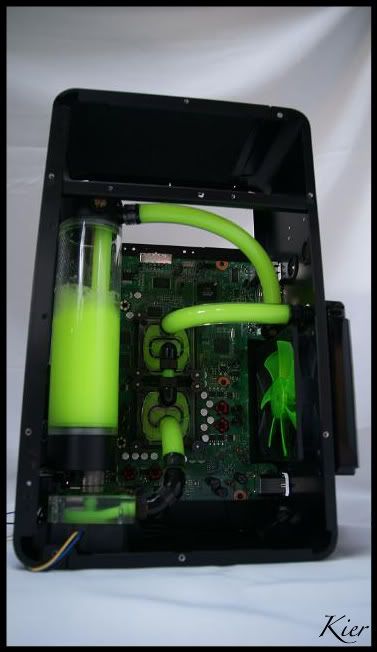
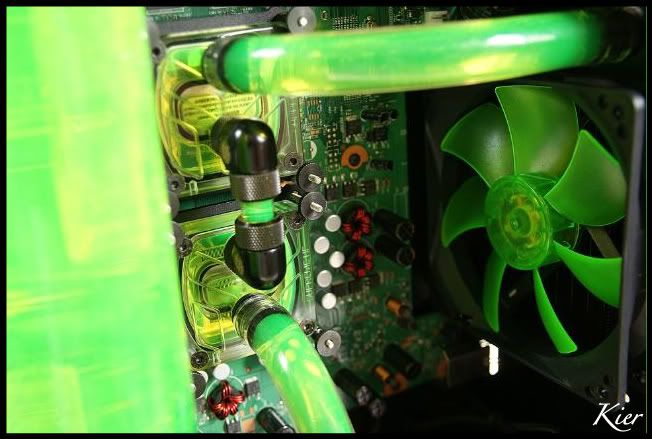
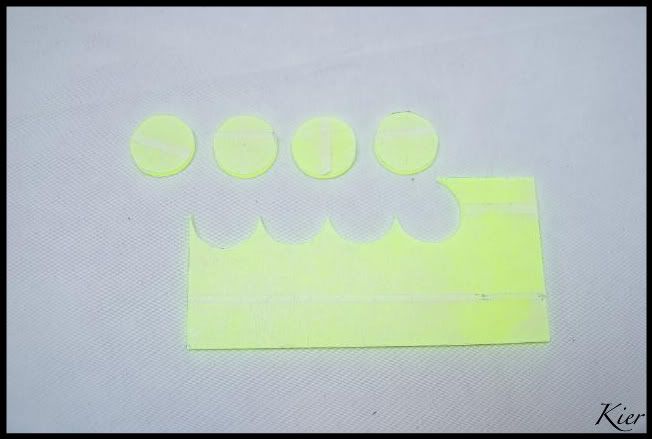
These are the victims that I had left from a distant past.

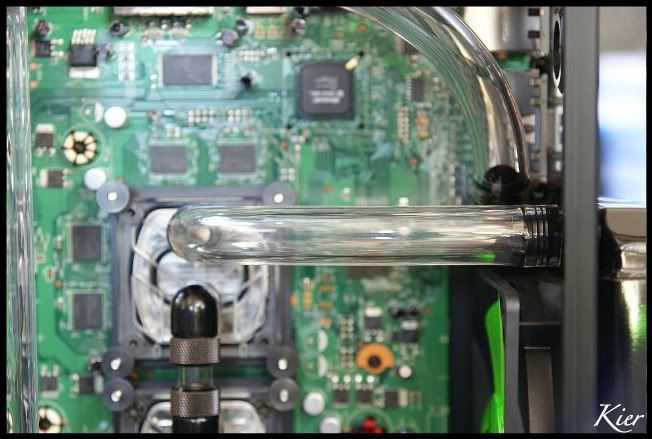
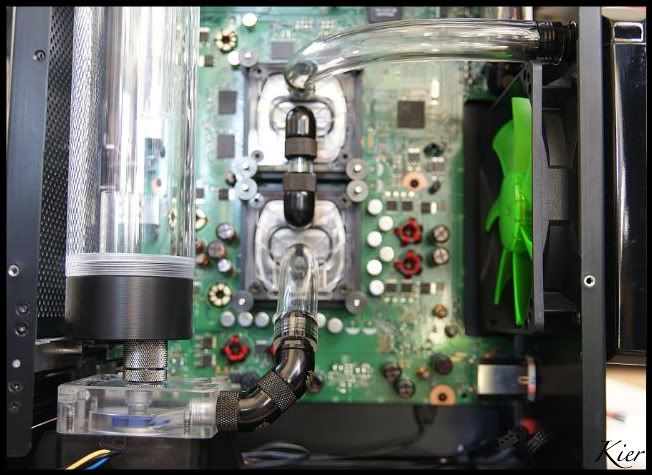
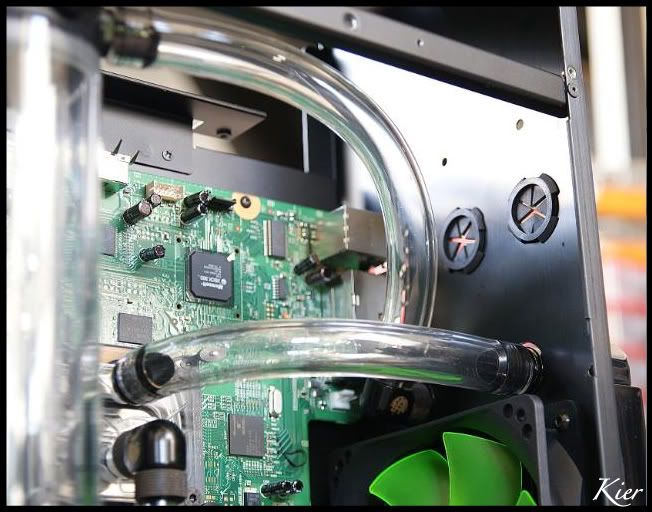
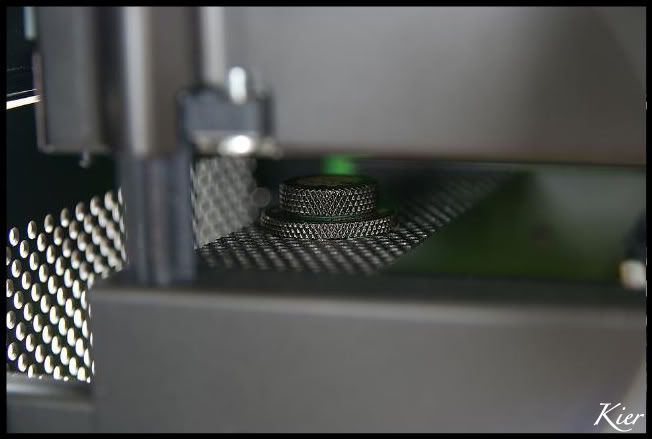
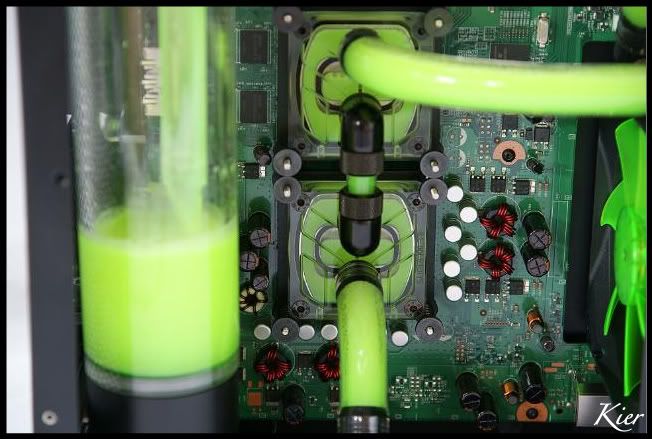
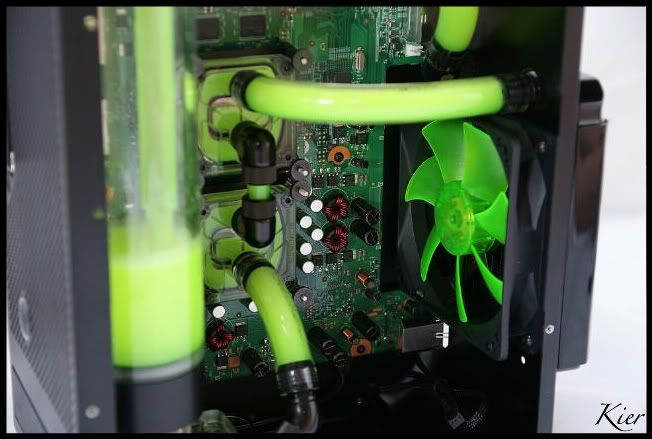
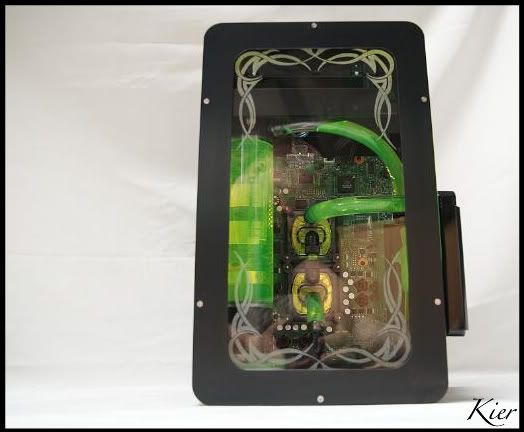
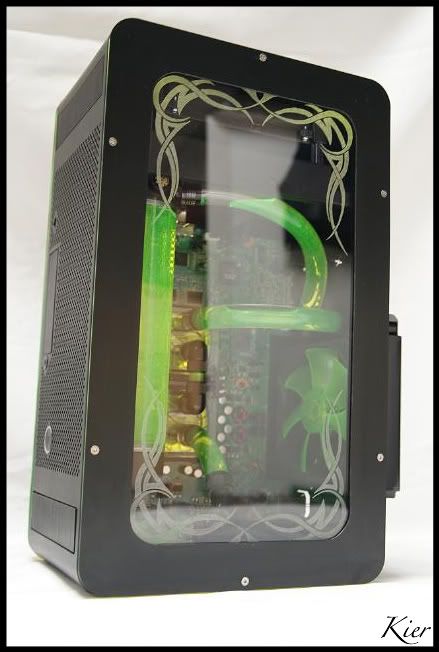
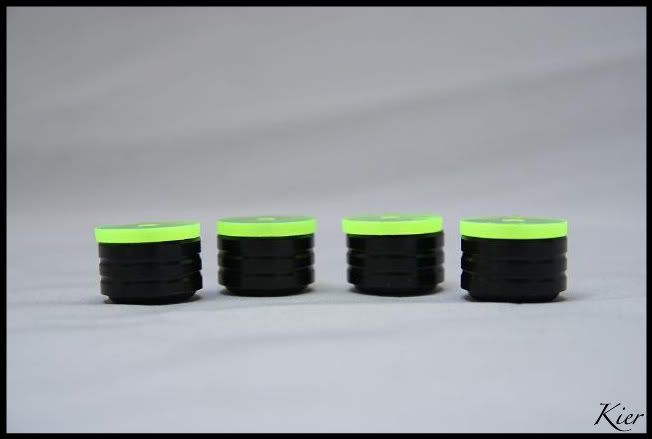
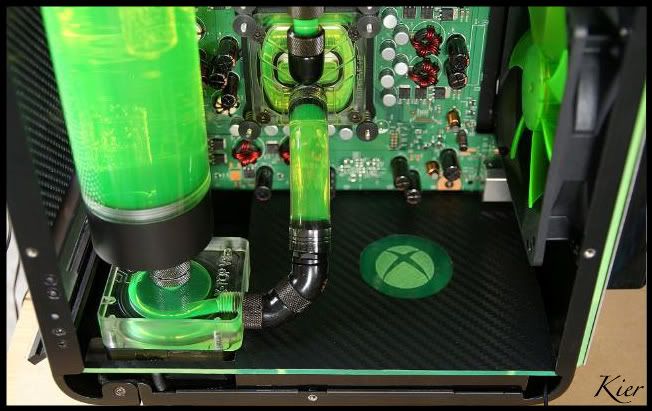
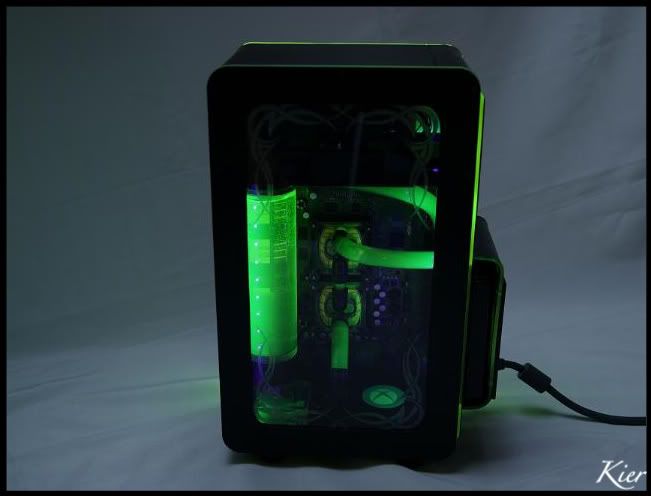
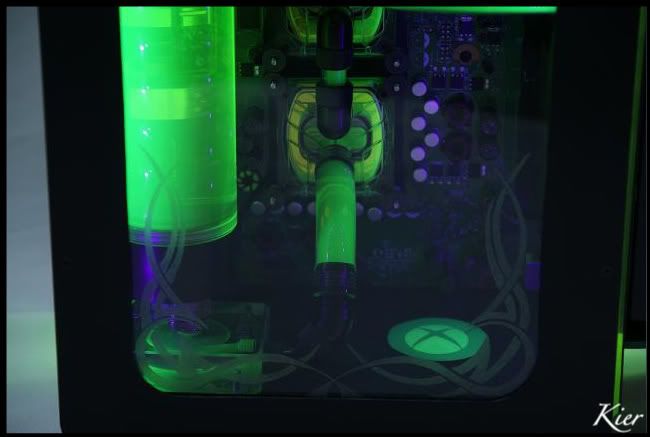
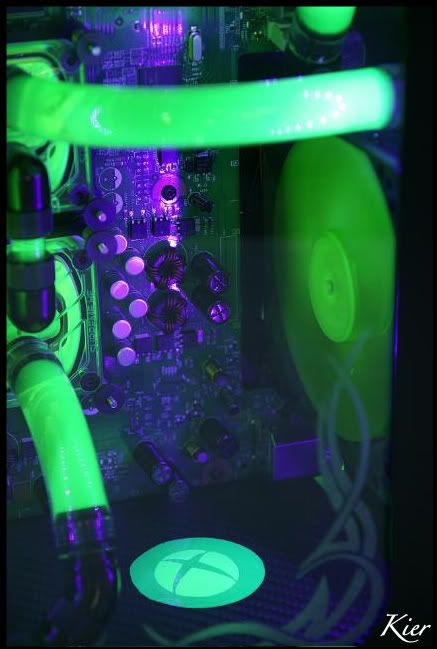
And I could not resist to test the little sweet set
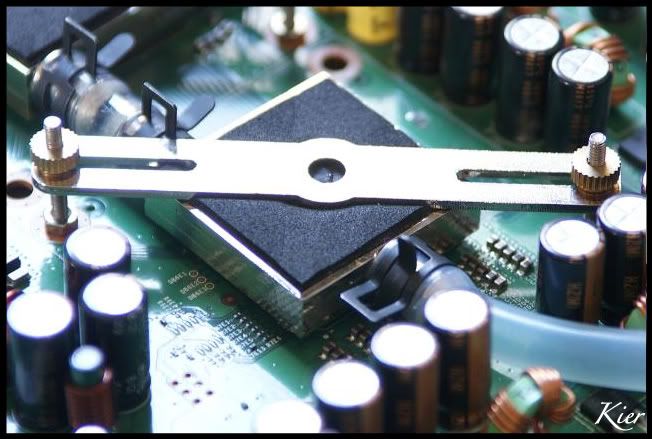
With the set is nothing wrong, but would like some more extreme than this, what will succeed. I know it for sure.
So this is the start of a my new build.
Grtzzz. And to be continued
My name is Richard aka Kier. I've did some nice things in the past with cases
And I wanna share my ideas and skils with you guys. Some previous builds can be seen
on my site madebykier
My first build overhere is not gonna be an pc but an watercooled xbox
Hope you like it!!!
Sponsored by:
Presenting:
Hi fellow modders.
I was looking a long time for this Lian Li case, the PC-XB01
I knew he was EOL, but there is always someone who has this one.
So the search continued.
Did this case is really a beauty and offers quite a few opportunities because
Xbox is not really big and little more content, while the Lian Li is quite large.
It therefore offers opportunities for an expanded water cooling setup to installon the CPU and the GPU Proccesor.
After some research, I accidentally found a lovely Lili with a good friend:
Gnoom172.
Gnoom I owe you one
Also He had a nice Watercooling set for the Xbox. Which is very sweet, but too little for me.
I was then also noted by wwwicked a nice set from the famous Highflow shop
It was the XBOX PRO Dual 40 Watercooling Kit
Also very nice. But for a large case like i have now its actually too small
So after some fitting and measuring, I found out that it is quite possible for the following parts:
EK-Multioption RES X2 - 250 Advanced
Laing DDC-1 MCP350 12V
Black Ice GT Stealth 120 Black
Nanoxia DX Series 120MM DX12
Hmm, I think the color combo is gonna be again black / green uv......I like it
And 2 x a EK-Supreme HF Nickel CPU Block
The Supreme's will fit nicely. I just need to mod the brackets, but this will definitely be nice
With this beautiful List I went to Freddy, and Highflow is again prepared sponsor this build
Freddy / Highflow thnx again very much
To start with I have some photos taken from the beautiful Lili
These are the victims that I had left from a distant past.
And I could not resist to test the little sweet set
With the set is nothing wrong, but would like some more extreme than this, what will succeed. I know it for sure.
So this is the start of a my new build.
Grtzzz. And to be continued
Last edited: