Hell's Illusion - Project Lament II

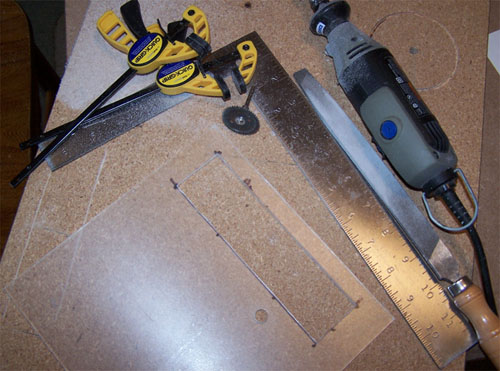
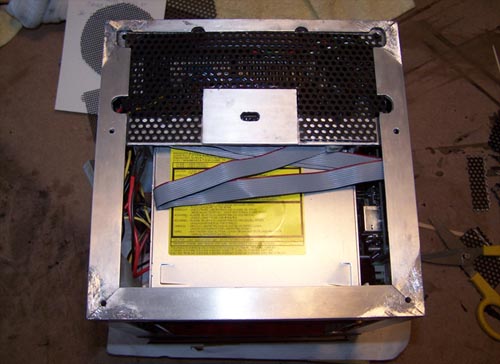
I had to re-cut the side that everything ports out of, the nice laser cut panel I had intended to use would not work with the new design for the outside casing, below shows the simplified design... not quite laser cut, but close.

Illusion199m.jpg


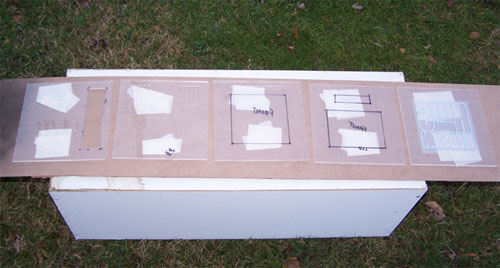
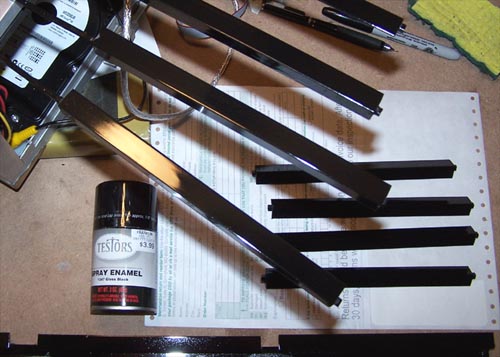
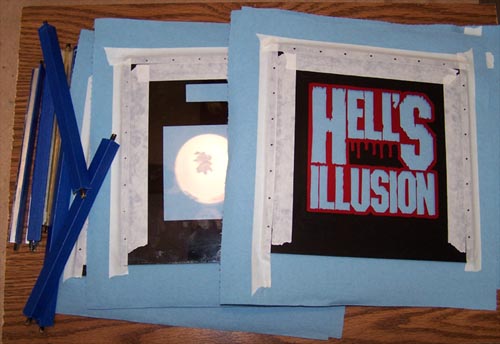
The following picture shows all the panels lined up awaiting a couple coats of vinyl dye, it's starting to get dark so I have to work quick.

Illusion200m.jpg


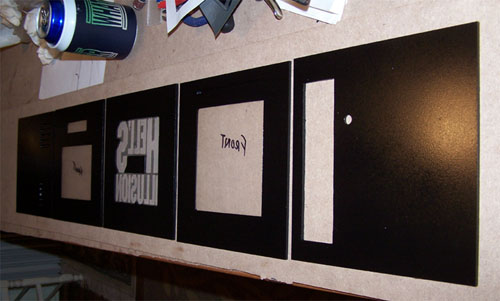
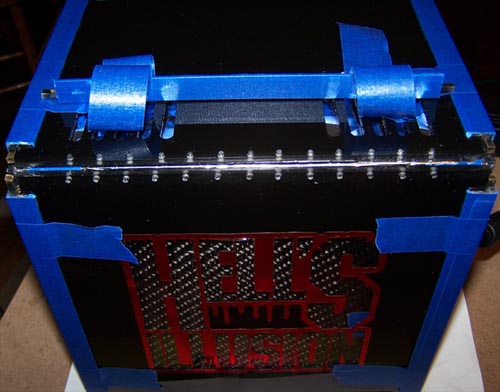
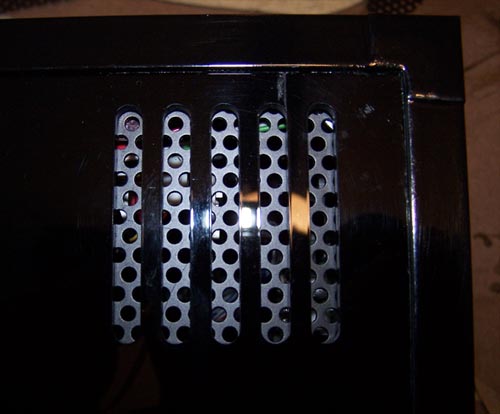
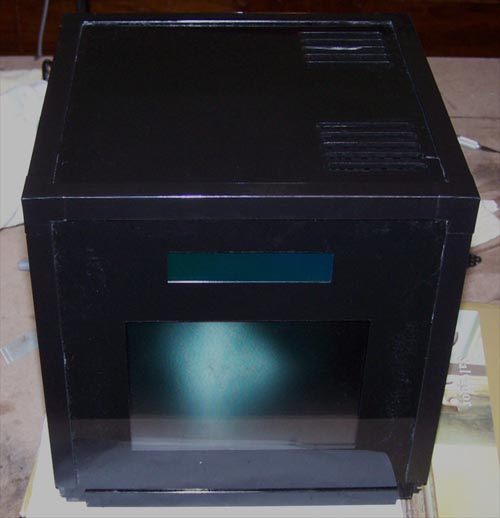
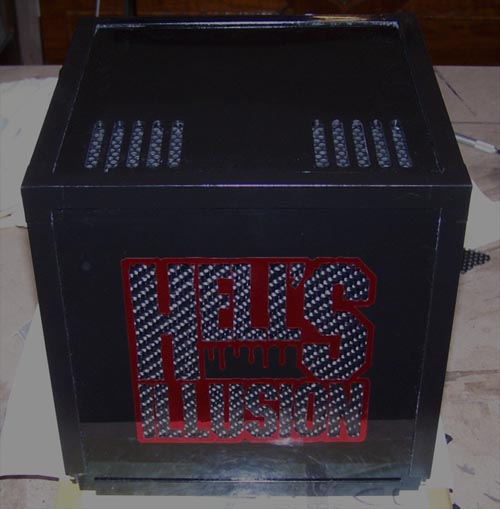
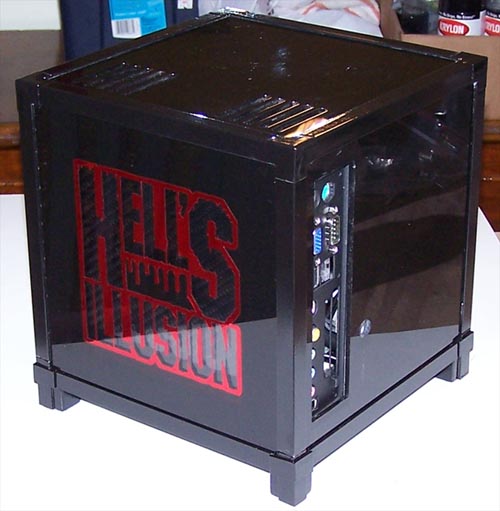
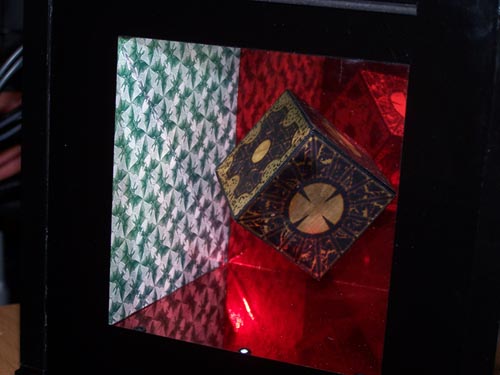
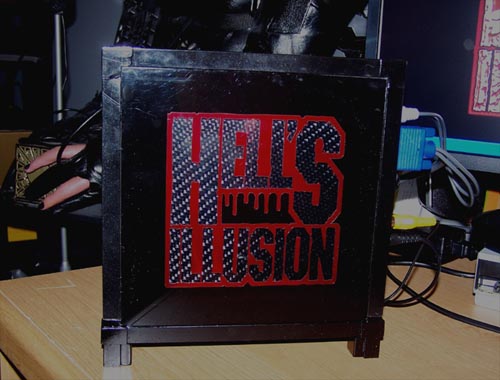
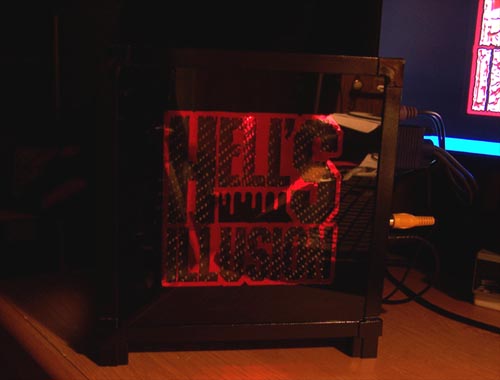
Using a hair dryer in between spraying I managed to get four coats down before it went pitch black outside, below you can see the panels after I removed their contact paper masks.

Illusion201m.jpg


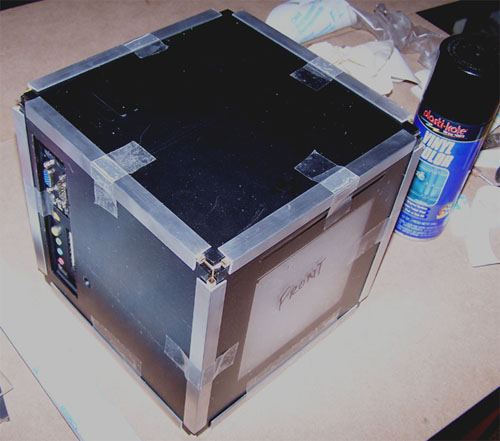
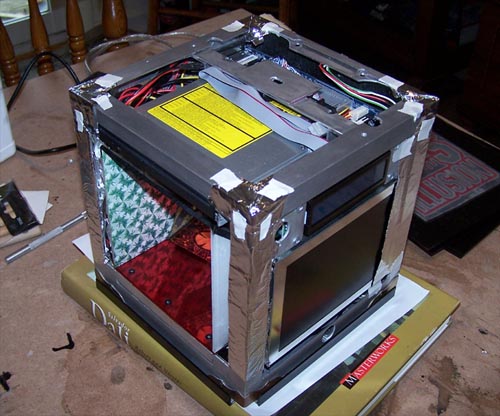
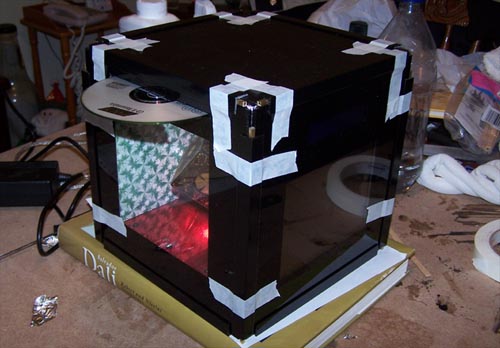
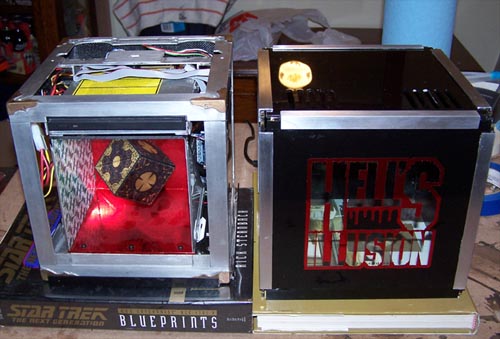
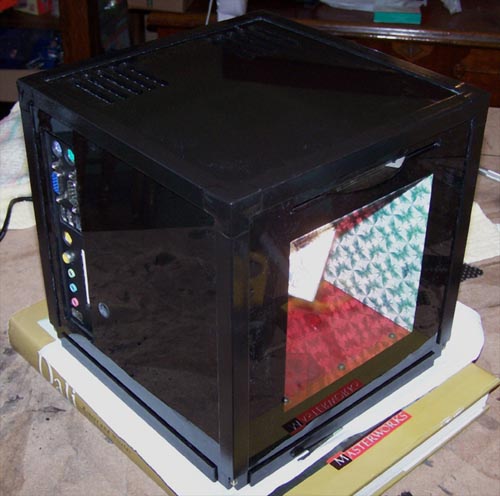
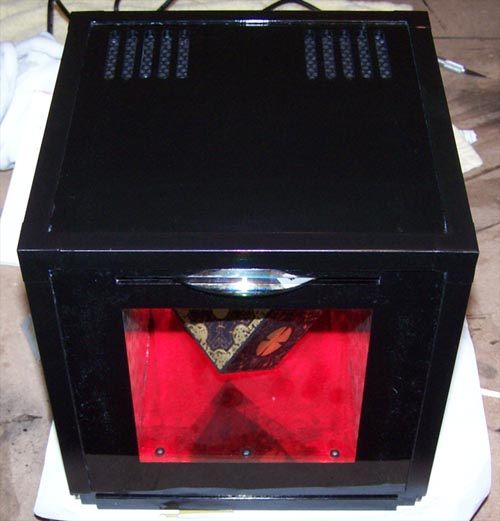
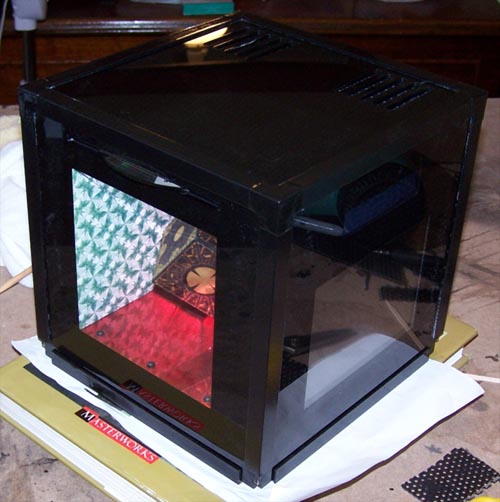
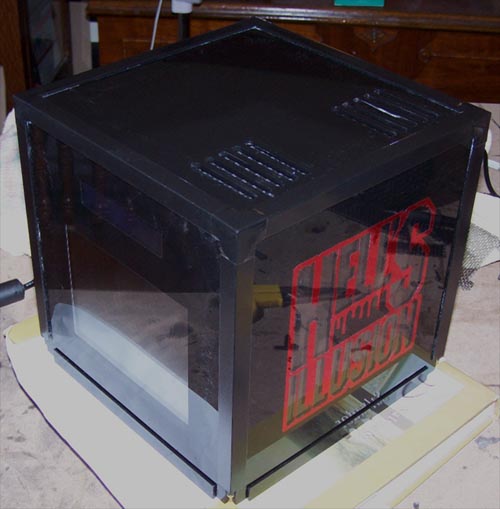
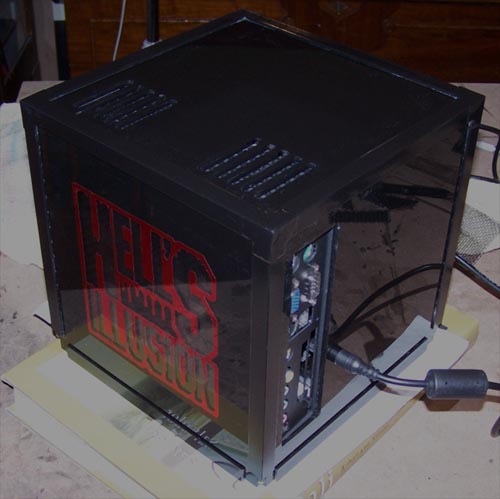
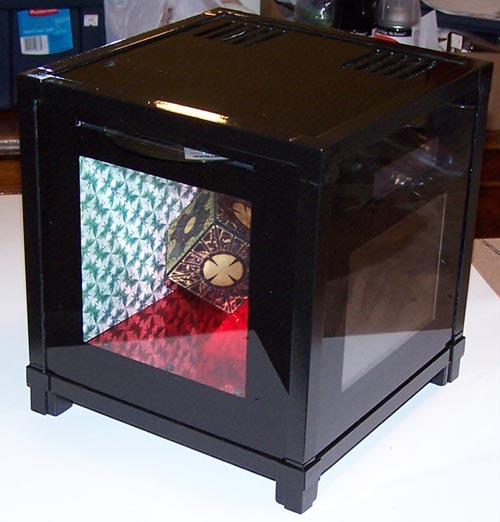
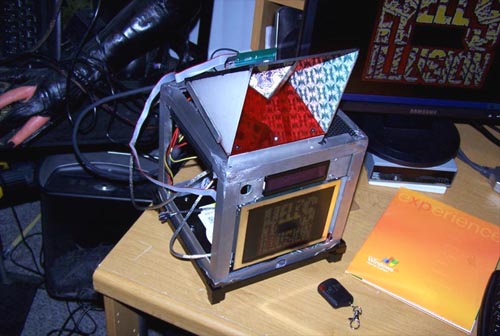
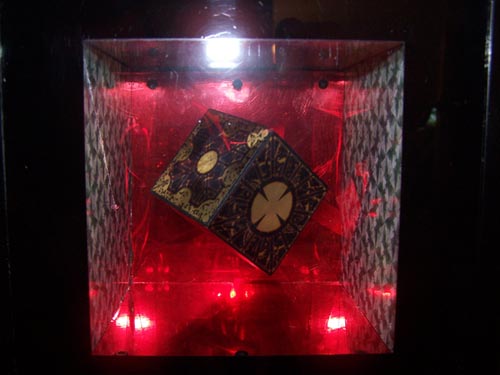
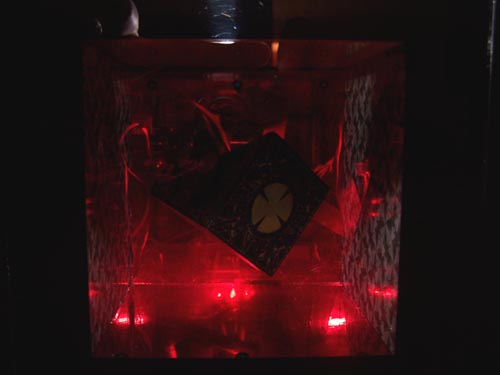
The final bit for today involved mocking the entire thing up again to make sure everything lines up... which it so far appears to, below shows where I'm at.

Illusion202m.jpg


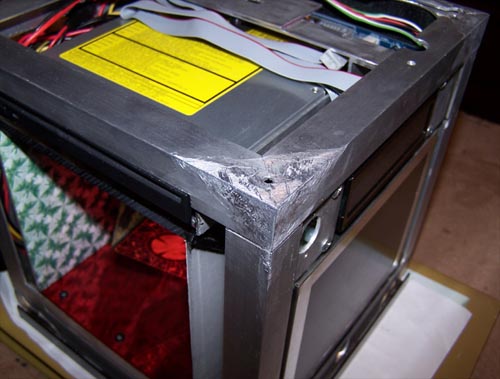
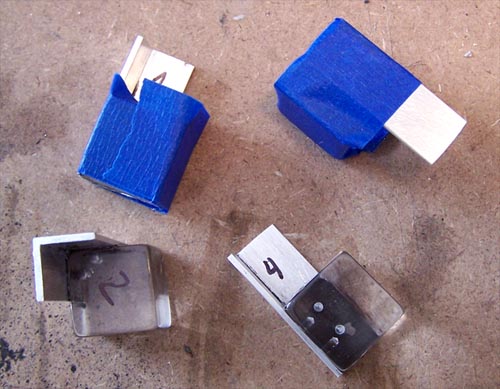
Ok, I wasted a bunch of time trying first to chemically blacken the aluminum edges...

Illusion205m.jpg


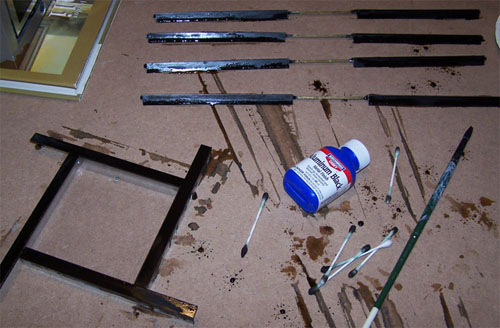
And then trying to prepaint them...

Illusion206m.jpg


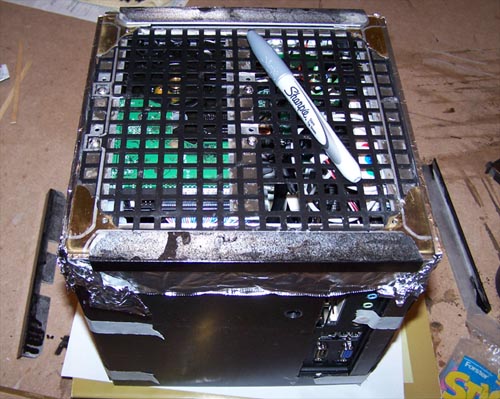
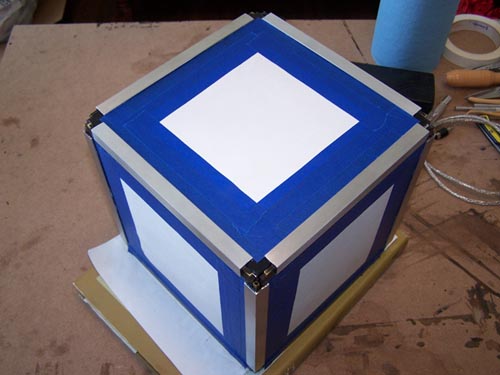
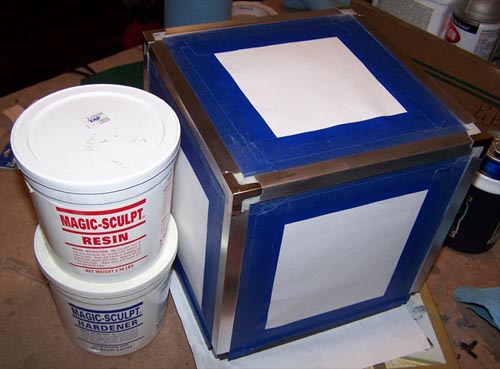
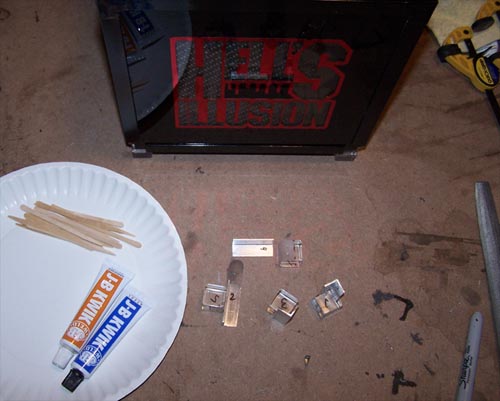
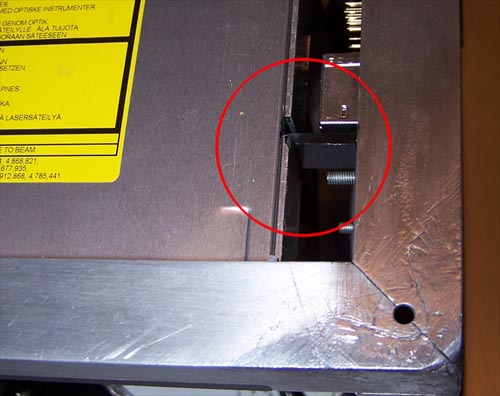
The side panels were all taped in place then the bottom edge pieces were lined up and traced with a silver Sharpie to make their placement easier.

Illusion208m.jpg


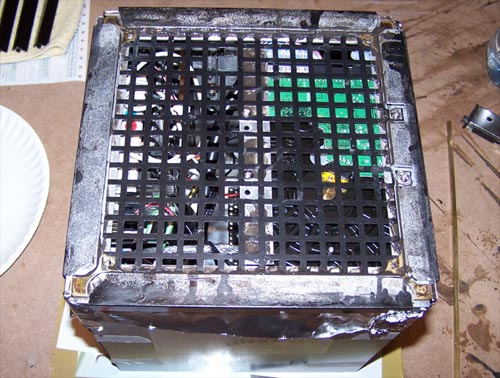
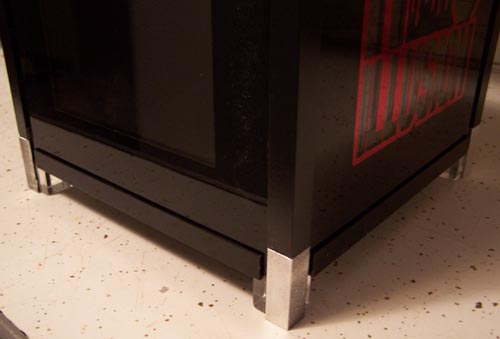
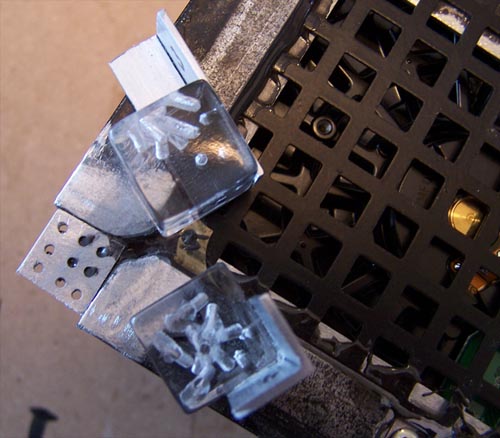
Below shows the four bottom edge pieces installed.

Illusion209m.jpg
 
I covered the edges of the internal section with aluminum foil, this was done so that the external casing won't get stuck down when I epoxy the outside panels together.

Illusion211m.jpg


Here it is, the final test fitting before everything gets permanently placed. I had to re-do all of the corner angle pieces using smaller square brass tubing and so far it all seems to line up, the next step will be sticking it all together.

Illusion212m.jpg


I had the whole thing JB-Kwik assembled and it basically fell apart when I lifted the external section off, I know exactly what went wrong and have a plan to fix it permanent. I bought everything I need to start the outside edges over... below shows them reassembled, painted, clear coat and ready for round two.

Illusion213m.jpg


Round two entirely sucked. I let the painted pieces cure overnight and covered the corner angle pieces with some low tack quick release blue painters tape but when I went to reposition one of the pieces of tape it tore most of the paint off the Alum-angle... so enough trying to put the cart before the horse. I cleaned all the paint off the aluminum edges and will instead be painting them when they are completely finished, which makes better sense anyway.

Illusion214m.jpg


Above shows the stripped aluminum edges covered with blue tape to keep them clean during installation and the filthy smudged acrylic panels taped to some shop towel sheets. The edges of the acrylic panels were marked at approximated half inch intervals in preparation for drilling. The following picture shows the holes I drilled into the sides of each panel and then enlarged from the backside to allow the JB-Kwik somewhere to go, all in an effort to make the case sturdier than my first attempt.

Illusion215m.jpg


The panels were cleaned using Goo-Gone and Plexus acrylic cleaner and the corner angles were carefully attached one by one using the JB-Kwik. After it dried I took off the blue tape and then had to wrestle the casing for over an hour slowly moving it up on all sides bit by bit to remove it... thankfully it held together and the side by side picture below shows the result of my efforts. I worked on it all day and hope to do more to it tomorrow, so close now...

Illusion216m.jpg
 
All day at work I puzzled over how to loosen the tolerances between the PC housing and the acrylic casing, having such a tight fit was unacceptable, once I got home and had a closer look it didn't take me long to come up with a plan. The following picture shows the solution - notice the missing brass corners. It took the better part of this afternoon to carefully pry the corners off and longer still to remove and file smooth the dried JB-Kwik, but it was all worth it and the acrylic casing now slides on and off effortlessly. It's been a long day, more tomorrow.

Illusion217m.jpg


I put some aluminum foil on the corners and then placed the acrylic exterior onto the PC, the acrylic panels were masked off in preparation for this next bit.

Illusion218m.jpg


My friend Magic-Sculpt, two part simplicity that smoothes with water and dries hard as a stone... I really can't believe more modders haven't been turned on to it, truly wonderful stuff. Anyway, I bought some 99 cent corner brackets from Michaels Arts and Crafts (they kind of suck) and used the Magic-Sculpt to fill the in betweens of all the corners as an added measure in holding the outer panels together.

Illusion219m.jpg


Since the internals could clearly be seen through the top vent slats, and also because I don't need anything falling into the computer, I cut some mesh to fit onto the top and it is held firmly in place by pressure, it had to be removable to allow access to the back of the slim line DVD burner.

Illusion220m.jpg


I also painted the outside edges of the acrylic casing and removed the mask, there is still gunk on the panels that needs cleaned off and I have to touch up a couple of edges by brush but my paint job came out pretty decent. Below shows the top panel vents with the freshly installed mesh underneath.

Illusion221m.jpg
 
I still have not cleaned the panels but nevertheless it's time to go for a spin, the following pictures show all sides of the mod so far beginning with the port-out/Illusion-DVD 3/4 shot...

Illusion222m.jpg


Spinning...

Illusion223m.jpg


Still spinning...

Illusion224m.jpg


Spin...

Illusion225m.jpg


Wheee...

Illusion226m.jpg


Woo Hoo...

Illusion227m.jpg


Spinning ends...

Illusion228m.jpg


I still have to make a base and do some clean up/touch up work... but not far now.

STAY TUNED, I HAVE SUCH SIGHTS TO SHOW YOU.
 
Awesome job. Is it done? Looks like the bottom has no corners, but it is very sweet!!!

 
Thanks Schmuckety... no it isn't done yet and yes the bottom corners are mostly why.

Since I am hoping to avoid using any fans inside the case the bottom of the mod is mostly open. I am in the process of putting small feet on the case to elevate and allow air flow, I'm also matching up the corner edges at the same time.
 
I had considered lighting the feet, but I think it would detract from the intended final effect.
 
You are probably right. Sometimes its hard to say how much is too much. Keep up the good work.
 
I bought a small chop saw from Harbor Freight for $23.99, for cutting small stuff like Alum-angle it works better than a Dremel or nibbler... the only downside is cutting too fast causes the saw blade to bind up, but after finding the sweet spot - speed wise - it cuts Alum-angle fairly accurately.

http://www.casemodgod.com/Illusion229m.jpg

The pieces of Alum-angle are being cut to make everything match up, they are going to be attached to some acrylic cubes I had lying around - after I JB everything together I plan to attach them to the bottom of the PC.

Illusion230m.jpg


So... below shows the JB-Kwik, paper plate, some craft sticks and the numbered pieces of acrylic and Alum-angle ready to fly.

Illusion231m.jpg


Since JB-Kwik doesn't work so great on completely smooth surfaces I decided to give the corners a little extra strength by drilling a couple of shallow holes in each side for it to flow into on top of filing them rough. The overflow JB was scraped off and all the pieces were taped together, below shows them finished.

Illusion232m.jpg


I cut four small squares of Alum-angle, drilled holes into them and filed them rough, they were then carefully JB-Kwik'd into the corners. I also drilled some holes into the top of each acrylic cube to give the JB somewhere to flow and hopefully strengthen the connection.

Illusion233m.jpg


The feet stuck on really well so I cut four half inch pieces from a length of 3/4x3/4" Alum-angle to hide the gaps at the bottom and JB-Kwik'd them into place. The whole thing was masked and then painted, results below.

Illusion234m.jpg


Here is the other side... just a little more work to do and it will finally be done, detail work and fixing the things that bother me.

Illusion235m.jpg


One of the things bothering me is the fact that the plug for the internal USB connection from the Matrix Orbital stuck out too far to be usable and as a result I almost cheesed out and connected it externally... but I am a modder and having wires sticking out all over the place couldn't possibly be the best option. I came to my senses, figured out a better way and cut out the side of the CD bracket to accommodate the M.O. internal USB plug (below, circled in red), this will also free up an external USB port which is important since there are only two.

Illusion236m.jpg


Since the design for the outer acrylic housing was changed to slide off in one slick piece I had to wire up a new power button which will now be hidden beneath the mod... which is better anyway.

Illusion237m.jpg


I will work on it more tomorrow and hopefully have everything ready to fire it up again - which means re-installing Windows since I intentionally didn't activate it on the last install... my theory is that it's better to iron everything out first and make sure it all works thereby avoiding the inevitable 'too many install' phone call to a barely understandable MS tech in India.

STAY TUNED, I HAVE SUCH SIGHTS TO SHOW YOU.
 
I roughly assembled all the parts of the mod (except for the outer acrylic casing), plugged the Matrix orbital into the internal mother board USB pin-out, plugged the illusion section LED's into the back of the Matrix Orbital and attached the new power button onto the bottom side of the mod. The following picture shows the mod up and running, time to put the cover on and see what happens.

Illusion238m.jpg


Next up is a shot of the "Hell's Illusion" vinyl decal, you can make out the red LED's reflecting off the carbon fiber up top in the letter "L"... it's not quite as cool an effect as I had hoped, but it is acceptable. I will probably end up making the thin space at the bottom between the acrylic and the mod reflective to direct the lights back up onto the carbon fiber.

Illusion240m.jpg


And here is the completed mod fired up and purring away on my desk. I ordered some white Lazer LED's that I want to try out instead of the red ones that are currently wired to the remote sensor... and I still want to throw a Matrix Orbital temp probe or two in there, but other than that it is finally (and thankfully) finished.

Illusion239m.jpg


Semi-final thoughts... For something so simple looking this mod was at times a pain in the ass, fabricating the small case was trial and error and it went through several design revisions before I got it right. It took over a year in my spare time to complete the build, but it's small and impressive, the parts are all easy to access and it is fully upgradeable... so it's all good. In my excitement over wrapping up this project I almost forgot that I was also writing a fictional counterpart to the mod, I will finish the last chapter and post more pictures soon.


STAY TUNED, I HAVE SUCH SIGHTS TO SHOW YOU.
 
Size comparison time... the mod is an 8 1/4" cube, a dollar bill and ruler are sitting on top with an empty (tasty) 12 oz. bottled beer beside it (which the mod stands just a hair shorter than) shown below. I was careful to keep the goings on of the side panels all relative in size and as you look over the following pictures you can see that the illusion panel is the same size edge to edge as the LCD/M.O. panel and Hell's Illusion decal panel, it's all in the details.

Illusion241m.jpg


The illusion section of the mod looks kind of creepy with the single LED shining up on the box and although the screen looks a bit washed out you can see the awesome degree of viewing angle on the 6" LCD...

Illusion246m.jpg


Due to the seemingly simplistic nature of this mod the details are easy to overlook, like the fact that the side walls of the illusion are illustrated using a repeating pattern of Escher angels and devils or that the edges of the side pattern and the half HellRaiser box line up so tightly with the mirror... the reflection of multiple boxes onto the red mirror chrome within the illusion section is also pretty neat and is also shown in the picture below.

Illusion243m.jpg


The following picture serves to further express the evil... the HellRaiser cube is freaking floating in mid-air inside the case, the whole trick looks very convincing in person. Normally the side window of a mod is for showing off the hardware inside the case, floating boxes are cool but to be able to see the computer guts too... wicked cool.

Illusion242m.jpg


I haven't had enough time to mess with the Matrix Orbital to make more than the one LED in the illusion section light up, but I will... in the meantime I turned the single LED off and used the remote control to turn on the internal red LED's. The following picture shows what it looks like with the red lazer LED's on in ambient lighting with full flash, it's semi-transparent and kind of funky...

Illusion244m.jpg


The following picture was taken with the lights out and camera flash muffled, after pushing the wireless remote button the secret of the illusion section is completely exposed showing both parts and cables lit up behind the half cube. I had planned on changing the internal lighting over to white, but red is where it's at... the red LED lighting blends into the red mirror chrome and makes the internal PC parts look almost surreal.

Illusion245m.jpg


Next up is a shot of the front of the case showing the 6" LCD and Matrix Orbital, I still have to dial down the brightness for both but it looks far better in person than the following picture makes it out to, it's kind of hard to photograph anyway.

Illusion247m.jpg


The next picture shows the carbon fiber (which is the back side of the mother board tray) beneath the vinyl "Hell's Illusion" decal and back painted acrylic panel in full light with the camera flash on...

Illusion248m.jpg


And with the flash off, the power LED is shown glowing red but there's also an HDD activity and suspend LED, but they aren't lit up in the following picture...

Illusion249m.jpg


The whole case is made out of Alum-angle and acrylic and it's completely held together with JB-Kwik, the design is such that the theme could easily be changed... so if I tire of HellRaiser I can always make another illusion section and outer casing for it. I plan to take some video of how the mod opens up and disassembles to better illustrate the ease of access to the internal workings soon.

STAY TUNED, I HAVE SUCH SIGHTS TO SHOW YOU.
 
Thanks skudmonkey, the cube was the single most important feature of this mod and was why I built it first, if it hadn't worked the rest wouldn't have been worth doing.

I bought a Gyration optical air mouse and wireless keyboard combo for the mod when I first started the build to eliminate some of the end cable clutter, but there's a snag... the USB RF receiver is too fat to fit in the USB port because both of the MB USB's sit right and tight below the VGA plug.

Another bummer is that the mouse has to charge for eight hours before using it, that's plenty of time to dig through my parts boxes to find an internal USB header, solder together a cable and hook it up to the one remaining internal USB MB pinout... but I have to test it first. I hope it works well because the reciever is small enough to easily be hidden beneath the mod but with a 2.4 GHz operating range I am not going to hold my breath... and I'm damn sure not going to solder a cable (yet).
 
I finally got around to installing the airmouse and wireless keyboard and they both work great with the receiver hidden under the mod, time to make an internal USB cable.
 
Back
Top