*NOTE* : Please regret the date on the pictures. I took them yesterday, but forget to adjust the date in the camera.
Ok after been frusterated of not having a good contact between CPU and CPU water block and Offly high CPU temperatures even on the stock speed i decided to lap the Q6600.
There are some good info on the web how to lapp the CPU or Heatsink, and in all those procedures, people have been using water with soap or dishwasher detergent. There is a high risk involved in it, if the water goes into your CPU you are done. So i decided to go against it, and i would recomend any one to do the same.
Long story short, here is the setup of material you need for Lapping Q6600.
1. 320 Girt SandPaper (Home Depot or Lowes) $ 2.17
2. 600 Girt SandPaper.(Home Depot or Lowes) $ 2.17
3. 1500 Girt SandPaper. (Advance Auto Part or PepBoys) $ 5.17
4. 2 hours of free Time. (Priceless)
5. Paper towel or Cloth for cleaning.
6. Rubbing Alcohol 95%.
Total Cost = $10
GOAL : MIRROR LIKE FINISH
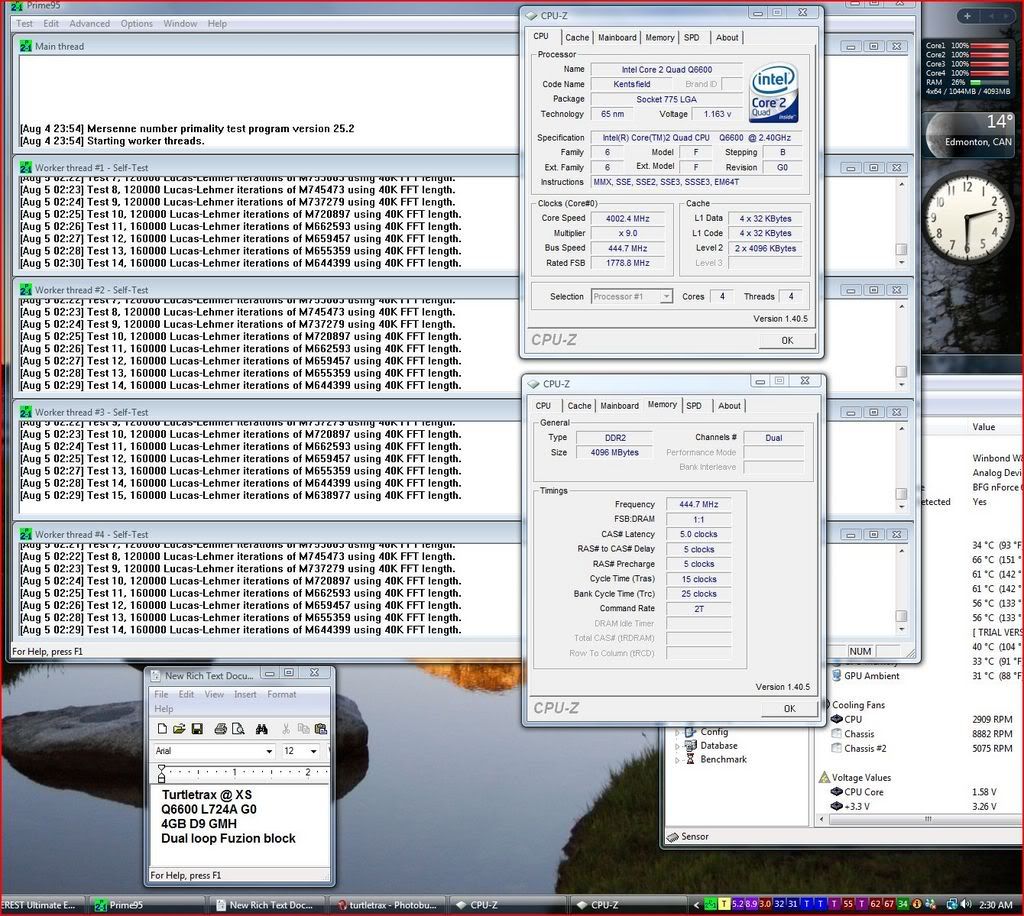
CPU Temperature before Lap with Monster water cooling:
Stock Idle= 40C Load= 50C
Overclock@ 3.5 Idle = 50C Load = 60C
When i started my shopping for SandPaper, i realized HomeDepot or Lowes don;t carry higher Grit SanPapers. So if you decided to lapp keep in mind you need to go to Auto Shop to get the Sandpaper higher than 600 girt, (just saved you some time).
Ok back to Lapping. First you want to mark the CPU with the marker on all four corners like you see in the picture.

Then you need some flat surface, e.g Glass, Kitchen Counter Top, or any thing which is pure flat and easy accessable.
I used Kitchen Counter top, as you can see in the picture i used the whole 9 x 11" 320 Girt Sandpaper sheet, and tapped it in all four conners for better control.

Don;t forget you should cover the pin side of the CPU, so you don;t damage the pins or save it from all the material which will come off from HS.
So i started my process upside down CPU on the 320 Girt. You have to be carefull, don;t put pressure on the CPU let the weight of the CPU to do the trick. You can HOLD the CPU from the sides as in the following picture.

You can either start moving CPU (Left to Right or Top to Bottom), but don;t do in circles, that will rub the edges more than the whole cpu, and i repeat don;t put the pressure on the CPU. Also keep in mind that rotate the CPU 90 degrees after each 30 lapps (Left to Right or Top to Bottom) that way CPU HS will be equally rub from all conners, clean the cpu after each rotation also clean the Sandpaper to reduce the residue, follow the procedure until you are done,
The following picture is the result of 15 minutes of lapping on 320girt Paper.

Those damn conners as i suspected the cpu was concaved shape. There was a lot of work to be done, so keep doing it. The following picture is after 25 minutes of lapping on 320girt paper. Things are looking good, and the center is making contact now, but still damn those corners.

After 1 hour of lapping on 320 girt Paper. Picture is not that clear but the whole copper is out, looks good. During the process i used the 2 x (9 x 11") 320 girt sheets, because that was the main process and you wanna change the sheets more often to get the good results.

Now switched to 600 Girt of Paper sheet for better shine and smoothness. Same process, keep in mind no pressure on the chip and consistant rotating, other wise you will be end up with the worse CHIP then you had. So keep it up SOLDIER victory is near.

The following picture is after 30 minutes on 600 girt Sandpaper. Thats what i was talking about nice shine, but we are not done yet.

Now the final step. Switched to 1500 girt Sandpaper, and after spending 30 more minutes results are amazing look at those pictures. What do you guys say, now i will post the results later.
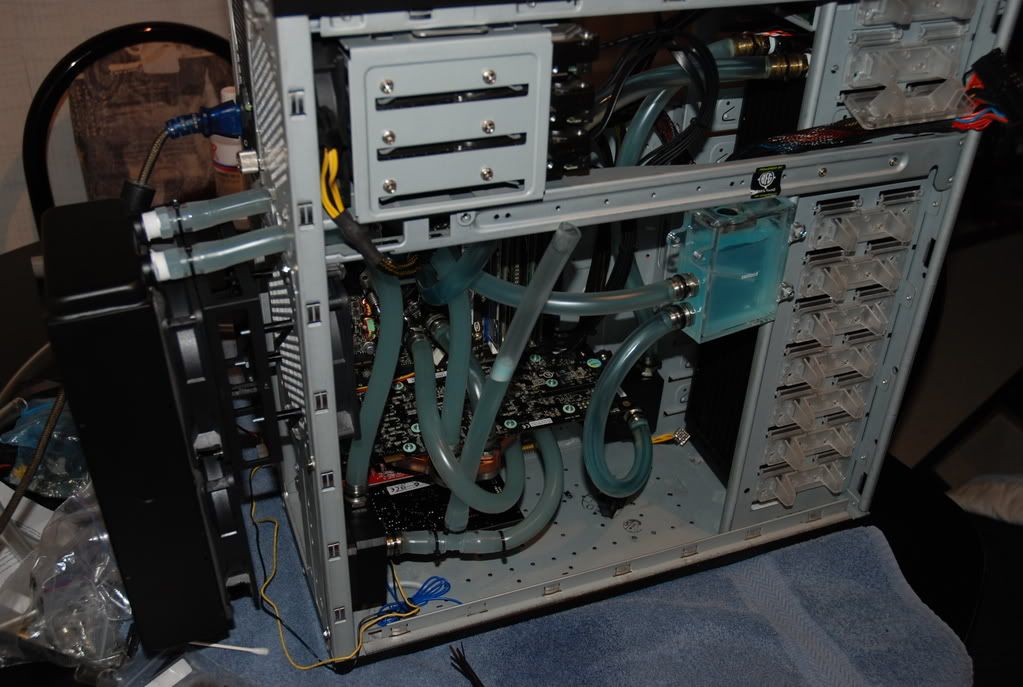
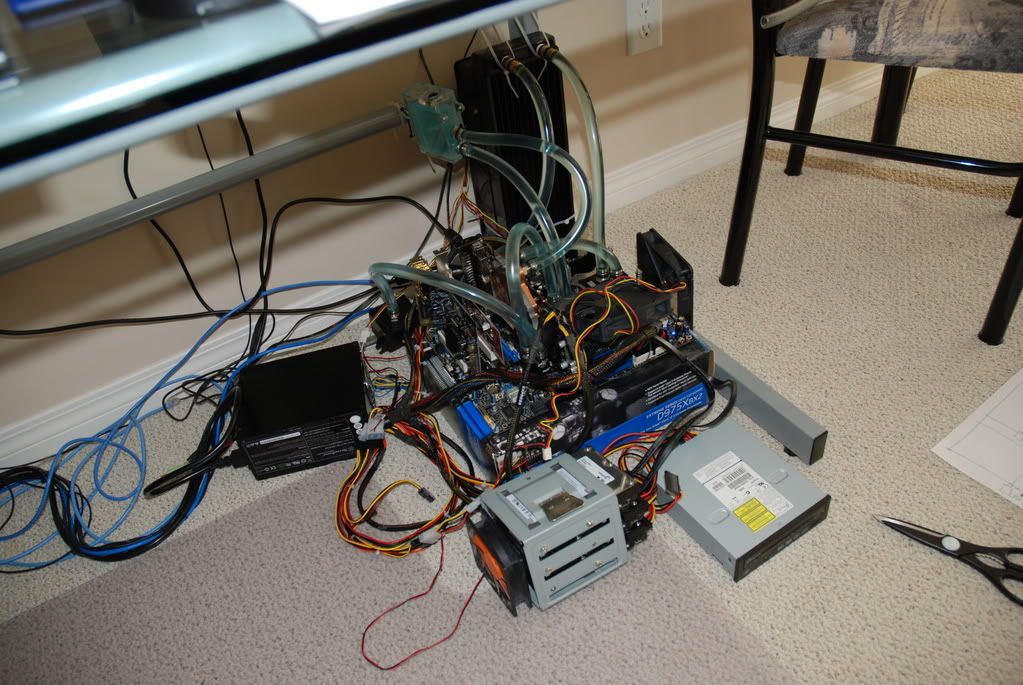
My D-tek fuzion is also concave i belive from the center, so i am planning on lapping it to, but i will post the results with out lapp fuzion then see if it is worth lapping it. Make sure after all the lapping you check the surface with the blade or knife and do the light test (Light test: Hold the CPU and the Blade where the light source is, contact the blade with the CPU's surface and if you see light coming through and surface looks really uneven then you need more lapping). Clean up the CPU carefully with the Alcohol after done with lapping.
Stay tunned for results after work. Enjoy.


RESULTS:
Fr&^kin Amazing Results:
10C DROP in temperature Idle and Load, 10C People and this is just lapping the CPU. Wow can some one please wake me up 10 C. Wohooooooooooooooooooooooooo. Every one should do it seriously this is the cheapest and easiest 10C drop you can get.
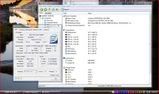
Before lapping as i stated @ 3.51
Idle: Core1: 52C, Core2: 50C, Core3: 46C, Core4: 49C,
Load: Core1: 62C, Core2: 60C, Core3: 56 or 57 C, Core 4: 60C
After lapping @ 3.51
Idle: Core1: 40C-42C, Core2: 42C, Core3: 36-37C, Core4: 38C
Load: Core1: 50C, Core2: 50C, Core3: 46C, Core4: 48-49C
Amazing that's all i can say, F*&*K Intel. They should charge me $5 extra next time and lapp properly for me.
Ok after been frusterated of not having a good contact between CPU and CPU water block and Offly high CPU temperatures even on the stock speed i decided to lap the Q6600.
There are some good info on the web how to lapp the CPU or Heatsink, and in all those procedures, people have been using water with soap or dishwasher detergent. There is a high risk involved in it, if the water goes into your CPU you are done. So i decided to go against it, and i would recomend any one to do the same.
Long story short, here is the setup of material you need for Lapping Q6600.
1. 320 Girt SandPaper (Home Depot or Lowes) $ 2.17
2. 600 Girt SandPaper.(Home Depot or Lowes) $ 2.17
3. 1500 Girt SandPaper. (Advance Auto Part or PepBoys) $ 5.17
4. 2 hours of free Time.
(Priceless)5. Paper towel or Cloth for cleaning.
6. Rubbing Alcohol 95%.
Total Cost = $10
GOAL : MIRROR LIKE FINISH
CPU Temperature before Lap with Monster water cooling:
Stock Idle= 40C Load= 50C
Overclock@ 3.5 Idle = 50C Load = 60C
When i started my shopping for SandPaper, i realized HomeDepot or Lowes don;t carry higher Grit SanPapers. So if you decided to lapp keep in mind you need to go to Auto Shop to get the Sandpaper higher than 600 girt, (just saved you some time).
Ok back to Lapping. First you want to mark the CPU with the marker on all four corners like you see in the picture.
Then you need some flat surface, e.g Glass, Kitchen Counter Top, or any thing which is pure flat and easy accessable.
I used Kitchen Counter top, as you can see in the picture i used the whole 9 x 11" 320 Girt Sandpaper sheet, and tapped it in all four conners for better control.
Don;t forget you should cover the pin side of the CPU, so you don;t damage the pins or save it from all the material which will come off from HS.
So i started my process upside down CPU on the 320 Girt. You have to be carefull, don;t put pressure on the CPU let the weight of the CPU to do the trick. You can HOLD the CPU from the sides as in the following picture.
You can either start moving CPU (Left to Right or Top to Bottom), but don;t do in circles, that will rub the edges more than the whole cpu, and i repeat don;t put the pressure on the CPU. Also keep in mind that rotate the CPU 90 degrees after each 30 lapps (Left to Right or Top to Bottom) that way CPU HS will be equally rub from all conners, clean the cpu after each rotation also clean the Sandpaper to reduce the residue, follow the procedure until you are done,
The following picture is the result of 15 minutes of lapping on 320girt Paper.
Those damn conners as i suspected the cpu was concaved shape. There was a lot of work to be done, so keep doing it. The following picture is after 25 minutes of lapping on 320girt paper. Things are looking good, and the center is making contact now, but still damn those corners.
After 1 hour of lapping on 320 girt Paper. Picture is not that clear but the whole copper is out, looks good. During the process i used the 2 x (9 x 11") 320 girt sheets, because that was the main process and you wanna change the sheets more often to get the good results.
Now switched to 600 Girt of Paper sheet for better shine and smoothness. Same process, keep in mind no pressure on the chip and consistant rotating, other wise you will be end up with the worse CHIP then you had. So keep it up SOLDIER victory is near.
The following picture is after 30 minutes on 600 girt Sandpaper. Thats what i was talking about nice shine, but we are not done yet.
Now the final step. Switched to 1500 girt Sandpaper, and after spending 30 more minutes results are amazing look at those pictures. What do you guys say, now i will post the results later.
My D-tek fuzion is also concave i belive from the center, so i am planning on lapping it to, but i will post the results with out lapp fuzion then see if it is worth lapping it. Make sure after all the lapping you check the surface with the blade or knife and do the light test (Light test: Hold the CPU and the Blade where the light source is, contact the blade with the CPU's surface and if you see light coming through and surface looks really uneven then you need more lapping). Clean up the CPU carefully with the Alcohol after done with lapping.
Stay tunned for results after work. Enjoy.
RESULTS:
Fr&^kin Amazing Results:
10C DROP in temperature Idle and Load, 10C People and this is just lapping the CPU. Wow can some one please wake me up 10 C. Wohooooooooooooooooooooooooo. Every one should do it seriously this is the cheapest and easiest 10C drop you can get.
Before lapping as i stated @ 3.51
Idle: Core1: 52C, Core2: 50C, Core3: 46C, Core4: 49C,
Load: Core1: 62C, Core2: 60C, Core3: 56 or 57 C, Core 4: 60C
After lapping @ 3.51
Idle: Core1: 40C-42C, Core2: 42C, Core3: 36-37C, Core4: 38C
Load: Core1: 50C, Core2: 50C, Core3: 46C, Core4: 48-49C
Amazing that's all i can say, F*&*K Intel. They should charge me $5 extra next time and lapp properly for me.