Stevennoland
Limp Gawd
- Joined
- Jan 5, 2006
- Messages
- 418
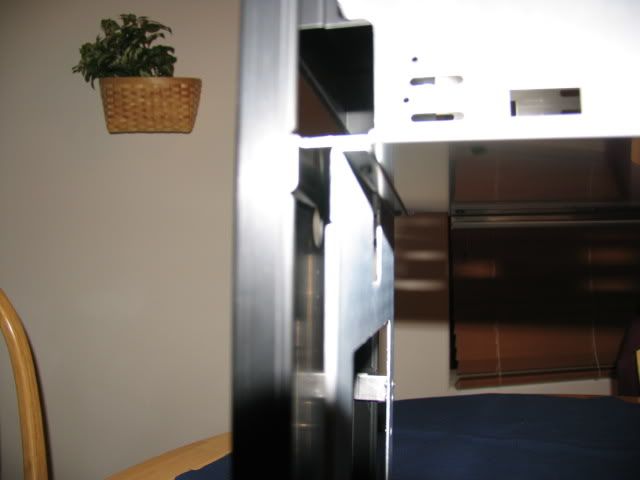
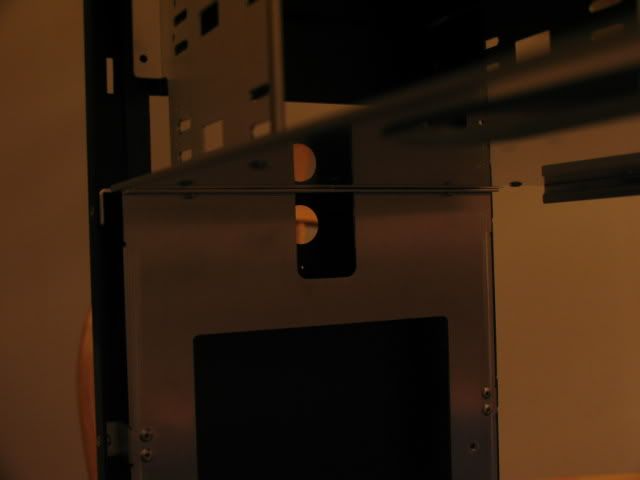
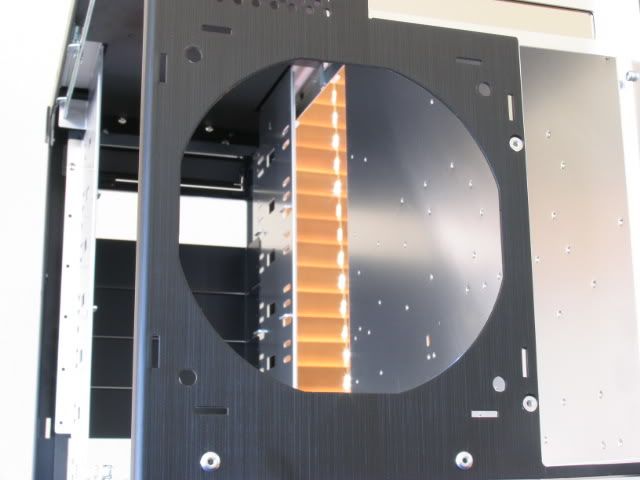
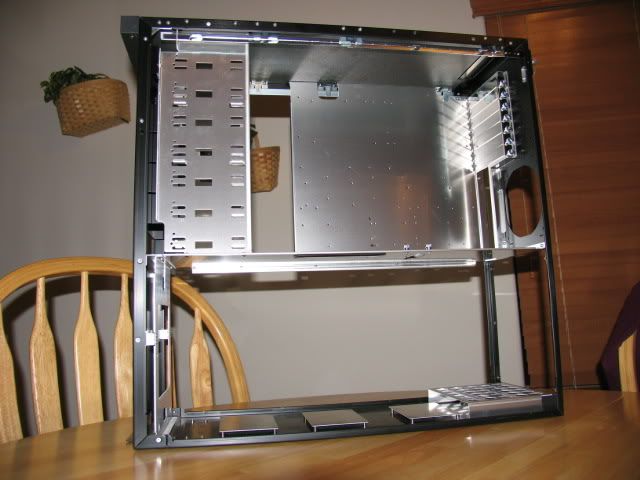
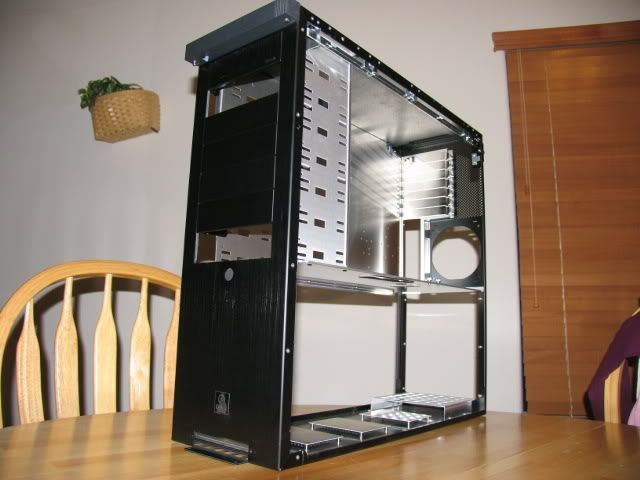
Here is a couple pics of my PC-V2100 gutted out
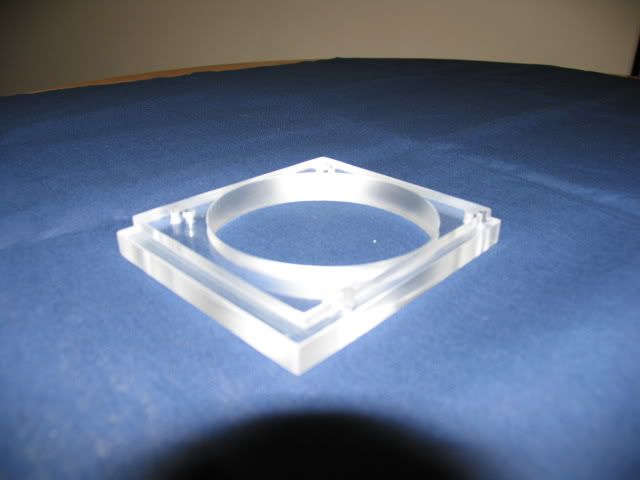
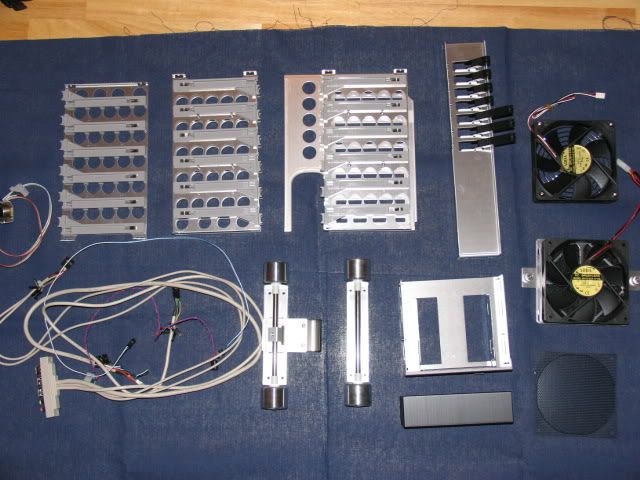
Here are all the items I removed from the case
(not included are the side panels and the front door and bottom mount hinge)
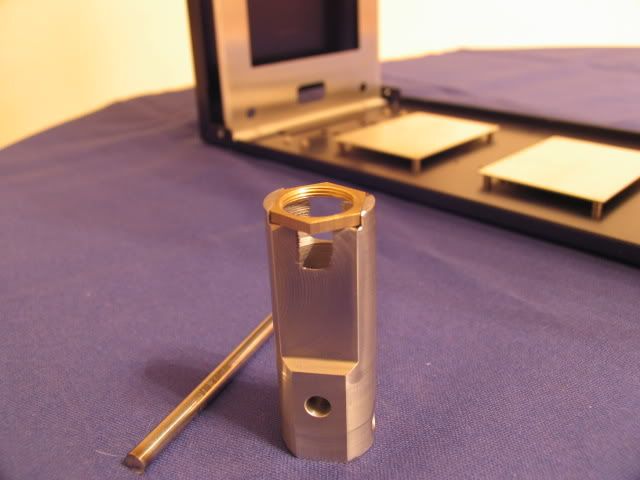
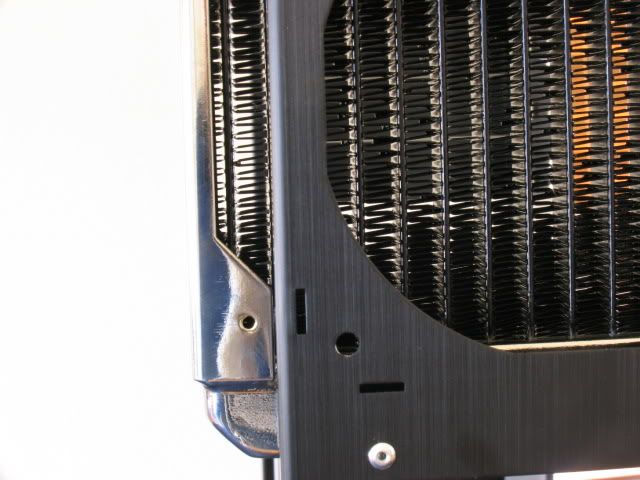
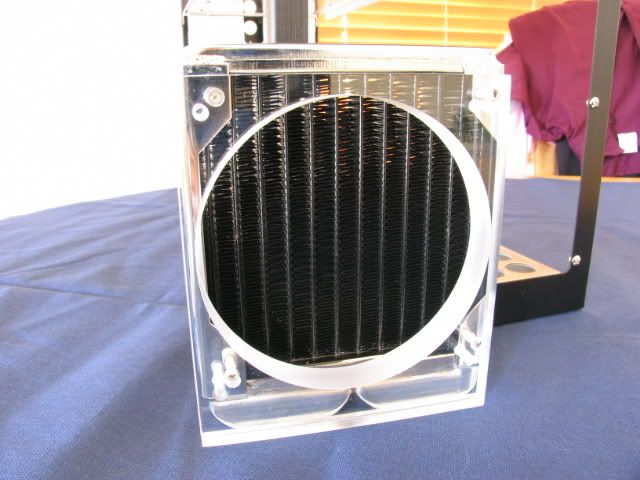
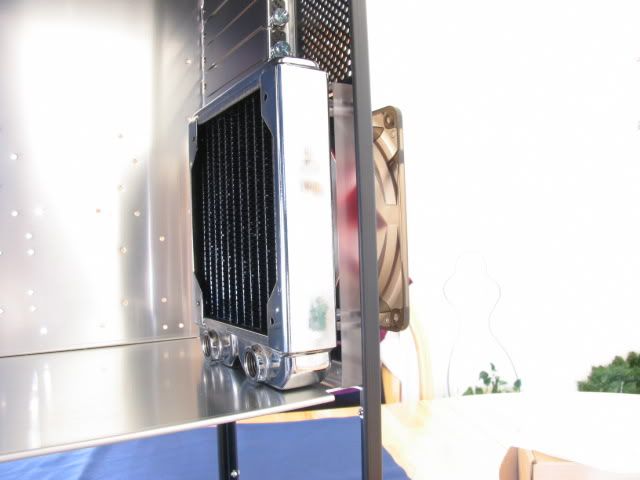
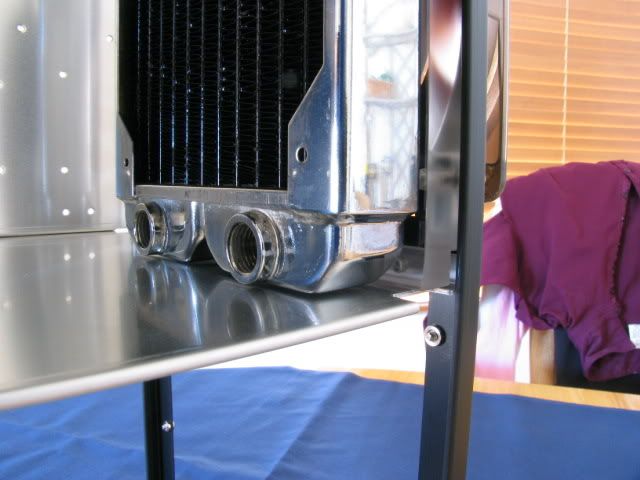
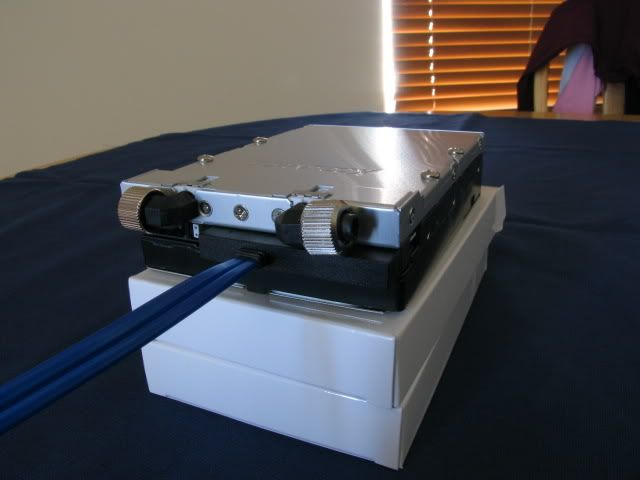
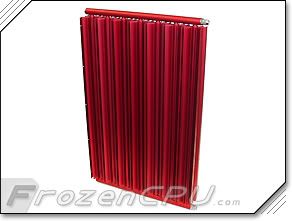
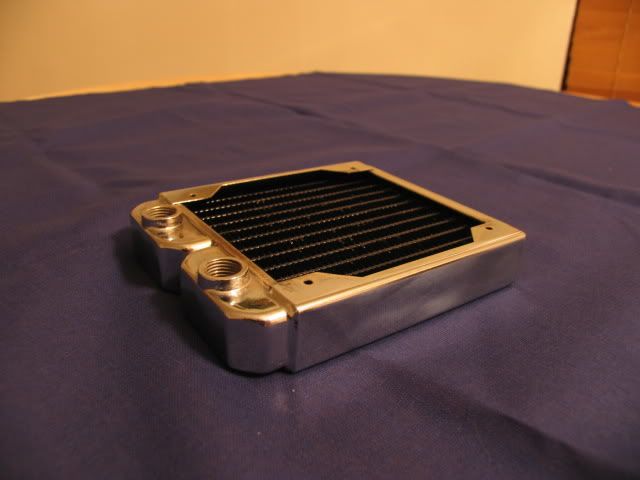
My Black Ice Pro chrome (mmmm chrome)
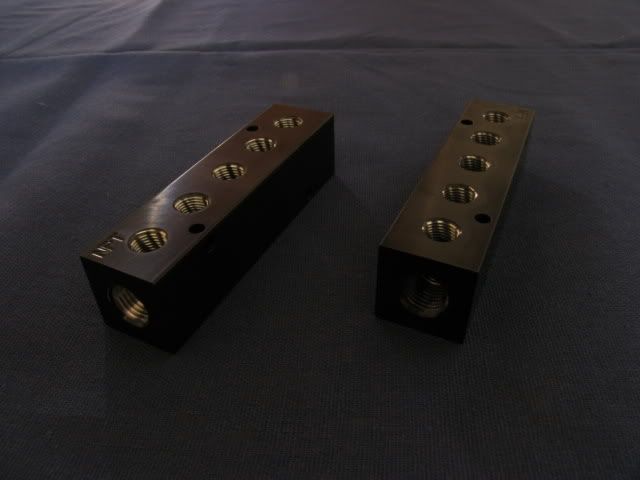
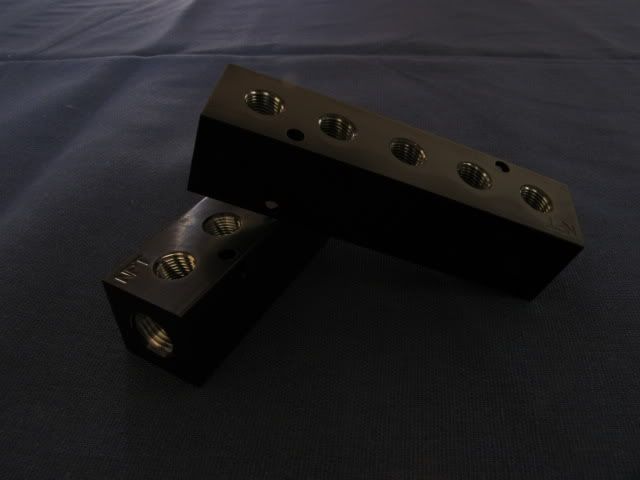
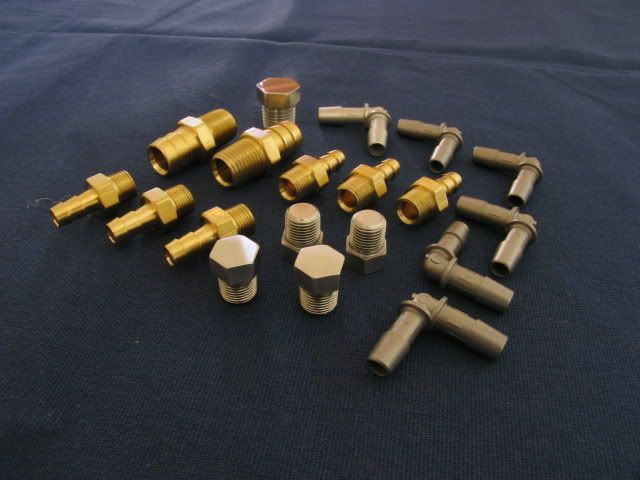
Stay tuned!
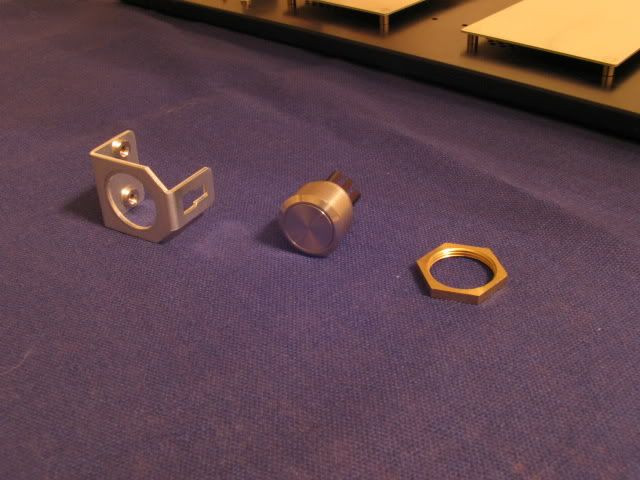
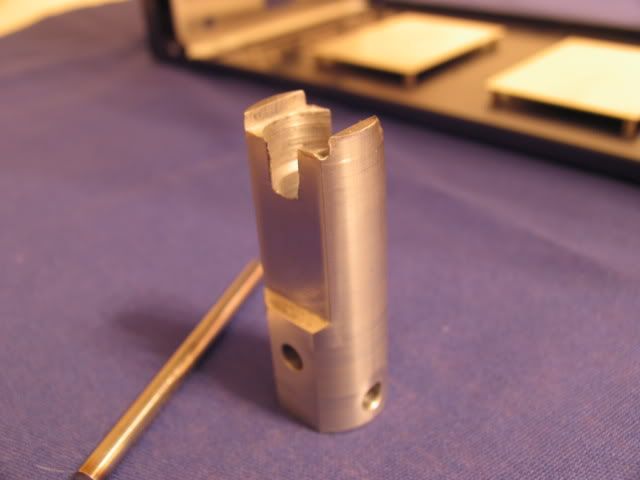
Here are all the items I removed from the case
(not included are the side panels and the front door and bottom mount hinge)
My Black Ice Pro chrome (mmmm chrome)
Stay tuned!