LongShotHero
Limp Gawd
- Joined
- Jun 7, 2005
- Messages
- 386
Very nice
Follow along with the video below to see how to install our site as a web app on your home screen.
Note: This feature may not be available in some browsers.

jetjaguar said:steven .. real quick question .. when u mounted the rad on the exhaust fan .. would it have fit find if u mounted the 120 inside the case .. then there would be no need for the custom acrylic mount ??
cuz im thinking of doin this so i dont have to mod my case .. running a pa160 down on the intake and the bix on the exhaust ?
monopixel said:I found this passive radiator. It seems to be also good for side panel mount because of
one side heatsink.
http://www.com-tra.de/shop/de_DE/pr...ssiv-Radiator_MF-PR_Masterfreezer_silber.html

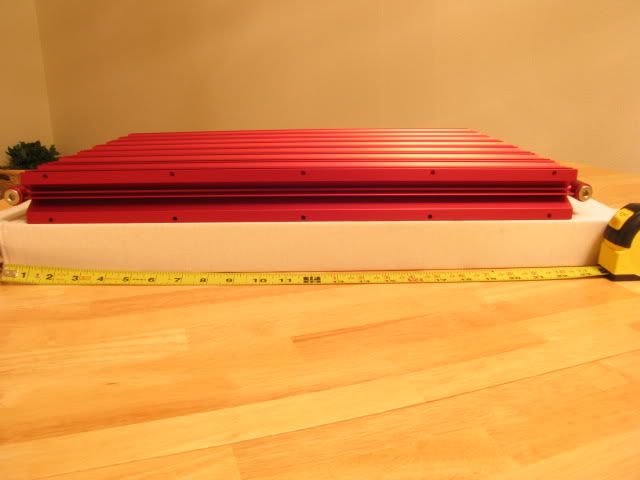
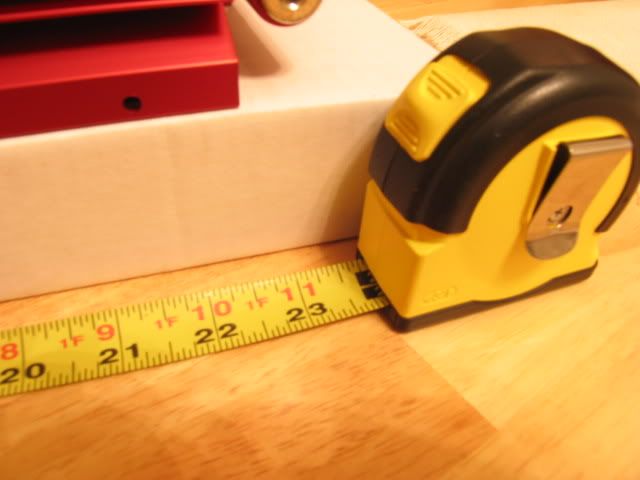
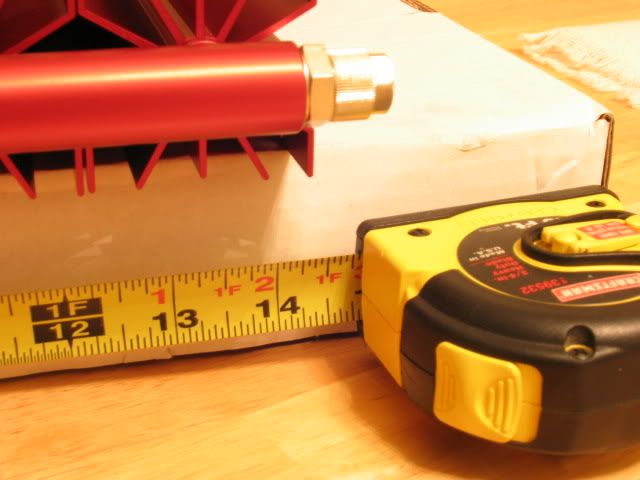
0mega said:19LBs minus the water! HO DAYM that things is gonna be HEAVY lmao
looking great
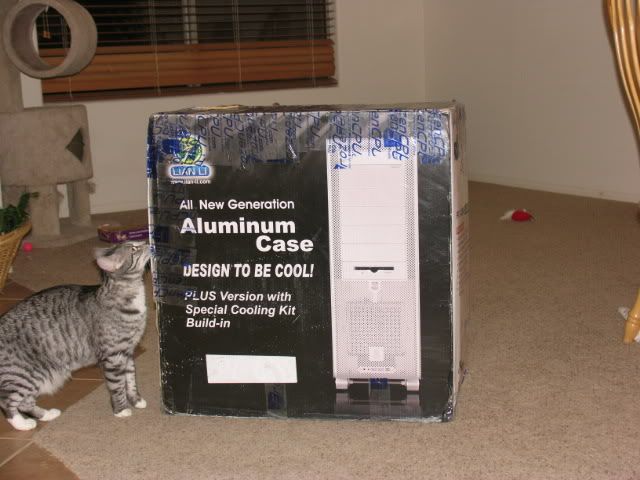
I was PRAYING it was an actual case... god i can dream.. lol that wouldda been awesome free v2000 /me dies lol
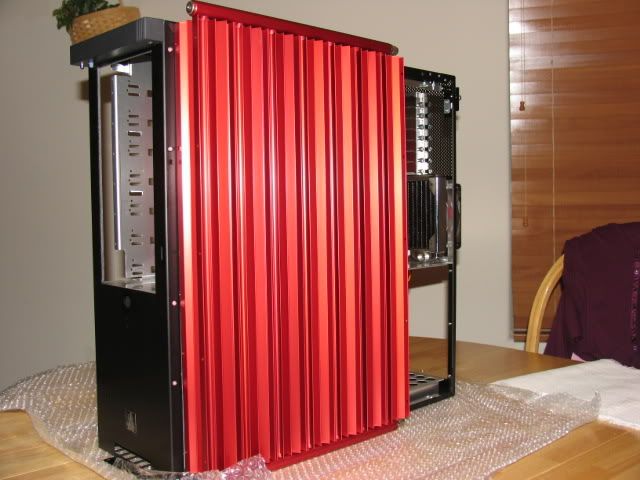
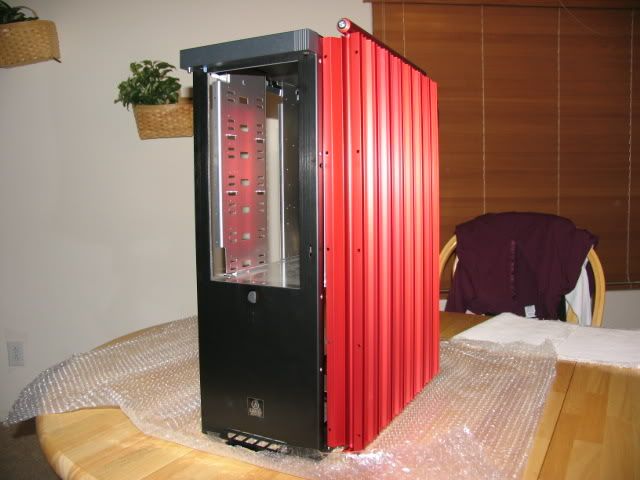
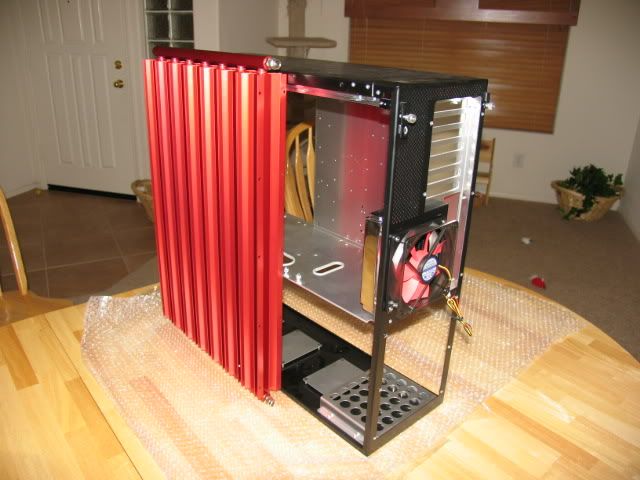
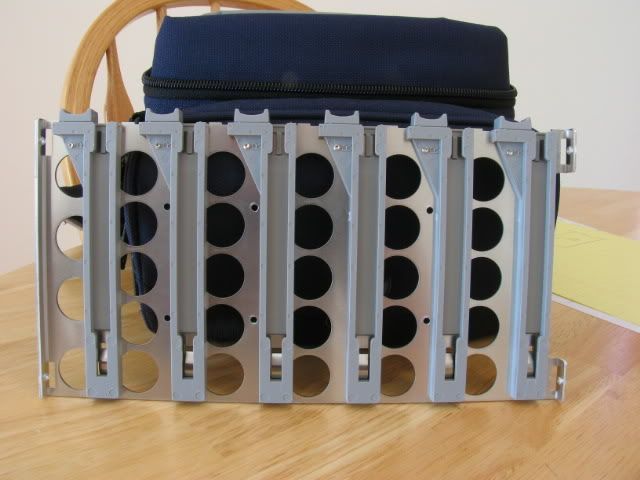
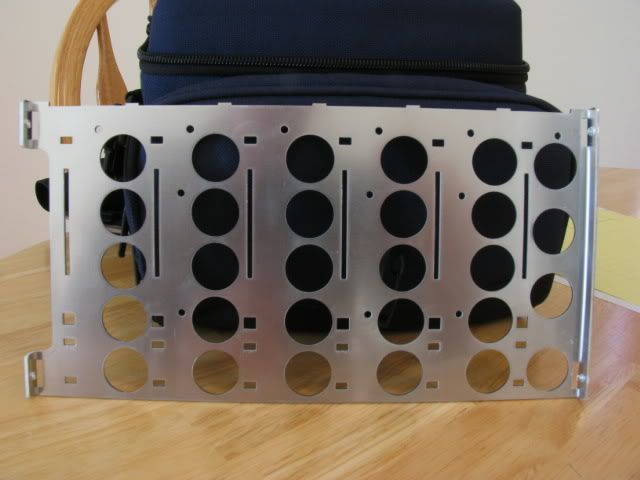
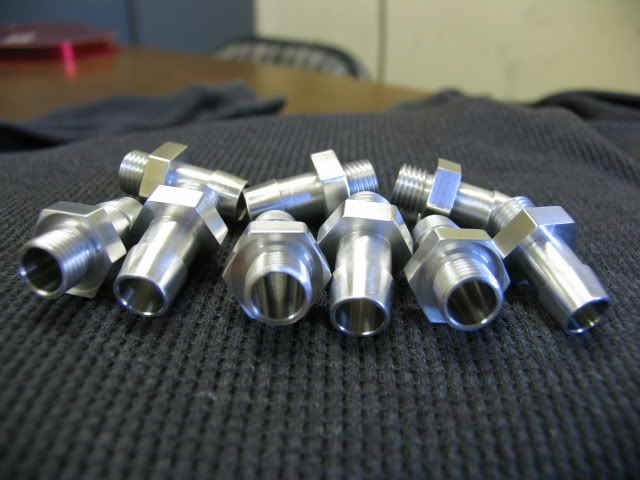
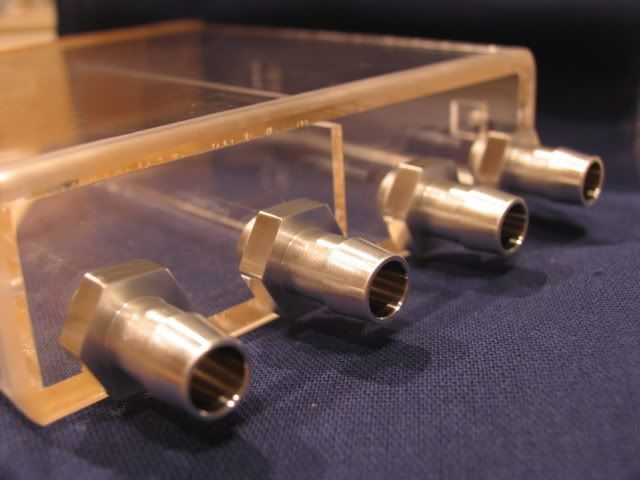
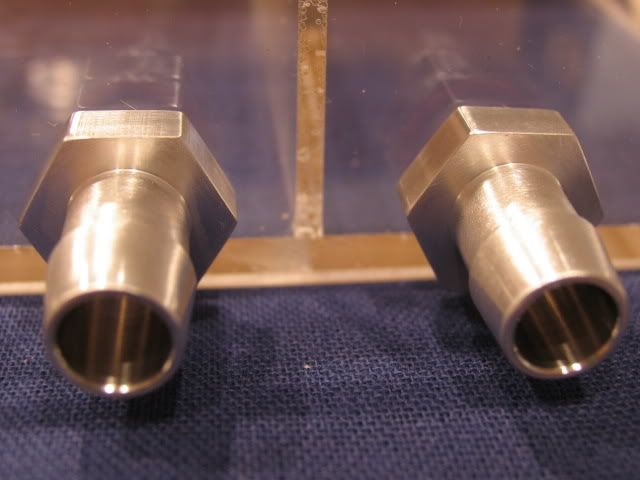
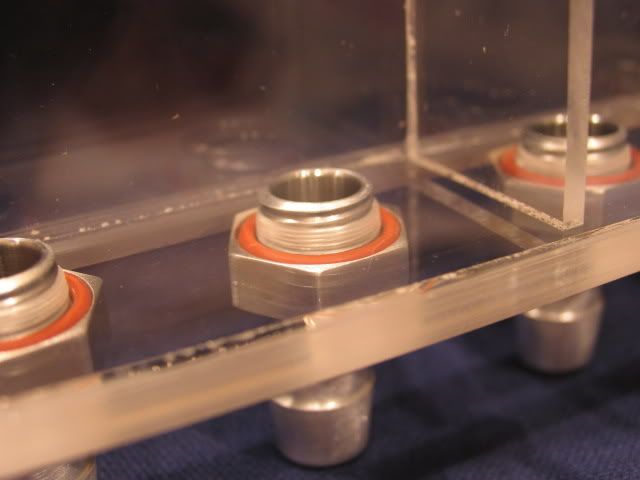
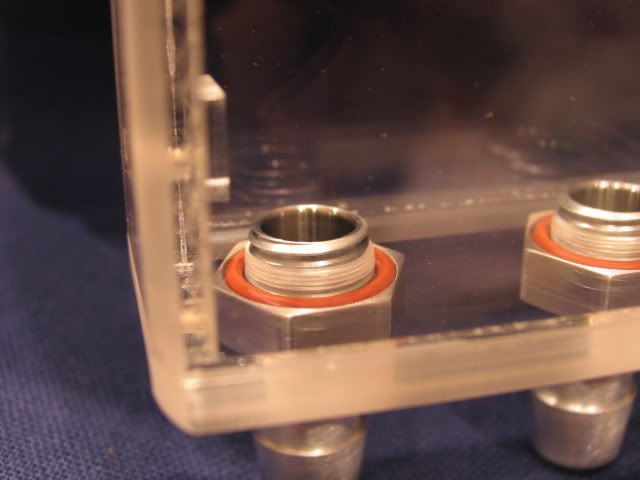
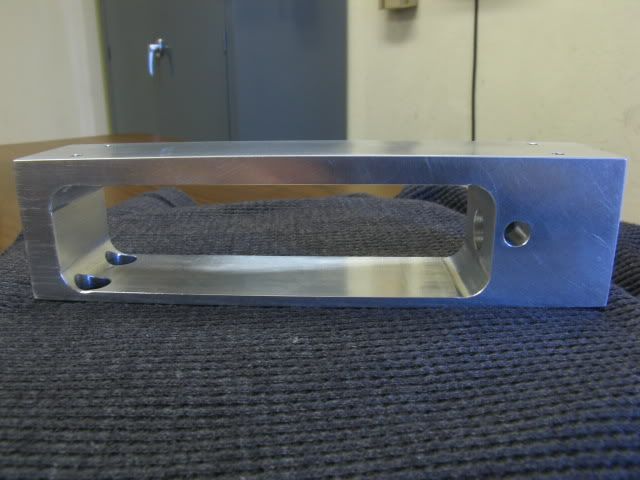
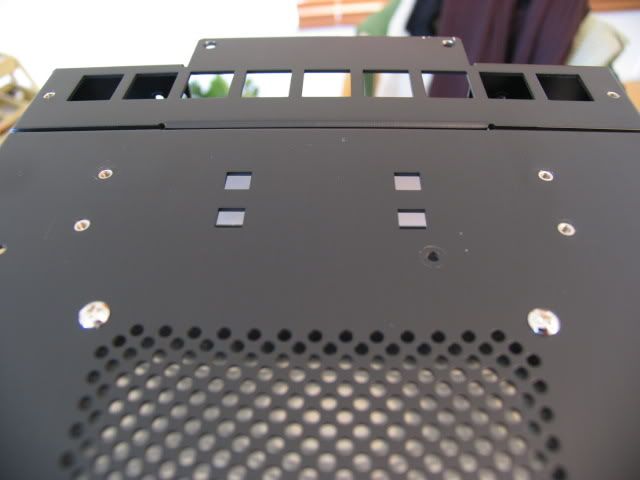
Stevennoland said:I have mentioned this before, but if you haven't been reading the posts in this thread, you should know that I'm trying to keep this build as future proof as possible. I have yet to buy any electric components for Beast III.
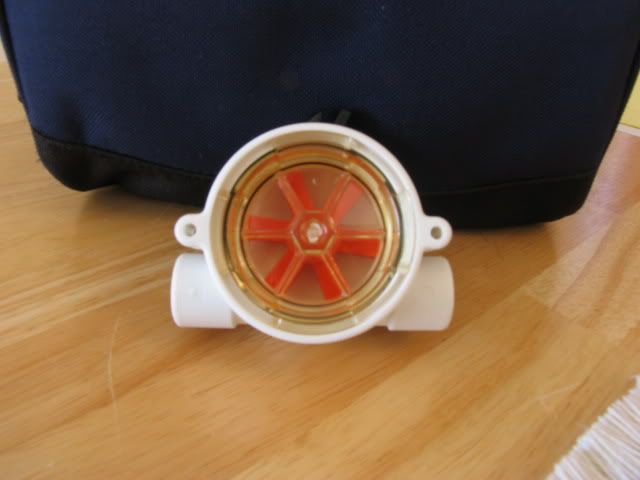
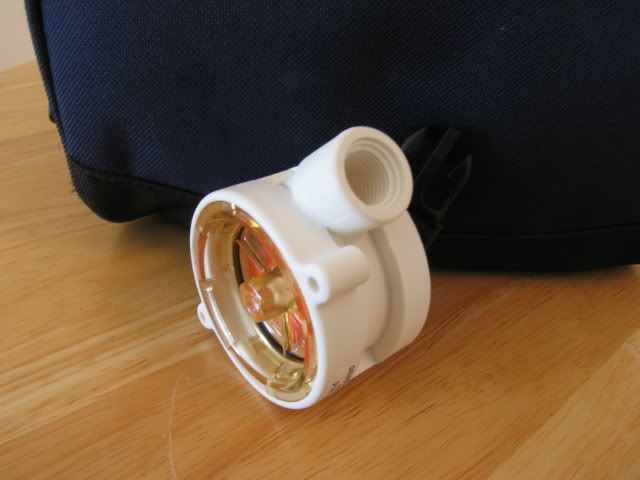
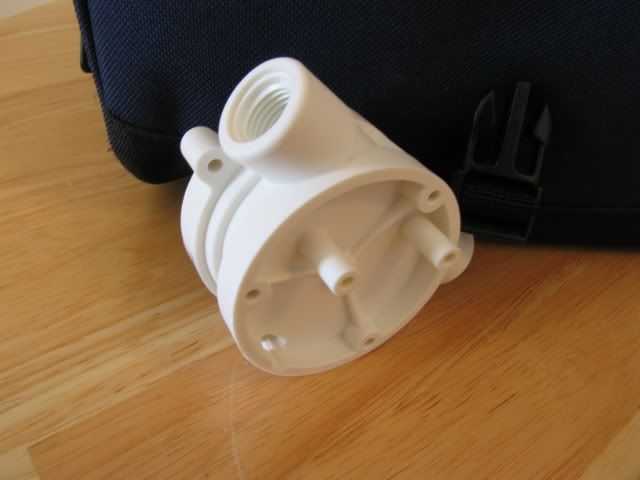
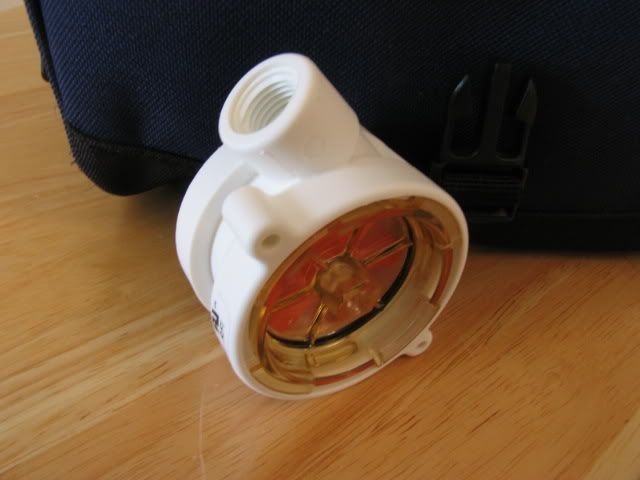
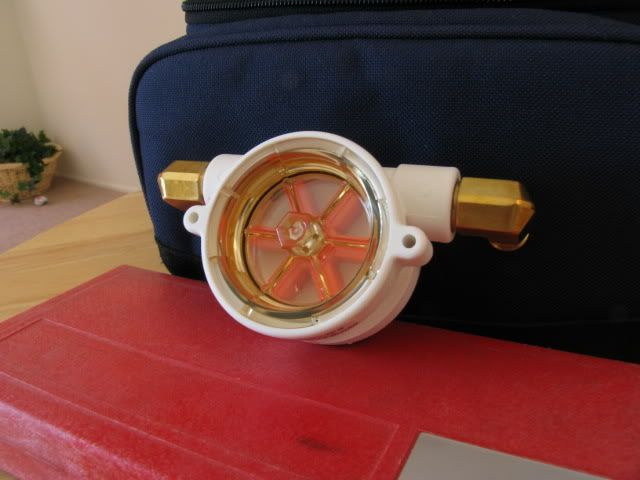
I was itching to get the PCP&C 1K watt beast and making it modular, but I figured I'd wait for the 2K modular model! LOL. I suppose the very first electric components will be the four 12 volt pumps from DD. Those will be ordered soon. I need to figure out where I'm gonna stuff them.
Steven
ps I just graduated to [H]lite with this post! Yea!
l0cke said:i thought PCP&C hated modular?
Also, have you seen this kit at frozencpu?
http://www.frozencpu.com/psu-111.html
I remember reading something to that extent but: http://www.performance-pcs.com/catalog/index.php?main_page=product_info&cPath=116&products_id=1735l0cke said:i thought PCP&C hated modular?
The warranty for this power supply is 5 years from PC Power and Cooling. Performance PC's workmanship has been certified as Grade A by PC Power and Cooling and therefore we can now offer you their fully warranty on our modified power supply. We are very pleased to receive this certification and to offer you this very fine product customized to your wishes.
jetjaguar said:any updates ?
Jazz said:Wow, this is gonna be a beast indeed when its done.
*subscribed*
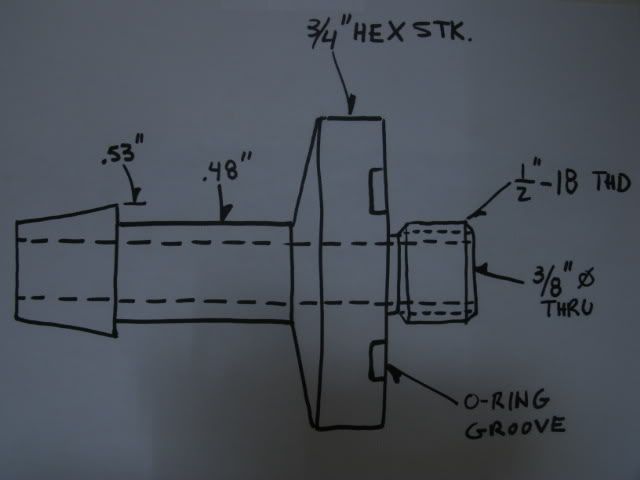
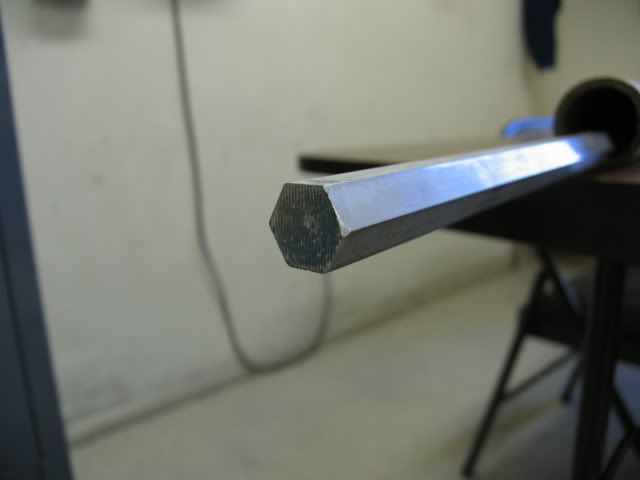
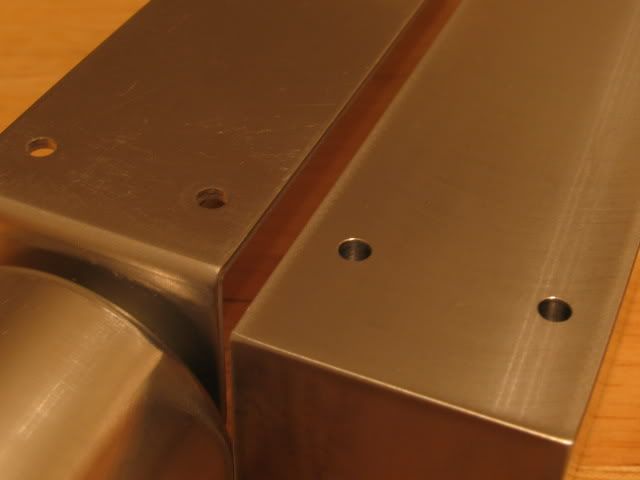
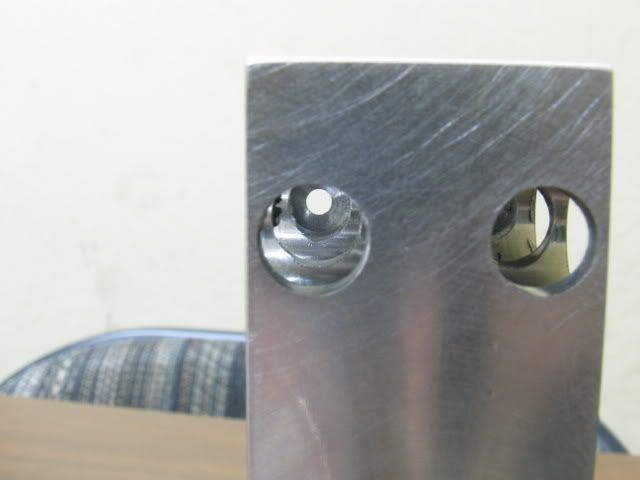
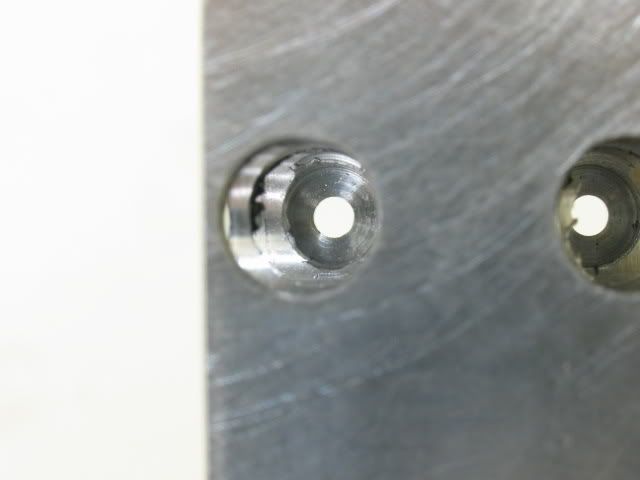
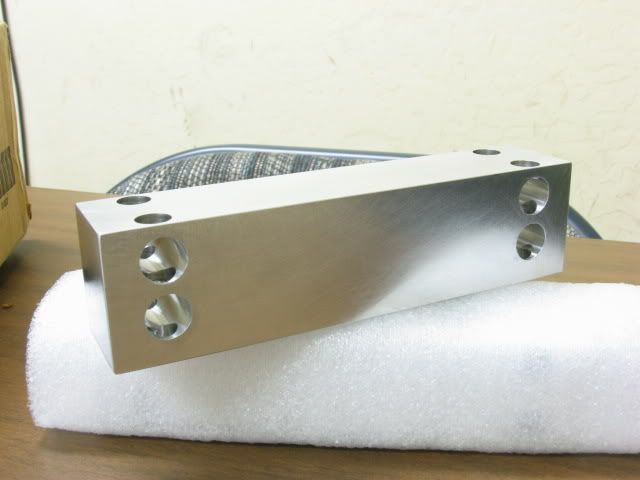
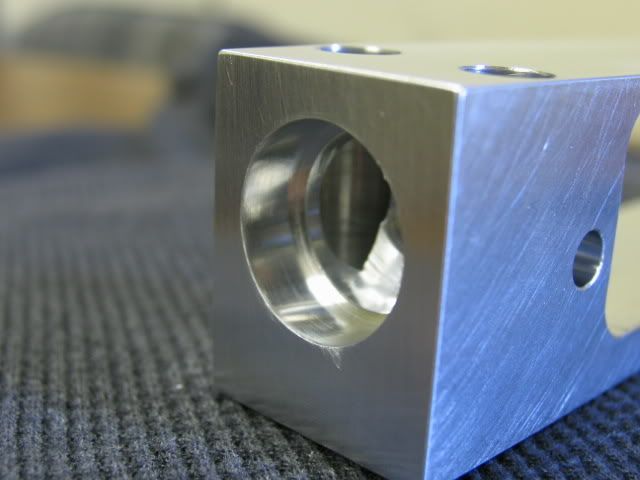
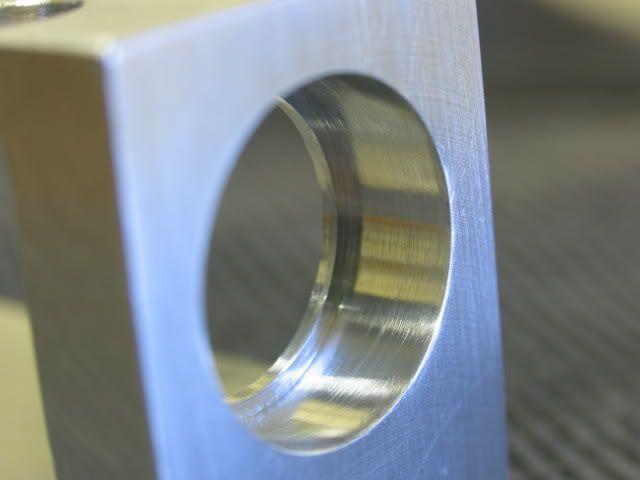
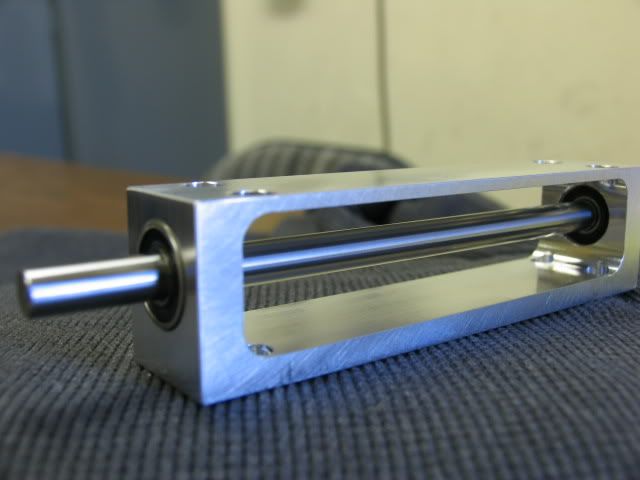
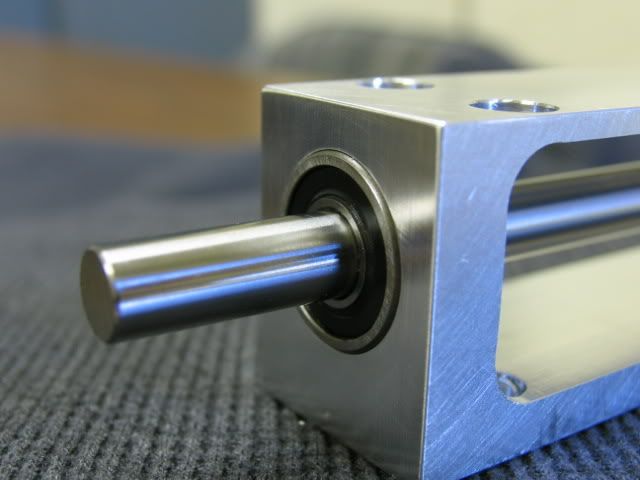
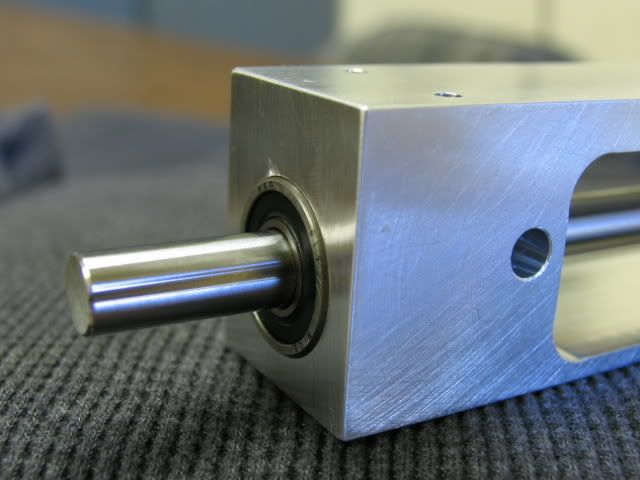
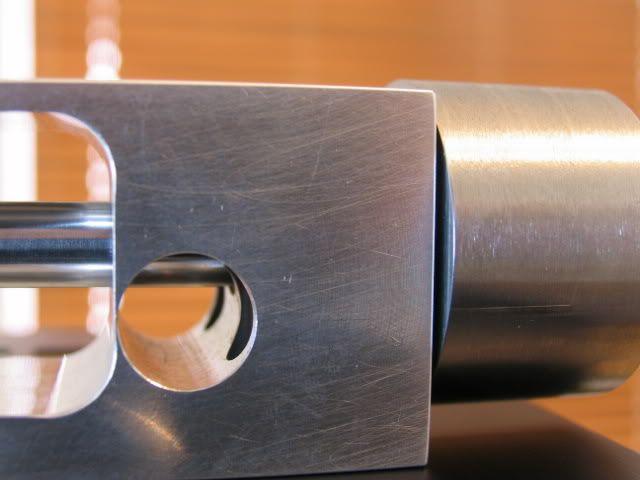
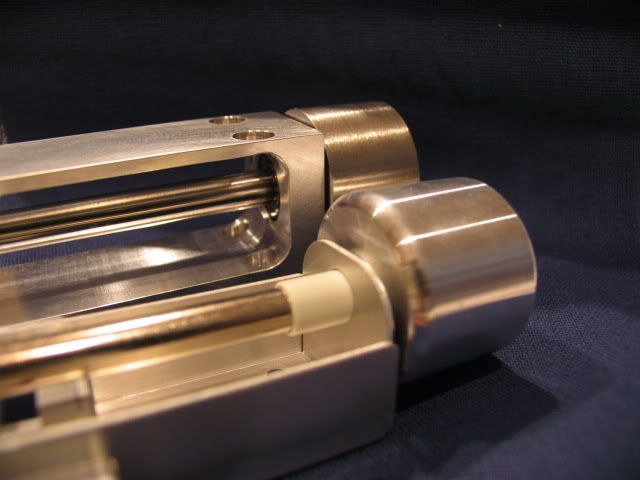
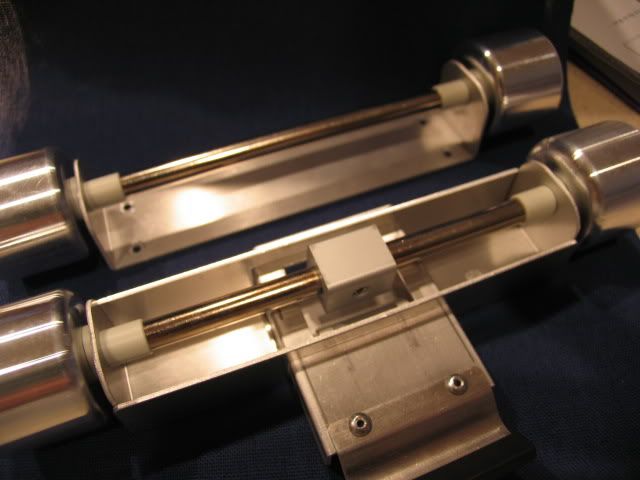
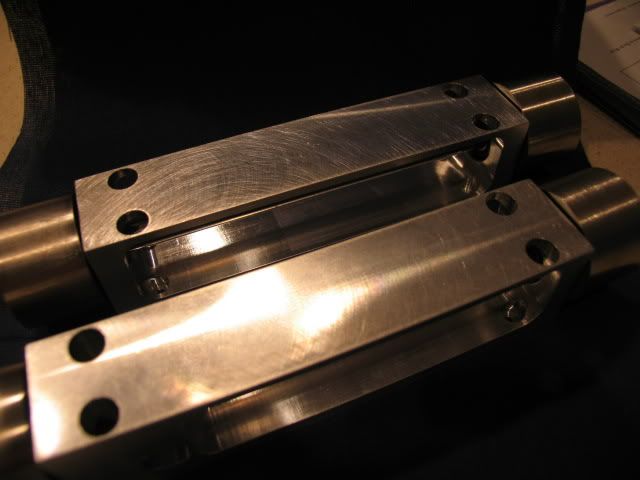
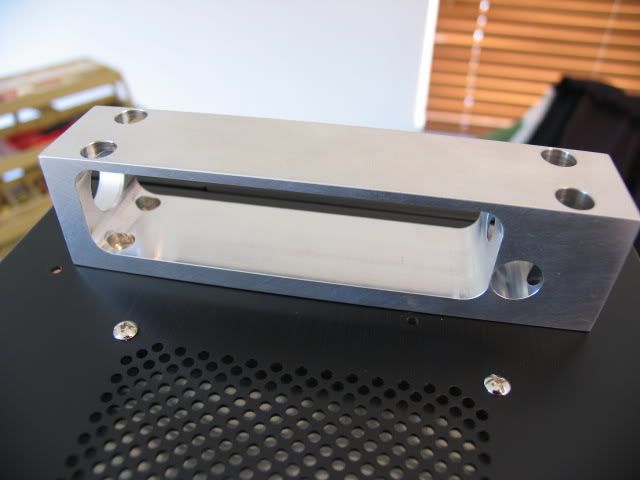
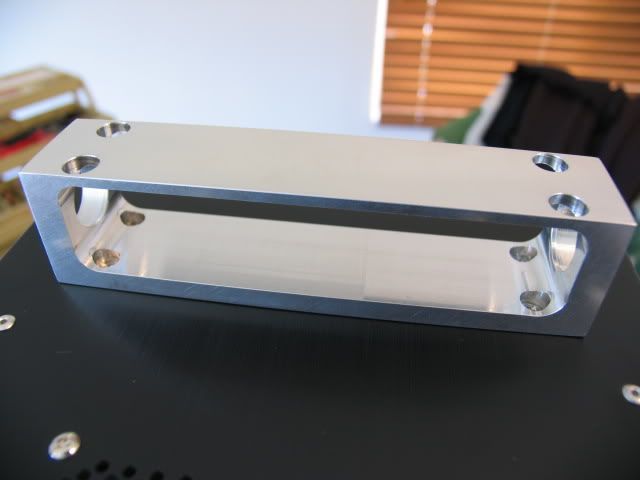
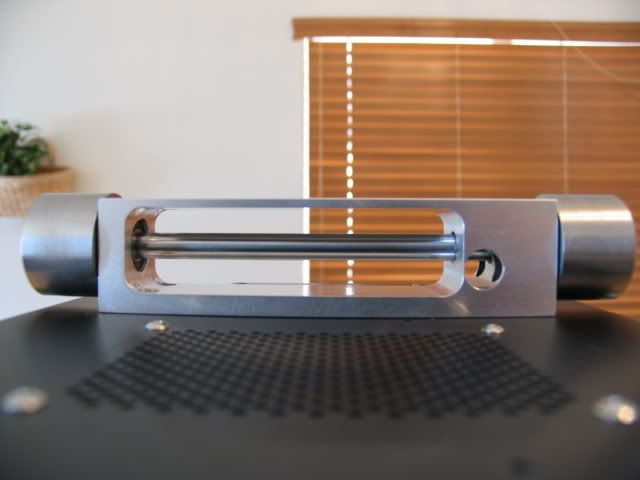
 I want to have access to a machinist or make a few friends who are.
 aj@x said:Wow!!! dude! i think i just wet myself
Your project is lookin damn fine!
ChingChang said:neat project.
keep up the good work.

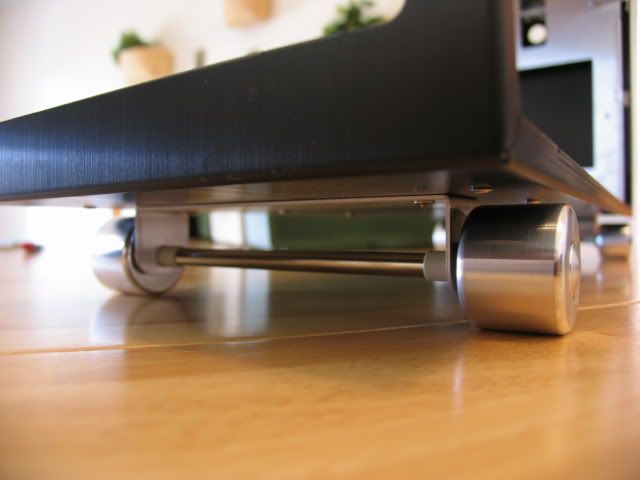
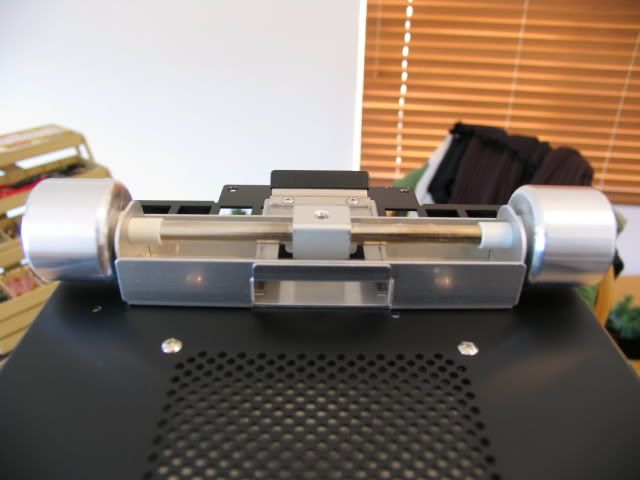
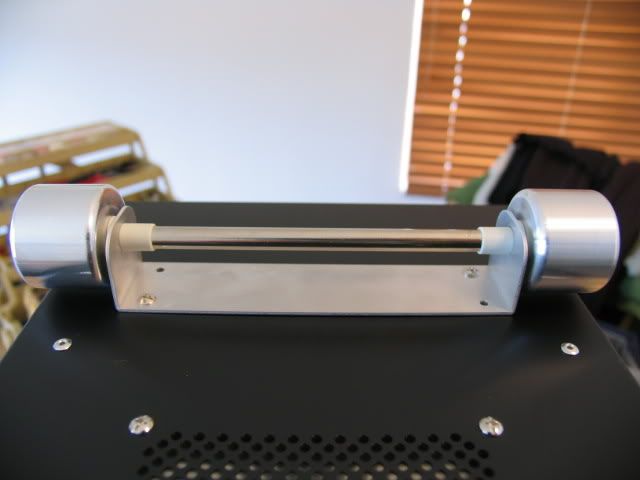


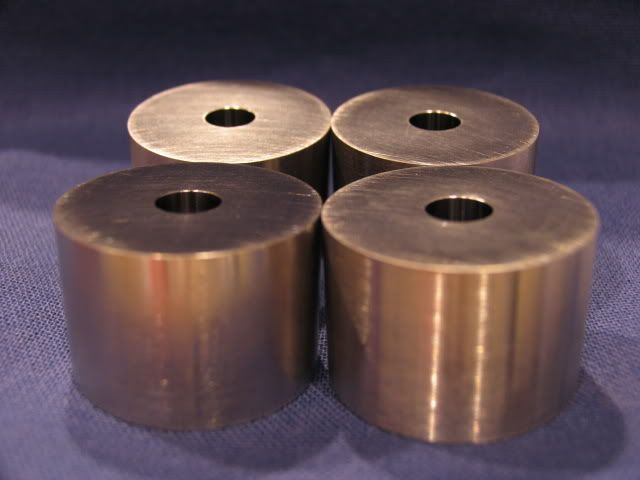

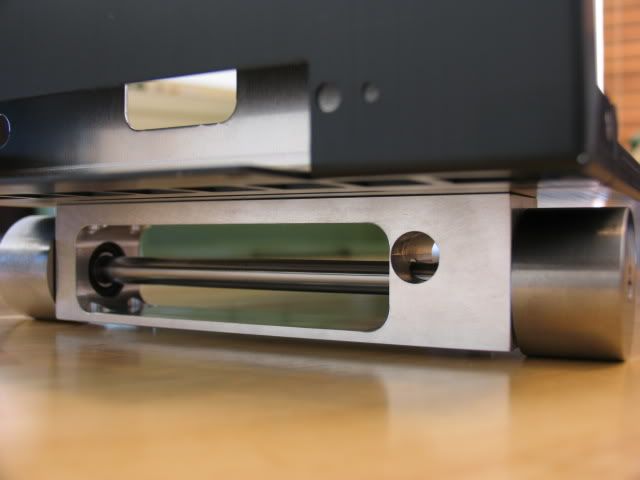
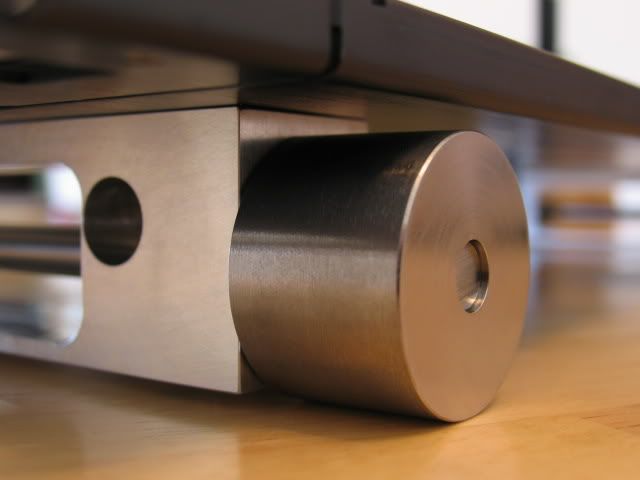
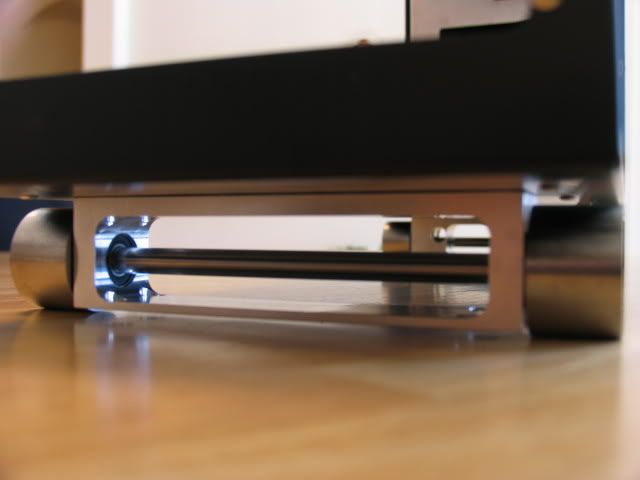
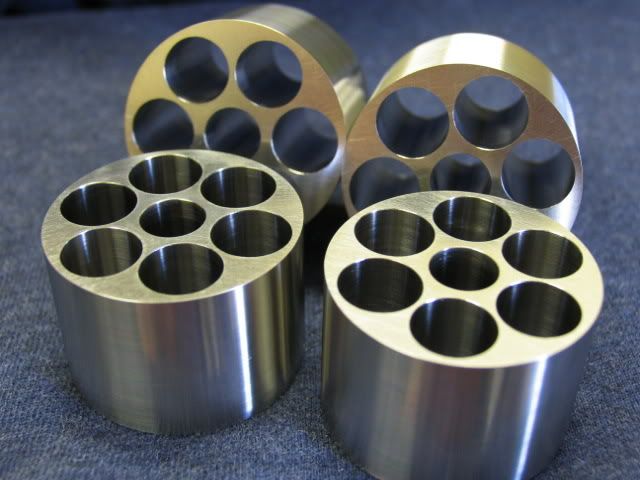
l0cke said:black?
and what will you do with the old wheels?
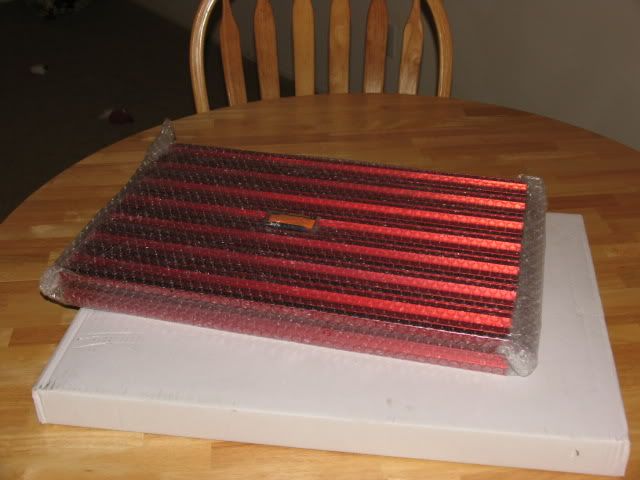
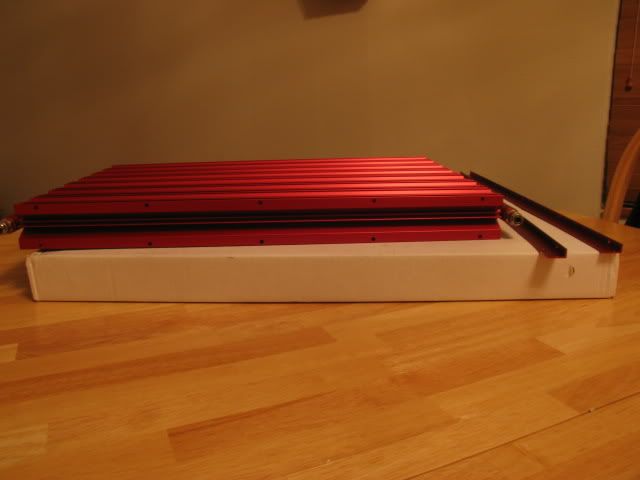
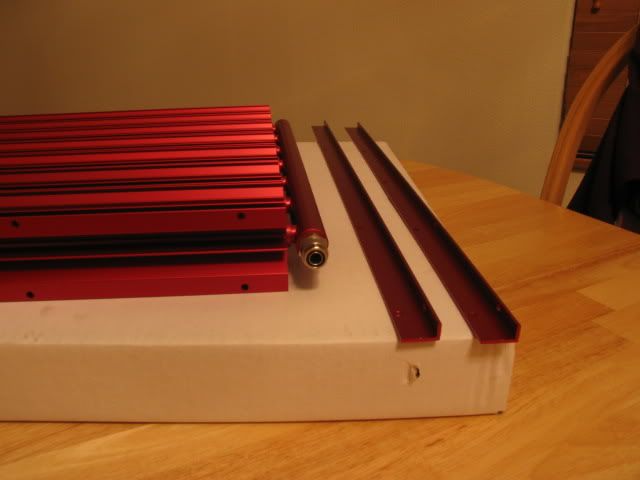
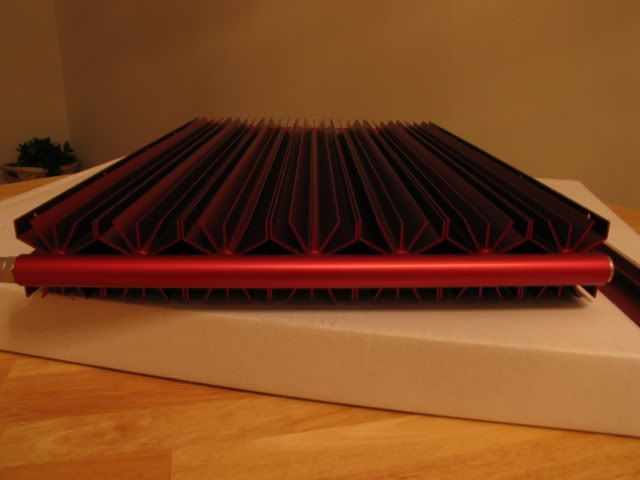
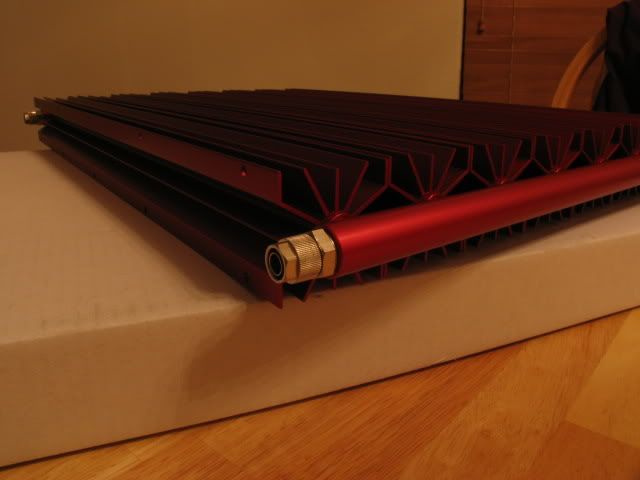
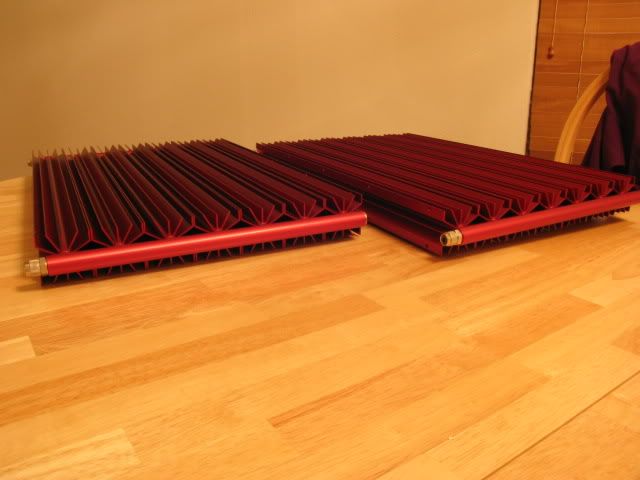
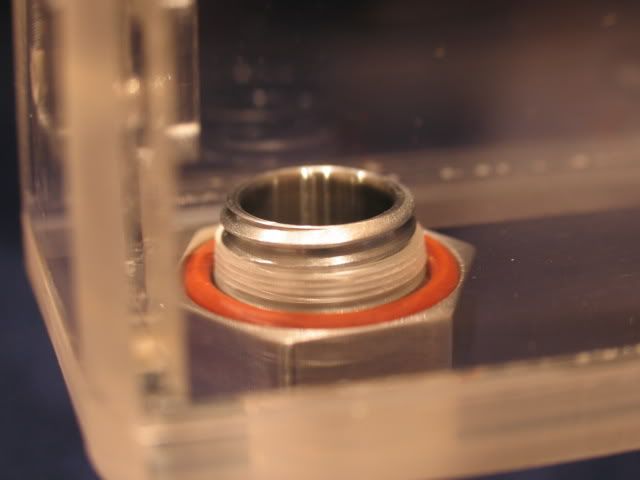
Ozone77 said:With all the water that fits inside those 2 radiators, are you sure you still need a reservoir?
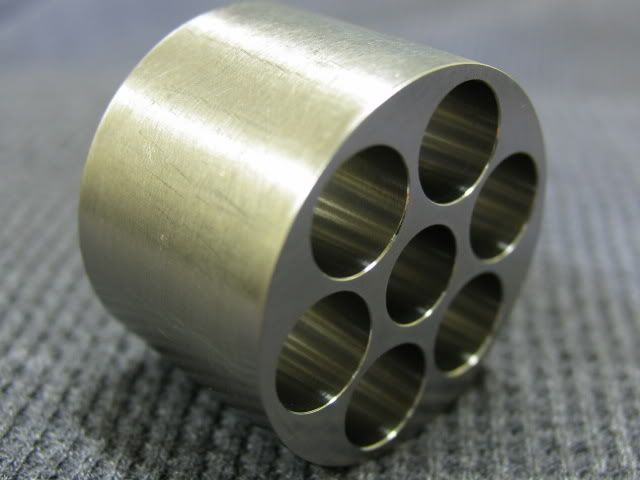
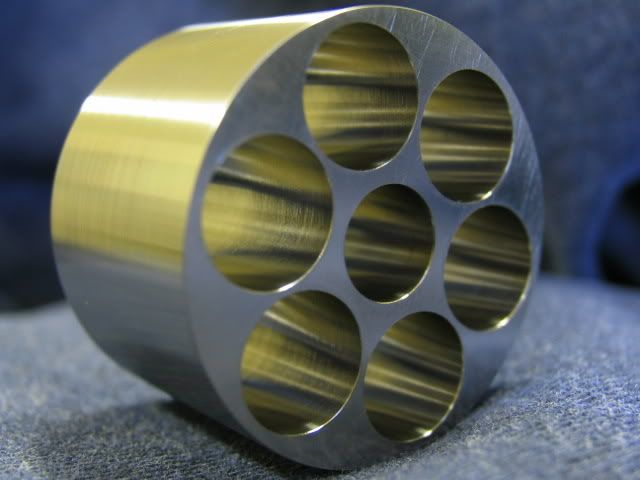
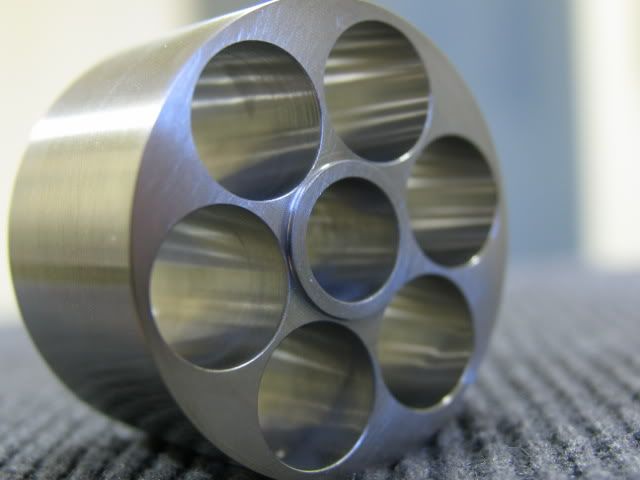
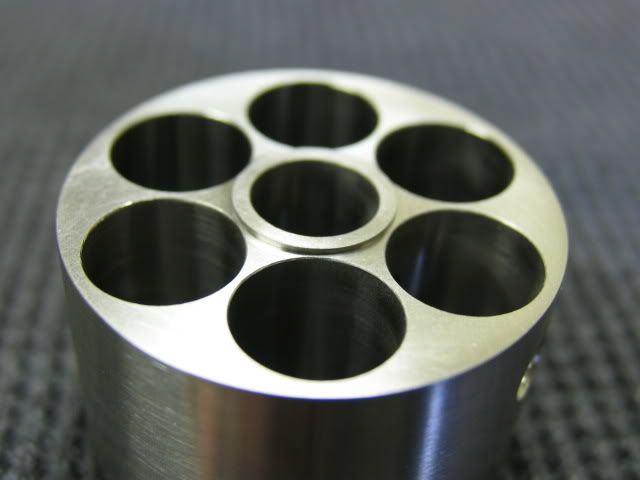
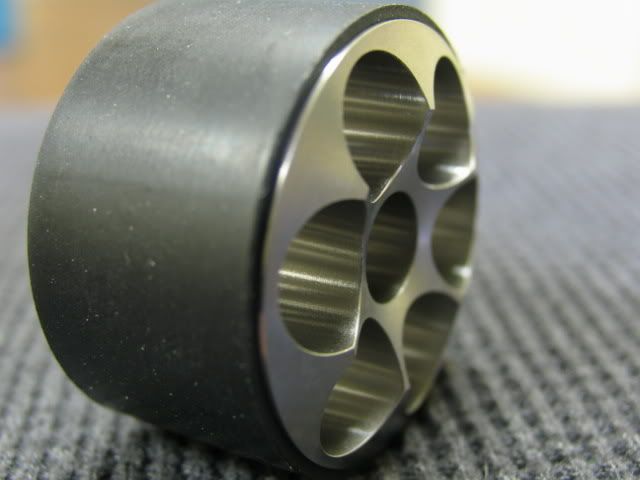
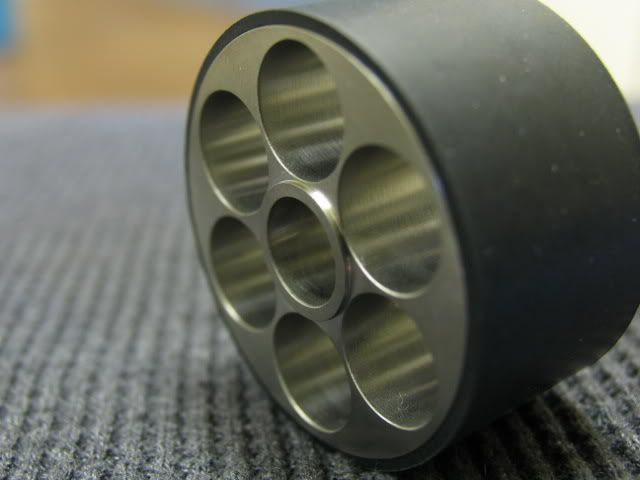
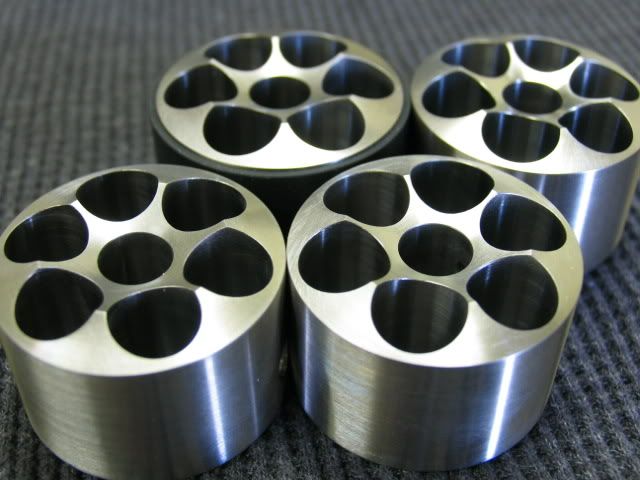
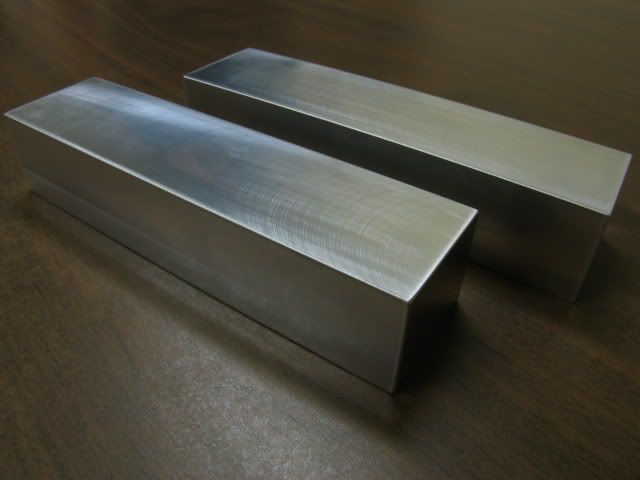
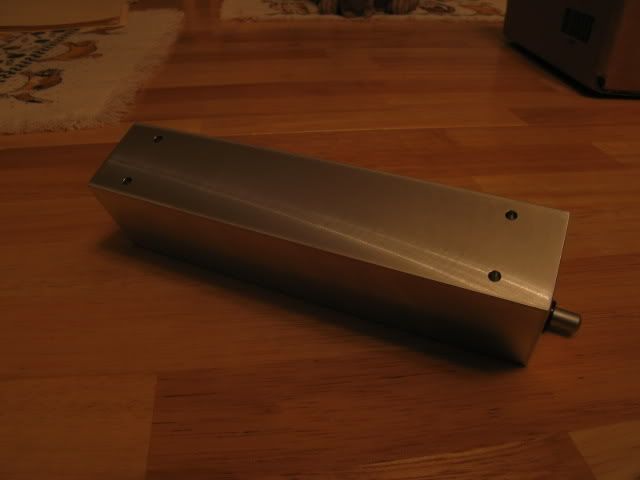
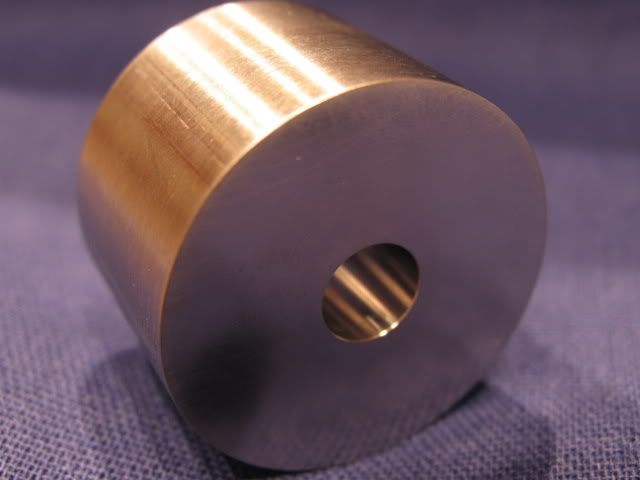
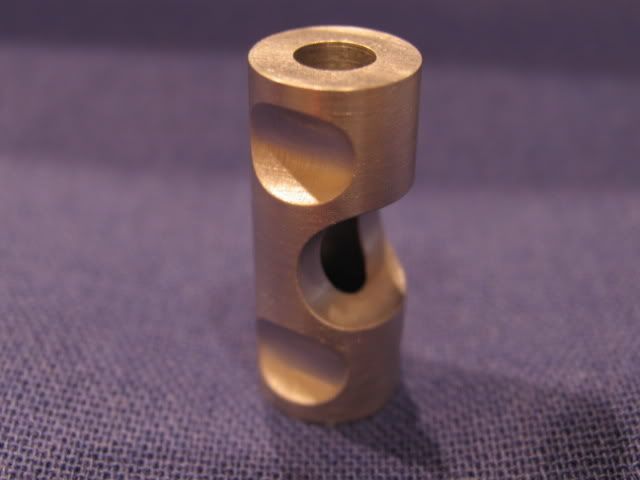
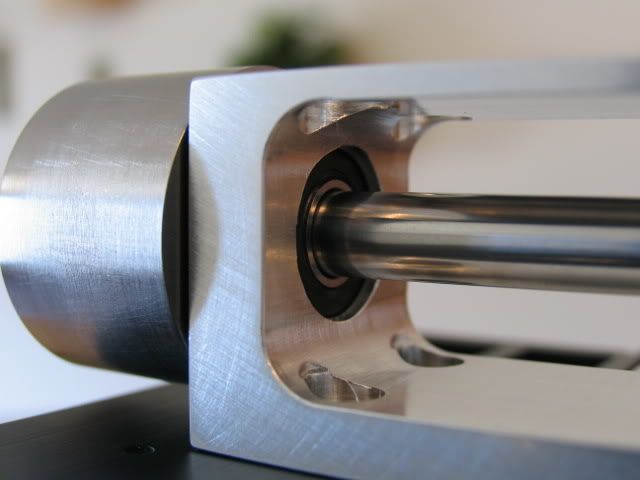
Cool wheels (Titanium!
jetjaguar said:that is one of the best work i have ever seen.
cant wait to see the rest of this project
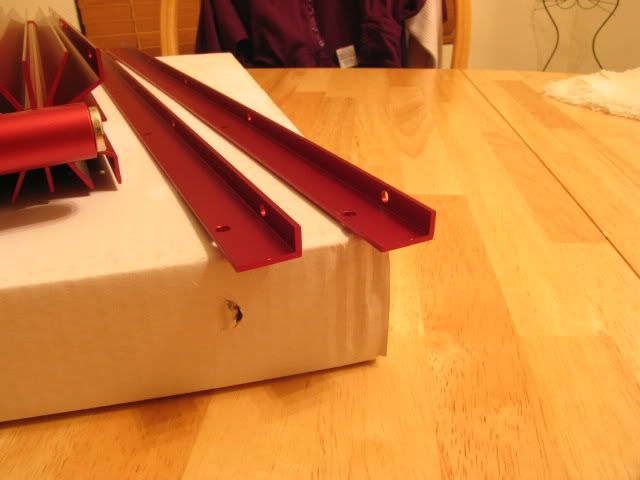
how about red ? for the housings ? to match the rads ?