officermartinez
[H]ard|Gawd
- Joined
- Jan 21, 2006
- Messages
- 2,012
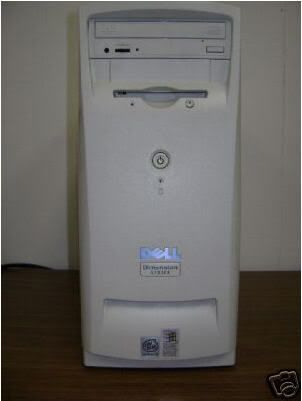
Well I had some spare parts laying around and I found an old Dell computer (date stamped on this case is October 2000). A co-worker of mine was going to throw it away (hauled off to a local recycle place). This Dell had a PIII 800mhz processor. Talk about some processing power.. Well, I knew the computer was going to be thrown away so I told my co-worker that I would take it off of his hands. He simply gave me his old Dell computer. The model on this Dell is the L800R. I looked it over and saw that the case itself was in really good condition. So, after much planning, I decided to give this thing a complete overhaul.
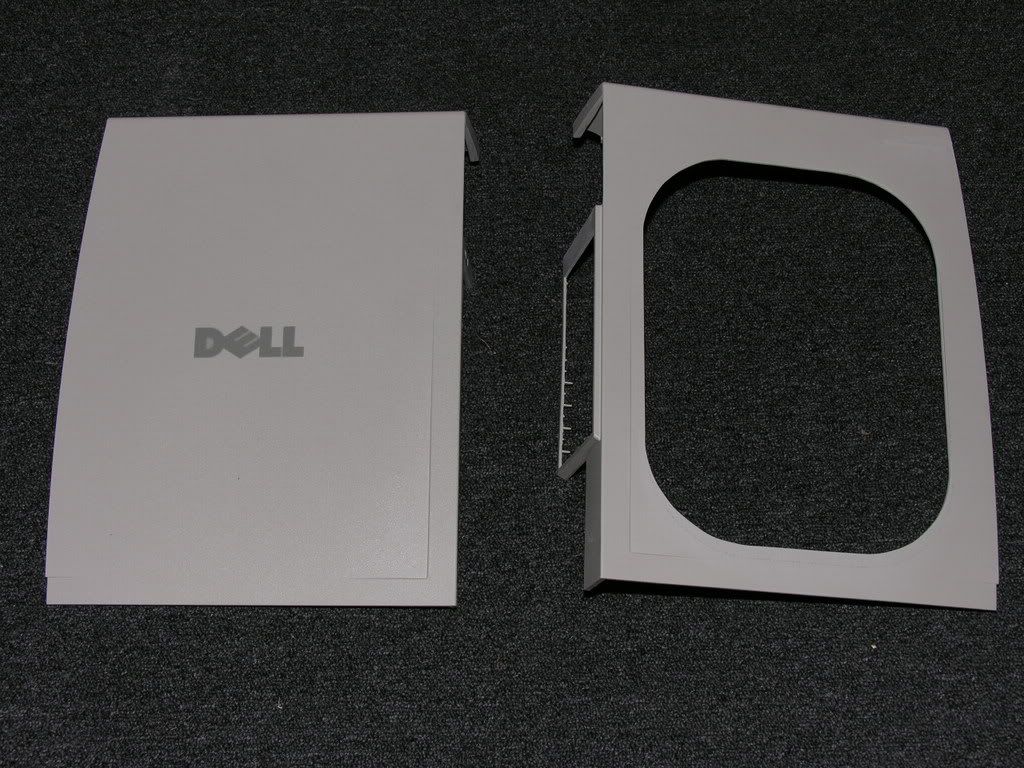
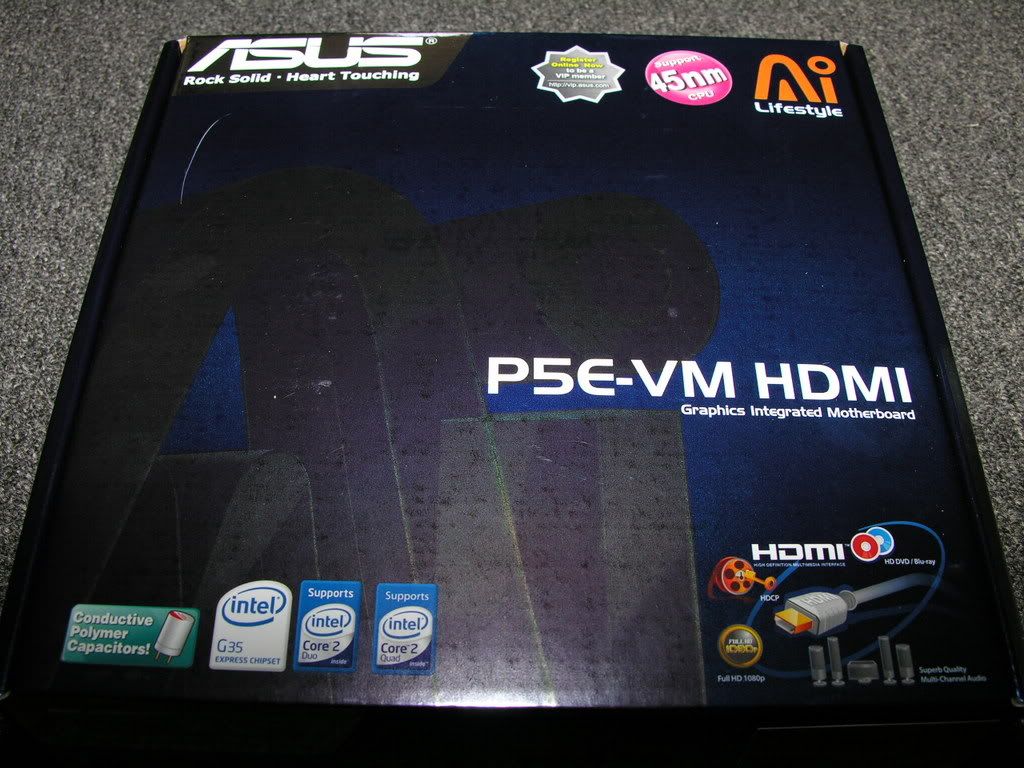
Laying around, I have 2gb's of Corsair Dominator 1066mhz ram, a spare Maxtor hard drive (but working on "obtaining" a Seagate Baracuda hard drive), a PC Power and Cooling 750watt power supply, a combo CD/DVD-RW drive, a bulgin delrin vandal resistant power switch, a 8800gts 640mb video card, some AC Ryan 120mm fans and some misc stuff here and there to snaz the case up.. Lets start with the case.. I plan on this case being a HTPC so it's not critical for me to have the very highest end parts inside.. Here it is, in stock form..
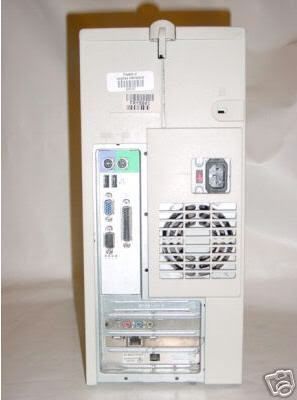
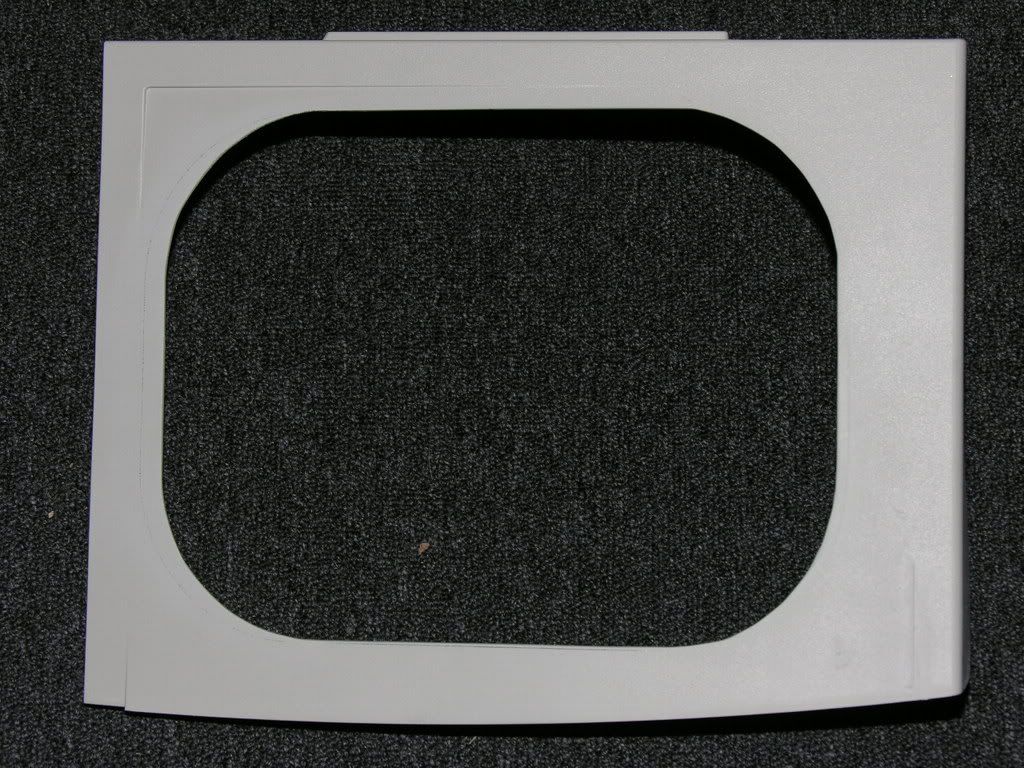
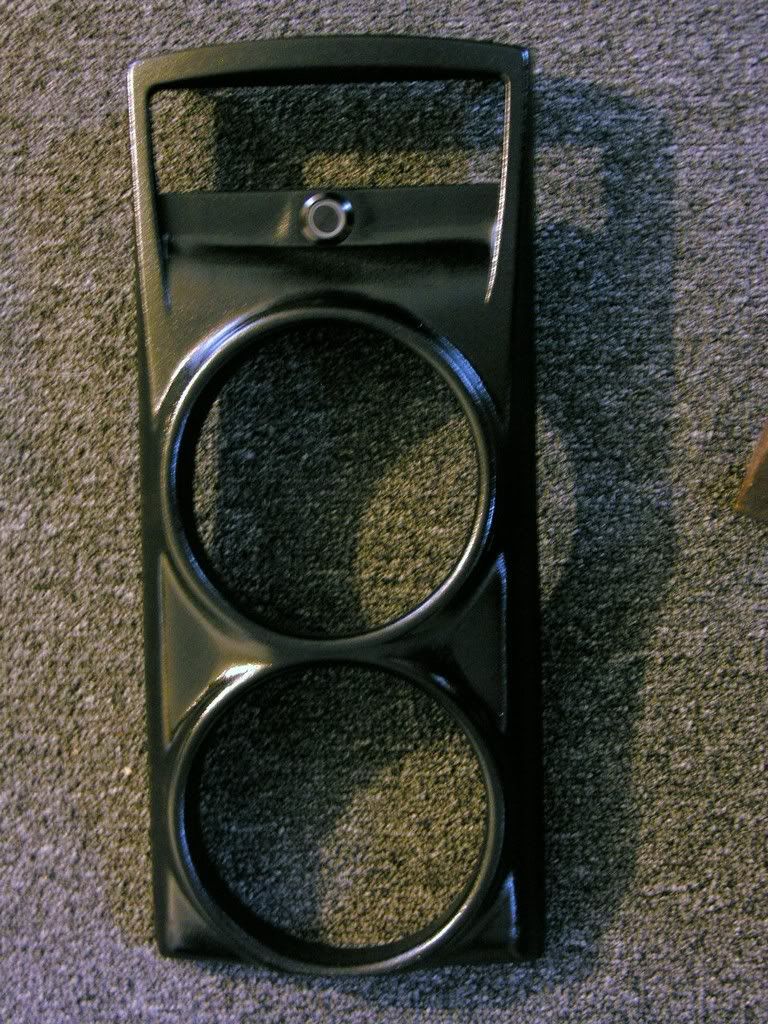
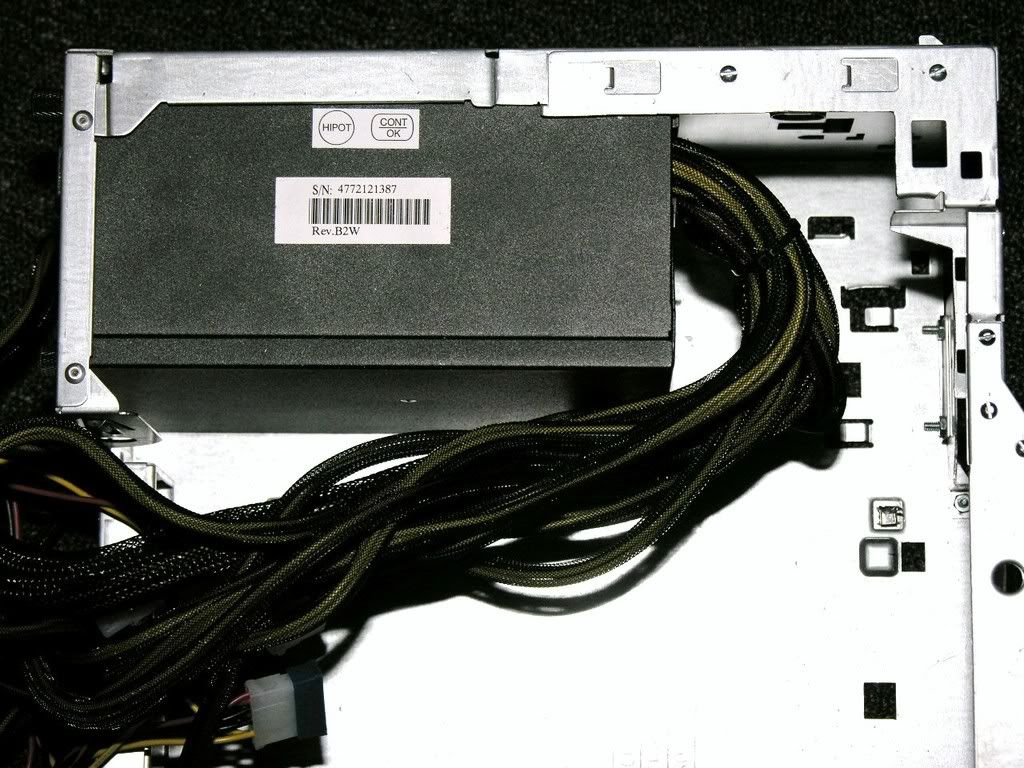
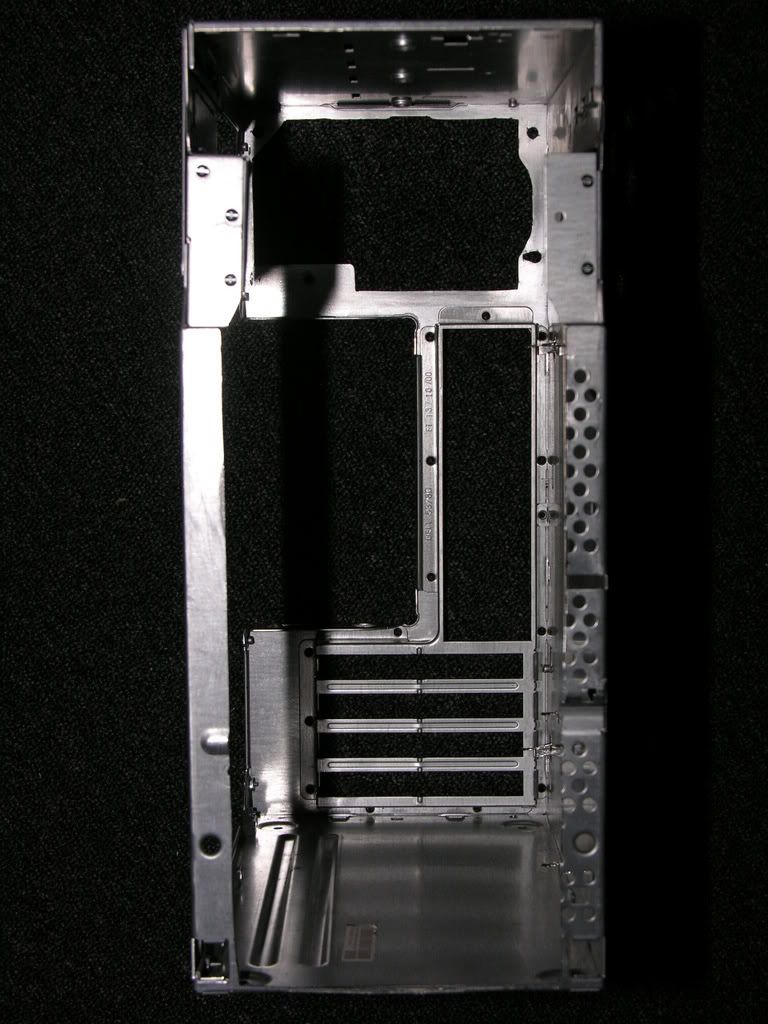
Here's where the snazzing starts to come into play.. I have a few window kits laying around and thought that a Black / Neon Green color scheme on this setup would look pretty cool (almost nVidia-ish). I went to my local Home Depot and purchased some plastic epoxy, plastic primer, spray paint and clear coat. First things first however.. I had to make sure I could get the parts to fit inside. If you notice, the power supply sits directly in the middle of the case, positioned directly over the processor. I knew this stock setup was NOT going to work for me. I wanted a decent amount of cooling and this left NO room for even a STOCK Intel HSF to be mounted. I had to find somewhere else to stick the power supply. Well there is basically only one other place in this case, where it can go.. It would simply have to be mounted in the traditional area above the motherboard.
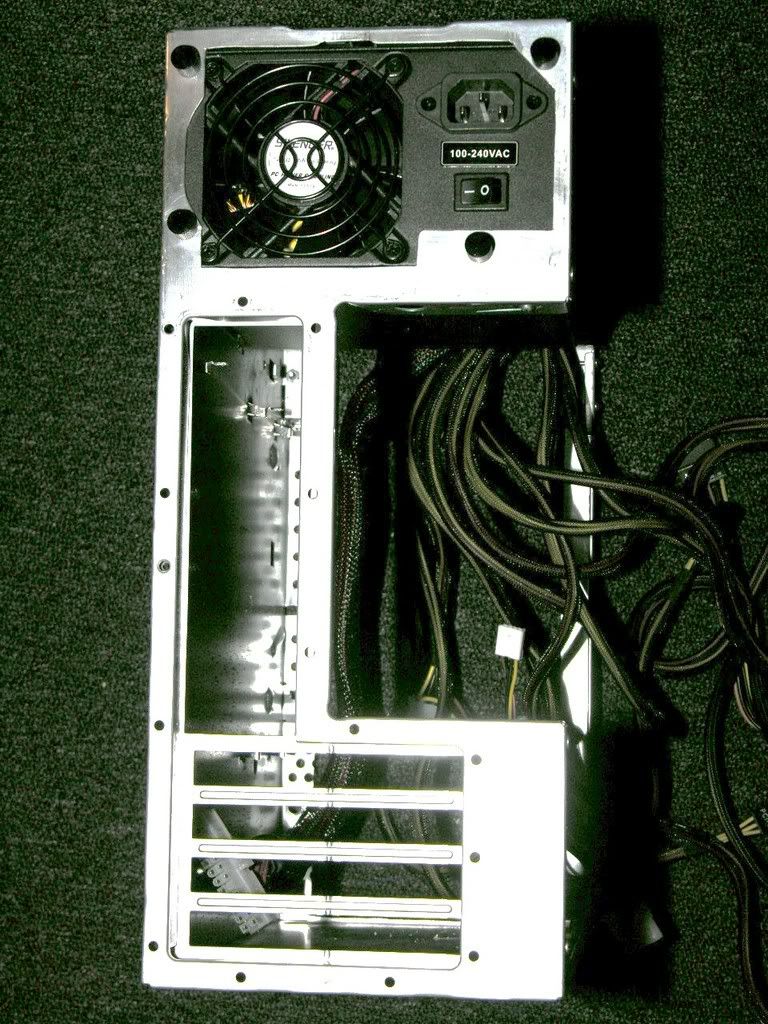
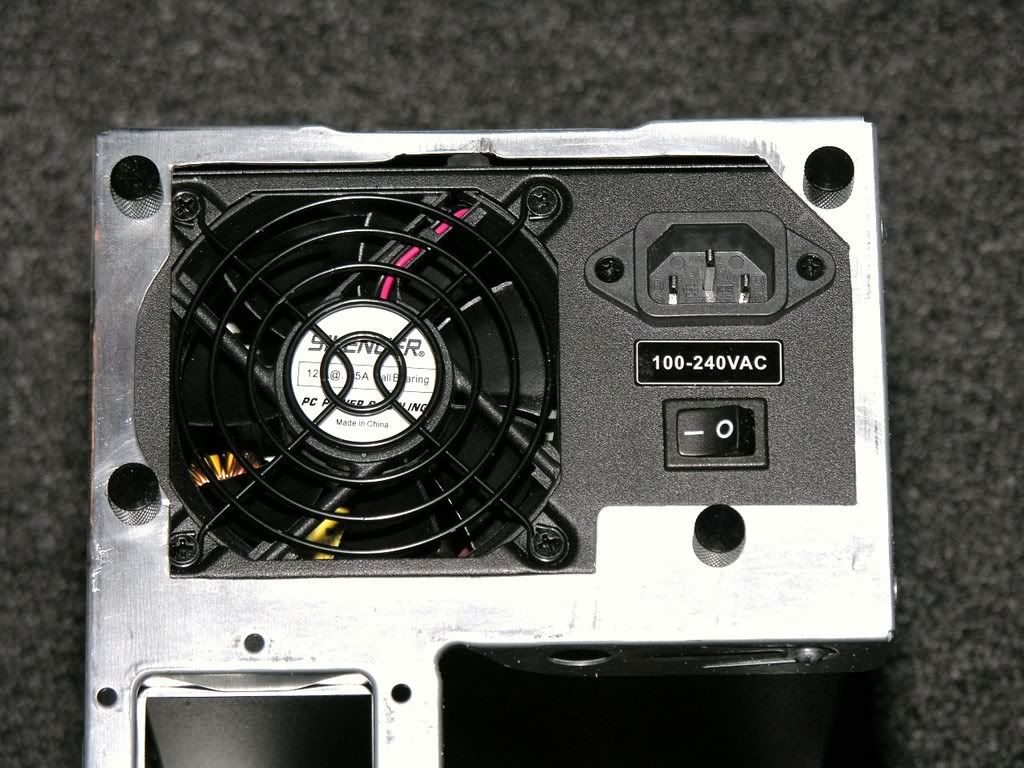
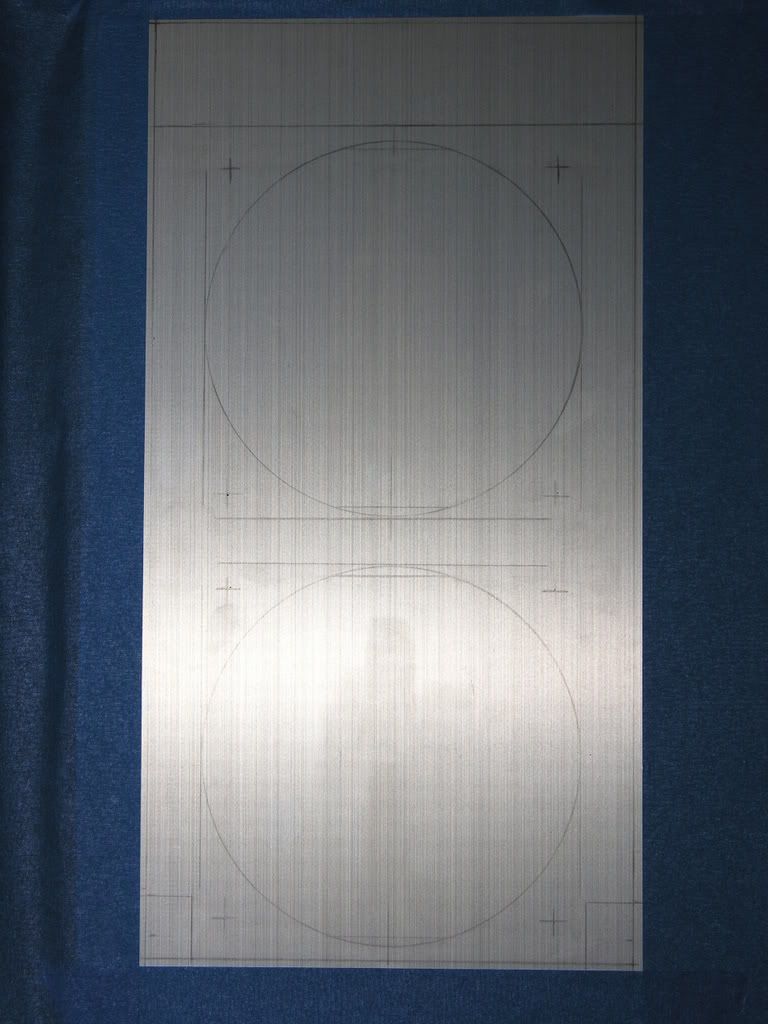
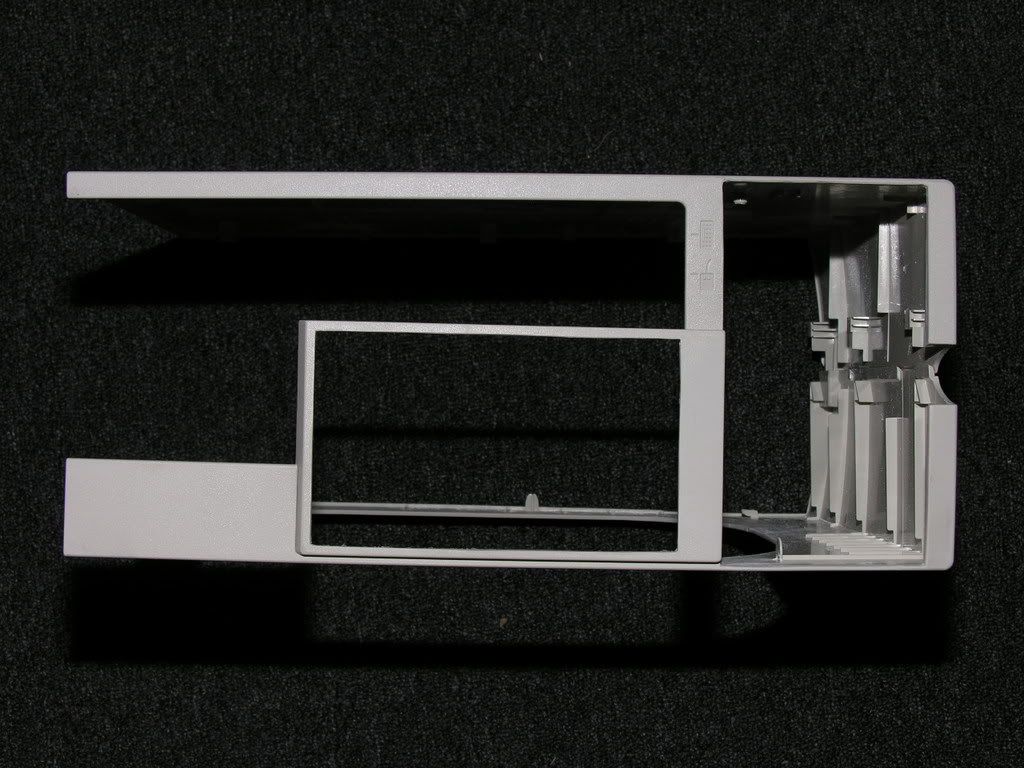
With that all figured out, I put my first plan into action. I measured the plastic area where the power supply was going to be mounted and went to work.. dremeling away. After some smoothing over with a file and some 220 grit sandpaper, my first mod on this case is looking OK. While I was at it, I decided to "hollow out" the area where the factory power supply was. Again, after some dremel and sandpaper time, I was left with a nice big "hollowed out" area on the rear of the case, which will help me later on with air cooling.

Laying around, I have 2gb's of Corsair Dominator 1066mhz ram, a spare Maxtor hard drive (but working on "obtaining" a Seagate Baracuda hard drive), a PC Power and Cooling 750watt power supply, a combo CD/DVD-RW drive, a bulgin delrin vandal resistant power switch, a 8800gts 640mb video card, some AC Ryan 120mm fans and some misc stuff here and there to snaz the case up.. Lets start with the case.. I plan on this case being a HTPC so it's not critical for me to have the very highest end parts inside.. Here it is, in stock form..
Here's where the snazzing starts to come into play.. I have a few window kits laying around and thought that a Black / Neon Green color scheme on this setup would look pretty cool (almost nVidia-ish). I went to my local Home Depot and purchased some plastic epoxy, plastic primer, spray paint and clear coat. First things first however.. I had to make sure I could get the parts to fit inside. If you notice, the power supply sits directly in the middle of the case, positioned directly over the processor. I knew this stock setup was NOT going to work for me. I wanted a decent amount of cooling and this left NO room for even a STOCK Intel HSF to be mounted. I had to find somewhere else to stick the power supply. Well there is basically only one other place in this case, where it can go.. It would simply have to be mounted in the traditional area above the motherboard.
With that all figured out, I put my first plan into action. I measured the plastic area where the power supply was going to be mounted and went to work.. dremeling away. After some smoothing over with a file and some 220 grit sandpaper, my first mod on this case is looking OK. While I was at it, I decided to "hollow out" the area where the factory power supply was. Again, after some dremel and sandpaper time, I was left with a nice big "hollowed out" area on the rear of the case, which will help me later on with air cooling.