PsycoGeek
[H]ard|Gawd
- Joined
- Jun 25, 2000
- Messages
- 1,226
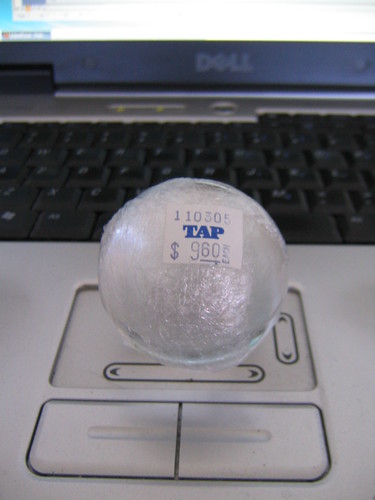
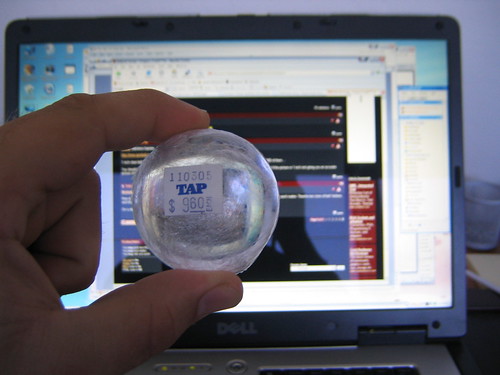
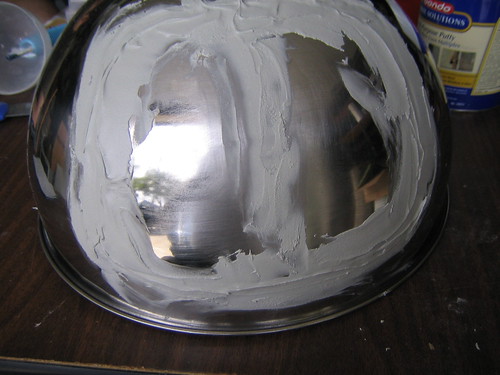
I got this link from Project: BloodMoon ... clear acrylic plastic domes
<edit> here is another: TAP Plastics
<edit> here is another: TAP Plastics
Follow along with the video below to see how to install our site as a web app on your home screen.
Note: This feature may not be available in some browsers.
")
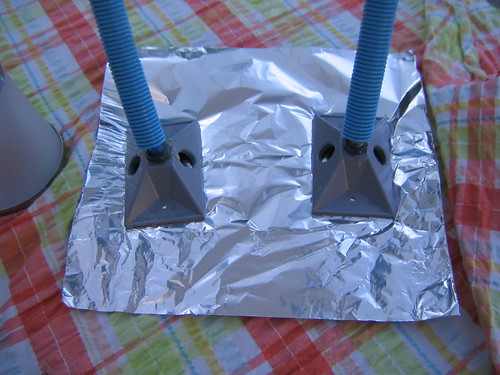
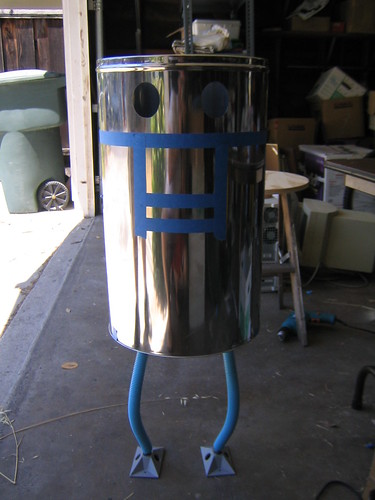
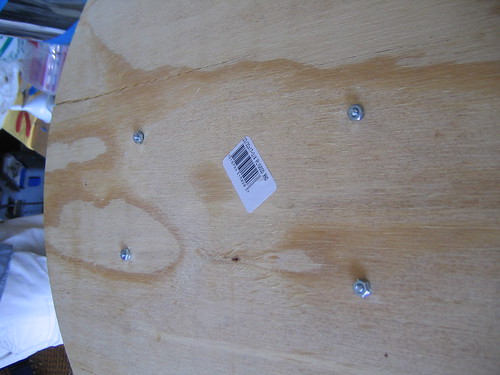
But is it going to stand on it's own with all the weight? haha are you going to secure the feet any further? i would be afraid of a falloveraltmann said:/snip
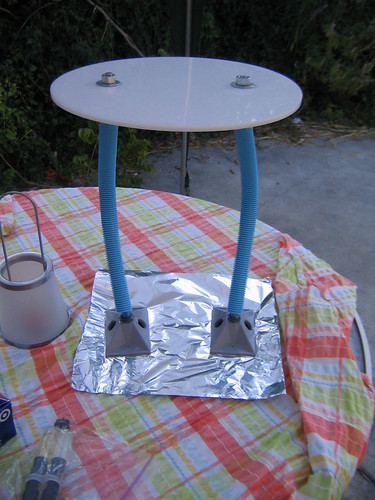
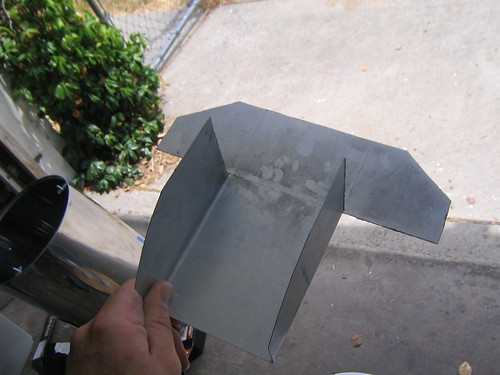
Lastly... IT STANDS ON IT'S OWN!!!! nice.
yea, are you going to bolt it to a stand? Even a 24" x 24" bit of wood would work.Aeauvian12 said:But is it going to stand on it's own with all the weight? haha are you going to secure the feet any further? i would be afraid of a fallover

Well, thats one verson of the fruitfucker...his design tends to drift from comic to comic.Lunas said:
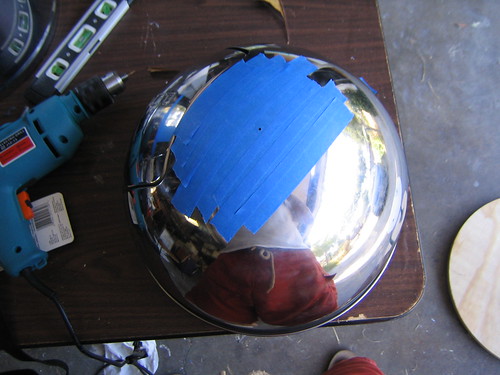
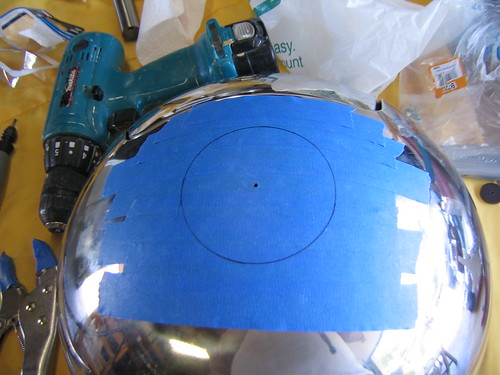
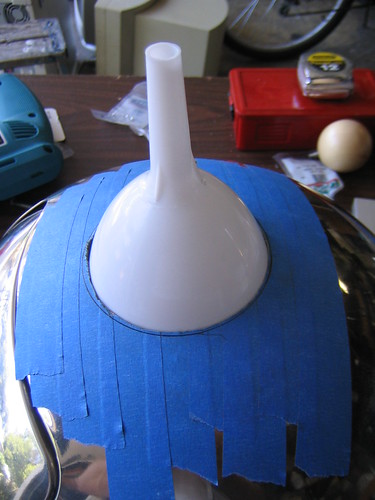
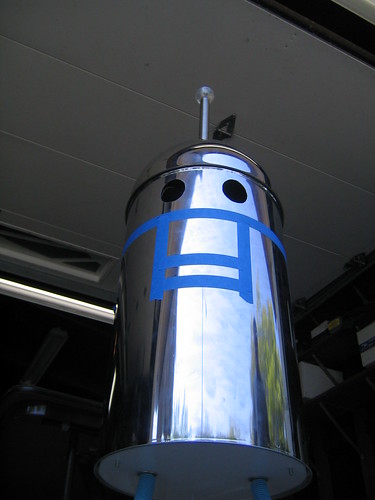
altmann said:Well, aside from lathing our own balsa wood spire, that was the closest thing to the desired shape. I think that it provides an adequate break in the dome shape to the antenna.

Sweet, I can't wait to see this little metal fucker once PAX starts.
yeah we all areJake said:I'm anxiously awaiting FF's unveiling!
