Project: Feeding Frenzy

Status
Not open for further replies.

Top Nurse

Supreme [H]ardness
Joined
Nov 4, 2003
Messages
7,344
Okay I guess after all the pushing and prodding I should start a project log for my latest creation. So I have decided to call my project "Feeding Frenzy" and if you can't figure out why you will by the end of the finishing touches. :p

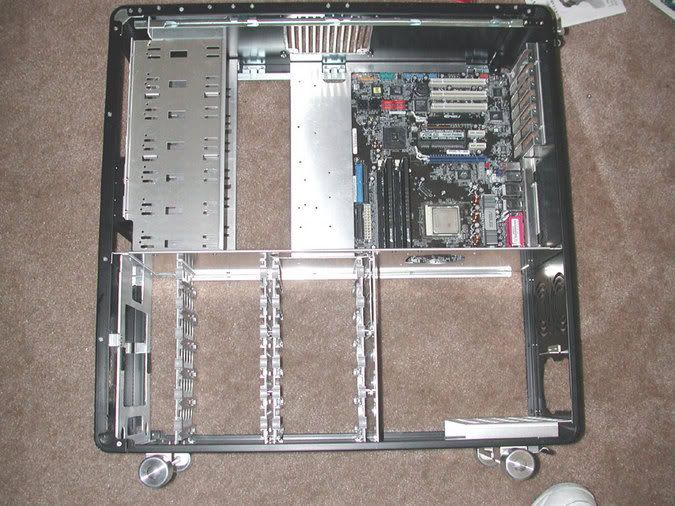
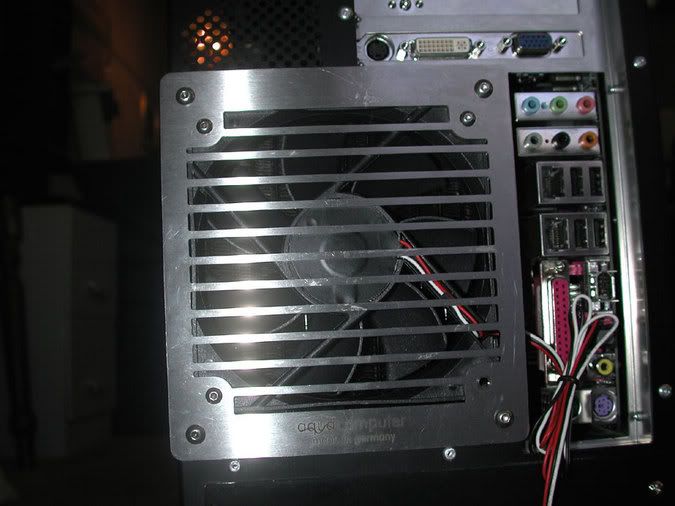
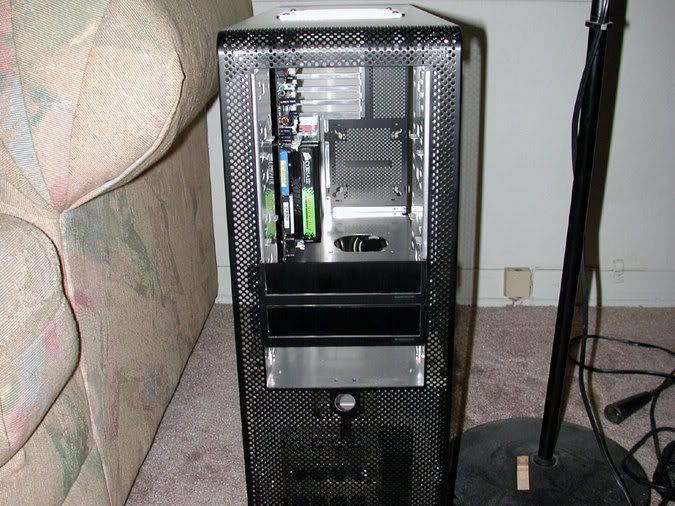
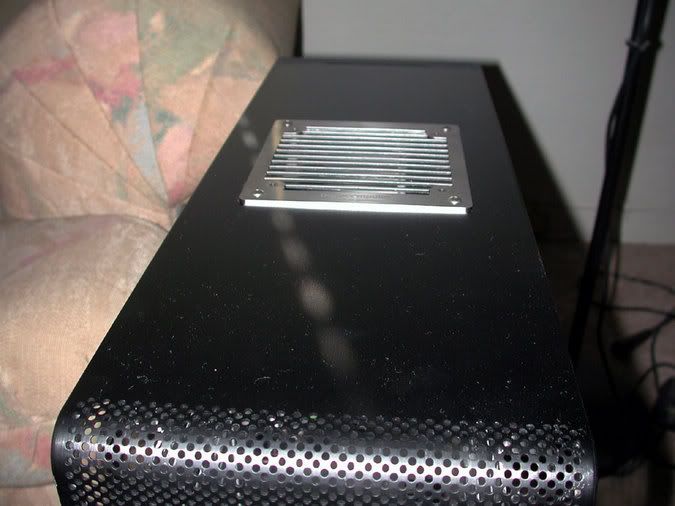
So what I am doing started out with a hybrid DIY/Koolance design in a Lian-Li PC-601B case. You can see what I was originally doing at my home page. Got a little crowded so I then went to a V1200 case, which I became unhappy with. So now I am doing a Lian-Li V2000 black case and mostly Aqua Computer parts. I don't have any stock photos of what it originally looked like so visit the Lian-Li site if that interests ya. I also was originally going to do one loop, but it seemed more fun to do 2 loops. Now I am going with three loops :cool:

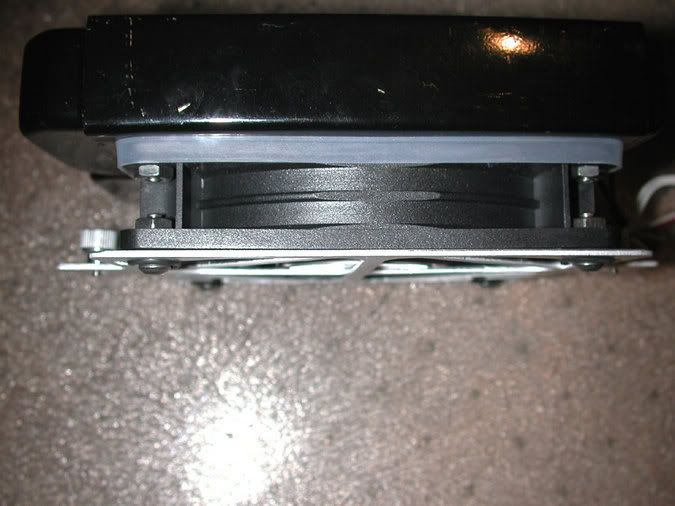
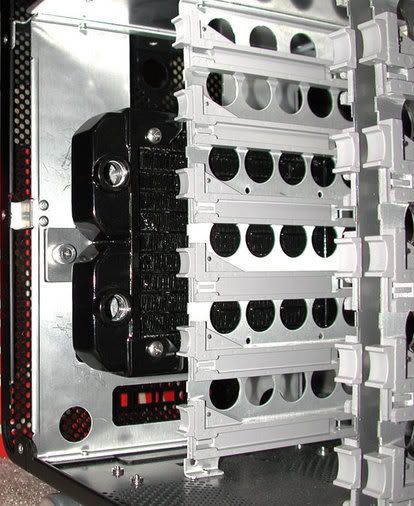
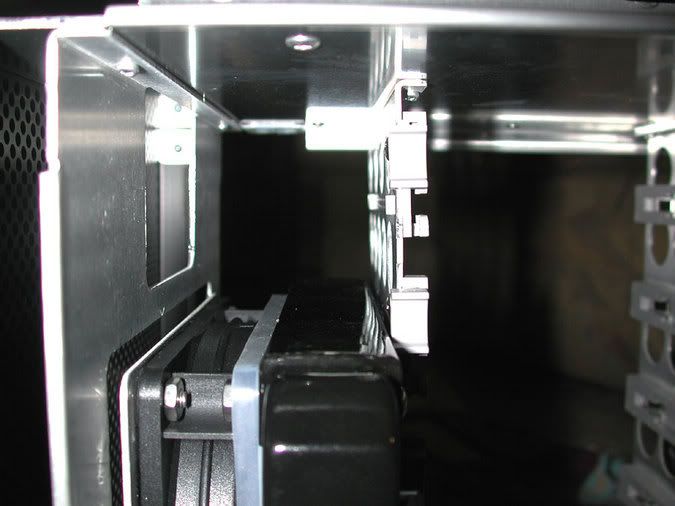
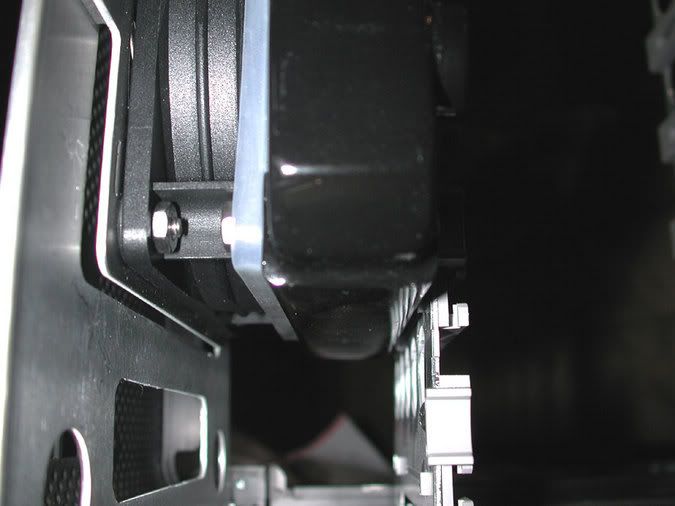
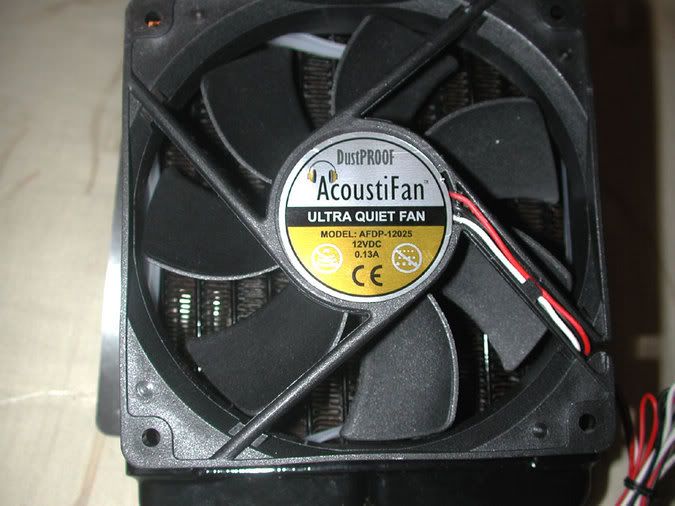
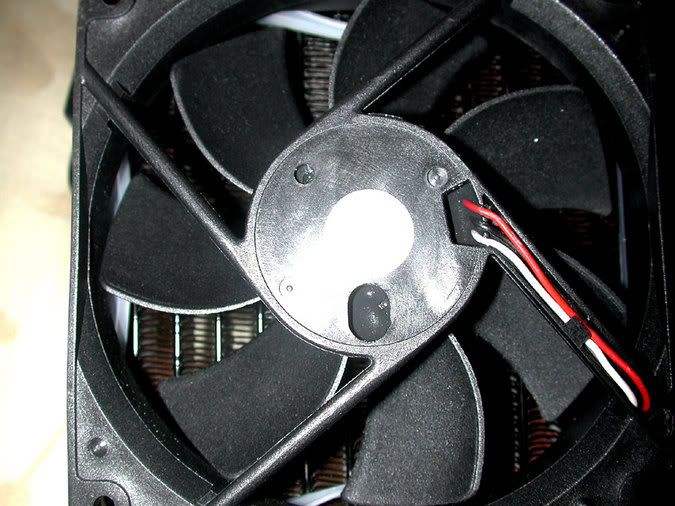
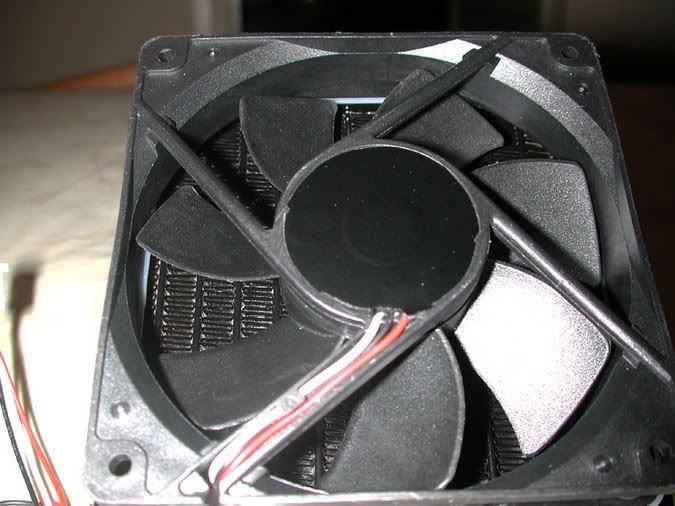
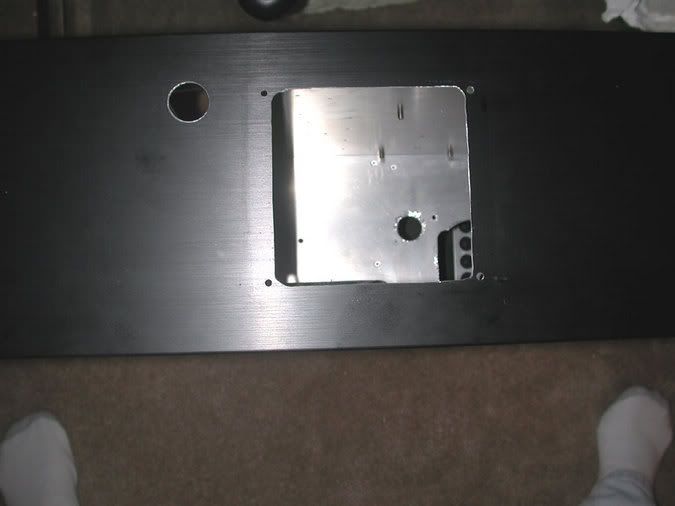
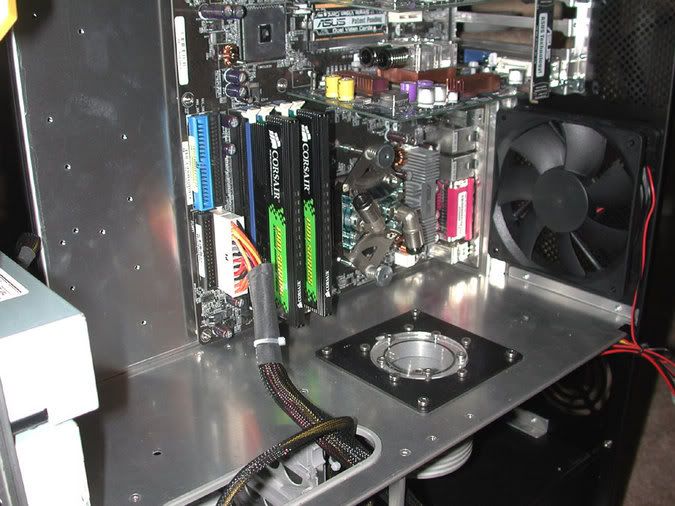
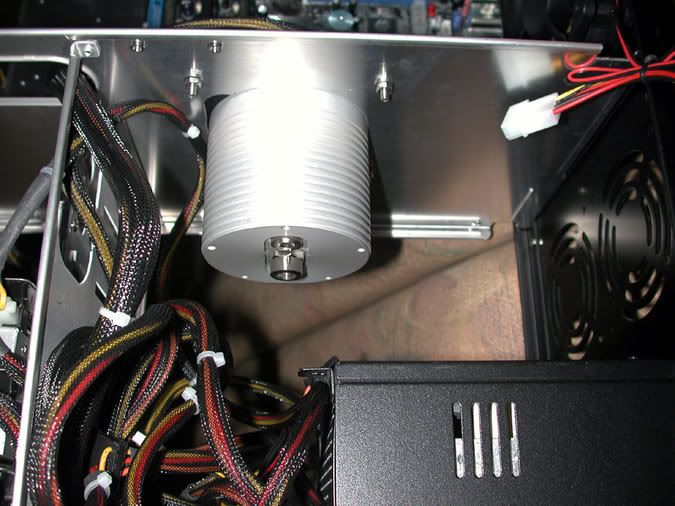
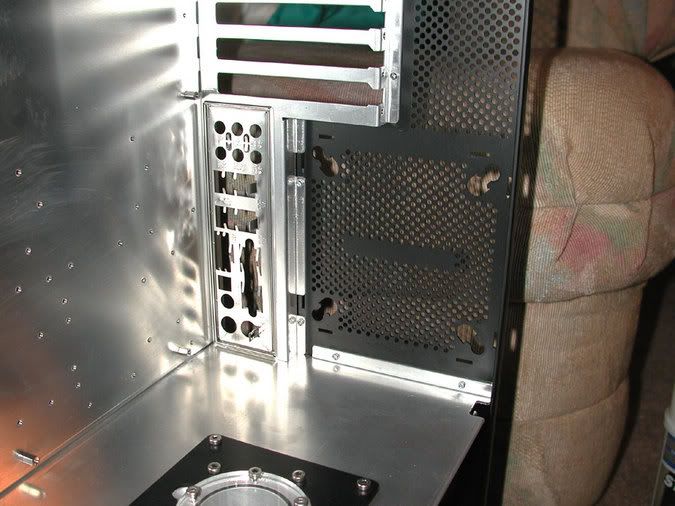
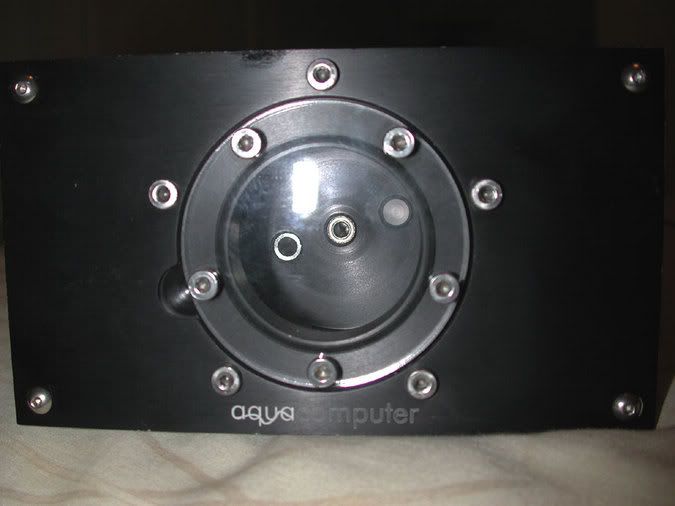
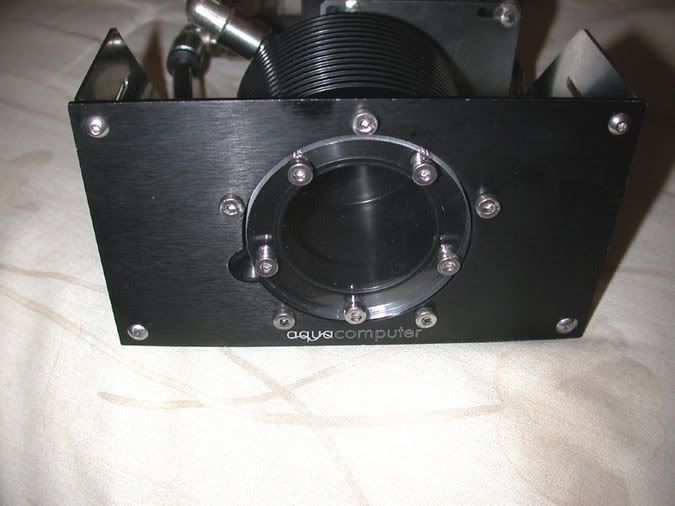
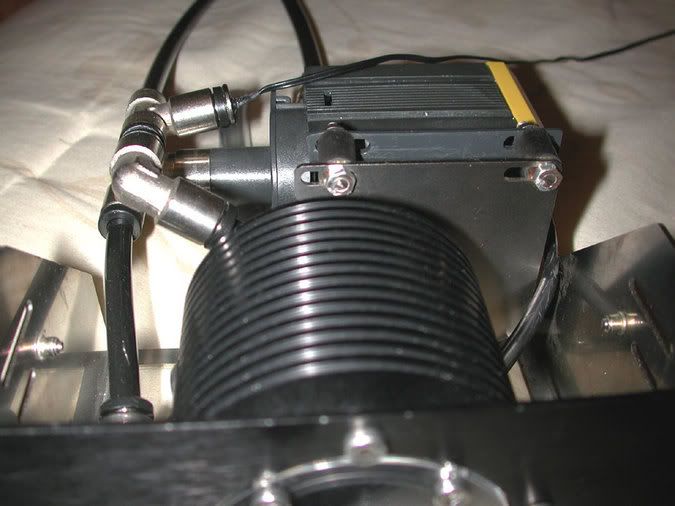
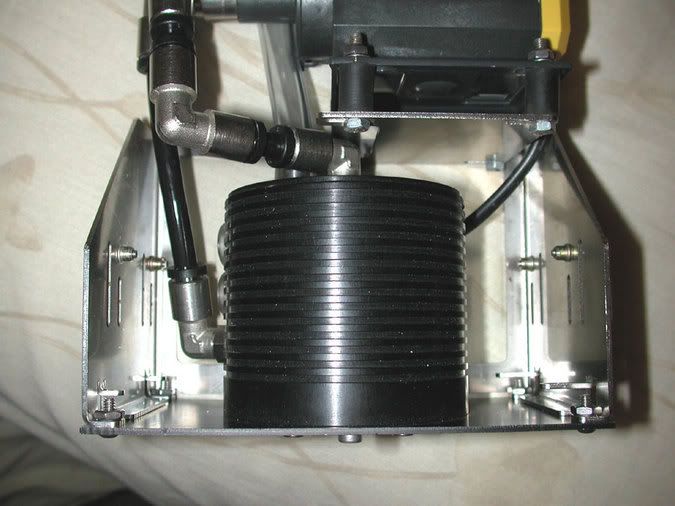
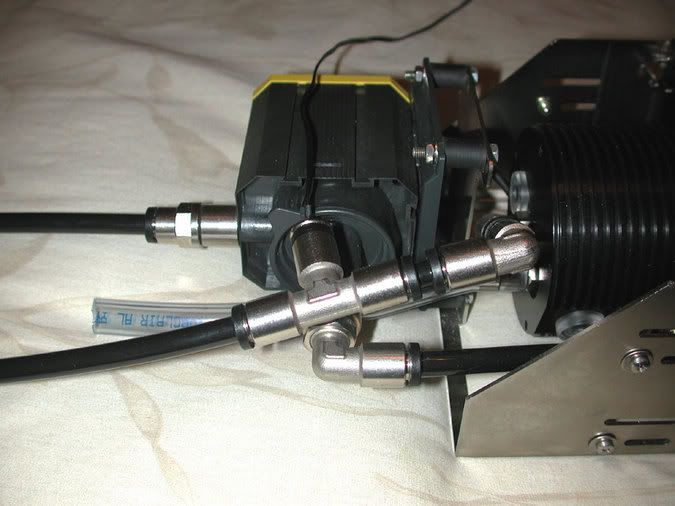
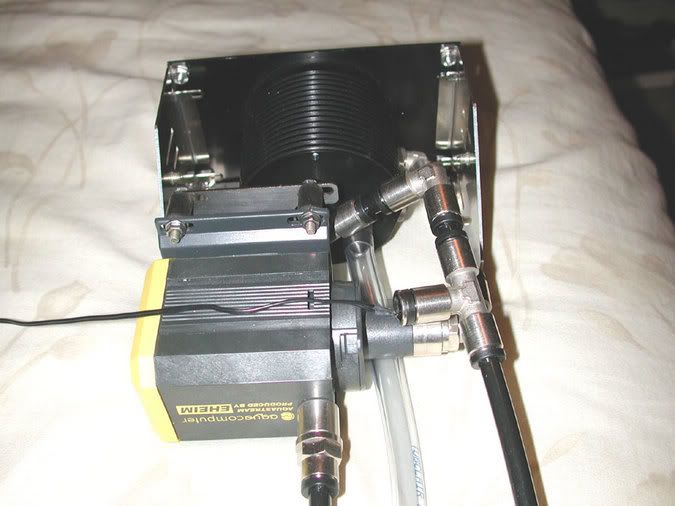
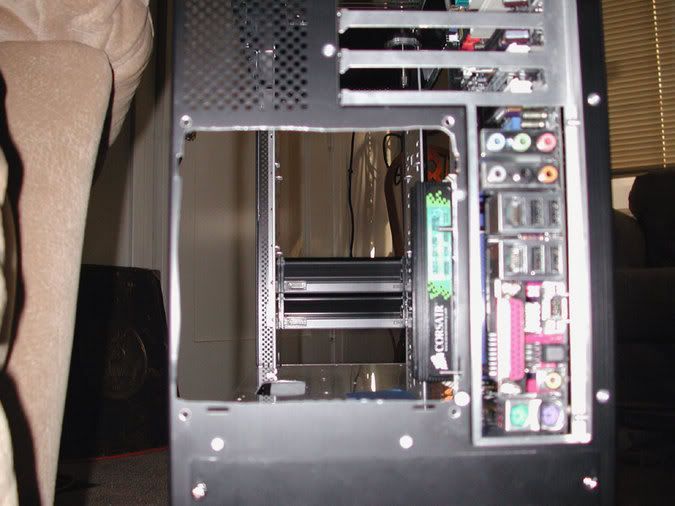
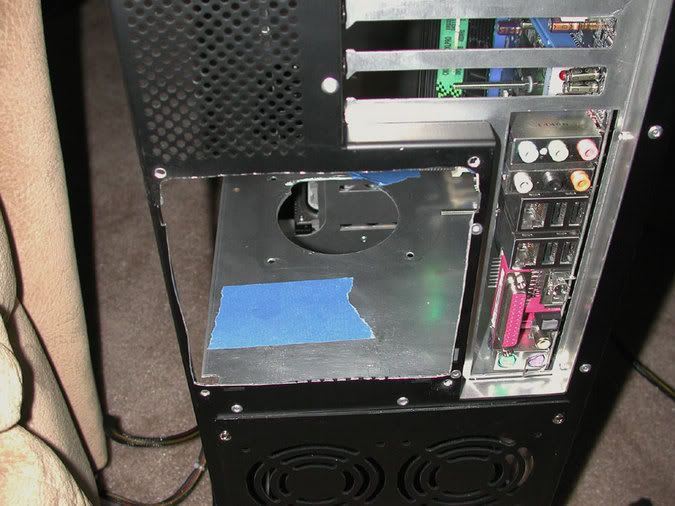
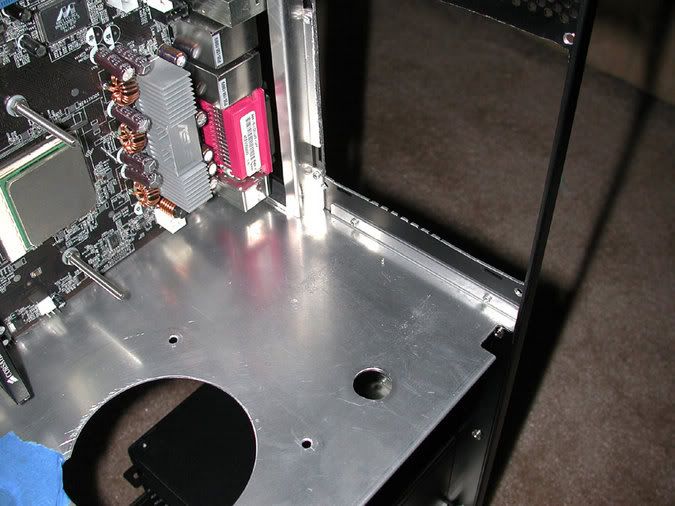
So here are a couple of pics to tantalize your taste buds:


This was the initial AC order I received back in April 05. Since then I went hog wild.
ACGear_1.jpg


Case_1.jpg


CaseGrillTop_1.jpg


Added 8-21-05:

Here are some AC links of interest:

The new Aqua Computer discussion thread

Aquaero Question and Answer Thread

Aquaero updating procedure courtesy of Shoggy.

Tips for installing Aquatubes

Tips for installing Evo grills

AC Aquastream / Aquaero info

Aqua Computer English Forum

Aqua Computer Germany Click the British flag on the left to see the old English site.

Here is the new
Aqua Computer webshop. You can click on the British flag to see the English now.

ACRGWLClogo_200.jpg
 
Hmmm...this is going to be a good one. Subscribed! Gotta love all that AC goodness on the table.

This space reserved for future comments. :)
 
Forgot to mention what I'm doing in the way of computer components :eek:

Asus A8N-SLI
Winchester OEM 3500
Two sticks of matched 512 MB of Corsair XMS 3200XL Pro (with the LED lights)
Two Asus 6600GT's
Sound Blaster Audigy2 ZS
Three 74Gb and two 36Gb WD Raptor drives
Pioneer DVR-109 DVD-RW
Lite-On DVD ROM
Lian-Li card drive
PCP&C 510 SLI
 
Thanks guys for the nice comments! But as they say, you haven't seen nothing yet. ;)

Well the first thing that changed for me was that I ditched the Aqua Computer Evo 240 radiator. It's a nice radiator and if I had the room I might have used it. So I decided that some BI pro's were in order. You will see as I go that my main emphasis is on using the geometry of the case to my best abilities. IOW I don't just start cutting stuff, but think about how I can do the most with the case and retain the natural lines of the V series cases.

So the first radiator to go in was in the front bottom of the case. This was a natural as there was already a 120mm fan sitting there. But would it fit without taking the front HD rack out? I am not sure how many HD's I am going to put in so I was determined to do what I could to make it fit.

It is always a good idea when doing these kinds of projects to put the motherboard in to get the proper perspective:

Case_2.jpg


So here was my first go at getting the radiator into the stock fan mount:

Frontfan_1.jpg


I drilled all the way through the radiator core and this fan is mounted to the radiator by use of some 6-32 x 2" round head machine screws. The fan is then mounted to the stock fan mount with 6-32 x 1/2" button head socket cap stainless steel screws, washers, and nuts. I also put in a Vantec 120mm fan gasket for vibration issues and better air flow. Here you can see it in the case:

FrontRad_1.jpg


Here are a couple of close up pics of the mounting details:

Frontfan_3.jpg


Frontfan_2.jpg


Yeah it is definitely a close fit and it does bow the front HD rack a tiny bit, but the HD's can still be put in without to much trouble. If I can mount with some flat head machine screws I might be able to clear everything. While it may seem that there won't be good air flow I should note that the airflow is from the front of the case going to the HD area. The HD racks have lots of holes in them and it doesn't seem to be a problem. However, there was one problem that you will see in the next pic. :(

Frontfan_4.jpg


The Acoustifan logo does not fit my motif and it sticks out enough that it does not allow the fan to be laid flat against another surface. So being the intrepid soul that I am I decided to blow the warranty away and take off the metal plate, which you can see here:

Frontfan_5.jpg


While this was a bit better, it wasn't quite what I had in mind. So off I went to my favorite computer modding store: Staples Office Supply :D After roaming the isles a while I finally found what I needed. Some large black vinyl lettering sets. The middle of the # 6 was perfect for my purposes of having a nice basic black with a little trimming with an X-acto blade:

Frontfan_6.jpg


So things are shaping up, but those red, black, and white wires got to go as well. Still thinking about what I will do here because they kind of glued them into the channel :(
 
Well I have decided to put off the fixing of the wiring on the fans till I get further into the project and do all the cable sleeving and custom wiring.

So I guess it is time to do some more case drilling. I have never been to enthused about putting my computer on it's back to fill a horizontally mounted Aquatube. So the perfect solution seems to be a Danger Den Fillport that allows me to bleed and fill the GPU loop from a normal position outside the case.

BTW, did I mention that there are three BI Pro's going in to this case? I suppose some are wondering why I would put three (3) 120's in when I obviously have the room for one 360, correct? The reason is that I wanted to maximize the use of all my PCI slots and 5 1/4" slots as well. The way the top mounted grill is set in it does a lot of important things. It allows me to use all my 5 1/4" slots AND I have full use of all my PCI slots as well. Due to the case design it also makes it really simple to hide a great deal of the wiring and plumbing in the top of the case to boot. :D

So here is a pic of the hole for the Fillport and the hole I cut for the top mounted BI Pro rad:

Fillport_1.jpg


You can see a couple of holes I also drilled in the middle case partition. Now I wonder what those could be for? Here is the AC Evo grill in and the Fillport:

TopGrill_Fillport1.jpg


The brass Fillport plug will eventually have a satin nickel plate applied to it. BTW, if you are observant you have probably noticed I don't like the low profile socket head screws that come with most of the AC equipment. So looks like some more stainless button head socket screws here. :p
 
Do they have vinyl in colors other than black? How much is it for a small sheet?

Keep up the good work :).
 
Well I thought I only saw black and white, but I wasn't looking for anything other than black. ;) I think it was about $8 for a complete set of numbers and letters which I thought was a good deal as I have three fans to do and a few other miscellaneous jobs for it.
 
You could also go to a sign making shop (Sign-A-Rama, etc...) and buy the vinyl from them. I have no idea what they charge per foot, but it was just an idea for you. You could then get it in all sorts of colors.
 
:eek: that is a huge case. putting the mobo in there really does put it in perspective. good stuff you got going in there.
 
CrimandEvil said:
Another Lian-Li/AC build. :rolleyes:
Well atleast I already know it's going to look good.

Well it was getting pretty hard trying to find another case that would hold all the stuff I was putting in. ;) Did I mention there are three completely separate cooling loops going in? It's already starting to get heavy and I am glad it's got wheels on it. :eek:
 
Aquatubecasehole_1.jpg


Okay here is the reason for that big ole hole you saw in the above pic. This is an Aqua Computer Aquatube. I decided on using the silver tube with a black mounting plate as it gave a nice distinctive flair to the install. As you probably notice there is no AC logo on this plate. I did that because I wanted the fittings to be pointing to the side of the case that won't have a window and I really don't want AC's name all over my case as I have something special planned with the AC logo down the line.

Aquatube_floor1.jpg


Well it is off to the store to get some more button head sockets. You can also see the hard drives below and a trial fit of the AC Cuplex XT. The PSU wire is just for show as it makes a major disappearance down the line. :cool:

AquatubeTop_1.jpg


Here you can see the trial fit of the Asus 6600 GT's with the AC TwinPlex GPU cooler.

AquatubeBottom_2.jpg


AquatubeBottom_1.jpg


Just a few more pics of the bottom of the Aquatube mounted in the middle case partition. I can see that my Dremel cut-off saw is going to have to put in another star performance in cutting those screws down to size.

Rad_3.jpg


Another view of the Aquatube looking towards the back of the case, which brings us to the installation of the rear mounted radiator.
 
brasherman said:
You could also go to a sign making shop (Sign-A-Rama, etc...) and buy the vinyl from them. I have no idea what they charge per foot, but it was just an idea for you. You could then get it in all sorts of colors.

Hey thanks for the tip! I have been wondering how much trouble it was going to be to paint my optical drives. Now I don't have to paint them. :D
 
Well decided to take some time out from doing case work. You can only breathe in so much aluminum dust at a time. ;) So I decided to do some work on my front mounted Aquatube in an AquaBay AT:

AquaBay_1.jpg


The center mounted fitting is for the return line and the one to the left is for the Danger Den Fillport. On the right side I put in a LED mount. Not positive what I am going to do with that one yet, but it is difficult to put it in after you fill with H20. ;)

AquaBay_2.jpg


As you can tell this one is all black because the whole front of the case is black. So no contrasting look is possible here. Looks like another trip to McMaster Carr for some more metric buttonhead socket screws. :D

AquaBay_4.jpg


You can see that my Dremel tool cut-off saw has been busy again cutting screws on the Aquastream mount.

AquaBay_3.jpg


Top view of the GPU cooling sub-assembly. The two LED mounts on the left side will be for the Aquaero Vario-LED assembly. Color of coolant will be green at start-up, yellow at normal temps, and red if it gets to hot. I was thinking of using the back LED mount for a flashing white strobe LED in case I get critical temps. The reason I side mounted the Vario-LED assembly was so that I got a nice subdued coolant color and no bright lights pointing out the front of the case.

AquaBay_5.jpg


AquaBay_6.jpg


The clear tube goes to the DD Fillport. Will probably change that to black as well once my Mazzer PUR tubing arrives. The screws you see on the back pump mount will be cut off later on, like the front ones already are.
 
theseeker said:
I really like the fillport idea.

If you decide to it you may have to remove the silver screen thingy as it was in the way for doing what I did. Besides I think it looks nicer without it. ;)
 
Lookin' really good Top Nurse - I'm interested to see how it turns out.

Quick question - you hinted that you're able to remove those hard drive racks on the bottom of the V2000. Is it possible to do so without breaking out the power tools and/or screwing up the case?
 
I like the location of your temp monitor. Where is the other pump going?

I am trying to find a way to mount both pumps in a location that will allow me to run the return back to the Aquatube without the elbows.
 
Wow cool mod dude :p

Really wondering what the end-result will be, but it sure will be good :D
 
Kingey said:
Lookin' really good Top Nurse - I'm interested to see how it turns out.

Quick question - you hinted that you're able to remove those hard drive racks on the bottom of the V2000. Is it possible to do so without breaking out the power tools and/or screwing up the case?

Thanks for the kind words. :)

The HD racks on my V2000 need to be power tooled out, but I don't think you would screw the case up as many other people have done it before. I believe the latest Lian-Li Plus series has the HD racks bolted in. :D
 
ShoNuff said:
I like the location of your temp monitor. Where is the other pump going?

I am trying to find a way to mount both pumps in a location that will allow me to run the return back to the Aquatube without the elbows.

Which pump? ;)
 
[H]ardForum [H]appenings:
Welcome to the TGIF edition of [H]ardForum [H]appenings! Friday means Folding, if you aren’t Folding for a cure then you NEED to be. If you need to know why we DC hit this thread up. If you have the desire to Fold but your hardware is lacking, check out the distributed computing parts swap thread and get that box running. Sop now you have the desire, the hardware but you just don’t know “HOW” to get Folding, this thread will tell you everything you need to know. You now have no real excuse for not Folding…hell, even I fold for the [H] daily. Since we haven’t covered any case mods so far this week, let’s look at a few that caught my eye. First up…Project: Love PC. Ahhh…so lovely. This case mod called Project: Feeding Frenzy, even in early stages, looks like it will be pretty snazzy. Deal of the day is this X800XT-PE for $206.10. Very, very nice deal…get it while the getting is good. Runner up in the DotD department is this deal for FREE Mountain Dew X…get some, it’s free. As always, have fun in the forums, we’ll see you in there!
Right there. :)
 
Damn,
When I first started looking as WC gear, AC never crossed my mind.
3/8" tubing seemed too small and worthless.

But the more and more I see this stuff used, the more and more I want to include it in my WC set up!

Maybe just for the Video card and NF4 Chip or something!
I really , really like how nice AC gear looks!

This Mod was the final point I needed to be convinced on using AC in my WC set up!
 
Majin said:
This Mod was the final point I needed to be convinced on using AC in my WC set up!

It's nice, but I'm still a DD man myself.

I dunno, maybe I'll have to break out and try something new next time. ;)
 
All right for today we are back to working on my Alzheimer's program of breathing aluminum dust. ;) All kidding aside I wear a mouth/nose respirator whenever I am cutting aluminum and safety glasses over my reading glasses.

So after getting some experience with the top and front mounted radiators I decided to do it a bit different. First change was getting away from the cut-off saw and cut with a jig saw. This was a lot faster, but I still had to do some detail work with the Dremel.

Here we are looking forward and I also decided that reaching around with my fingers to install the grill was a major PITA. So I drilled and tapped for 8-32 threads in the four corners.

BackFanGrill_2.jpg


This pic is looking down towards the case partition. Hey what is that crazy woman doing now with that blue thingy? Not another hole :eek:

BackFanGrill_3.jpg


Bottom's up :D Here you can see the grill I put in top of the case and the DD Fillport.

BackFanGrill_4.jpg


Now what could that hole be possibly for? And what the heck is that blue thing over on the left?
BackFanGrill_5.jpg


Here is the back of the grill installed. This fan got the vinyl patch as well and the wires will be worked on later as I red, white, and black don't make it IMHO. :p Hmmm....looks like I need another application of SS polish.
BackFanGrill_6.jpg
 
jort said:
Wow cool mod dude

Really wondering what the end-result will be, but it sure will be good.

Lot's of little twists and turns in this case project. :D And a lot of little suprises as we go along. Thanks for viewing! :)
 
Status
Not open for further replies.
Back
Top